How to Build a Workbench – Fitting the Well Board (part13)
NOTE:Just so you know, this is an older workbench series. Paul has a newer Workbench series. If you are interested in the updated version of Paul’s workbench please click the button down below. This page links to a cutting list, tools list, FAQS and much more.
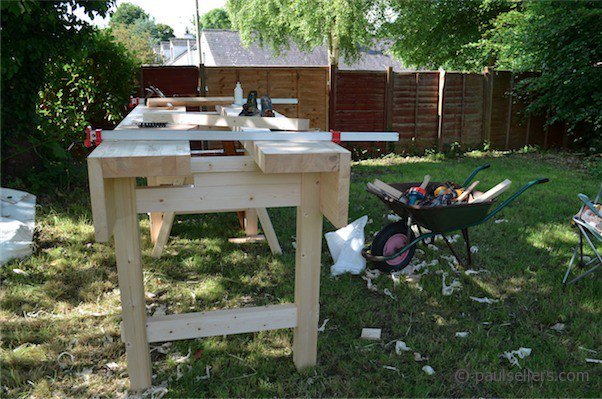
I realise that these posts are long, but we are invading the worlds of make believe benches, stepping off of the conveyor belt to fantasyland and getting into real woodworking again. To do that we have to have a real working bench that no one can really criticise as being useless, amateurish, fanciful, indulgent or stupid. Time was when a workbench was something you worked on; you cut with a saw on it, chopped on it, chiselled into it even. Sometimes you miscut and gouged it, maybe even once or twice a day. Rusty saws got derusted on it and old planes were restored and sharpened on it. I know we all have different paradigms, but my bench is a working, worked on, worked with, worked in, worked from bench. More polished and highly refined workbenches don’t really work to well for me. My chisels commonly slip and saws catch the bench corners as I work, with or without care, with or without bench hooks. I’d rather be concerned about my furniture and perfecting it than my workbench. Let’s get going.
Fitting the well board
For me and hundreds of thousands of joiners and cabinetmakers before me, the well is critical. I spoke earlier of its intrinsic value to the wellbeing of my tools and my work.
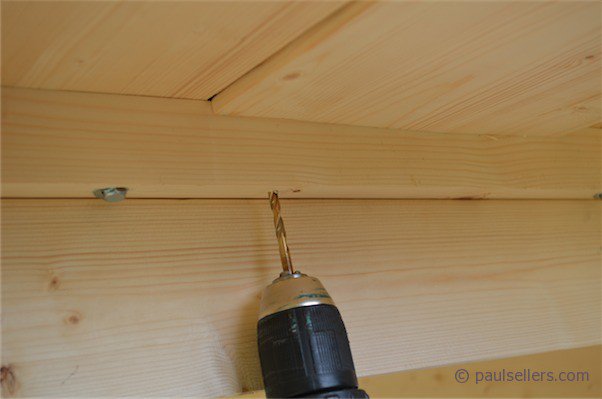
First check that the ends of the benchtops line up by checking with a straightedge. With the benchtops and aprons clamped against one another, drill a hole large enough the take the whole shank of the 5/16″ (8mm) bolt through the bearer. 5/16″ is large enough.

Angle it if need be, so that you have good access and the drill chuck is not impaired. Drilling through the bearer first prevents parallel threading that typically keeps the two components apart and therefore prevents proper seating. This gap results in inefficient transfer of force to the legs during benchtop chopping. It’s good to get it right.
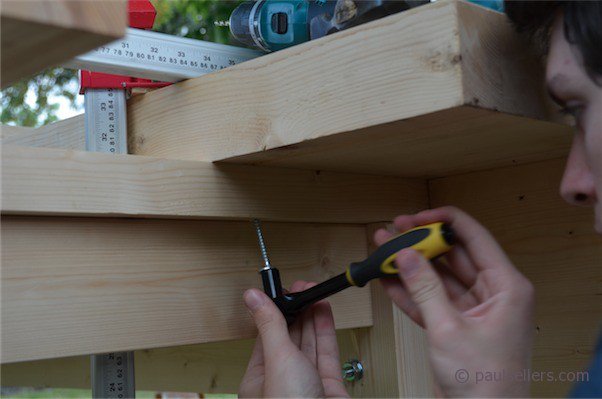
I clamped my benchtop down before cinching up the lag bolt. 2 ½” x 5/16” lag bolts are a good size to go through the bearer and into the benchtop. Drill a 5/16” hole through the bearer and then a 3/16” pilot hole into the benchtop. This will ease the bolt and prevents undue stress in the wood.
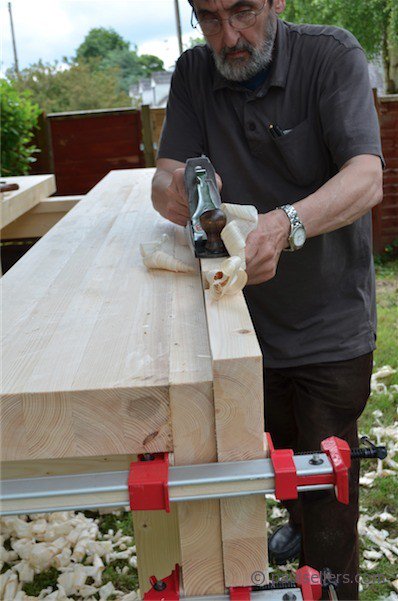
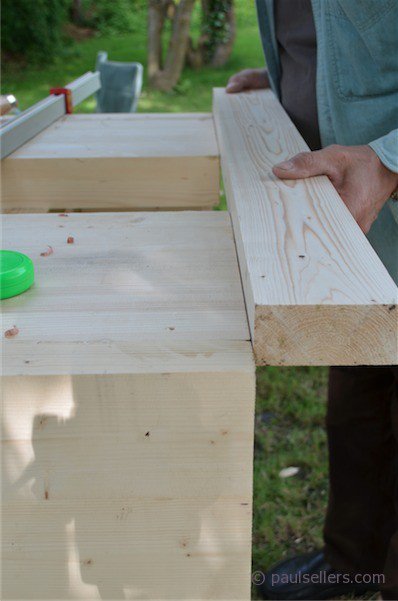
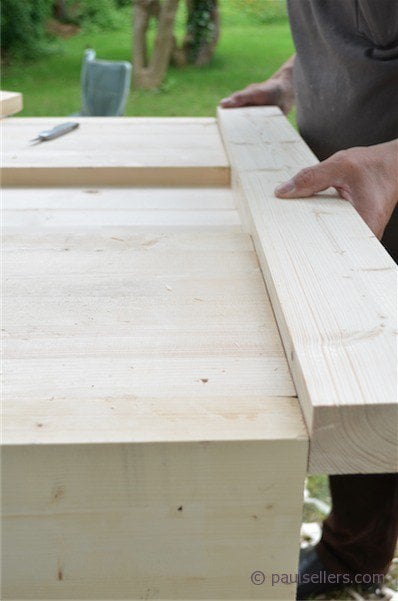
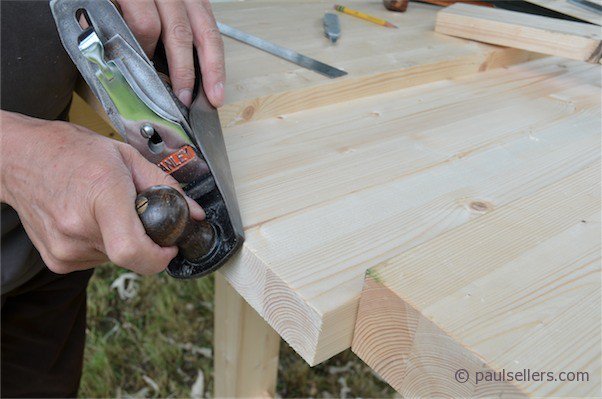
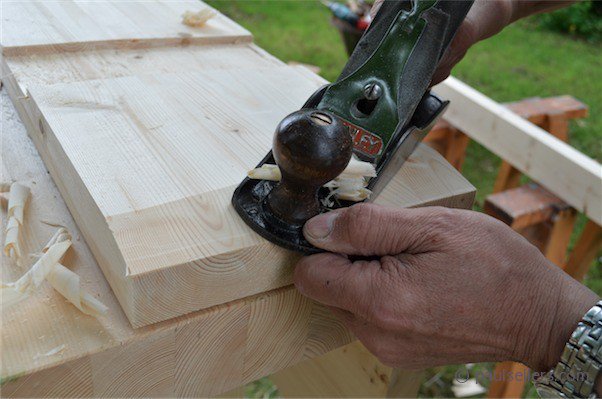
To do this, tighten two clamps on the apron, one at each end and place the wellboard on edge so that it sits above the benchtop. Clamp one end of the wellboard to the apron and plane as needed.
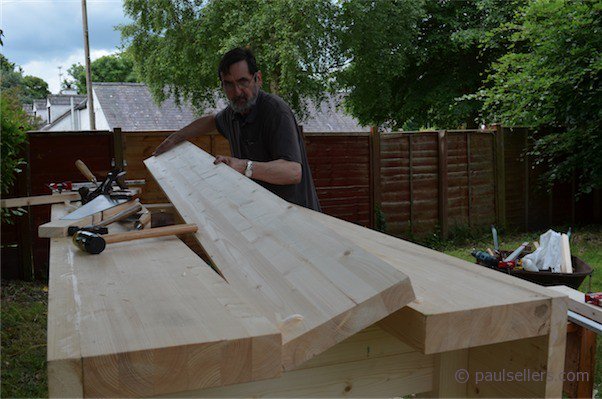
Now you must plane off the excess width until it fits in between the two bench tops. I find it best to create a slight taper fit so that the underside has a measure of lead-in. Technically, the well need not be tight. It will more than likely shrink anyway. But I prefer to start out tight. The internal well corners will be covered by corner mould.
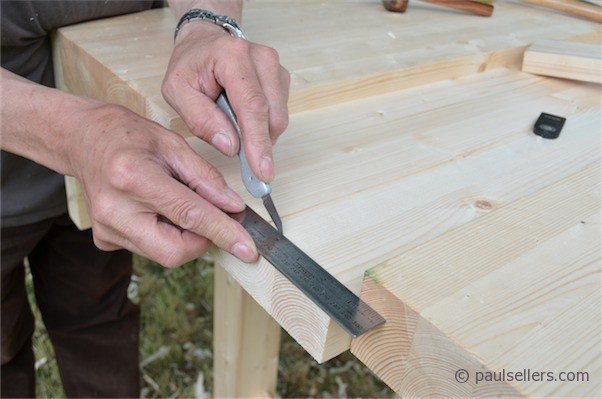

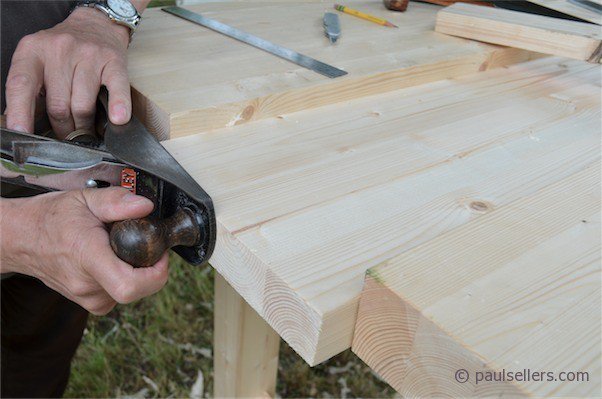
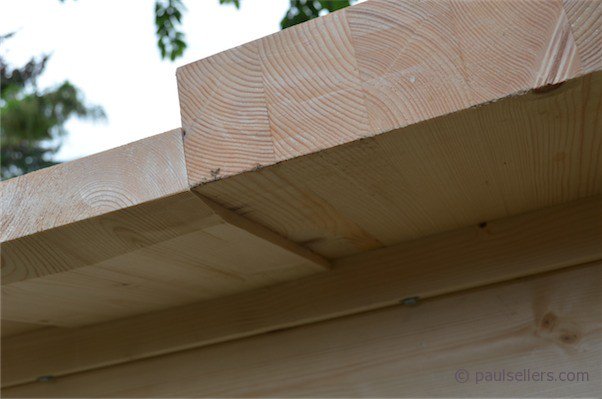
Cutting the housing dado over the bearer.


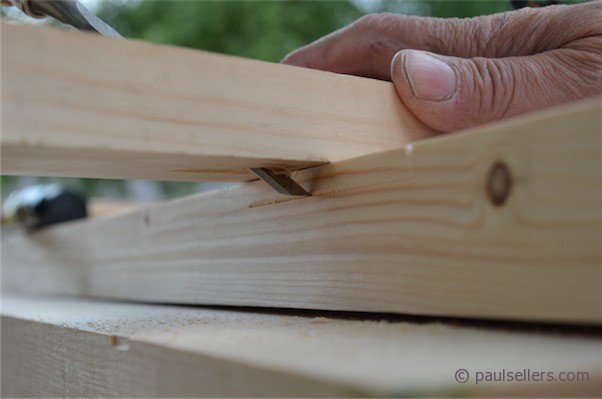
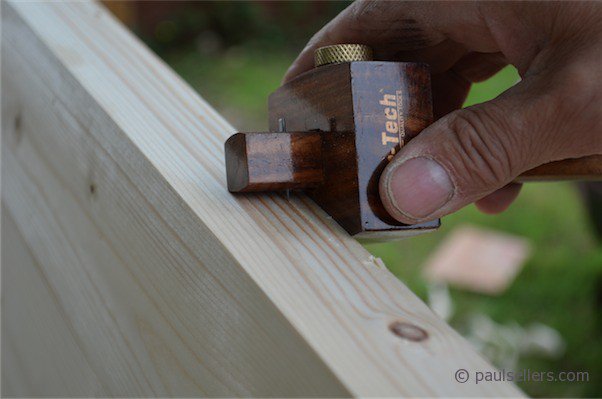
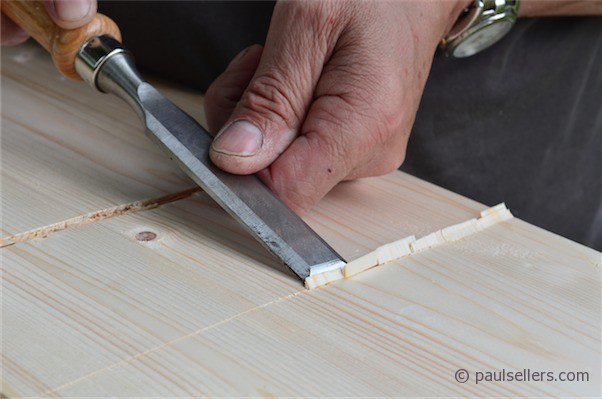
Chisel out the recess as you did previously for the apron housings. This time you can work the housing dado from both sides, so mark both sides for depth.


Hi Paul
Following your build with interest, I have also recently built a work bench not too dismally albeit a bit smaller than your bench. I was wondering why you have made the well board so substantial, I fitted a removable well board which when removed gives good clamping access for clamping parts to the bench top. I figured that the well board only had to be strong enough to carry the weight of any tools I may have in the well.
I would suggest that any one thinking of making the bench should try finding a local timber merchant, I was able to buy PAR Redwood to the exact sizes I needed from Boydells in Leigh for a lot less than it was at B&Q
Uwe, You can buy this hammer from Amazon for #10 right now here and this included shipping!!!! http://www.amazon.co.uk/Thor-712-Nylon-Hammer-1-1/dp/B0001P0YEG
This is for the Nylon handle, which I prefer to the wooden one. I removed the rubber sleeve, roughened the smooth handle with a rasp and coated it with shellac to take out the stark whiteness because of photography and filming. It’s truly an invincible hammer for just about everything I do except driving nails. Also, you can buy different heads. I just have one hard face on both faces but you may want a softer head on one side so you can use it for assembly. Here is the link: http://www.amazon.co.uk/Thor-712VF-38mm-Plastic-THO712VF/dp/B007VL7MV6/ref=pd_sim_diy_2
If you like the idea of the wooden handle here is that link too. I do like the wooden shaft too, but I like the power of the nylon handle. It feels weighty and deliberate.http://www.amazon.co.uk/Thor-Soft-Faced-Hammer-31-712r/dp/B0001P0YF0/ref=pd_sim_sbs_diy_4 This one has both hard and soft face in a single unit.
If you live in the USA you can buy the hammer from The Hammer Source
http://www.hammersource.com/Soft_Face_Hammers/Replaceable_Tip_Hammer_1_1/2_face_diameter_chrome_plated_zinc_head_wood_handle._Nylon_faces._1_1/2lb/ They also sell the other hammer faces too.
Hi Paul,
thank you very much for your quick and detailed response. I am living in Germany and bought a lot at Amazon.
It’s really a pleasure to watch all your tutorials and to learn so much. Thanks for that too!
Hi Uwe, in Germany you can buy similar hammers from simplex and gedore. They are called “Schonhammer”. I use the Simplex 40 with a rubber head on one side for assembly and a nylon head on the other side as a chisel hammer. I bought mine in a local hardware store but they are available online from different sources, too. They cost about 18 Euro and are well made.
Hi Florian,
thanks a lot for your hint! There are lots and lots of producers, sizes and types. That ‘s why I asked for some details. Your Simplex also seems to be a good choice for me.
This is all very intresting, but as a rookie in woodworking i need to ask. What are the uses of the Well Board?
It was the most commonly used British woodworking bench the well holds the tools and stops them rolling around or onto the floor
.
Thank you for your reply! I really appreciate it, and i want you to know that i admire you very much. You are by far the most original woodworker i have seen on the internet. With just the basic material, a saw and plane you made this piece of art.
Hi Paul, I wonder if you could advise. I’m approaching the finishing stages of my bench. I have just glued up the aprons to the bench tops. After unclamping and preparing to secure the bench tops to the bearers I was disappointed to find that the bench tops are sitting 1-2 mm above the bearers. If I pull them flush to the bearer with a clamp, then the apron moves out from the dado 1-2 mm in return. I thought I had planed them flat and square prior to glue up, but obviously not accurately enough. Should I just screw them both up tight and flush – I think there is enough give in the apron to do this – or would that put too much strain on the glue joints. The other thing I was thinking of was fitting a thin piece of padding between the bench top and the bearer – such as a flat piece of leather – to take up the gap before screwing down. What do you think? Thanks. Rob
Paul did you ever create a video showing how to add a vise, and showing the finished product? If not 🙂 it would be nice to have.
No we didn’t. It is on my blog and that is all that’s needed. I left it out because vises vary according to maker and I didn’t want to get into the idiosyncrasies of different types as they are easy enough to figure out especially reading the blog…
You mentioned briefly about corner moulds inside the well. Is there any more information you can share regarding those? Specifically, are they glued to the tops but not the well so as to allow cover for shrinkage AND to allow for disassembly? Is there a particular size you feel works best? Thanks for this and all you do.
They are nailed to the bench top and not the well. as you suspect. 3/4″ is large enough to easily pin and fill the corner.
what if anything would your finish the bench with,blo or similar.
Two coats of danish oil is what Paul said in another post.
Well that has put the cat amongst the pigeons. I was about to start building tomorrow and then came across your series. Now I am going to redesign it and make it smaller. So that it doesn’t use up my restricted space and so that I can move it into the garden on the ten days every year that it doesn’t rain.
Great series, Paul, thank-you. Also, pleased about your choice of pine – me too! A dozen or so left over 4″ studs put to good use, I hope.