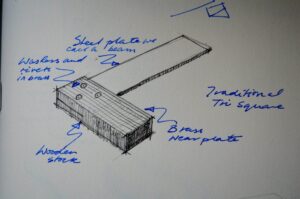
Fixing old tri-squares like these is simply more a mixture of metalworking and woodworking, planing and filing and so on, than a trade specific craft. We shouldn’t dismiss these tools because they are a delight to own and to use.
This answers a question someone asked about fixing an out of square tri square. I have done this many times and they have always been successful and enjoyable challenges.
The main flaw I often find in these squares results from neglect and exposure to damp and misuse. The wood swells from being left in the rain, pushes the plate and pins away from the wood and they remain separated after drying out. Sometimes the wood and brass wear plate stay attached and solid. When that happens we need only file the brass or the steel plate and plane the outside edge of the wooden stock.
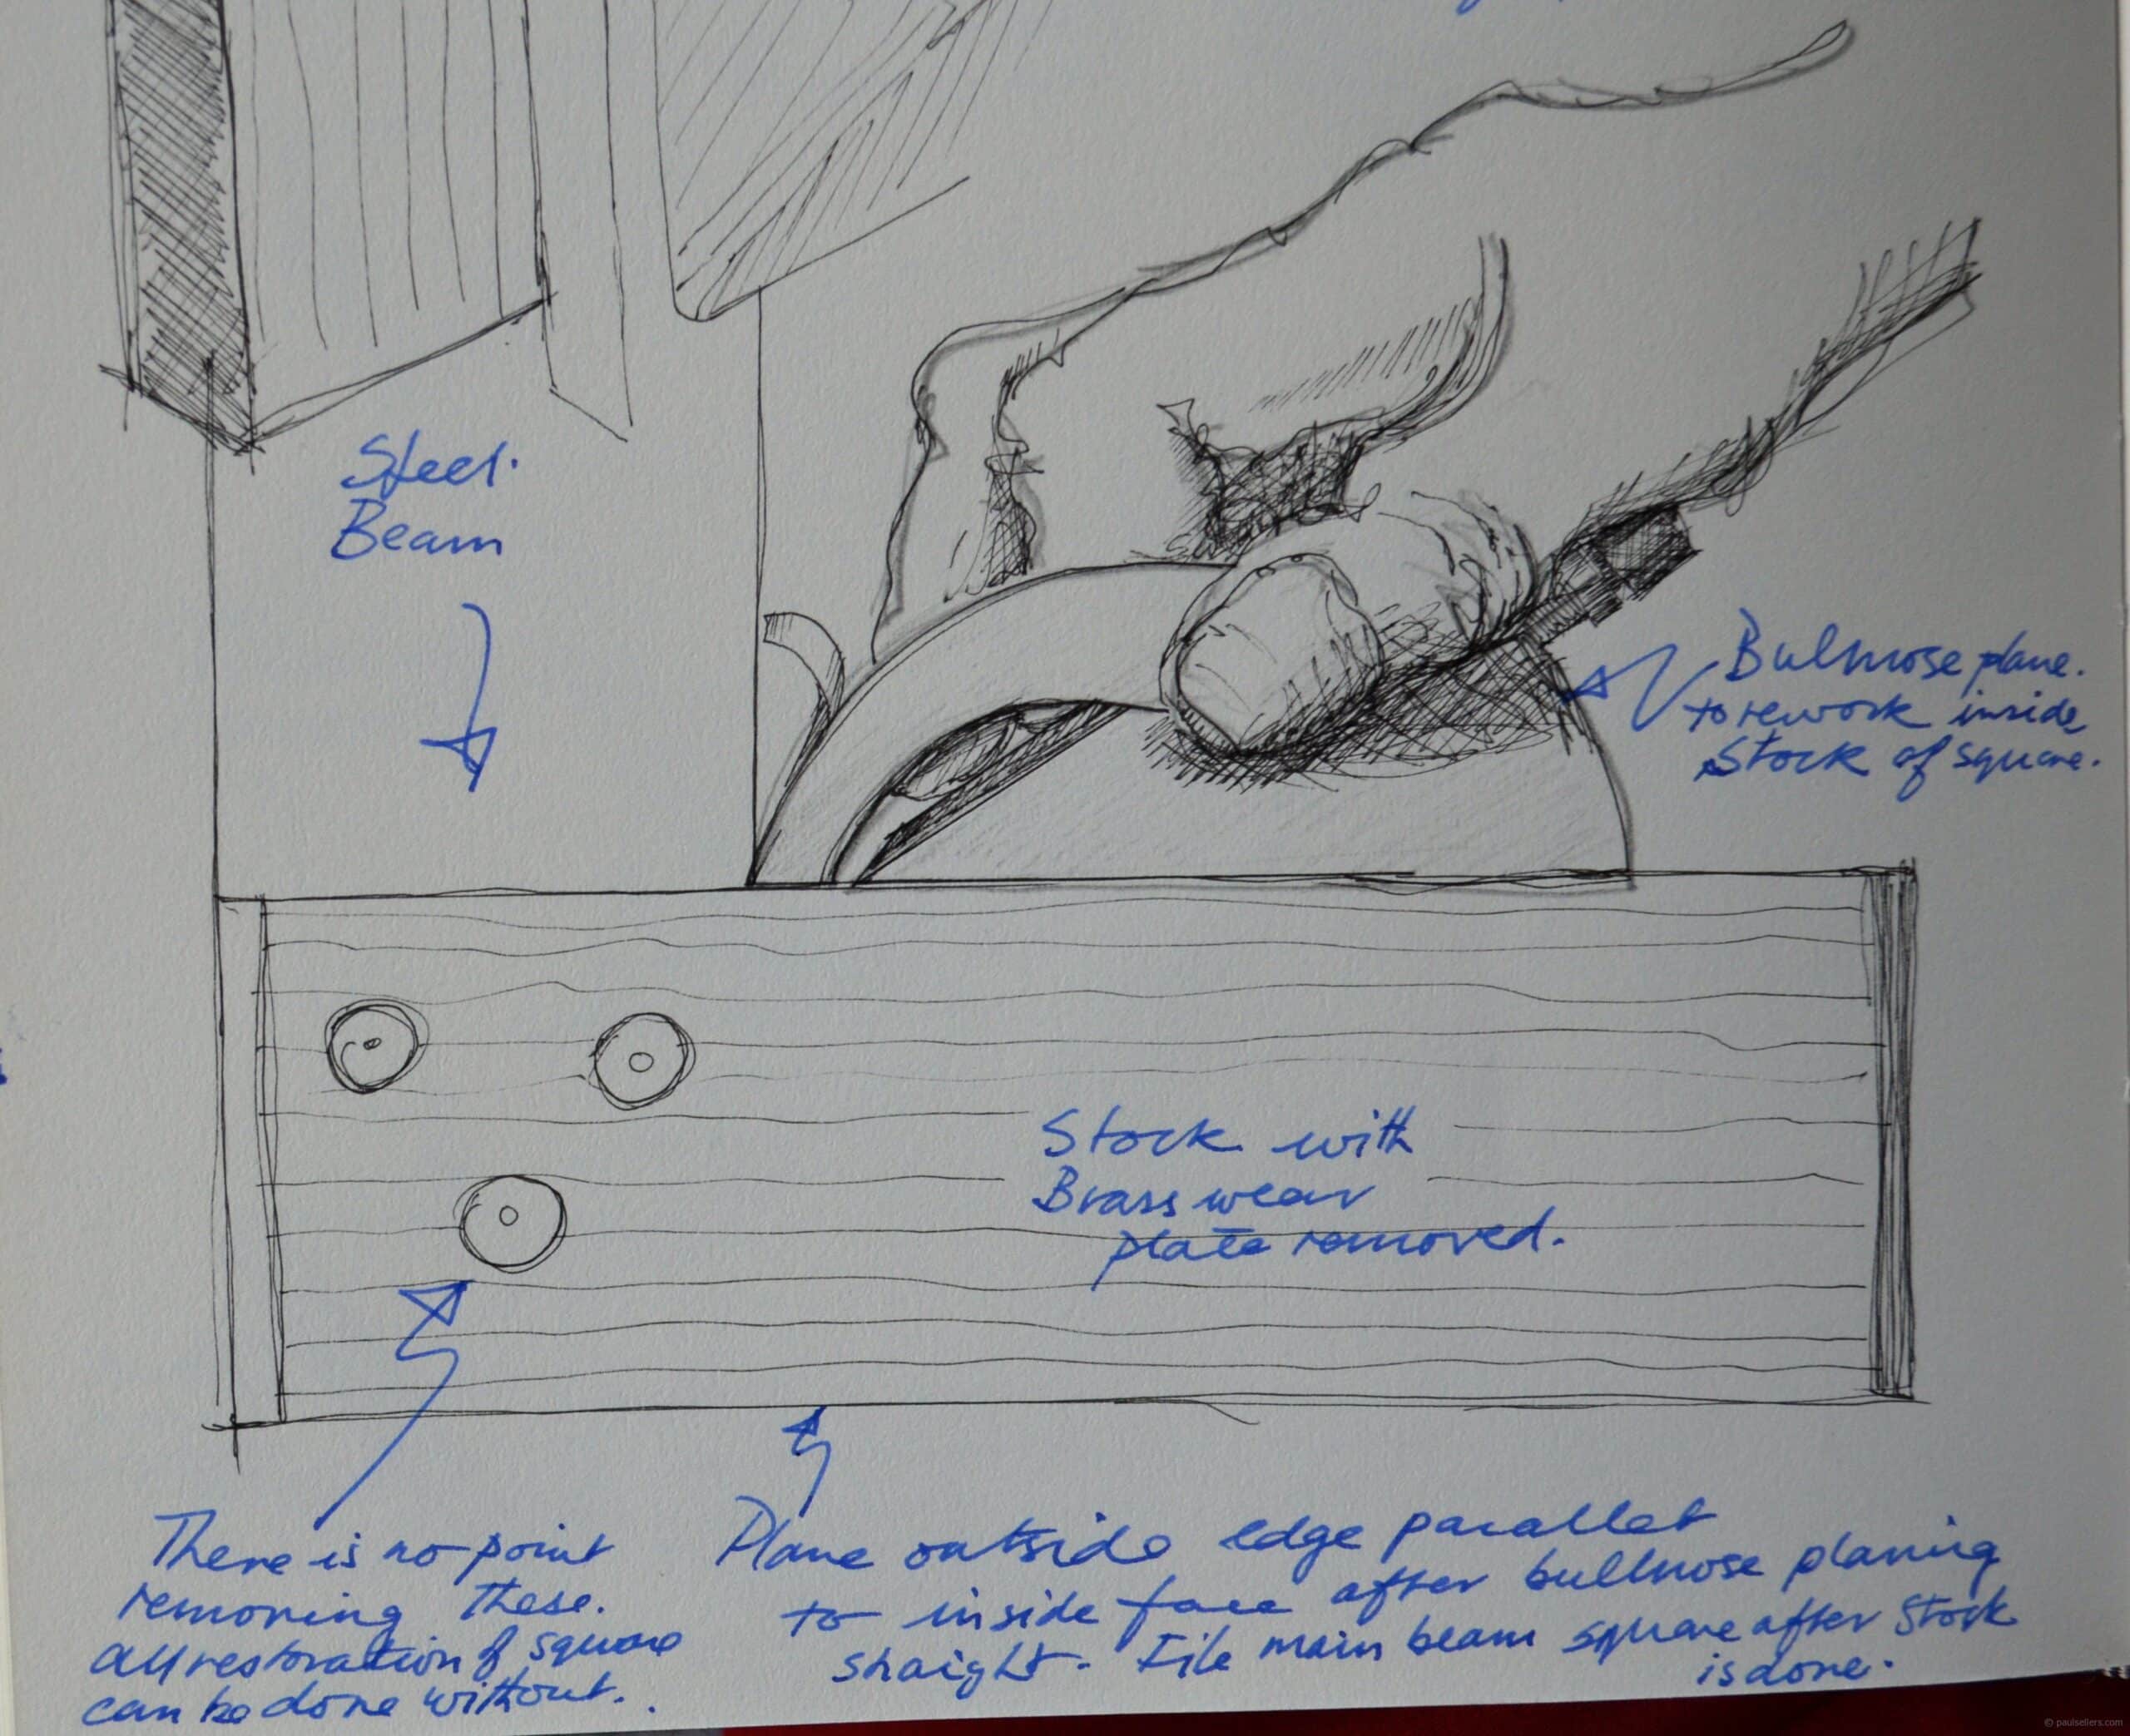
If separation between the brass wear plate and the wooden stock has occurred, no matter how minimally, it’s best to ease the wear plate from the stock with a chisel or thin knife. An old English butter knife works well for this. This plate is fixed with barbed brass pins through the plate of brass. They should come loose quite easily.
With the plate removed, scrape off any debris and residue and use a bullnose plane to surface the wood flat again. If the plate is flat and straight, replace the plate by applying a layer of animal hide glue to the wooden stock and driving in the pins. Clamp the assembly in the vise to ensure all components marry well and leave in the vise or clamps until cured. If you don’t have hide glue you can use two part epoxy and leave to cure.
Once this surface is done, you will use this to reference the opposite outside edge of the stock to the inside face so that it’s perfectly parallel. This is simply a matter of planing the edge with a sharp smoothing plane and checking with verniers or other callipers.
With the stock completed, focus on the inside edge of the main blade or beam of the square. These are steel. Check it for square against another square or follow these procedures here to test along a straightedge. I use a flat file to file this inside face square and then make the outside edge square, again using a flat file.
There is some more reading on squares on a previous blog here.
2 Comments
Hello,
Maybe it is silly question, but how to plane parallel to opposite edge ? Is any simple method ?
Generally we set a a marking gauge to the distance we want, usually the narrowest point, and then plane down to that line taking of more where it is widest.
Comments are closed.
Privacy Notice
You must enter certain information to submit the form on this page. We take the handling of personal information seriously and appreciate your trust in us. Our Privacy Policy sets out important information about us and how we use and protect your personal data and it also explains your legal rights in respect of it. Please click here to read it before you provide any information on this form.


Hello,
Maybe it is silly question, but how to plane parallel to opposite edge ? Is any simple method ?
Generally we set a a marking gauge to the distance we want, usually the narrowest point, and then plane down to that line taking of more where it is widest.