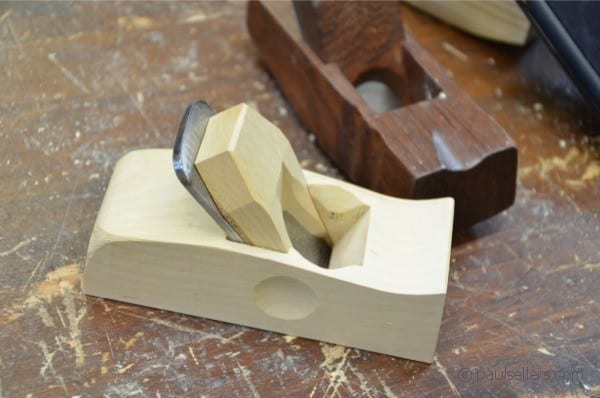
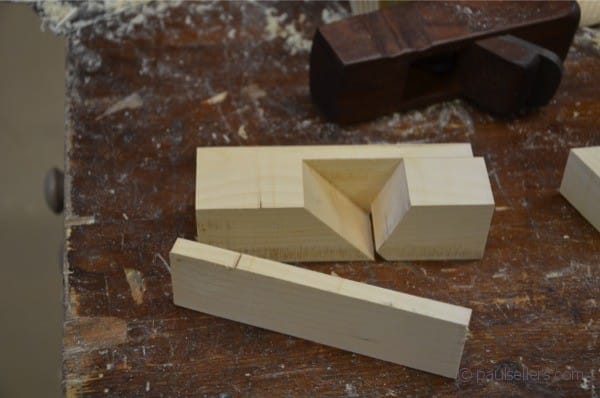
Making the plane here can be made in one of two ways. In my last blog on these planes I said you can separate the parts from a single block of wood as I did, or you can use three pieces. Whichever you choose, the composition of the plane is gluing up four components the inner parts of which are cut with angles that allow for the blade and wedge to be locked within side grooves. It’s a simple plane to make, but accurate cuts and fits are important to the functionality of the plane. Sharp tools such as chisels, knife, plane and saw are critical. Beyond that, it’s up to you.
A versatile pattern for plane making. I think that the neat thing about this model for construction can be used for a wide range of useful planes in an equally wide range of sizes, radii, bedding angles (the angle at which the plane iron is supported and presented to the wood) and types. That means you can make low angle planes, compass planes, and curve-soled planes of different types. Expand that into tongue and groove planes and regular bench planes and you have a very inexpensive way of creating specialist planes and a vehicle for developing fine woodworking skills.
The bandsaw method for separating the parts is very practical. With a sharp and well adjusted bandsaw the two side sections can be slabbed off the main central body and then glued back to the centre pieces after the side grooves are completed without planing the meeting surfaces. I separated my pieces using the bandsaw
Without a bandsaw. If you don’t own or have access to a bandsaw, I would suggest you use three separate pieces cut and planed to the sizes given in the previous post. That way you have parallel sections of wood ready to cut and glue together. This wood must be dry and flat so that the surfaces mate properly and all surfaces glue across their totality.
Regardless of which method you use to size your wood, the process once you have the sides and centre piece cut to size remains the same.
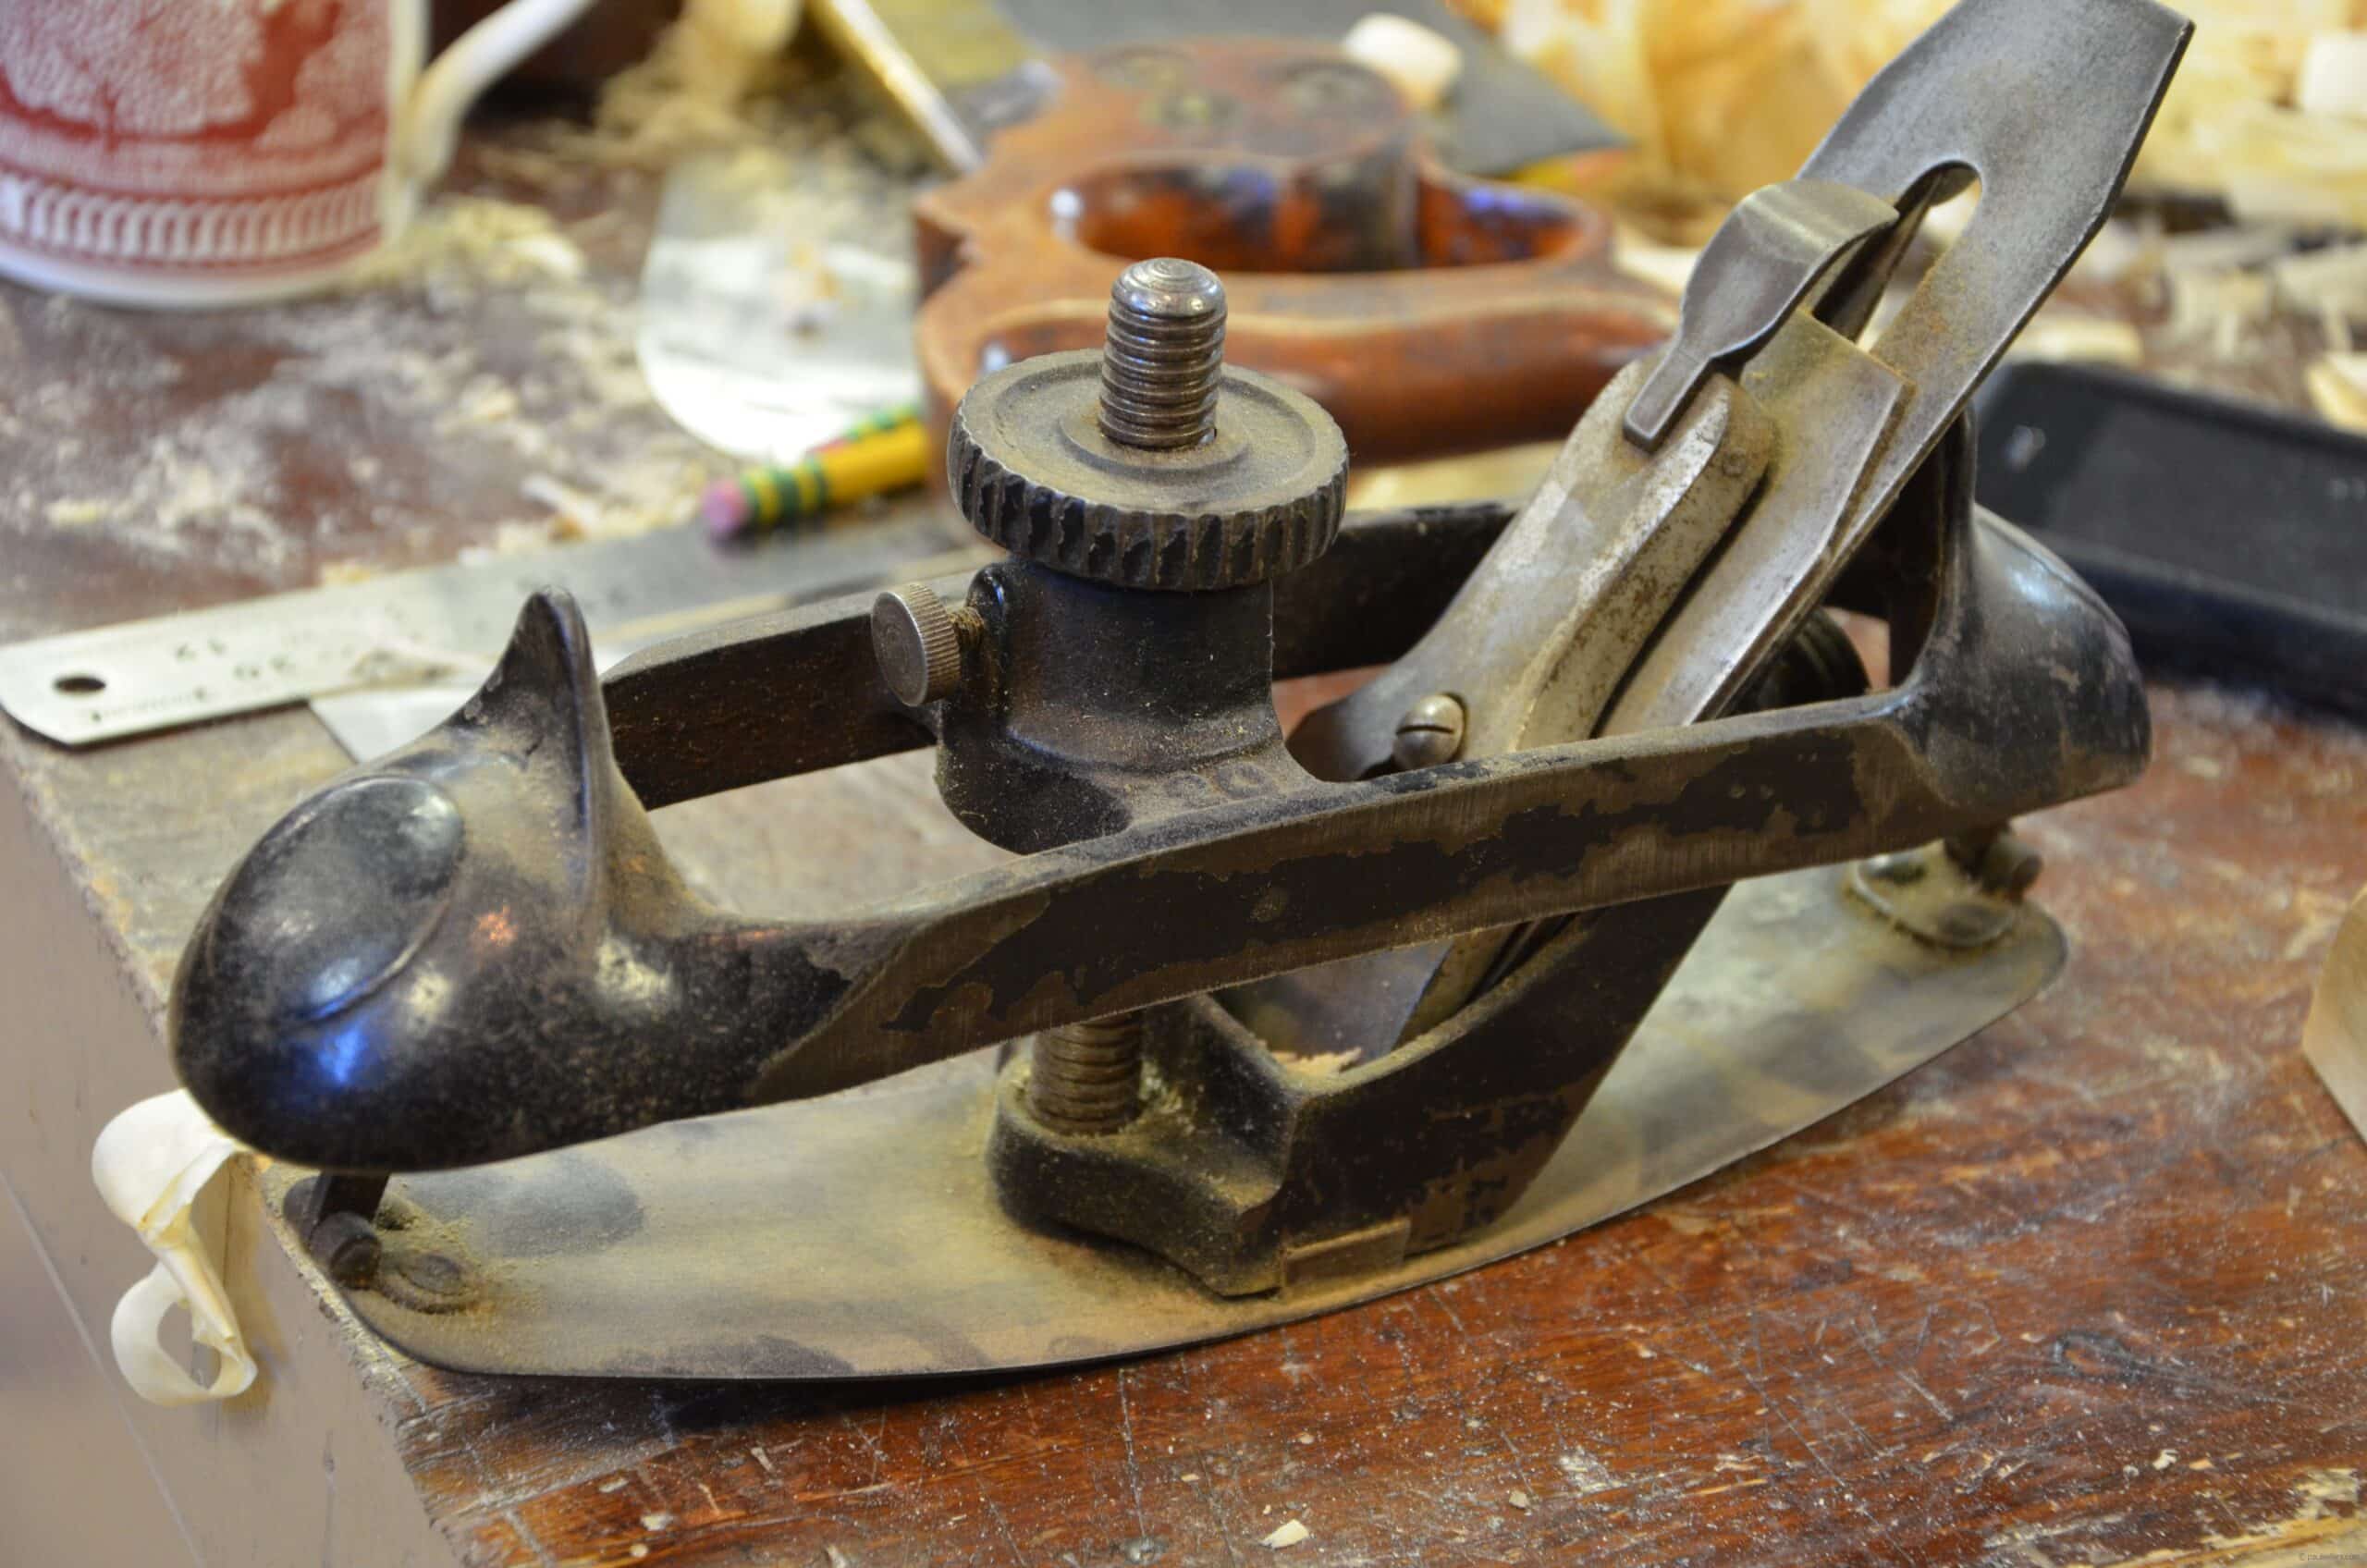
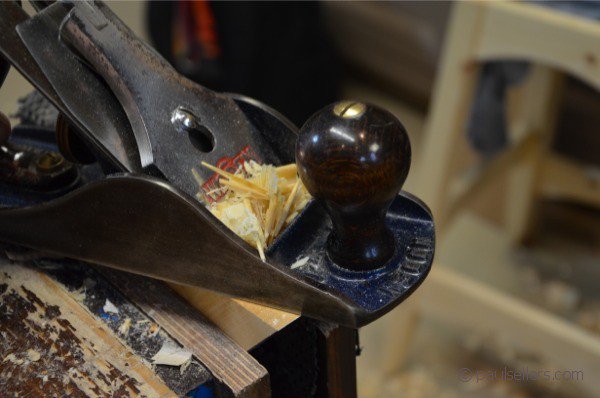
To make the plane for flat or curved work begins with the same steps. You may want to make two planes at the same time so that you can have a flat-soled and a curve-soled plane. whichever you choose to make, they certainly look better than one of these.
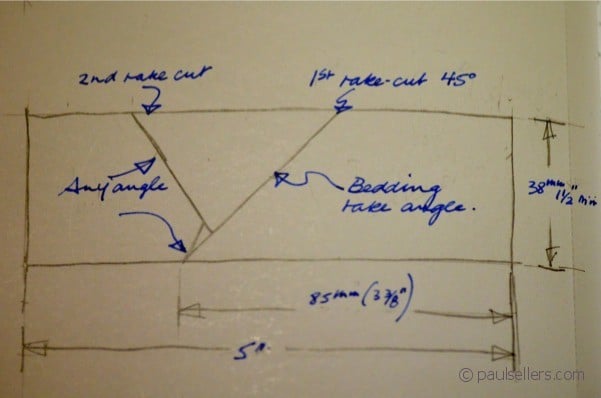
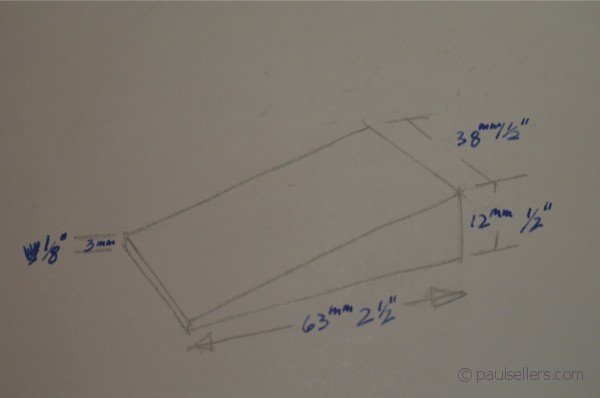
1: Cut the first angled rake cut of 45-degrees as per drawing.
2: Plane the surface of the bed alone dead flat. Make certain that the surface is square to the sides. This effects the squareness of the blade to the main axis of the plane and though the plane is radiused, it makes it easy to align everything if you start square.
3: Cut the second angle to the fore part according to the drawing.
4: Plane the surface of the cut smooth and square.
5: I used the same wood for my wedge. I do this so that neither wood is harder than the other so that both woods absorb pressure equally. Cut your wedge according to the drawing and plane all surfaces square and smooth.
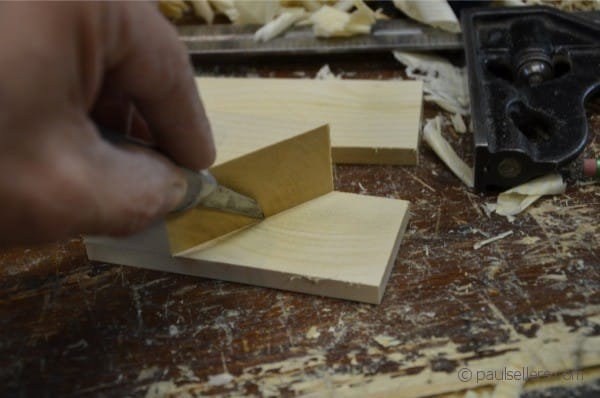
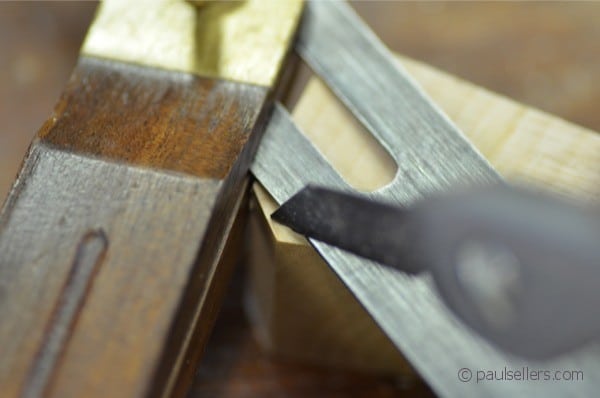
6: Laying out the side grooves is best done by clamping one of the sides to the bedding piece, making sure the back edges are flush, and using the bedding angle to guide the first knifewall as shown.
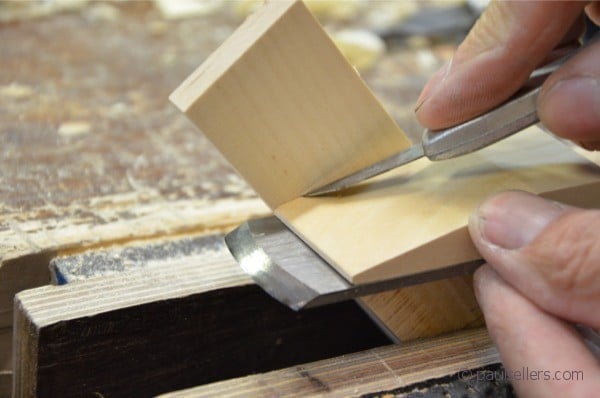
7: Place the wedge and the steel blade material against the first knife wall and mark the second knifewall.
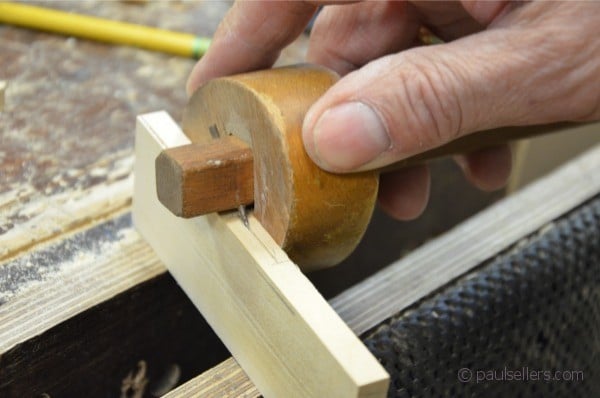
8: Run a gauge line 3/16” from the inside face of the side pieces between the knifewalls on the top and bottom edges.
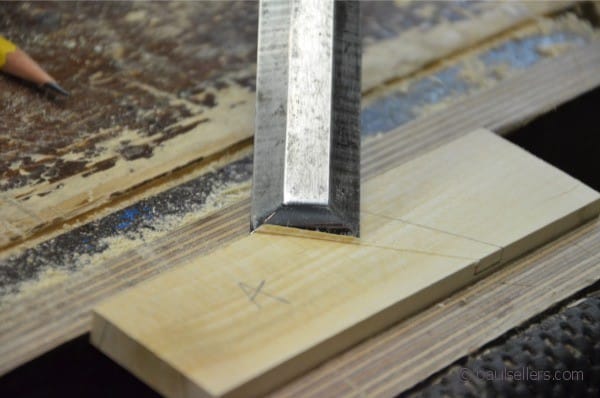
9: Further define the knifewalls with a wide chisel.
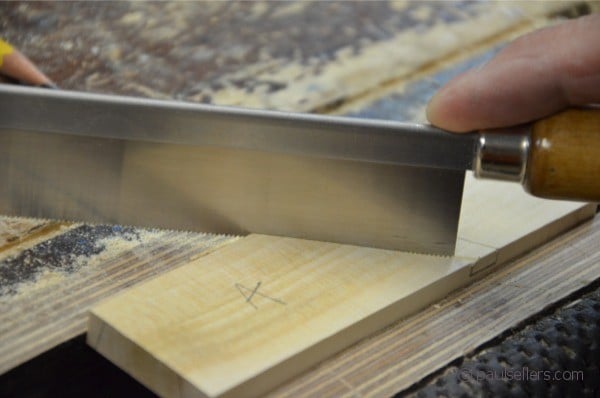
10: Cut down the knifewalls on the waste side using a small saw. Saw carefully, taking care not to go beyond the depth line, as this weakens the side groove.
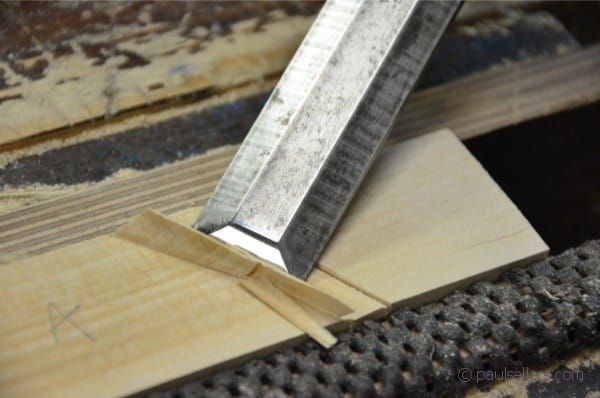
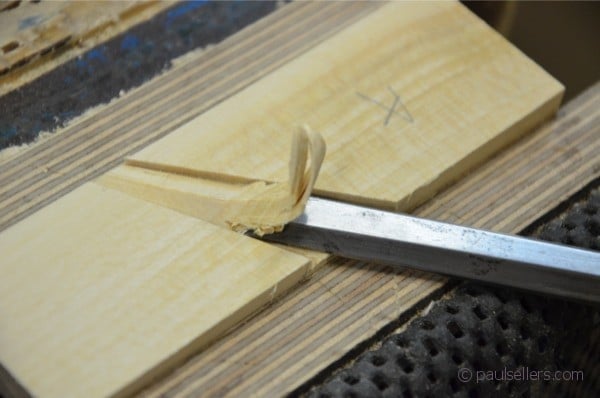
11: Chisel in at an angle toward the saw kerf to remove some of the waste wood. Do the same to the opposite side of the groove.
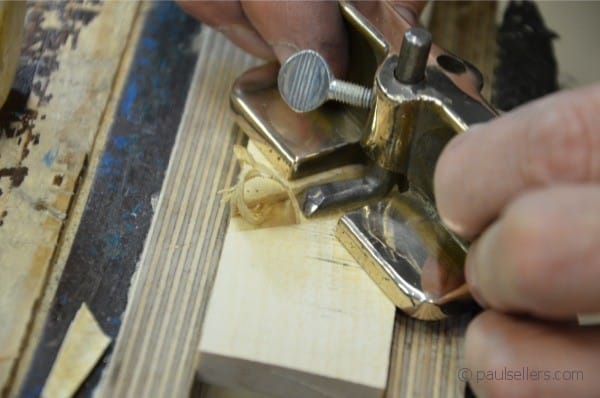
12: Use a smaller chisel to chisel down to the depth line and f you have a small hand router, level the bottom of the groove.
If you own a hand router, you can use this to guarantee the depth.
13: Repeat to the opposite side piece.
14: The top angle you just made is the same angle you must make to the front centre component. Cut the small angle at the sole area and plane smooth.
15: Assembling all of the components together as a dry run allows you to adjust the throat opening. I suggest a 1/16” gap is a good size to aim for. Make registration lines across the the side pieces and the centre piece. You will use these registration marks in the final glue up.
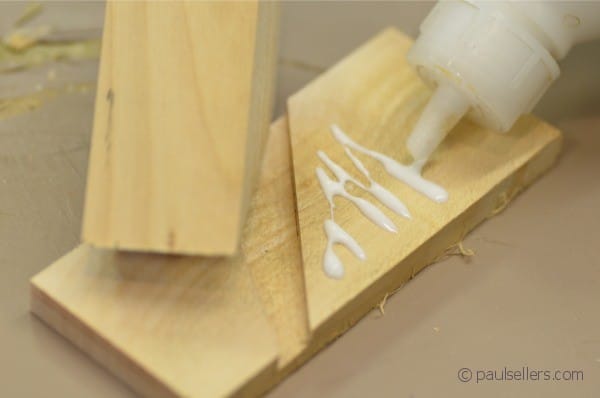
16: You are now ready to assemble the plane and glue the components together. Make certain that the rear bedding piece aligns perfectly with the grooves on both sides and clamp in the vise.
17: Slide the second centre piece in between and then clamp the whole in the vise or use clamps.
Refining and fitting next.
5 Comments
As ever, very clear and helpful to a new woodworker such as me, thank you. Brilliant diagrams and photos too. Many thanks!
Thanks for the tutorial Mr. Sellers. Is there a way to put a heavy camber on an iron by hand? The tutorials I’ve found all use an electric grinding wheel. Thanks!
Hello Juan: You can cut off some of the curve with a hack saw and then file the shape to the curve and then you can file the bevel on the curve to 30-degrees before hardening the blade.
Great series Paul!
I have a cutting blade ( 45mm width) from an older smoothing plane and i am thinking of making a new plane body for it, according to your video. My question is: how do i fit a handle to it? Or will the plane function just as well without a handle?
It will work fine with or without.
Comments are closed.
Privacy Notice
You must enter certain information to submit the form on this page. We take the handling of personal information seriously and appreciate your trust in us. Our Privacy Policy sets out important information about us and how we use and protect your personal data and it also explains your legal rights in respect of it. Please click here to read it before you provide any information on this form.
As ever, very clear and helpful to a new woodworker such as me, thank you. Brilliant diagrams and photos too. Many thanks!
Thanks for the tutorial Mr. Sellers. Is there a way to put a heavy camber on an iron by hand? The tutorials I’ve found all use an electric grinding wheel. Thanks!
Hello Juan: You can cut off some of the curve with a hack saw and then file the shape to the curve and then you can file the bevel on the curve to 30-degrees before hardening the blade.
Great series Paul!
I have a cutting blade ( 45mm width) from an older smoothing plane and i am thinking of making a new plane body for it, according to your video. My question is: how do i fit a handle to it? Or will the plane function just as well without a handle?
It will work fine with or without.