Making My Bed
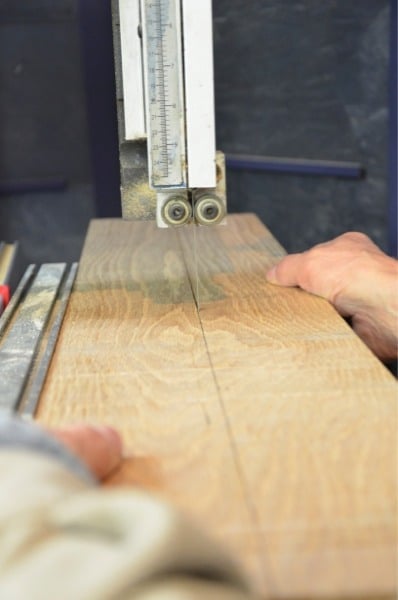
I do use bandsaws for larger stock cutting…
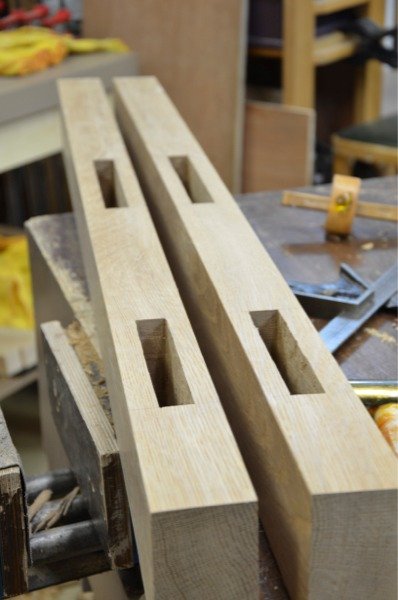
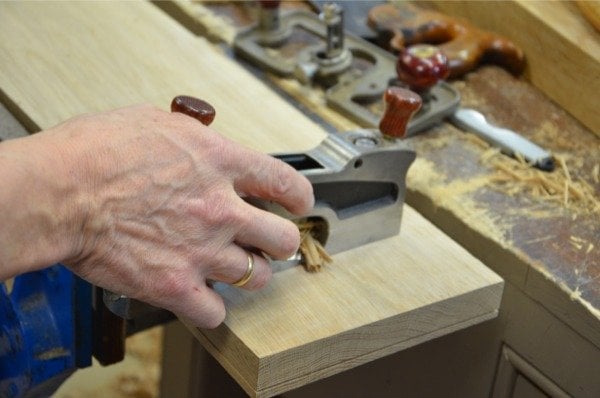
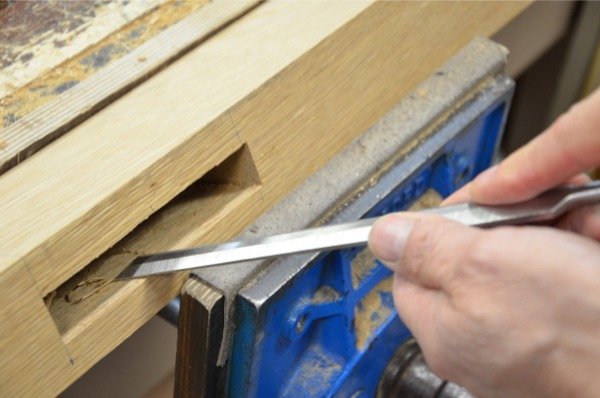
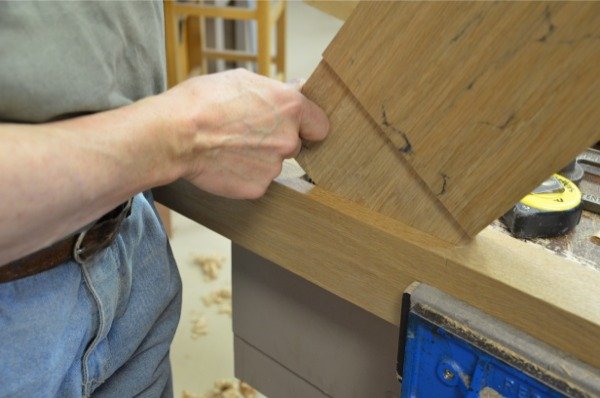
When you make beds it’s always the mattress and box spring that determine the dimensions. And you kind of work from the inside out using these dimensions to establish the positions of the rails in the posts. I am using oak because it’s indigenous and replenishable. It’s also strong and reliable, attractive and very workable. As the mortises deepened, the waste wood gets harder to lift from the holes but then the rhythm sets, my pace increases and the holes meet from each side in the centre.When the tenons begin I feel the awkwardness of large tenons under my saw. The carcass saw is too small and the teeth too. A 10ppi handsaw rips well down the tenon cheeks and I leave the tenons fat for slimming down with the chisel and the hand router. To plane down to dead width I use a couple of methods. 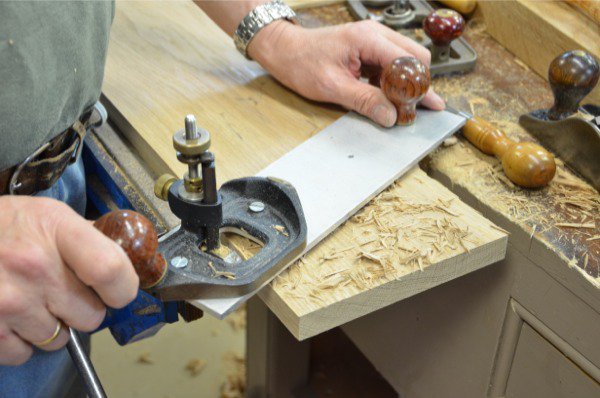
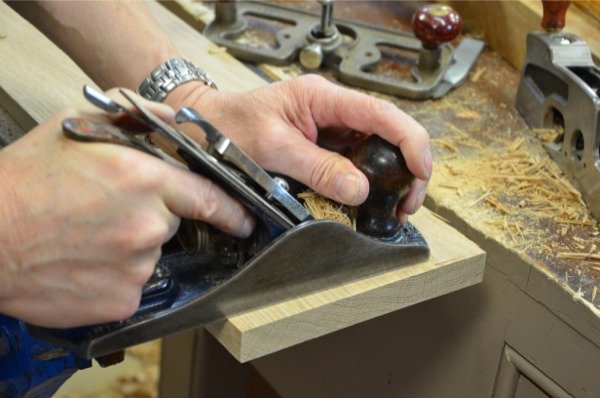
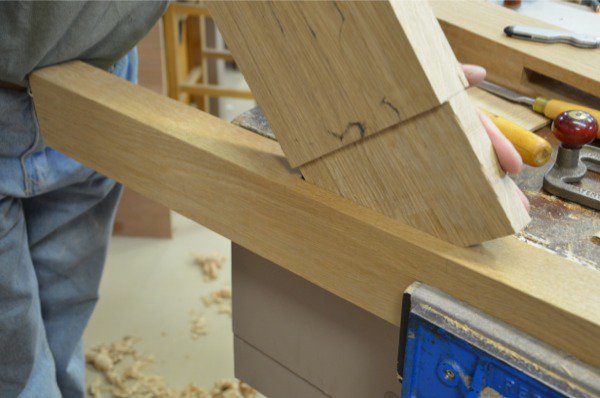
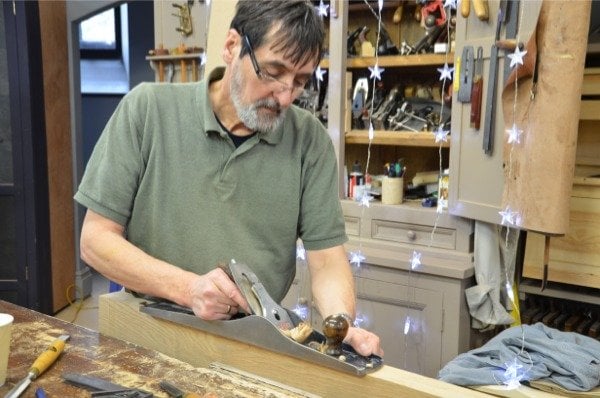
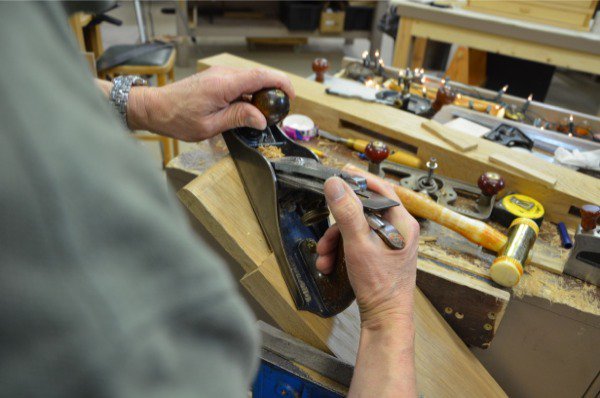
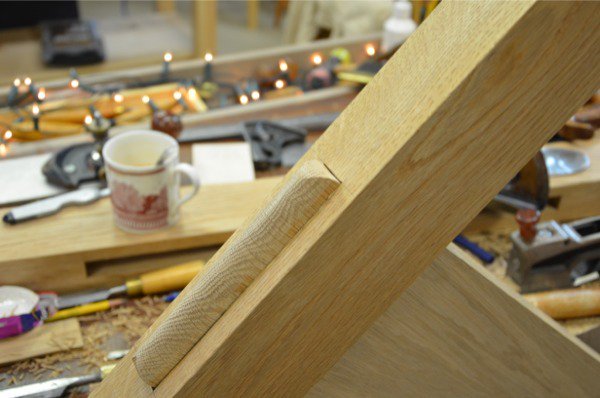
Soon the mortise begins to accept its tenon. The tenon pivots at the tight spots and causes the wood to shine a little where the friction is. I use this to locate high spots that I must remove. The shoulder plane works well, but so too the smoothing plane if it’s away from the shoulder. I work both sides of the tenon if shiny spots appear on both sides.

Your living the dream my friend. Living the dream.
i hope the end user enjoys a good night sleep in that bed this will be an heirloom piece of furniture for sure, having worked for a manufacturer of wooden furniture that thought metal bolts were the future of bed assembly i love to see a through tenon (,if it aint broke dont fix it ) thanks for sharing this with us
Lovely to see your shop is in the holiday spirit. I hope we get to see more of this build.
I will be posting until done in ten days time all being well. I have some veneer work to do on this and will be using the same methods I used on the pieces I made for the White House Cabinets on 2009. We will be filming this section for woodworkingmasterclasses.com
Paul would you share how you cut the 3/4 mortise? Did you use a 3/4 chisel or a smaller chisel and did it two rows, hope my question makes sense to you.
I cut all of my mortises with bevel edged chisels. I have older Marples chisels that are boxwood handles and I buy these on eBay as and when I see them at the right price. In general I use only the smaller sizes for chopping with. For larger mortises I use my Older Marples Blue Chip chisels because they are strong and thicker. The method I use is the same as the one we did behind glass on YouTubehttp ://www.youtube.com/watch?v=q_NXq7_TILA
Would you use Sorby chisels for large mortises? I have a set of Sorby chisels that I use for all my chisel work. Just wondering because I never thought of getting different ones for different types of tasks; for example, chopping smaller mortise holes in pine (thinner chisels) versus larger mortise holes in oak (thicker chisels).
I’m working on a pine bed a bit like this for my son. I wanted to make it with hand tools but I was worn down by the constant sarcasm from work colleagues and used one of the machines instead. It made a foul mess and I’m still trying to work out how to repair it.
I’ll probably use some machines still as I’ve got to get the bed made by Christmas and time is short, but on the next project I’m going to keep machines out of it as much as I can.
I would really like to spend an hour with your colleagues. Next time resist the peer pressure. I have had to resist this kind of smart-Aleck mockery all my life . Mocking skilled work eventually subsides and they will see that you are determined to become a master of your work.
That kind of behavior can be enough of a drain to impact on ones work irrespective of the tools used. I suspect the perpetrators were alluding to the amount of time it takes and how much quicker a machine would be. I used both hand tools and electric at site work today, so all portable. How much feedback did I get from the sanders? Well I could feel the tingle in my hands from the vibration (even though good quality equipment), the dust mask was annoying because it was 35 degrees celsius and the ear plugs deadened the world around but the sanders made a presentable job in relatively short time on an exposed and previously finished surface that needed recoating that would not have been ideal for planing or sanding by hand. When the block of cedar was inserted into the rebate to repair a section what did I reach for? My no.4 smoother of course which shaved off the protruding top of the block flush with that clean, crisp sound of minimal effort. You could hear the birds at the same time, feel the breeze on your face and enjoy a hand tool being an extension of you, if only for a minute or so. Doing this with an electric plane and a belt sander would have been way to much work, inappropriate and nowhere near as enjoyable. I bought my Record smoother 20 years ago and with Pauls help I am still realising the potential and fun it holds.
Do you plan on drawboring the joint or simply gluing it?
I will be draw boring. Clamps are not long enough.
Hi paul,
How do you fix the sides to the bottom and top. I have made, four beds, including the one we sleep on, and I used a sort of simple metal fixer that you used to be able to buy here in Belgium.This is a fantastic series. I am learning so much, this afternoon working and finding out about soldering bandsaw blade strip.
Thanks for broadening my life!
I get mine from Lee Valley Veritas: This is the absolute best bed hardware I have ever used. It really stays solid and immoveable.
http://www.leevalley.com/US/hardware/page.aspx?cat=3,40842,41269&p=67916
Thanks paul. Had a look on the site and the same as I found here but could no longer get.
Because people have worked with wood for fifty years doesn’t mean they understand what woodworking is. Some do, but not many. Most of the ones I meat are machinists. That’s a whole lot different than woodworking.
A near miss or injury often gives pause for thought. I was guilty of not paying enough attention when using my planer. The guard wasn’t set close enough and the piece of timber skidded over.I lost 3mm off the front of a knuckle and nicked the tendon. Three months of rehab and it is 95 percent as good as it will get. Useful reminder to be present in mind and action and not to take any shortcuts or miss any safety requirements. Work with what you are comfortable with.
in Germany a company called hagenia makes these hardware too. They are very inexpensive.
Hi Paul 🙂 Thanks for sharing your work with us.
Did you manage to get any photos of the finished bed?