Restoring a #151 Record, Marples or Stanley Spokeshave
For more information on spokeshaves, see our beginner site Common Woodworking.
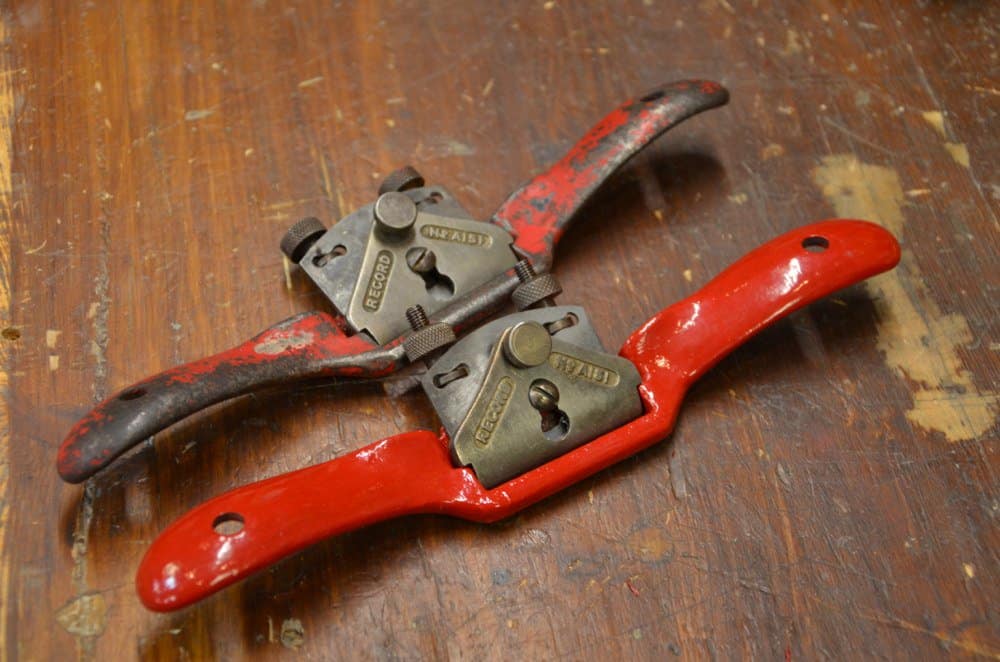
I bought three #151’s via eBay recently to show what could be had for under £10 knowing the steel cutting iron, cast body and associated adjusting mechanisms will be original Sheffield steel of quality rather than an Asian import under the banner of say Irwin or Stanley or whatever. In this series I want to dismantle comparisons of say the wooden spokeshave with the #151 or the Veritas spokeshaves. Some say the wooden ones are superior, but I want to show something a little different from the furniture maker’s perspective rather than the chair maker’s and the joiner’s from say the instrument maker’s. Anyway, I hope to both inform and educate you and at the same time entertain you. We also have videos out that help with the whole and this series of blogs will bring absolute clarity to this most useful of tools.
My spokeshave restoration process is simple enough with nothing more than common sense and common materials and oil needed, although I will as always be using diamond plates and diamond hones for the sharpening, flattening and so on. In place of these you can use any other sharpening stones and abrasives or files.
It’s best to derust and degrease first and so disposable rubber gloves keep your hands clean and give good grip through the processes. Any abrasive paper works for derusting and for starting and often finishing I use 250-grit or thereabouts. Grease is not usually a problem but a brass wire brush will work for most if not all of this. I don’t really like to use solvents but there are several greener solutions for this step too.
Remove all loose paint and find a paint to match the original if you in fact plan on getting the tool to a near original state. The Record blue and red can be had from B&Q here in the UK in a small section of the paint department.
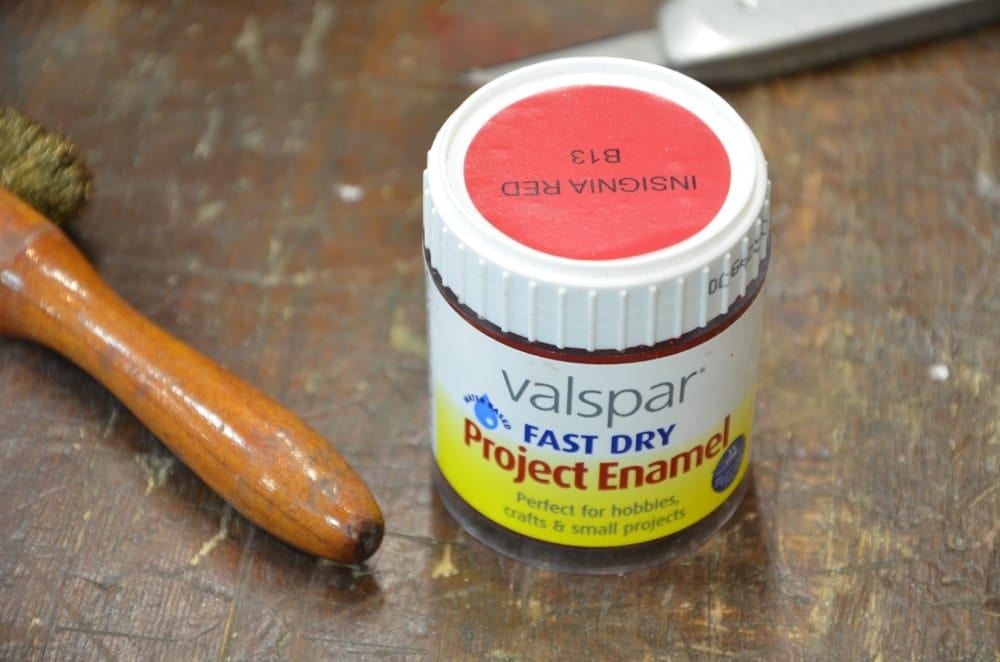
One of these pots will restore about fifty spokeshaves and for under £4 that’s inexpensive. These spokeshaves are quite dirty with some grease to boot.
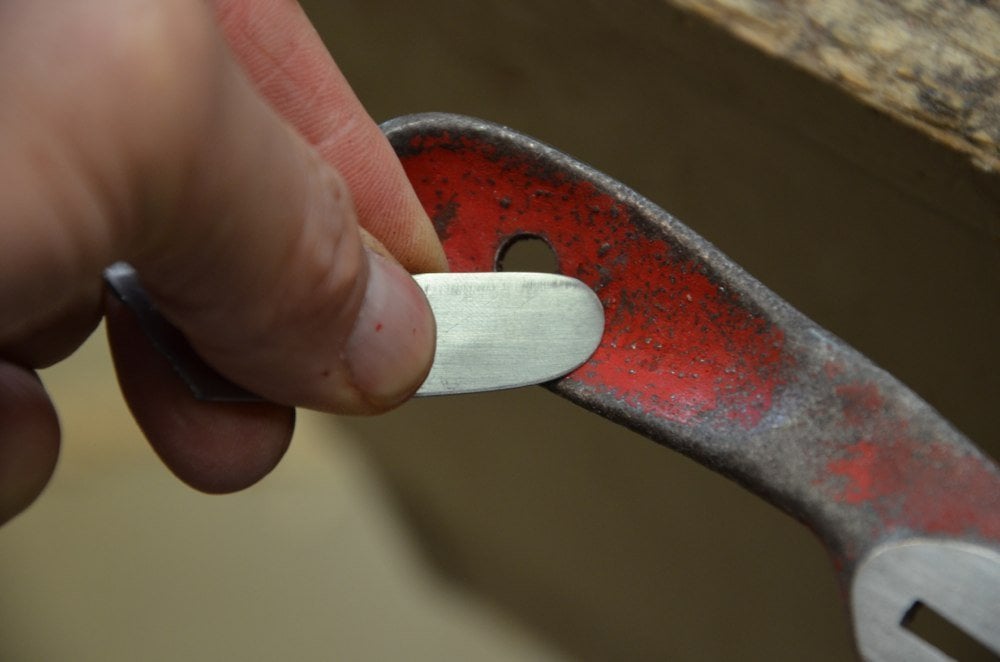
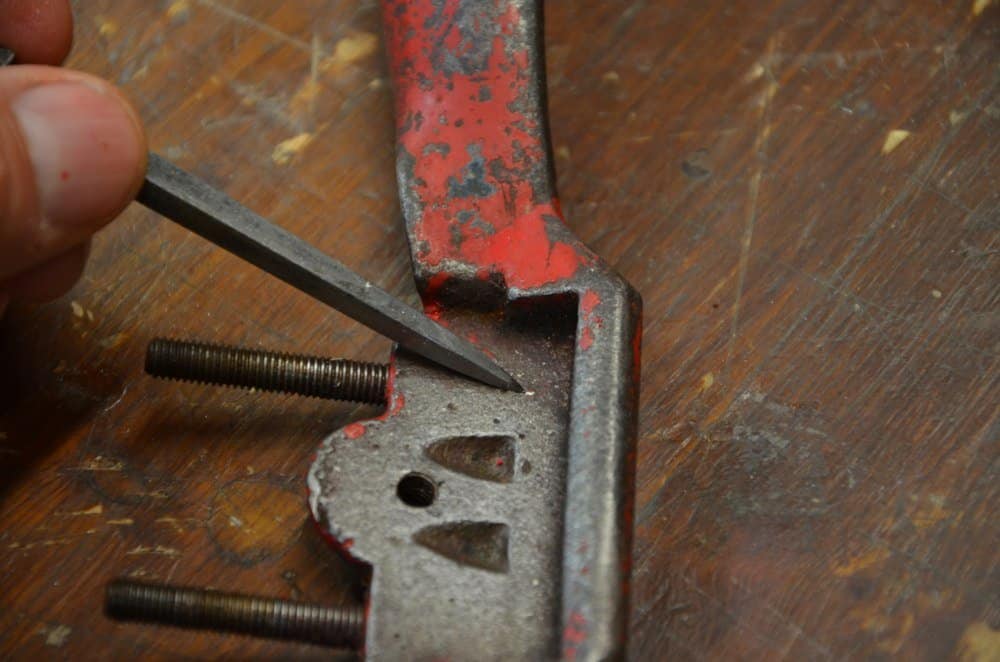
In this case I used the end of an old knife as a scraper to fit into hollows and then followed with the wire brush in all the nooks and crannies. I tend not to use wire wheels and brushes in power tools unless the tools are way off because of deep rust. Remember I restored some Old Record vises some time back and I did use an angle grinder to get through the mass of work for that, but these spokeshaves should take only minutes of time to derust, degrease and remove flaking paint.
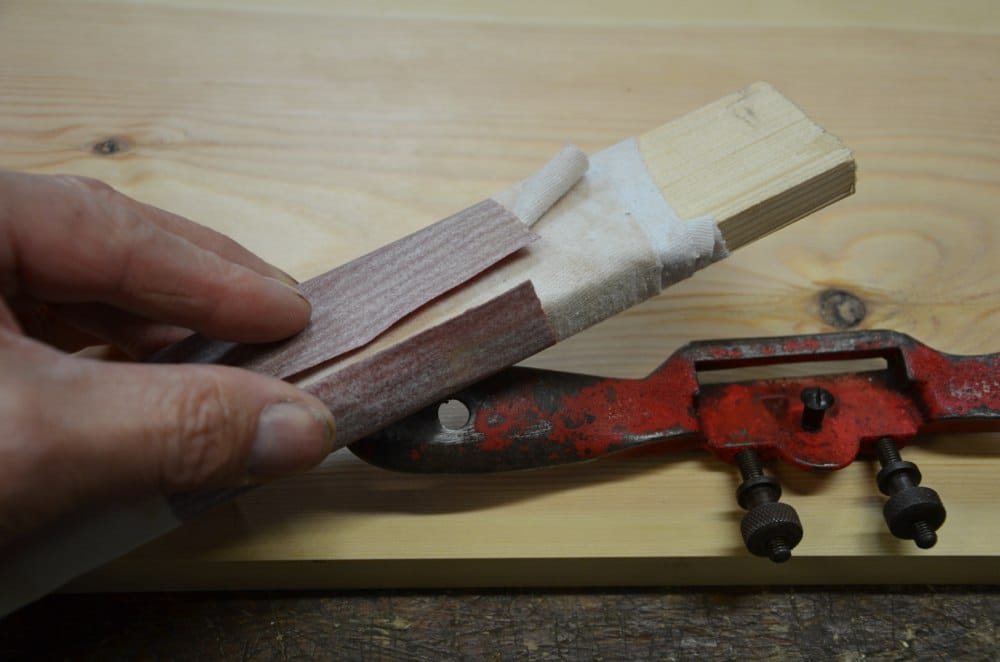
In this case the handles have paint flaked on the handles front, back and underside so I sanded over the whole. On the convex surfaces I padded the flat face of a stick with a cotton rag wrapped around several times. Wrapping the sandpaper around the whole meant no flats but gentle curves that gave me an even surface cleanness ready for applying the first coat if paint.
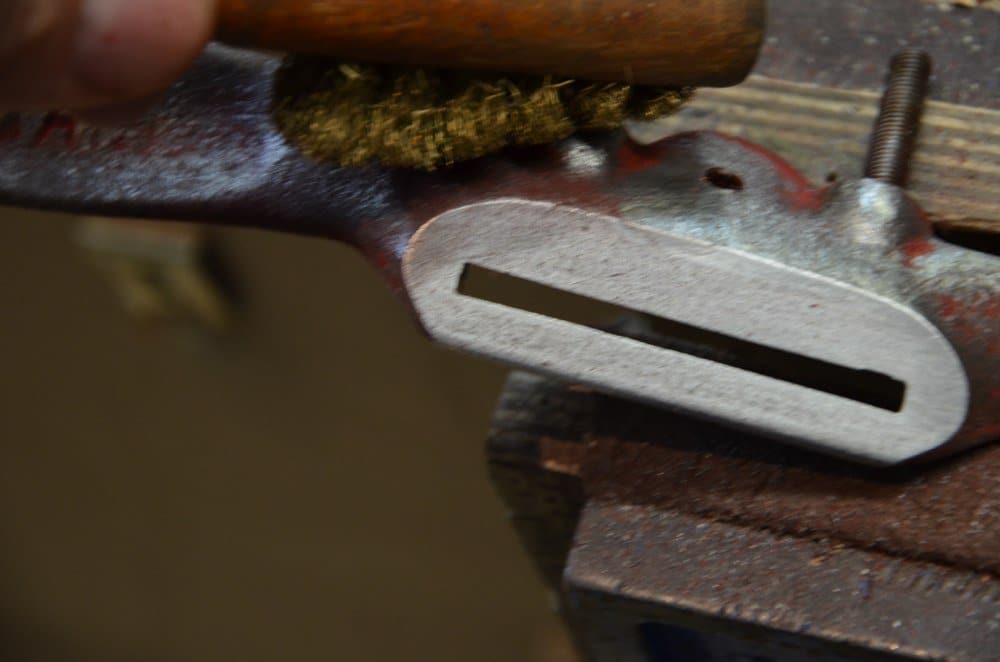
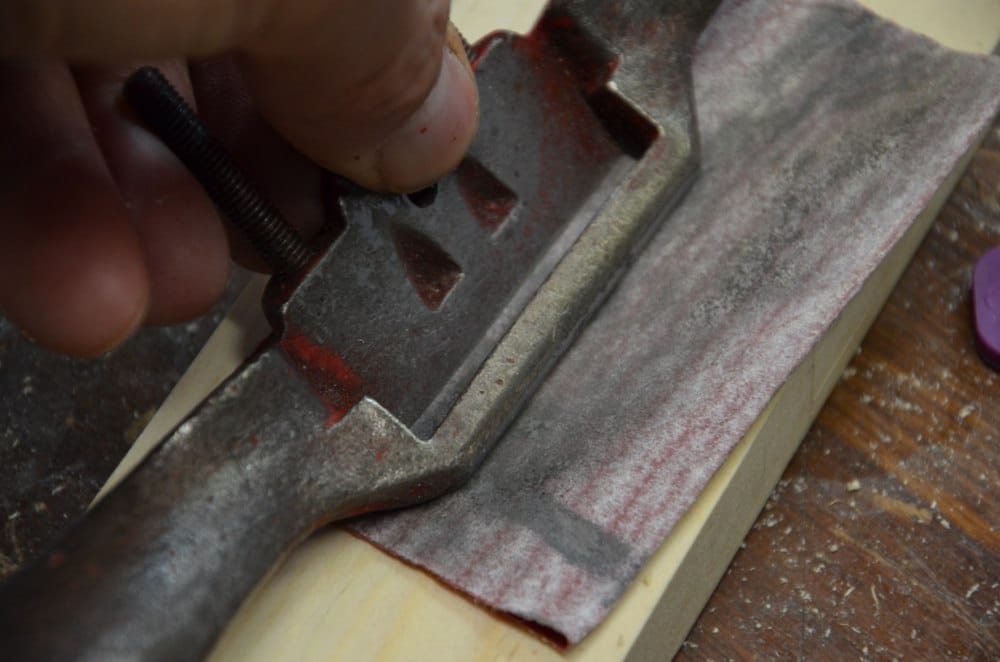
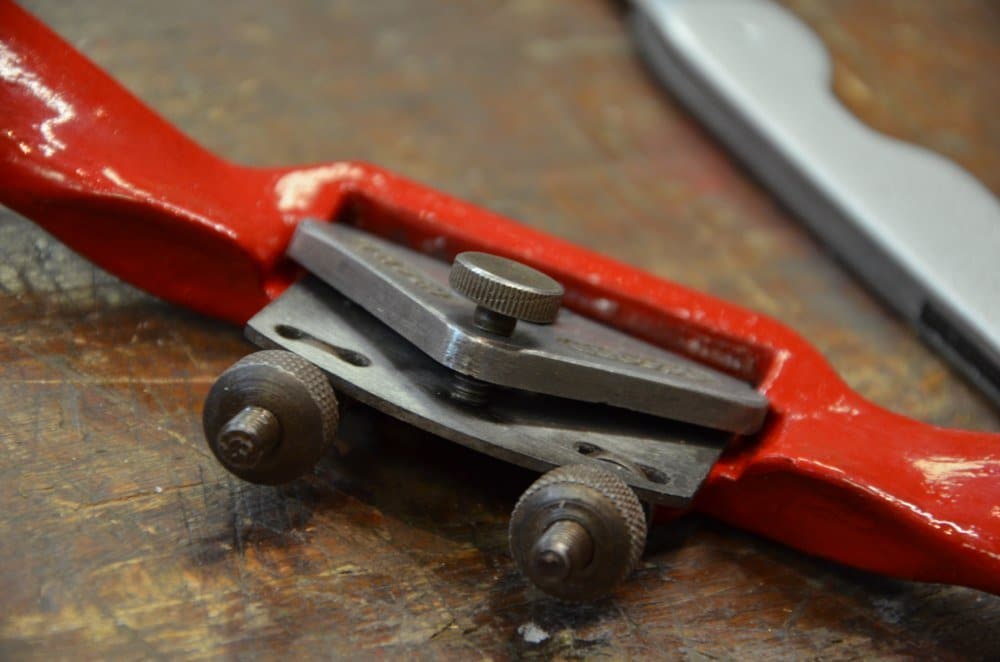
I checked the spokeshave bed for high spots that cause the blade to bend in the body when the pressure is applied through the cap. The best tool ever for this is the diamond stone and hone medium grit from EZE_Lap.
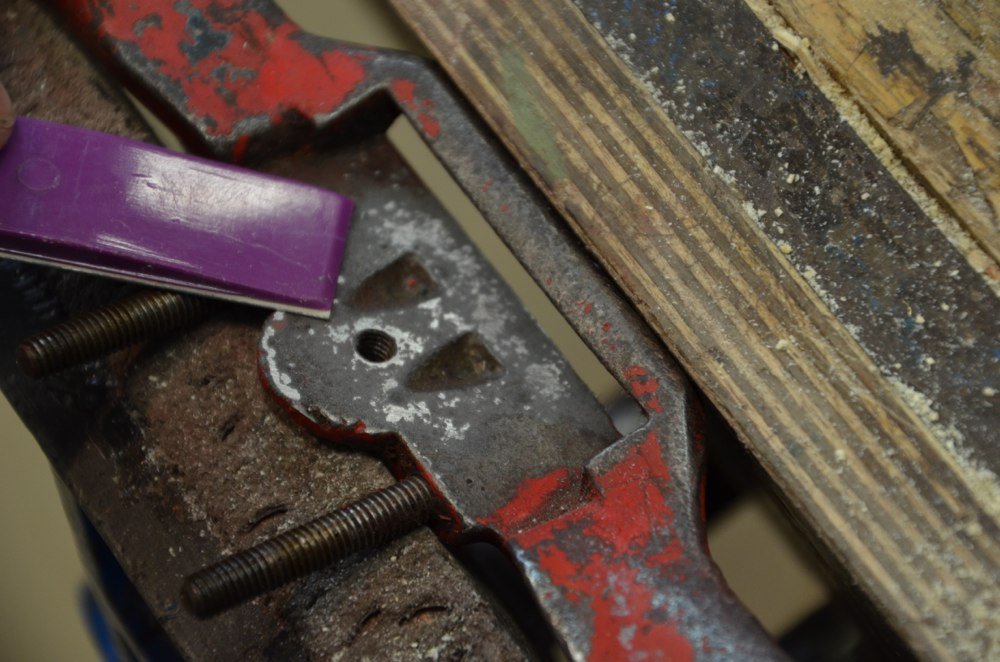
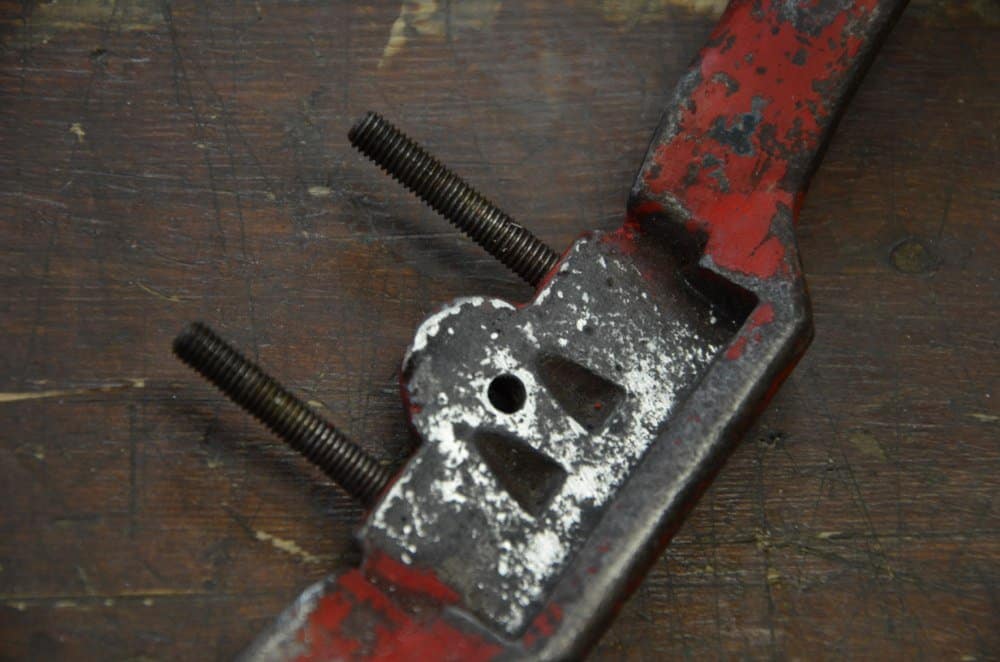
It gets right into the throat and does the whole surface very accessibly and creates the flatness I like. Notice here some indicated points showing high spots that were never corrected by the former owner. Why they didn’t is lack of someone showing them. These small bumps result in flex that can cause chatter marks in the surfaces being planed or shaped. The image aboe shows a more than adequate level of evenness for a spokeshave of this type.
Before painting I flattened the sole of the flat spokeshave and sanded the round bottomed one.
I taped off the areas I want to be paint free with masking tape because it’s easier and quicker to apply the paint and prevents paint from clogging or gumming up.
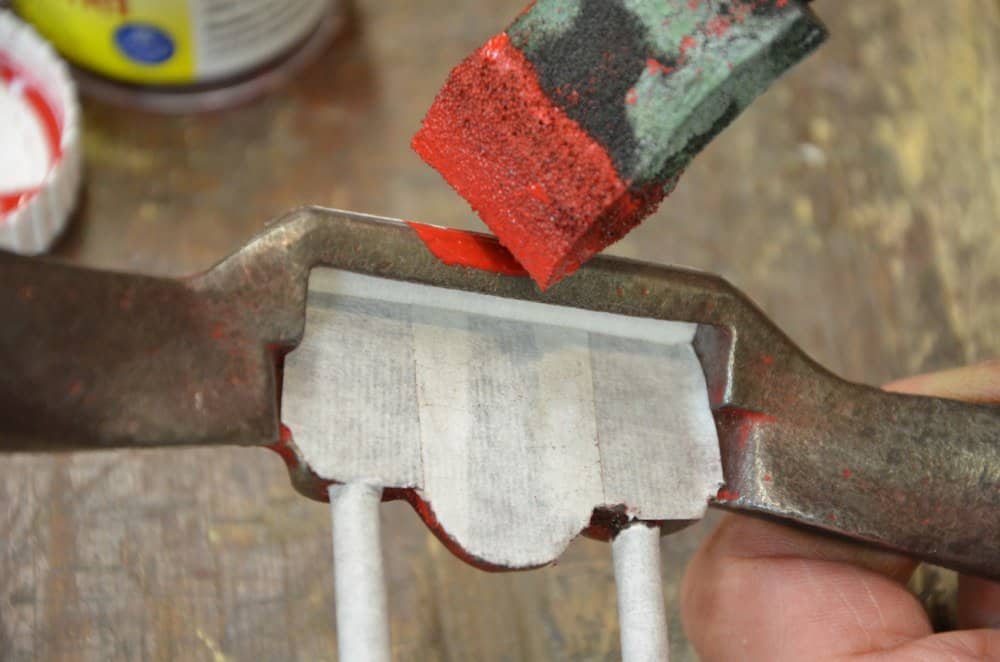
Even so, I still try to apply the paint exactly where I want rather than daubing it on. The paint I am using is a low-VOC, water-based gloss? paint that is amazing as far as drying, hardness and final appearance. It costs just under £4 for this tub, which would be expensive penny per litre but for small projects like this it’s unbeatable. Used a disposable foam brush which washes out easily or you can wrap it inside the rubber glove to choke off air and apply subsequent coats before cleaning with water.
On this spokeshave I applied two coats to get the thickness, fullness and evenness I wanted. I then touched up any areas that I saw where the paint drew back from tighter edges and such; to ensure even colour.
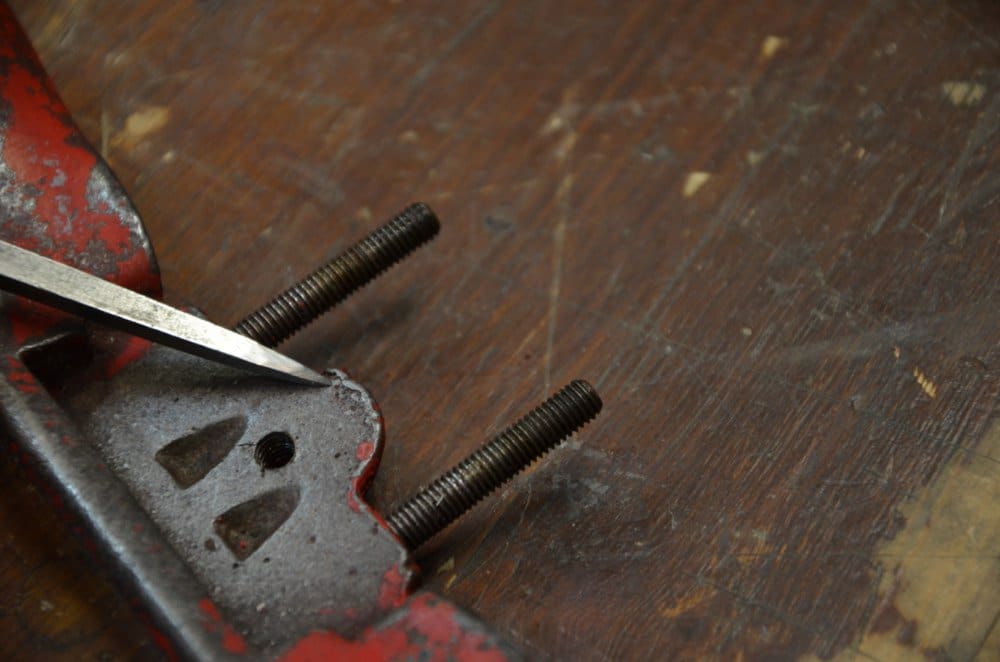
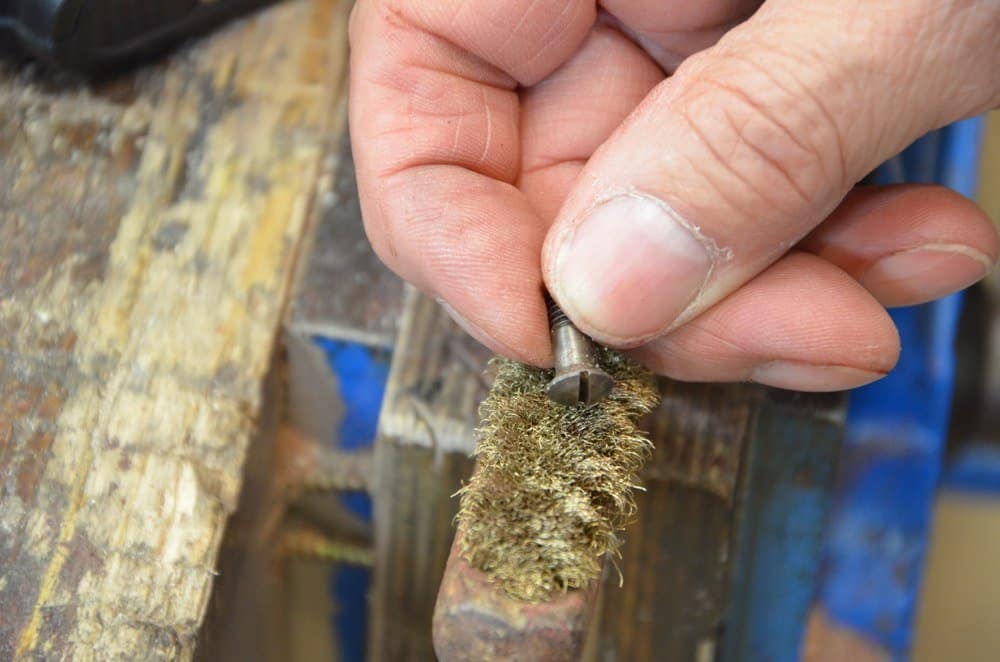
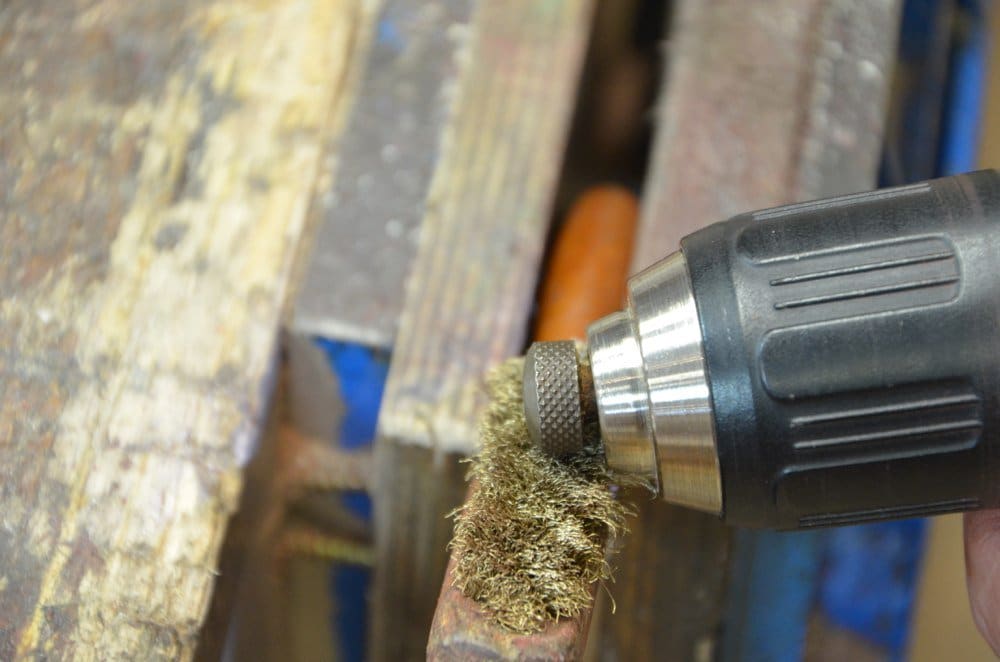
I cleaned out all of the threaded parts with the brass wire brush and applied a drop of oil before reassembly. Some parts can be chucked in a drill driver and spun into the wore brush locked in the vise. The knurled parts too benefit from this.

thanks for the tips on flattening the spokeshave bed as you say if you,re not told you don’t know, this to do list is getting longer but i’m looking forward to doing each one in turn
Thanks very much for the tips. Are you going to cover what should be done if the mouth is nicked or just plain beat up? Also what distance is tolerable between the cutting edge and the mouth? Do you ever use shims to bring the blade closer to the edge of the mouth? Thanks very much. I appreciate all of your video’s and blogs and have learned a lot.
Got me thinking Paul. Probably look into this after finishing my bench rebuild and plane restoring. LOL!
Hi Paul,
Do you have any tips on closing up the mouth? I’ve found that a wide mouth is an issue on end grain. I’ve seen articles where they put a shim under the blade which closes up the mouth.
Any thoughts on doing this?
Thanks,
Mauricio
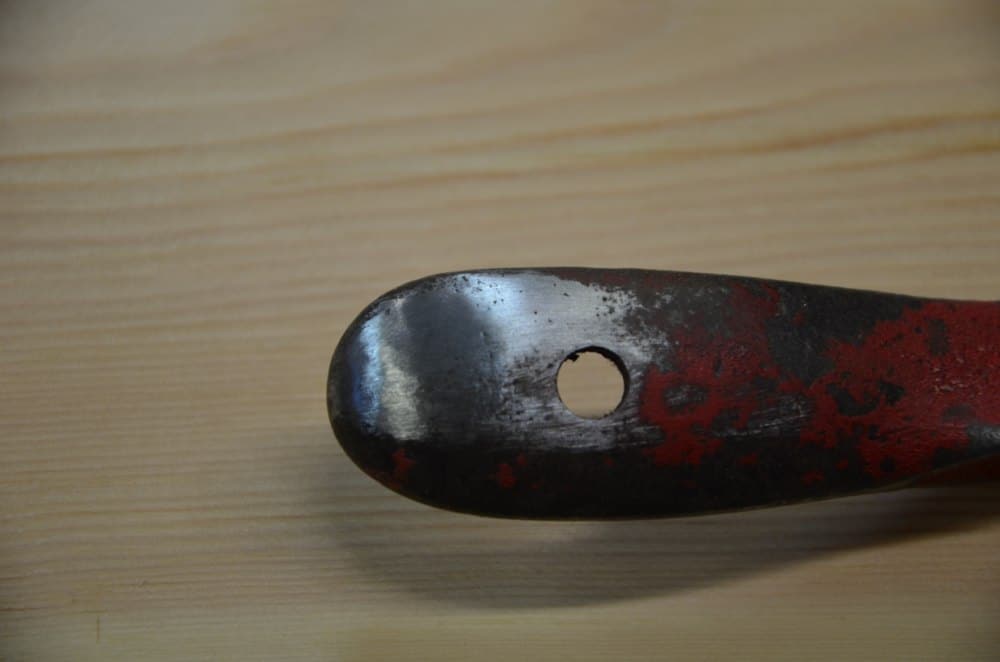
I need to replace the cap screw that secures the cap and blade to the body of a Record A151. It’s the one with the slotted head, not the thumb screw with the knurled head that tensions the cutter.
I think I have the wrong screw, and I don’t want to force a cross-thread in the body socket.
Is there any place I can find the part number? Sure would be helpful.
Hi, what would the right reference for a record blue be? I see you used insignia red but would like to know the blue as well. Great restoration!