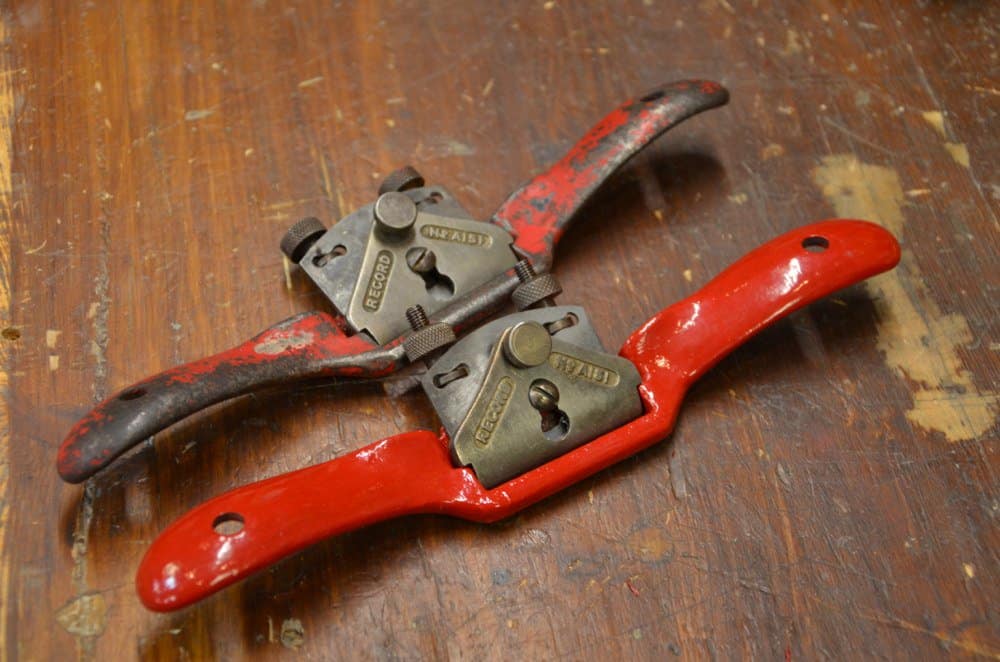
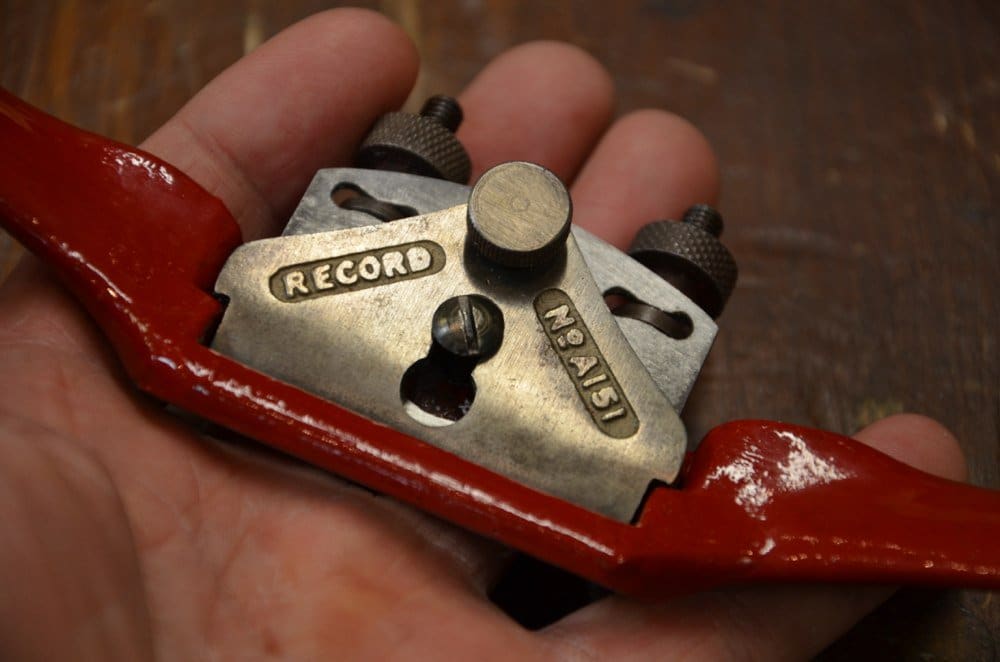
The 151 Spokeshave – Where I Mastered This Unique Plane
For more information on spokeshaves, see our beginner site Common Woodworking.
More on spokeshaves – How I Got Started With One
Growing up in the 50s and 60s and then throughout my apprenticing years in the mid 1960s I worked considerably in restoration work on older houses that had settled more solidly through two world wars, much demolition from bomb droppage and of course normal settlement over a couple of centuries. UK houses are mostly stone or brick and not timberframed. There is no American stick-frame 2×4 construction with sandwiched dolomite between skins of thick paper as such. In fact, for the main part, everything internal and external seems to me anywhere from 12” to 2′ thick masonry of one type or another with 1/2 to 1” of plaster on the walls that is then evened out and finally surfaced with a skim coat of even finer plaster.
I say all of this to say that skirting boards and floors, architraves and doors and window frames were all suspended between fixed stone anchor points and then trimmed out with moulded wood and it’s here that the spokeshaves came into its best usage for me. When the floors curved, cupped and twisted after a bomb blast resettlement or a stone wall jumped and settled back on it’s newly situated foundation, trim and doors, window frames and so on either needed replacing or refitting and that’s where I learned to master the spokeshave the most. Replacing door and window frames with curved headers or circular frames too required the refining work that came from the spokeshave edge and although we did use the spindle moulder to shape the main frames when first made, during assembly and then when fitting the frames on the jobsite often required extensive use of the 150 or 151 spokeshave. This effective tool could refine and scribe any board or frame to an exact fit within a fraction of an inch and could remove much more material than a plane ever could and this is something few woodworkers would recognise as a need or solution to today. I cannot imagine how we would have done this work without the humble spokeshave, even though we today have jigsaws and routers and circular saws and more.
Scribing wood is a simple way of fitting a piece or length of wood to an uneven surface. Most often this need occurs where a wall meets a floor or a door frame meets a wall at a 90-degree angle and because the meeting points is irregular and not straight or angled rather than square, we must fit the edge of a covering bord or trim piece to close off any gaps. Here in the UK it is a more common need because although plastering creates a flat looking and level surface, the final result is most often less than we might want. In the USA on the other hand, plasterboard (Sheetrock) is used as the finished surface with tape and plaster used on the jointed lines only to create a seamless jointline. In the UK we have a 1/2″ of plaster onto man-made blocks or bricks of some type which is then skimmed over the whole surface with about 1/16 to 1/8″ of plasterboard; a process we call floating or skimming. The end result is a super hard glass-like finish pretty much impervious to life that will last a hundred years plus and maybe another hundred years depending on the care given to the home by the owner.
Cabinets and door frames often butt up against a wall to form another situation where an internal corner needs trimming out with a bead or piece of trim and this bead is trimmed to perfect fit with a spokeshave to. In the USA it is most common to but the trim up to such surfaces and then caulk it with a seam of caulking. It’s fast and effective and gets the job done. A skilled painter can make a perfect cove to the internal corner straight of the caulk gun and a less skilled worker draws a finger along the caulk line to finish the work. All in all it’s another substitute for skill and care.
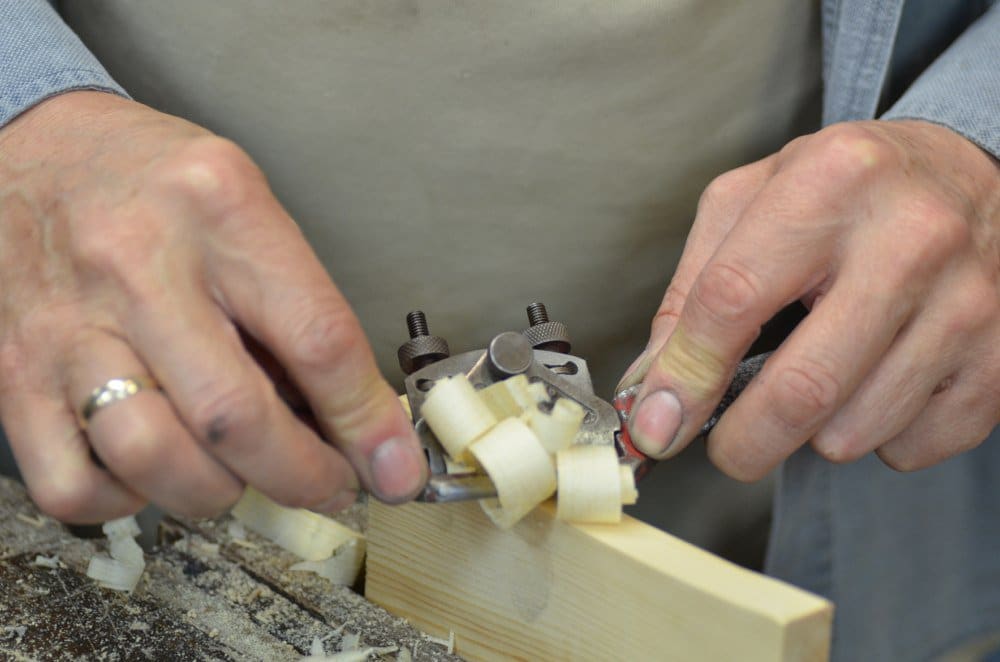
So, it’s in the pre-caulking days that I learned to master using the spokeshave the most. Three strokes when heavily set takes off a good sixteenth and then a lighter set with the tweak of a setscrew refines the final shaping by a quick thou’ and you are done.
My second exposure to spokeshaves big time was working with a man named Dennis who had the job of converting an old railways sidings warehouse into offices for a man named Gunter who owned a trucking company. The new walls were timber lined and it was me who had to make the new wood fit the old floors and walls wherever the wood touched either. I was there for about four months doing this each and every day and I loved it. We only sharpened to 250 grit for this and that worked perfectly well.
I say all of this to show that the spokeshave is as much or more a plane than a tool used only for shaping spikes, spokes, rails and rungs yet I rarely if ever see anything written on this today. The basis for the restoration of a spokeshave comes from decades of finding them, fixing them and of course using them. This is my next blog on this.
Interesting history. I can see where a spokeshave would be vital in those conditions. Looking forward to the next post. I’ve got a 151 hanging on the wall. Haven’t figured out how to use it very effectively yet though.
Looking foward to the restoration blog post…
One of the more difficult jobs I had in my first year of my apprenticeship was trying to fit a set of doors into crooked door frames in an apartment in Stuttgart.
Apparently many of the older buildings on the edge of the city centre were solid enough to survive British and American bombs landing quite closely during the war, but as you say, the shaking and resettling knocked them out of alignment. Now doors have to be fitted very, very slowly and tailored to each frame, which involves much carrying of doors back and forth, a job done mostly by the apprentice.
The irony of this is not lost on me.
The other benefit of handtools for final fitting is not having to carry those doors to far. Ideally the closer to the hang the better, and if up a flight or two of stairs I am much happier carrying my hand tools up there. Sometimes I find the most useful power tool is my industrial vacuum cleaner. We often have pressed metal frames with those “lovely” hollow core doors on newer builds. If the brickies (masons) are rough the supposedly dead straight and square metal frames are bent, out of square and sometimes a bit twisted. Accommodating this with hand tools can be a heck of a lot easier – it is just the @#$$ing staples the manufacturers sometimes use for the “stiles and rails” and the random grain orientation from the finger joints that make life trying.
A wonderful piece of history. I have a very old house (250 years old is old for the US) and I wish I had this information when I was scribing molding and face frames. Looking forward to more on your biography.
Yes, I’ve used the spokeshave for this kind of work often enough in my own DiY. They are also a handy substitute for a knife in hand carving most things, including the new plane handles and such. I’ve recently been acquiring some of the old boxwood spokeshaves, and find them a joy to use in comparison to the Stanley metal ones. I’ve even re-mouthed one with a piece of sycamore, as they tend to have worn into an unusable open mouth.
What’s your opinion of wooden spokeshaves, Paul?
Love hearing stories of real work and your days as an apprentice. Please share more and how you use hand tools in carpentry. In trying to use more and more hand tools in my carpentry.
I have seen carpenters scribe with belt sanders, and even a circular saw! If it doesn’t have a motor, most worker’s scoff. Unfortunately they cannot see the value of the relationship between the worker, the power tool, the hand tool, and the work. It’s a bit like wanting to rent a van to carry a chair next door. It has a lot to do with flash, but more with sloth.
Workers of yesterday knew the value of power tools as well as their rightful place. True economy learns when to apply the proper method at the correct time.
P.S.
Andy’s irony has also made me pause to think.
Great post, informative and interesting. Further to Nomists point on wooden shaves, I have a Marples Hibernia boxwood? shave which is my favourite. Unfortunately one of the two tangs at right angles to the cutter is now loose in its square hole and adjustment changes in use. Do you know a method to overcome this problem?. Would a series of centre punch indents on the tang help?. Any ideas?
Thanks for all you are doing. I wonder if you realise what a positive difference you are making in people’s lives. Please don’t stop.
Regards Bill Hawkridge Vancouver Island Canada
Hi Bill, I had a couple with the same problem. Currently, I’ve glued a thickish shaving in the hole to overcome it, and that seems to work, so far. Of course, this results in cross-grain and may not survive the winter movement in the wood. My tools live in harsh conditions in a draughty and unheated garage full of mice.
Interestingly, my father-in-law had a hand made, unfinished wooden spokeshave which he can’t remember making. The blank was roughly bandsawed out, and the blade was well rusted. I think he made it as a project when he first got a bandsaw many years ago (he’s now 92). I’ve cleaned it up, finished the wood, and added it to my collection.
The tangs are brittle and break easily. The inner walls of the holes compress over time. You can drill one of the holes out and plug it or add extra wood in the existing hole and pare it down to fit the tang.
I don’t know if others have experienced this, but in our previous “old” house, I learned to be cautious with a level. If you blindly use a level to hang things plumb or level, it can look jarring and out of place when other things around it are not plumb and level because of settling. So, you have to test with your eye. Of course, things that need to be plumb, level, or minimum pitched for mechanical reasons just get whatever they need, but otherwise, it seems a squint was better than a level.
Yup! Whacking out discrepancies is all part and parcel of it.