Wedged and pegged tenons…
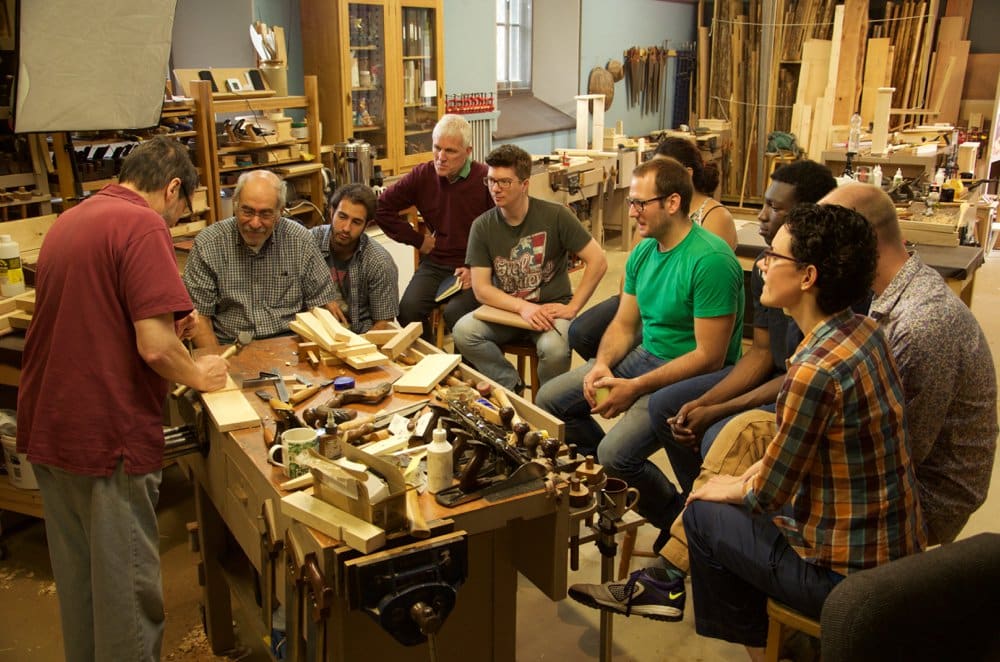
Last week we had a houseful once again and this week we normalised what cannot be called normal for most people I ever meet. We made film, concluded a class, finished off a rocker, wrote copy, took pictures, drew out the new projects and built furniture pieces. Was it choreographed? In some cases the order is defined ahead by ordered patterns that never alter, so if you know the order of work it’s predetermined and cannot be altered. Other things unfold. They more occur as you go and prioritizing becomes less possible when all things are a priority. Glue often grabs at the wrong moment and you must know what to do when a joint freezes This is when the clamp and the big hammer repels a rebellion provided the joints were once married fully and a full dress rehearsal was done just before the glue up. My mind goes back to when I was 16 and a joint froze and so did I. The man over the bench shouted to me, “Don’t you dare stop, keep it movin’, drive it hard, get the big hammer!” Suddenly it was a takeover and I was jostled aside as two more men moved in to the wings to watch and cheer and George swung the big hammer against an oak block and twisted the tommy bar on the big T-bar clamp as the hammer hit and suddenly the joint jolted and seated under the merciless blow. He threw the hammer and block down on the bench and, finger pointed at my nose, said, “Never let the wood tell you, ‘no’.”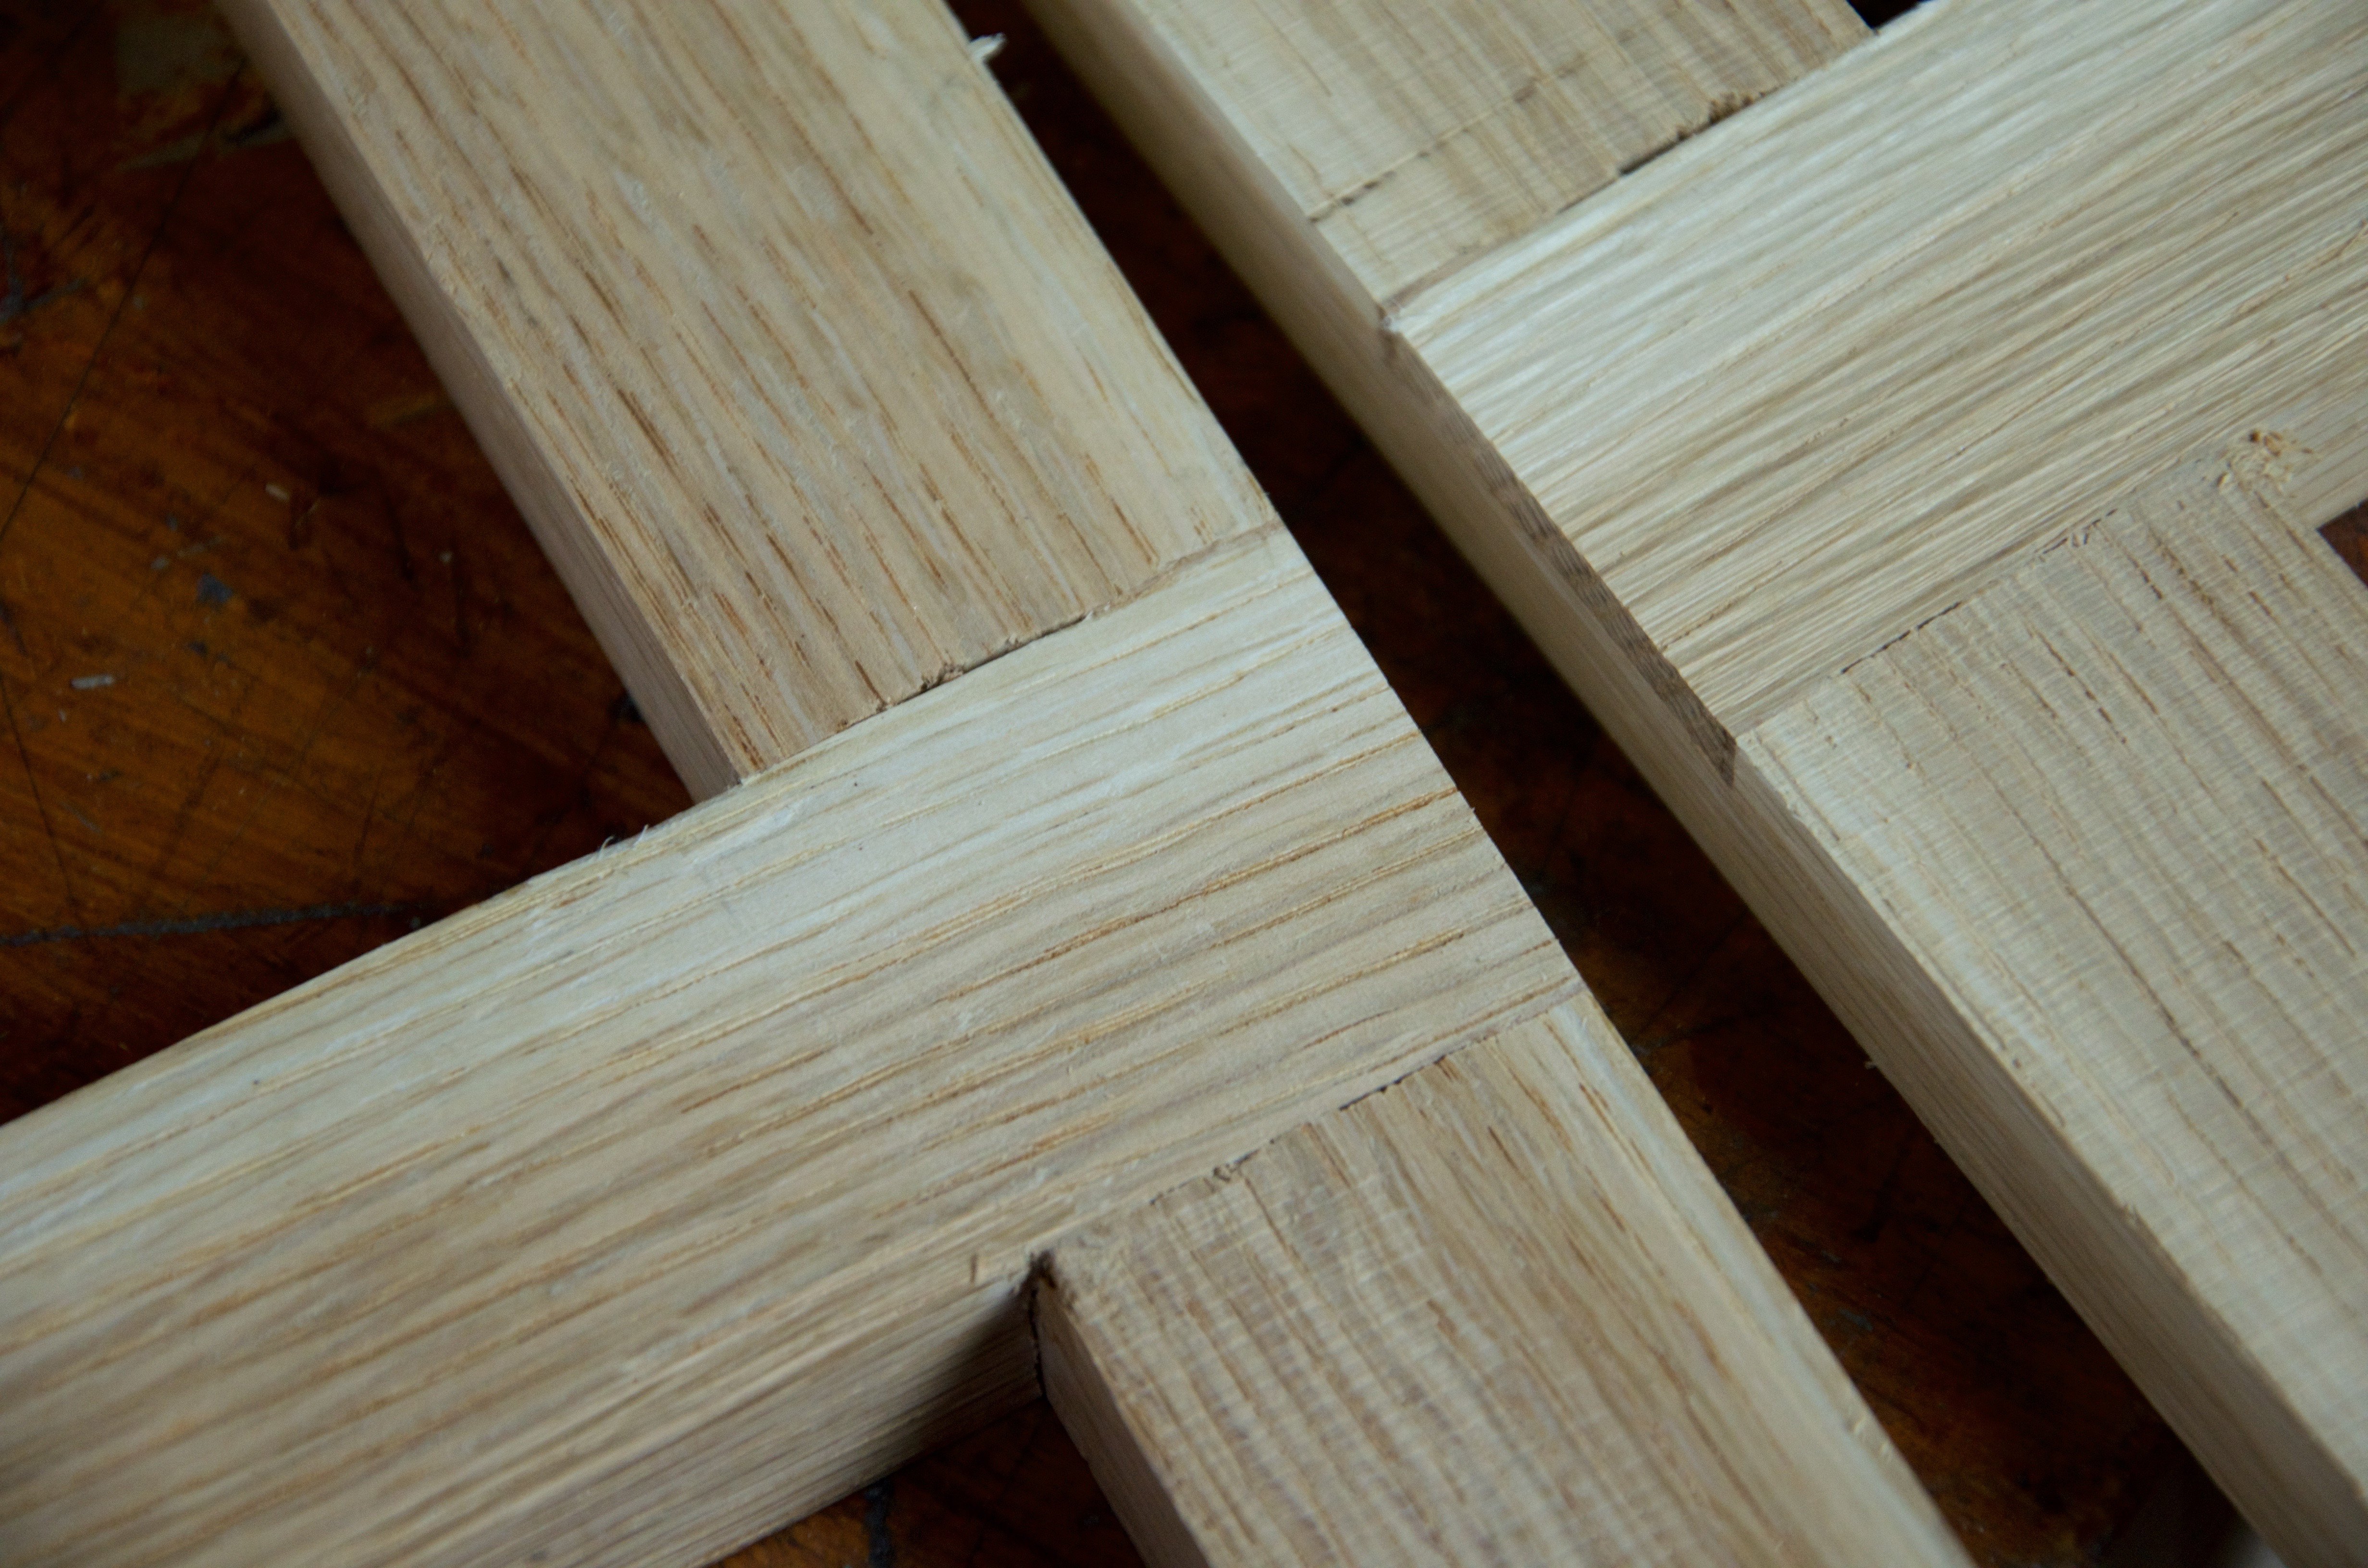
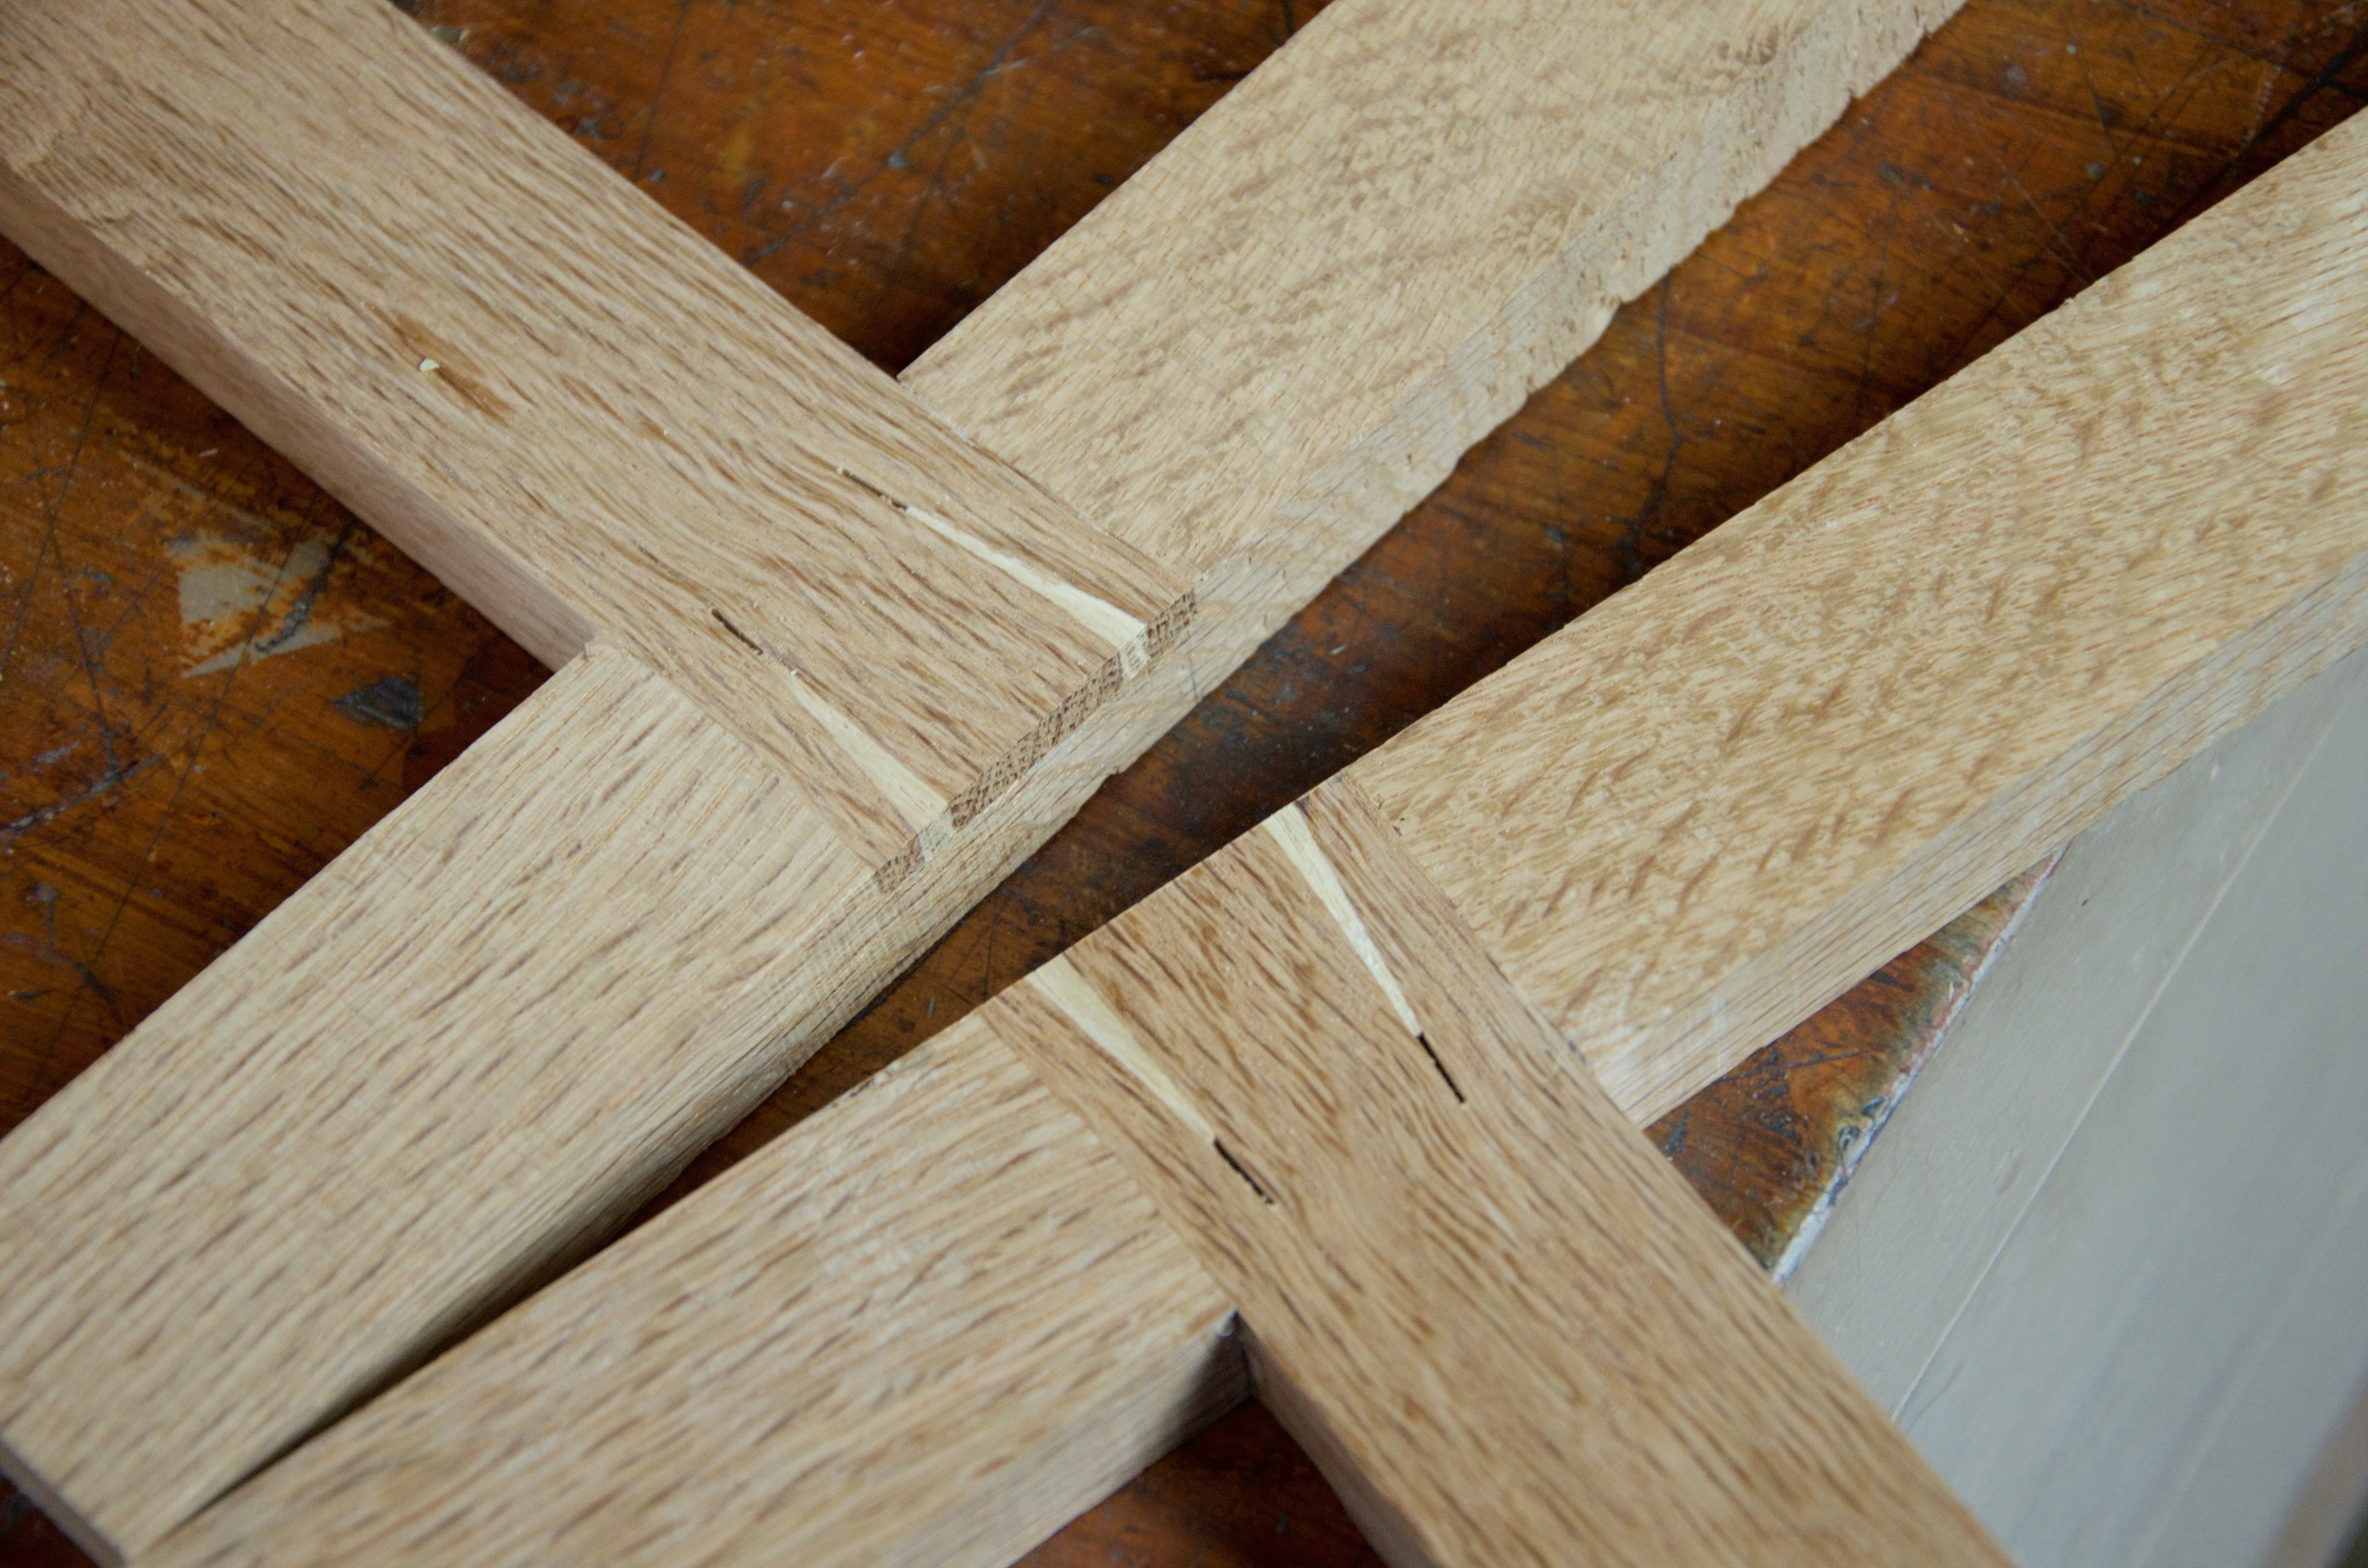
 We’ve created some new videos in the edit phase early on in the week. It’s an interesting thing to film joints being made and glued up and then to cut them in two and look inside. See here how the offset hole that was dead sized to the oak pin causes different reactions in the wood of all three components. The wood to all three components obviously compresses because the pressure is indeed is intense. The peg bends, compresses at the step between the wall misalignments of the two holes and the shoulders are pulled up tight. Traditionally these joints were not necessarily glued so this peg was all there was to hold the mortise and joint together. At one time it was common to “marry” joints. That’s what we did. The gaps occur when the grain in either component is unable to return because the surrounding wood constricts its return and holds it.
Someone asked me about wedging tenons so I pulled this together to show what goes on inside the different mortise and tenon joint types. Obviously I cut them in half along the length. We also filmed the options of wedging too. Of course a tenon relying on glue is more than adequate. You must remember that the draw bore pegging predates the screw thread used in clamps we take for granted today. When your clamps are too short to span a distance, then using draw boring resolves the issue and, as in superstructures to timber framing and such, where spans exceed clamps in general, clamps become unnecessary.
We must remember that wedges were not so much used only to retain a tenon but more to free up clamps that were still at a premium because in the early days they were scarce and expensive. The wedging was a later development accompanying the screw thread clamps or should I say cramps. Basically the clamp set the joints with glue and the wedges were driven after clamping so that clamps could be moved to the next window frame, sash or door before the glue set up. That way they weren’t tied up for hours waiting for glue or paint to dry. And, yes, I do mean paint. Most joinery for door and window frame joinery that faced the outdoors of British homes were never glued but painted and painted with some heavy metal paints including leaded paints like red-lead paint in some cases. This reduced the ingress of water inside the joints that might lodge rather than drain. Some areas of the UK have almost constant air saturation as well as rain. Wedging cinched the joints together and at the same time compressed the wood of the tenon between the end grain of the mortise ends and so kept the joints together. Once wedged two 4” round head nails were driven at dovetailed angles and so the frames could be moved around immediately. The workplace and workbench remained reasonably or surprisingly clean.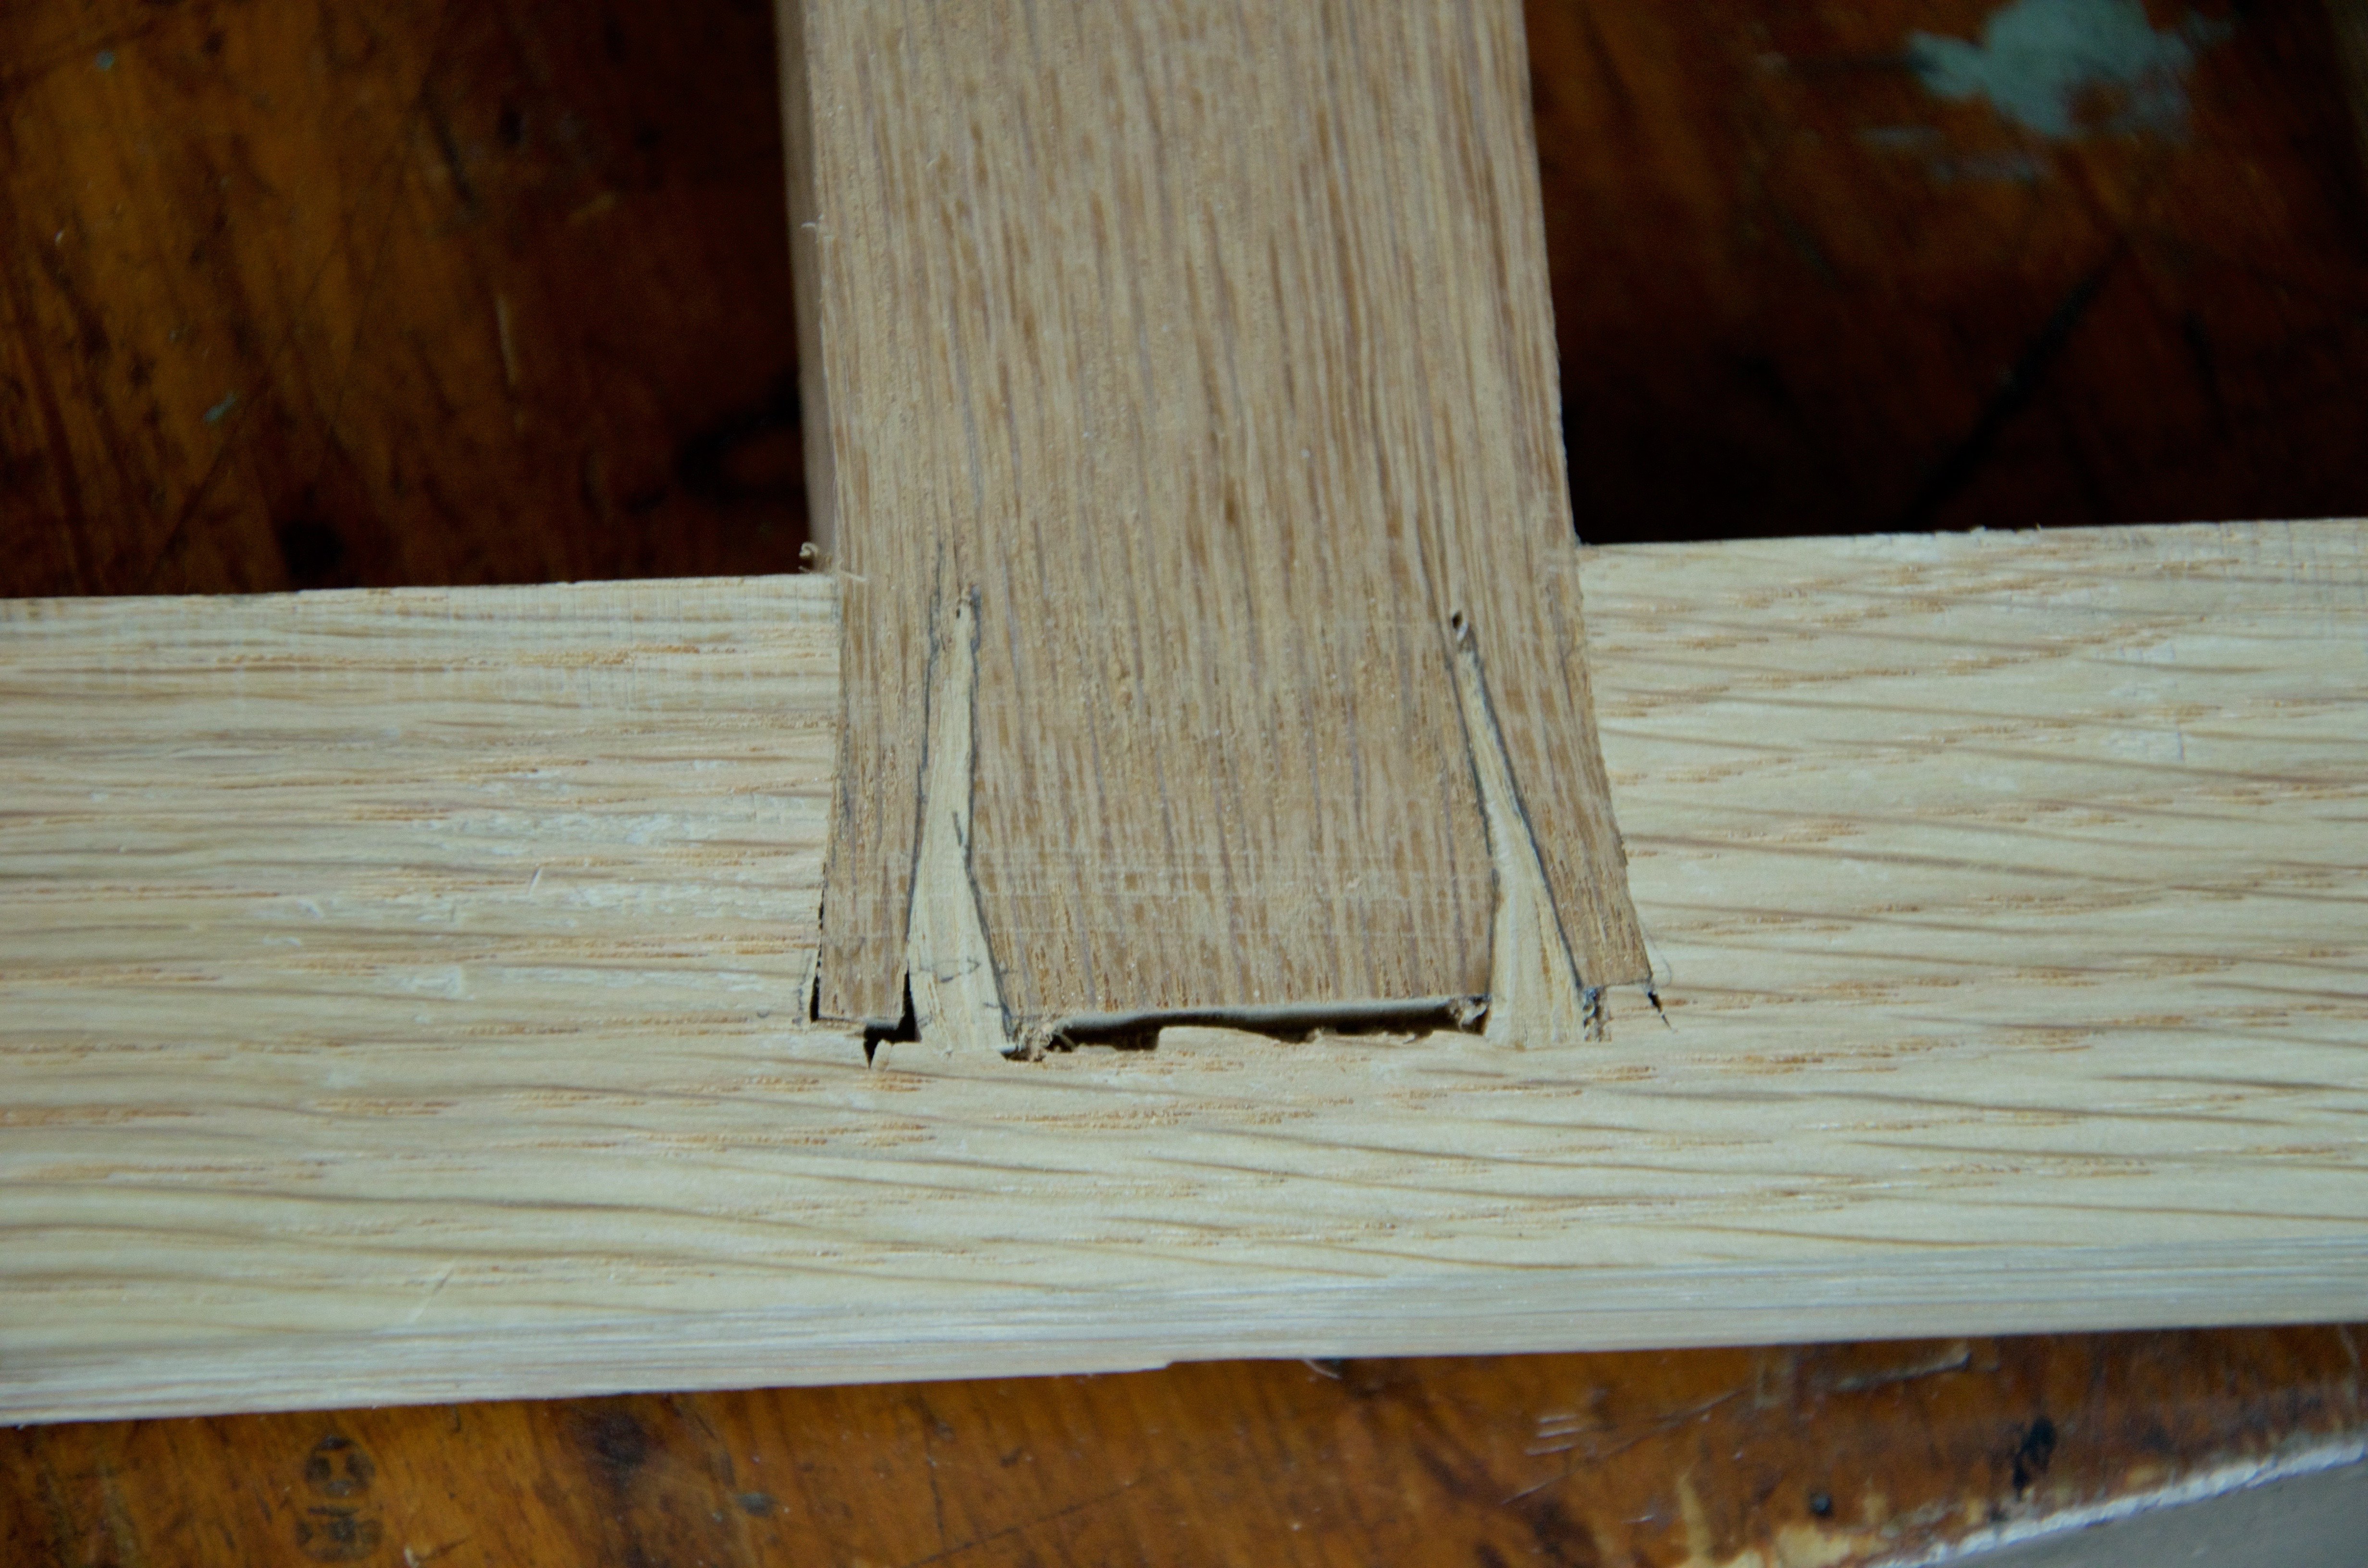
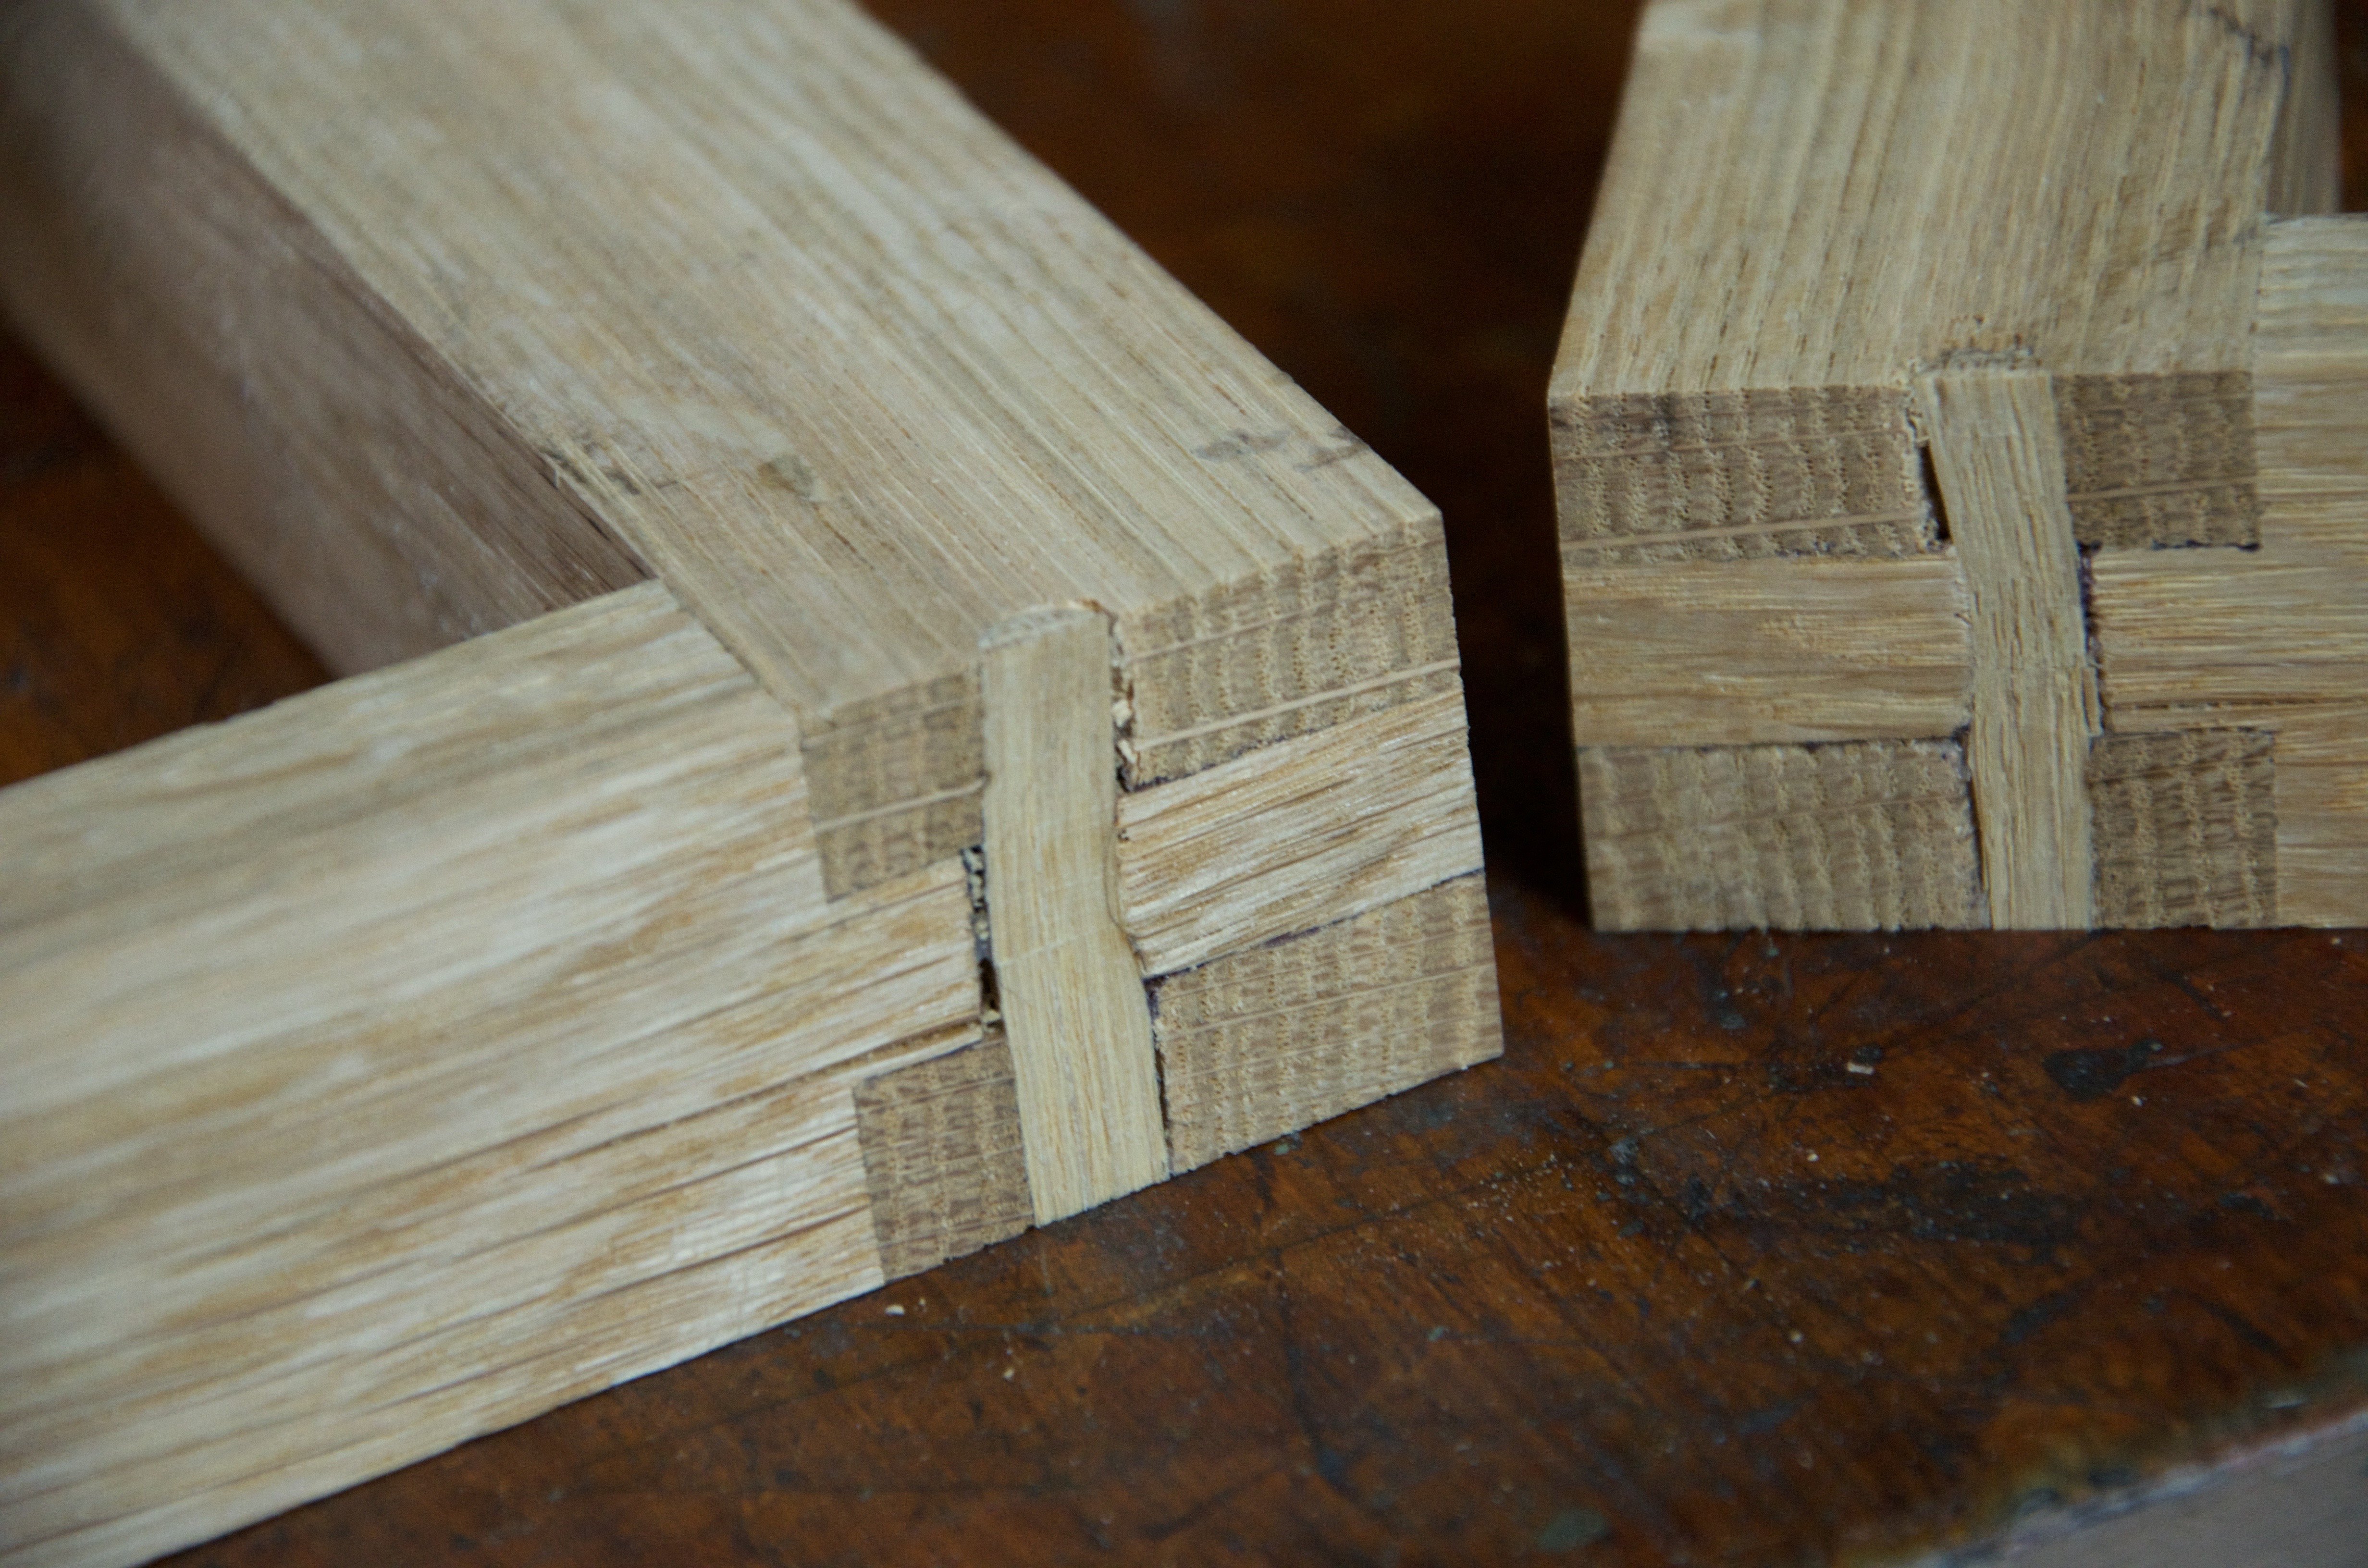
The fox wedging wasn’t too common but it was a subject woodworking teachers liked to tell people woodworkers did, which was actually far from true. In the last hundred years at least woodworkers have relied on glue only. But fox wedging does have its place were hidden joints are preferred and they do work well as you can see here. What’s most surprising is just how much the wood actually compresses to receive the wedges. In this case I opened up the ends of the mortises with a 2mm incline to each side. No gaps existed and I made two 1mm saw kerfs to receive the wedges at the start end of the wedge. I did not cut a wedge shape to match the wedge as many woodworkers think was always the case. So we drove in 8mm of wedge into 6mm of space, the tenon bottomed down onto the shoulders and the wedges, under the pressure of the clamp and some hammer blows, spread the tenon into dovetail mode and the tenon is fully and irretrievably fixed in place.
The side wedging where no allowance is made for the wedge (shown above) to spread is for initial holding only. Nothing special. Remember in joinery things such as door and window frames were stood first and brickwork and stonework was commonly built around the frames, which were braced level and plumb. This meant the the frames could never come apart once installed and so there was no reliance on glue or wedges to hold anything together. This is very different to American methods of installing where a rough opening is allowed and then the frames are shimmed with pads of wood to centre the frames and then nailed to a 2×4 stud. I’ve removed and reinstalled window frames two hundred years old many a time and found the wood sashes and frames to be almost rot free here in the UK. Remember here that there is a difference between window cases or casements and window frames as well as door cases and door frames.
 For through tenons I generally do use wedges like this that are slightly flared as in foxtail wedging bit sloping in too. The angle of the saw kerf reduces the risk of splitting the tenon parallel to the narrow edge by moving the vulnerable point nearer to the centre of the tenon. Again, paring the ends of the mortise walls allows for the spread of the tenon into the void and creates a dovetail the disallows any further movement between the mortise and tenon. This is the most common method I use.
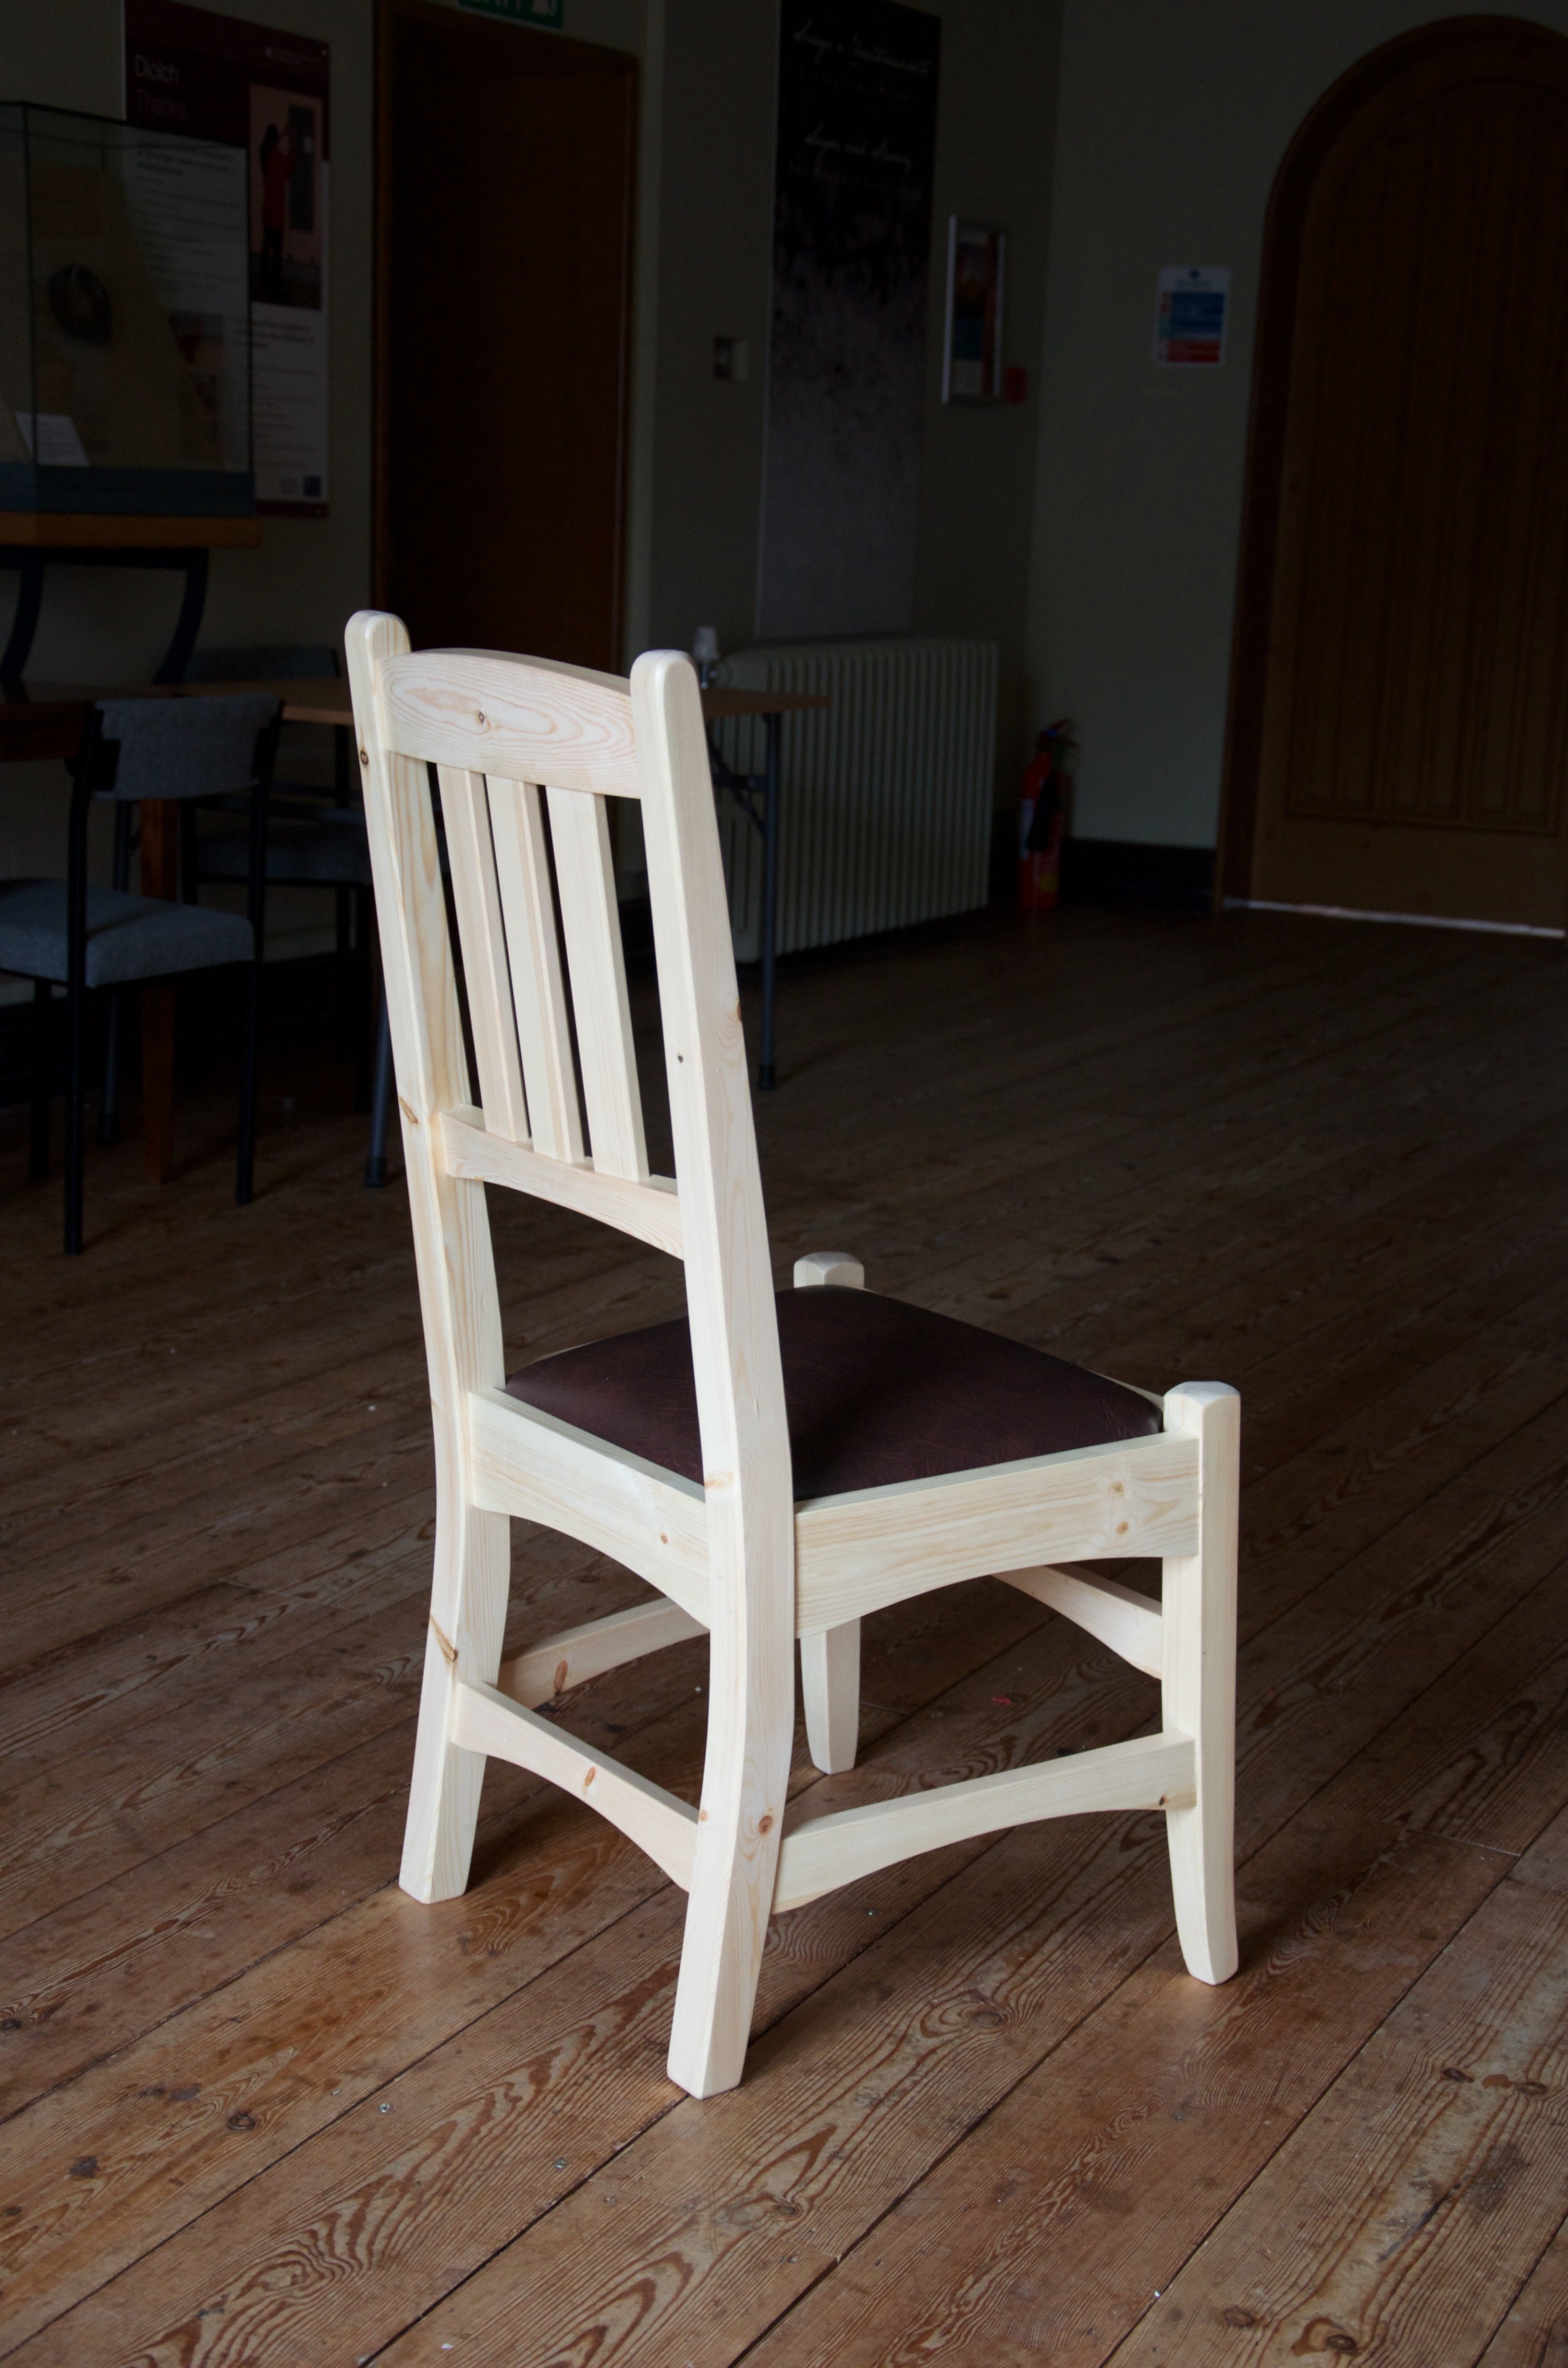
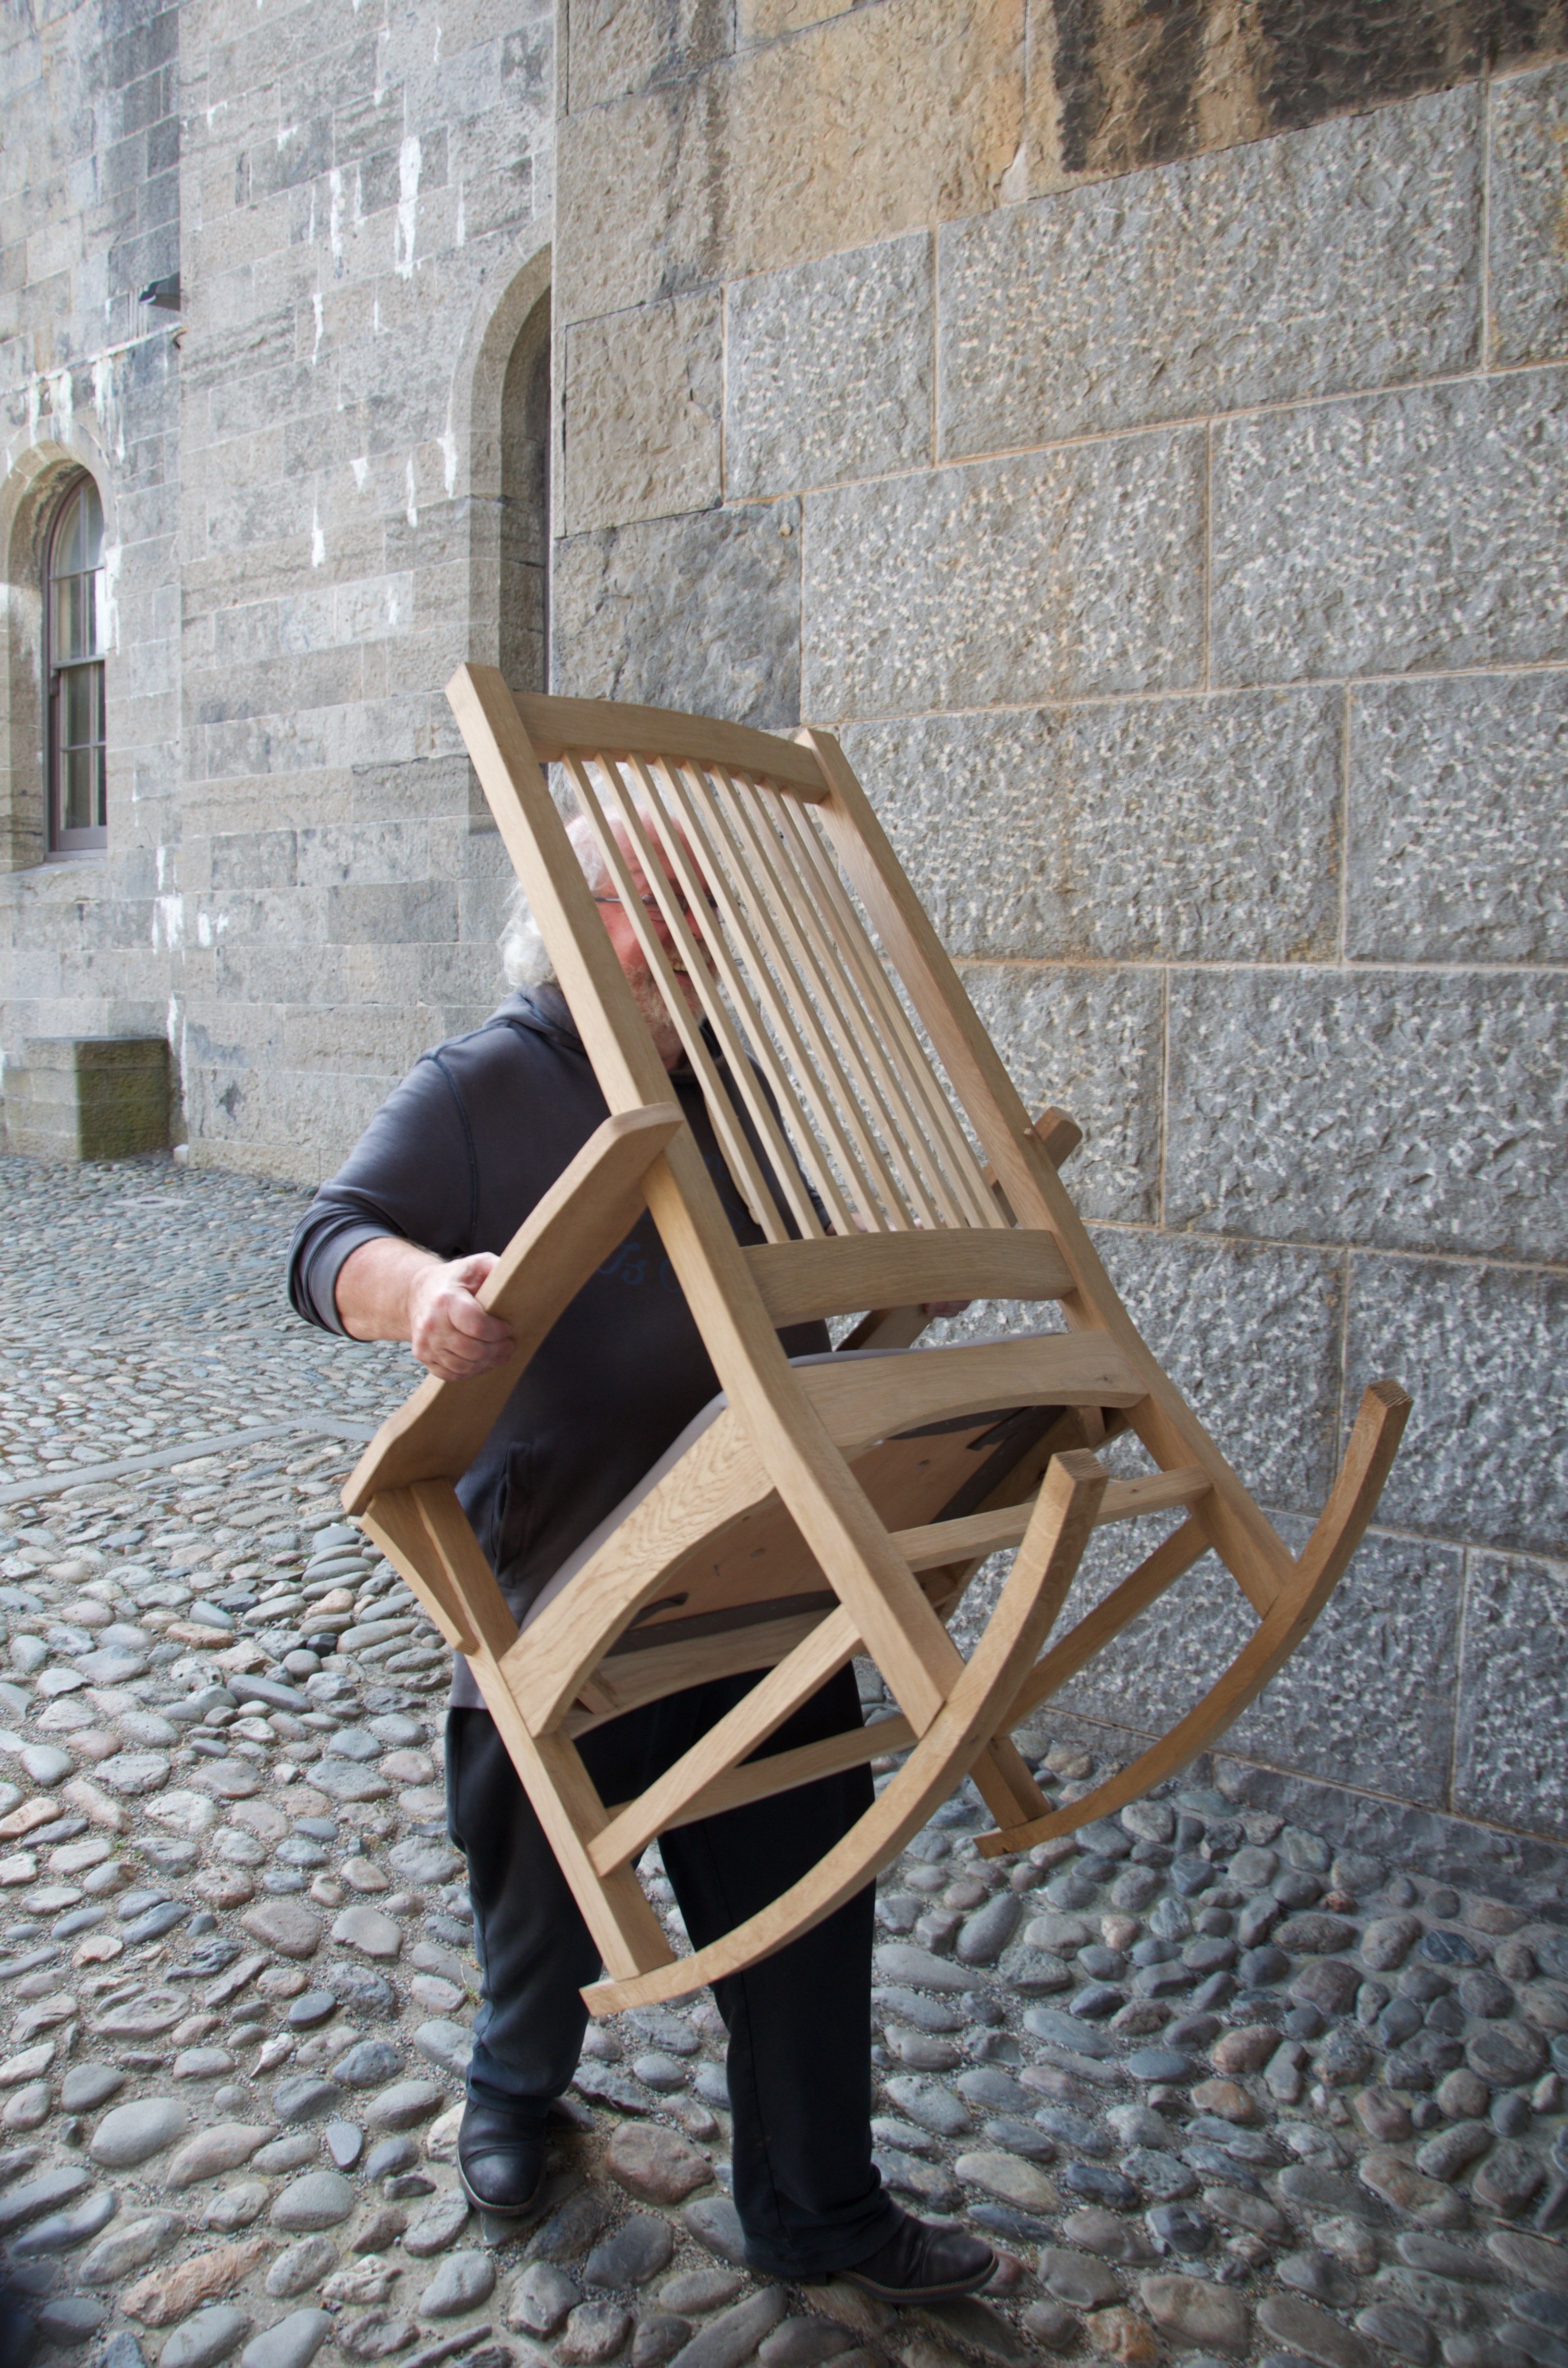
Of course I finished off the prototype chair for the filming this coming week shown here too. That will be a blast to film. Oh, and Mick Alexander came in yesterday to finish off his rocking chair too. He was well-chuffed with the outcome as he rocked and smiled all the way home in the mountains above us.
He threw the hammer and block down on the bench and, finger pointed at my nose, said, “Never let the wood tell you, ‘no’.”
That made me laugh. Nothing is like a lesson taught the old fashion way. Lessons seem to stick a lot better when there is some emotion put into them.
BTW, I love the look of that chair. The black seat really draws compliments the whit of the pine. Or maybe it is the simple black and white color scheme.
Your anecdotes about your time as a 16-year-old apprentice are always fascinating, Paul. Have you ever thought of writing a mini-biography of those days? You might be surprised at the level of interest…
I do think fondly of those days, men scrambling when the Rolls Royce and the snobby boss, Idris Owen, rolled in and someone spilt a 50lb box of 1/2″ panel pins over five square meters and we were all on our hands and knees separating them from sawdust and shavings. And all because the man owning the Rolls said he couldn’t afford a magnet.
Yes, I second the biography motion.