Tool chest nearly done
I managed a couple of hours sanity in the shop today and closed contented after transferring all of the Christmas presents to my car. The shop looked empty but I was glad to have accomplished everything.
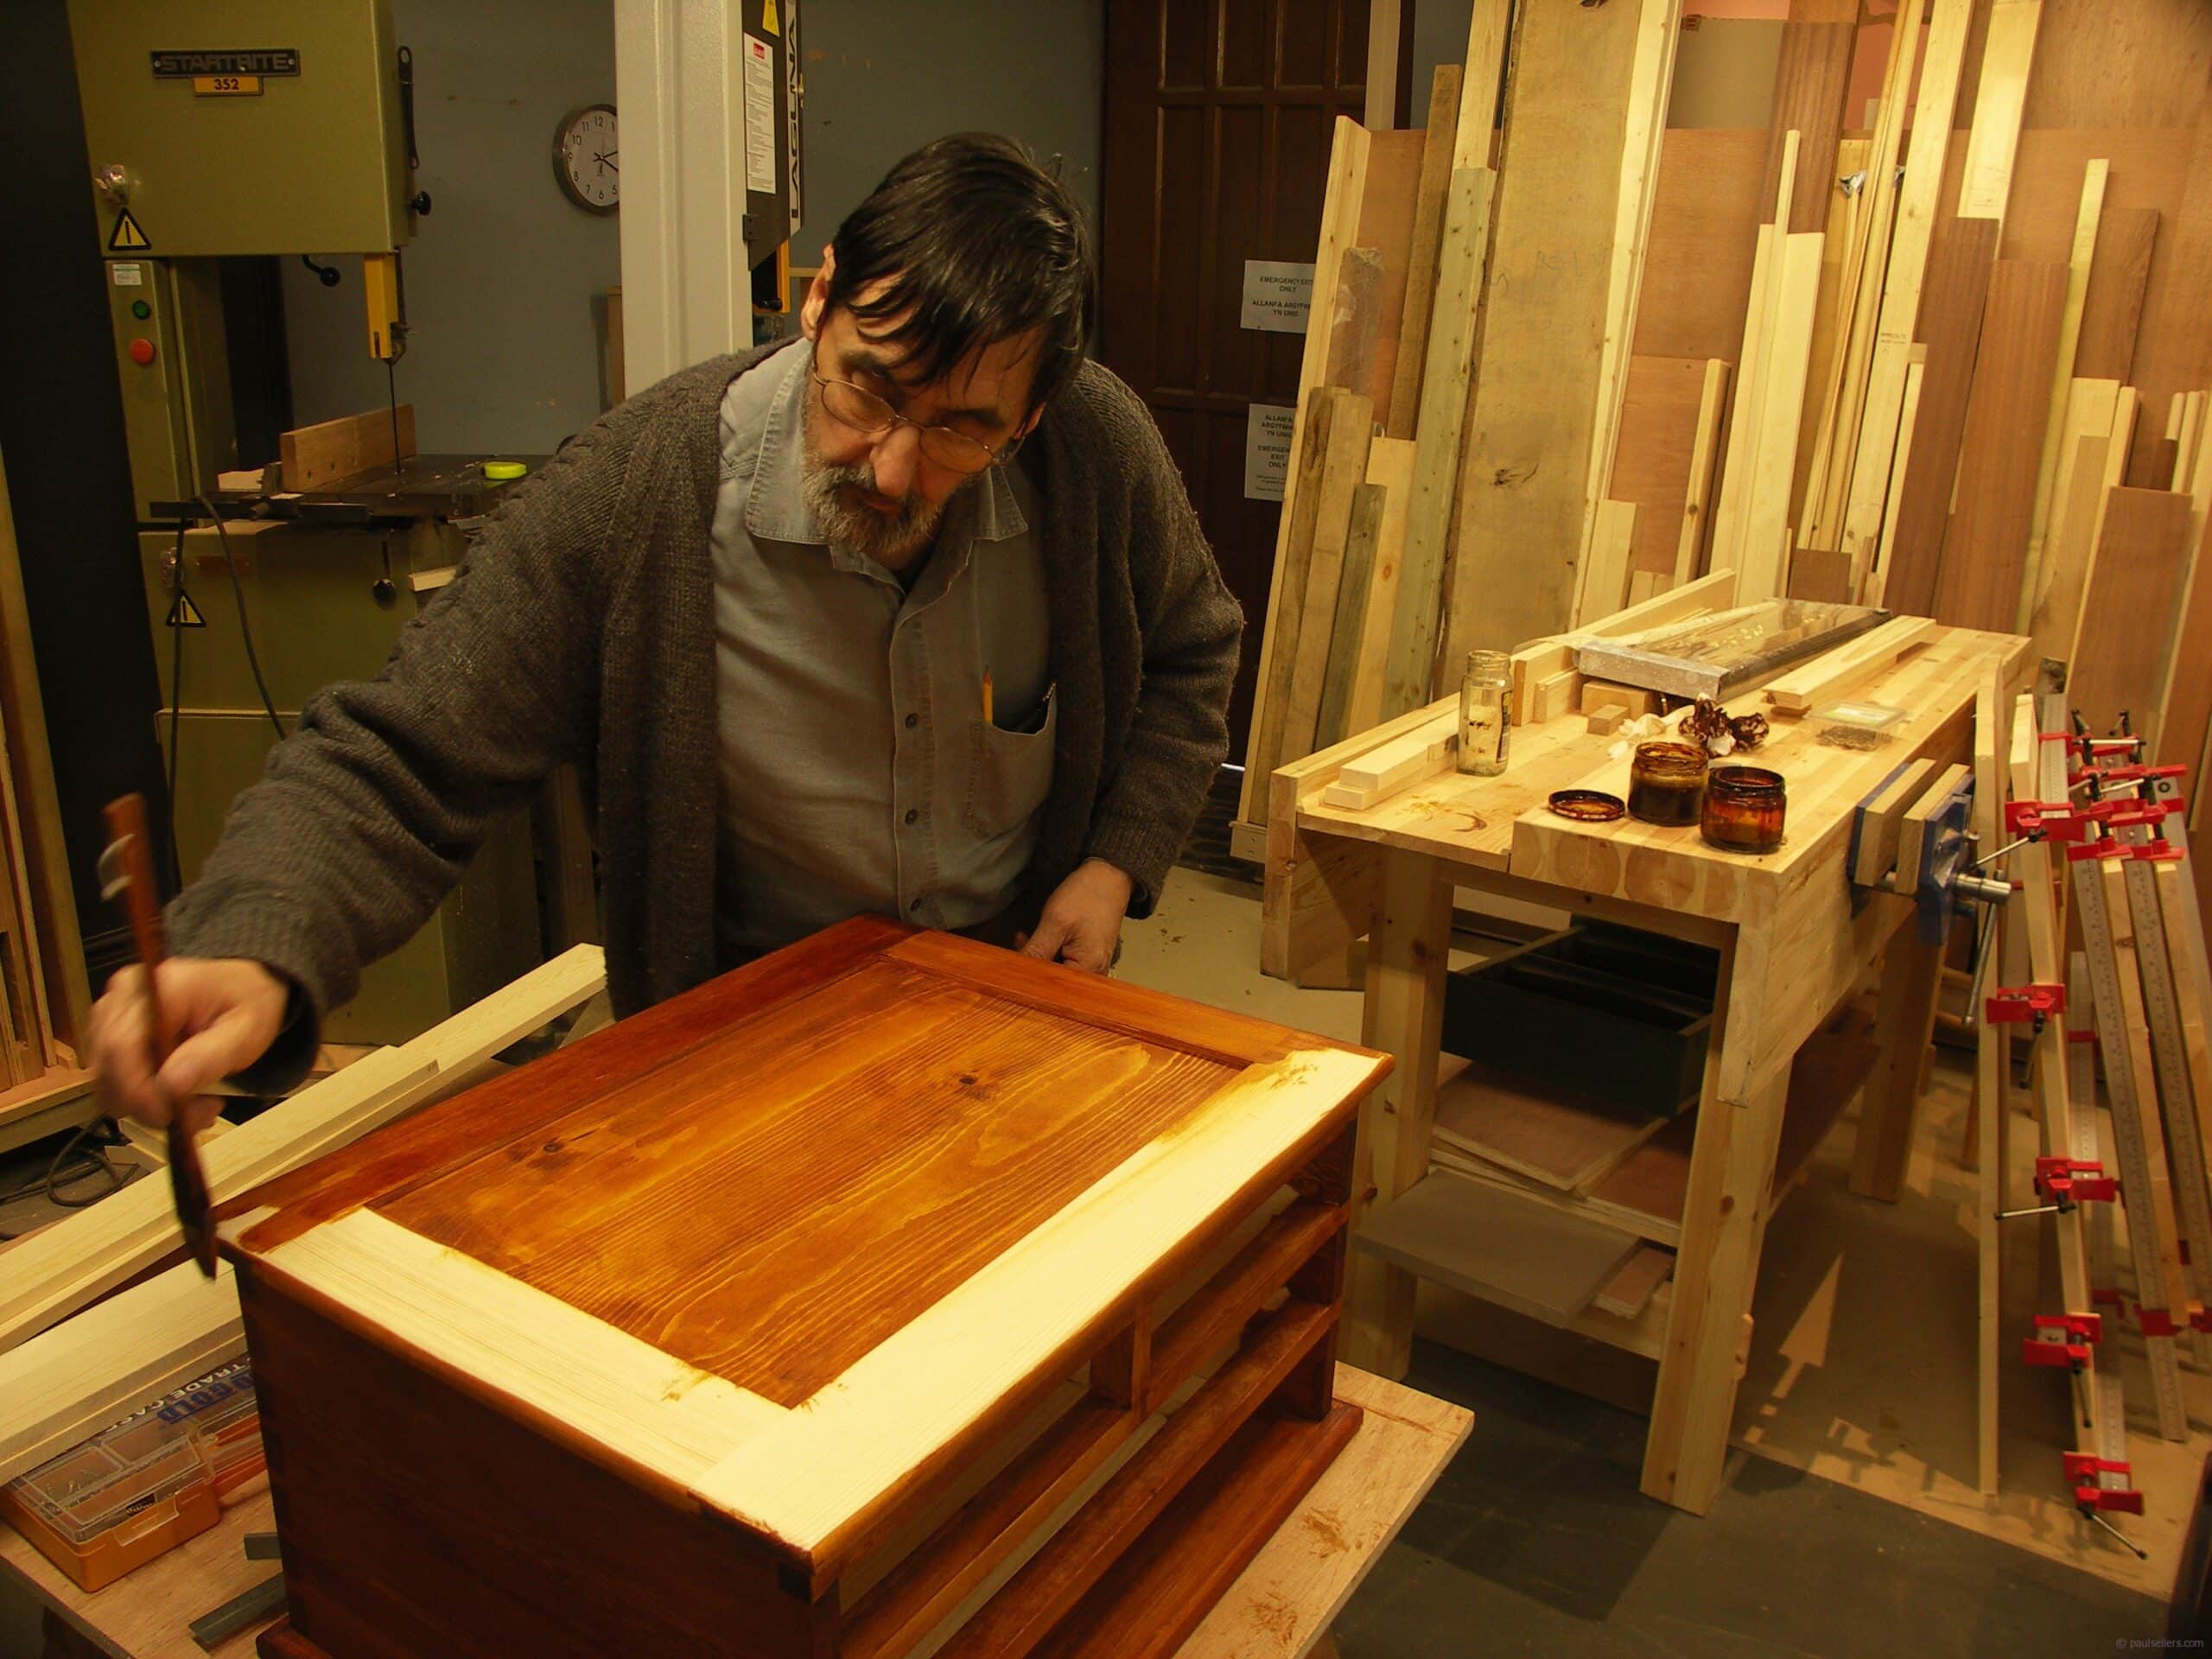
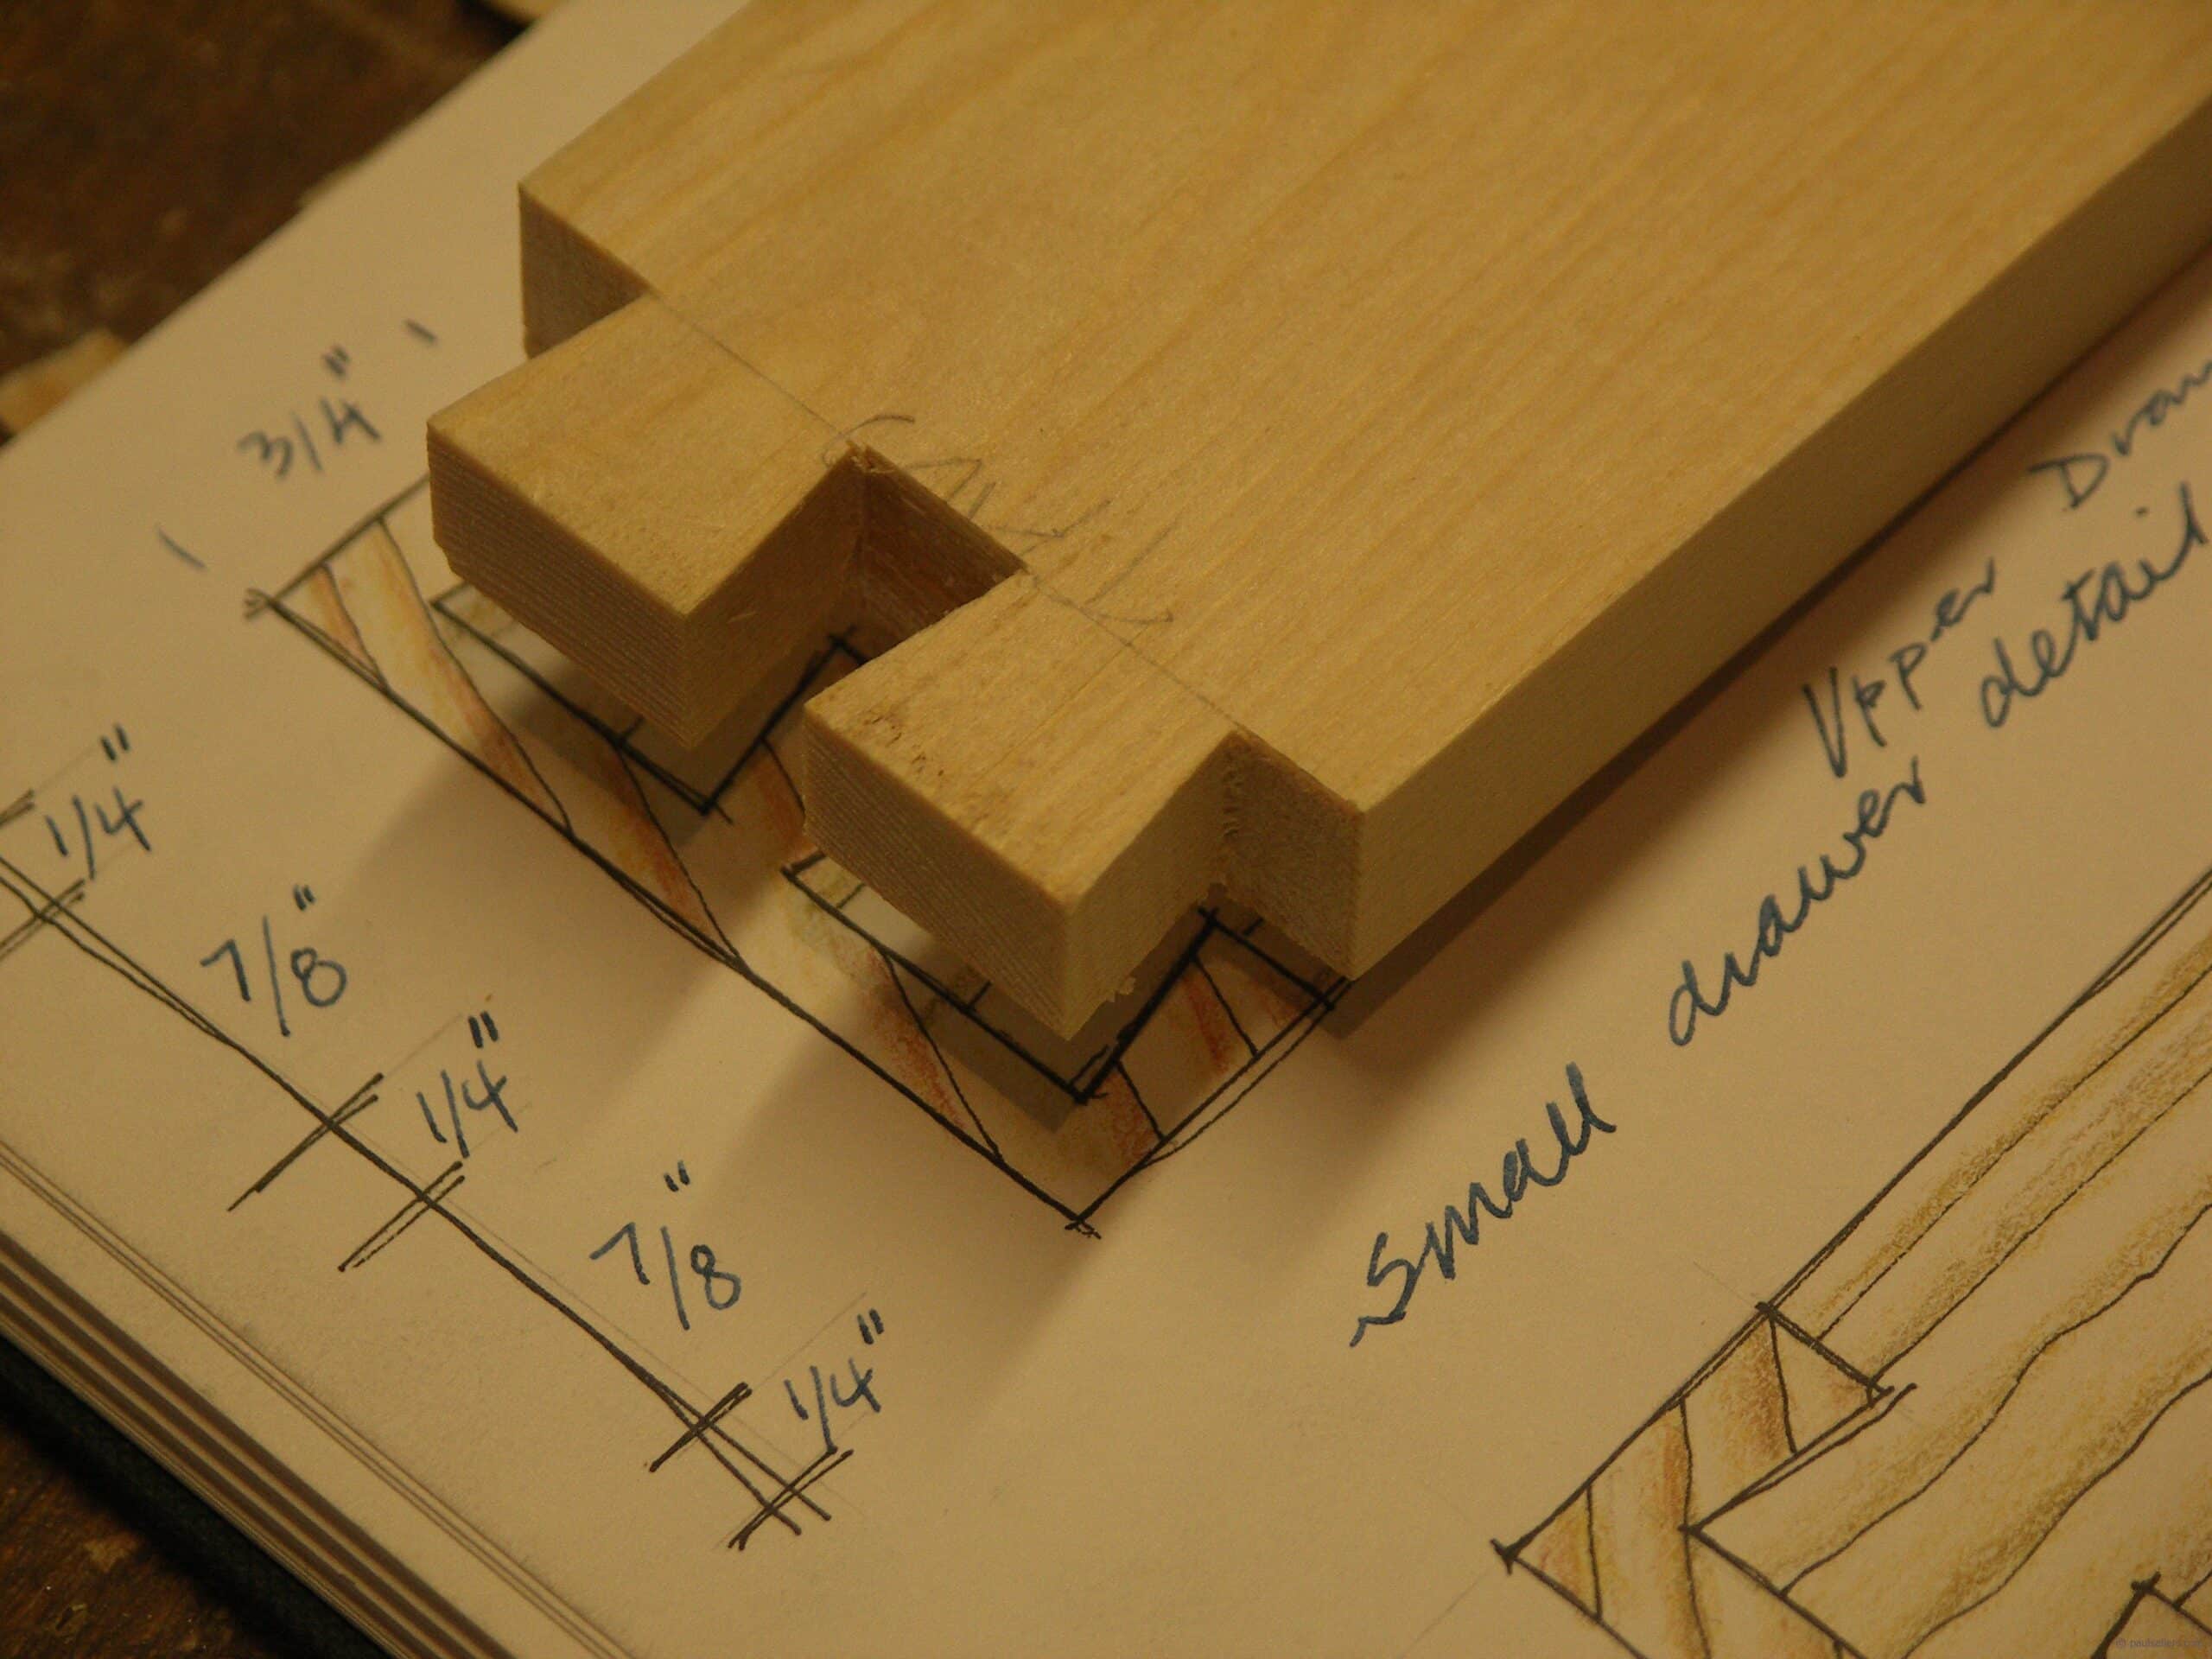
I also got to start on the dovetailed drawers and applied some coloured shellac to the main chest, which will eventually match my other tool chest.
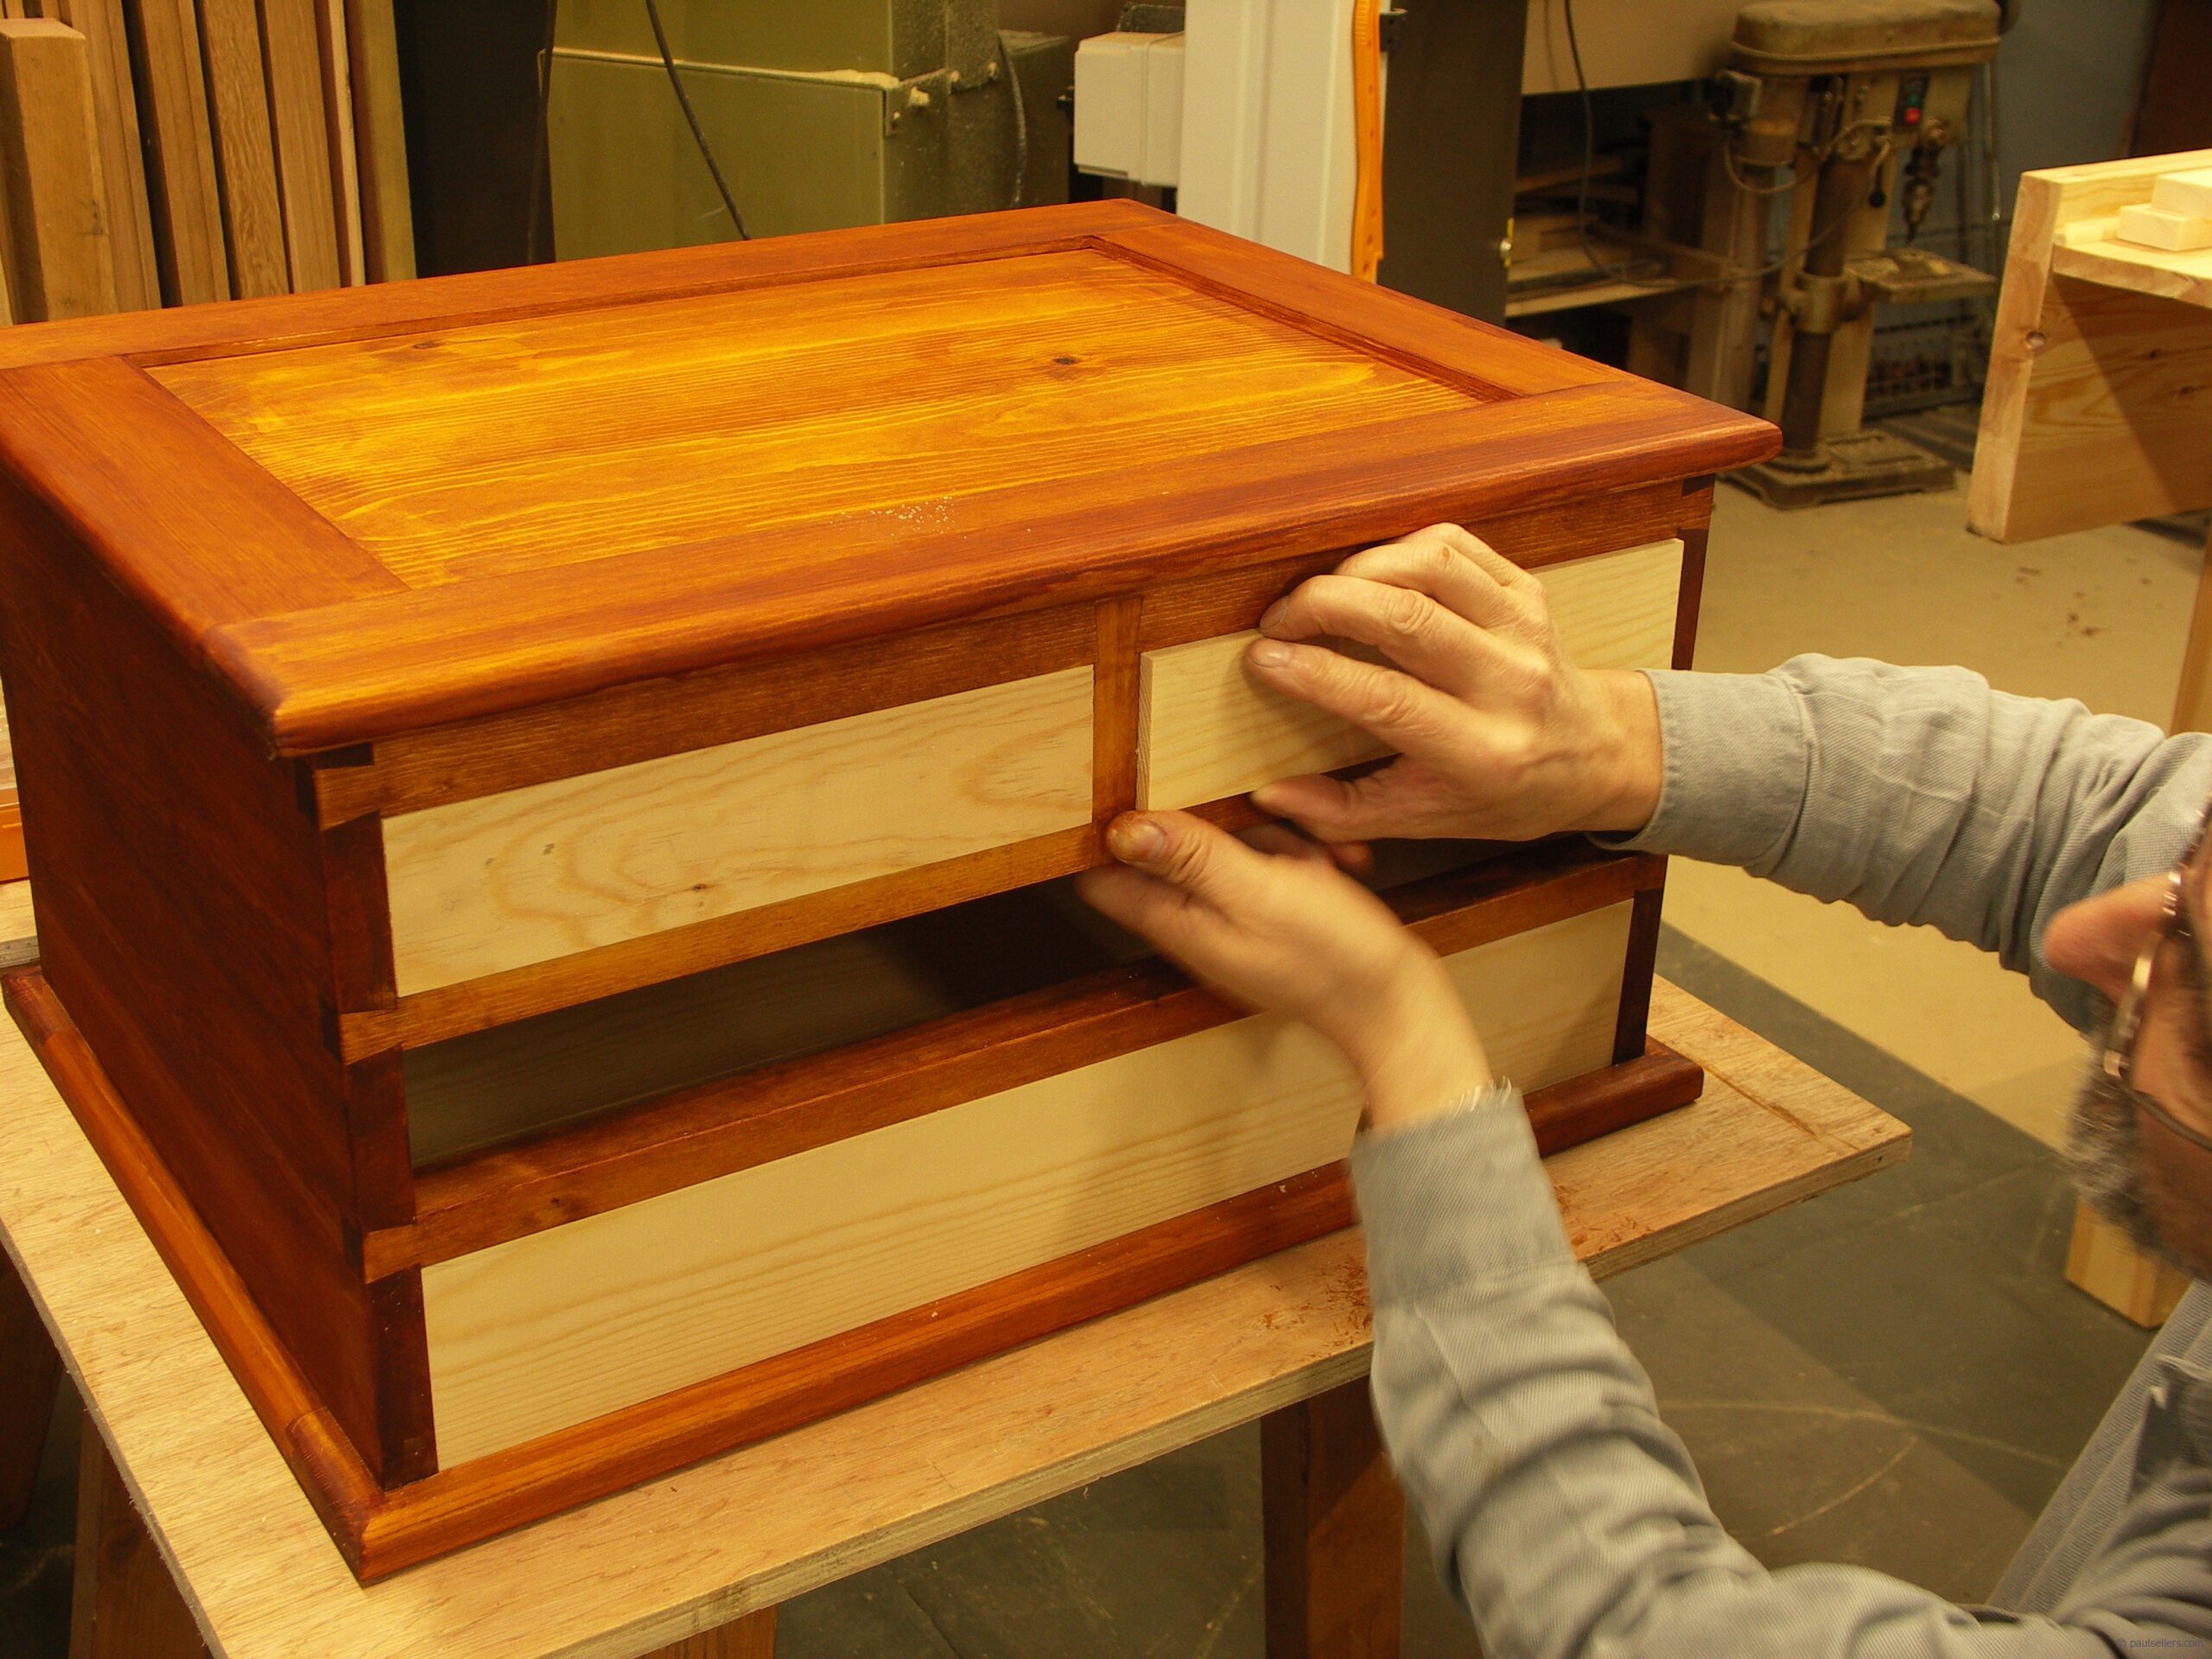
Here I am fitting the drawer fronts to dead size.
An even base coat is critical for a flawless finished look
I mix my own coloured shellac and apply a good even coat after first applying a clear coat of bleached shellac. Applying this first coat raises any fibrous surface grain so I can sand any roughness caused by the first coat of shellac. Subsequent coats will not raise the grain at all. If I apply coloured shellac it is very likely that I will sand through the coat back to the whiter wood which will show as unevenness.
I’ll be back early next week. Not much time left between my trip to the US. If you will be at The Woodworking Shows in Baltimore The Woodworking Shows Masterclasses — Baltimore MD. Please look me up in the New Legacy Woodworking Shows booth and at the demonstration areas.
Have a wonderful Christmas!
Paul
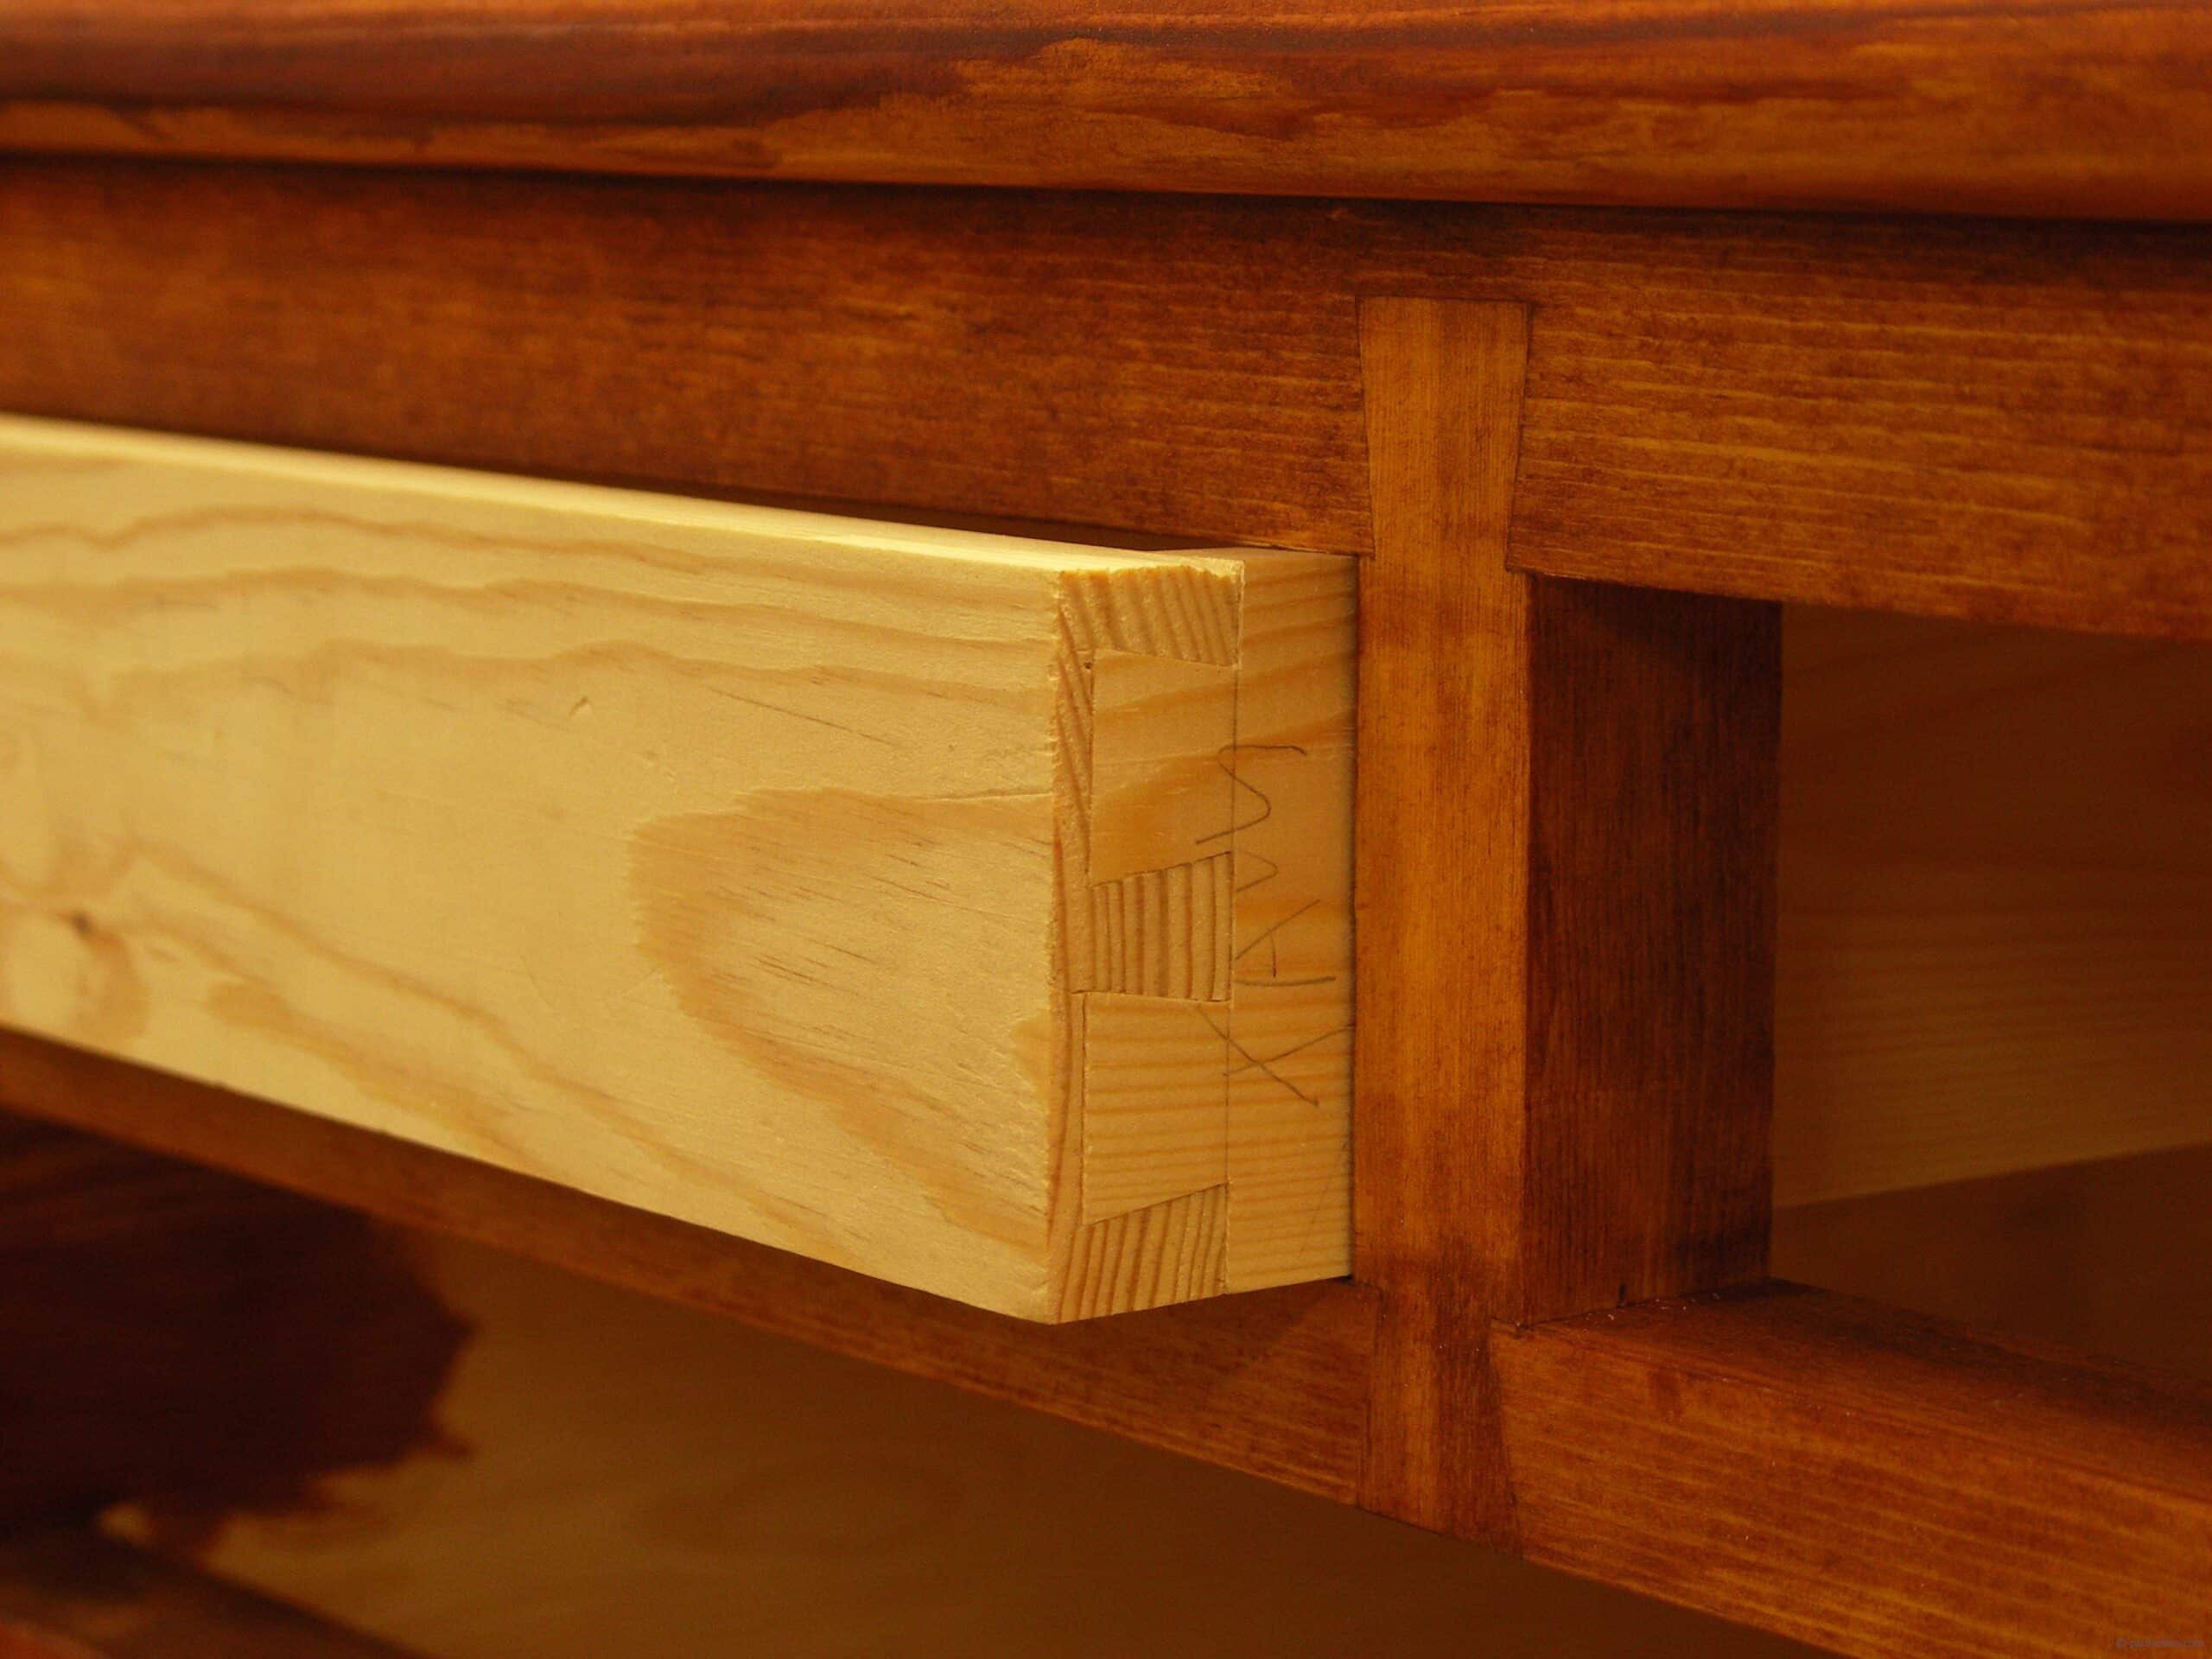
All rails and divider are dovetailed. The rails are all 1 1/4 wide x 7/8″ thick but the dovetails only go the thickness of the 7/8″ way. The vertical divider is set the narrower way at 7/8″ on the face for looks and for space. These dovetails are set at 1/2″ deep.
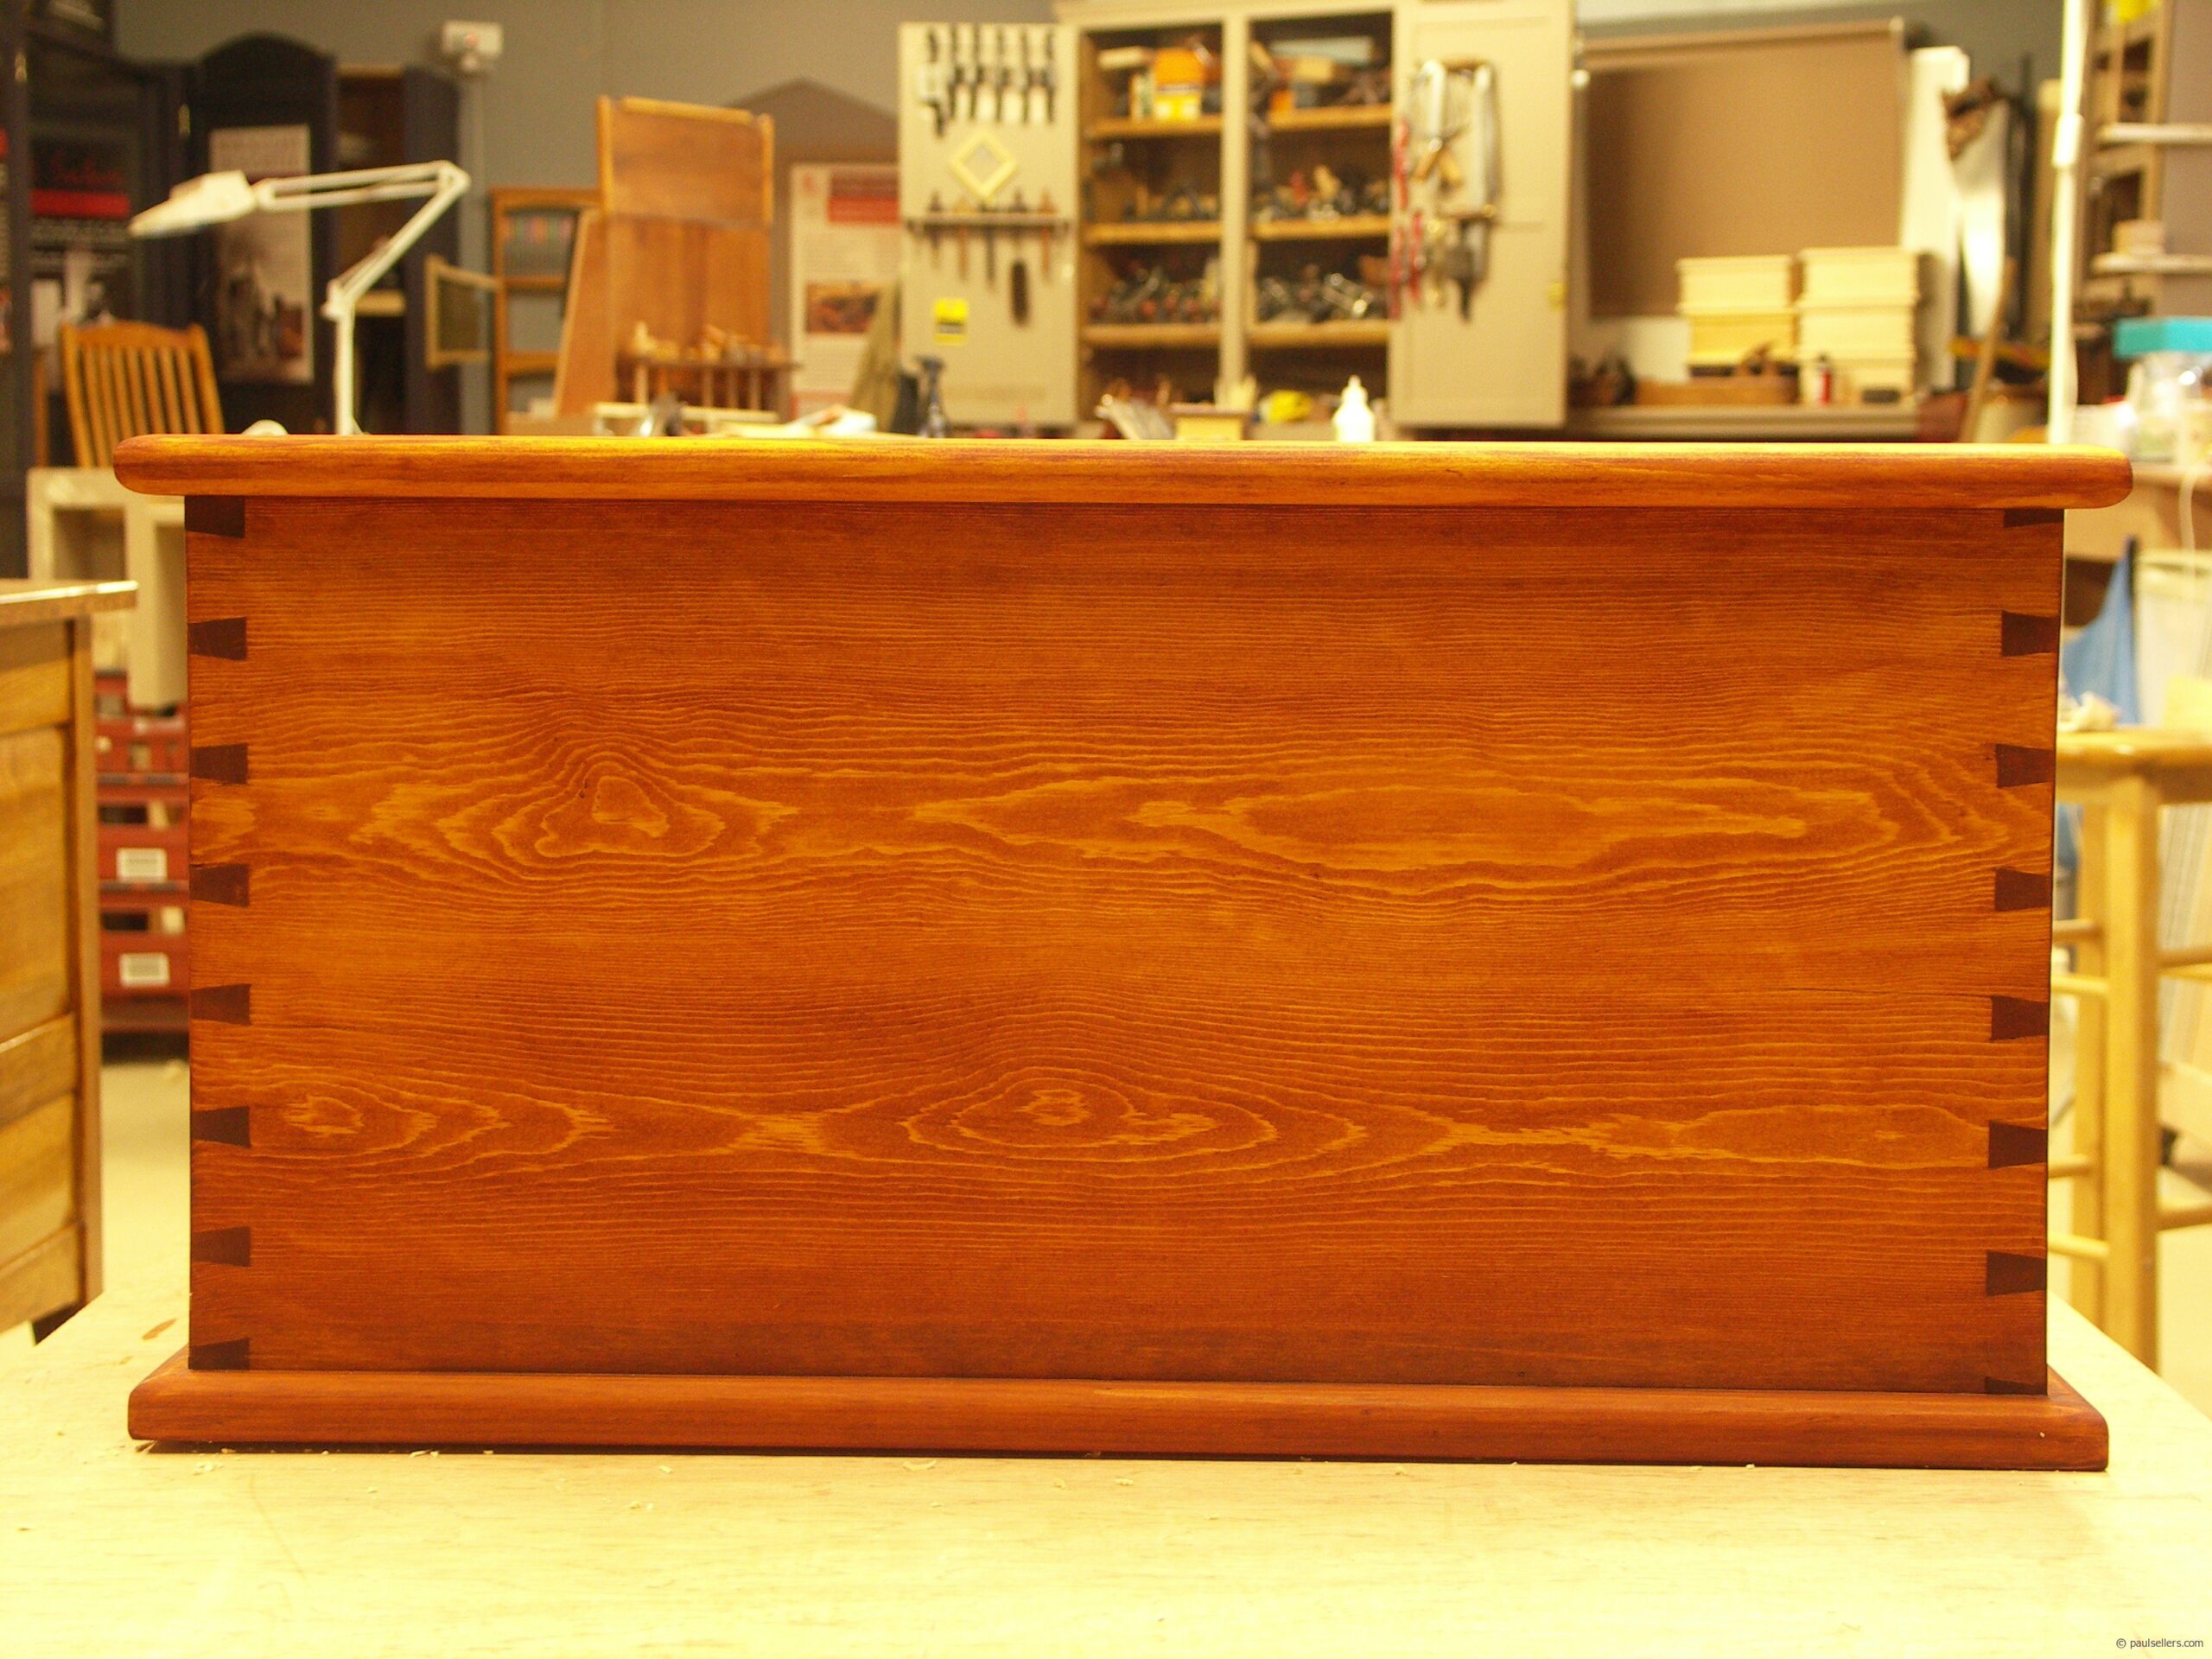
The bottom frame is glued and screwed and the screw heads plugged. The top framed panel is screwed through the top rail of the front frame and also has 3/4″ 3/4″ screw rail around the inside rime of the box. To avoid screws, I don’t mind them at all, you could simply glue and clamp because you have n contention between long and crossgrain; You are gluing longrain to longrain all the way so it will hold fine. I wanted to get on with the work so often, screws for me are temporary clamps. I could take all of the screws out now if I wanted and the top and bottom would hold for a hundred years just fine.
Hope you had a nice Christmas time.
Paul
Hi Paul,
Thanks for your response.
I am quite surprised to learn that glue is enough to hold the top and bottom to sides. Now that you said it, it makes sense. After all there is no load on the bottom acting to separate it from the sides.
Thanks again for explaining the joinery. I find your approach very interesting. I am inspired to make a small pine tool chest myself now!
The photo from your Journal stopped me dead in my tracks.. just one more brilliant thing I learn from reading all these blogs about woodworking.
Sure, I take notes for my regular work, I just never thought of doing the same for any projects I build.
Thanks Paul!