Paul Sellers palm gauge-cum-beading tool #2
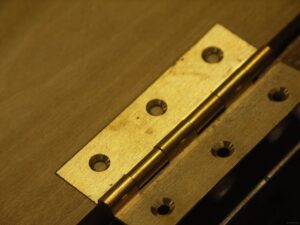
Setting hinges seems problematic to woodworkers and on furniture pieces, box lids and cupboard doors, neatness often seems less neat than it should. Recessing hinges adds a lot of dimension to a project not the least of which is strength followed by the resultant longevity. It’s good to master recessing hinges and it should take no more than 4 minutes per hinge for both flaps to be perfectly recessed and set. Another fact about recessing is the perfect alignment of the hinge to the edge of a lid and also the rime of the box. Same with doors. Might as well get started now while you are young.

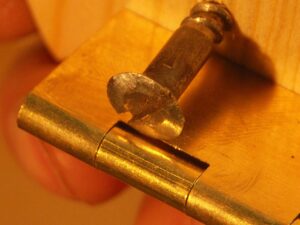
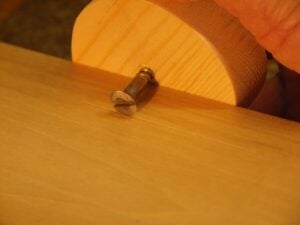
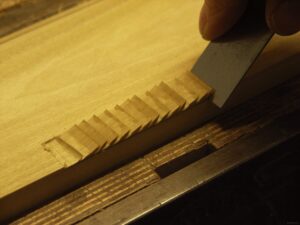
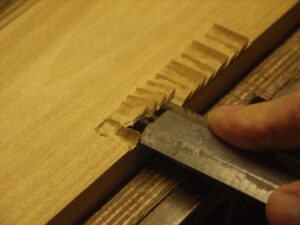
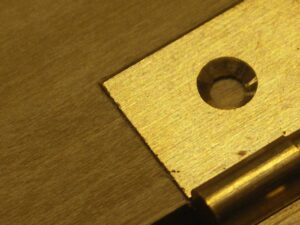
I have sharpened the edge of the steel screw as described in the previous blog. A minute with a file gives you a sharp cutting ‘wheel’, 1/2 a minute more on diamond plates gives you an ultra sharp cutting edge, fully refined and lovely to use.
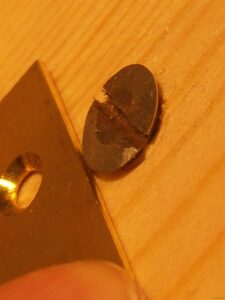
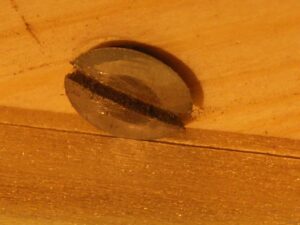
We always set the hinge on the door or lid, without exception it’s always the door or the lid first, never the frame or the box. It’s easier to move the lighter component to the heavier or the moveable to the fixed. Use a pencil to first layout the position of the hinge. Pencil lines are temporary lines that guide permanent ones made with gauges. Once the gauge lines are run, you can make the permanent ones to the established gauge lines. In this case the two knife walls that bring exact demarcation to the exact width of the hinge.

Wow! This is brilliant! This would have been very useful when I built a small box last year and had so much trouble setting its hinges.
What I really like about this is the simple and inexpensive tool that anybody can make out of some scrap and get really good results. To me, this is what is woodworking is all about; not the never ending super-expensive tools that we are asked to buy for getting things done.
Thanks Paul! I am going to try this on next box project.
Glad to be of help. I will be doing a video of the process soon. That will help others too see the techniques.
I remember you demonstrating this in Texas once, but I never got a good look at how you sharpened the screw head. It all makes sense now.
Actually Steve, I don’t want people to think that you have reshape the head. The one I used in Texas was only a screw, unfiled and without further shaping. There is a place for both types yo se. Some woods you can compress to shape without actually cutting the wood. Others benefit from cutting ad others can actually be profiled as in the case of filing the parts of the screw away. Have fun!