How to Build a Workbench – Preparing the Aprons (part10)
NOTE:Just so you know, this is an older workbench series. Paul has a newer Workbench series. If you are interested in the updated version of Paul’s workbench please click the button down below. This page links to a cutting list, tools list, FAQS and much more.
Preparing the aprons
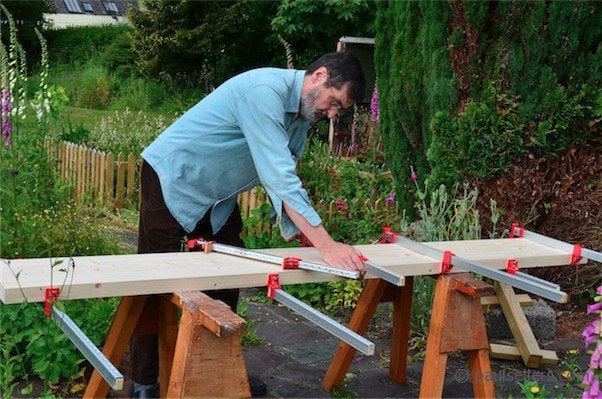
Your aprons are glued up into 12″ wide panels and now they must be planed and sized to correspond with the benchtops.
By now your benchtop sections should be cut and planed dead square and to finished length. Whatever length you make your bench is up to you but the two should be identical in length. There could however be some variance in width, but I would not plane or cut one down to match the other using a hand saw or plane whether the difference is marginal or a lot. It’s unnecessary, and ripping through 3” stock by hand is hard work. It is unlikely that there will be much difference. It is however best if the benchtops are parallel and I would spend time narrowing any margins to zero.
This in turn guarantees that the legs stand square to the bench top and thereby square to the floor on which the bench will stand.
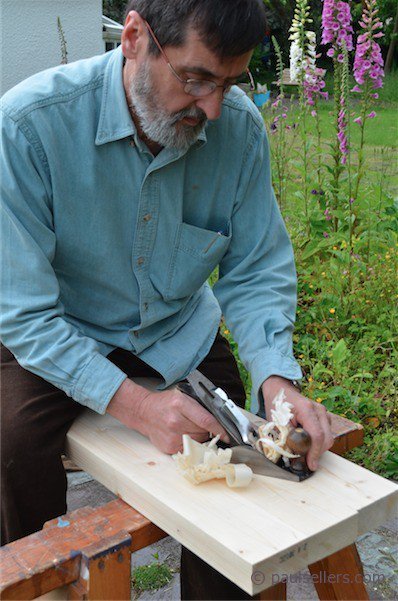
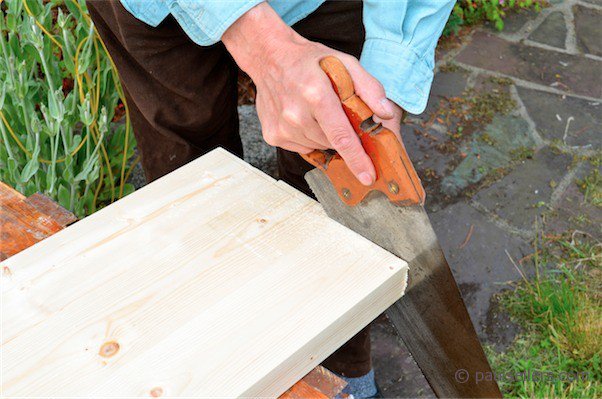
Follow the same steps as you did for your benchtop to cut the first end square, plane it and check your planing with the square in both directions. Now offer it to the benchtop, flush the approved end on which it will finally be glued and, using the knife, mark the dead length. 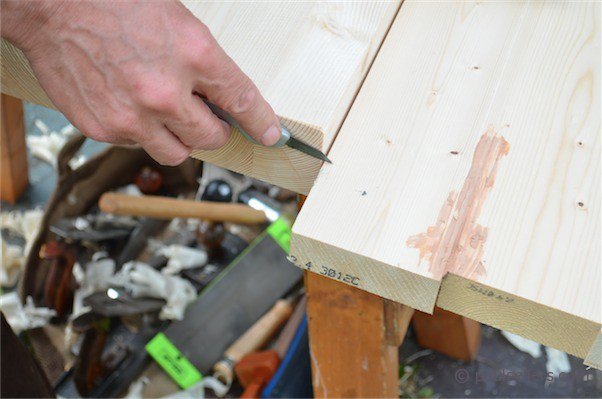
By taking the dead length with the knife from the benchtop using the square and knife, the two will correspond perfectly during final assembly. 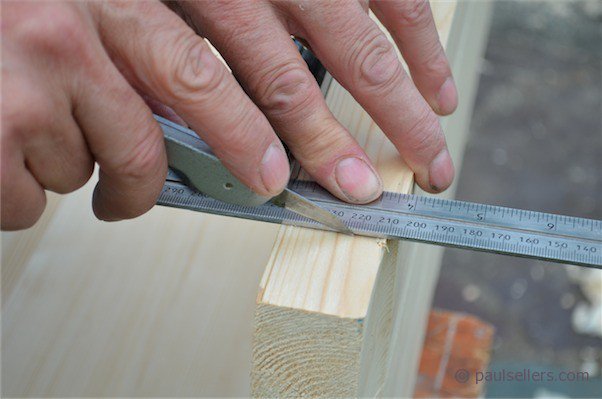
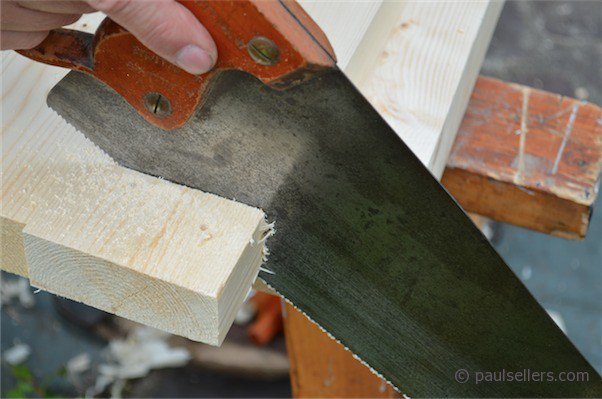
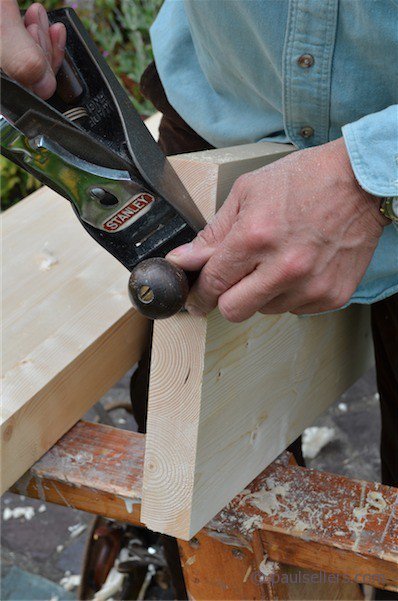
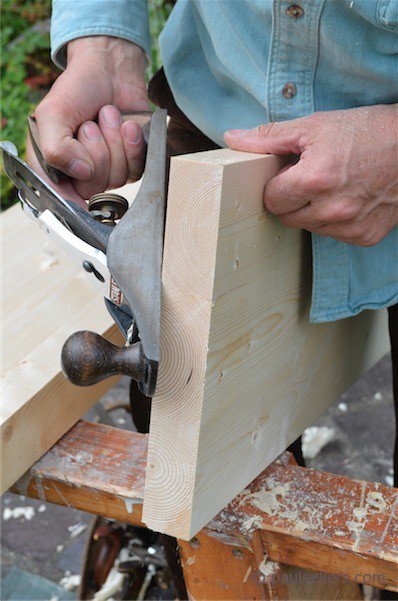
Always rememebr that aprat from rough crossgrain cuts, all cuts other crossgrain cuts start with the knifewall all the way around. This perfectly guides subsequent clean up with the #4 plane for which you will find none finer, and for square stock especially is this so.
Hi Paul,
I’m really enjoying the bench build. It’s my first project so it has presented new challenges at every step. How do you ensure that the edges of the aprons are parallel to each other? With such big stock, creating one straight edge and using the marking gauge to define the other doesn’t work.
I’m also struggling with warpage. I’m building my bench after work and on the weekends, so sometimes a board that I plane flat and square is cupped or twisted when I pick it up a few days or a week later! Is there any way to stop this, or do I need to assemble components faster so they support each other?
Thanks SO much for all your videos and blogs. It has been very inspirational watching them and thinking about all the pieces I want to build in the future.
Cheers,
Brett
I think that it is important to assemble as you go rather than leave things subject to change and at the same time unrestrained. So, the main frames can be assembled and glued up and so on. You can attach aprons to bench frames even if unglued. the screws will generally hold everything.
The parallel line can be done with a straight edge, a string chalk line or, if one is straight but the board out of parallel, take a stick and squeeze a finger to hold the edge against the straight edge with a pencil against the other edge and pull the line along the length. Hope that this is understandable.
Thanks Paul, that helps. I can’t believe how fast you are to everyone’s comments and questions!
Hello Mr Sellers,
Well after being laid off from my position as an analytical chemist at 74 years of age, I decided to try my hand at woodworking with handtools. I purchased your DVD set plus the manual and made some of your projects: spoon (so so), bowel (not too bad), and then the work bench. It is still a work in progress:). Mistakes are in abundance as I screwed (not glued yet) the first apron on the H frames. Lousy mortises (technique), tenons (wrong saw to cut cheeks), a bit of sloppy measuring etc. However, I believe I have learned much from my mistakes and the bench will be useable. My compliments to you for your fine explanations with the various projects on the DVDs. Much enjoyment!
Here in the US stock sizes are different; as you have stated. in preparing the dado in my aprons, should my width be tighter (4″ taper to 4-1/2″?) to be more ‘cozy’ around the bearer on my H frame shoulders? Or is the width you have given in your excellent drawing (5″ taper to 5-1/2″) sufficient? My stock width is generally 3″.
Otherwise, your instructions are great- and things are progressing on my first large build of this sort.
Thank you,
Jim
Asheville, NC
Hi Paul,
I’m currently building this bench and enjoying the techniques I’m learning along the way! One which I’m struggling with is removing twist from the aprons as they’re so long! Using winding sticks I managed to plane (almost) all of the twist from one before realising I’d thinned one end of the apron by almost 1/8th! Is this a problem if it’s on the outside?
What I’ve mainly been wondering though is if it’s entirely necessary to remove absolutely all twist with the aprons or will the leg frames pull them back into square?
Your help would be much appreciated!
All the best,
Paul
Paul what would be your recommendations on how to attach the apron permanently. (for those of us that don’t need to break down the work bench)
for example making the housing dado to fit exactly and gluing it
vs making tenons on apron and attaching it to leg motise
thank you