Marking gauges in use (Video)
For more information on gauges, see our beginner site Common Woodworking.

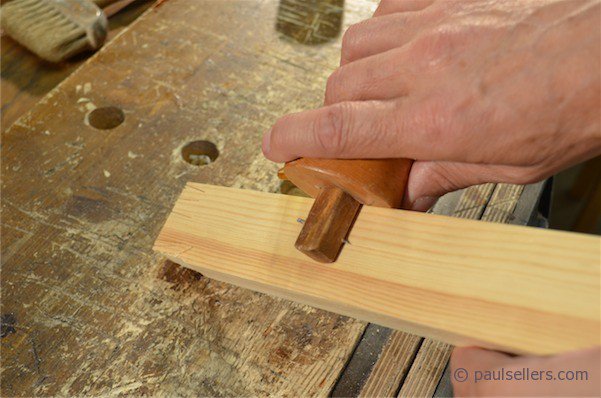
Contrast this with the original pin position shown here and you can see the darkness hinders my vision and also, because the pin is more perpendicular, how it tends to stick in and trip the gauge in use.
Another problem I have found with a large percentage of users, even seasoned woodworkers is that they fail to recognise that in pressing down hard they don’t create pointed accuracy but effectively a thick groove. On fine work this inevitably shows as a gap. Especially is this so around key areas such as hinge recesses and through tenons, inlays and so on. Better the lighter pass where the pin barely traces its path than the gouging that causes bruising either side of the central pinpoint.
Here is a short section of video to help you see the simplicity in action more fully: