My oak piece for the head is straight grained, but it will work for a mallet and also to show how to make it. I first planed up the rough-sawn facets and didn’t spend too much time worrying about perfect squareness because when done and shaped, there really won’t be much of any visual angular surface to reference. That said, it’s handy to start with two reference faces to use for laying out.
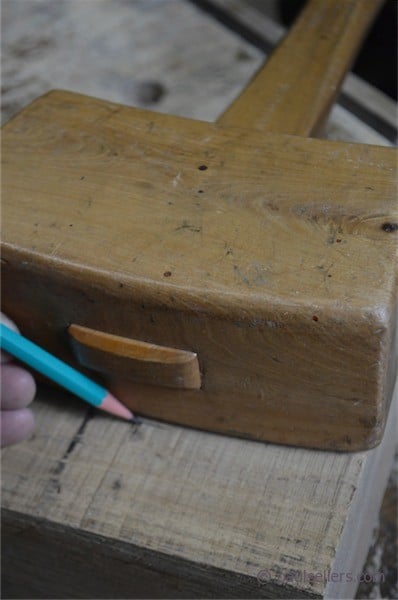
I marked the size onto my blank. You will mark yours at 4″.
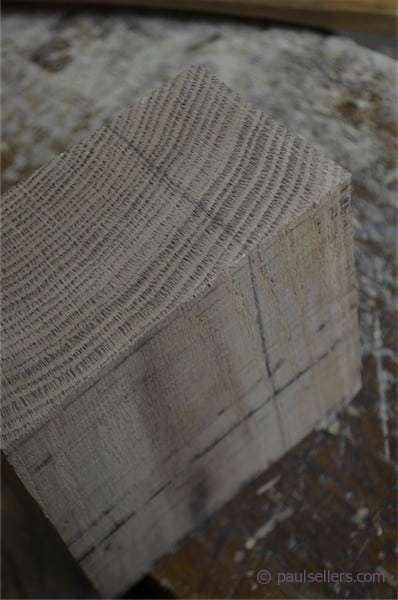
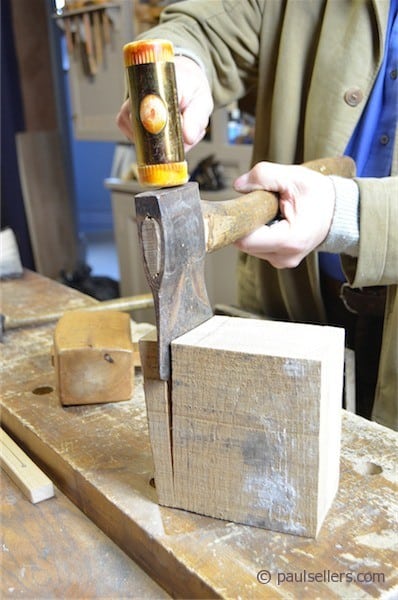
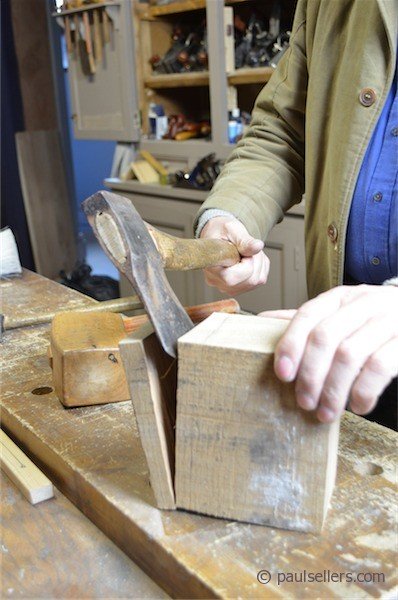
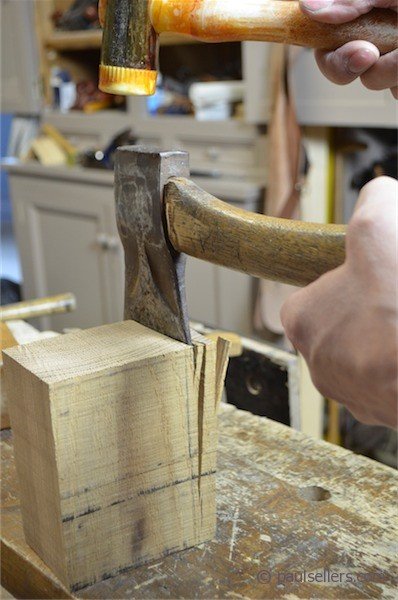
I continued the lines onto the endgrain to guide my axe cut. I split off the excess in two stages, the first to check grain direction, the second to establish the width before planing smooth. The axe works well for this. I use my chisel hammer with the nylon faces for this, but a wooden shaft would work as well and a steel hammer if you like. My eye follows the split and my line feels right.
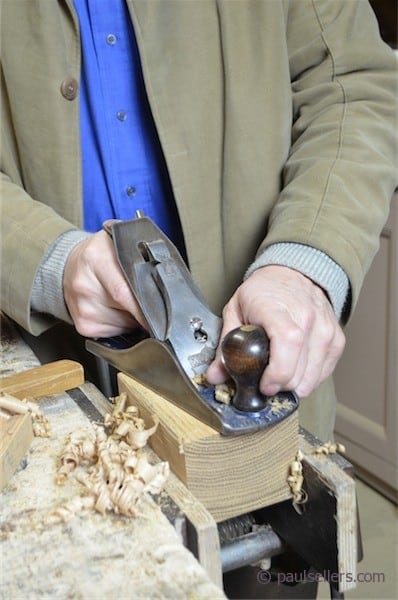
I plane the outside surface smooth for layout only. I haven’t angled or shaped anything yet because I want the parallel and square sides to anchor the block in the vise securely.
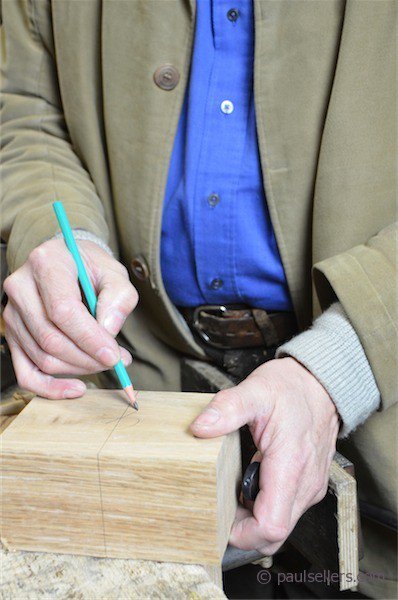
I start out with a centre-line on the block – squared from one narrow face to the other.
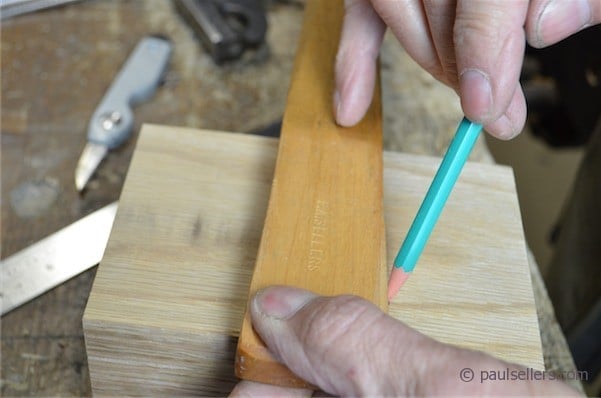
I lay out the mortise hole lines on the narrow faces roughly. The outside hole is 1 3/4” and the inside 1 1/2” so from the centre line I split the difference. 7/8” each side on the outside and 3/4” on the inside.
I laid my old shaft against the lines to get the visual angles but just joining the lines is enough. These lines are sight-lines I use to guide me as I bore with the brace and bit.
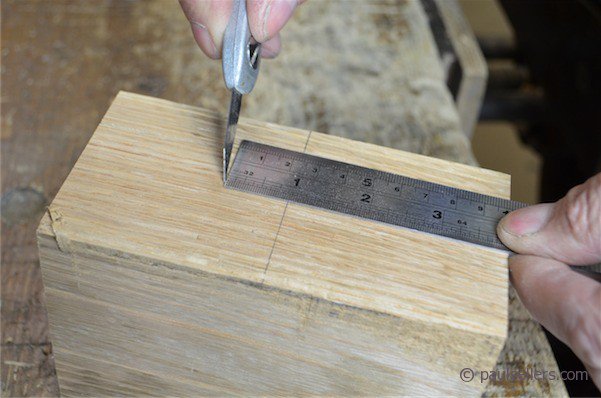
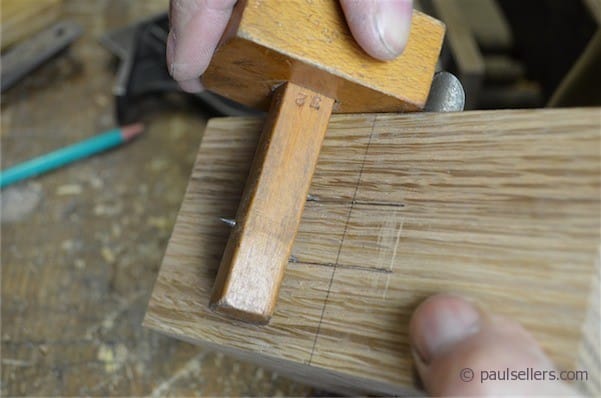
I used a mortise gauge set to 3/4″ to get the parallel lines for the sides of the mortise.
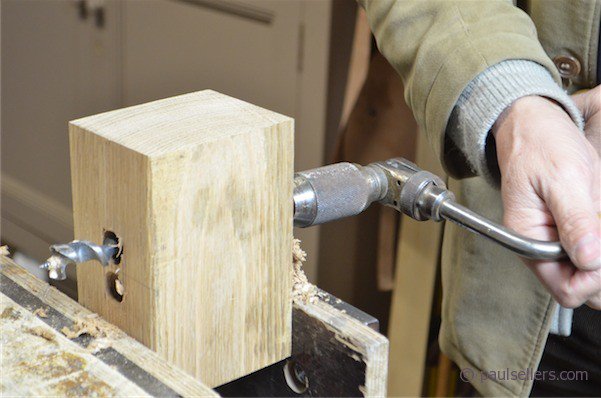
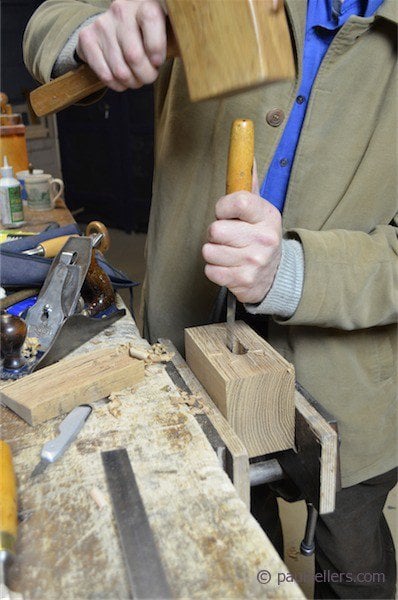
I bore about half way through from each side using a brace and 3/4” bit, aligning my bit rim with the two extreme knife lines on the rim of the hole. The important thing when boring is to align the brace with the centre run of the mallet head. This again relies on visual accuracy.
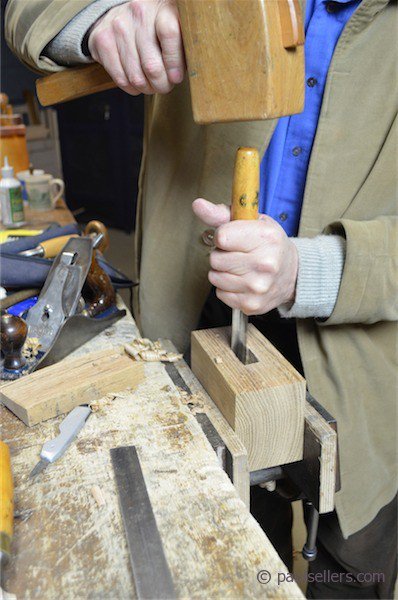
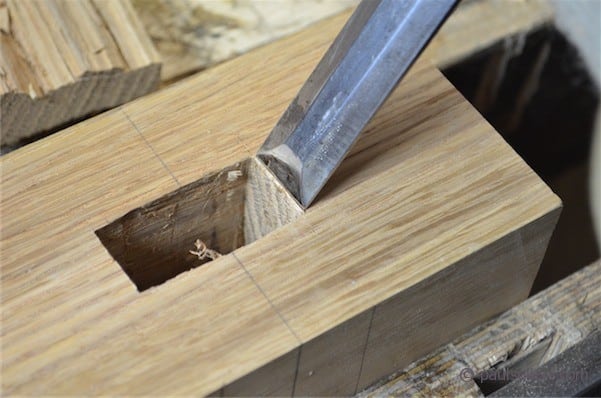
With the two holes bored, I use a 1” and a 3/4” chisel to remove the remaining waste wood. I again work from both sides until I have clean, straight walls inside.
When the hole is complete, I chisel a small chamfer on the short edges of the hole on both sides of the mallet head as shown. Because the taper fit of the shaft in the head is tight, backing out or tightening the shaft in the head can cause a split on these outside faces. the chamfer reduces this possibility.
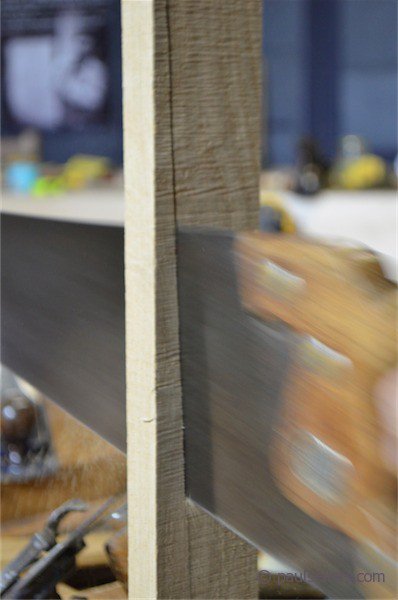
I rip the taper for the handle using the handsaw. It goes quickly and is easier than setting up taper jigs for table saws and even free-handing on the bandsaw. Two or three whisks with the Stanley smoothing plane gives me exactness and the shaft then gets fitted to the tapered mortise hole so that there is no gap on either side of the mallet head.
I leave a large excess on the shaft because the wood compresses in the hole and there may also be additional shrinkage to take place yet. I will usually leave this for a couple of weeks to make certain there is no major shrinkage that leaves the mallet shaft beneath the rim of the mortise in the head.
Now that the shaft is fitted I can start shaping the head and the handle to what suits me.
4 Comments
Paul,
I am a little unsure of your outside and inside reference. Your earlier measurement indicated 1 1/2 at bottom and 1 3/4 at top of mortise for the handle. I infer from your description here that you drill out 1 1/2 with the two 3/4ths holes and then manually create the angle leading to the top 1 3/4 opening, using the lines on the outside to guide you. Am I understanding your process correctly? I’m from north Texas and am using bois d’arc straight from the river bottom of the Red River. What an amazingly hard wood.
Yes, that’s right. Good find with the bois d’arc too
I’ve just ripped my first side of the handle with an ugly Stanley hardened teeth handsaw. It was quite a workout and let’s say I needed more than just a few strokes with the plane to get it smooth…
I’m using African Padouk by the way. I’ll have to laminate the head, because my stock isn’t thick enough. Hopefully this works out well.
I may have missed it but what are the dimensions and taper of the mallet handle?
Comments are closed.
Privacy Notice
You must enter certain information to submit the form on this page. We take the handling of personal information seriously and appreciate your trust in us. Our Privacy Policy sets out important information about us and how we use and protect your personal data and it also explains your legal rights in respect of it. Please click here to read it before you provide any information on this form.


Paul,
I am a little unsure of your outside and inside reference. Your earlier measurement indicated 1 1/2 at bottom and 1 3/4 at top of mortise for the handle. I infer from your description here that you drill out 1 1/2 with the two 3/4ths holes and then manually create the angle leading to the top 1 3/4 opening, using the lines on the outside to guide you. Am I understanding your process correctly? I’m from north Texas and am using bois d’arc straight from the river bottom of the Red River. What an amazingly hard wood.
Yes, that’s right. Good find with the bois d’arc too
I’ve just ripped my first side of the handle with an ugly Stanley hardened teeth handsaw. It was quite a workout and let’s say I needed more than just a few strokes with the plane to get it smooth…
I’m using African Padouk by the way. I’ll have to laminate the head, because my stock isn’t thick enough. Hopefully this works out well.
I may have missed it but what are the dimensions and taper of the mallet handle?