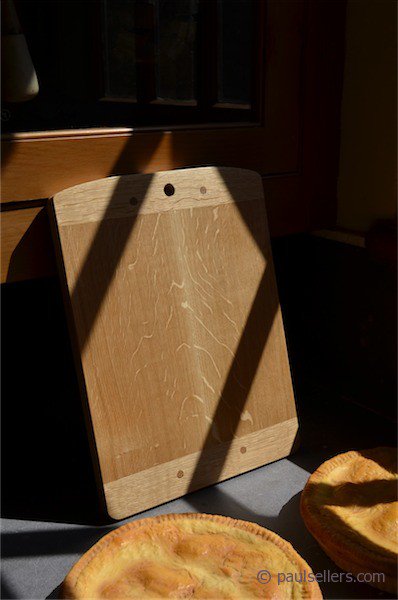
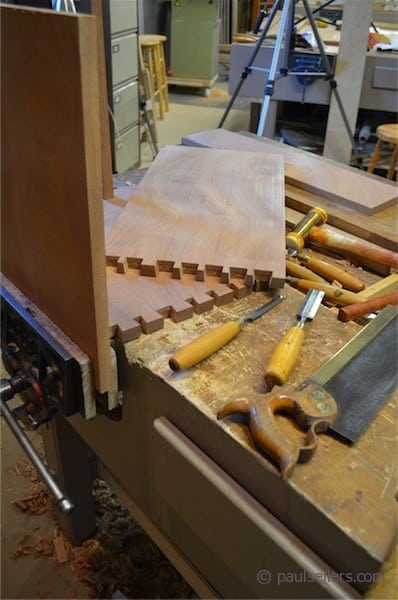
A couple of more episodes to go on the breadboard ended kitchen board and we will begin the toolbox series in the online broadcast at .https://woodworkingmasterclasses.com/. Some of you asked for the material list and we have posted it on the website as well as here below. Choice of wood is up to you but I have used mahogany for the main box. This is not at all typical. Our forebears were practical and would have mostly used pine or one of the softwoods for a tool chest. Occasionally the inside would have been part of their testimony of craftsmanship, but that was the exception. Most every transfer of labour was a word of mouth, local to birth and it was in a time when reputation was everything. A bad name meant no work. Stubborn rebels were placed outside of the community which was to be placed outside of the law of the city, hence the name outlaw. Guilds were powerful and your name was passed on as a member of whatever guild controlled the town or city. I guess that’s all another blog. I designed this tool chest about a decade ago, maybe two, when I think about it. It has evolved like my bench to suit my personal needs. It has superior strength to many boxes by virtue of the ‘split’ lid and this feature also allows saws to be stored in the lid and held with turn buttons. The drawers store many types of tools including chisels, small planes, spokeshaves, layout tools such as knives, bevels, pencils and squares. In other words it stores tons of stuff. Those doing the masterclasses series will also have access to a second tool box called a joiners tool box. Again this is traditional, but I have added many new features that make it unique to me and now to you too. Your questions are always welcome and will be answered in order of incoming mail. Some of you have asked about wood type. This chest can of course be made from any wood but if you plan on traveling around with your tools I would avoid heavy woods for sure and shoot for the traditions of softwoods such as pine or spruce. These can be painted and I love milk paint for this. Your choice of colour!
Main box:
Front: 1@ 3/4″ x 5 7/8″ x 24″
Back: 1@ 3/4″ x 11 3/4″ x 24″
Sides: 2 @ 3/4″ x 11 3/4″ x 18″
Rail: 1@ 3/4″ x 1 1/2″ x 24″
Lid and bottom frames:
Long rail 4 @ 3/4″ x 3″ x 26″ (allows 1″ extra length)
Short rail 5 @ 3/4″ x 3″ x 16″
Important note:
Panel material will be sized to finished frames after joinery is completed as there may be some variation depending on individual sizing by participants. Suggest participants add 1/2″ or so to be safe and then cut and fit to exact size later.
Plywood panel for bottom frame:
Ply for panel: 1/4″ x 13 3/4″ x 19 3/4″
Solid panels for top frame
Panels: 5/8″ x 8 3/4″ x 13 3/4″
Plywood compartment bottom: 3/8″ x 17″ x 22 3/4″ (must be cut and planed tight)
Panel support: 7′ lin feet @ 1/2″ x 1/2″
Internal trim: 7′ lin feet @ 1/2″ x 1/2″ quadrant or triangle
My guesstimates for draw:
Fronts:
1 @ 3/4″ 3″ x 23″
1 @ 3/4″ x 2 1/4″ x 23″
Sides
2 @ 1/2″ x 3″ x 17 1/4″
2 @ 1/2″ x 2 1/4″ x 17 1/4″
Backs:
1 @ 1/2″ x 3″ x 23″
2 @ 1/2″ x 2 1/4″ x 23″
One Comment
Thanks nice job one this one.
Comments are closed.
Privacy Notice
You must enter certain information to submit the form on this page. We take the handling of personal information seriously and appreciate your trust in us. Our Privacy Policy sets out important information about us and how we use and protect your personal data and it also explains your legal rights in respect of it. Please click here to read it before you provide any information on this form.
Thanks nice job one this one.