My tool chest today
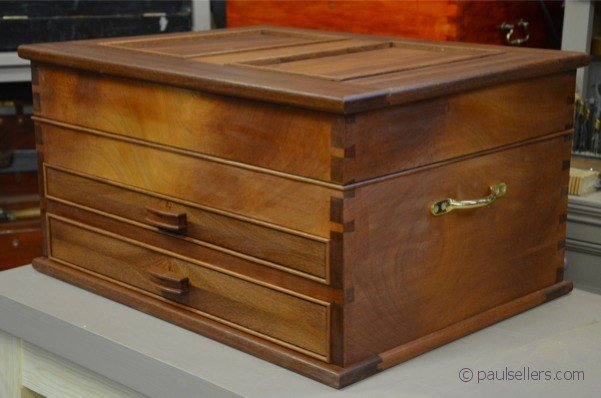
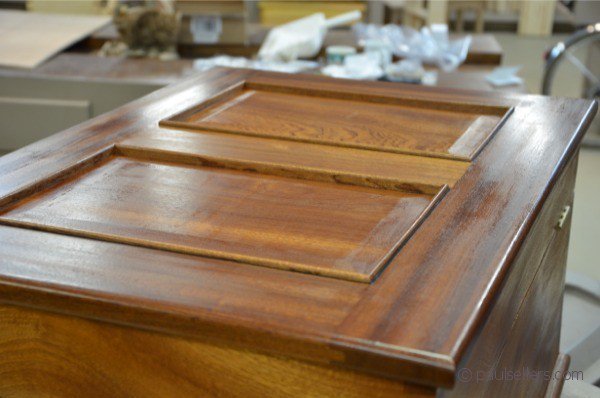
Here is my very near finished chest. Structurally all the joinery work is done. No more tools to touch the outer surfaces of wood from here on. First the sanding coat brings the colour in its most natural state beyond growing from the earth.
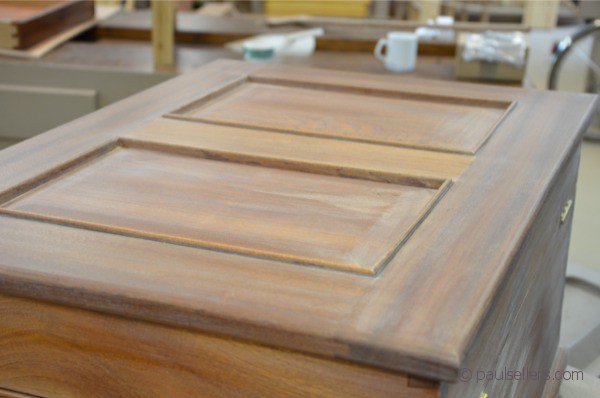
Remember that planing the surface of a round tree to flatness reveals previously unseen layers of tropical or temperate growth depending on where in the world it grew in. A recorded history during the life of the tree if you will that tells of deforestation and rainfall, temperatures and even volcanoes and forest fires. This shouldn’t be considered lightly. It’s a brand new unseen sight and revealed firstly to you as the grain is unpeeled layer by layer with each stroking plane cut taken. No colouring and no coloured finish is added by man at this stage. 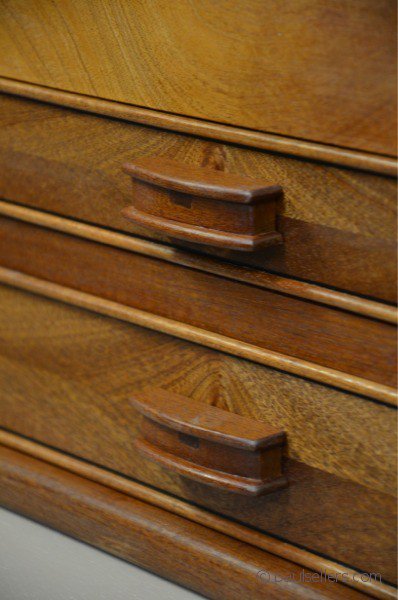
. This I chose to do because of the swirling dominance at the upper half of the box front. This brought a balance I couldn’t get with what I first had.
My drawer handles are made from four pieces of sapele. I make one in a few minutes using a dovetailed joint inside the pieces. Fitting them takes about the same time. I think I can make and fit a handle like this in about ten minutes.
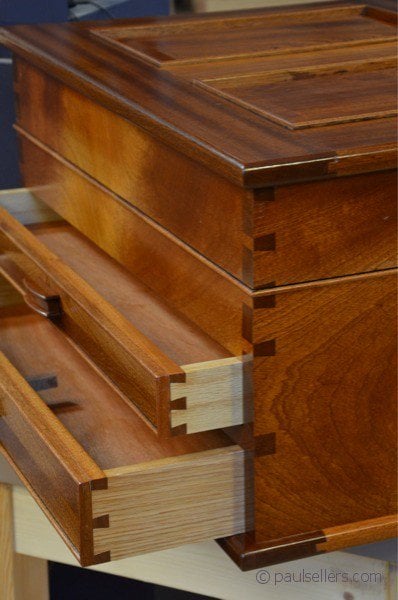
It’s these insights that make the difference at many levels of developing skills. I lined the inside of the cockbead with a black line 3mm wide made from some ebony. I like the crisp and stark delineation this brings on pieces made with certain woods. On the upper section of the box, where the lid separates from the base area of the box, I rebated a cockbead. Once firm and secure I used a Sellers’ technique to insert further ebony inlay between the lid box and cockbead.

I have so enjoyed making these chests in woodworkingmasterclasses.com. I hope that you have too!
It looks beautiful Paul. I really like the drawer handles and cockbead. Not sure if you said you were going to prepare a video on drawer handles, but it would be fun to see you make some.
The handle video will be going up on Woodworking Masterclasses very soon (-:
Sounds great. Thanks Phil.
It looks fantastic Paul, great work.
Beautiful tool chest, Paul…and hopefully you can share your method of applying the cockbead soon. I am about to design a chest of drawers, and had plans to include this feature already, which I really like. I did this on a side table recently – while it came out ok, I was still not totally satisfied with the execution and balance with the overall piece. Perhaps when we do take up this topic, you could give some pointers on furniture design, especially approaches to the design balance.
Quick side note – first time ever I attempted, and did, hand raised panels using a #4 Stanley plane. These are two panels for a headboard, and the top of each is curved. I followed your methods, took care with the layout and they came out ‘perfect’. Thank you so much for your instruction – there is no way these would have come out as well using a machine (or been near the workout) – and I have no idea how I would have safely done the curved top.
The chest is beautiful Paul! A fitting home for your friends and workmates of the past 50 odd years.
Paul, this looks fantastic. The veneers and panels add so much to an already handsome piece.
Anyone reading this that has followed the series in woodworkingmasterclasses.com. I did all of the veneer and inlay work after completing the chest, so if you want to do this, it can be done at any time in the future and i will be doing a session with woodworkingmasterclasses on inlay and veneer work in the coming year.
That really is quite beautiful but there’s more to it than that for me: Being a member of woodworking masterclass, it’s exciting to think that I’m on a journey where I’ll be able to tackle something like this in the future. In the past, I’ve though it a compliment to say ‘If my version comes out half as good, I’ll be really happy’ meaning of course that I think the standard shown to me is very high but Paul, you’re changing my mindset so that I care about my work so much more that one day I hope you’ll see a photo of something I built and think to yourself, ‘I wish I’d build that’. I mean this is a respectful rather than arrogant way.
I love that thought, hold it!!!
Love it Paul looks to good for tool chest.
looking forward to veneering tutorial .
I have a cherry table I have made and I have bought some camphor veneer for the top quite stunning . Never done any veneer work before .
Wow Paul that is simply beautiful, very nice job indeed and enjoyed and looked forward to the “classes” each week. I would love to see more detail on your Handles as well as the Cock Bead which really adds to the piece.
Thanks again for sharing your experience and talent with us, you have inspired me more than any other Wood Worker I know. I only wish I would have had the opportunity to meet you 25 years ago.
Steve