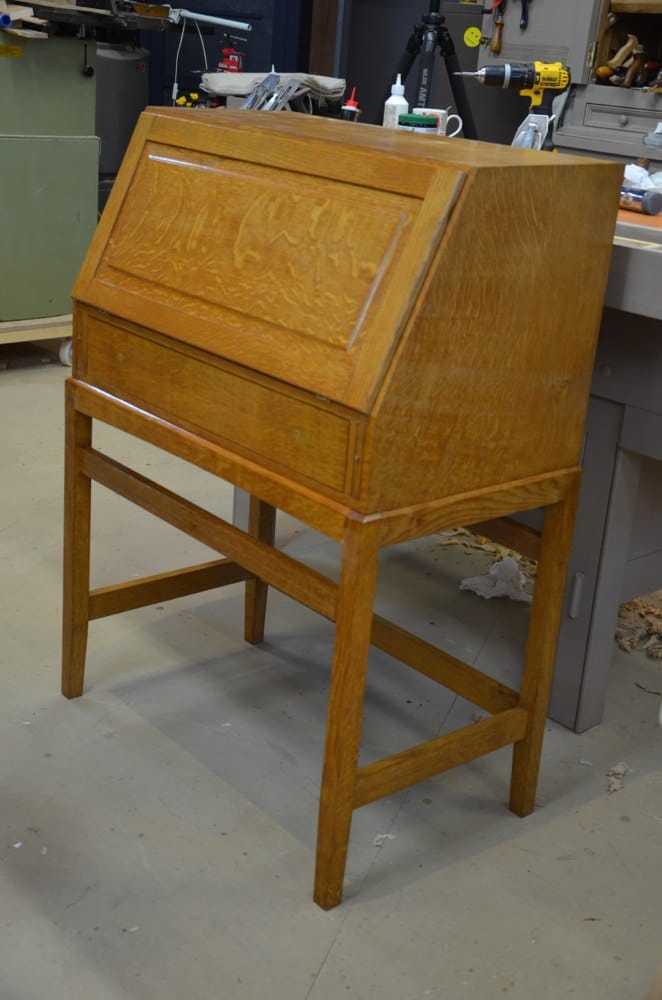
Finally – Restoring the Fall-front Desk
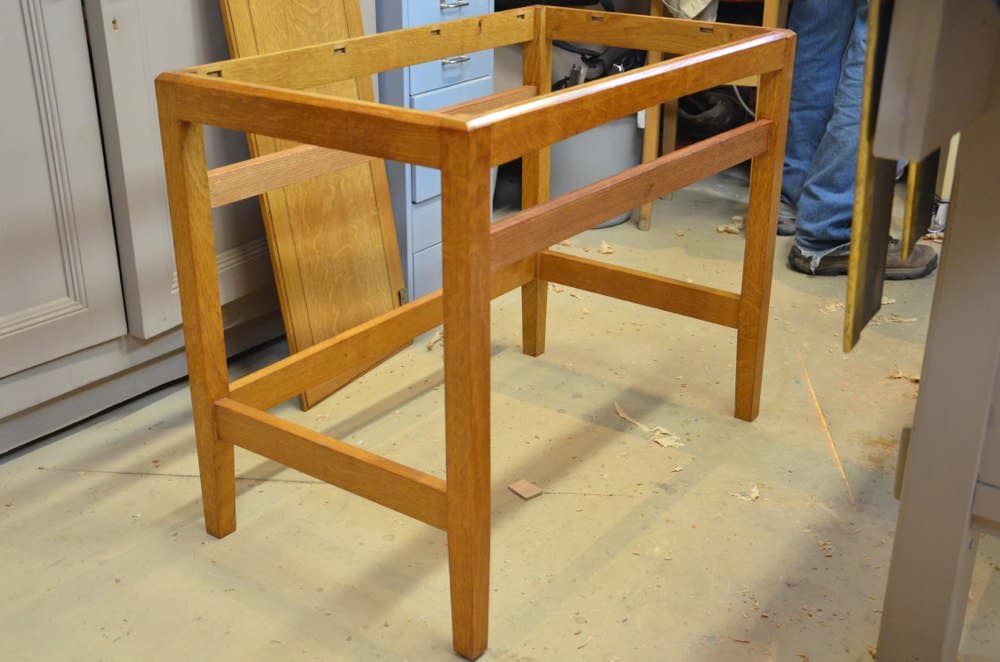
I returned the base frame parts back together over the last couple of days and even the parts that might have seemed disconcerting vanished when I levelled and smoothed everything back to good finish and applied the shellac. My how solid the frame feels now and I can’t really see where the repair work took place. I replaced the top desk part to the leg frame with the 12 original turn buttons, stained the new rails I inserted and applied shellac to match the existing.
Interesting aspects inside the desk area revealed aspects to the design that will help you to consider essential elements that can trip up good design.
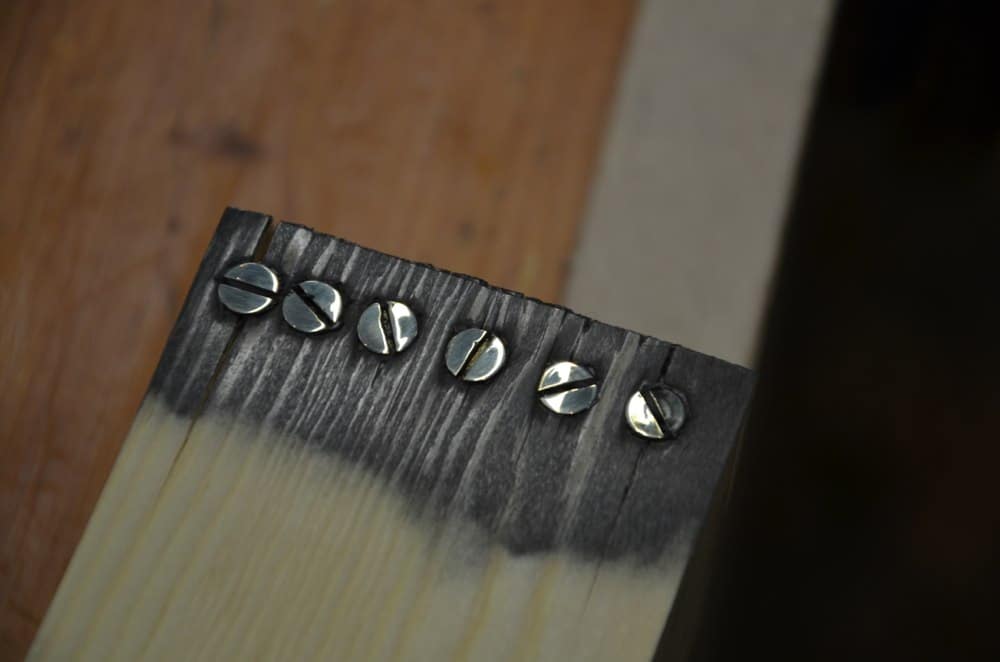
The back panel was a good quality 1/4” plywood faced one side with a quarter sawn oak veneer on the face side and a mahogany-type veneer the other. The way the plywood panel was fitted into the rebates was unusual in the the edge of the plywood was chamfered at 45-degrees and so too the wall of the reveal the plywood fitted into.Everything was nicely fitted and flush. He used 5/8” #4 brass countersunk screws to secure the plywood to the oak body.
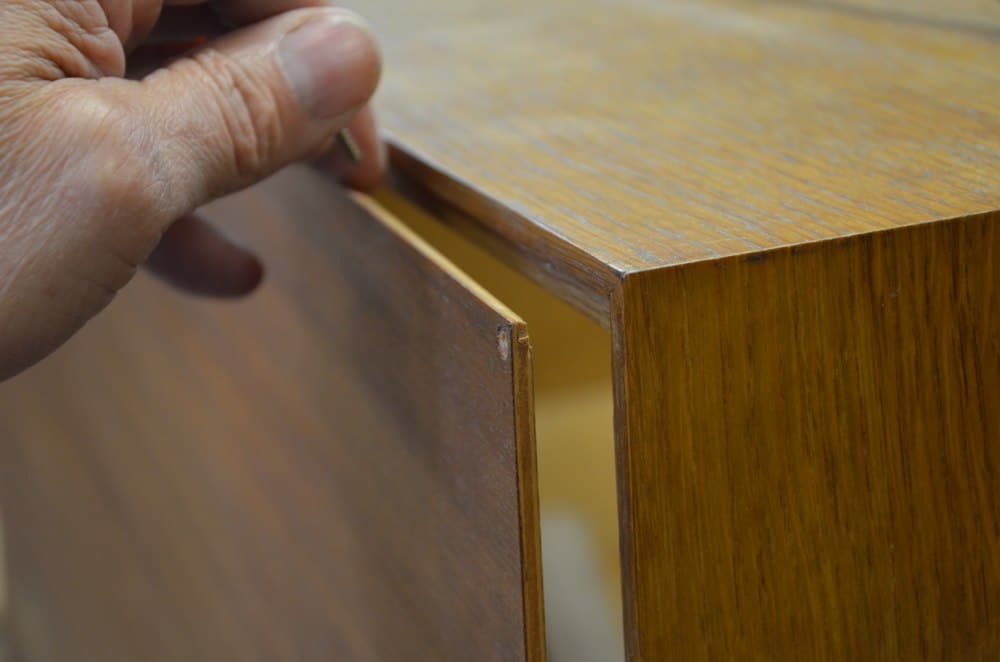
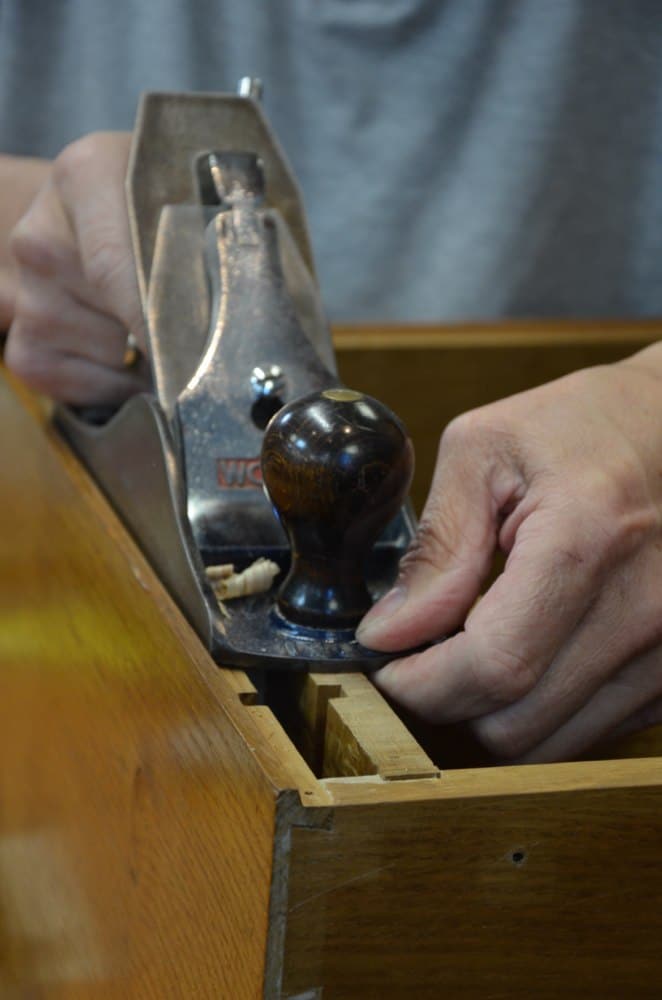
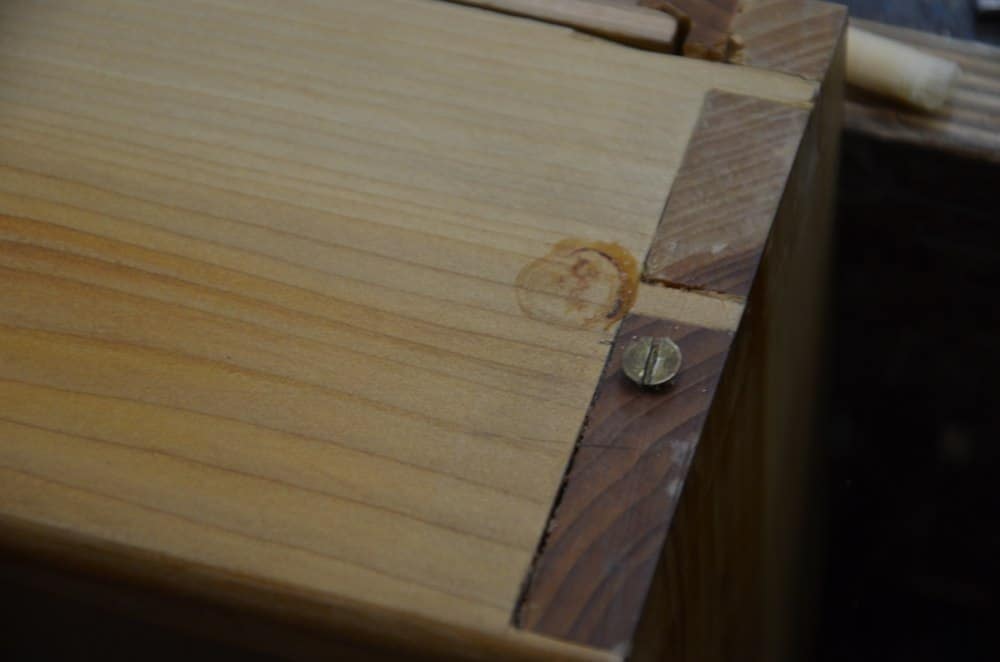
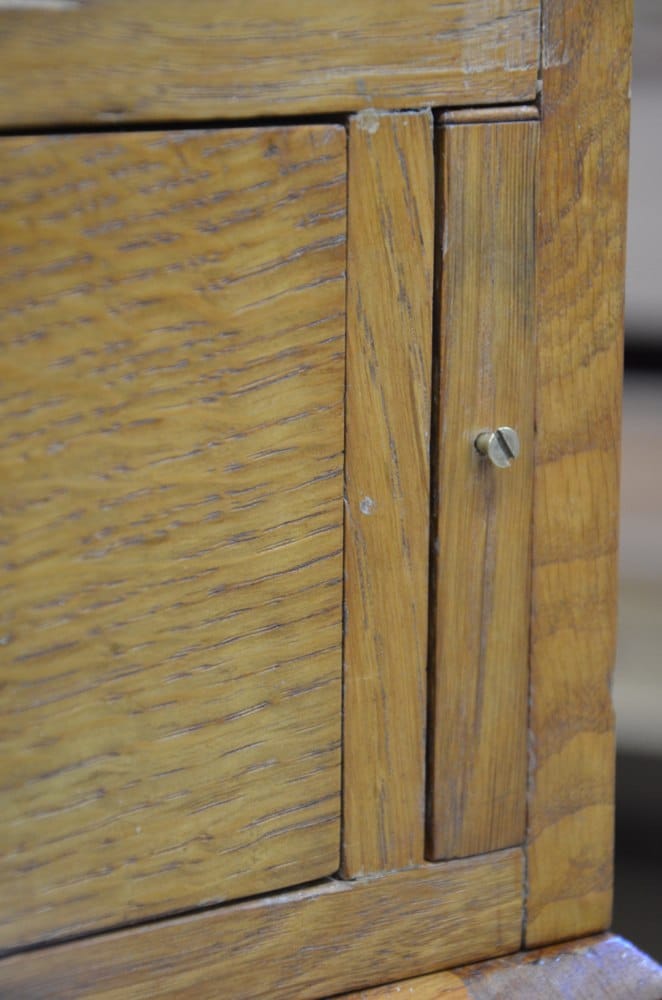
I had noticed that the slide-in oak supports protruded past the front face of the desk by 1/16” and asked John and Phil why they thought that he had not fitted them flush. Neither could give me an answer. I said I thought that it was a flawed design and asked them what the flaw was. Again neither could give me a correct answer. I pointed out further that the drawer also protruded past the front face by the same 1/16”, which might take some correcting because the drawer was dovetailed on the back corners instead of using a housing dado.
Slide in desk support showing protruding support at front.
The answer of course was that the overall case had shrunk by 1/16” and the supports had the grain oriented length ways and almost zero shrinkage or expansion takes place in the length of wood, much more variance occurs in width according to absorption and release of moisture in the atmosphere surrounding the piece in the everyday of life.
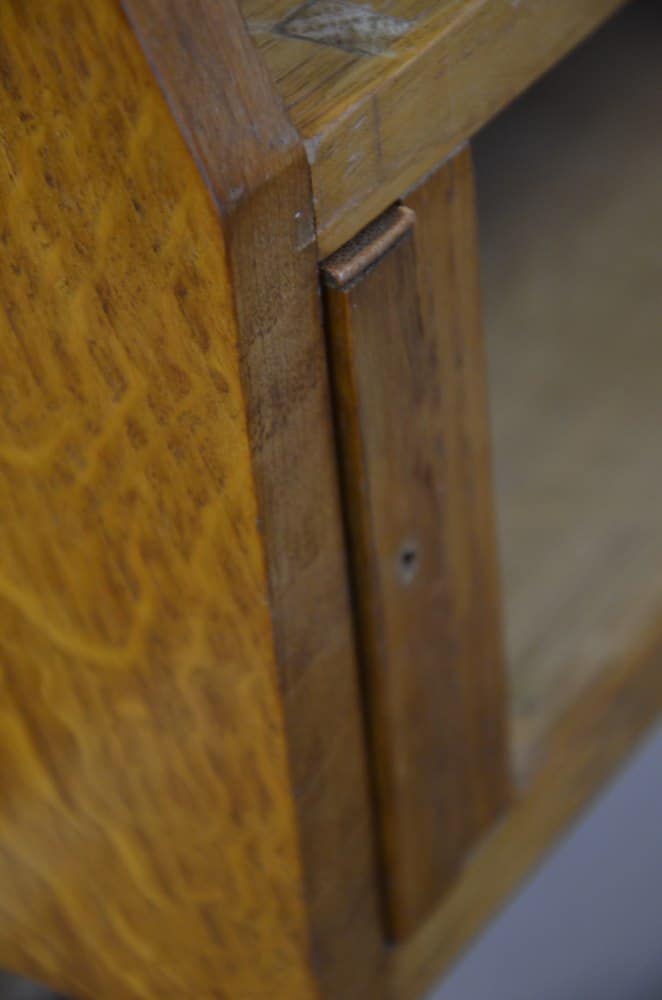
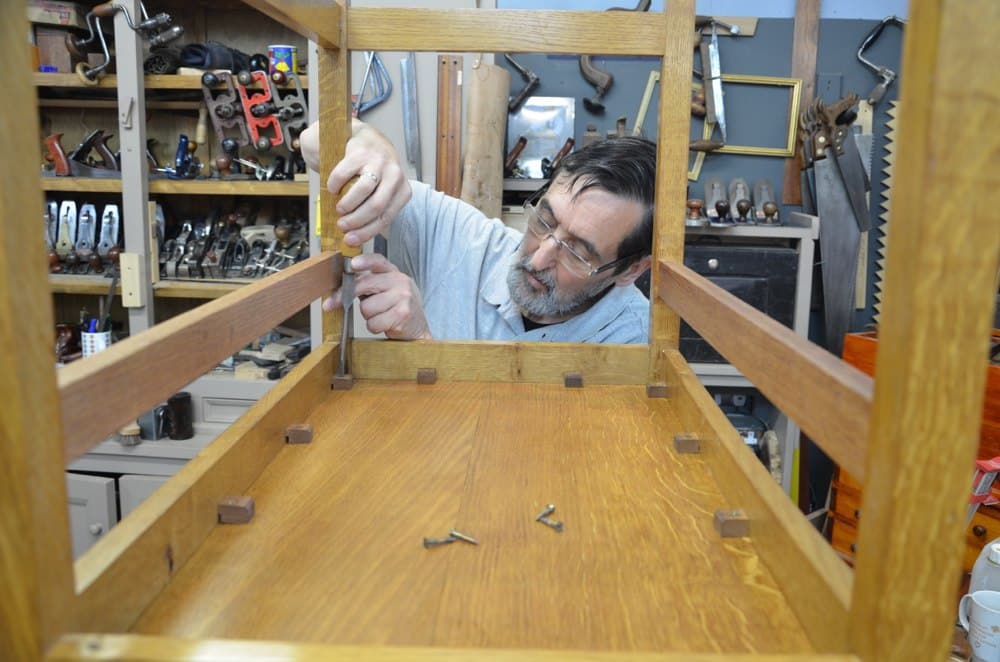
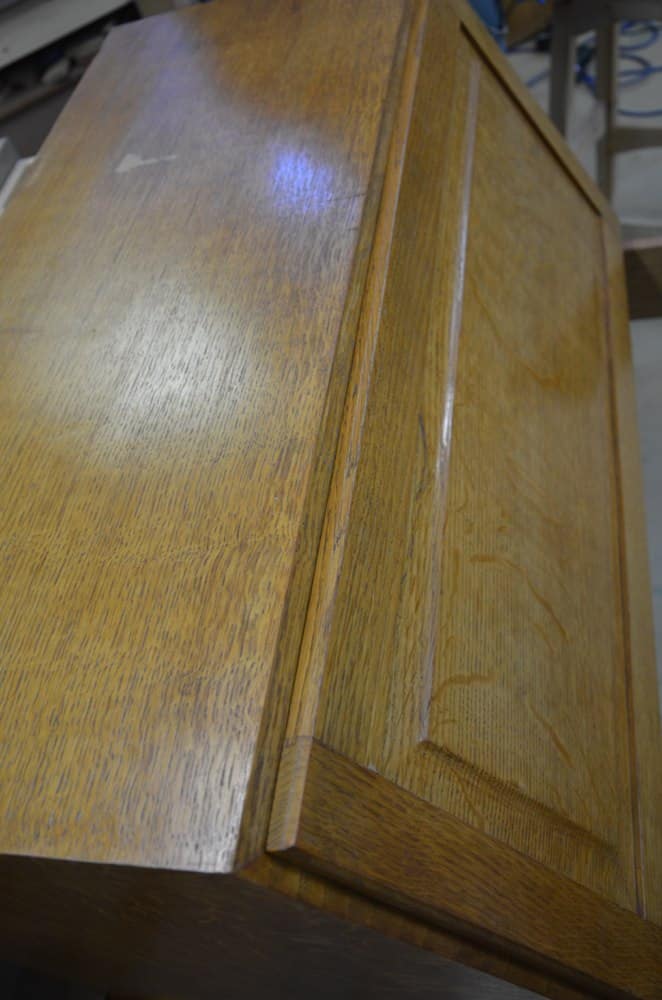
Rear inside of the case, showing the support enclosure behind the plywood back.
Removing the back ply panel showed that the inside enclosure wall to the support pieces was also oriented the same alternate way and the added length showed at the back of the cabinet and protruded the same 1/16” back there. The reason shrinkage showed at the back was because the front edge of the divider was tenoned into the main desk carcass, fixing the point from which shrinkage would take place.
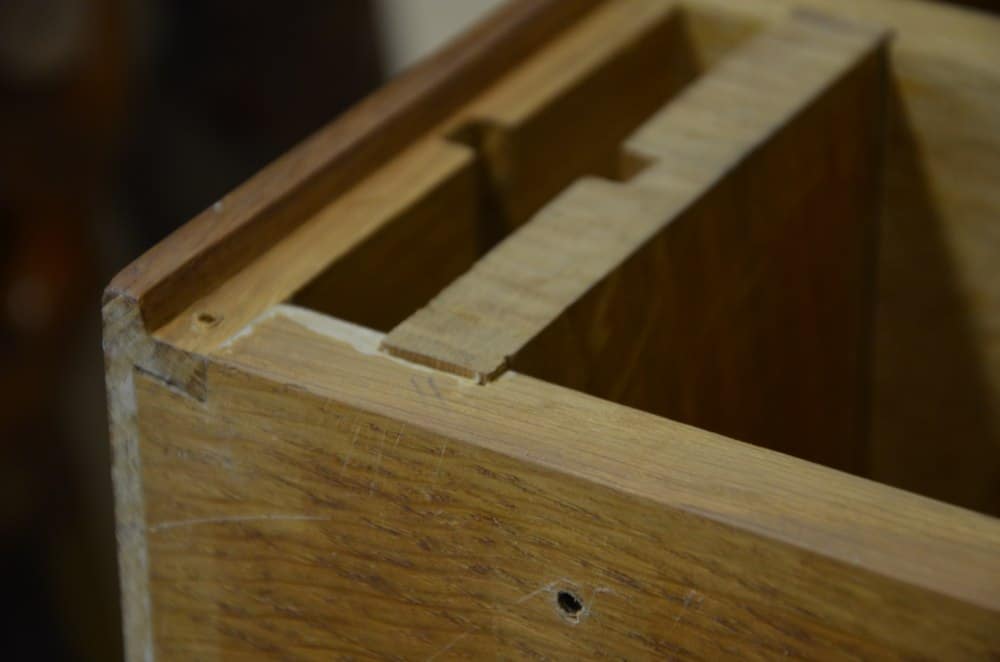
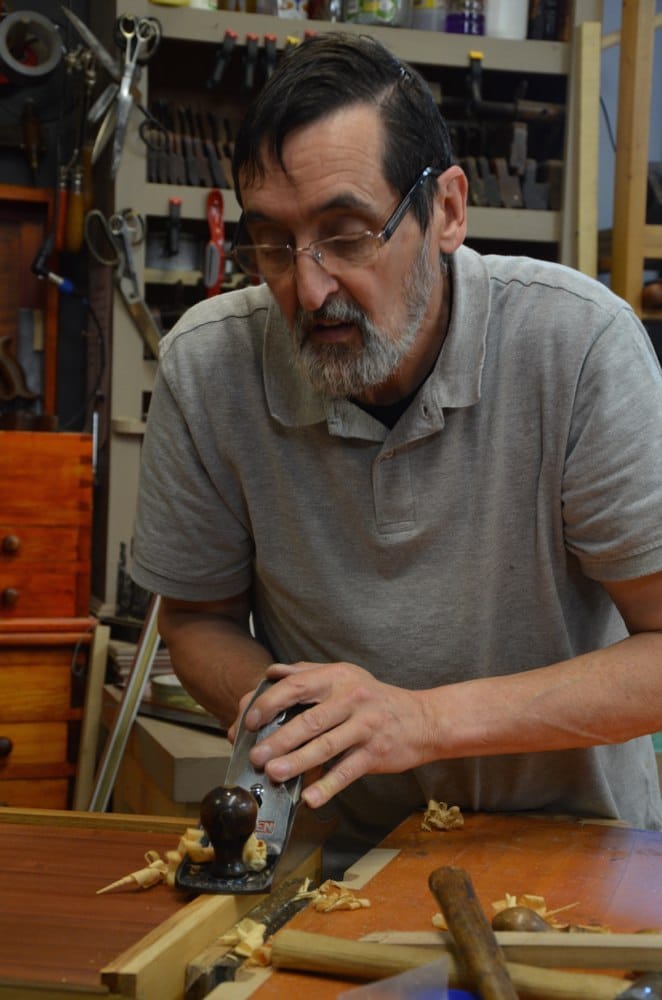
I was able to clamp the box in the vise and plane the back edge flush again. I also trimmed off 1/16” from the back end of the lid supports so that they would line up flush with the front edge of the desk again as in the original intent.
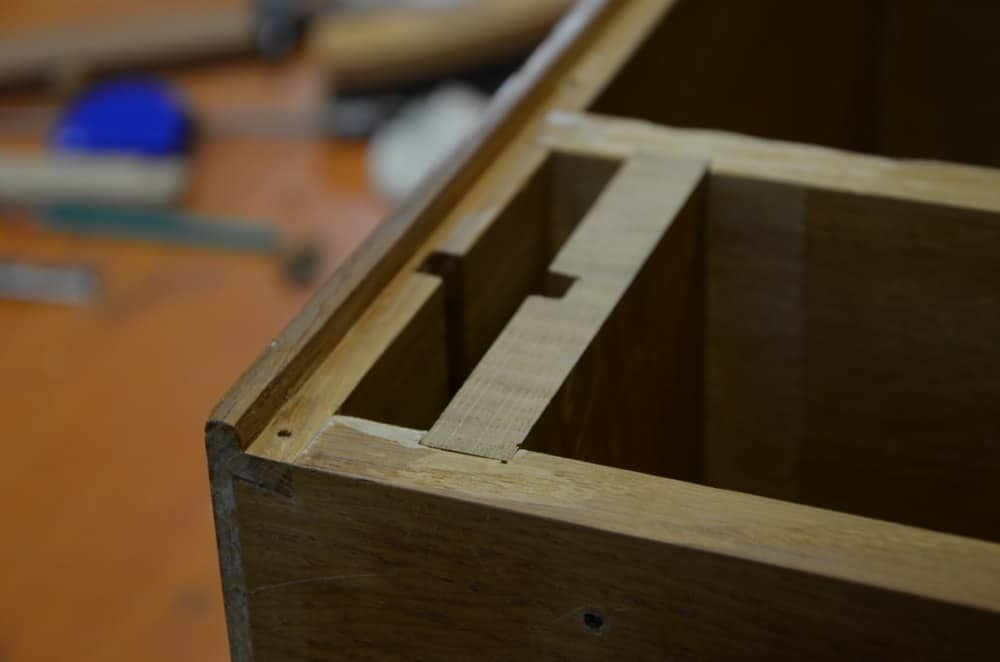
The flushed divider.
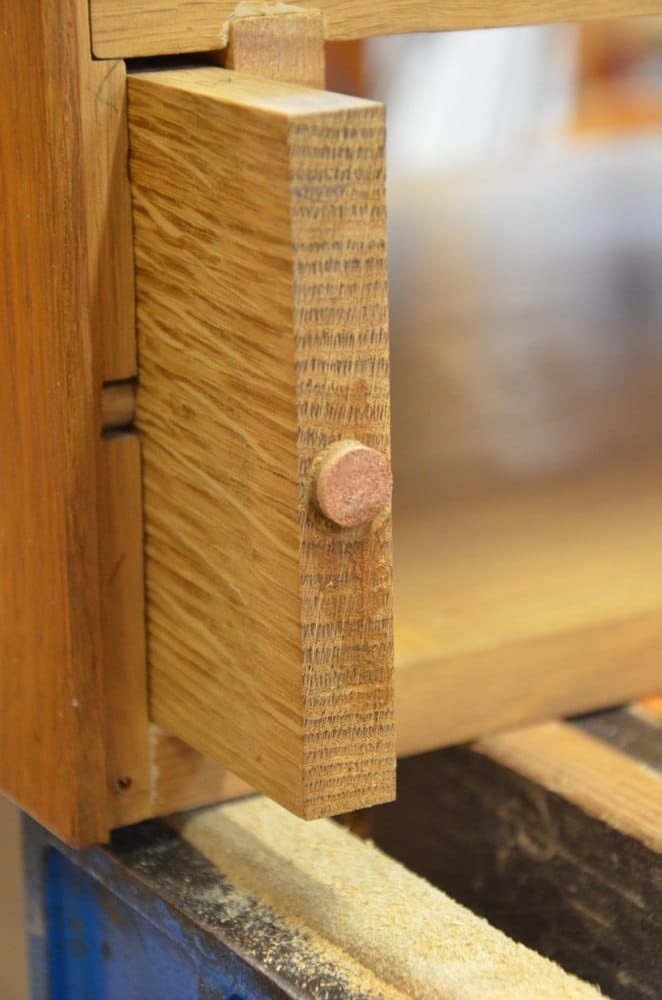
Removing the plywood back allowed me access to the supports and I could pull them out from the back. A cut and recessed 3/8” dowel was fitted through the rounder loosely and fitted into 3/8” grooves aligned to allow the dowel free passage to a stop position inside the grooves. 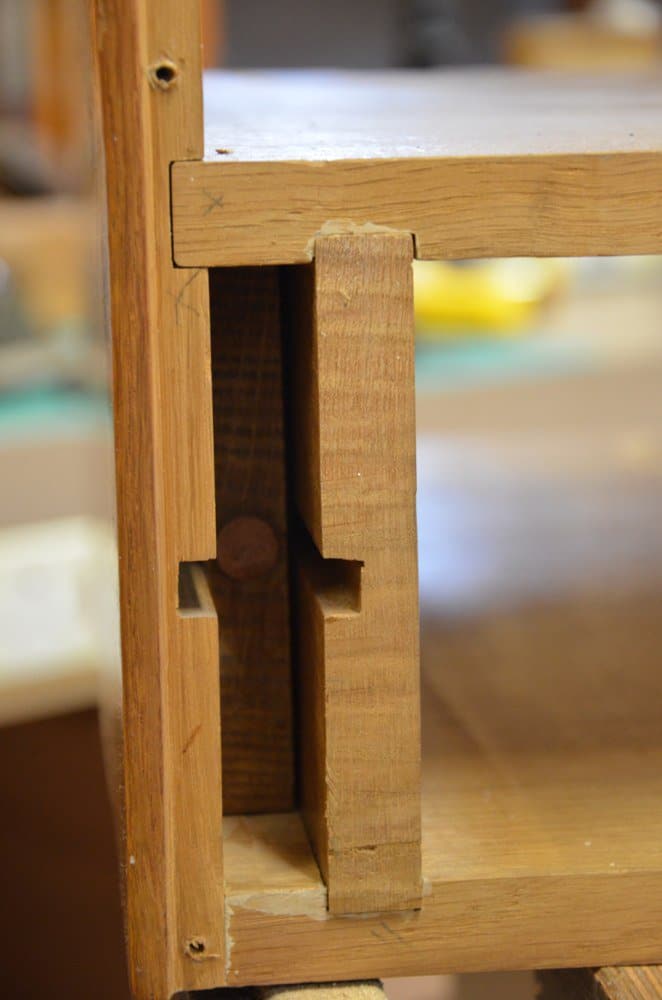
I noticed that the supports and the drawer front didn’t align with the perpendicular parts of the front as if the drawer and supports were out of square. To correct this I planed the undersides of the drawer sides and the undersides of the supports from zero at the front to about 1/16” at the rear of the drawer sides and the supports and then they all aligned perfectly.
I enclosed everything back as original and enjoyed the work.
Screwing the turn buttons in sequence took only minutes because they were all numbered and ready to align with threaded holes again. I melted into the background of my workshop to look after standing it back on its legs and feeling how solid it now is. 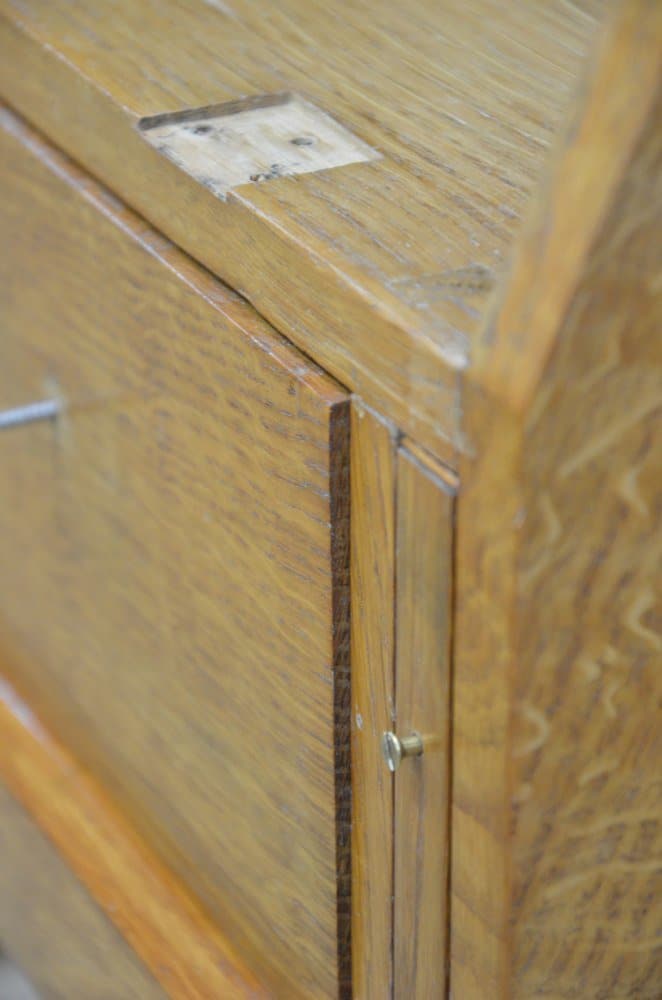

There was no scallop to the edges of the fall front and I found it awkward to open it. I scalloped a small point to make it easier.
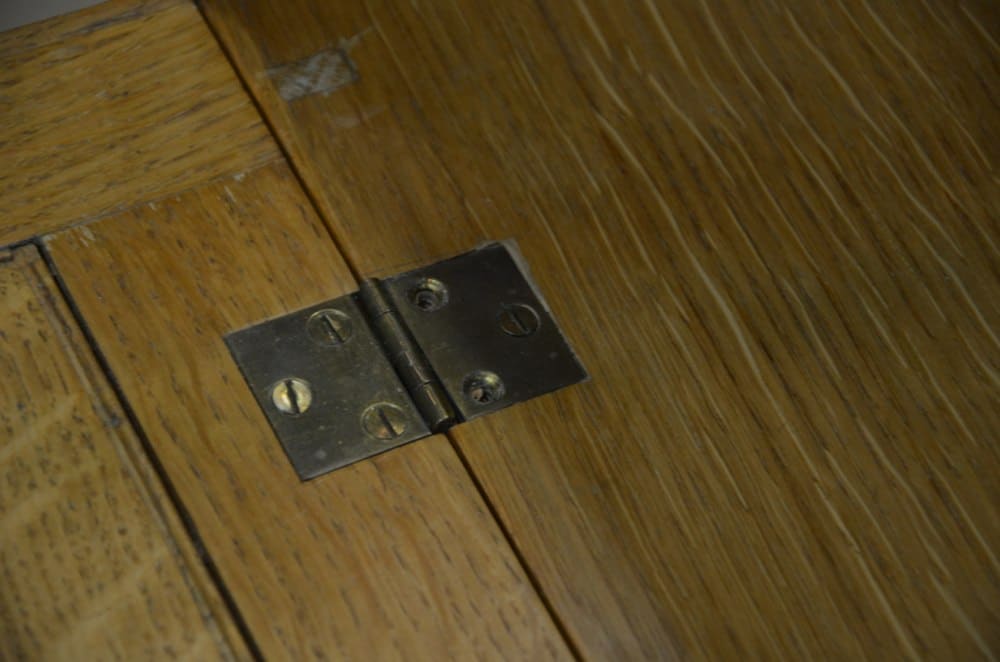
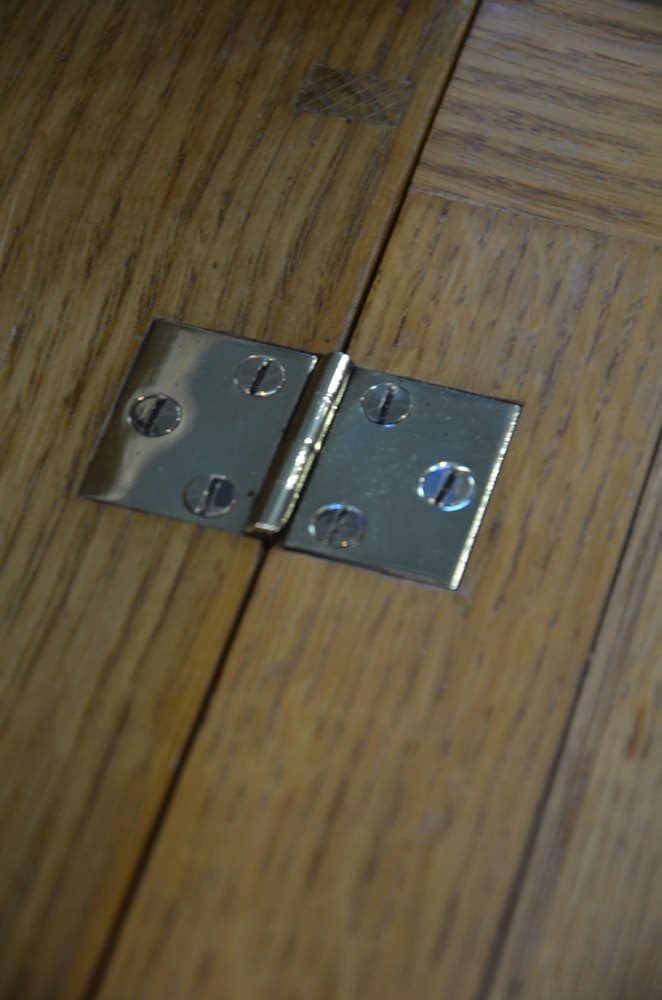
The two hinges were brass and well made. I decided to remove them and polish them with the screws. To prevent the screws from rounding over I screwed them flush with the surface of a piece of scrap wood and buffed them on a polishing mop.
Two added coats of shellac restored the overall surface work and tomorrow, with a wad of steel wool and soft wax, most of the remedial work will be done.
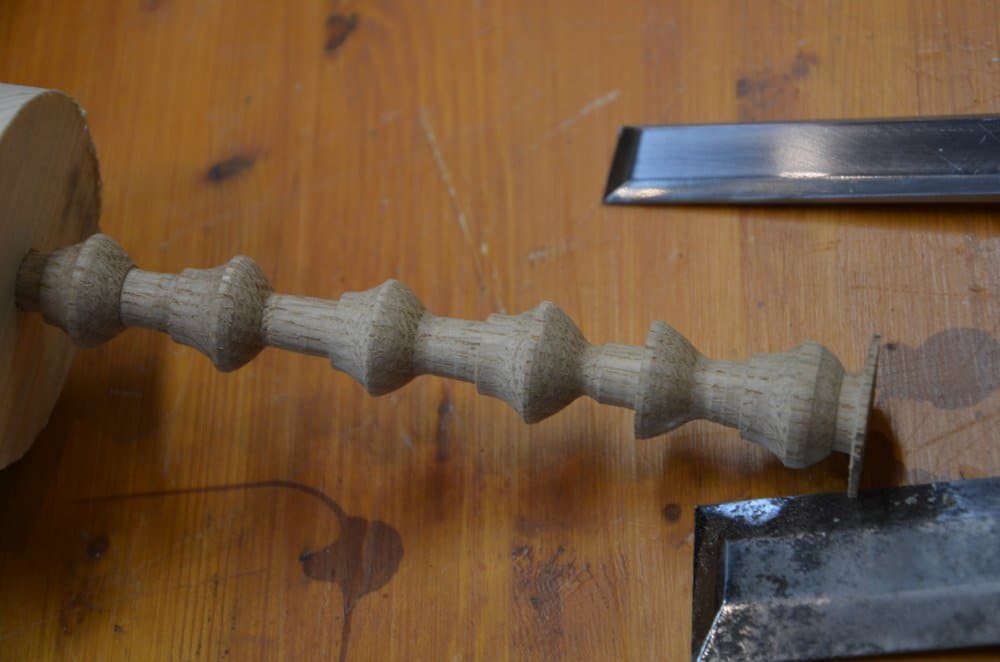
Before I left this evening I chucked up some oak for four new knobs and rough turned them ready for detail work tomorrow. Nearly done now.

A lovely little desk, worth far more than the sum of it’s parts. Well worth saving I think. Well done Paul, and thanks.
Mark
Paul,
How do you disassemble old, glued joints?
Pardon the pun, start with hit and miss with a soft or hard faced nylon hammer. If you see movement. Chanced are it will part. If not ask yourself if you need it parting. If you do, find what dissolves the glue. Hot steam, heat gun, vinegar and so on.
What a beautiful little desk. What a fantastic job of restoring it. I don’t know if the new pieces look as they do in the picture up close but I would never have known you added the extra support pieces had you just shown us that picture without the rest of the blog. Beautiful work sir.
Bill
Almost makes you wonder if there’s more business to be had restoring old furniture rather than making new, given the price of timber in the UK these days.
Thanks very much Paul, it’s been a real eye opener, and I agree with your observations about the glue from the question I asked.
Jon
Yes. This would be two weeks to make plus wood costs.
Paul why the 45 deg for the back panel and not just a straight rabbet? Does it allow for less restriction during movement? Or just a choice of the maker?
I think personal choice. Harder to accomplish by hand. Back was neatly finished really.
It is another element to your teaching that is very informative and much appreciated. The fact that the piece merited your time demonstrates the consideration given in something worth saving and improving. There is a lot of rhetoric currently thrown about regarding recycling and reusing on what is essentially a fairly basic level. Restoring and improving, building upon the work of a prior craftsman in materials that do have the longevity and the aesthetic and practical appeal to be of future use and value is truly a harmonious use of our resources, both in material and time. A small contribution to the overall continuation of a legacy and history is no small thing either.
That looks great! I love looking out for old pieces. It is getting harder to find quality old furniture such as this that hasn’t had had a gallon of Annie Sloan slapped on it
Hi Paul, I love your videos. I must admit you are a recent discovery for me. I have enjoyed your endearing folksy charm. I came onto a 2012 subject on chair tenons, by Jeff Miller in your blog. I was surprised by what seems like an attack of his advice . Maybe there was more to this . That you dont agree with his advice , yea I got that.The thing is you could of suggested how you do it and why and left it at that. As a tradesman of more than several decades,myself. I found your comments disrespectful of Mr. Miller. In my experience and at my age ,I can only hope masters such as yourself not only want to raise the skill level in your chosen discipline, but raise the character level of those who work in it as well. I think the best way to accomplish both is to demonstrate good workmanship and good character. Your response seemed a bit personal. Maybe this was a bad day. Im sure Mr. Miller has paid his dues . Im not a professional woodworker ,but as stated a tradesman with decades of experience ,One thing I know , is there are always more than one method that can accomplish the desired out come.In every trade it is highly visible how those with experience treat each other.I have enjoyed your work via U tube as I have also enjoyed Mr Millers articles, If you read this thank you for taking the time. Thomas Allen USA