A Shaker-style Dresser
2nd November 2016

For the prototype I will use pine, but the filmed version will be in cherry.
This week I will make the chest of drawers I’ve designed as a training project for people to learn from. In the process I will also discuss the details of why decisions were made by the shakers to create specific pieces even down to the planes they used and the resultant plane marks left in the wood. I plan on using wooden planes alongside their metal counterparts too, to put me in the zone of the American Shakers of say the 1800s. I think you will find this interesting. 
Panel Making
My project needs three panels sized for the sides and the top. I am using pre-machined material bought from the local builder’s yard. The wood is very nice and clear of knots. Not always possible with the available pine here in the UK.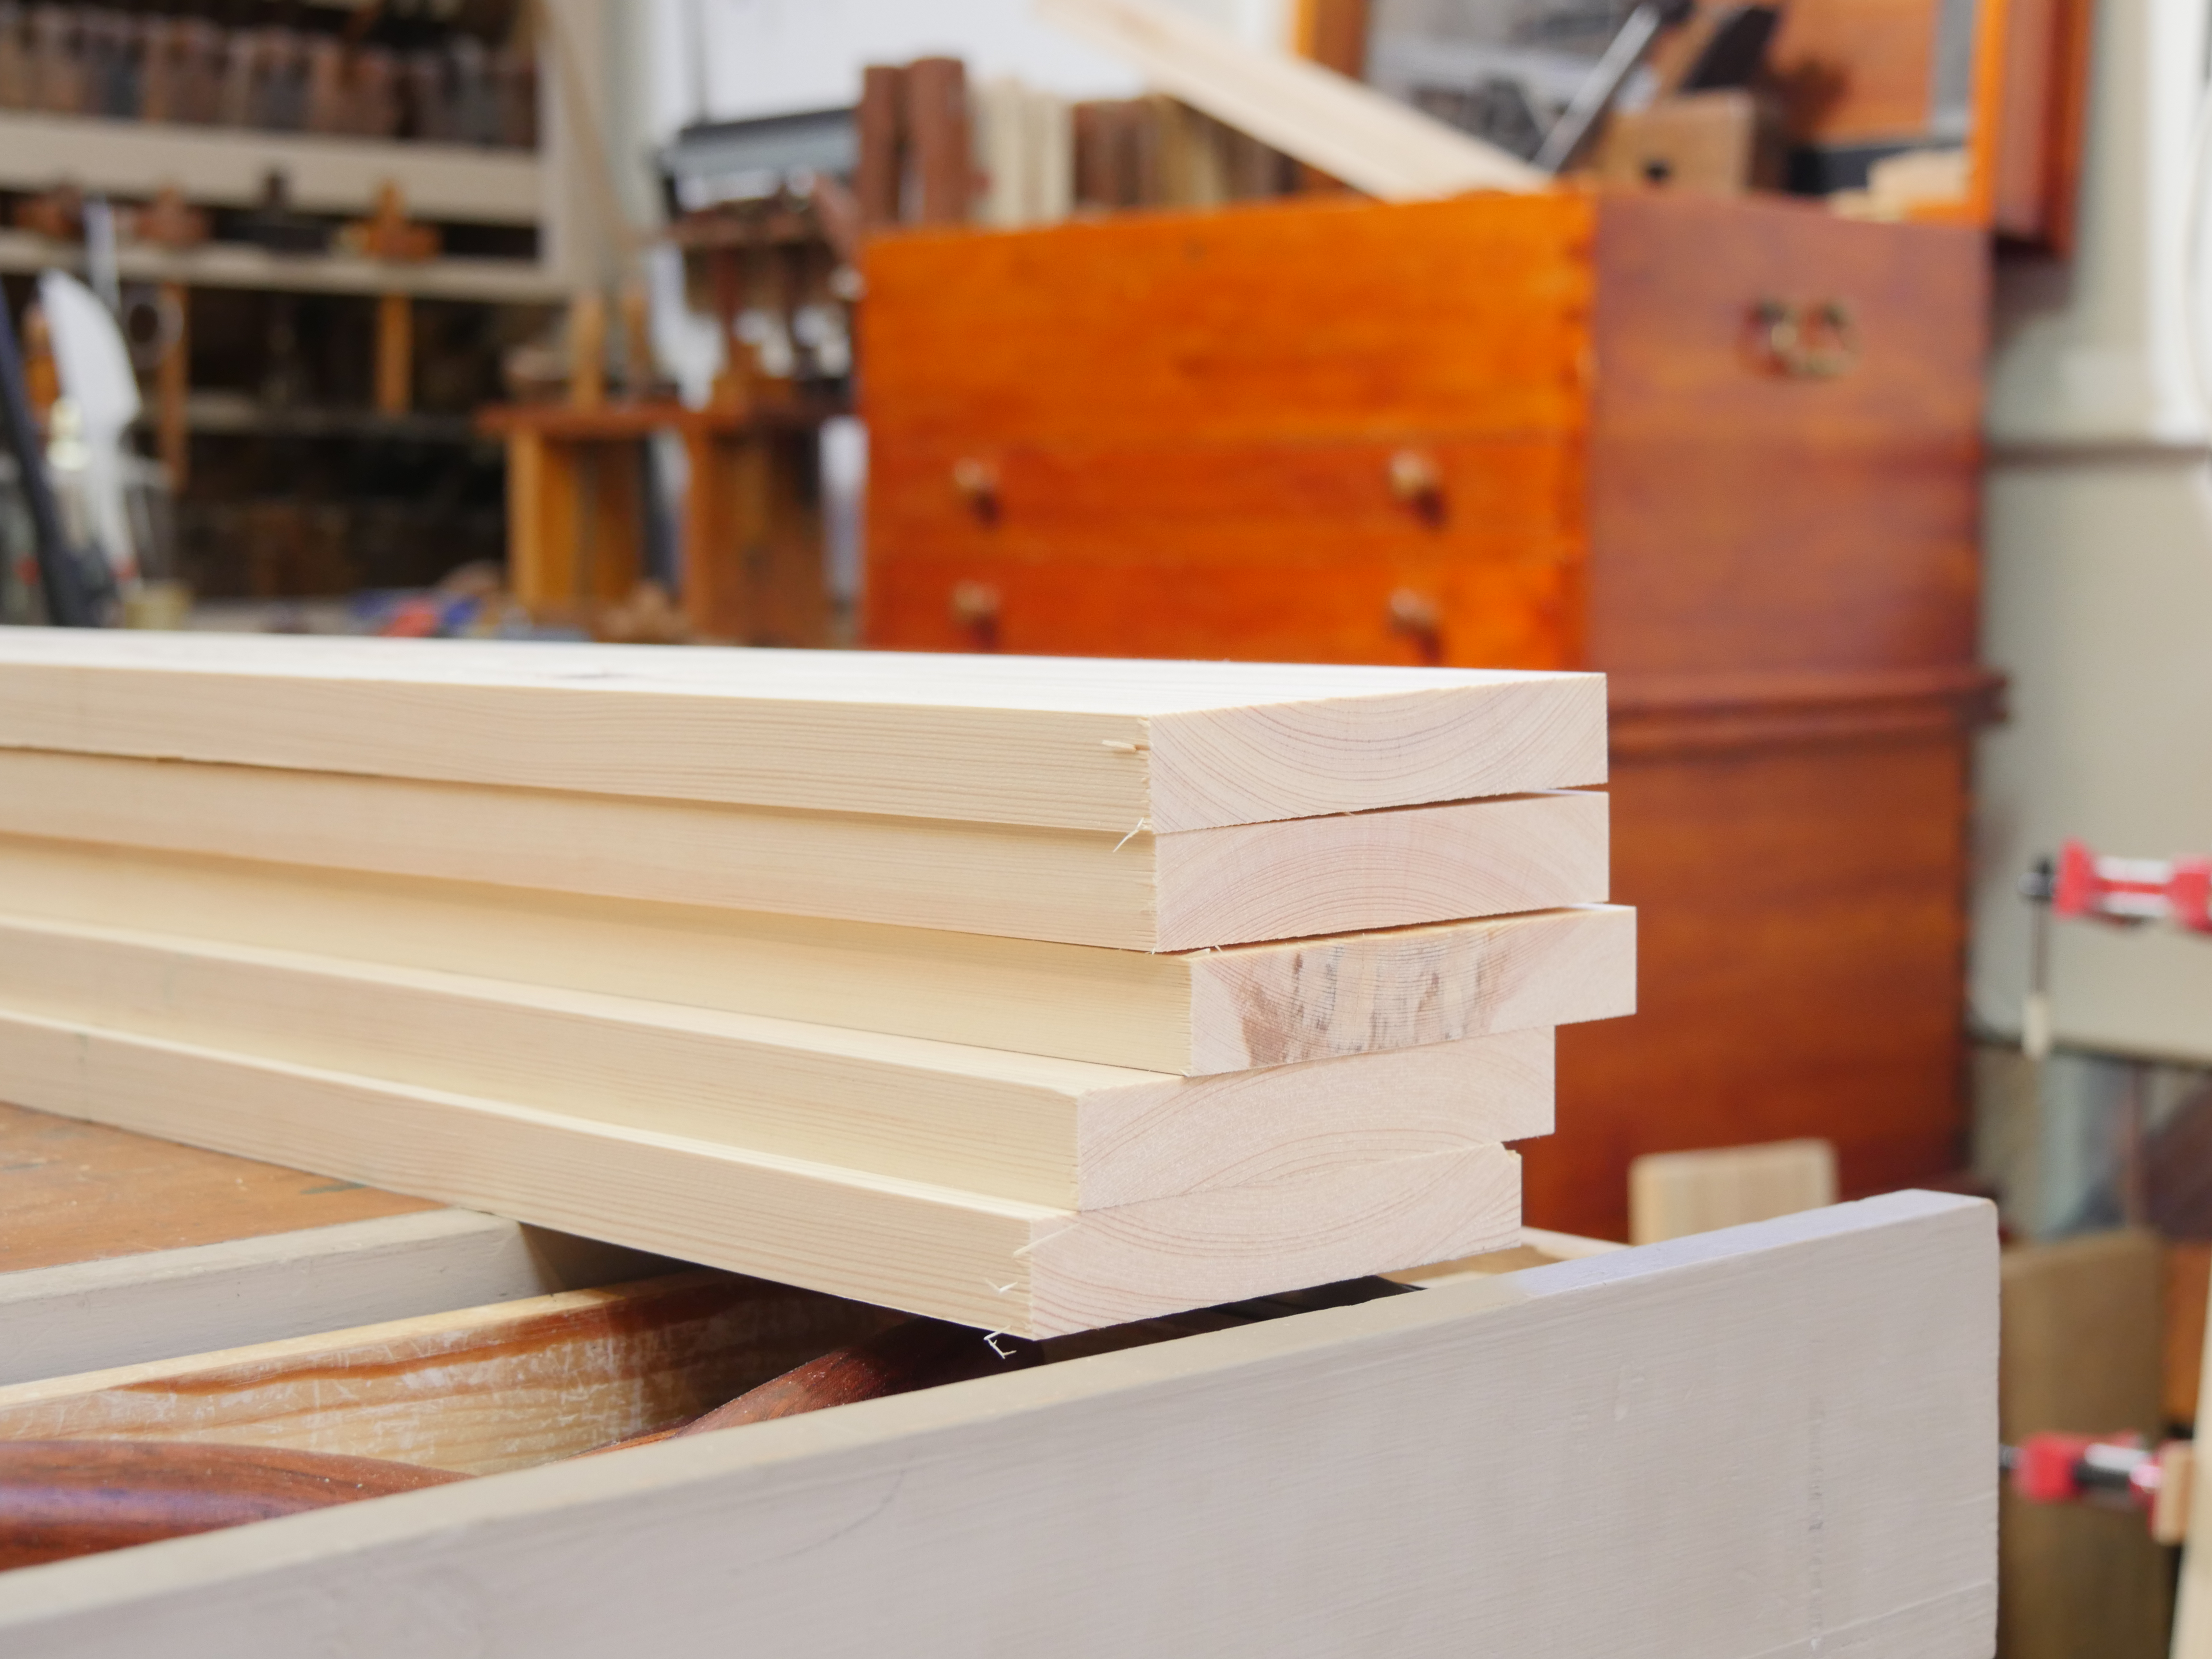
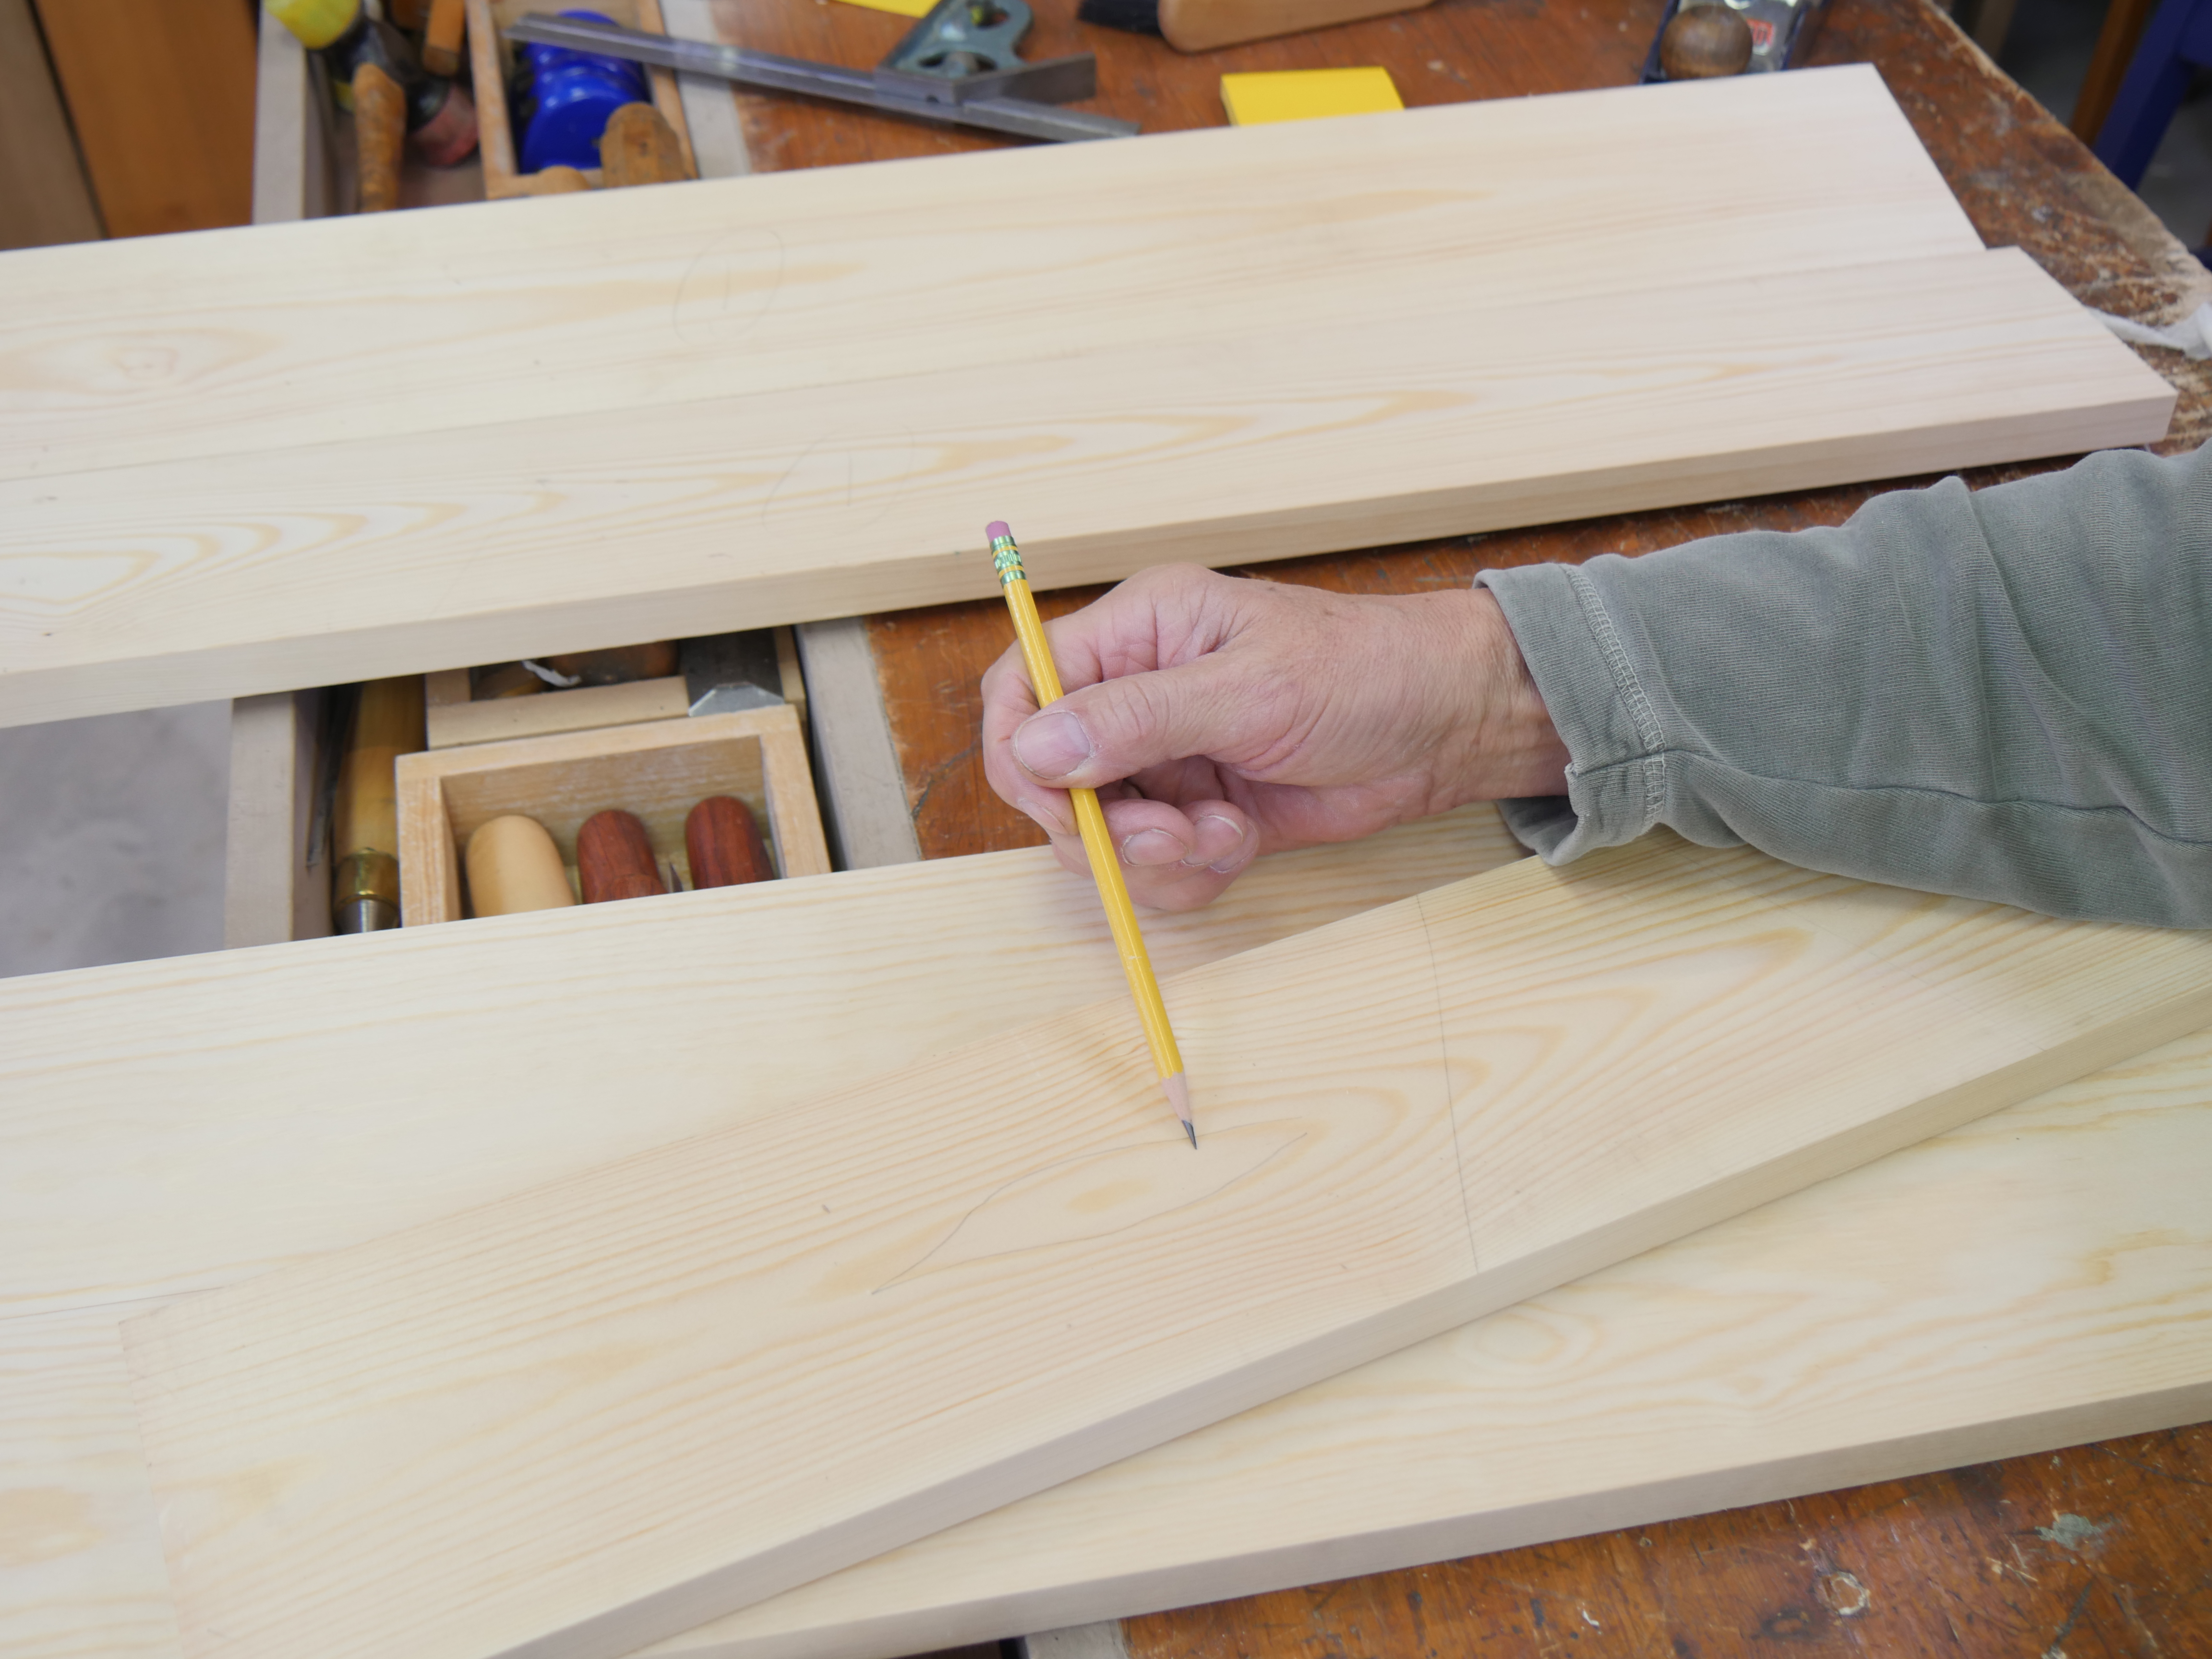
Because my wood comes from pre-machined I can simply start out by surface planing the faces I have chosen as the external or visible surfaces. In this case it is a single shaving a plane’s width across the width of the boards. I start planing at about 10-12” from the out-cut end, the end my plane exits towards and from at at the conclusion of the strokes. 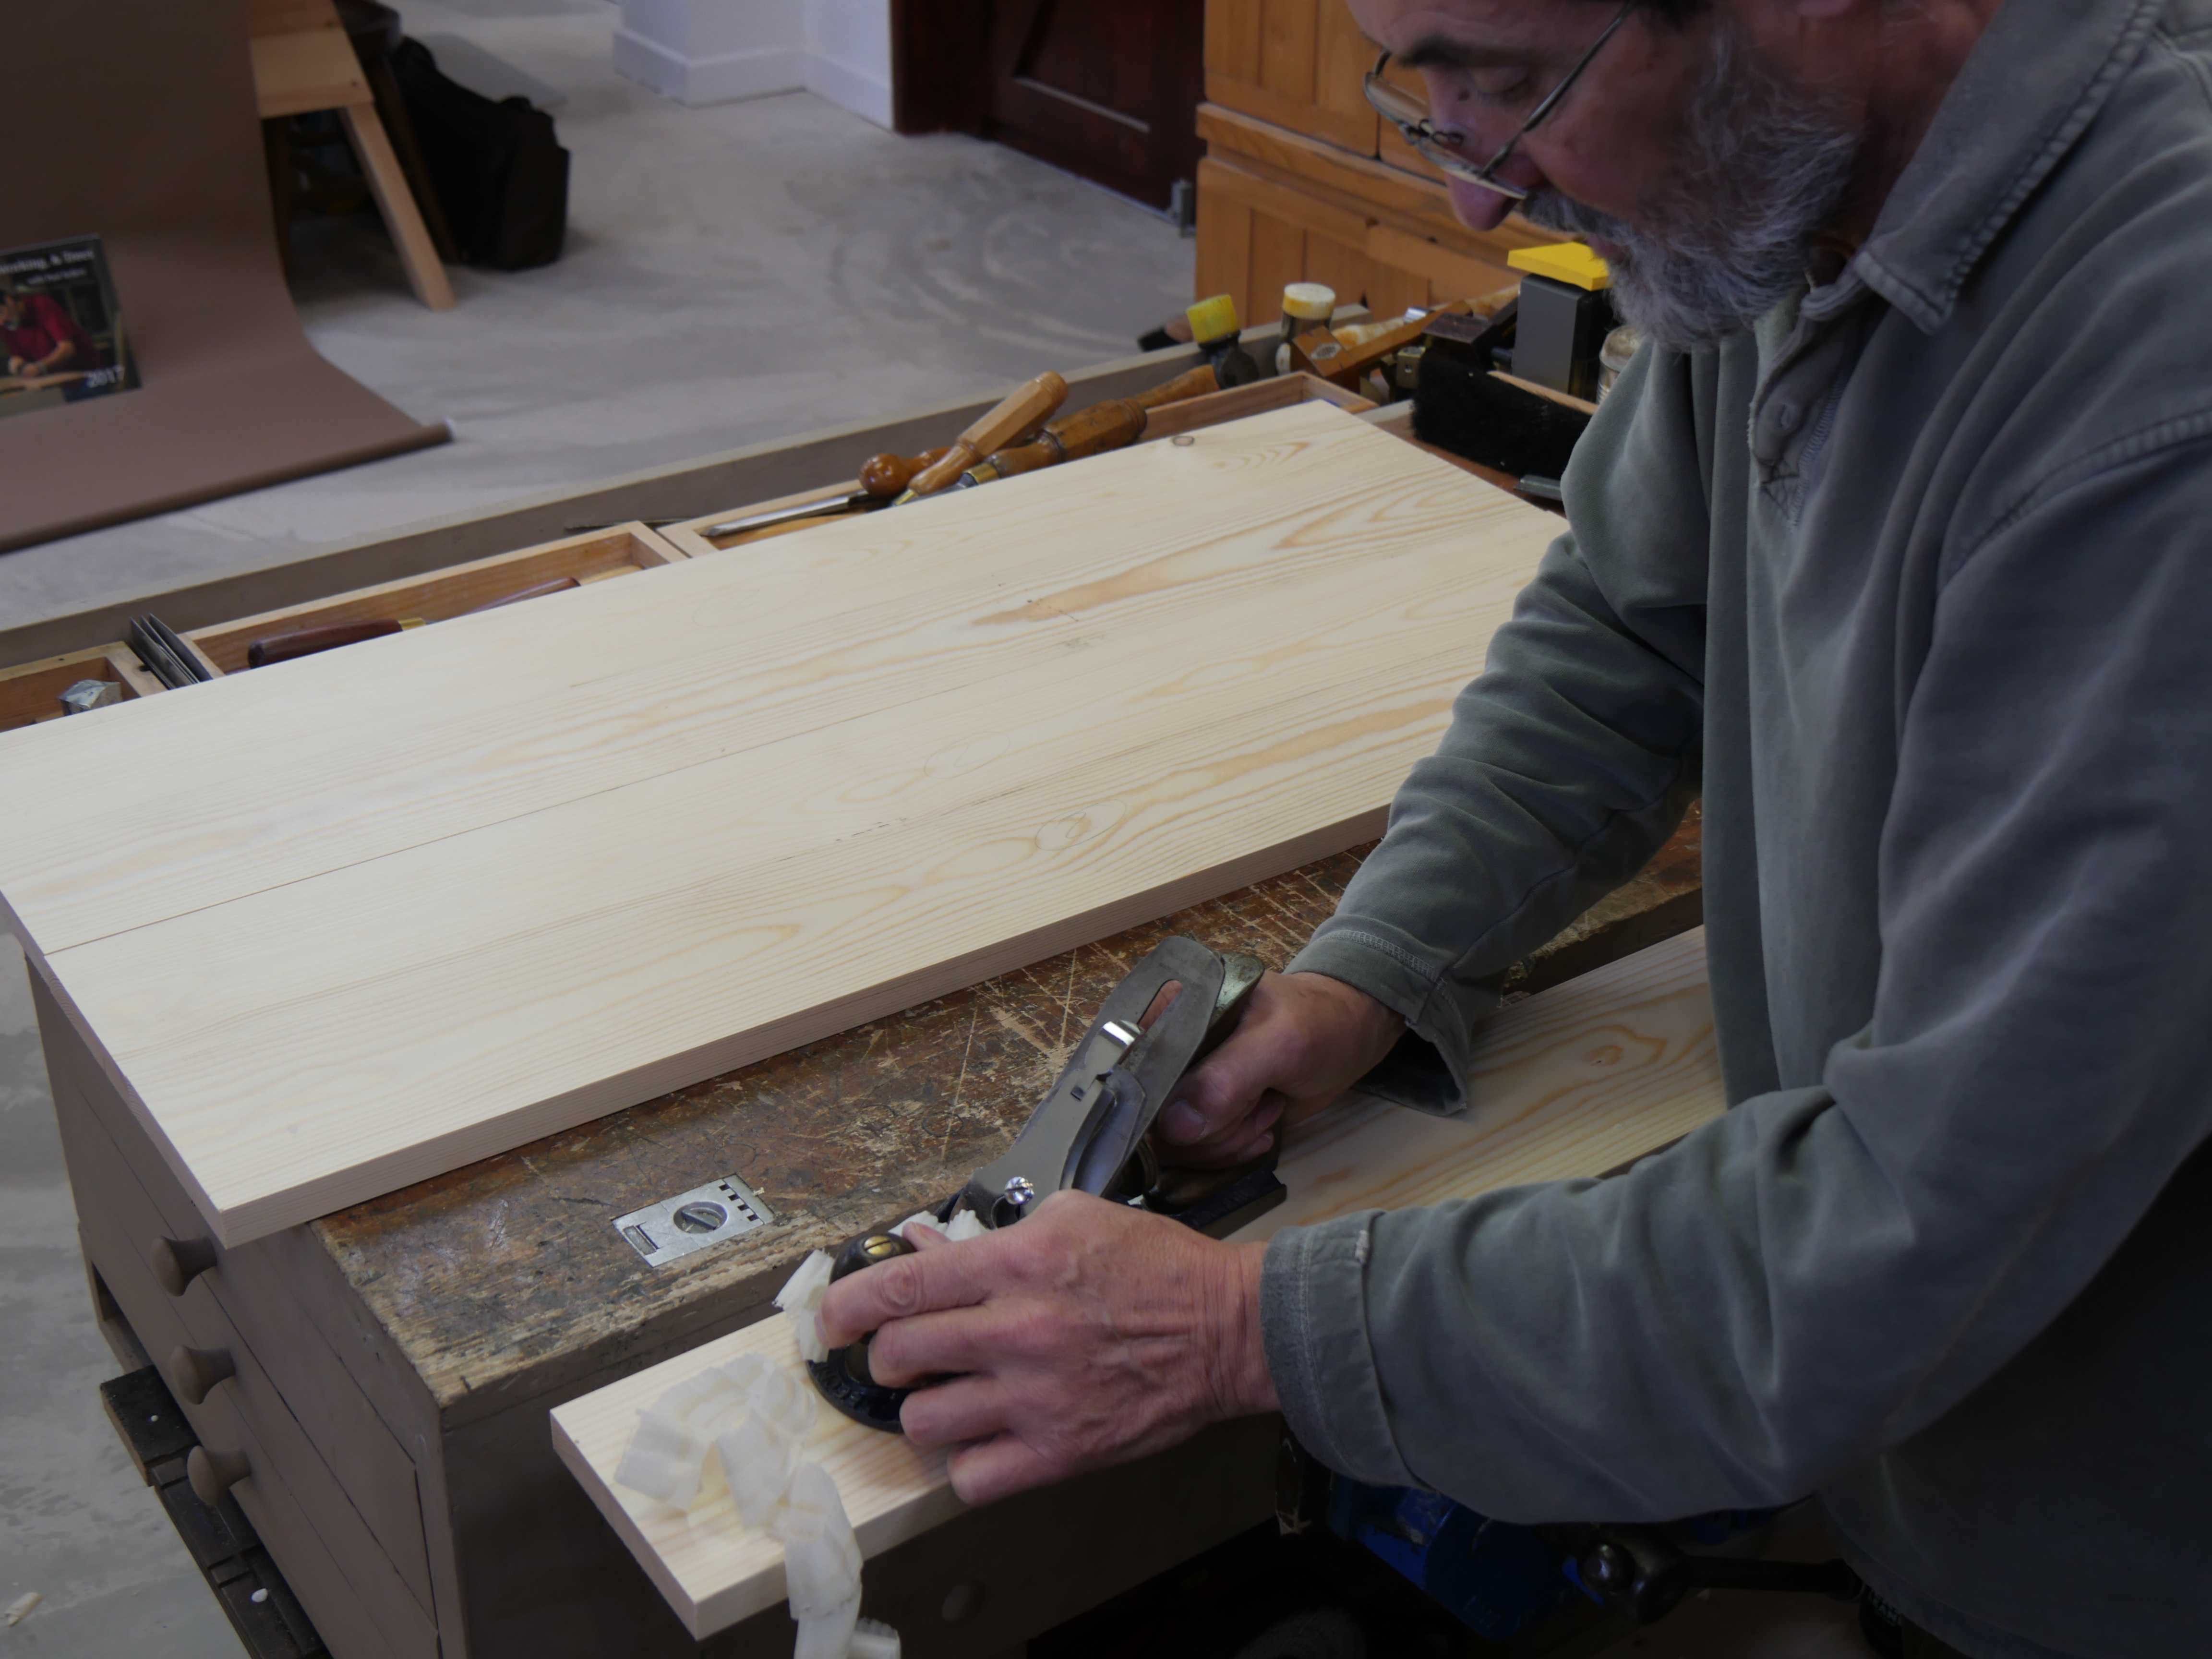 I work back in increments of 10-12” but just barely overlapping the previous stage of planing. I lift the heel of the plane as I exit the cuts. That way the planed surfaces are seamlessly smooth and level. When I come to sanding the surfaces after glue-up a few shallow-depth shavings will level and unevenness caused in the glue up and also remove any film of glue. Sanding then generally needs no more than hand sanding at 240-grit. I am edge-joining and jointing my top and side panels first, gluing them up, and then I will work on the drawer divider frames. In pine it took me 30 minutes per set of five pieces per panel to surface plane and edge joint each five-part panel. Pine is an easy wood to do this with and of course don’t forget that the Shakers were famed for using eastern white pine for making many of their pieces and of course they have survived in use for one to two and more centuries. Redwood is a tougher and more dense-grained pine that’s 30-50% harder too. It’s ideal for this project.
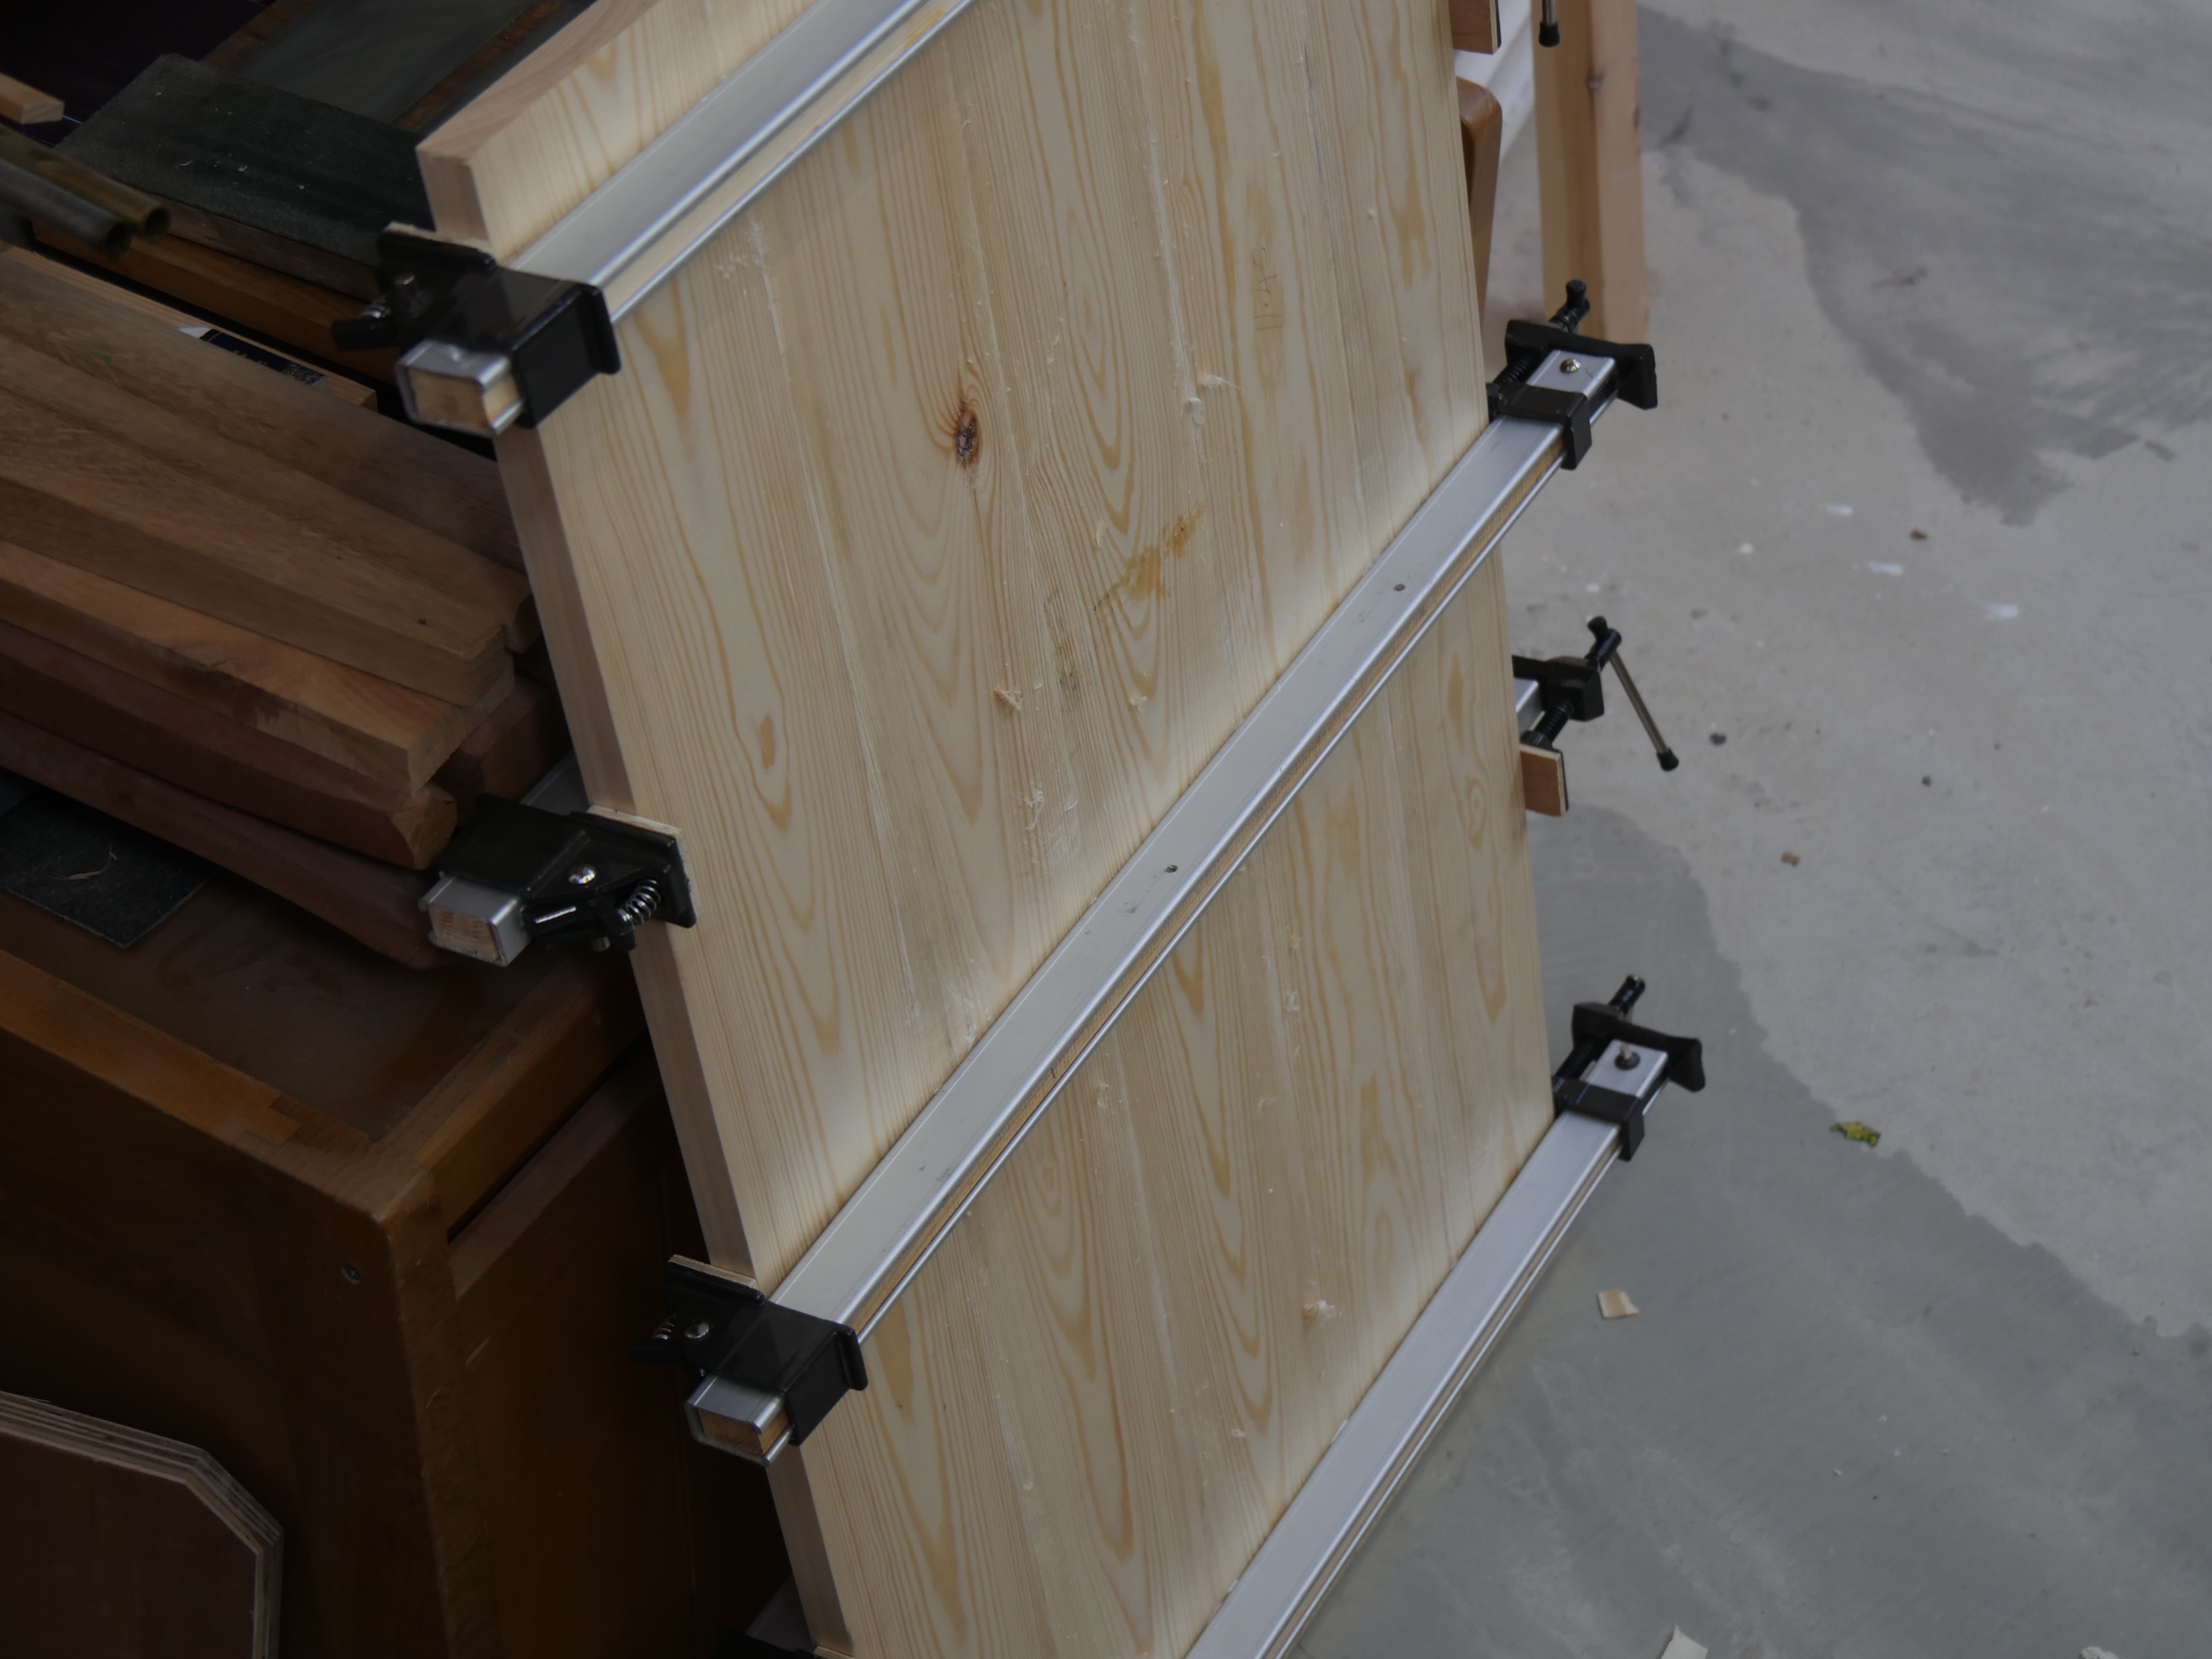
So, the end of my day came with the panels glued up ready for tomorrow’s joinery to begin. I will progress the frames for dividing the drawers next and leave the panels in the clamps until I am ready for the carcass to be joined. As the frames are very much a part of the overall carcass I want these to go together at the same time and there is much joinery to do. Once the joints are done and the carcass glued up the material is much less likely to move because of the constraining of the joinery. Here is where I am heading. Next I will begin the drawers. The joinery on these, though dovetails, is very unusual and I highly respect the Shakers for leaving the legacy of what they contributed in the way of longevity using this method.
I look forward to the chest of drawers whenever i tell anybody i enjoy woodwork most of them ask ,will you make me a chest of drawers
That is some beautiful timber. You are lucky to get material like that. Close grained pine is rare near me.
Steve
I can’t wait to see the entire build on this.
Looking forward to your work with the Shaker dresser. I have no doubt that I will learn how I could have improved upon the Shaker dresser already in my bedroom — and that will be great.
Looking forward to this project. I have just finished painting a spokeshave and the bodies of my No6 and No7C Stanley planes that belonged to my grandfather. My Dad gave me his old Stanley handyman but I have read that it is a poor quality plane. I restored it anyway and have been practising planing with it. Not so easy.
Yesterday I rough squared a piece of Cherry from my wooded back yard and I have two nice 1x4s about two feet long drying – and I made one of your spoons out of one of the slabs!
I already have a fine deep pile of shavings on my shop floor – thanks for that!
Dressers! I’ve been looking throughout your blog and masterwork site for a tutorial and was out of luck… until now! I look forward to this; thank you Master Sellers!
Yes!
I was going to start a shaker dresser next week. I will hold off till this series is complete. Can’t wait.
Hope we can get a cut list and drawings ASAP so we can get our wood in place. This is a project I was hoping for!