Good Morning Monday!
Last week was busy

I wrote this and then didn’t post it.
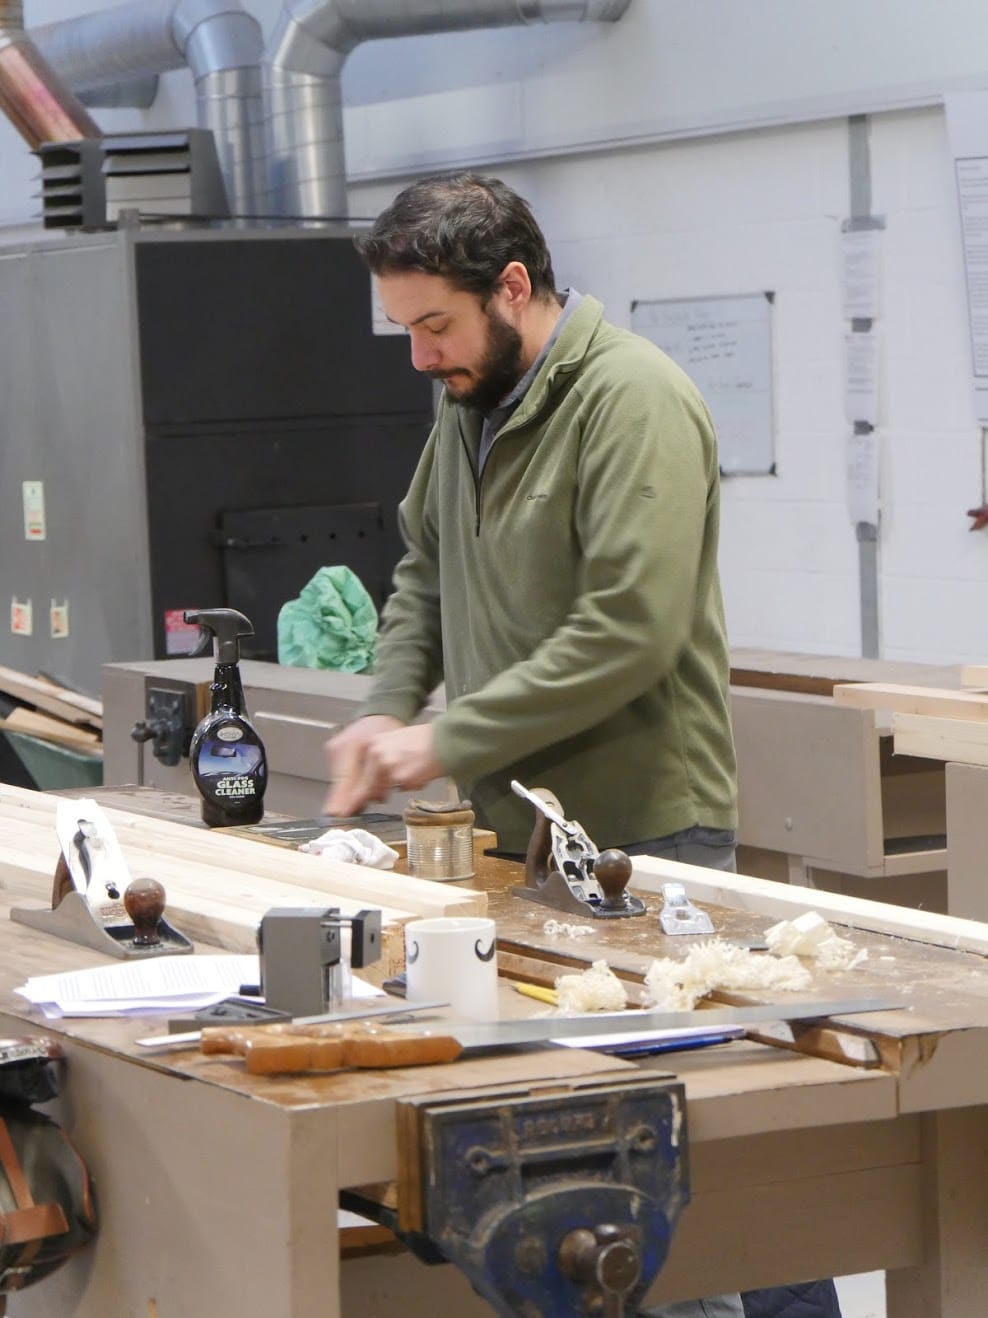
The year is cracking along nicely already and we have many new beginnings taking place. Part of Phil’s role as manager of woodworkingmasterclasses.com is to make sure everything is filmed and packaged on time. This past week he’s been making an additional workbench as well as filming and soon our work in filming starts to shift to help move us forward, which includes developing an additional filming set. Doing what we do is a learning curve for everyone. Eloise has been mastering the new techniques to suit our type of filming and of course that means developing her own techniques to maximise how we present the teaching and training we do. She, Phil and I have to work out so many things to take something like the dresser through the different phases requiring improved filming to make sure everything is as crystal clear as it can be, which presents quite a challenge, even for experienced videographers like Phil and Ellie. But we we seem always able to get there because of all the willingness we have to work together.
Apprenticing here in UK
It is more of a problem than you think here in Britain. Last week we added sound insulation to our studio to tone down the noise from power routers and machines in the background. The joiner installing the double glazed units asked about our work and my background as a furniture maker. He said his nephew “graduated three years ago from a three-year furniture degree program and since he started working has done nothing more than shove MDF through machines. This is what he was looking for!” I hear these stories regularly and indeed I don’t see qualified makers even working for themselves doing much more than that. Unfortunately young people power their way through a three-year degree program saddle themselves with large debt hoping they have something to support them on the other side. What to do!
Sadly I think a lot of students start their higher studies based on an exposure to a design and technology class they had and envisage a future designing and making pieces to sell. Some do make it and some don’t. In reality there will be a many applicants for a job and deciding who you take is not so easy.
But of course I think that it is perhaps important to provide opportunity for change because there are many young furniture makers striving to make a living and producing innovative and fine work and mostly it’s about helping would-be customers to understand it’s not so much about getting a bargain piece at the lowest price but purchasing the future for someone struggling to establish his or her name. I want to look at this a little more.
Working through the prototype
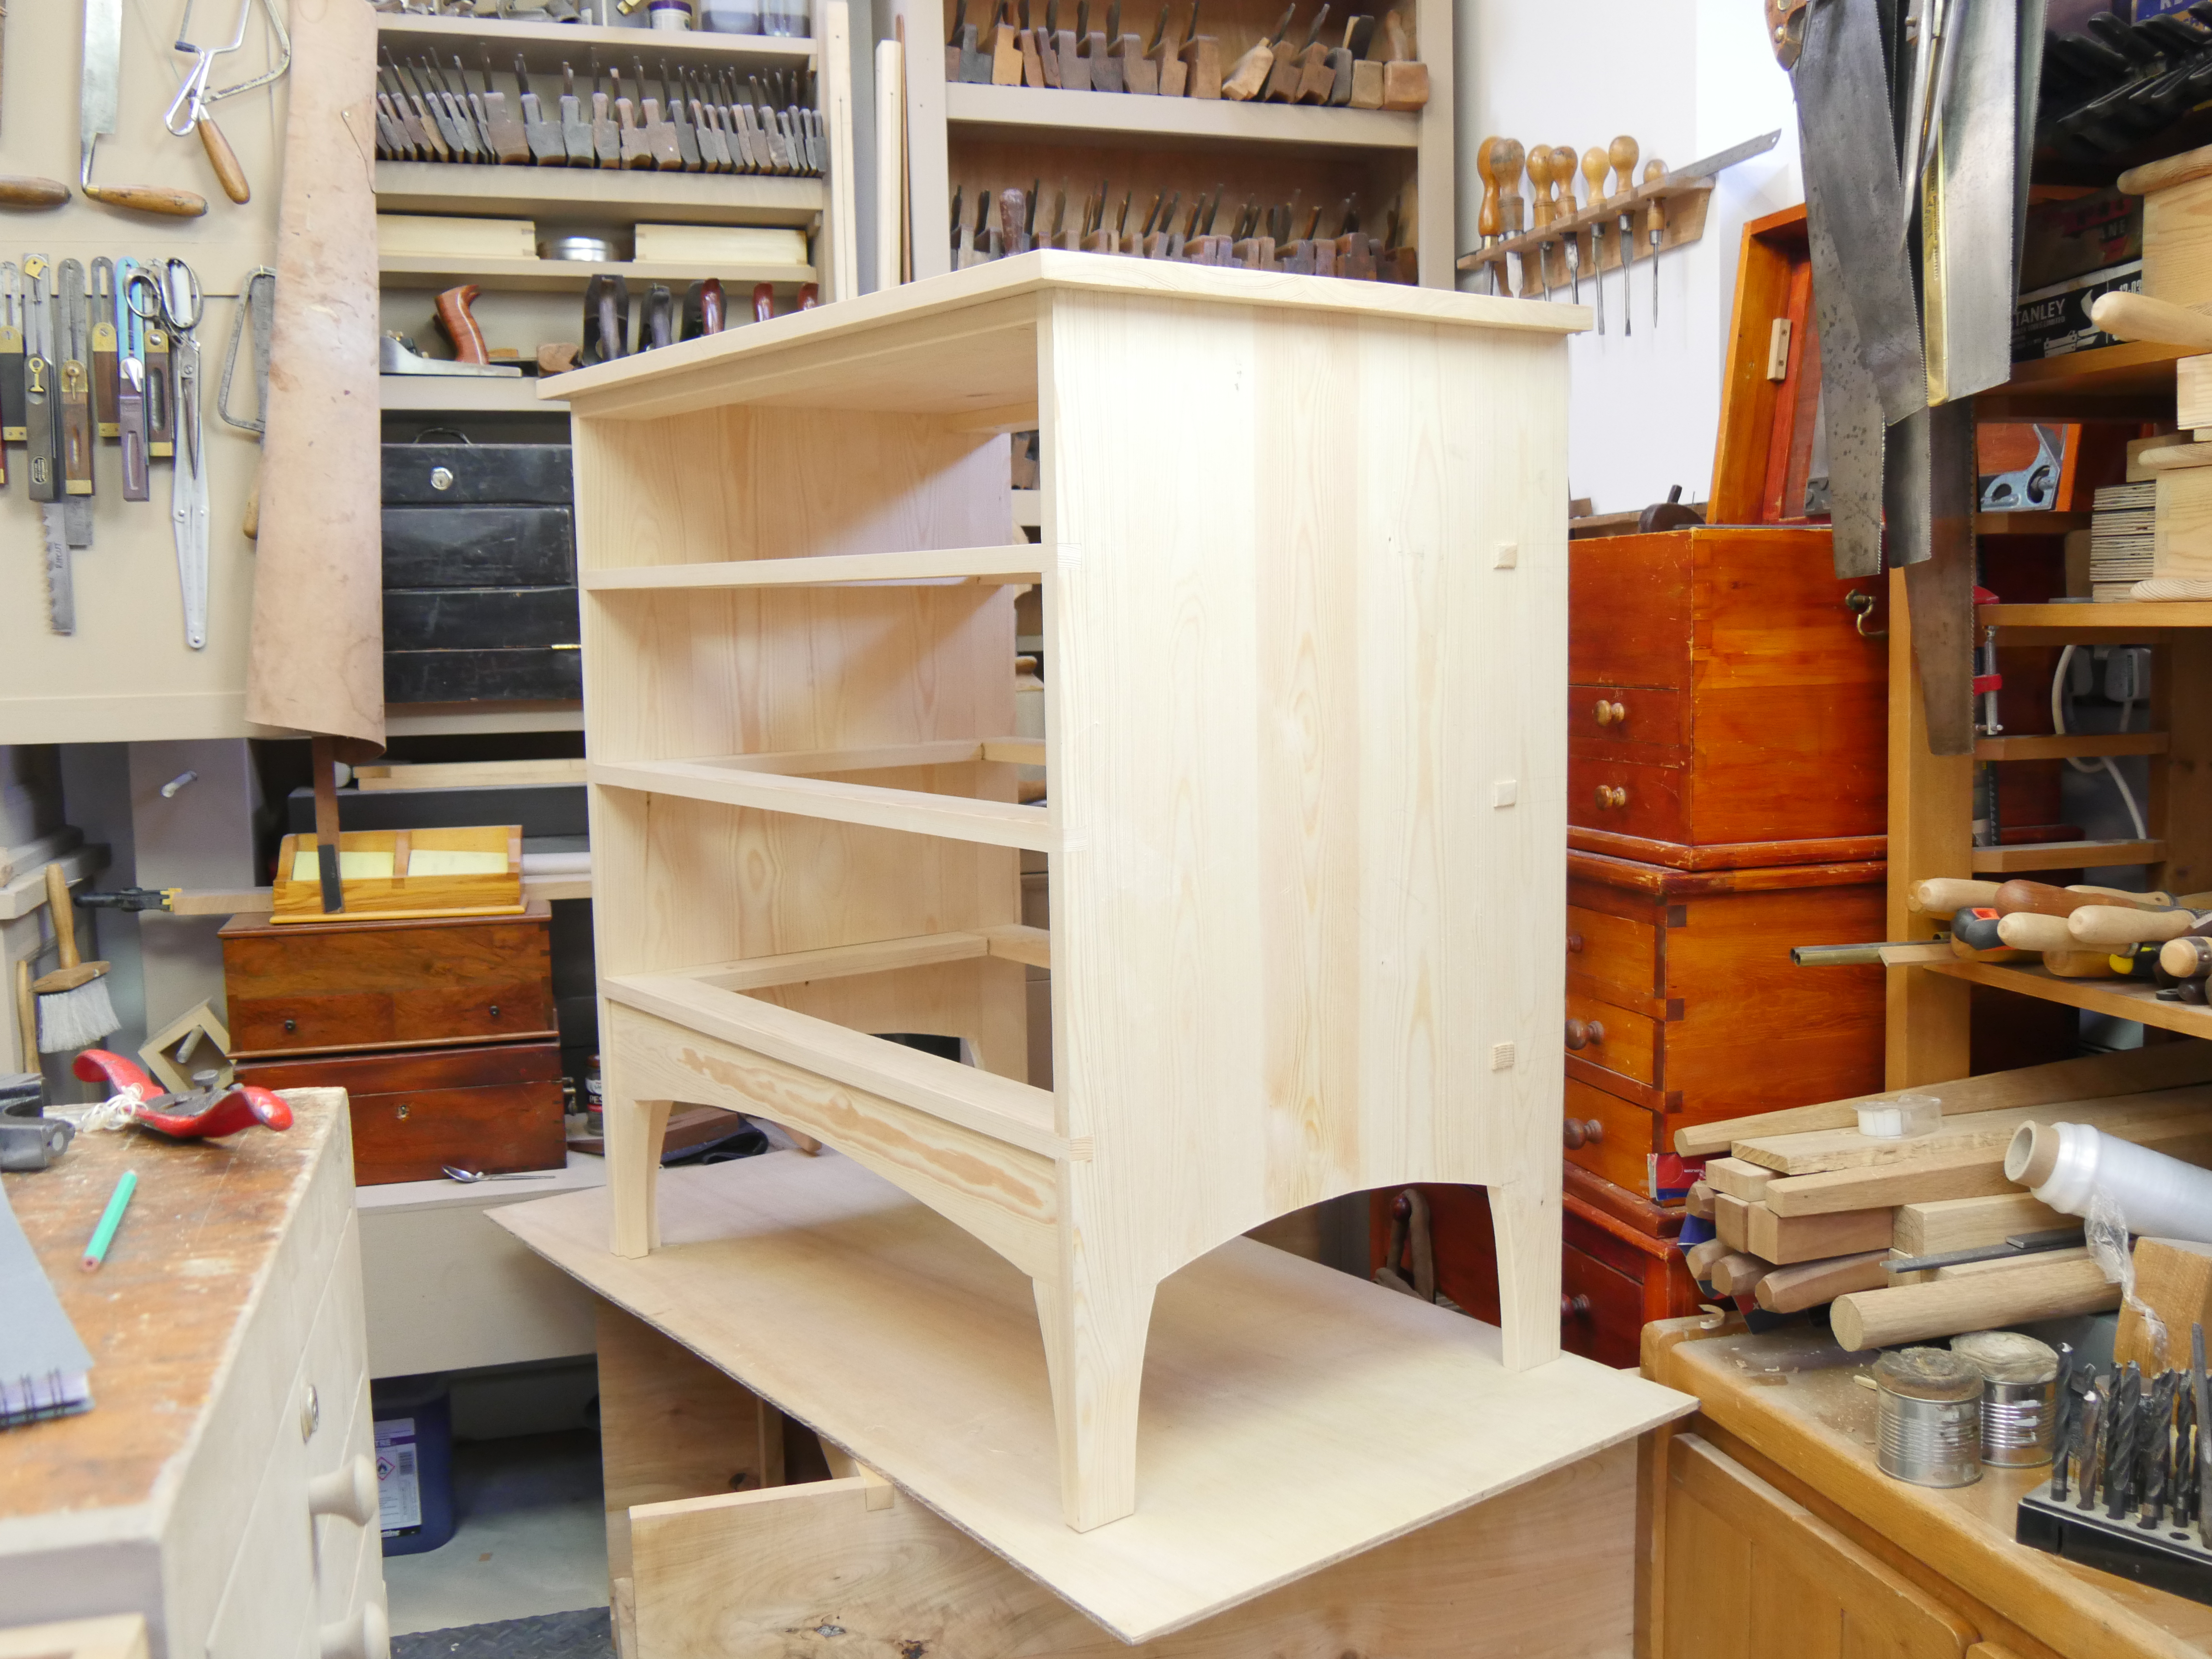
In my case a prototype becomes essential when the project has complex issues surrounding the joinery because there is usually a knock on effect when it comes to the final assembly. In this project I have 40 joints coming together within a few minutes. There are clamping issues to consider and then, because I have alternate grain orientation surrounding the long axis interacting throughout the life of the cabinet, my joint choices have been designed to allow for a quarter inch of expansion or contraction. Even without glue the structural integrity of this piece feels remarkable. Nothing moves when all the joints are interlocked and checking for squareness in any of the three dimensions the whole project measured dead square. Of course this means that the drawer making is made all the easier and that is the next phase. Yes, this is the pine one, but the cherry one has all of the joinery completed to the same stage so I am happy with the results. I think that machining everything would have been considerably quicker, but some of the joinery defied anything but the most complex jig making to make it work for the machines. So any speed made in making some of the joints would have been quickly lost and even passed if the skill of handwork wasn’t available to me. Another plus was that I loved making every joint and that’s true of 95% (or more) of you too, so we ignore the snipe and just make according to our will and not much else matters.
Over the weekend, having glued up my prototype Friday to show Eloise the complexities we face for filming it, I cleaned up the joinery with my #4 Record and the overall structure had remained dead square after I took off the clamps, which is always a good test. Today I will prepare for the next phase of filming and then finish of the prototype cabinet ready for making the three drawers. I can hand plane most of the external surfaces to erase any marks but in my case this prototype will most likely be painted. I have all my drawer stock already milled to near size and the rest is of course all hand work.

So, nearly there, I look at the whole and reconsider elements of the design. What would I change? That’s what prototypes give you too. My consideration of stock thickness, wood type and such like that all affect my decisions, as does the purpose of the project in two further dimensions––a training vehicle for relatively new woodworkers, and the final use of the piece in the home. The slightly heavier thicknesses make the joint making just a tad easier for someone fairly new to the craft. Because my main focus is on the joinery and the reinforcement that develops mastery, I want stock size that’s manageable. All of the materials for the final piece in cherry is 22mm (⅞”). It seems to work well for this. My pine prototype came from stock 20mm (13/16”) and that seemed fine too.

So now I am on with the drawers, big and deep, gradiated drawers, which diminish in size from 20cm (8”) to 17.7cm (7”) and then to 15cm (6”) at the top.
A handsome looking dresser, Paul. I’m looking forward to watching this one. And it is always interesting to see what goes on behind the scenes. Perhaps you should do a Friday video demonstrating everyone on the Masterclasses team and what they do to make it all a reality. I think it would be of interest.
I agree, a “here’s the team” video would be really interesting.
Time, time, time. More people, more people, more people!!!!
Thanks Paul. I enjoy your postings. It’s nice to see some that show the behind the scenes activities. I can see where these jobs would be enjoyable to come to each day. Out of curiosity, are you starting to film in 4K? Seems like TVs and what not may be moving in this direction.
You brought back some old memories. I can appreciate the challenge that you are presented with filming the details necessary to convey the essence of the project you are building.
A film crew I was on had to meet a similar challenge. Photograph the disassembly and re-assembly of the major and minor components of the Gatling gun. The lighting had to be just right. The hands had to be placed properly with make-up on them, mind you. Of course today you are able to achieve this without the elaborate studio lighting we used. Four 5,000 watt stage lights etc. It takes a high level of determination and patience to achieve what you teach properly. Thanks for all you do for we woodworking lurkers.
Building a 5 drawer dresser, to store all the boxed up extras around my shop. Pine is fine for a shop dresser. Using Frame & Panel for the sides. Might just join the drawer fronts to the sides, with through dovetails. been a LOT of hand tool work on this one…
Twas a time, long ago, with a shop full of power tools. I could, if everything needed was in the shop in the morning, by suppertime, I’d be sanding a completed dresser. After over 130 of these things, got to be too noisey, too much like a JOB, too much stress. Now I work at my own pace, and hand tools do 90% of the jobs. Much happier now, too.
A really nice dresser, Paul. Joinery impeccable, in design and execution, of course. But, doesn’t it need some drawer kickers up top, though?
Thanks Paul for this great blog and to your team for the excellent job they do.
cordialement
Being Scottish I’m lucky enough to get 3 years of college education for free which I’ve done the equivalent to GCSE and A level woodworking and a year of tree surgery. Alongside that course I have been pushing myself to learn real craft furniture-making and I’m making very nice progress but I’m not going to get an apprenticeship, not locally.
So I’m looking at the next level and seeing a “craft furniture and design” HND at Glasgow college, tuition would sting me for £1850 a year for 2 years and that seems reasonable to access professional designers and makers as well as a fully stocked workshop so I can build up my skills. It’s not a traditional apprenticeship, but it’s a way I can train and build skills, I’m not looking at the bit of paper at the end as If it’s going to prove anything, I’m thinking critically about what I can accomplish while I’m there with access to those facilities.
Thank you Paul, as I read and view you videos I have felt myself returning back from the edge. Nearing that age of freedom, 3years to 65, I had been sucked into the machine black hole of spend, spend. Working in a factory with 3 shifts time off is spent with family or jobs around the house, leaving little time for my woodwork. Taken 2 years to prep and build my own workshop 12’x8′ and a garden store, all the room I could steal from the garden. During the build thinking I Need planer/thicknesser and other stuff, expensive, I thought, I could get second hand, then started watching your “YouTube” how enlightening. It took me back 30 years when I completed a 12month carpentry & joinery course, that was hand tools, then recession of the 80s took hold, another story.
Still have those tools albeit little use except for odd jobs. Knowledge from that time faded but your channel was bringing back the thoughts of how to use those tools. So now I win because you have fed the flame to a renewed begining with wood work and it’s freedom.
I look forward to reading your blog and watching your video’s for the future is now mine. Keep up the good work, and spreading the knowledge of time past.
Thank you
Steve
Hi paul. I like the smooth curves in the piece. What do u use to figure out the radius. I was never a good geometry student in school. And now im paying the price. Keep on inspiring. Those are my wishes but noone ever listens to me. U have inspired me to drift from electrical tools to strictly hand tools. Thanks again.
It’s simple enough. Two clamps placed judiciously and a pine stick 4mm x 15mm on edge pushed against the clamp feet.
Hi Paul,
I don’t know if this is the correct way to get a question to you but here goes:
I use camellia oil to protect my metal tools, chisels, planes and saws etc. I also wipe the oil on my chisels to ease the blade into the wood I’m working on and I have been told that this oil will not effect glue joints or by extension, applied finishes.
Do you have any experience with this?
I have tried two or three oils through the years and found them not to last on the tools nor elsewhere as they seem to dry out too soon. I have never in 50 years had any finish or glue issues because the transfer amount is so minimal of indeed any at by the time the tools are done with in an aspect of work. This is just one of the many issues that cause fear in woodworkers when in my 52 years I have never had such issues by the time I am ready to either glue up or apply finish. I avoid most natural oils because many of them do spontaneously combust in rags. That’s enough for me not to use them at all.