Making My Straightedge
Friday 10th February 2017
I made my first straightedge from oak, an offcut scrap but quarter-sawn nonetheless. That one’s still in the US somewhere. Today I use another made also from oak and yet another offcut scrap. Mostly I’ve kept them shorter than say four feet long because I have a spirit level that’s 122cm (48″) and that works well for working layout and cut lines on sheet goods. 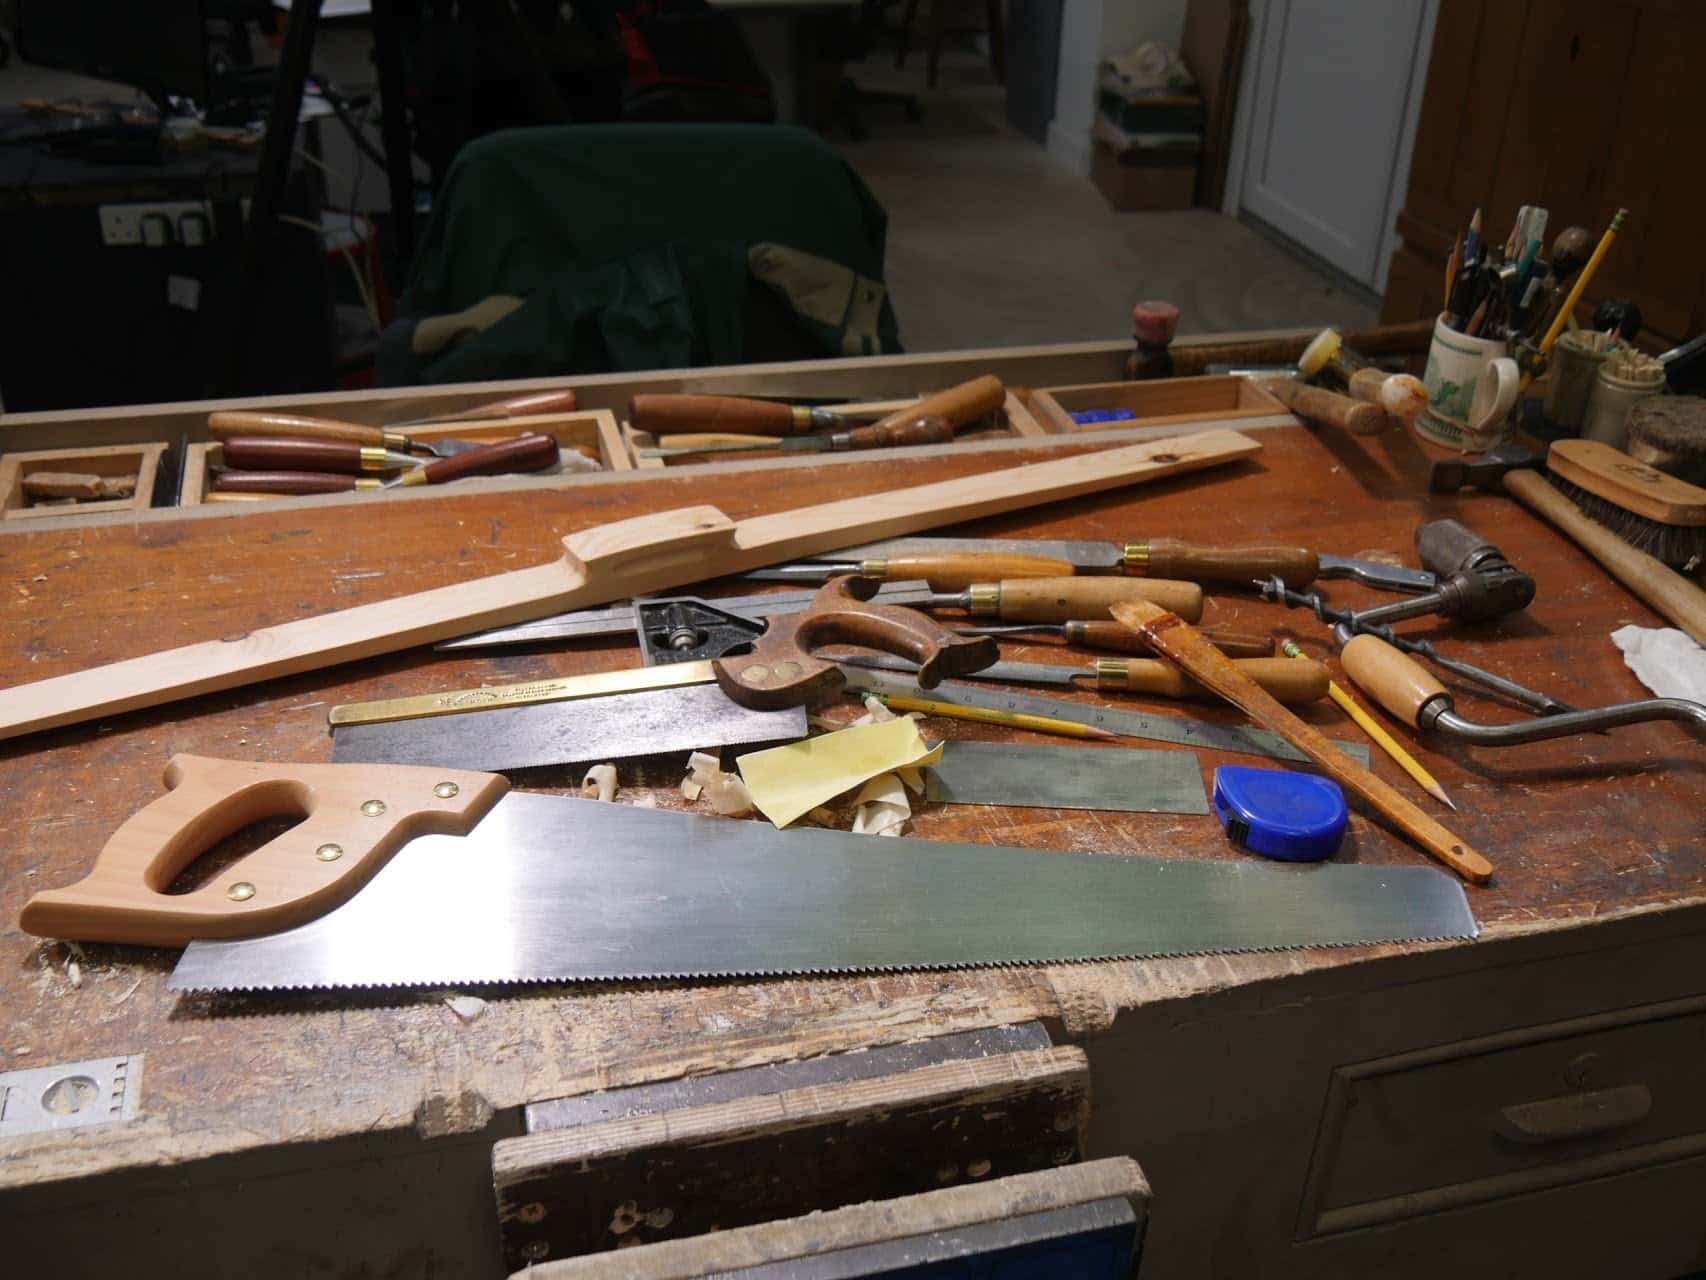
This week I was asked again about making one of the straightedges that I use. It’s simple, functional, lightweight and true. To make one uses some basic hand tools from everyday woodworking. A brace and a 16mm (⅝”) bit, a tape measure or a rule, square, pencil, #4 plane, scraper, handsaw (ripcut), small tenon saw, perhaps a small rasp (but sandpaper will work), a 25mm (1”) chisel and a 250mm (10”) flat file.
Filming its Making
So we did video the making of the straightedge as a free video and I would remind you that we have many videos like this available to view for free if you sign up up for the free subscription on woodworkingmasterclasses.com. This one will be available soon but don’t let that stop you from viewing all of the other videos we have for training in hand tool woodworking now. The sooner you get started watching the sooner you will know which tools do what, which ones to buy and then how to use them. In a week or two you will feel all the more equipped to work with hand tools and become a skilled woodworking to boot.
Wood Choice
You can use just about any of the woods commonly used for furniture making. The one in this article is made from pine and the one in the video we made from oak. There are many other woods that are stable and will work well too–walnut or cherry, ash work just fine and then there is sapele and even reclaimed woods from pallets will usually work as long as you have allowed the woods to dry and acclimate.
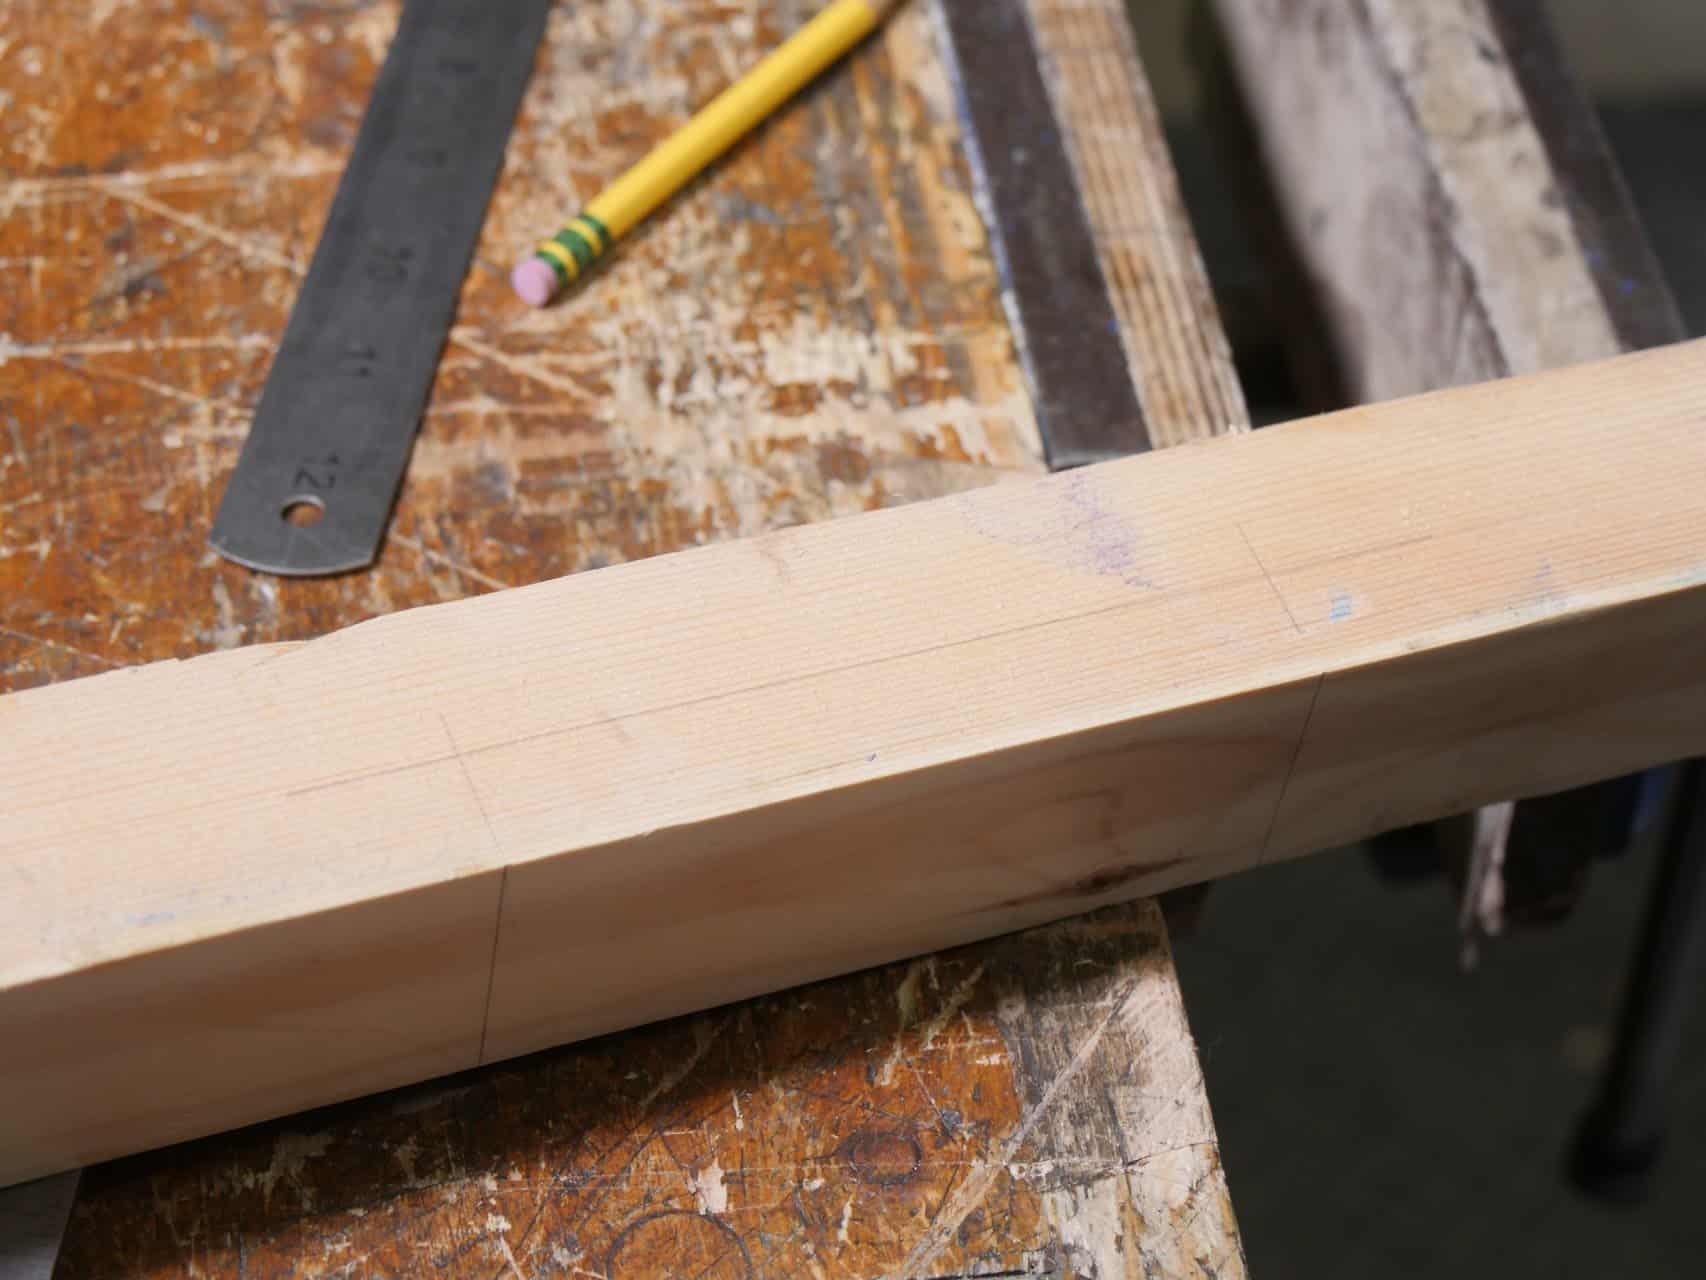
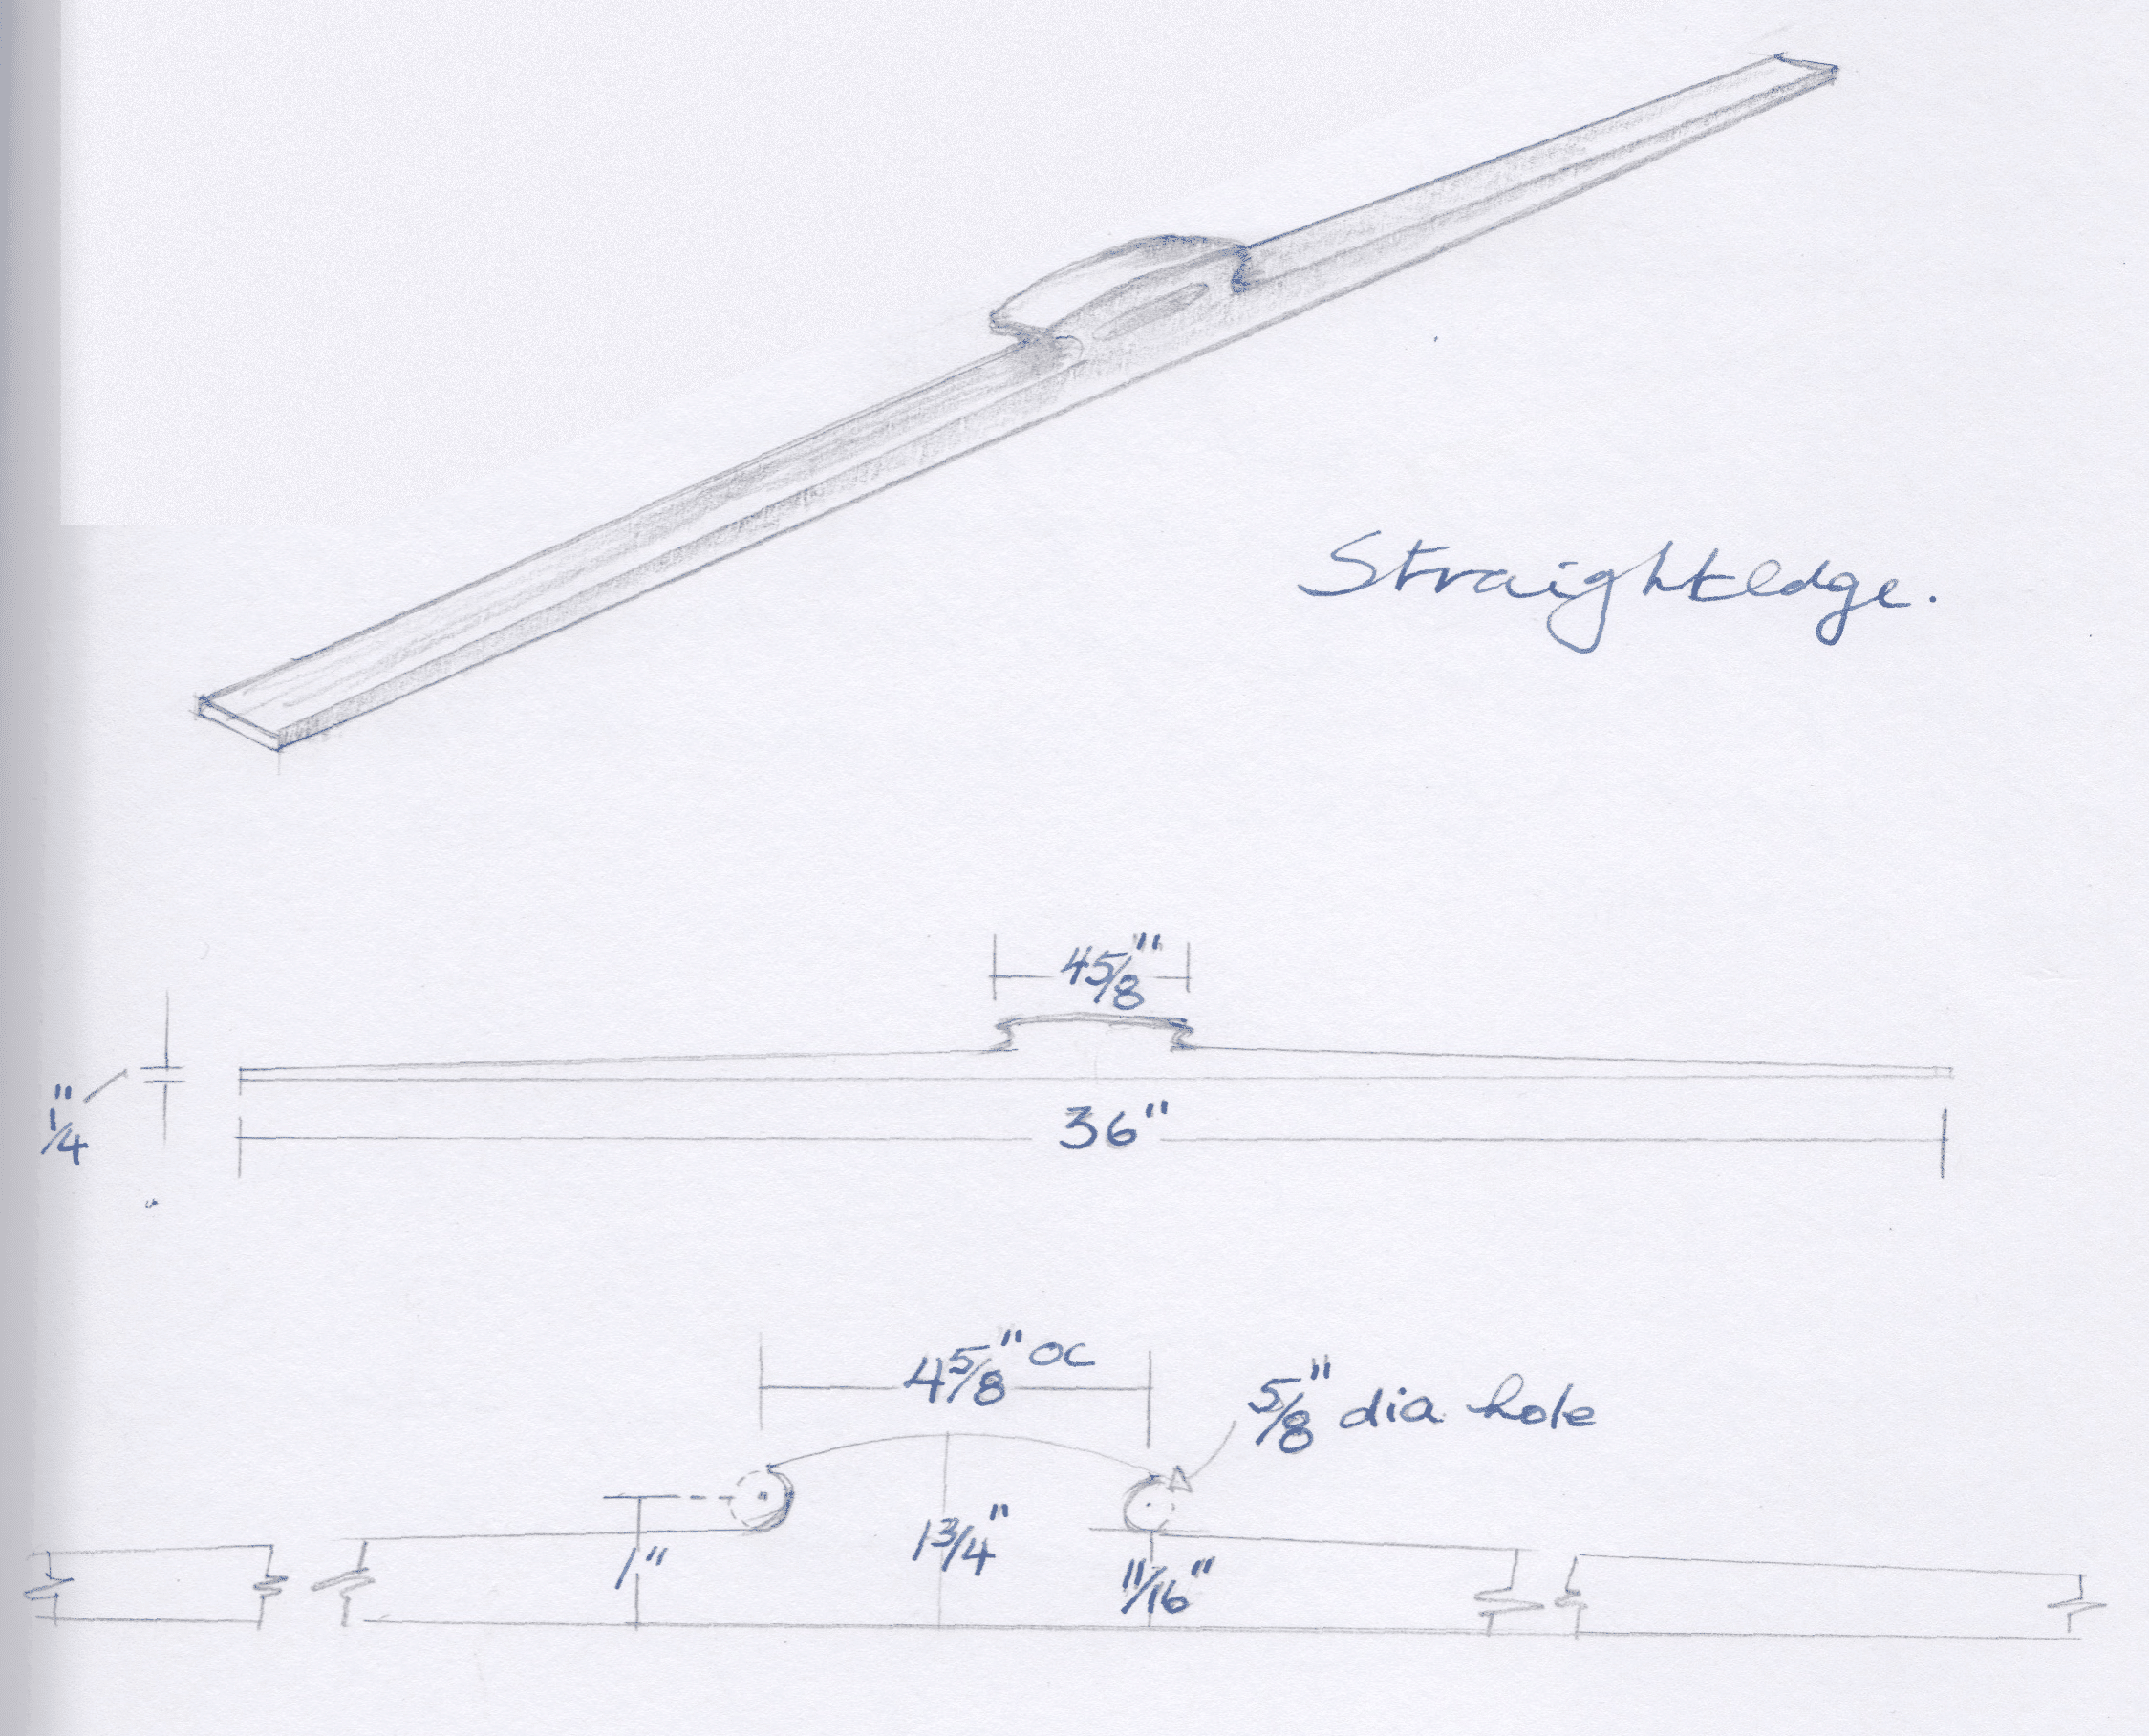
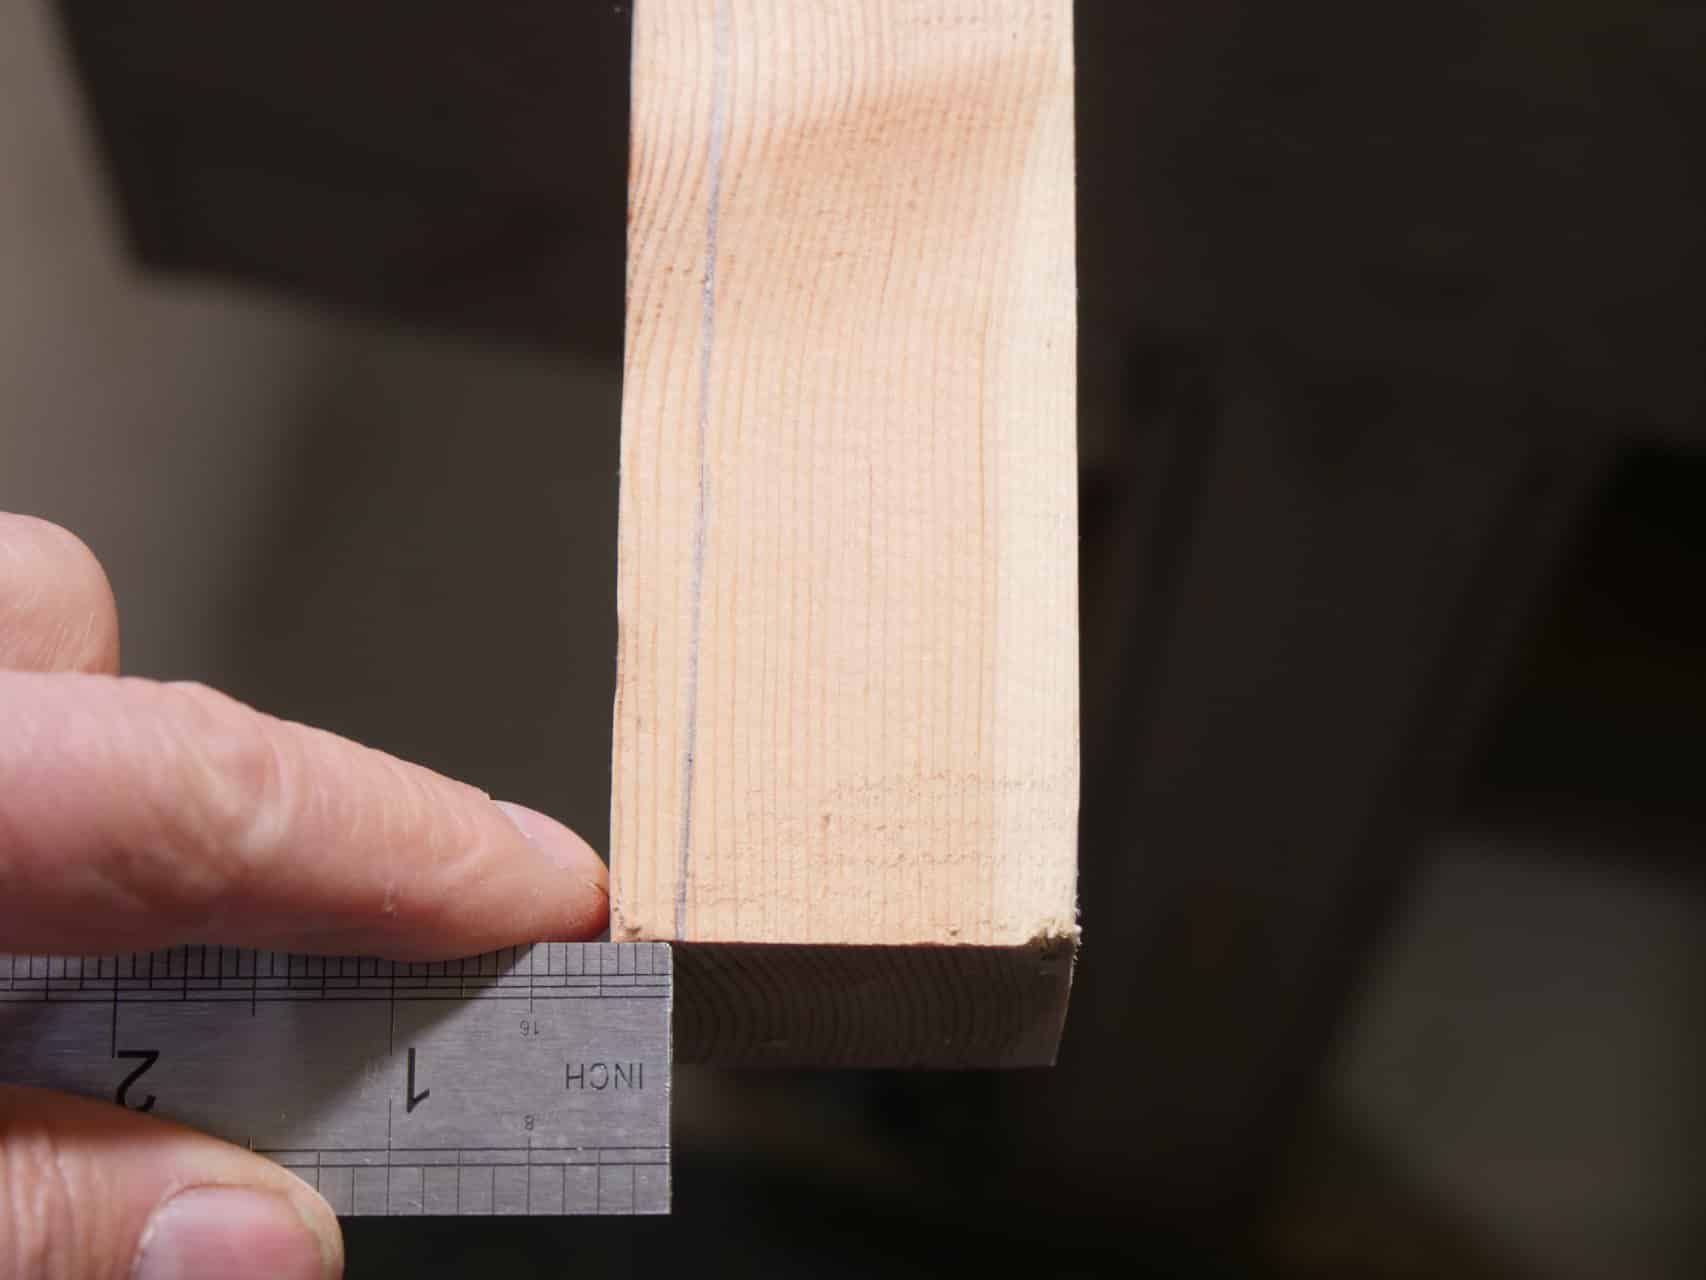
Start by laying out the positions of the two holes—60mm (2 5/16”) either side of a centreline of the length of the straightedge. This means the holes are 120mm (4 ⅝”) from centre to centre.
Square the lines onto the opposite face as shown above.
To establish the cross lines measure up from one face 25mm (1”) and mark cross lines on both holes and then on the opposite side using one face as a reference face–the bottom edge. 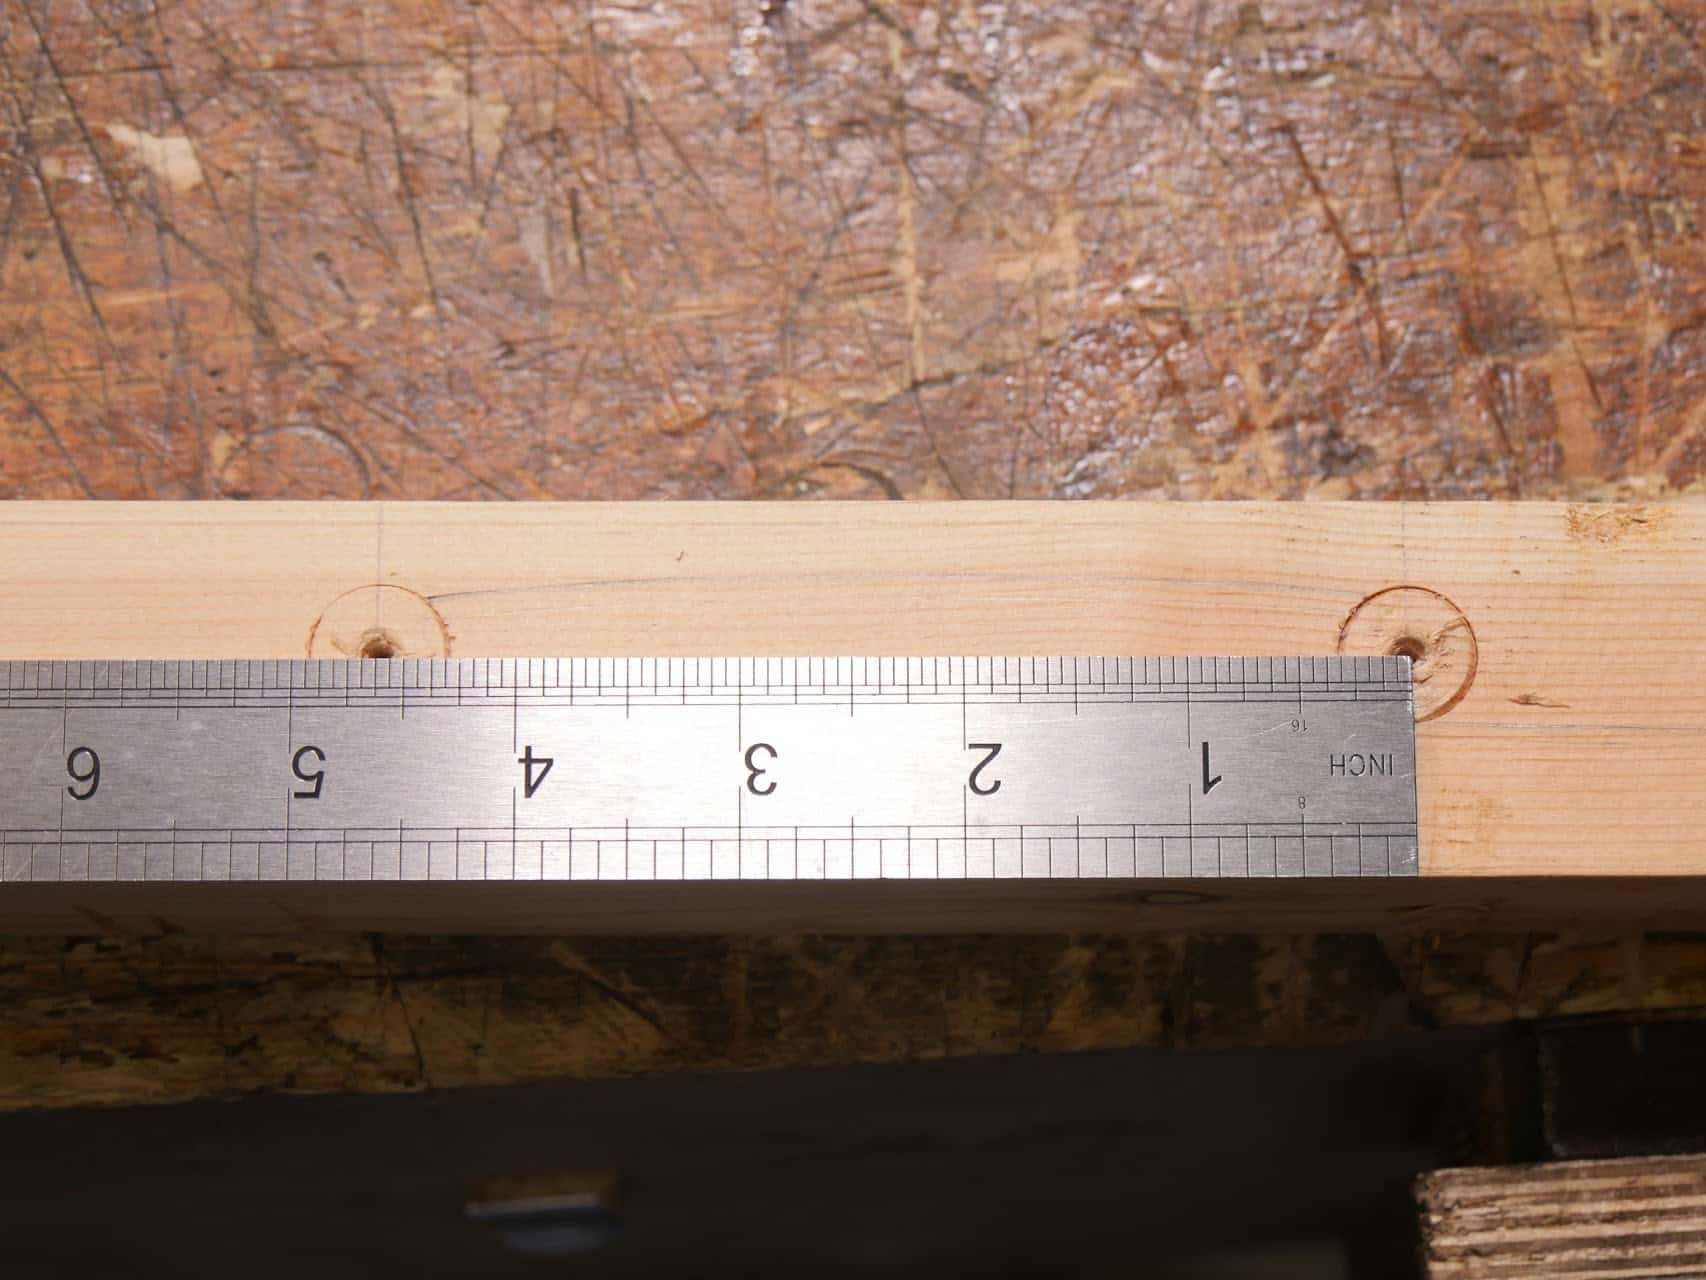
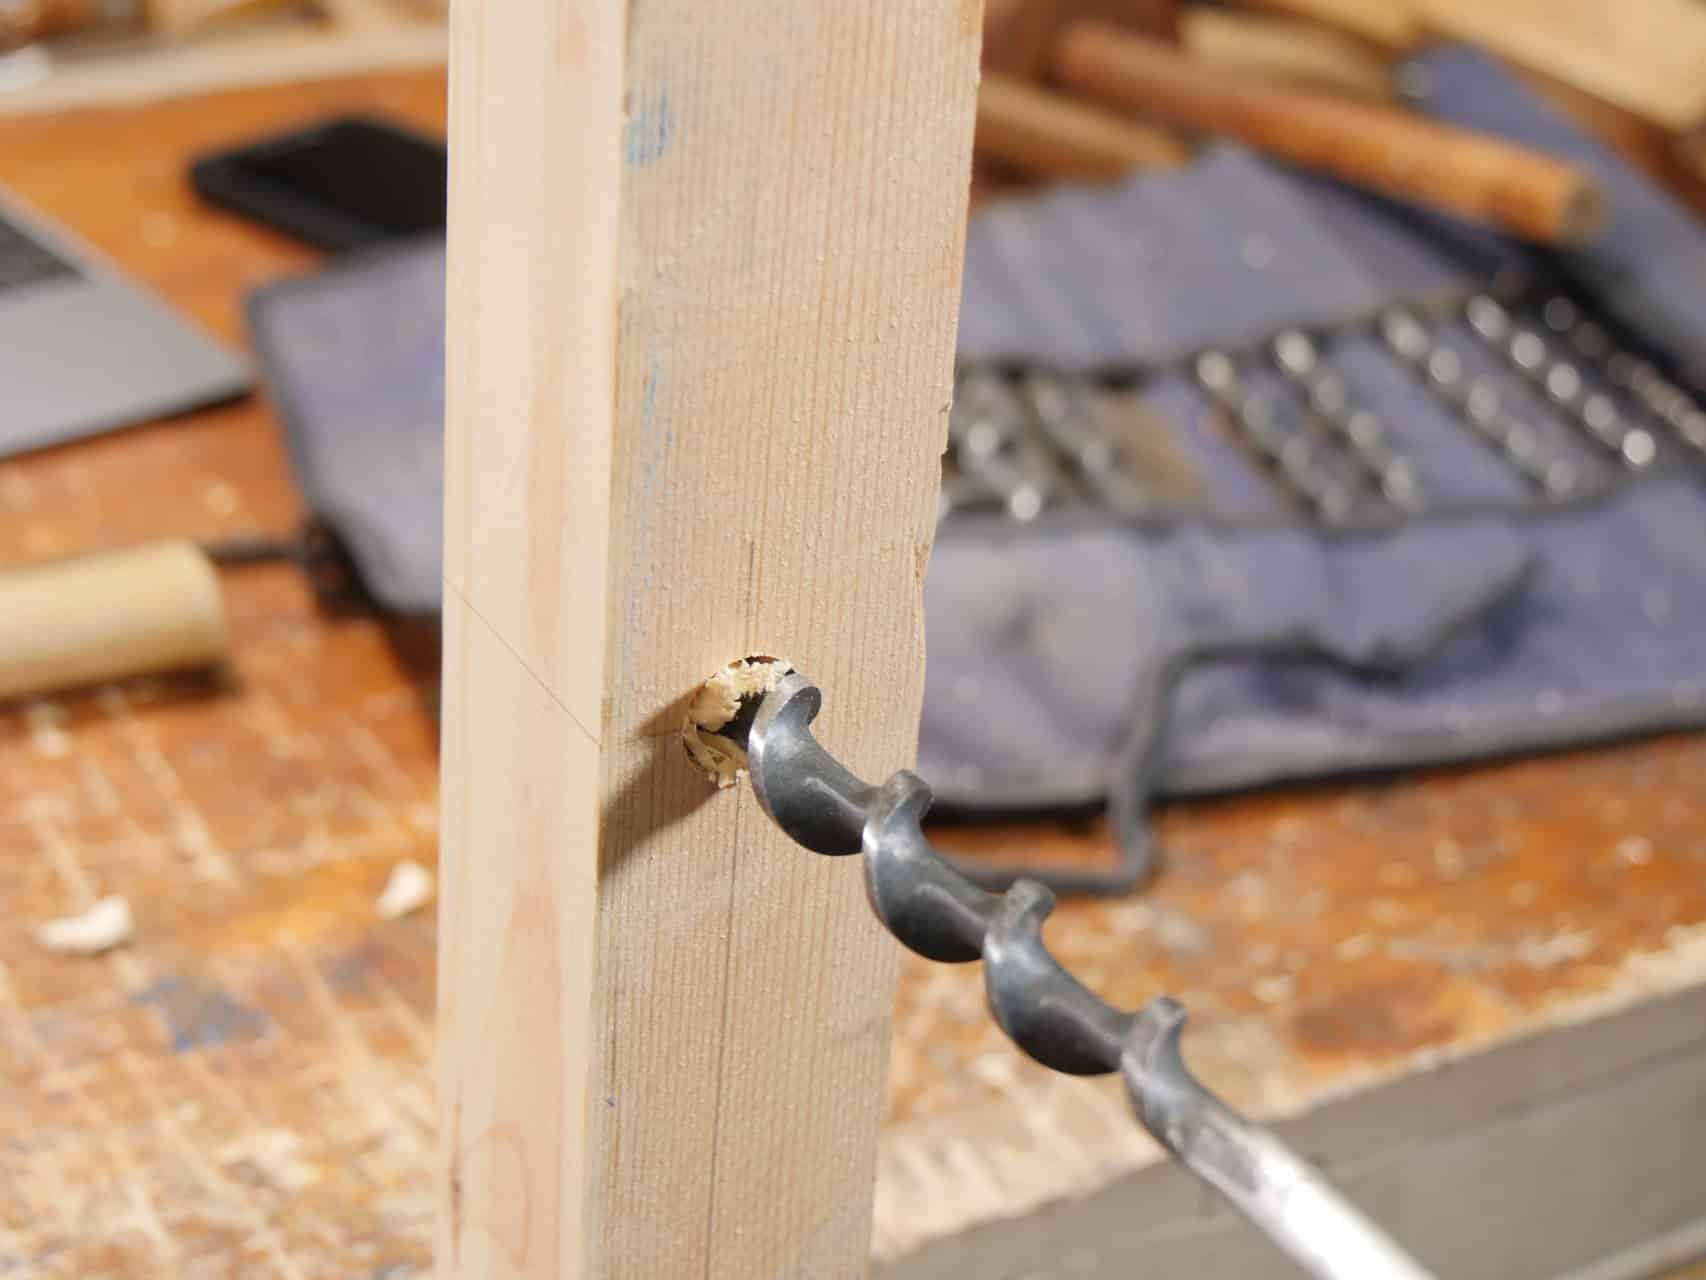
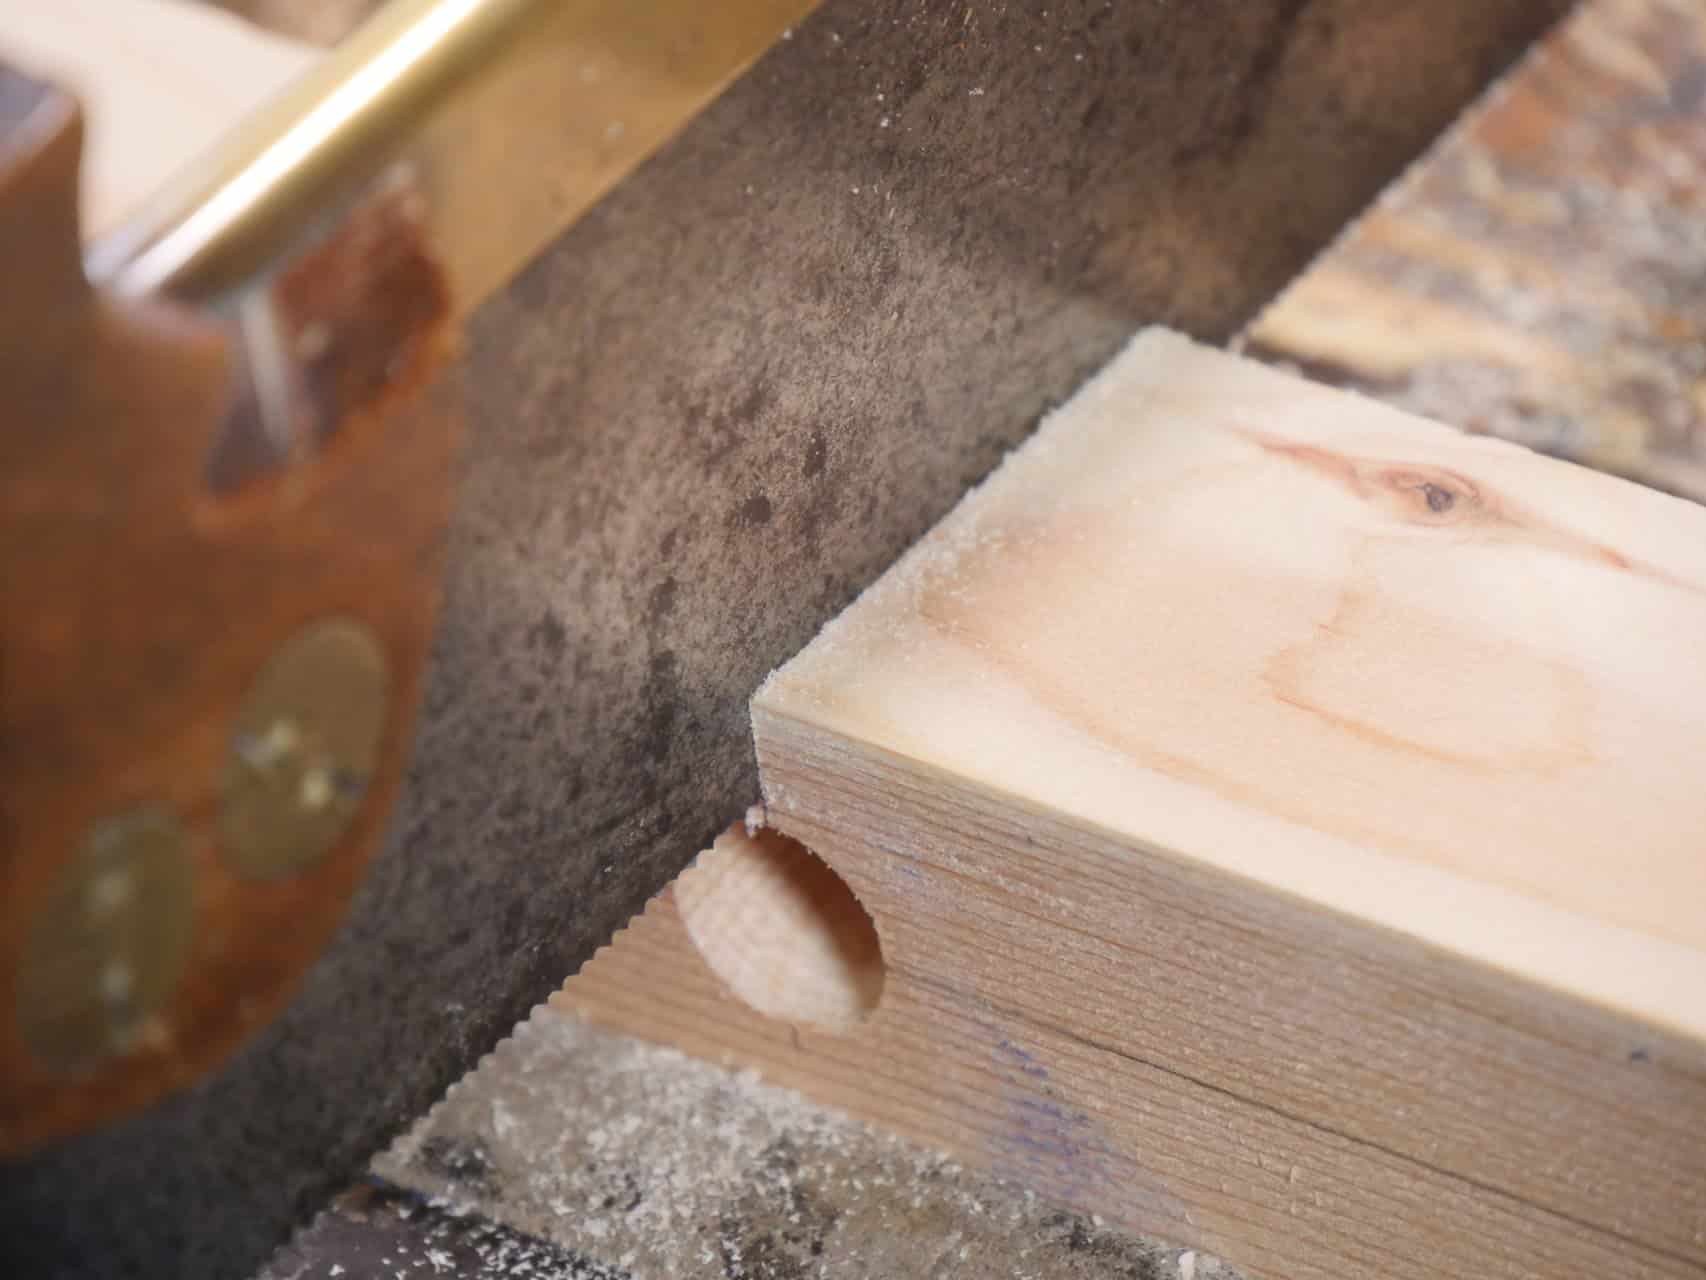
The start point is 6mm (¼”) up. Take care in cutting with the saw as the more accurate you are, the less clean up needed with the plane.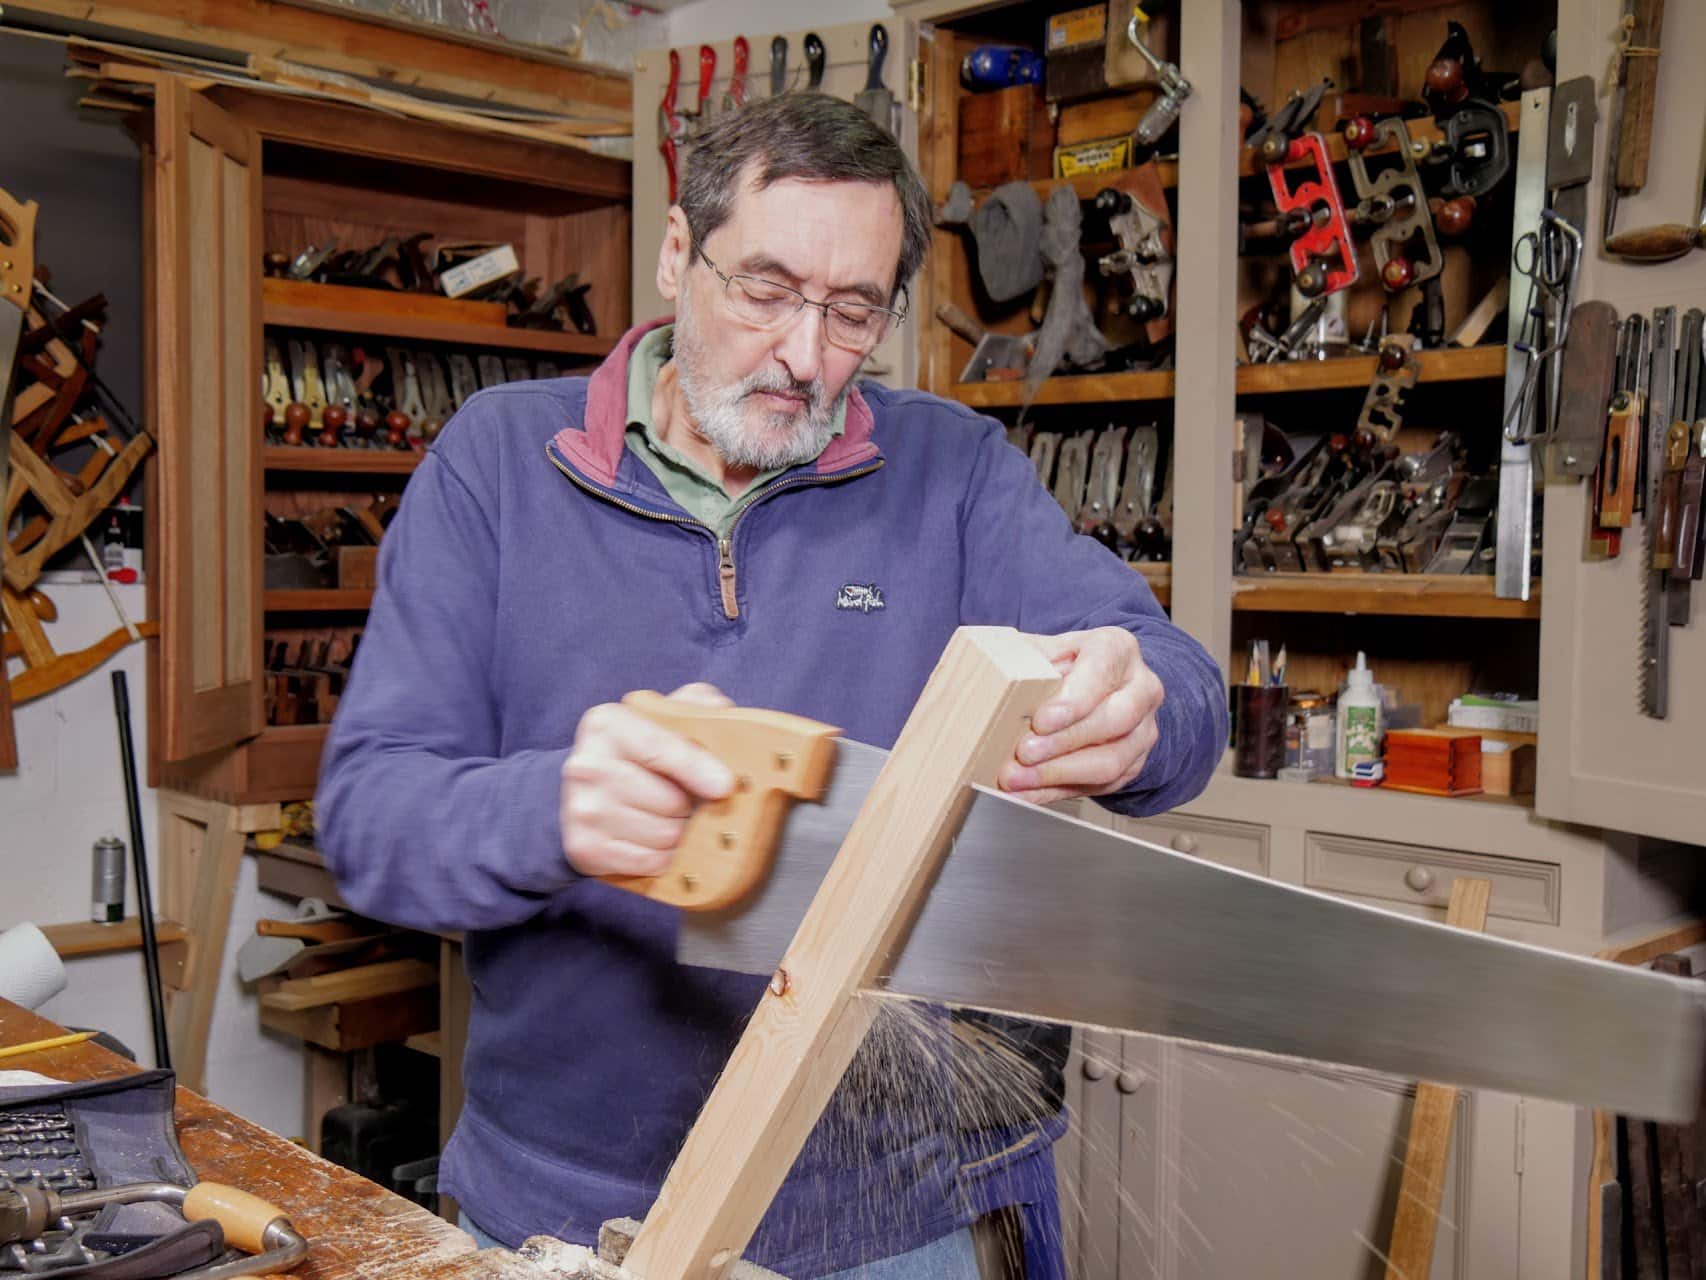
Take care not to overshoot with the saw and burst into the hole as the saw teeth will damage the retained aspect of the hole. Also, it is best in terms of accuracy to mark the cut lines onto both sides, then you can saw from both sides by alternating your cuts from both faces.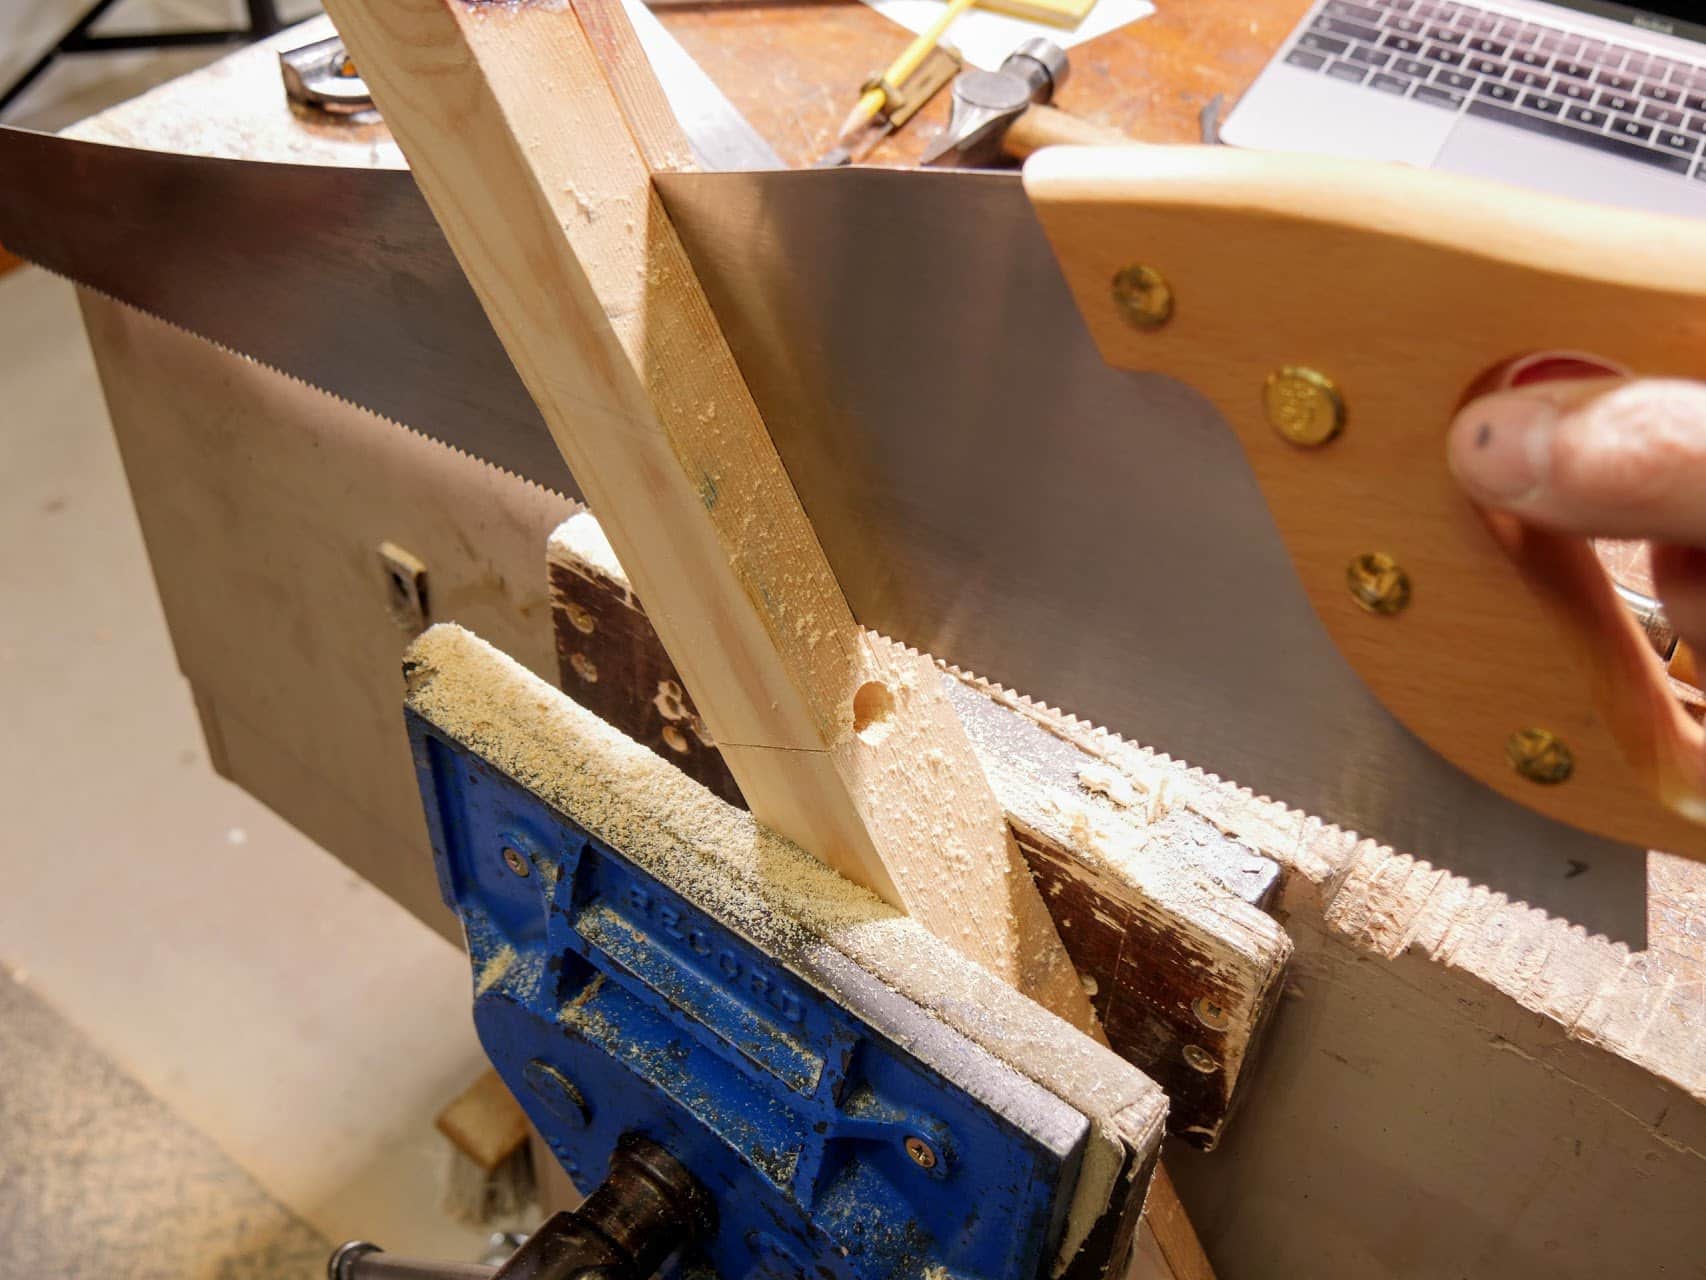
I used a round rasp to neaten up the outer edges of the holes, but coarse 80 grit sandpaper wrapped around a dowel gets similar results too. Follow on with 180 grit or similar.
As I progressed the work I used the plane and the scraper as necessary. The rasp helped on the awkward areas around the holes.
I used the handsaw to develop the top of the handle. I cut from both ends and met in the middle before reaching for the bench plane.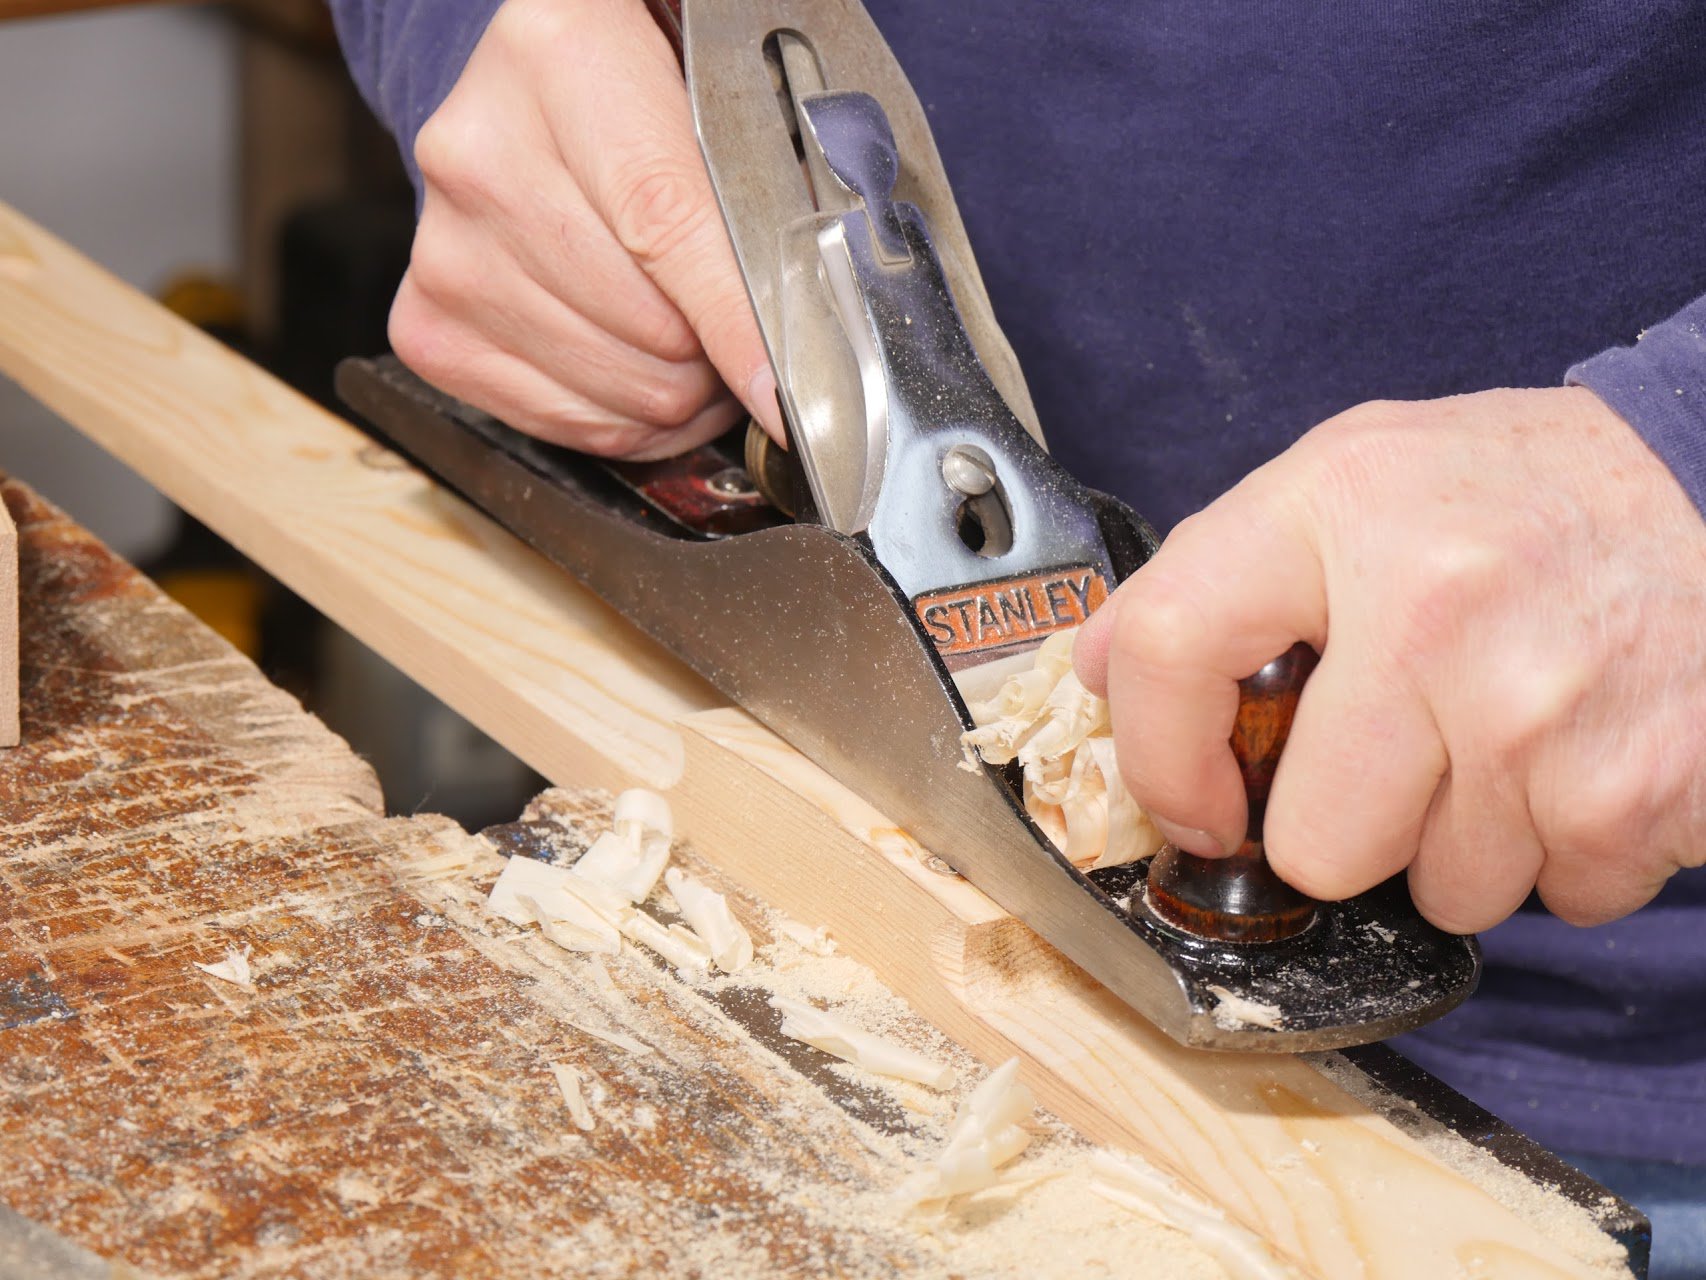
The top of the handle can be refined in shape to remove saw cuts using the bench plane.
Use a gouge to create a finger hold—work from both ends towards the centre. Of course the straightedge will work well without these, but I feel the straightedge works better with them. 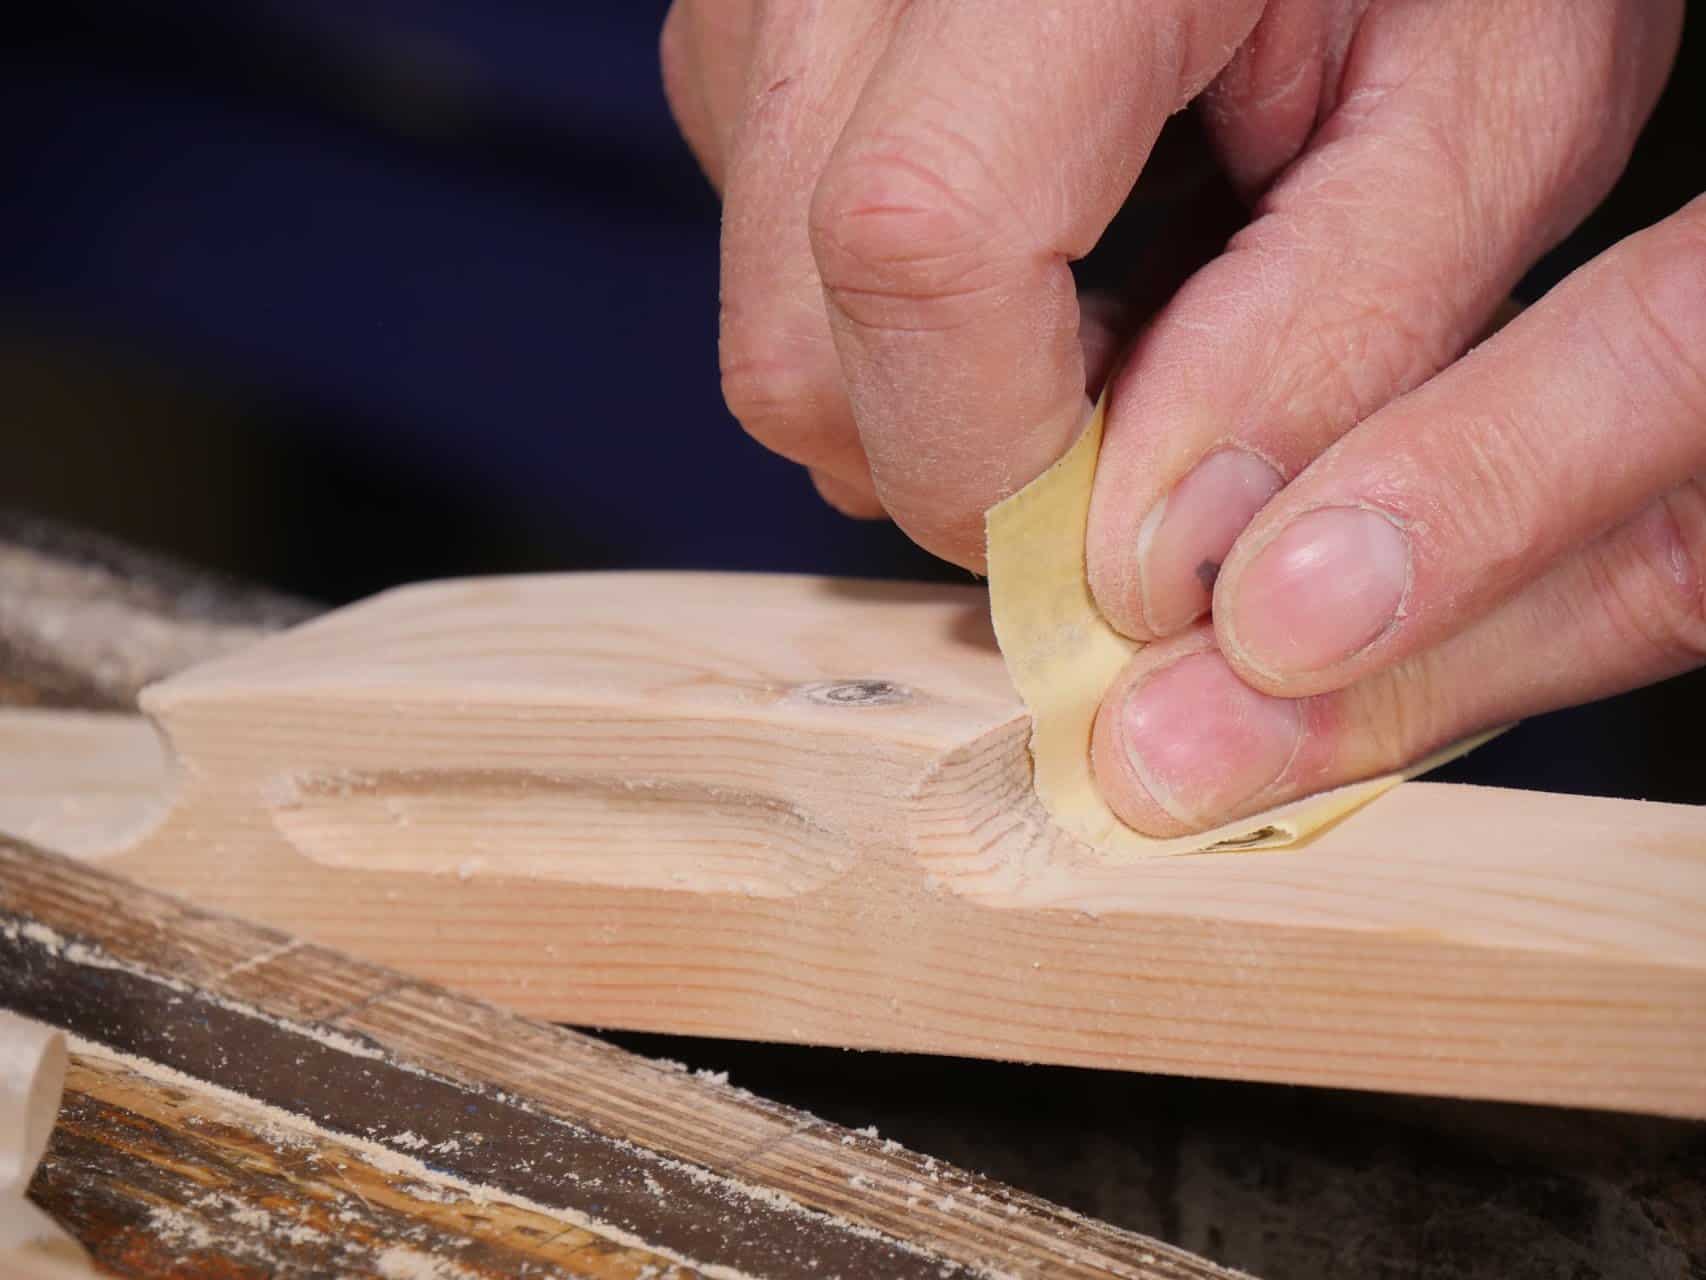
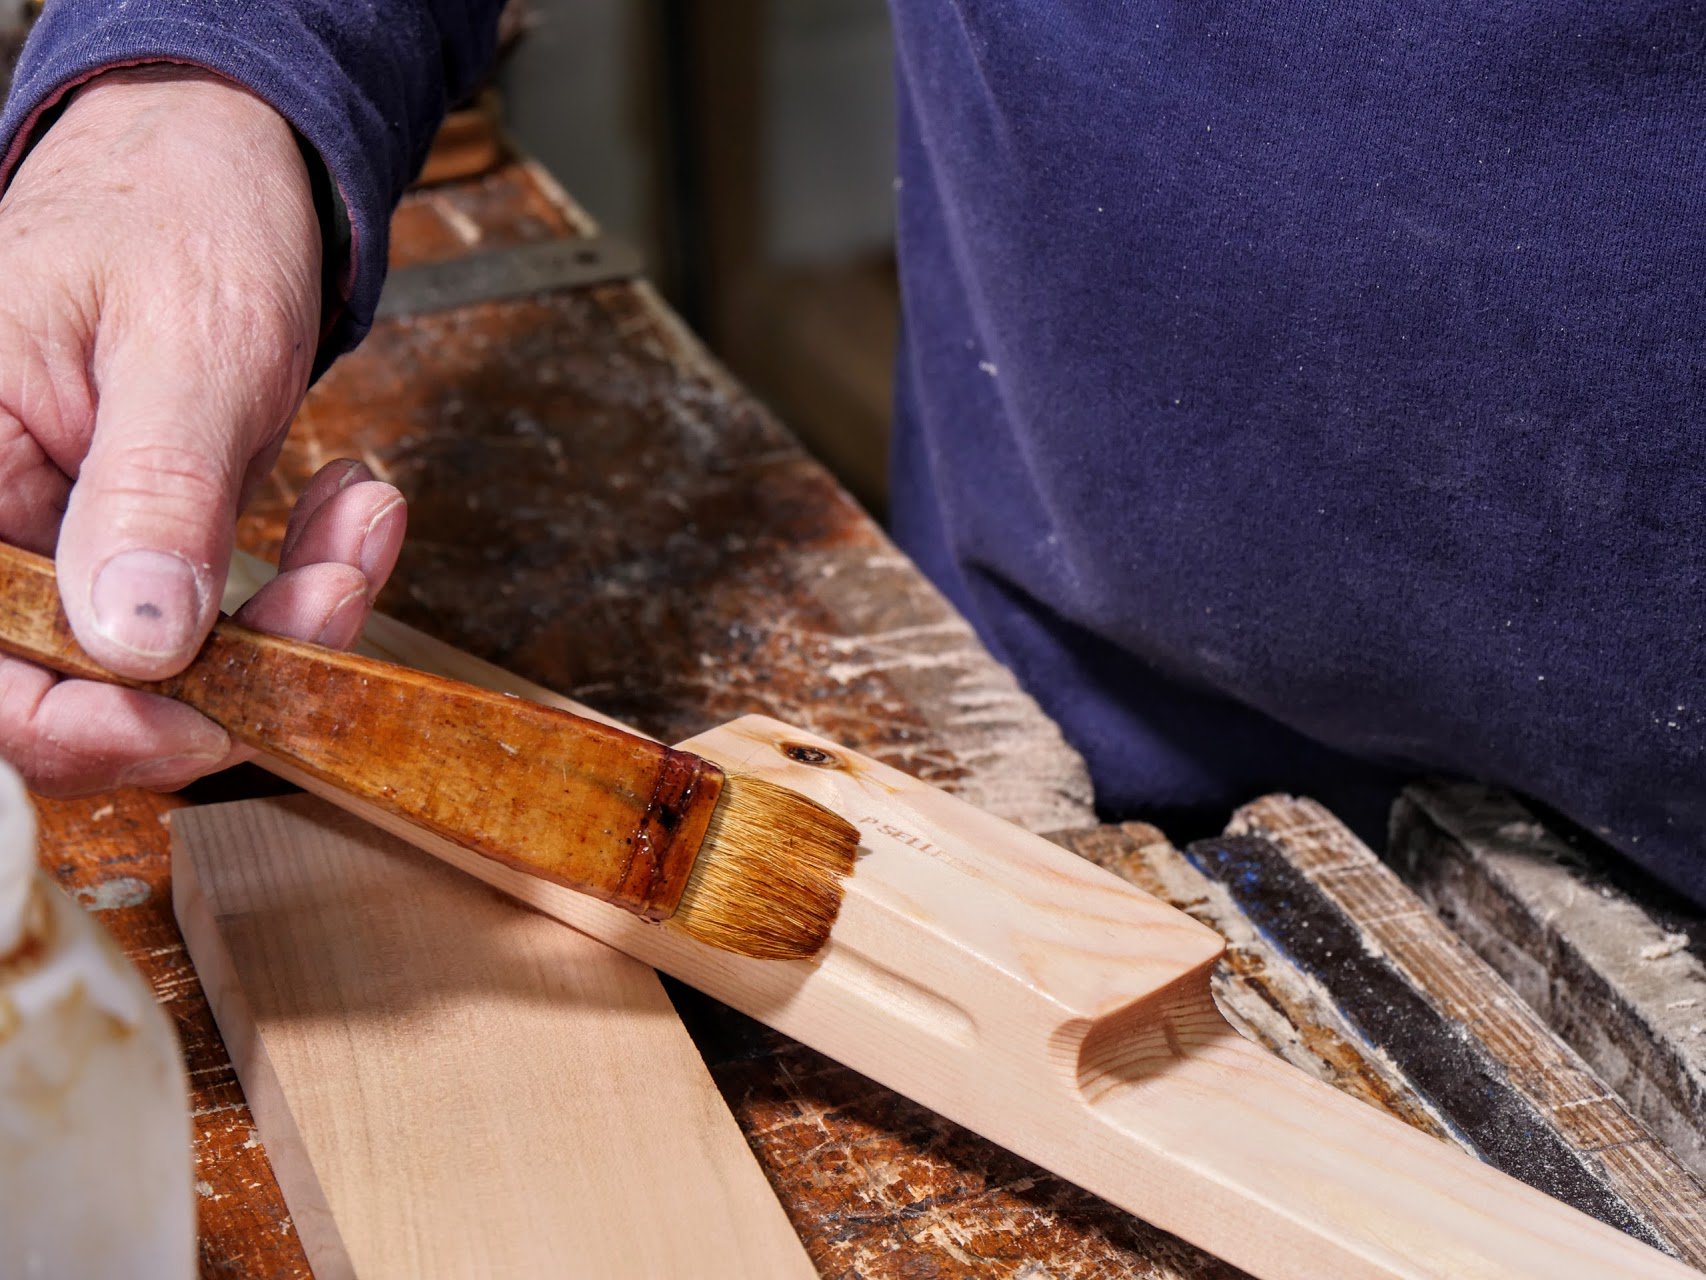
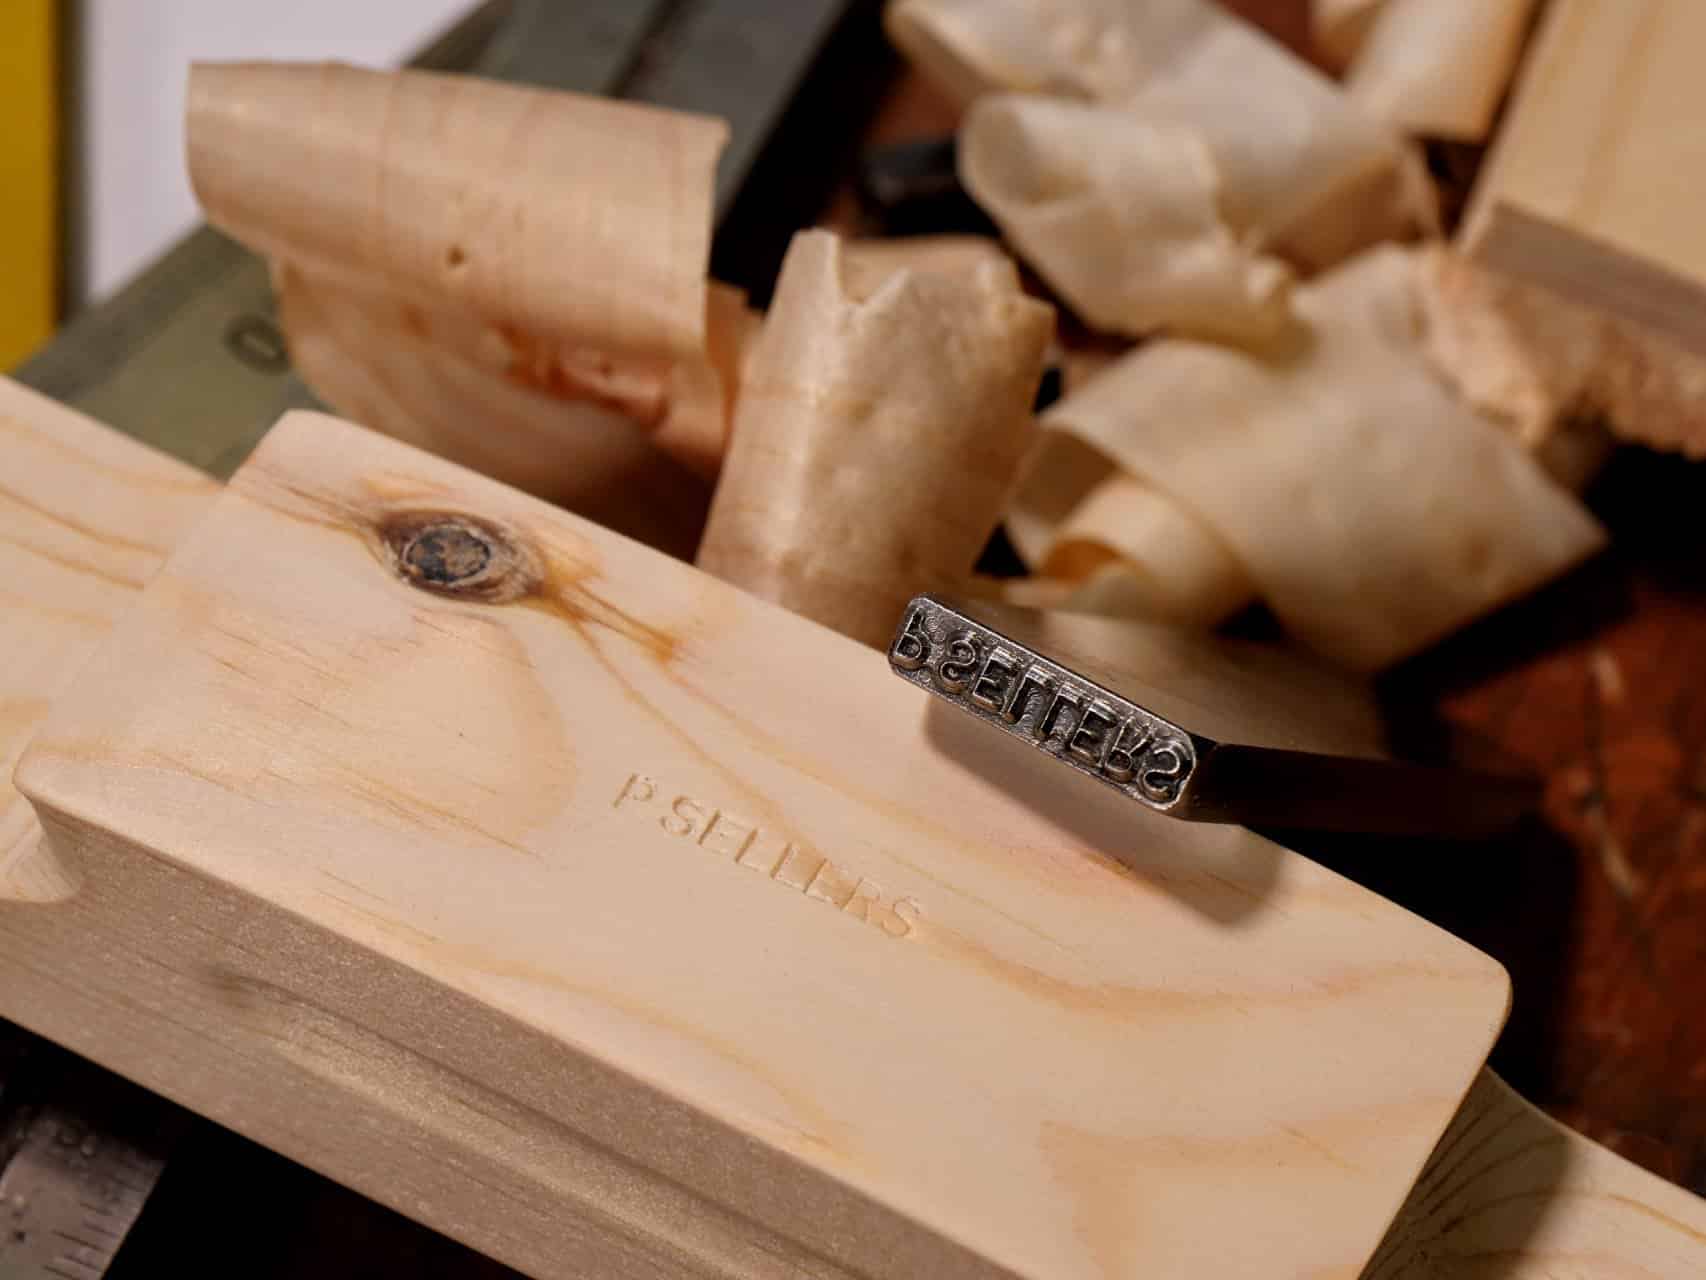
Oh, and then I used my name stamp to identify it as mine.
Ten days without you a new post . It was so long.
I think I am becomming Paul Seller dependant.
Thanks for this new post !
I was thinking the same. I think was was starting to go through withdrawal. 🙂
How do you get the bottom flat? Stock preparation is kind of excluded here.
I know that you can do it with a #4 plane but how do you check that the whole bottom is flat.
Greetings from Slovenia,
Nik
One way to check a straightedge for flat is to put in on a piece of sheet goods or something long enough for the entire length of the straightedge. Knife a line along the edge. Flip it. If the edges don’t mate on the knife line, it isn’t flat.
@Derek This would work for straight, not flat. For a flat check you would have to lay the straightedge on its side, draw a line, flip and compare. You can’t check the flat plane using the straightness ( if that is a word 😀 ) of the edge of that plane. Cheers!
Thanks for the suggestions 🙂
You could use a straightedge…”if I had a good workbench, I could build a good workbench.”
Paul, can I ask where you sourced your name stamp from?
I believe this answers the question https://paulsellers.com/2016/12/name-iron-survives/
Though I do wonder where I could get one myself, might ask the local engraver if this is the sort of thing they could do. Given that they make stamps and seals it’s probably not out of the realm of possibility.
New name stamp, “P SELLERS”? The one on https://paulsellers.com/2016/12/name-iron-survives/ was “PA. SELLERS”.