Making Keyhole Plates + Using Them Vid
When I was 14 I made my first keyhole plate (pic here). Well, four of them actually. I used them to hang the wall shelf I was making for my parents. They are not hard to make and at 14 they would be considered especially fun. I replicated my schoolboy project recently for a video series and that meant the keyhole bracket I made back in the early 1960s too.
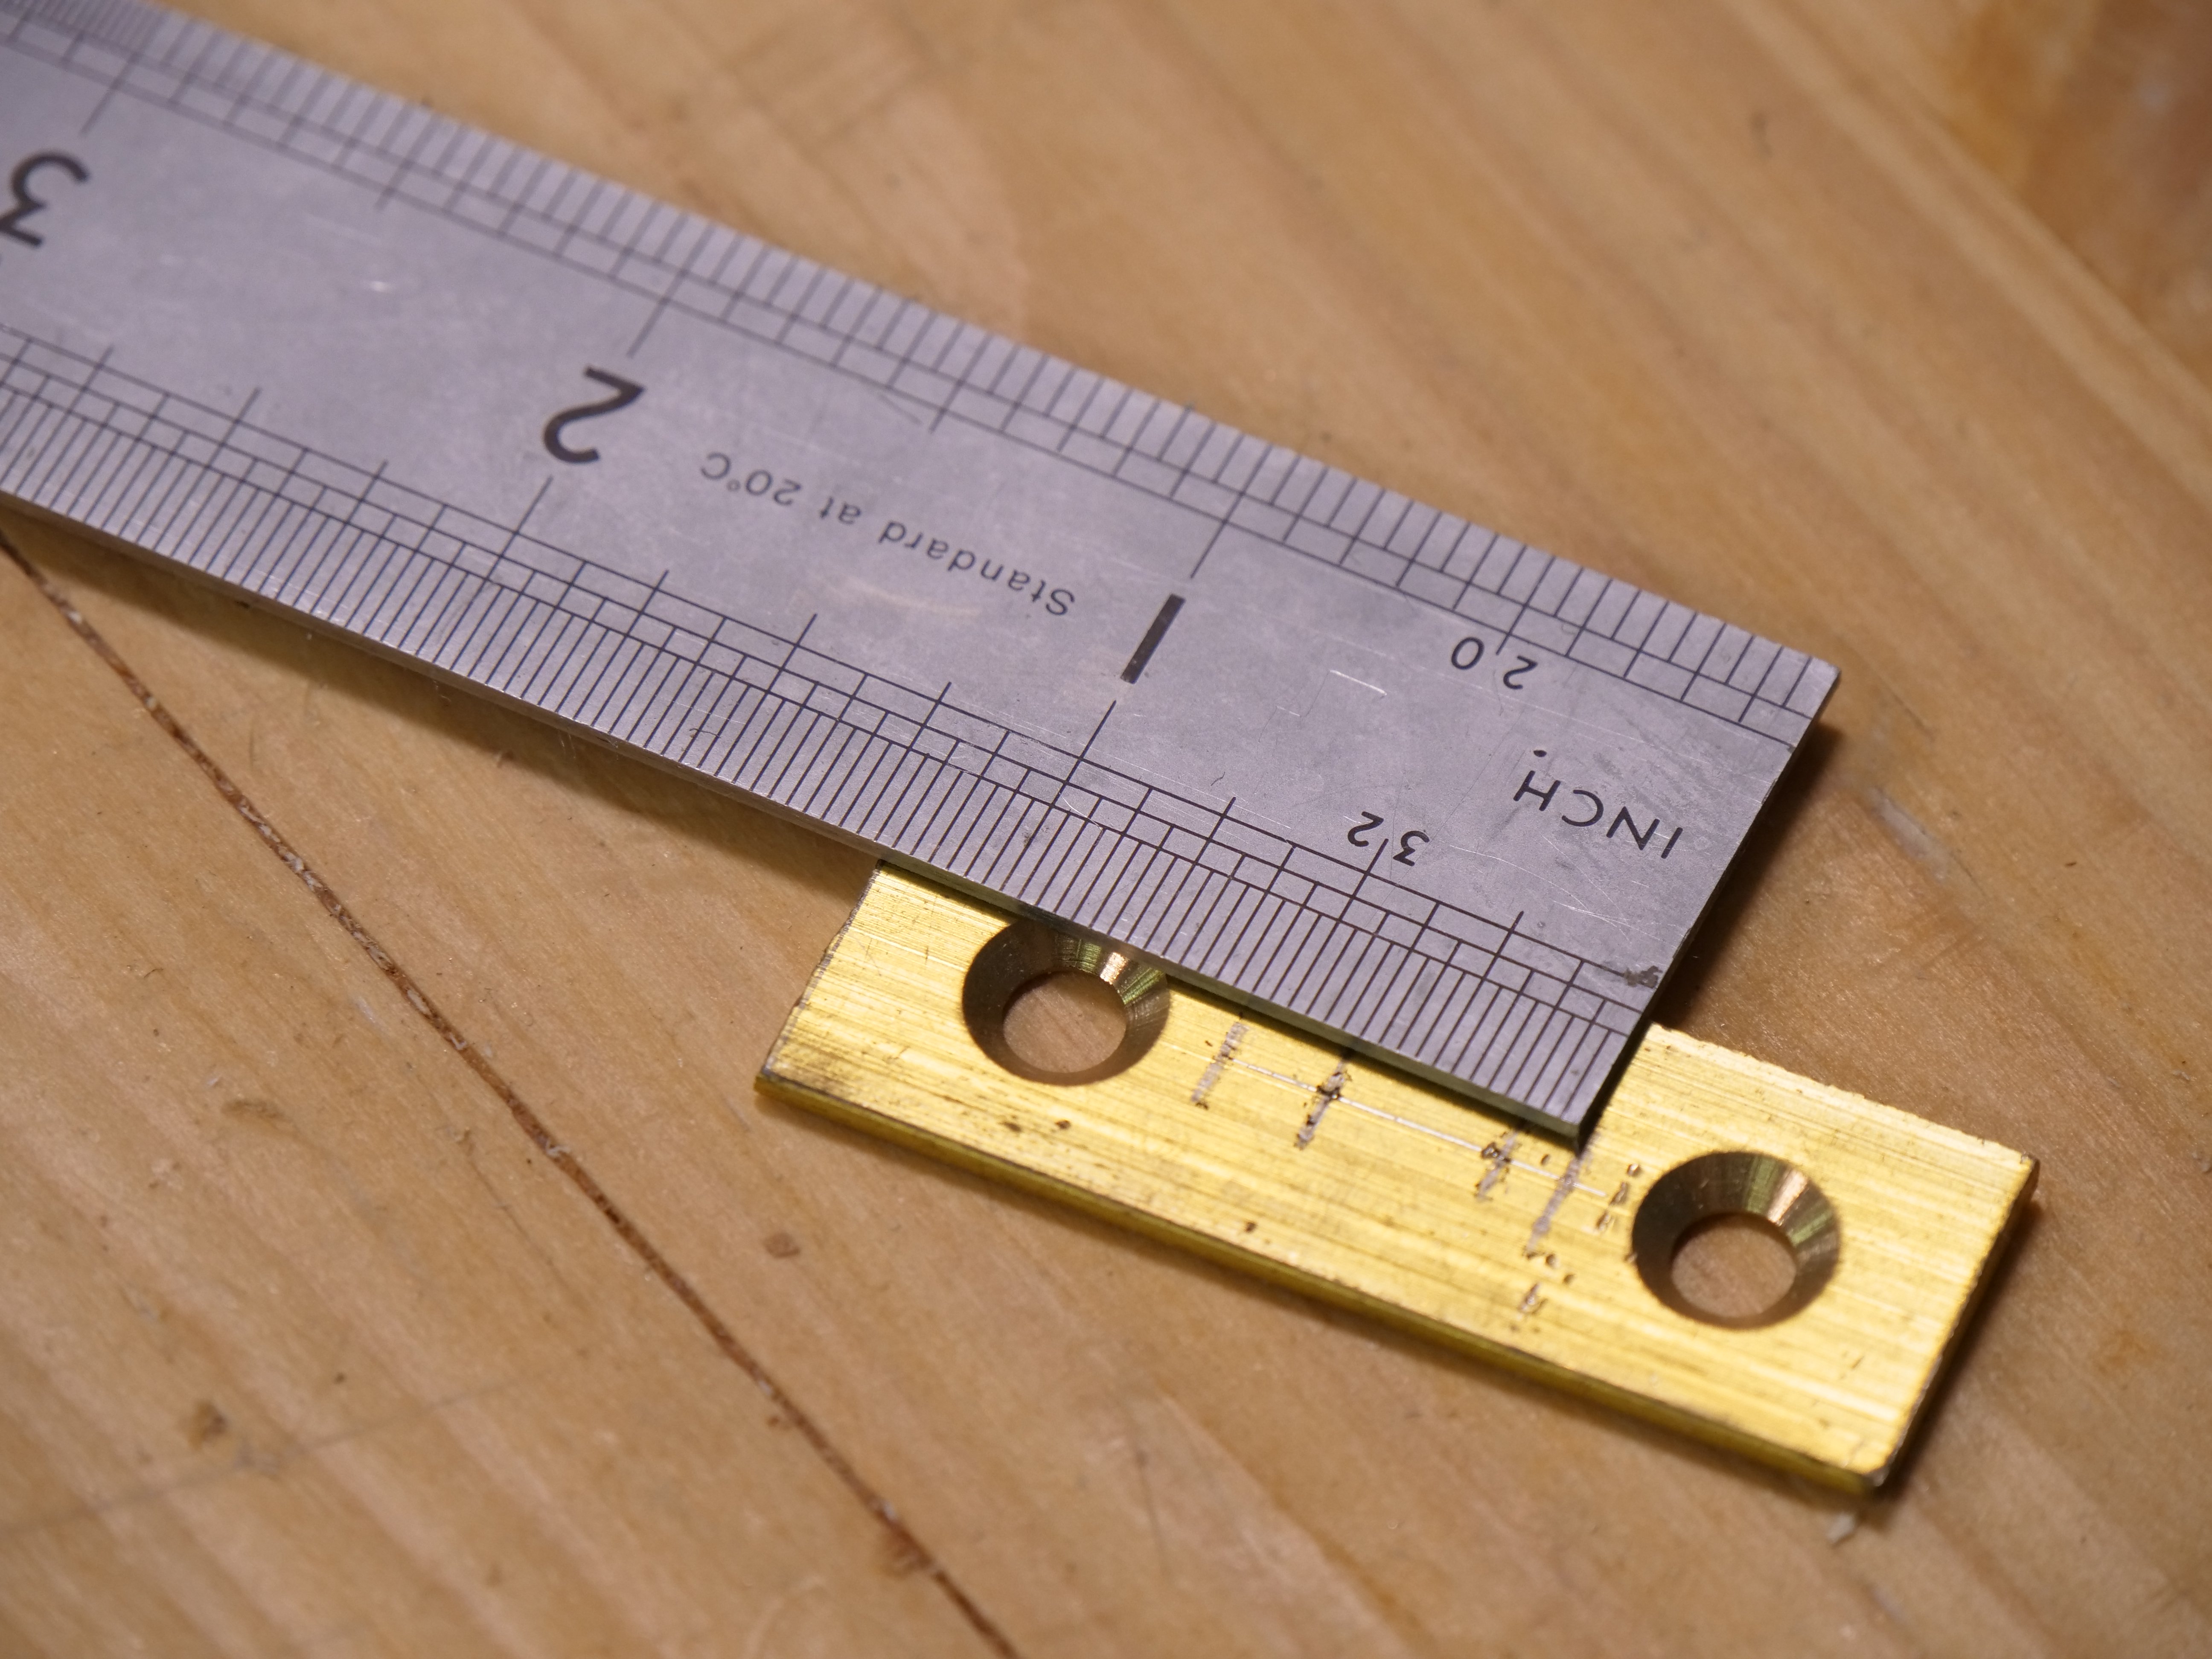
Back then I used brass flat stock but this time I took a brass hinge, kept two of the screw holes and developed the keyhole in between the screw holes. By hacksawing off the two flaps of the hinge I had my brackets in a matter of minutes. Keyhole brackets hide the hanging fitments in the wood at the back of the shelf, but they work on many other items like toilet roll holders and bathroom cabinets too.
Metalworking is like woodworking in that with just a few very basic metalworking hand tools, a sturdy vise and bench as your third hand, the world of making becomes the oyster of wellbeing.
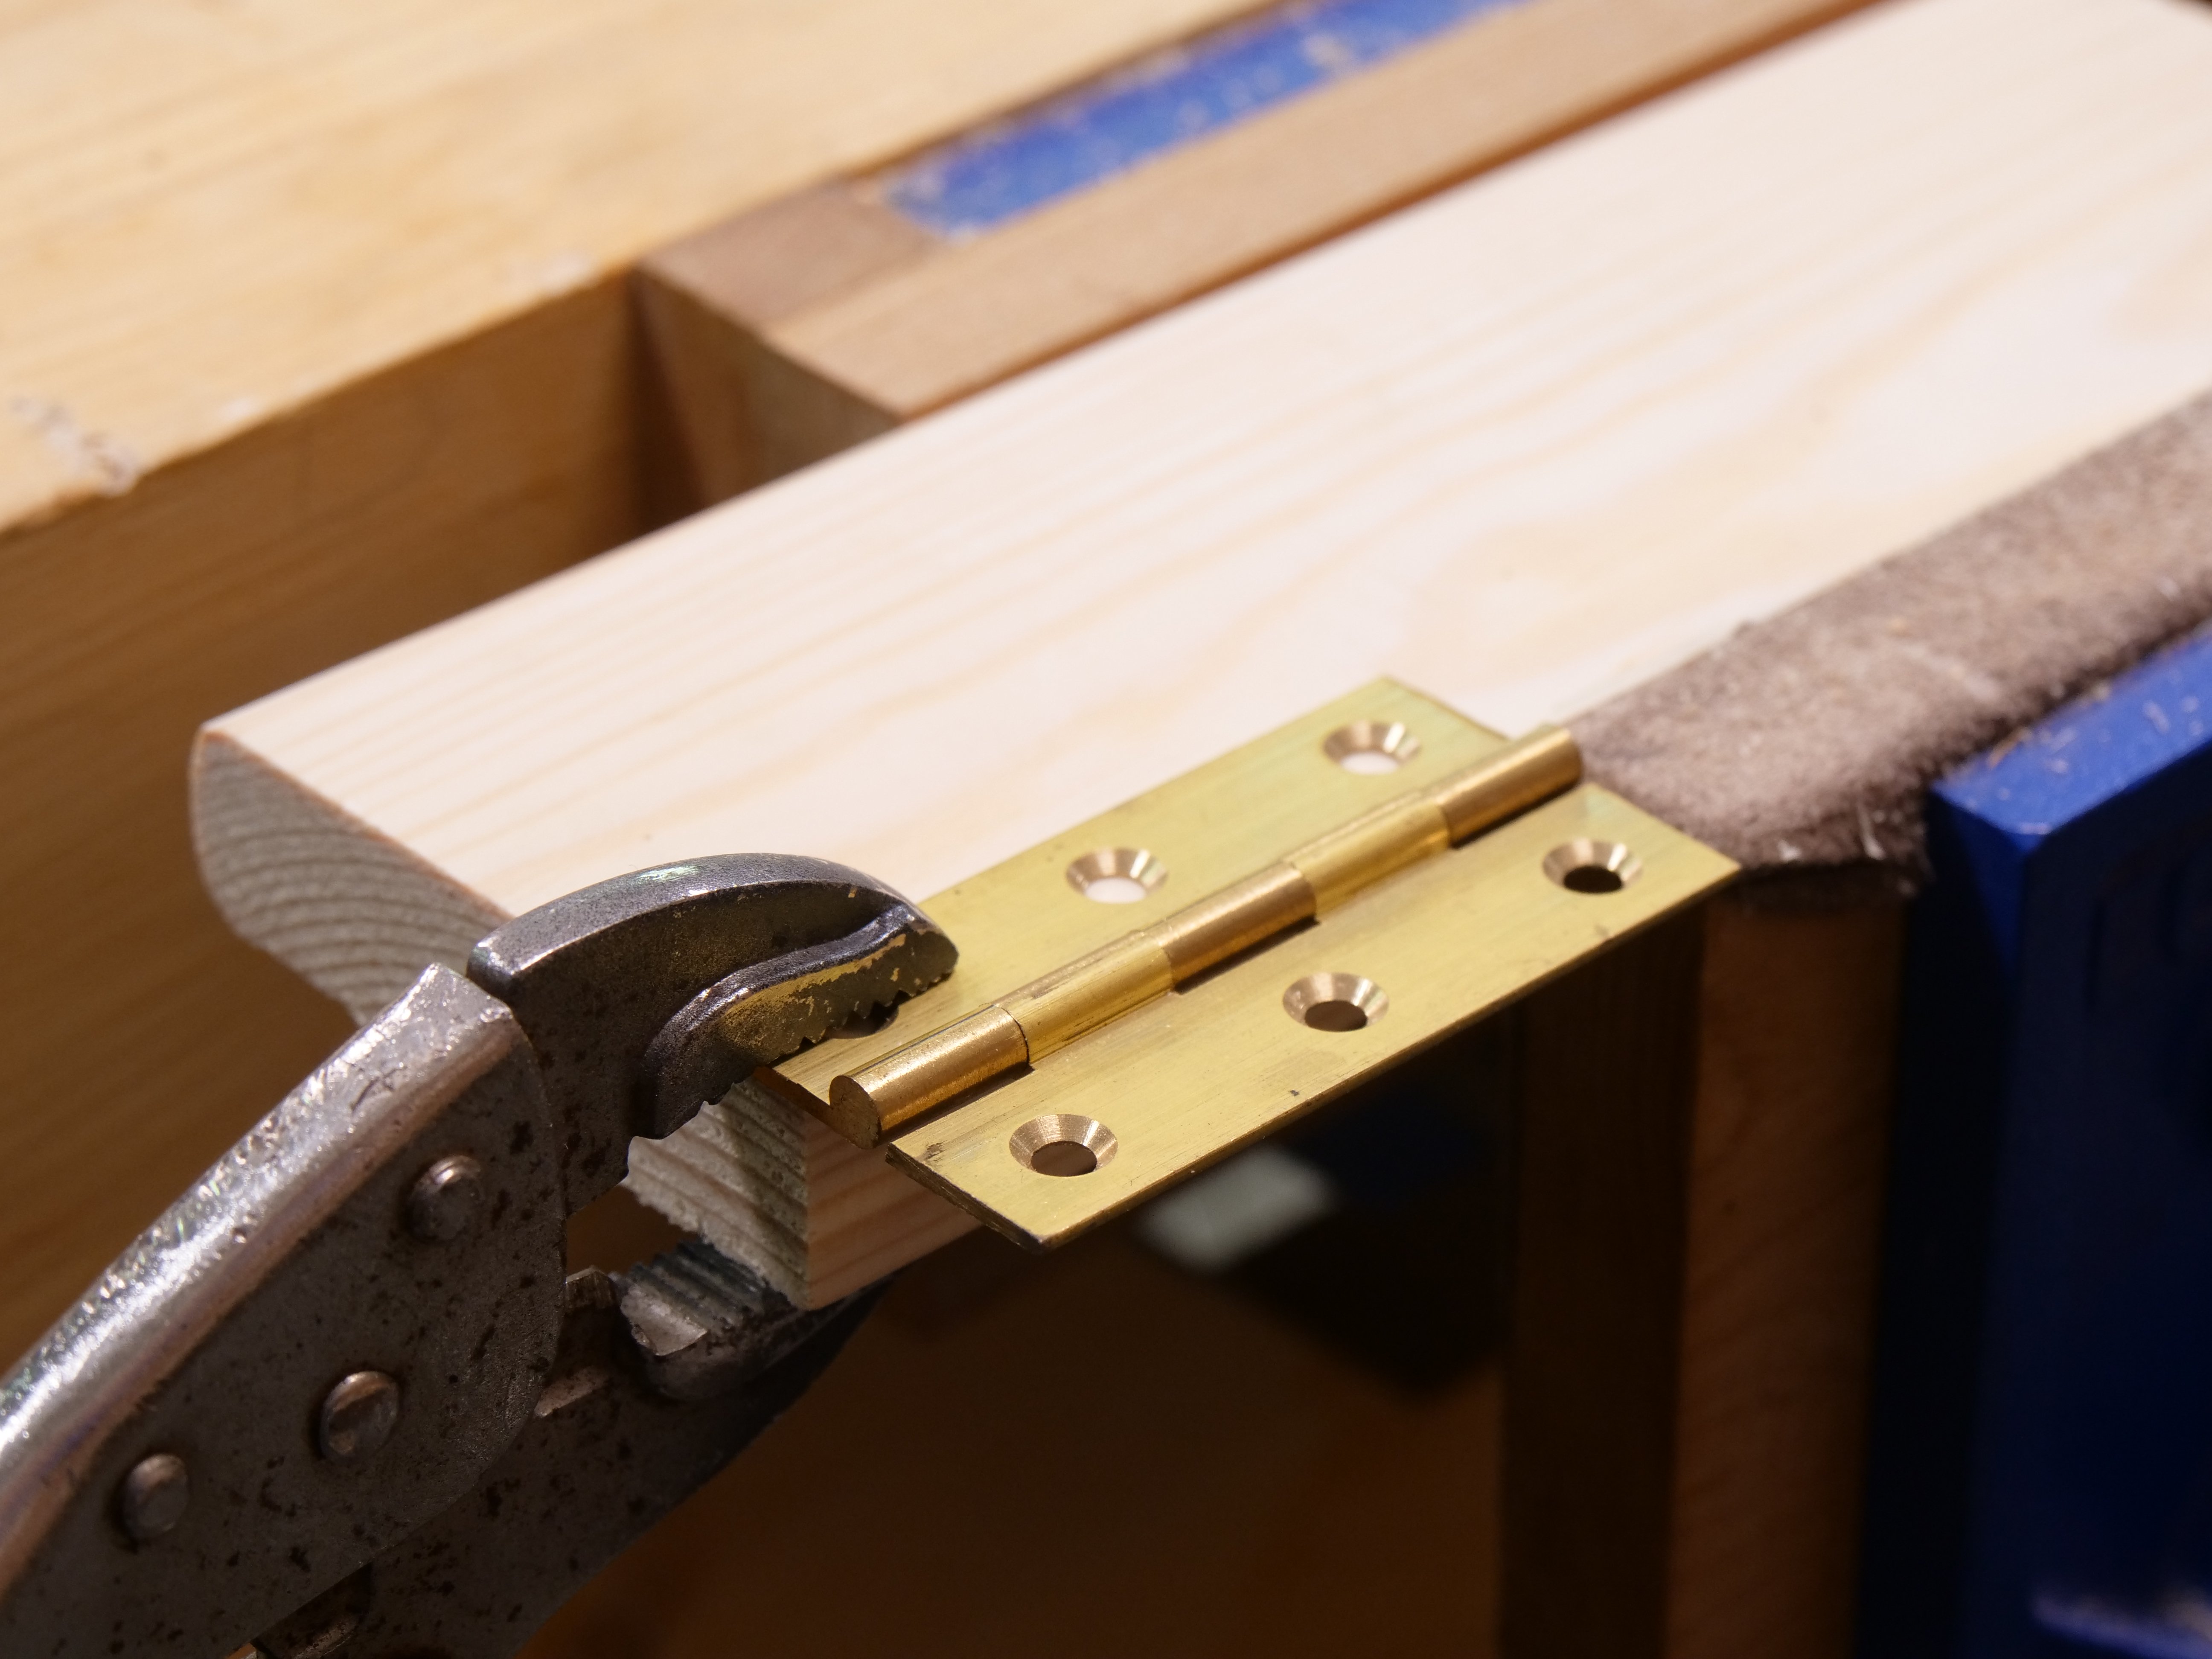

I clamped my hinge to the wood with some vise grips but in the video series I used the two screw holes to secure it to the wood blank for cutting and drilling. I used a hacksaw along the side of the hinge knuckle to part off one of the flaps.
I used a marking gauge to centre the line along the long axis of the hinge taking care not to press to hard and damage my gauge. Metal workers use the same tool but made fro all metal components.
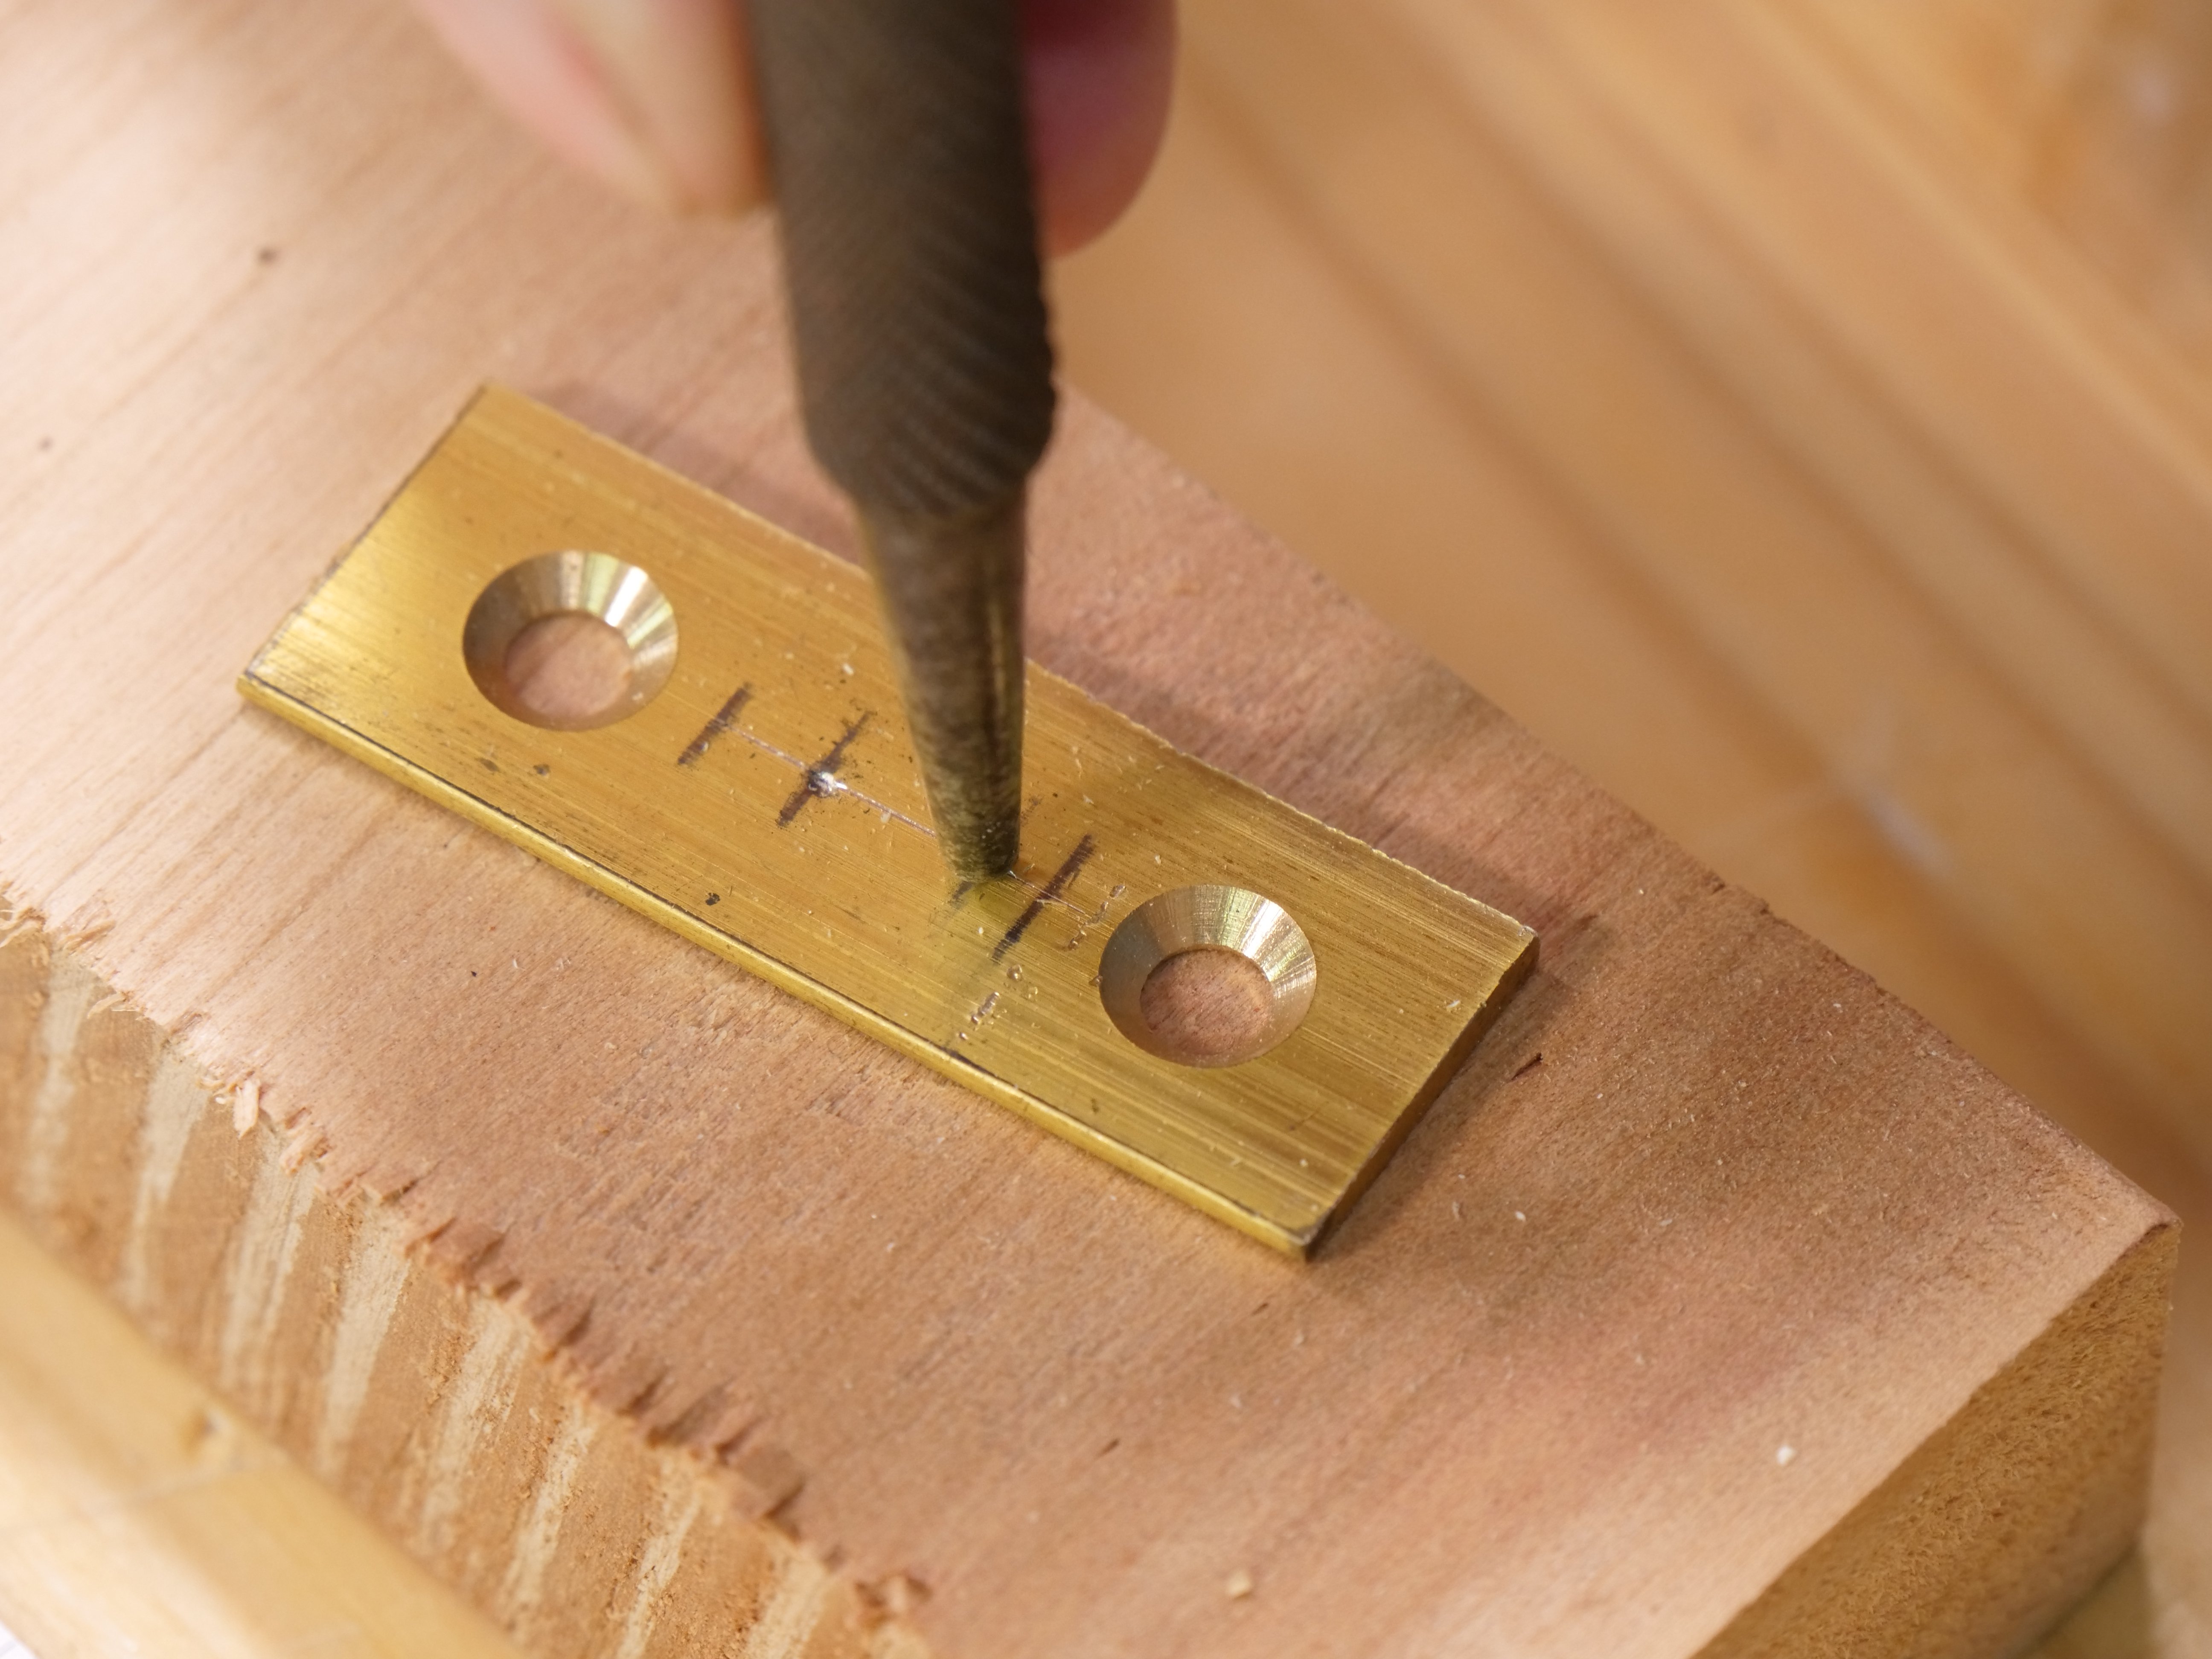
Use a centre punch to pop the position of two holes between the countersunk screw holes.
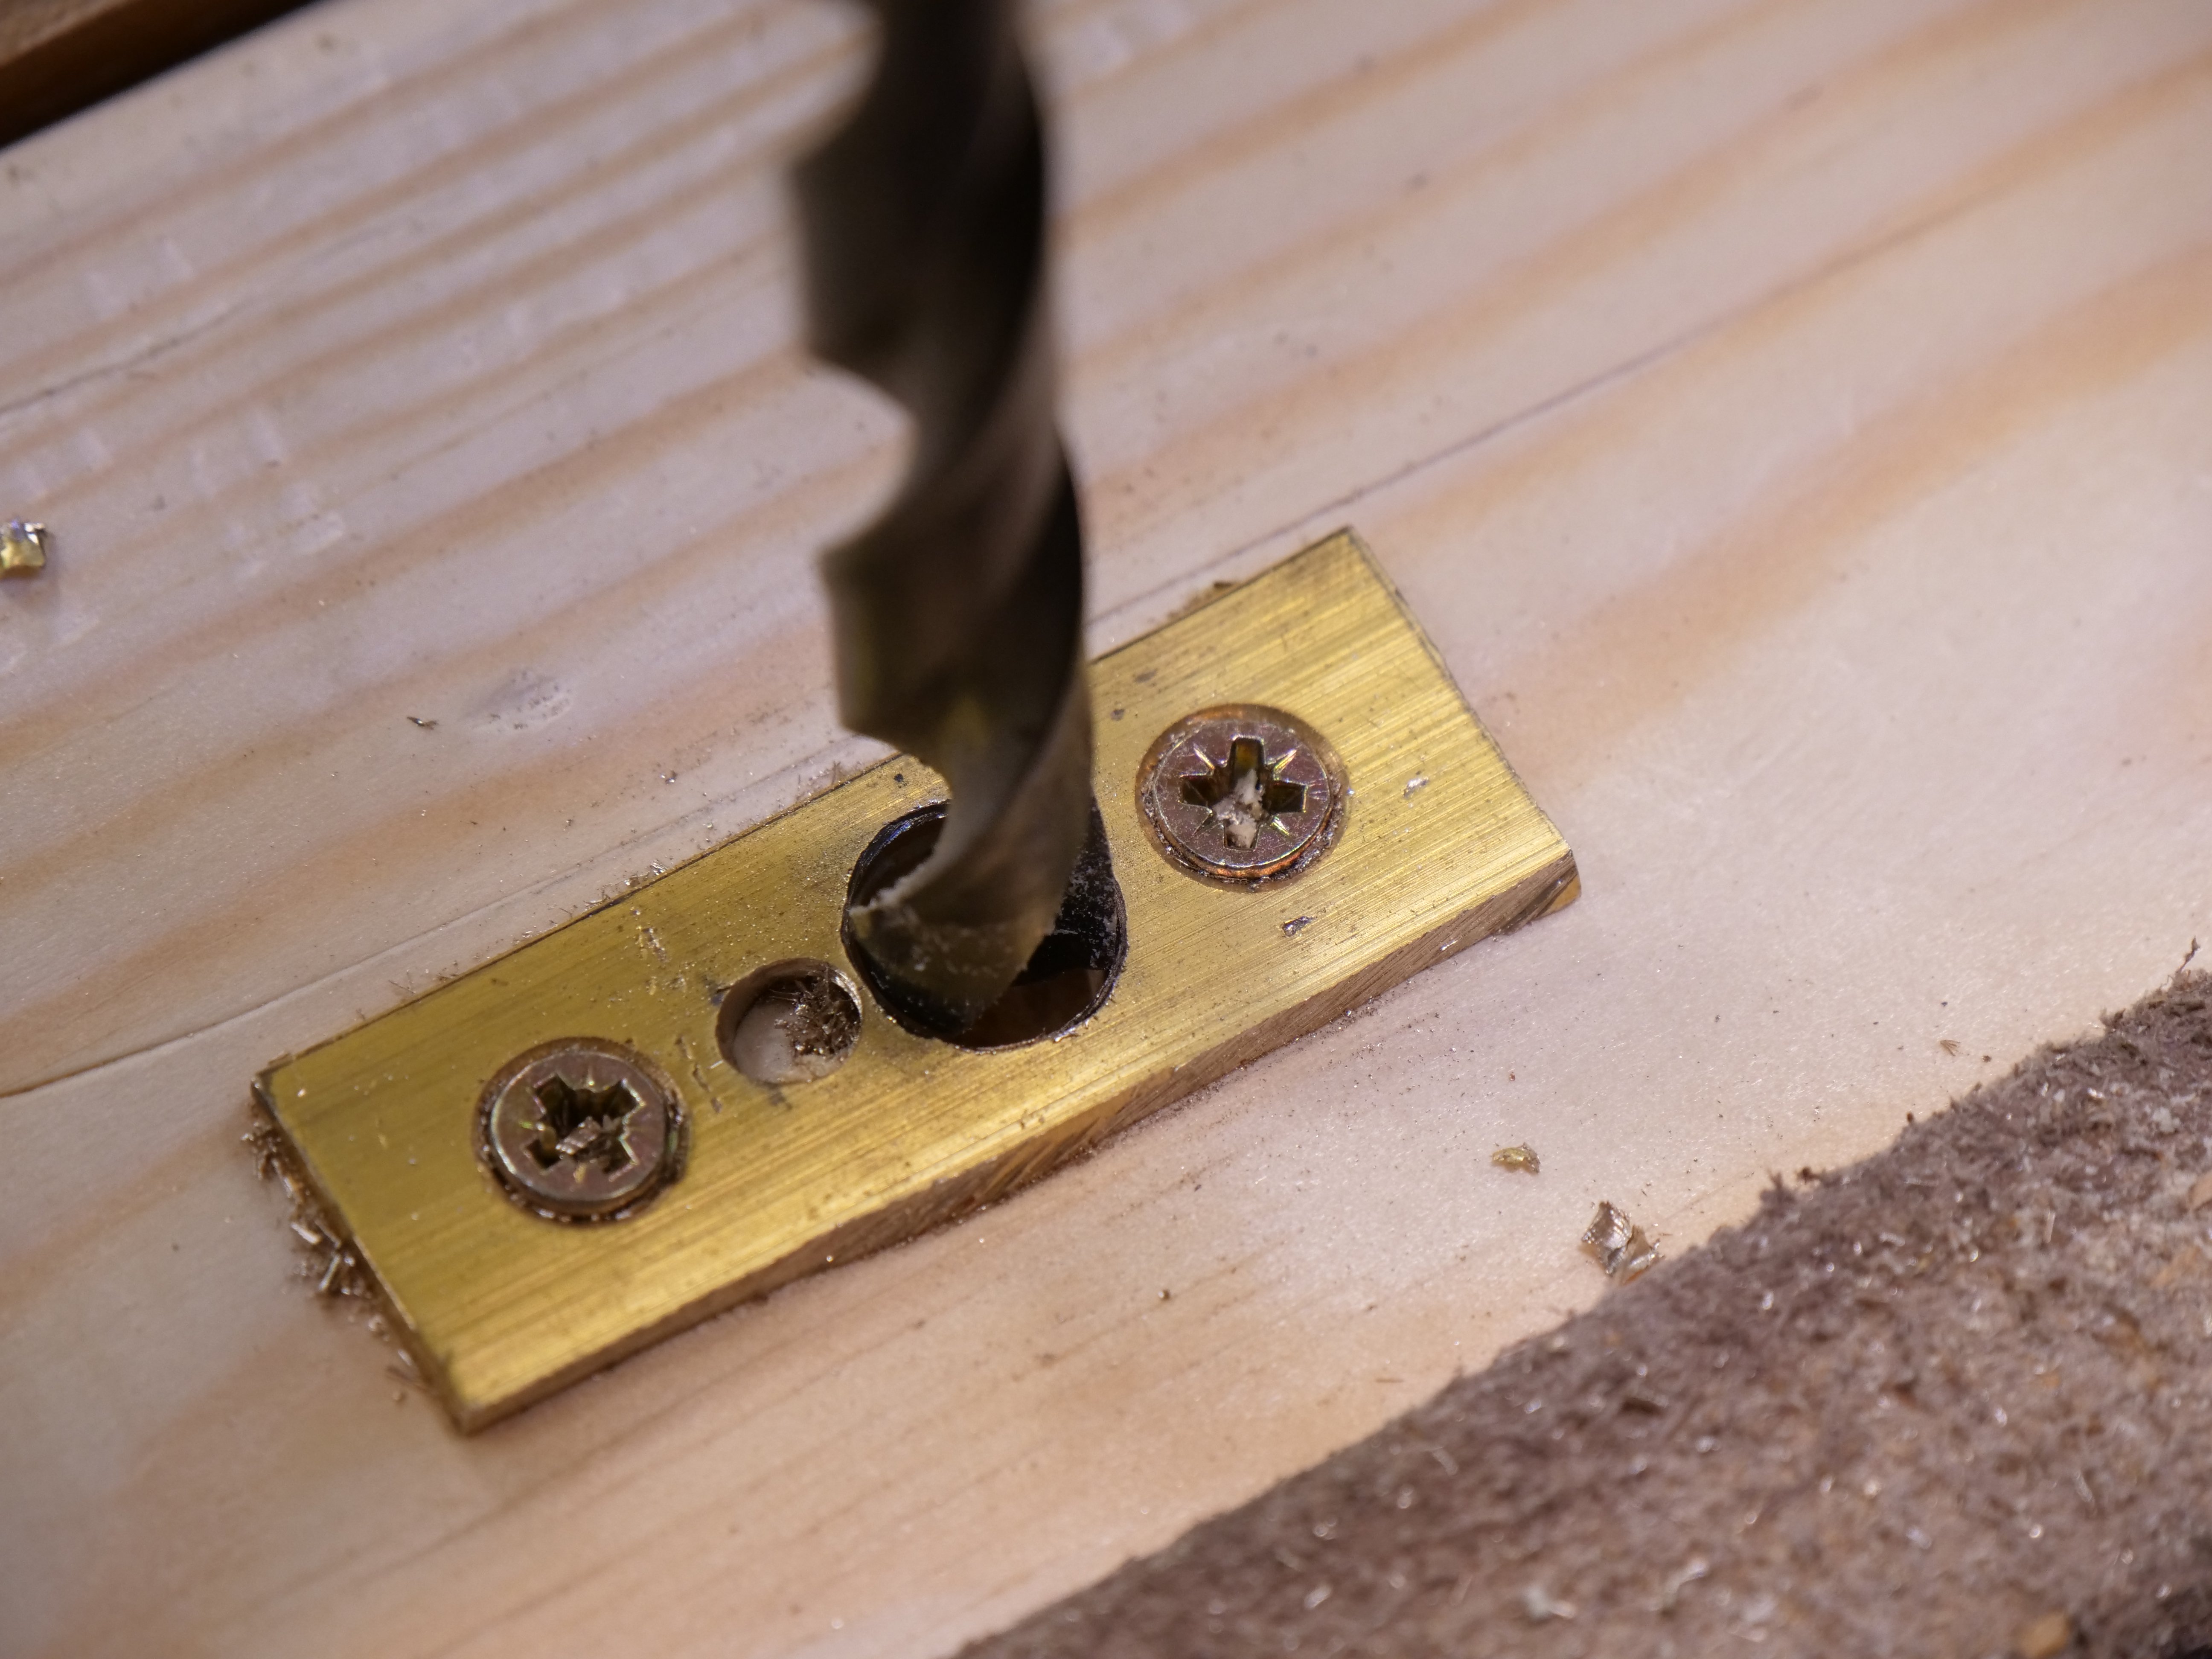
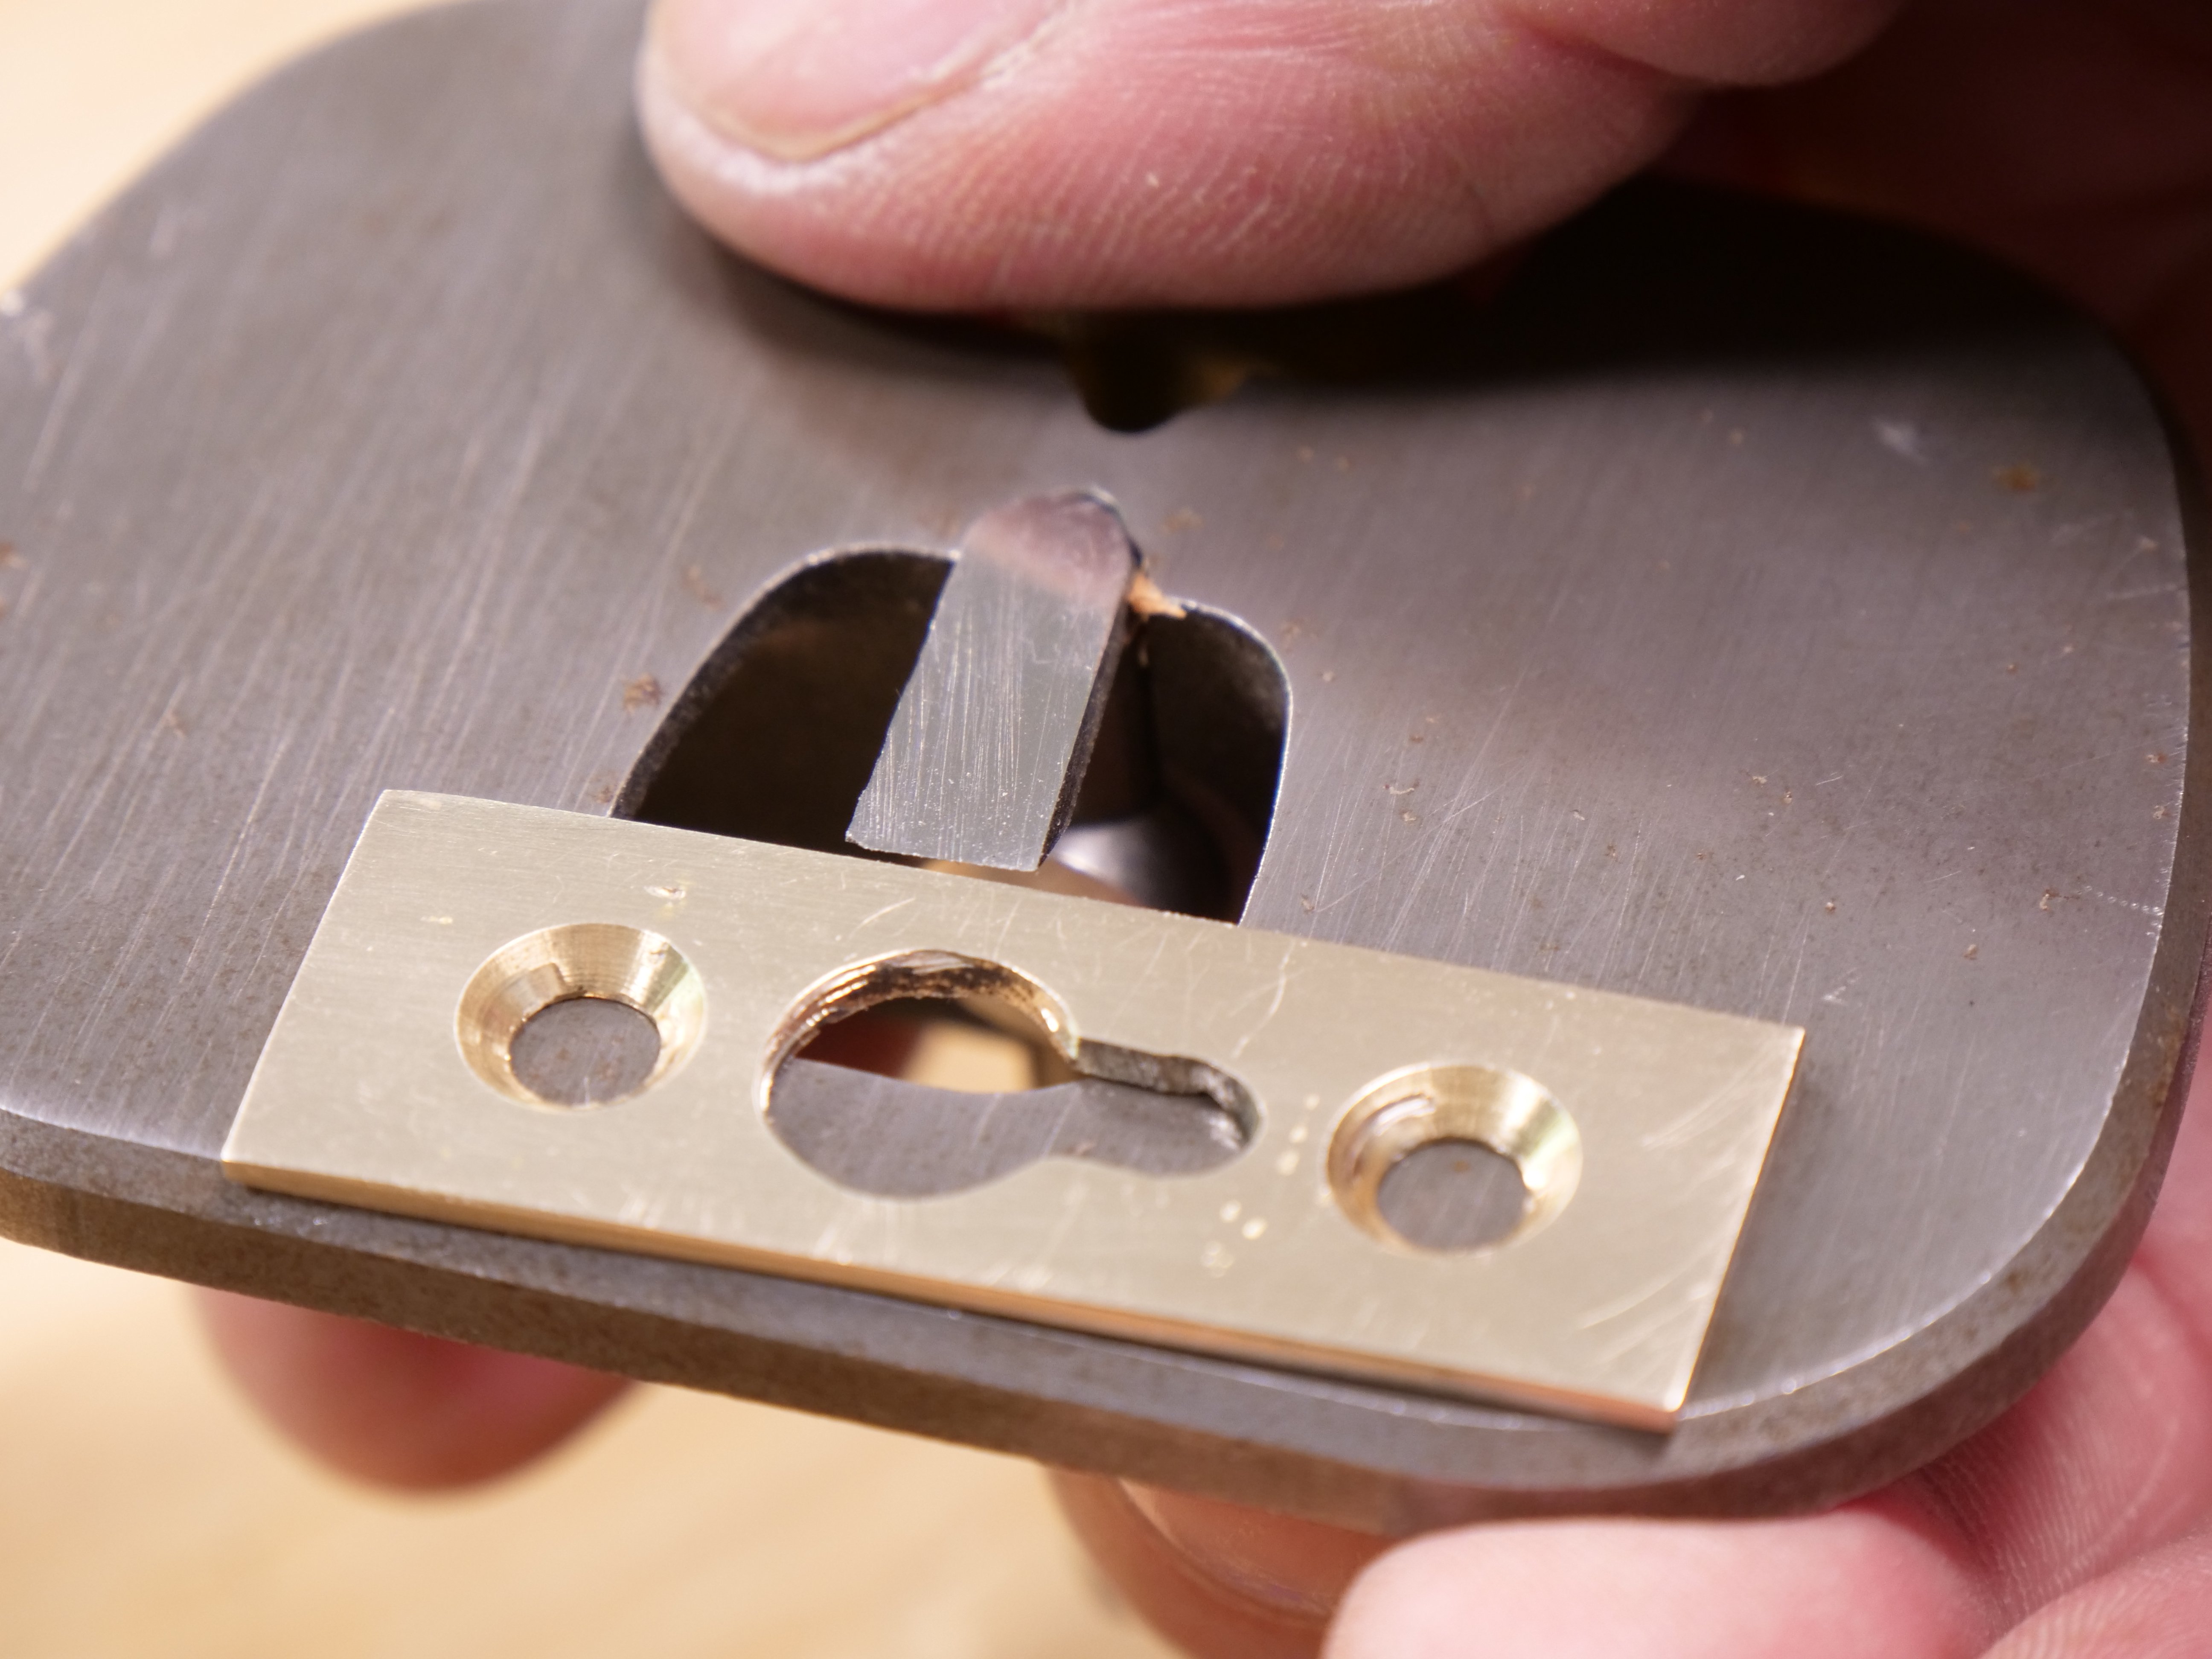
Drill out the two positions with 3/16″ bits. For larger 3/8″ I increased the hole size in increments (step-drilling) to increase the diameter to the final size of 3/8″. I used 3/16″, 1/4″, 5/16″ and 3/8″ bits.

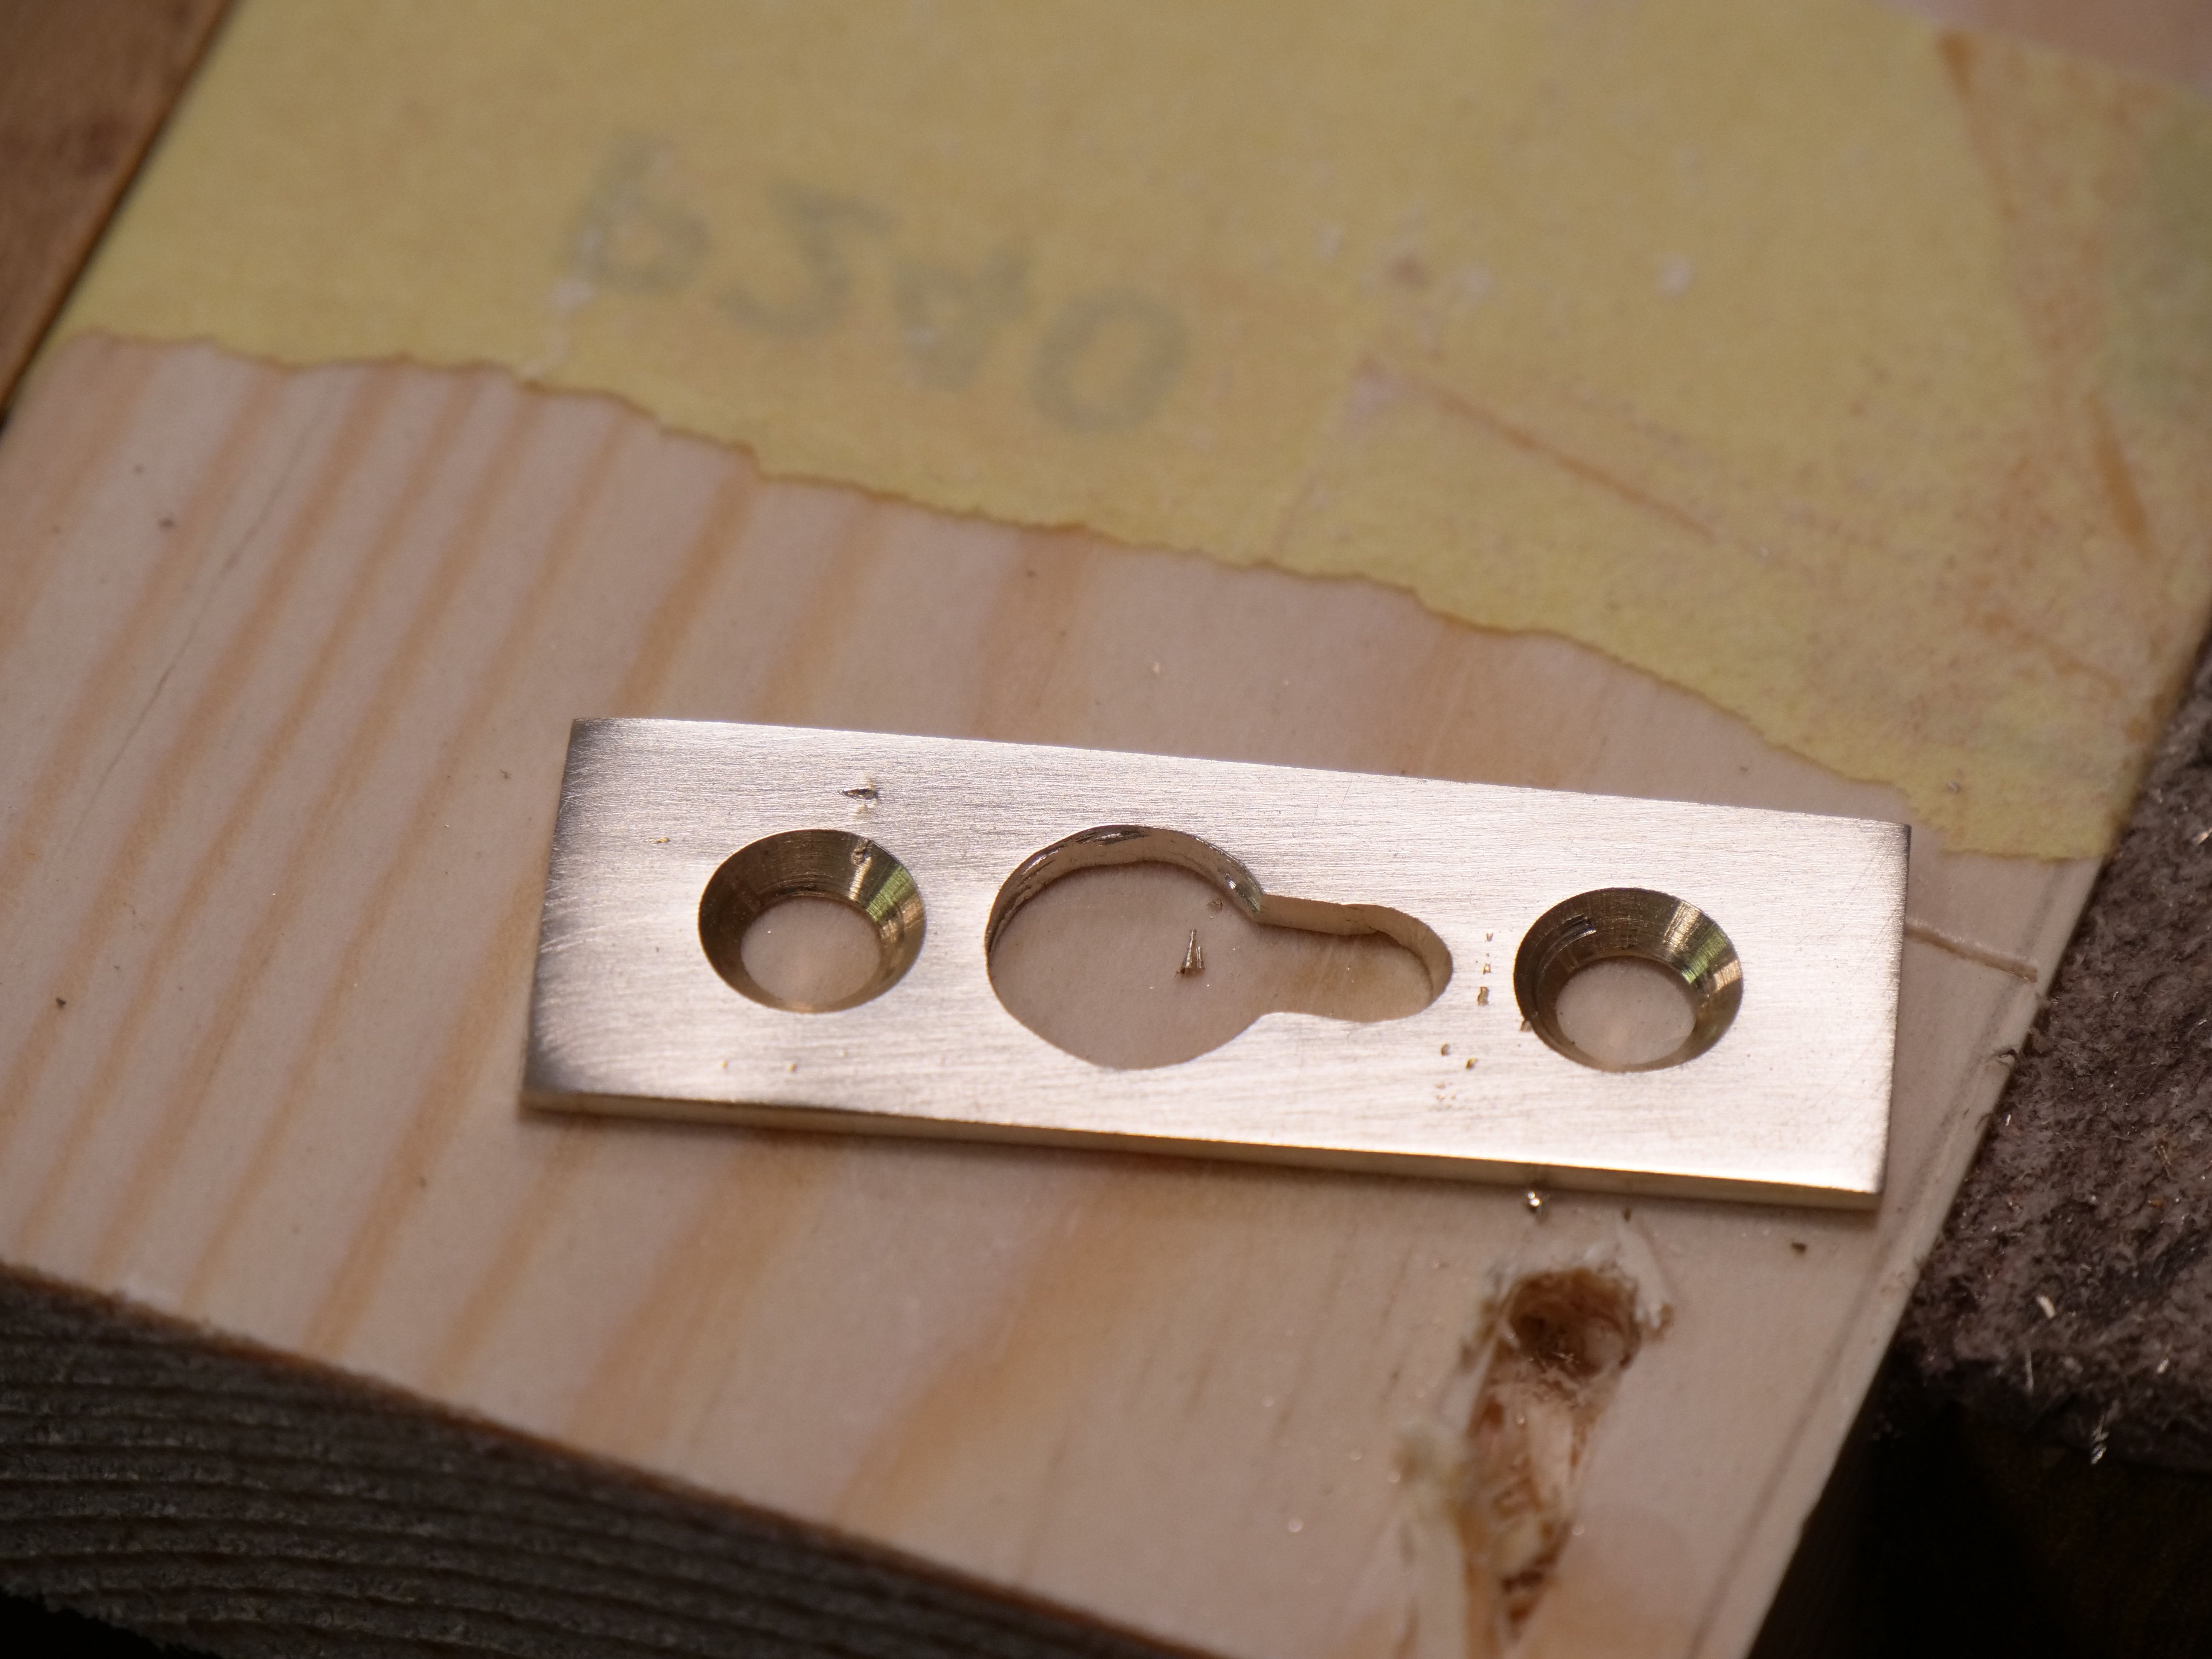
I used a round file to cut the brass between the holes and then filed the inside edges to even out the surfaces with a smaller triangular saw file.
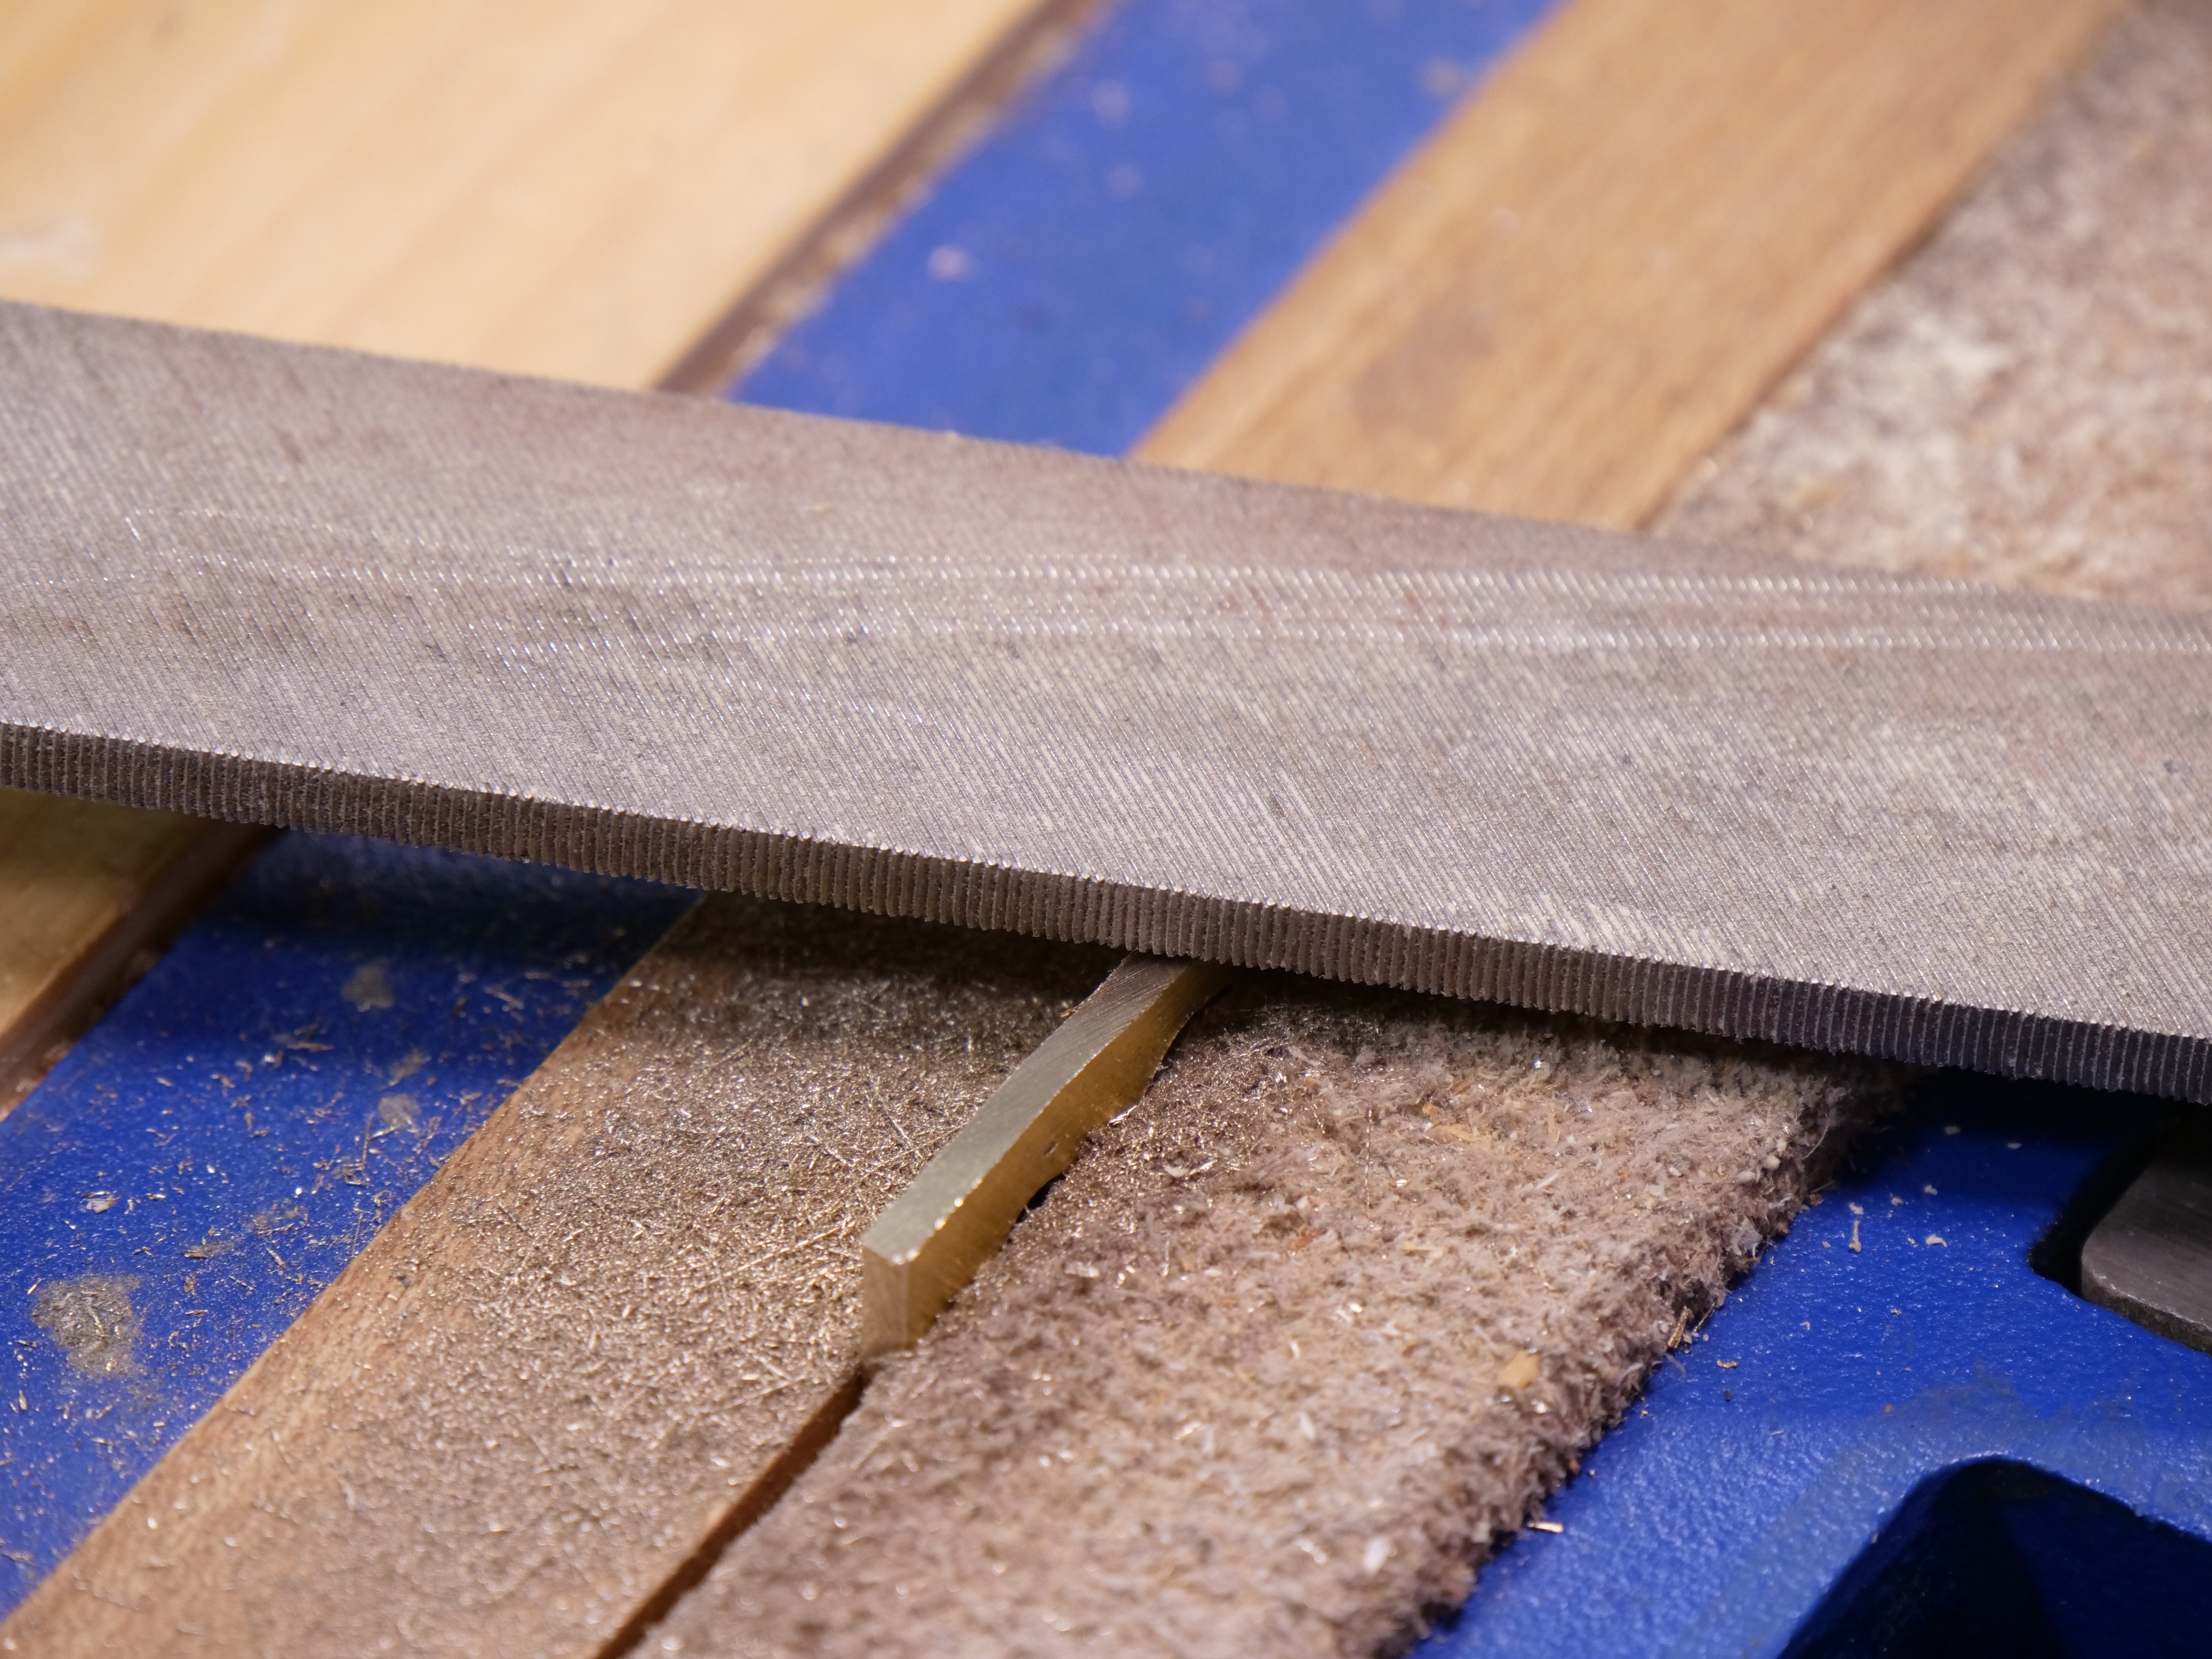
I filed out the hacksaw marks too to neaten up the finished work and `i also used abarasive to polish up the visible face of the brass plate.
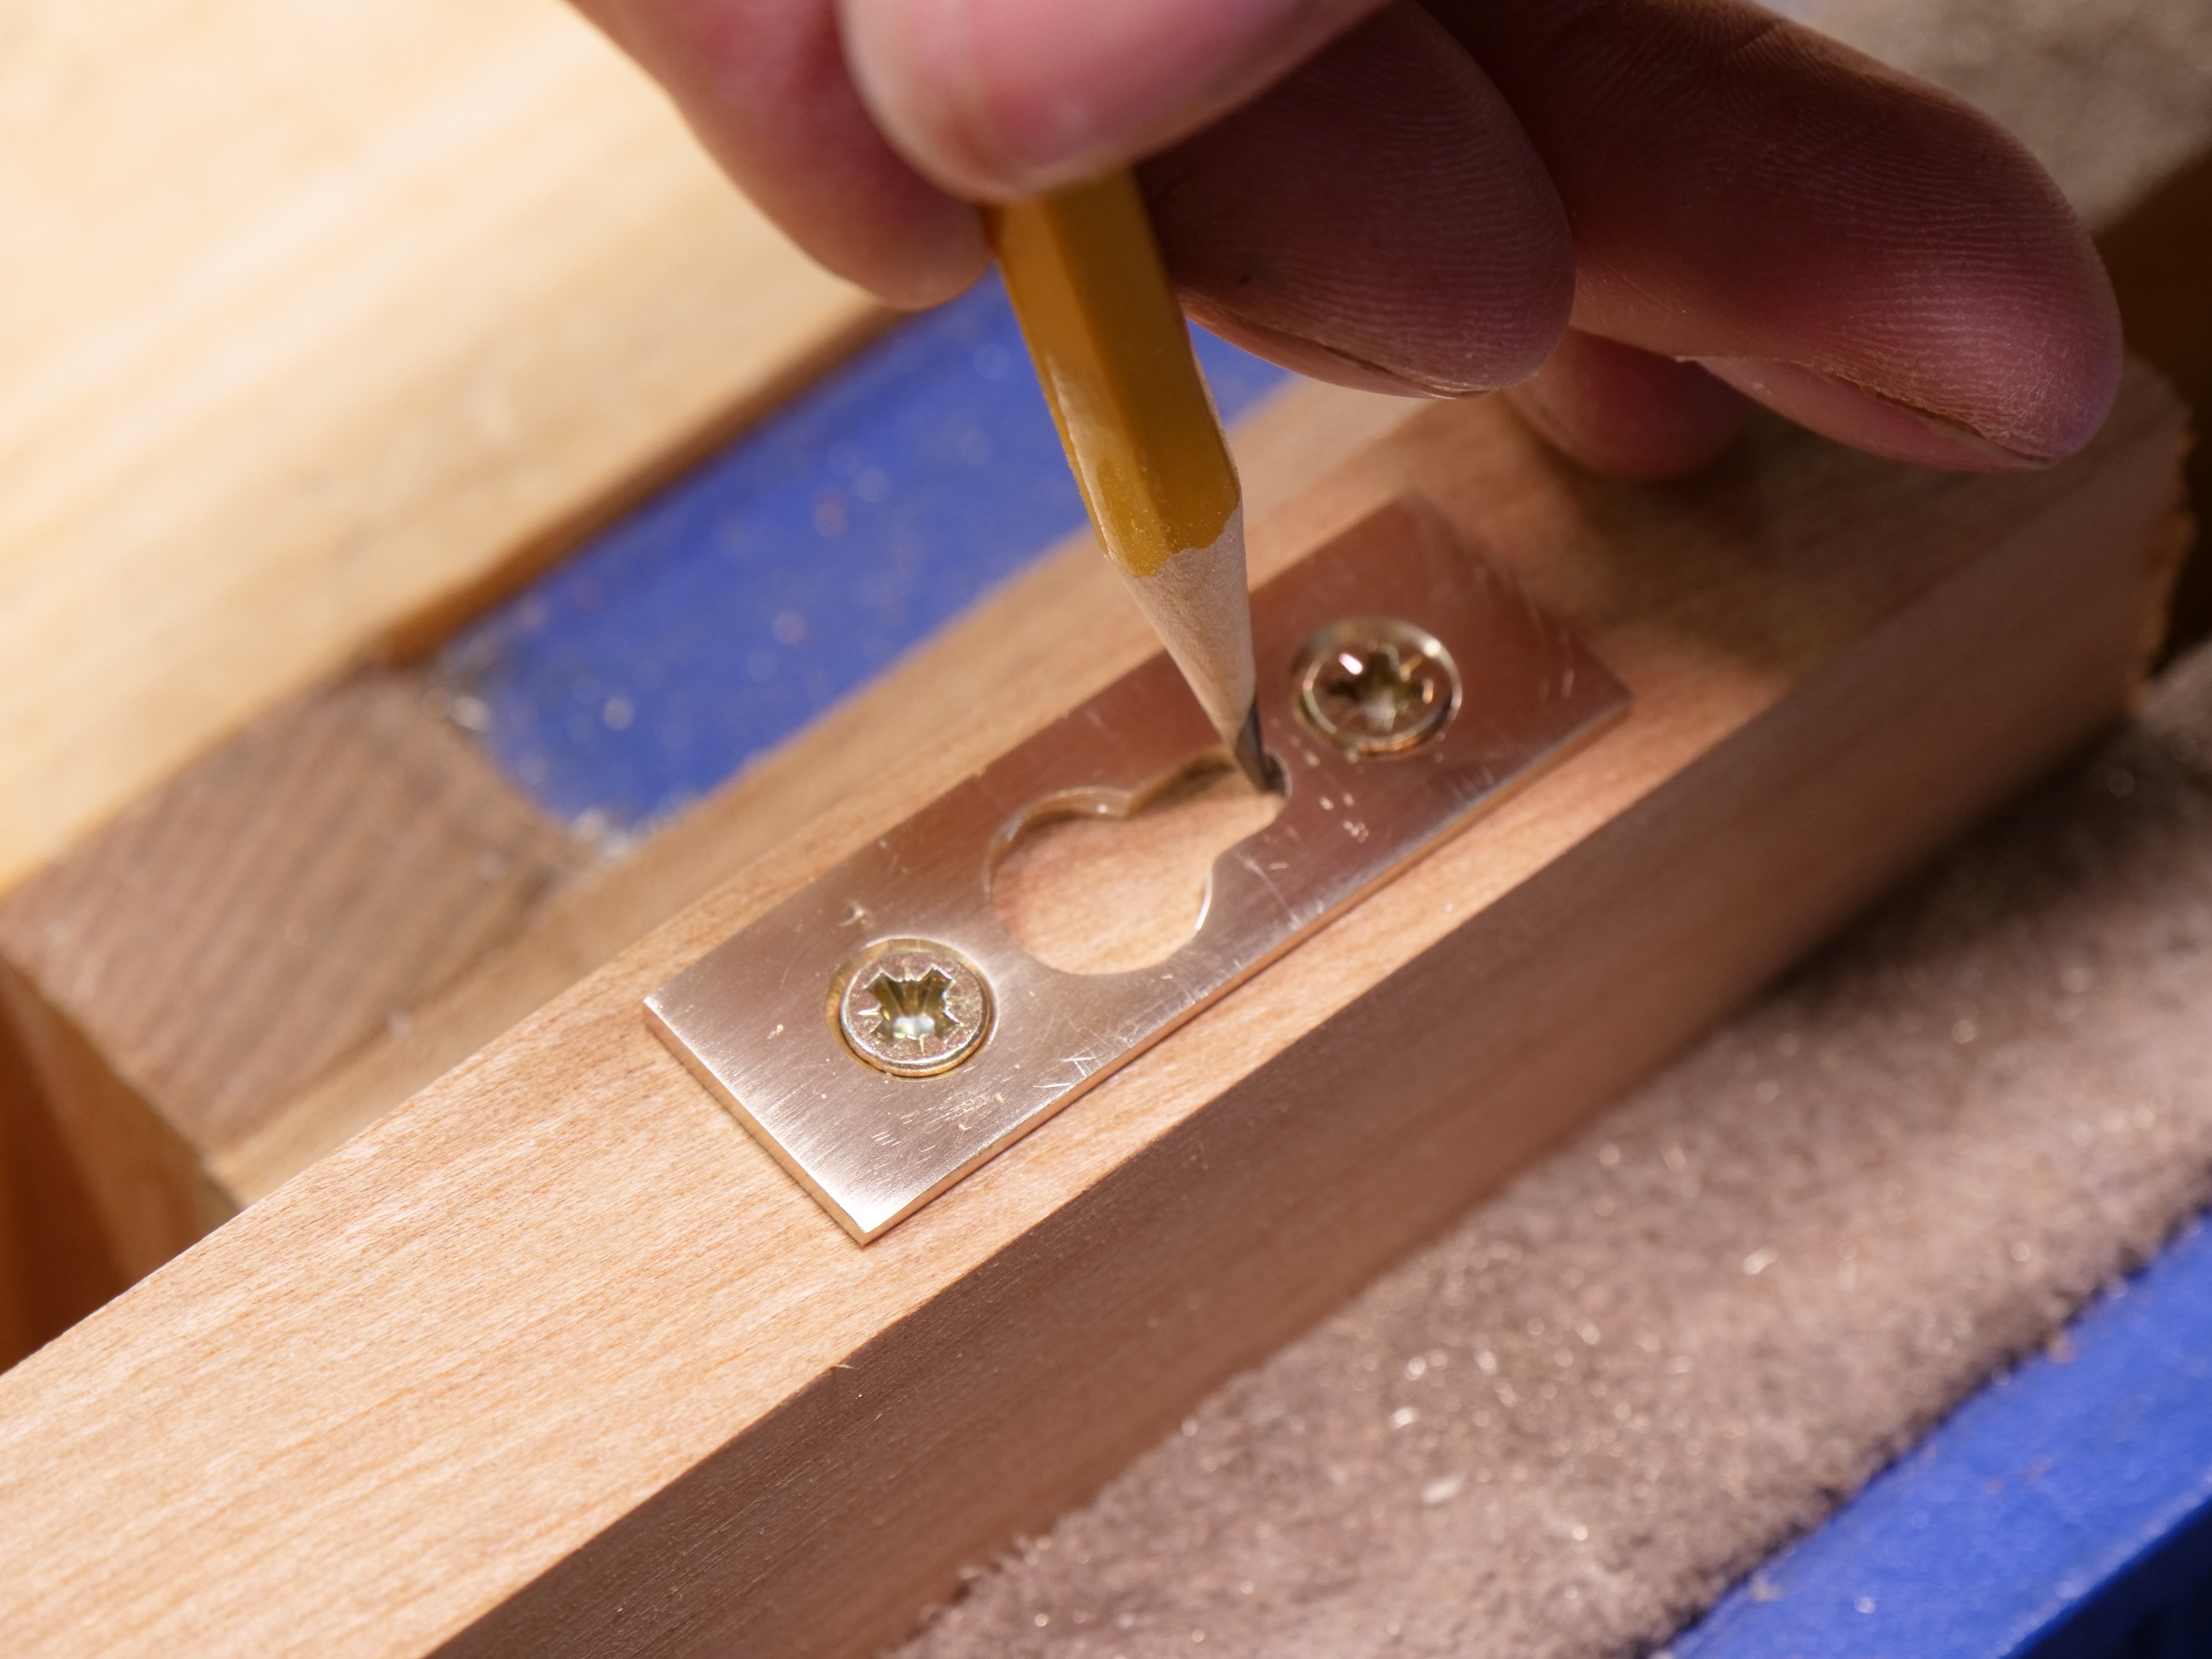
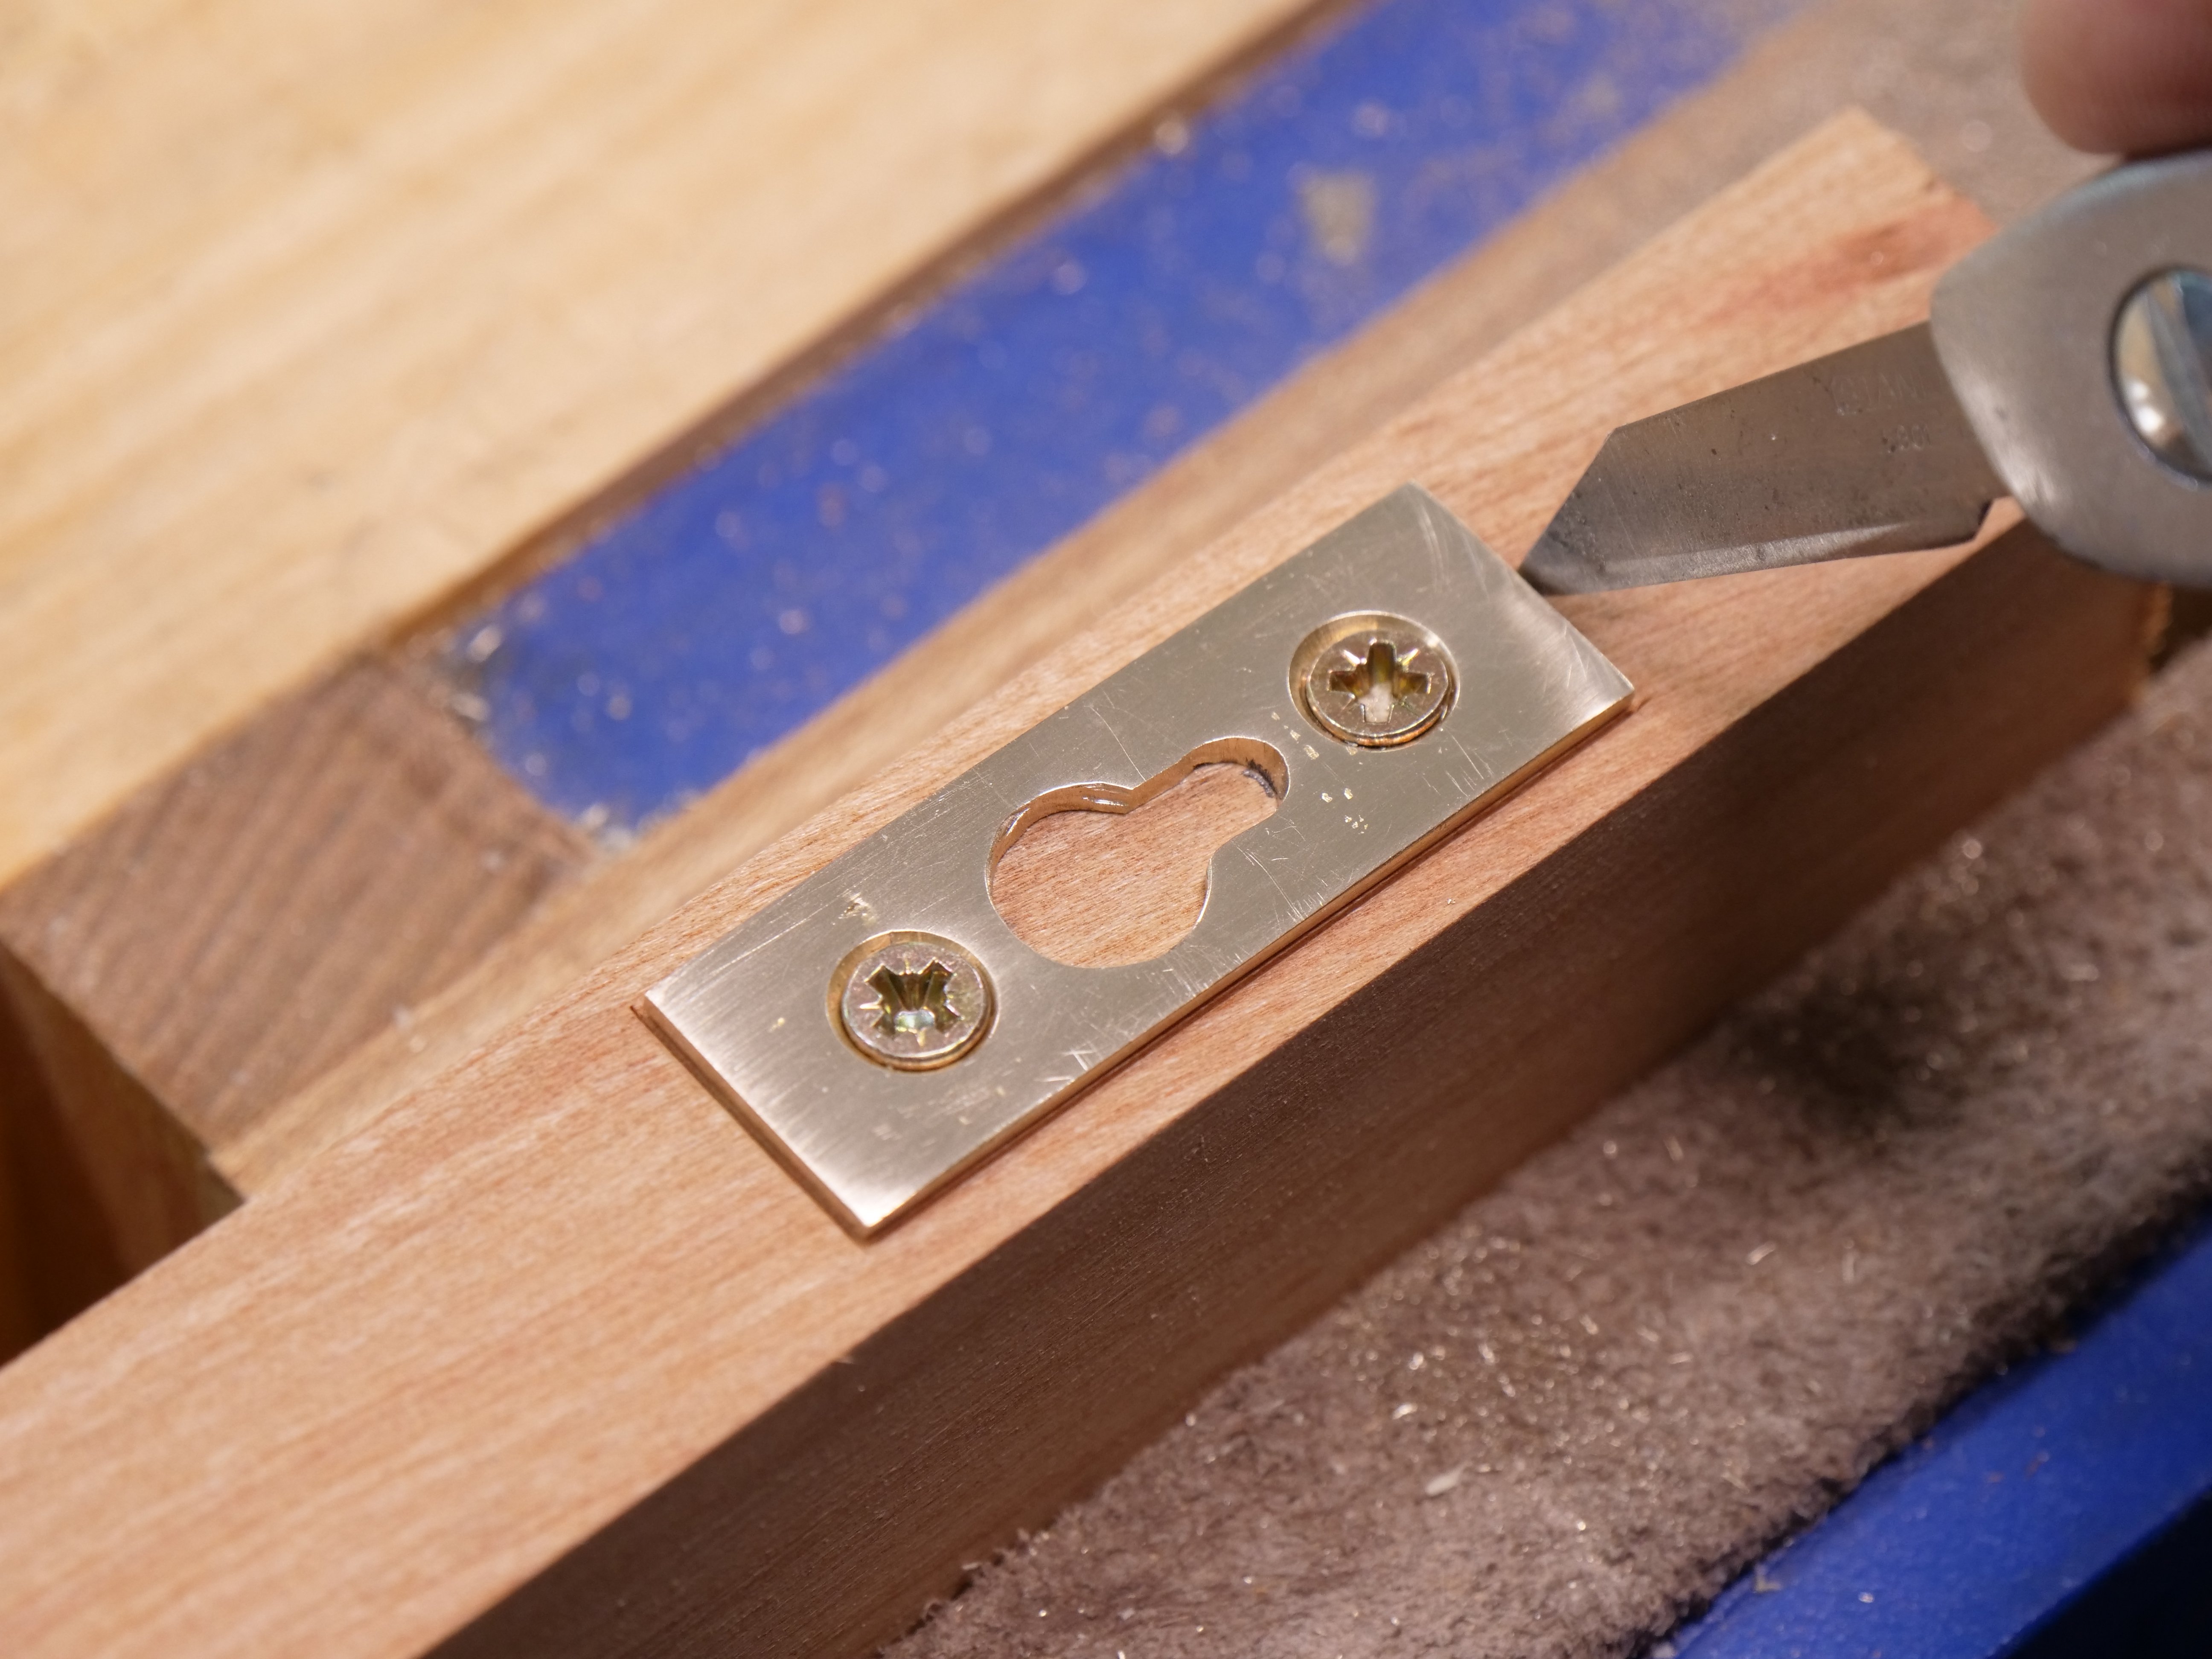
To install the brackets means mortising the wood behind the bracket to receive the plate. Use a suitably sized chisel for this. By screwing the plate into position you can trace round it with the knife to start the knifewall and then the position of the mortise hole to receive the screw head beneath the plate.
Chop the mortise for the screw head first. `i used a 3/8″ chisel as thats the same width as the large hole and it receives the screw head.
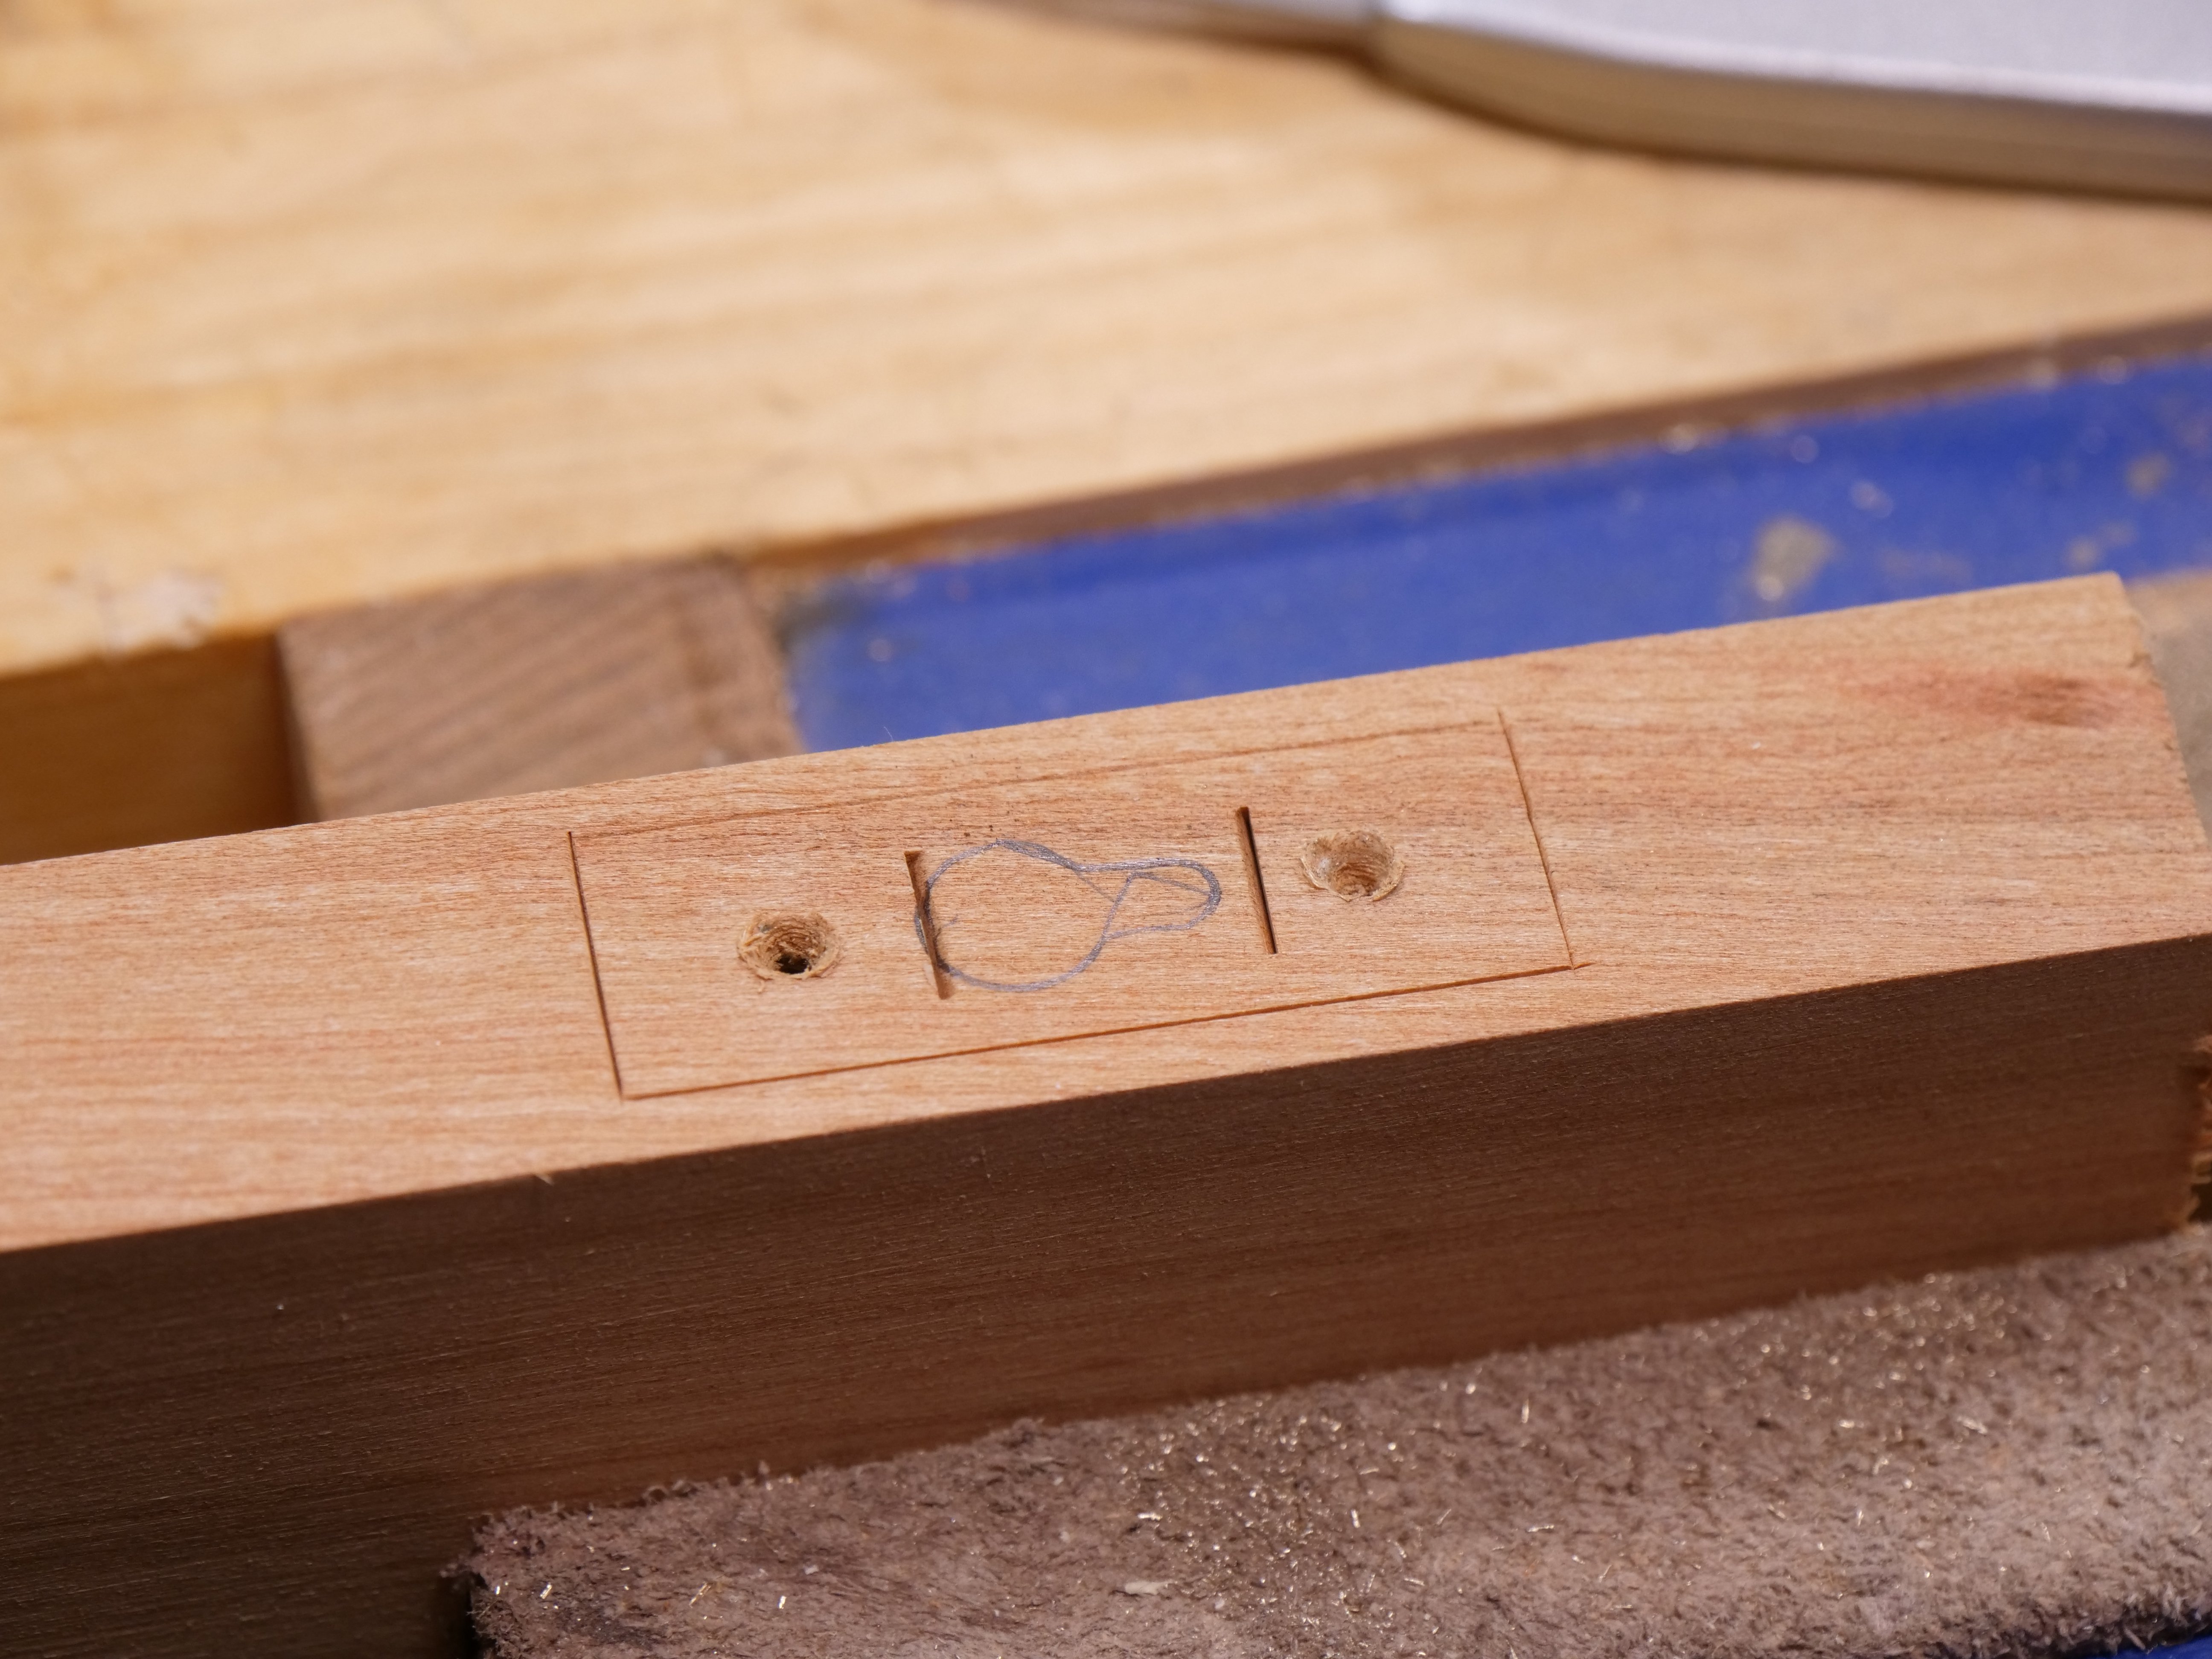
Chisel out the screw head recess first with a 3/8″ chisel.
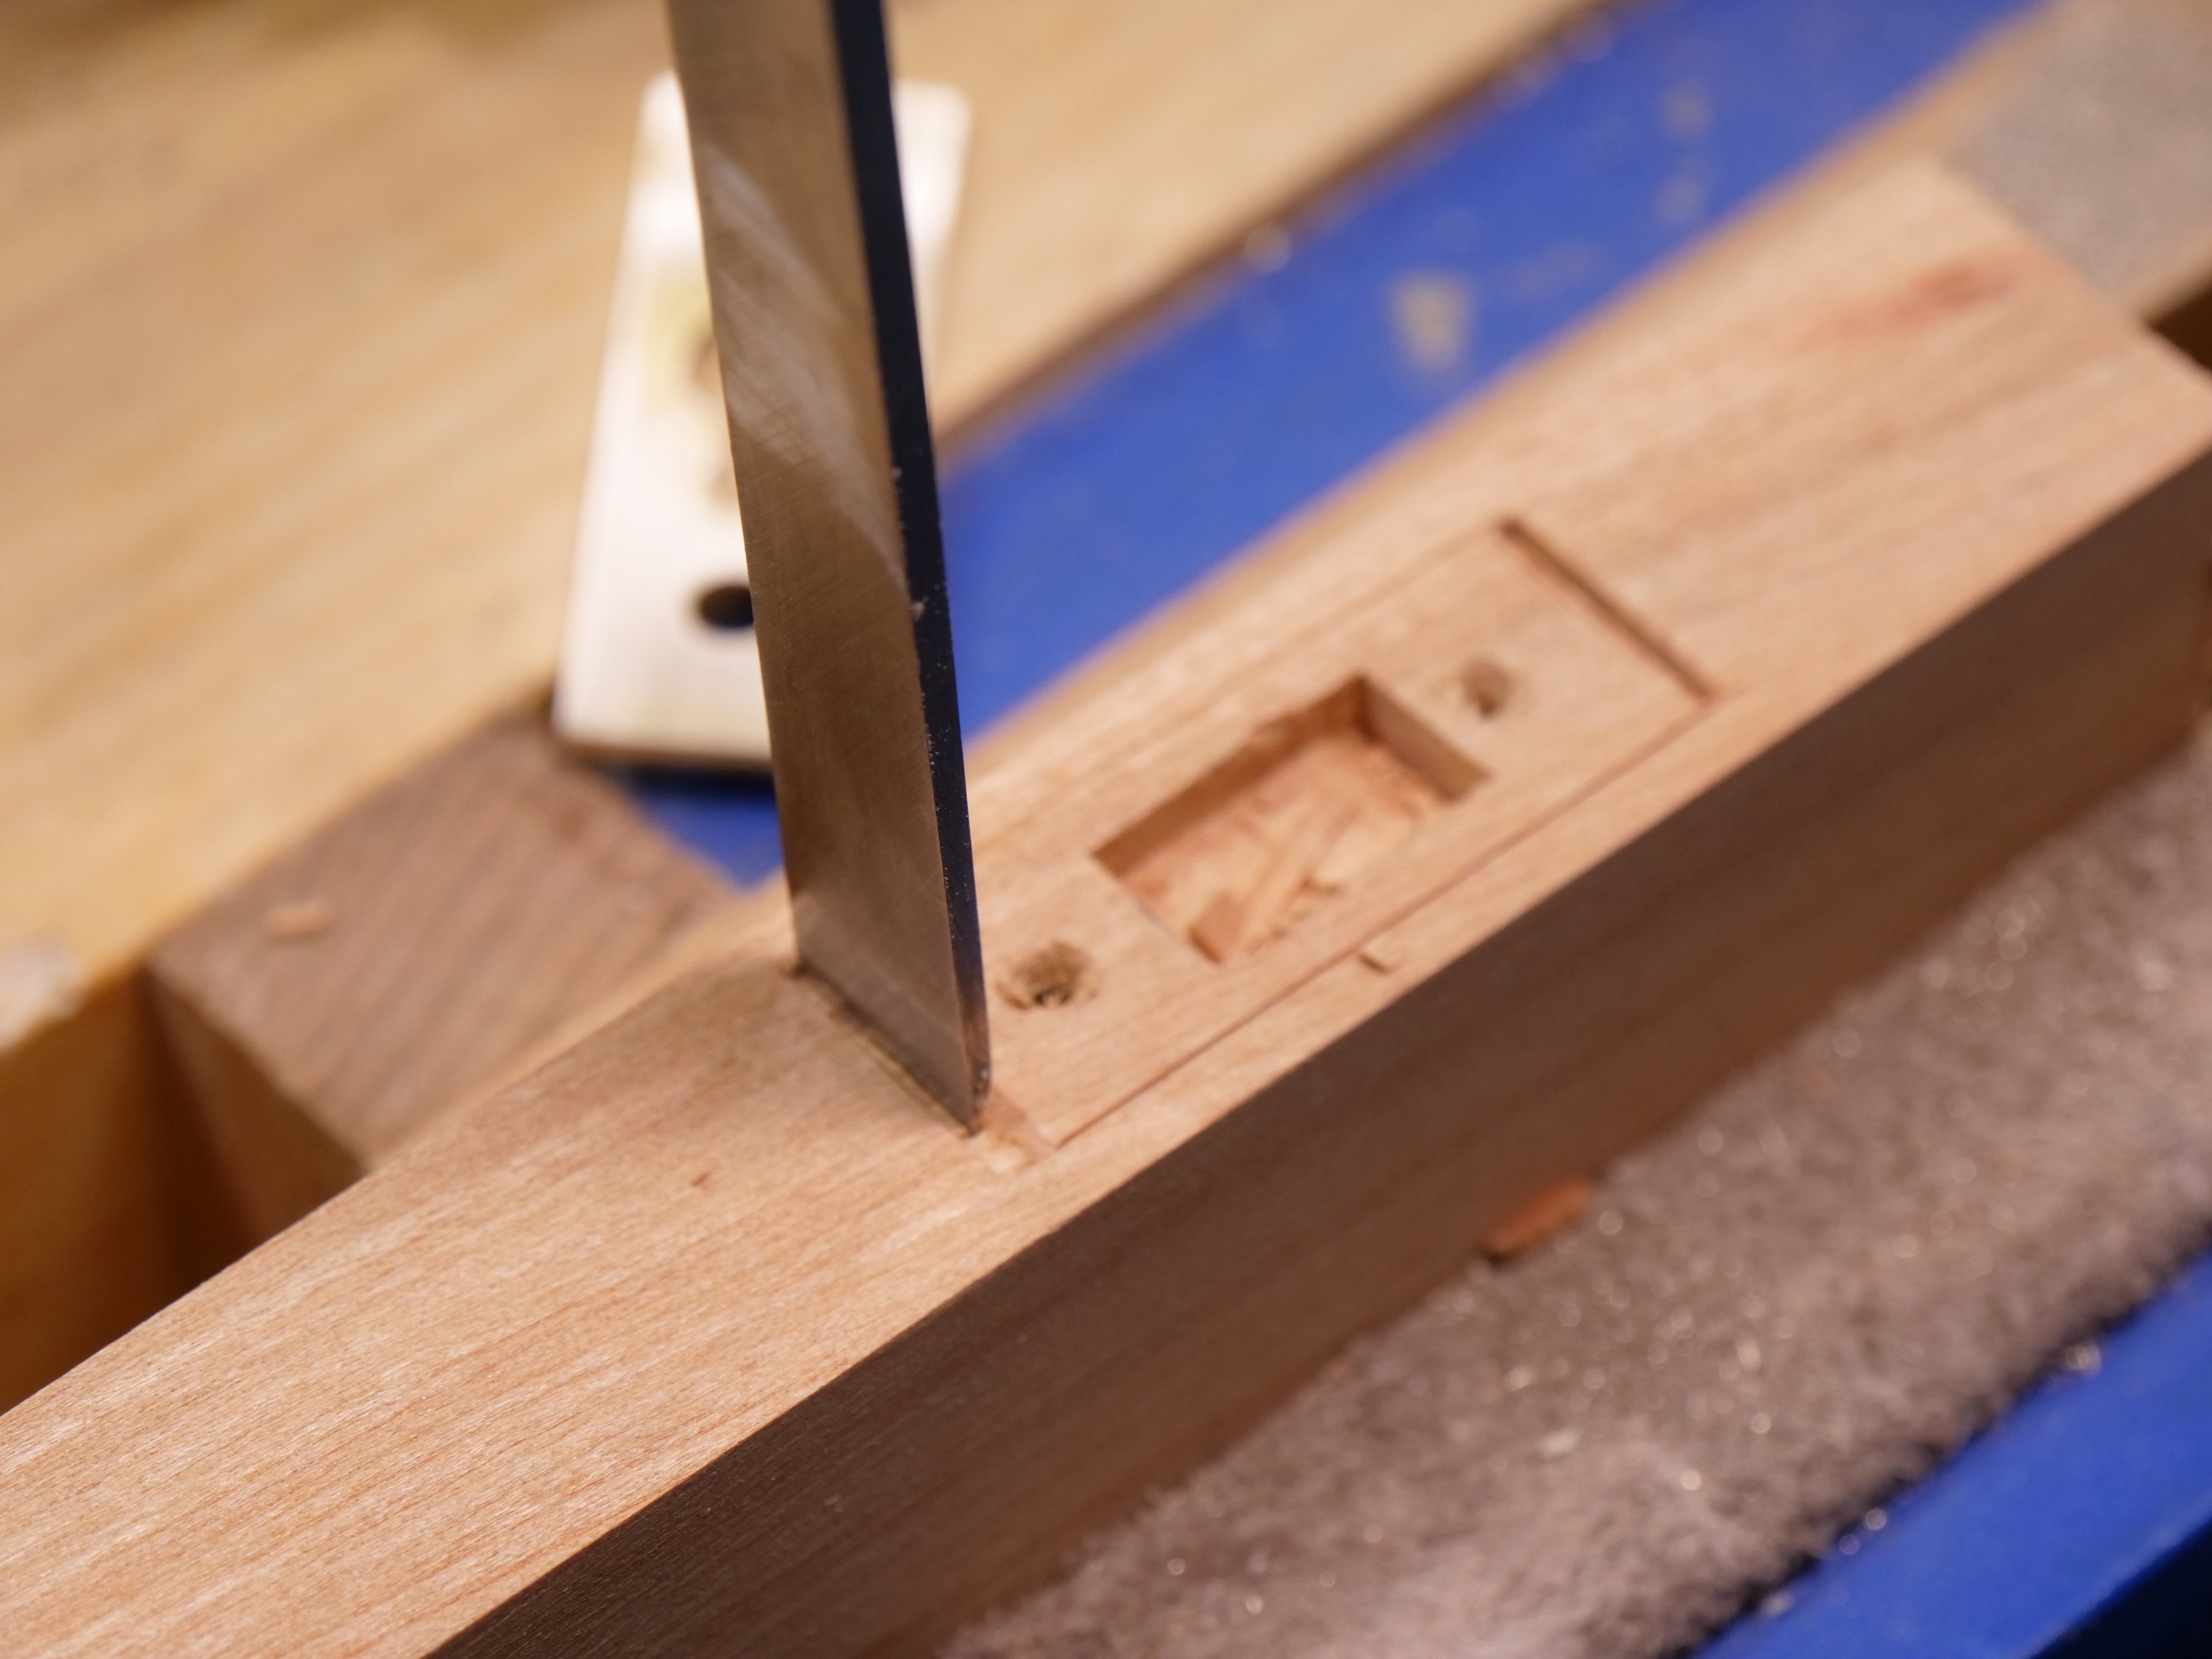
Chisel out the main recess close to depth (the thickness of the plate). If you have a small router then that is useful for establishing an even depth. Set the depth to the plate itself. Remove most of the wood first with a 1/2″ chisel.
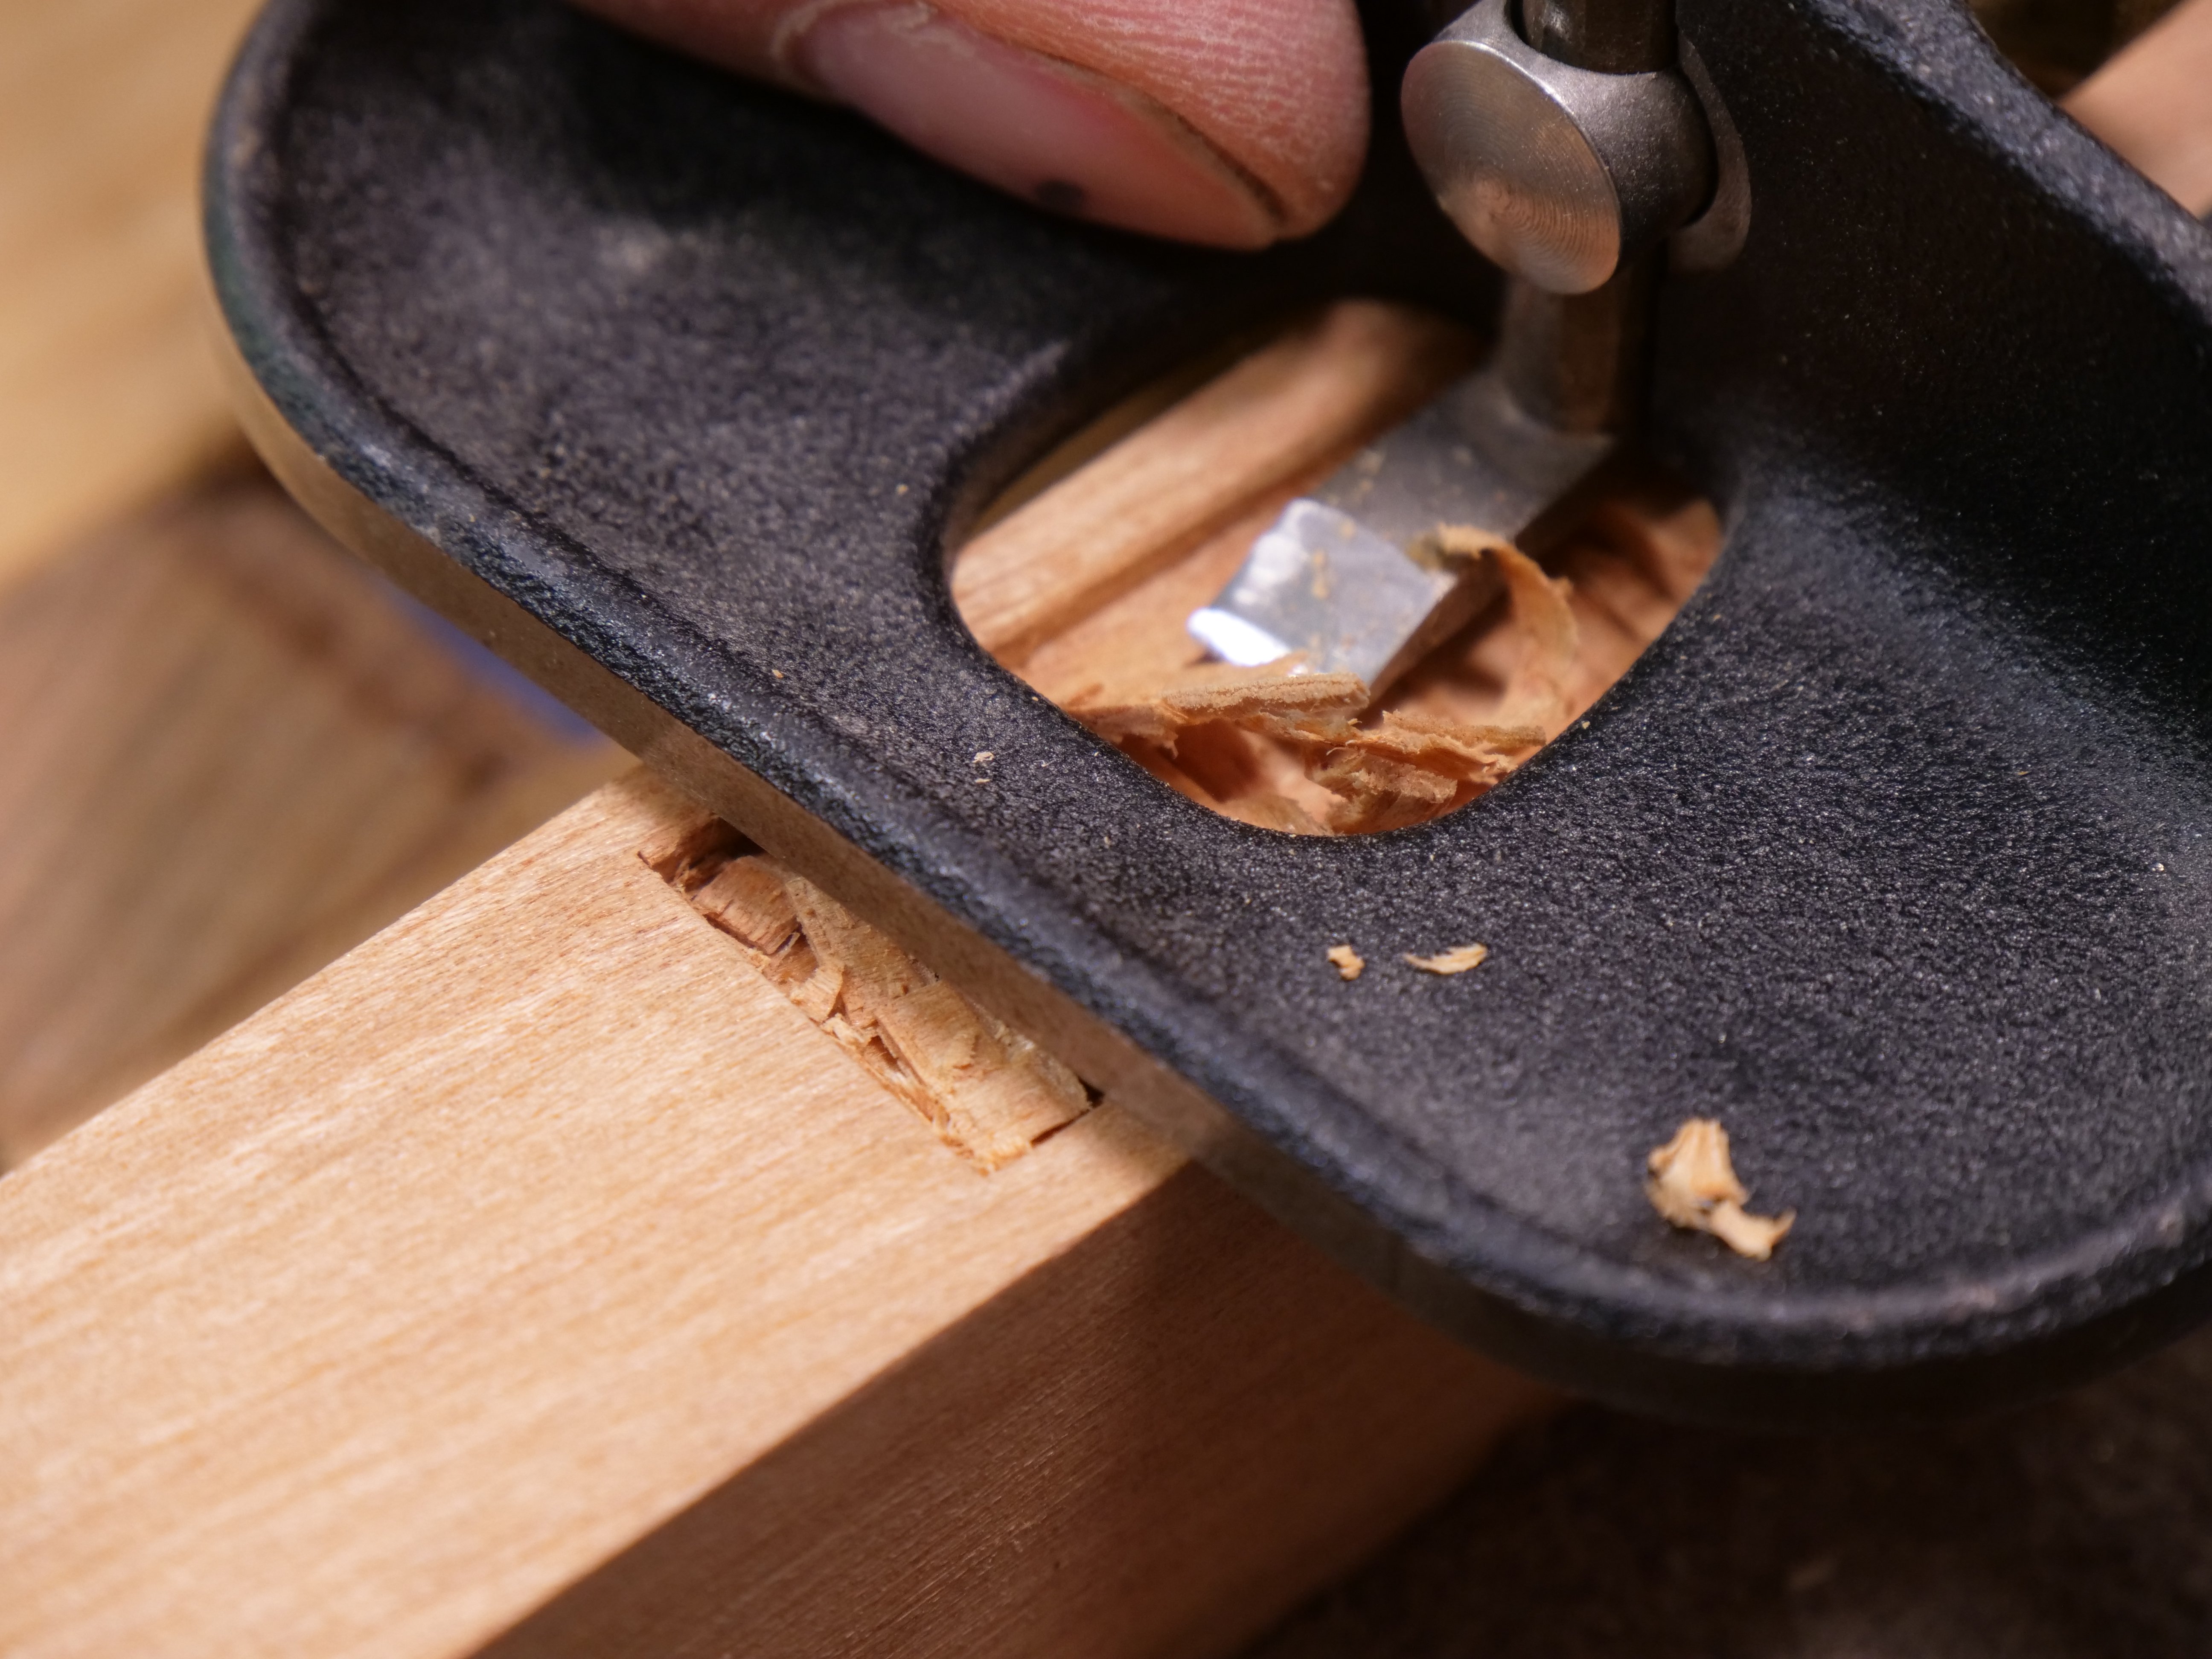

The recess will look like this.

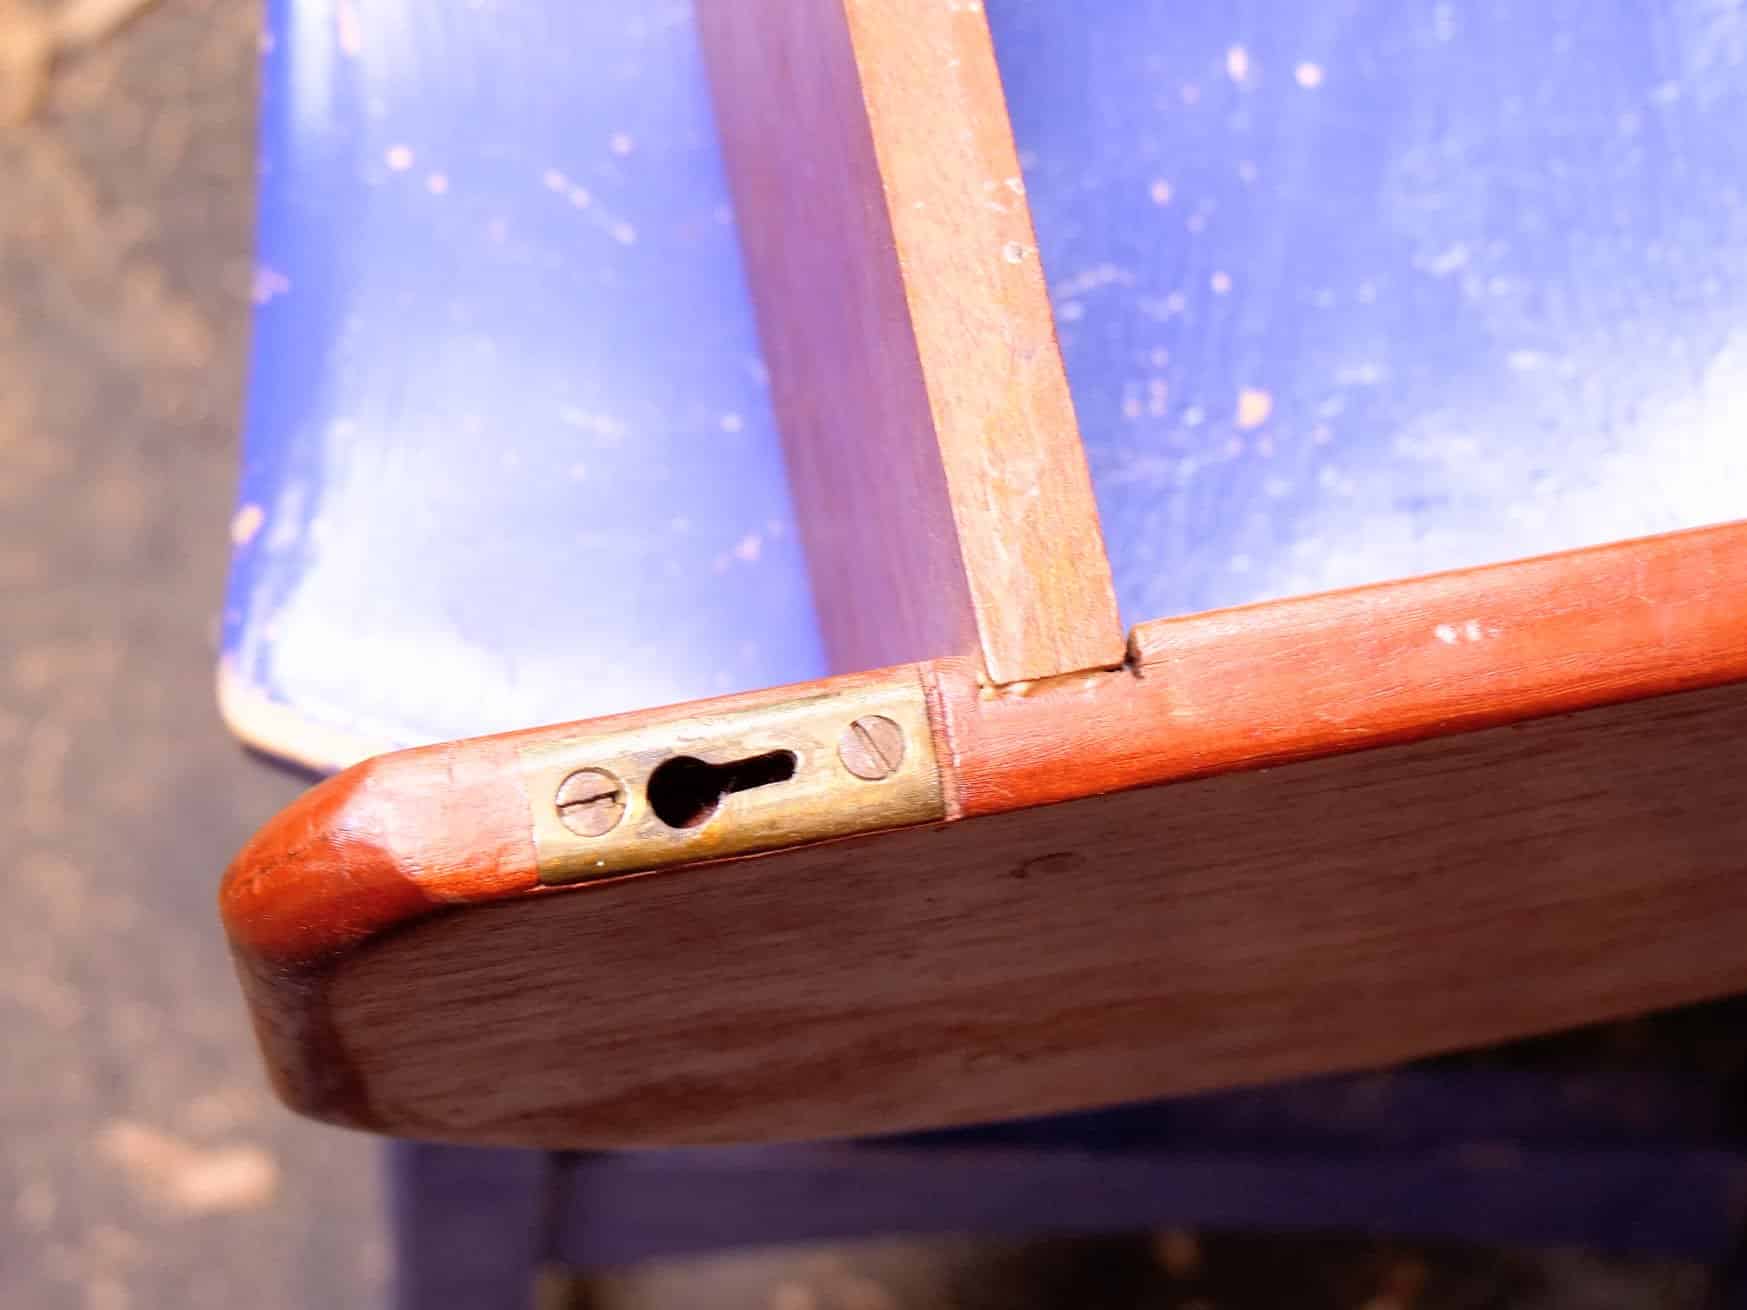
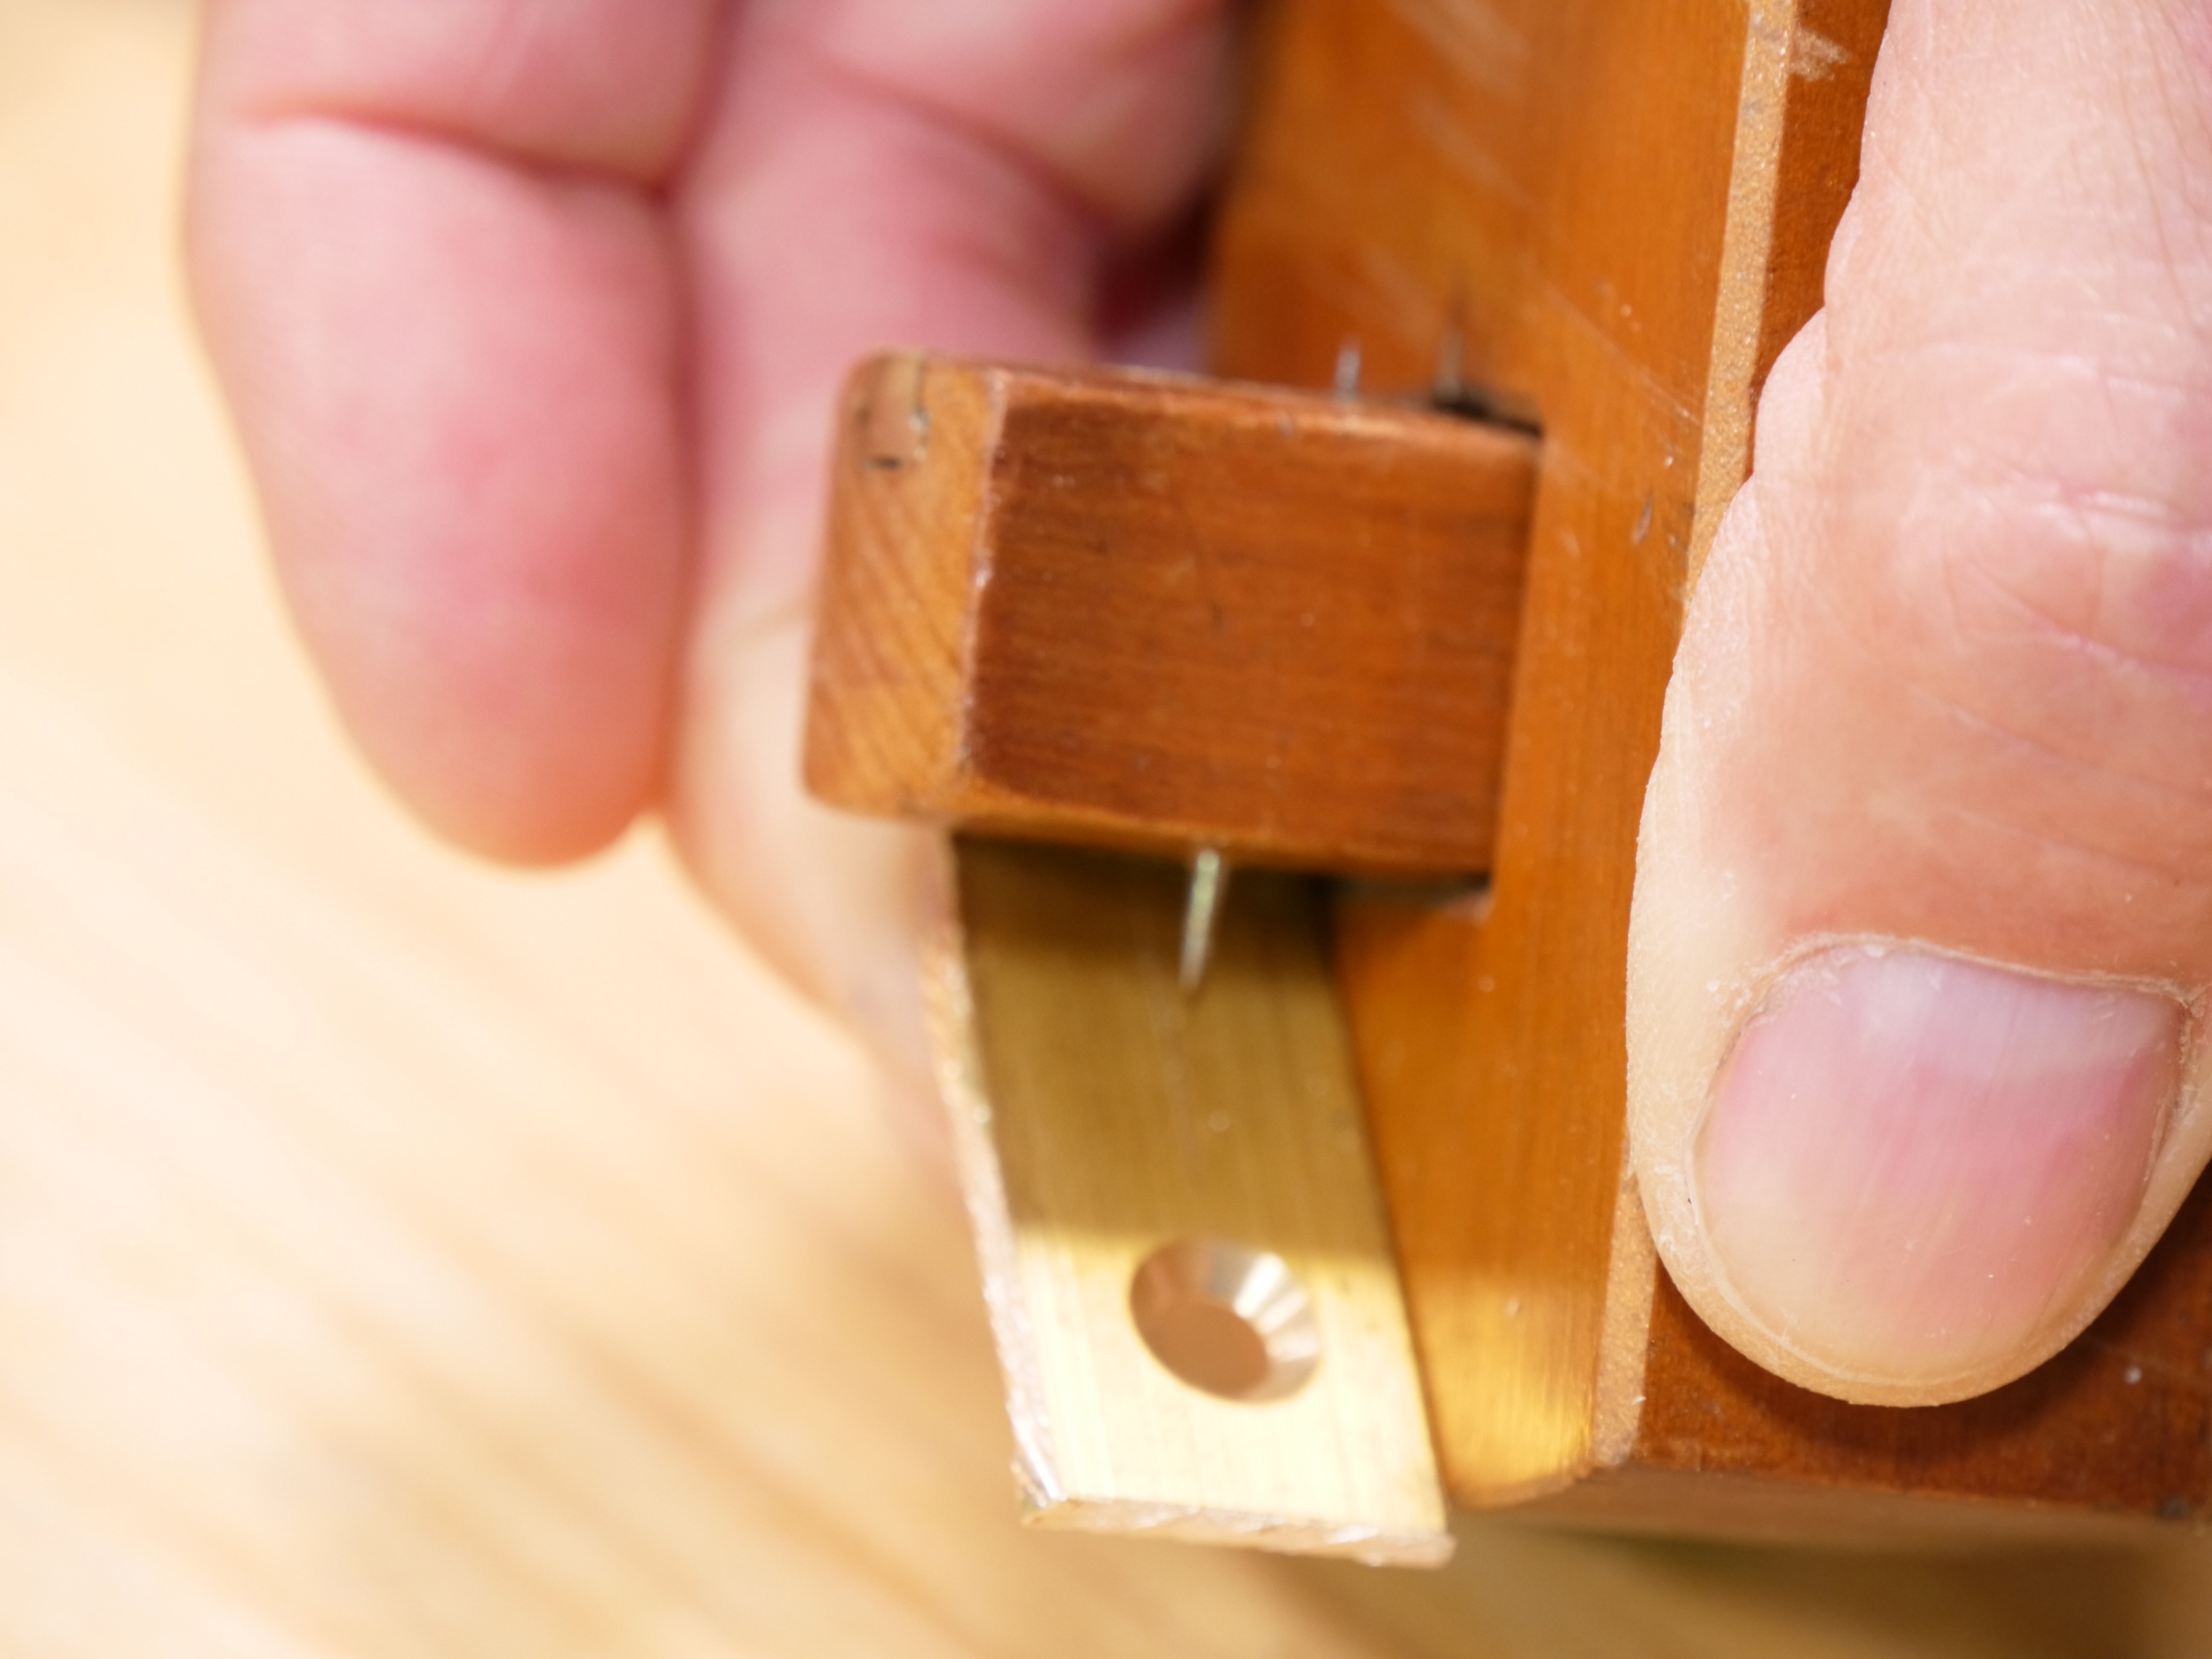
Insert the plate and secure with two screws.
You are now ready to hang your project. Here’s how:
Can you recommend a source for brass hinges in the UK or EU?
eBay, eBay, eBay. Here’s a link but look at others as there are many suppliers and I just grabbed one offering different sizes. These are the ones I have bought in the past and they have been very nice hinges:
:https://www.ebay.co.uk/itm/SOLID-BRASS-BUTT-HINGES-Screws-Included-Doors-Cabinet-Tool-Box-Chest-Dresser/400911968640?var=670456861457&hash=item5d58372980:m:mPD4juww0ZaIeZeV0kFM-xw
Thanks Paul. I can’t believe how excited I am about this. I rushed out to buy a hacksaw as I don’t own one. Can’t wait to build this. For marking the center line, I think I have finally found a use for that mini metal scribe on my engine square.
That’s exactly what I was thinking.
Wow, this is perfect timing for another little shelf project I just finished. Thanks, Paul!
Hi Paul,
Any tips on hanging a shelf with these keyhole hangers where you have to get two holes to line up exactly. I tried to hang a mirror using these on a brick / plaster wall and found it really hard to accuracy needed. Cheers. Bill.
Preparing a video on this.
Hi, I’ve seen posts elsewhere on this matter, people puts a sheet of paper on the back of the furniture, covering the keyholes, then rubs a pencil over the keyholes to mark them, that makes a template they can use on the wall.