Waterborne Finishes—Experience Them
For more information on finishes, see our beginner site Common Woodworking.
One thing I’m learning about more modern ways is that we should reconsider how we actually consider things rather than just accept or dismiss them. I suppose I am asking myself, “What lens are you looking at this through, Paul?”
In times past I have changed my drink from say coffee to an alternative hot beverage, perhaps to a drink sold as a good coffee substitute. I drank the drink for a few weeks and actually liked it as much as coffee, but a good coffee substitute it was not. After a while I realised that I just liked the drink for what it was. It was a nice drink but it was more an alternative taste and drink rather than something that replaced my enjoyment of an early morning coffee. In the end I drank both and enjoyed two substantially different drinks. My perspective had gradually shifted. At first I had disliked the substitute because it seemed to me as some kind of, well, fraud. That was because I was told it didn’t taste too different than coffee so my correlation delivered the thought that it was ‘just like the taste of coffee coffee’. Sometimes manufacturers do the same when they offer carob as an alternative to chocolate or Mansonia, (a tropical African hardwood evergreen) as Walnut. Whereas carob and Mansonia are fine enough natural products in their own right carob is not chocolate and mansonia is not walnut either. Neither of them are the same as nor even a good substitute for the real McCoy no matter how how you slice it, pulp it or reconstitute it.
So here we are living in the era of waterborne finishes for wood. I have sprayed it successfully to a textureless surface, brushed it and padded it on and ended up with slightly different textures. Over the years we have seen clear polyurethanes and varnishes take more of a backseat to waterborne finishes. Do waterborne finishes replace varnishes? Well, no, not really. Perhaps not at all. Are they any good? The answer from me is that I like them but we are not really comparing apples for apples as were the points in case above. If you use waterborne finishes you can of course compare them to other finishes you know. Whether you can compare them as products of equal measure is truly questionable. My looking into waterborne finishes has been interesting. Where I ended up was in the same place as carob and chocolate and coffee and chicory-based products. They are not one and the same.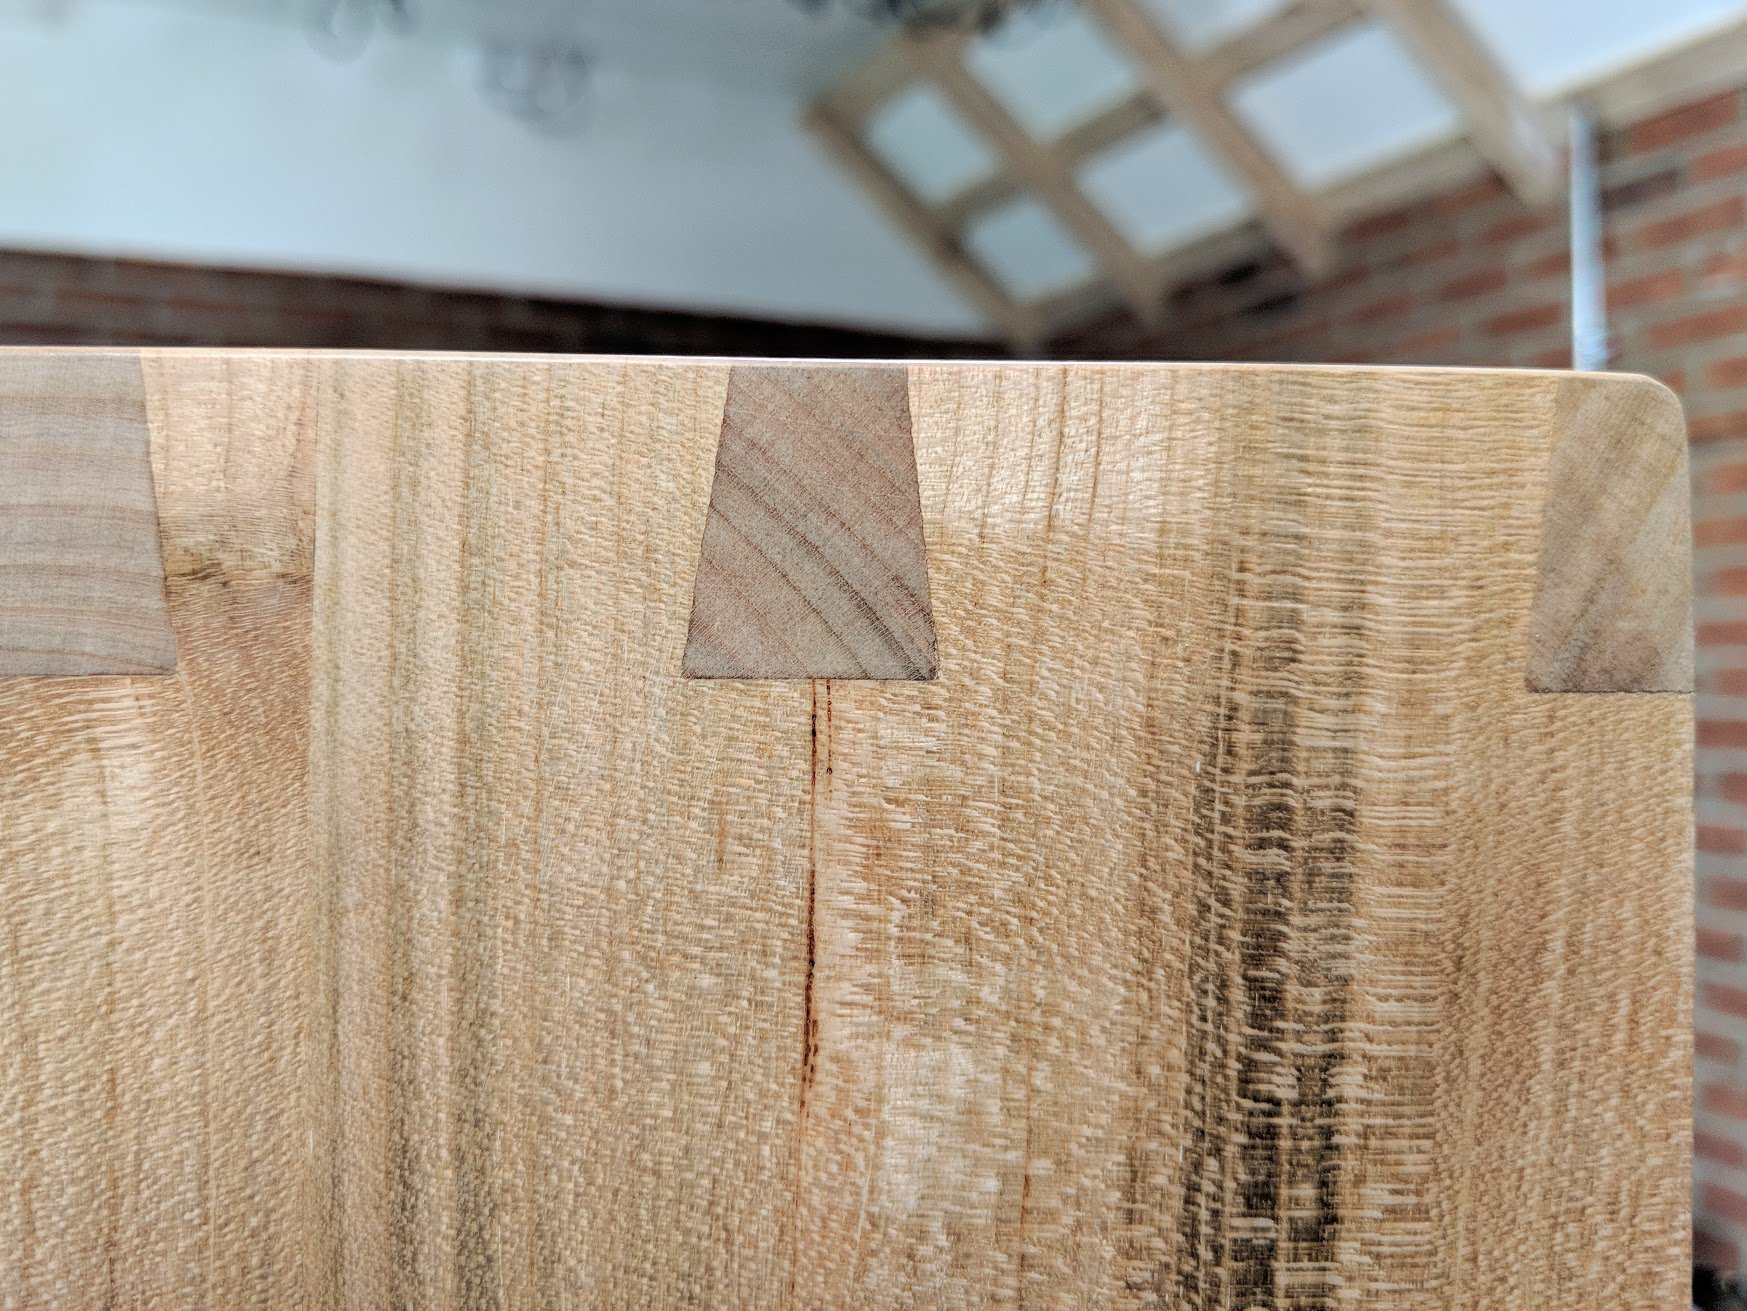
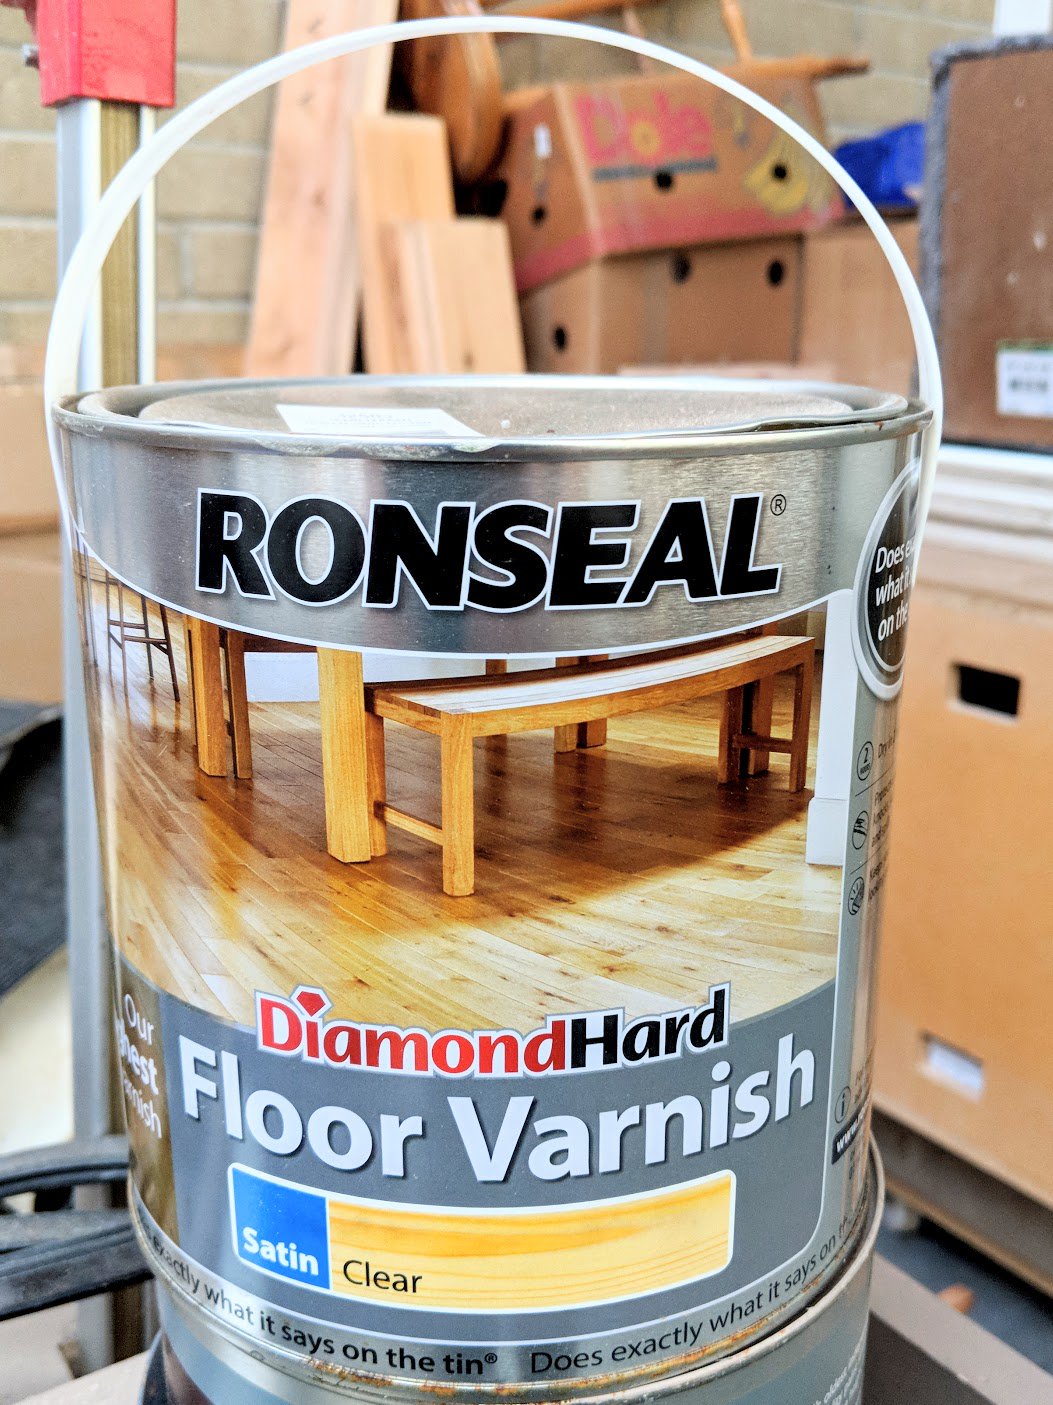
Over the years I have chosen different wood finishes for different reasons and different protective qualities, strengths such as durability and such. Few products replace varnish for outdoor use for instance, but oil-based polyurethane works well for indoor work like furniture, and exposed cabinet work used in millwork, doors, stairways and such. In recent years we’ve been given an alternative product, a water-borne poly or some other such thing under different names but essentially made for the same purpose, the same reasons from the same or similar enough constituents to be one and the same. In this week’s use of finish I chose a water-borne floor finish. I applied 4 base coats followed by three top coats with sanding after the first and third coats to 250 grit. I then applied a fourth coat which remained unsanded but was steel wooled with fine 0000 steel wool before the application of a soft wax furniture polish applied again with 0000 steel wool and buffed out with a soft cloth.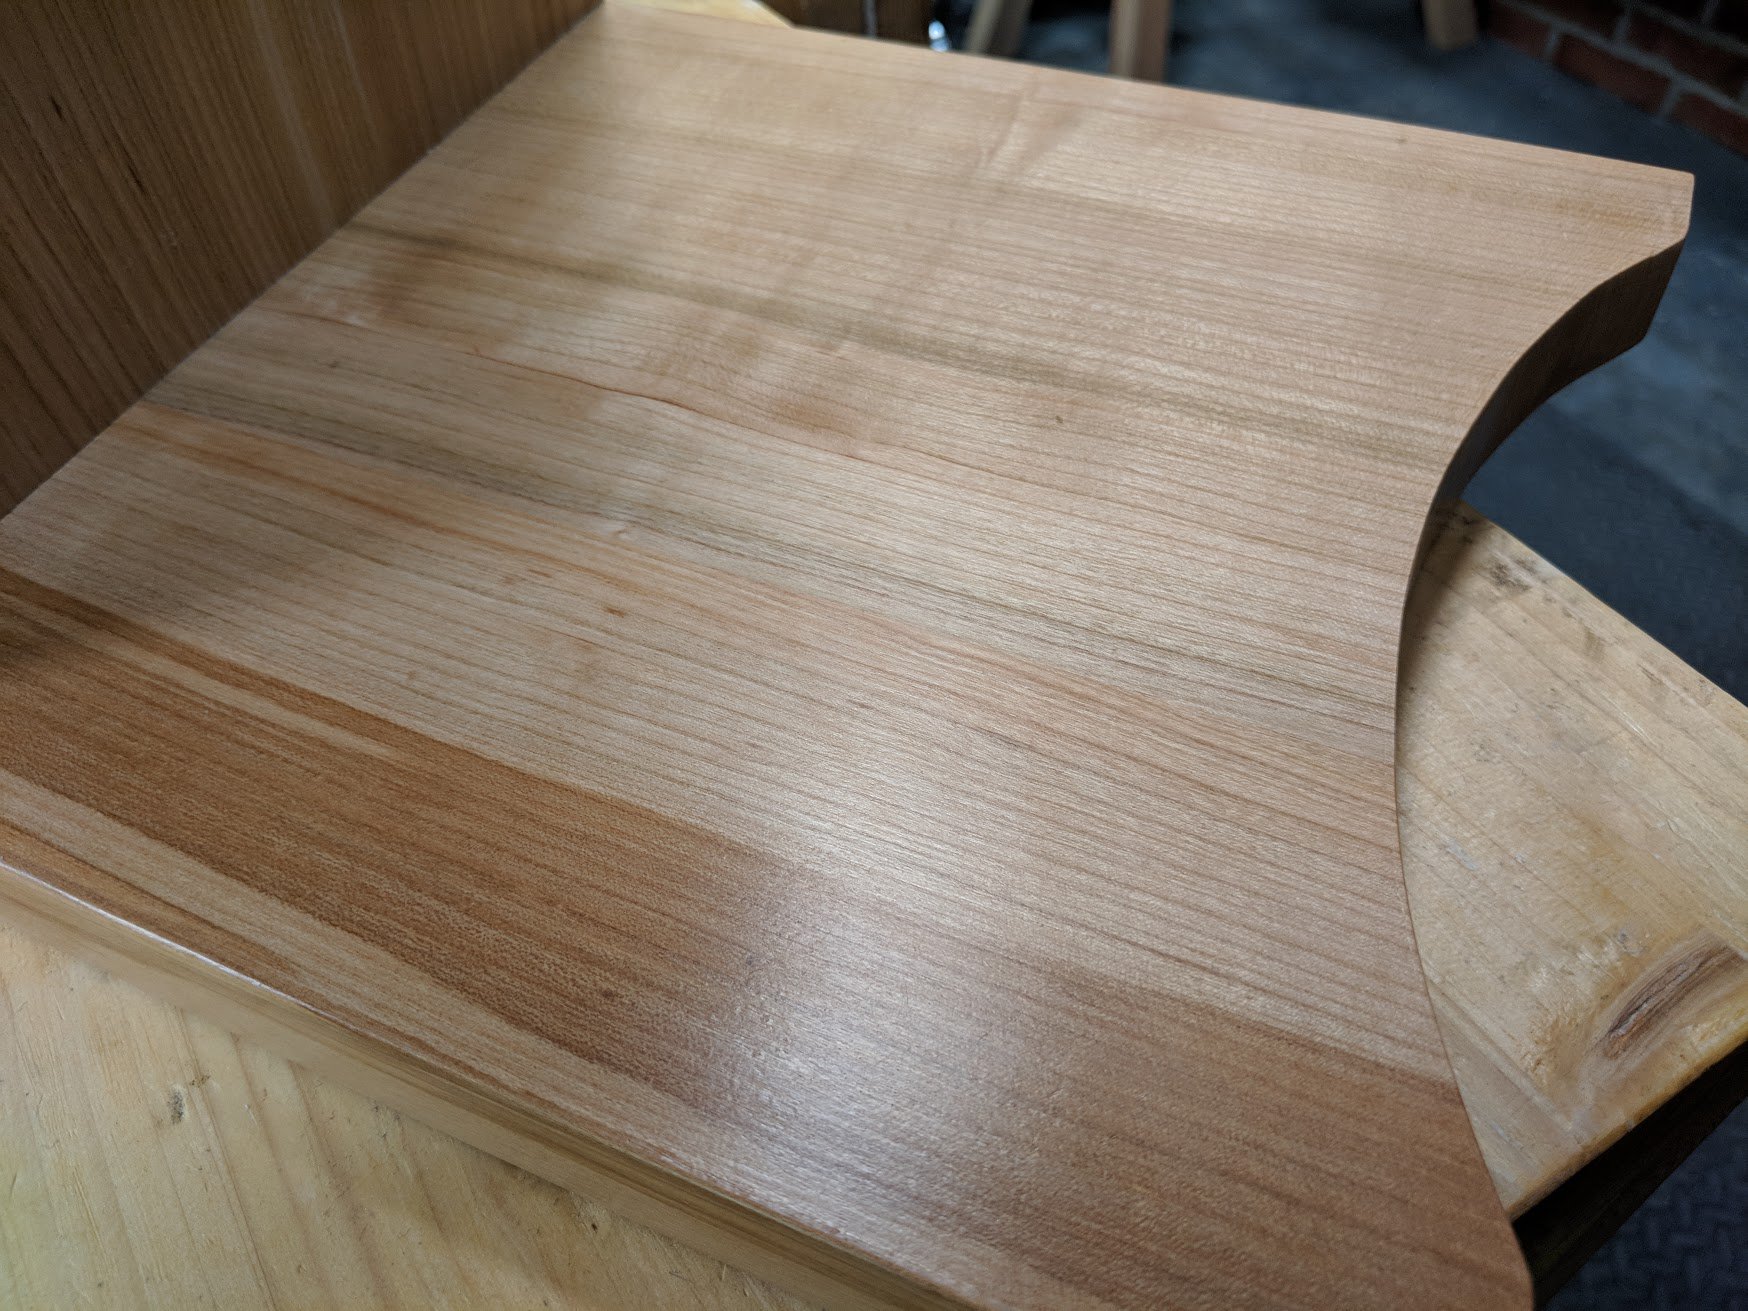
My garage workshop is dry and warm bordering on warmer but comfortable enough. That means that the coats are dry to hardness in 20-30 minutes and touch dry in 10. Because the first coat gets absorbed the most and fastest I can usually sand after the half hour just fine. This sanding takes care of the raised grain associated with water based products. Whereas you can damp-rag the surface to raise the grain first, I haven’t really found this to offer much if any advantage. It is a common flaw to think that because the waterborne finishes are made up primarily of water that the applying the finish in wet or humid conditions is not a problem. It is! Usually, as with many finishes used for wood, the surface skins over first and seals in moisture that results in bloom beneath the surface. It stays there until you remove it and often that means sanding back down to below the bloom. Choose your day. Also, don’t fall foul by using a fan to dry out the surface too as this results in the same blooming issue. Let nature take its course, be patient. Remember that this a is a finish that you can apply with 6-7 layers over a few hours. Sometimes as little as 4 hours for 7 coats.
Even though I consider myself skilled with a brush, the waterborne’s seem always to hold a trace of brush that textures the surface acceptably and add a certain hand-made extra I particularly like yet the feeling after light waxing with furniture polish is as smooth or smoother than silk.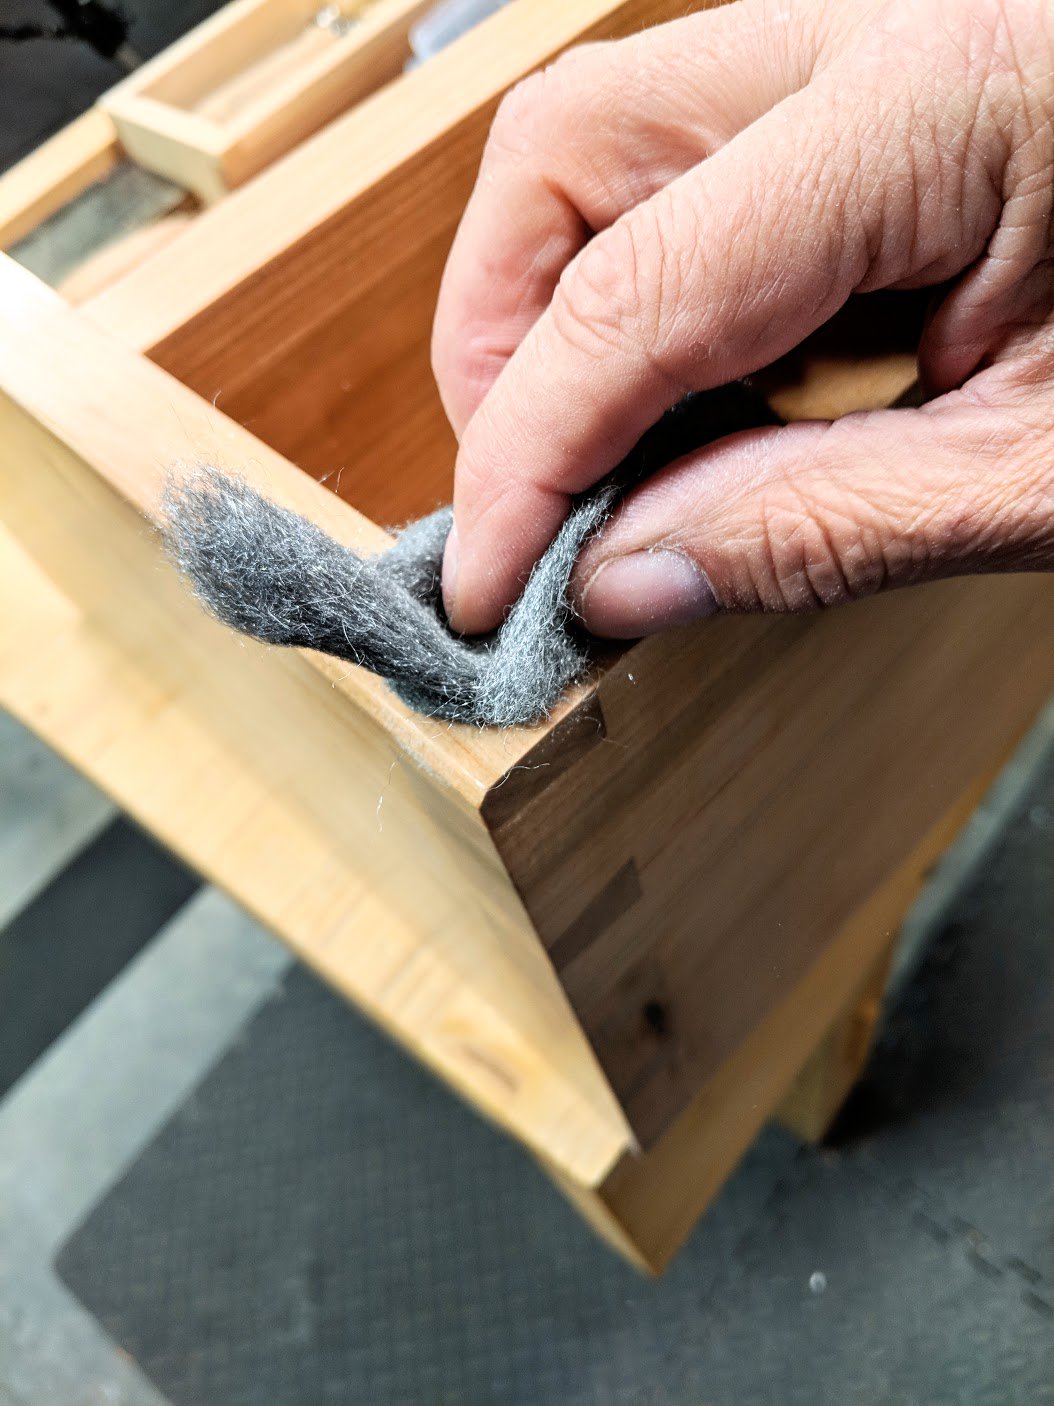
The system I use is not at all rigid and there are reasons that you might want to change the application procedures to better suit the surface you want. As an instance you may possibly want to even sand all the way between every coat rather than build up the layers. I have not found this to be of advantage but I could see that if you wanted a thicker overall finish you could use say10 coats rather 4 or 6. Another option is to use a power sander like a random orbit sander to take the multiple layers down to a completely matt and untextured finish. These are just thoughts but they are also options. Generally I have settled on 4-7 or so coats and built them up in half hour intervals. The last coat I leave over night to cure and then surface buff with the steel wool. I then use the steel wool to apply the furniture polish because that keeps the polish nice and even and use a soft polishing cloth to buff out the finish for the sheen I so like. In the project shown I used a sating finish.
Thanks Paul for the information.
I have been following you for the past three years and I really trust what you tell us (after all, you have been doing this for 55 years). My trust in you has led me to using shellac on most projects. It’s a very nice finish and you have trained me well on how to apply it.
For walnut, I have learned how to use Danish oil from some of your videos (at least I think it is Danish oil; I mix approximately equal parts of pure tung oil and mineral spirits).
I have been curious about other finishes and am happy when you write about them and when it makes sense to use which one. It’s an area I think you can really help educate us about. By the way, what does the term varnish mean and what is in it? I’ve heard the term used but I’m not really sure what it is.
Many thanks.
I would encourage you to continue what you are doing, especially if you like your finishes. Wood finishes either tend to be film-forming, in which one layer builds on the last, or finishes which dissolve into the previous coat. All have advantages and disadvantages, I think that is what Paul is saying. Hardening oils-boiled linseed oil or tung oil penetrate well into the wood, and form minimal surface film. This helps accentuate the grain and gives a very “natural”feel to the surface. Boiled linseed oil darkens over time. Tung oil does not, and repeated very thin coats can give a water resistant finish. Shellac is a more surface finish, but also helps highlight the natural grain of the wood-we have seen this effect watching Paul brush on shellac. It comes in different colors, from clear to amber, if you want this effect. Shellac is relatively resistant to moisture in the air, but lots of water on a surface can penetrate. Shellac dissolves and re-dissolves in alcohol, and these oil and shellac finishes are beautiful, highlight the natural grain of the wood, and are easily repaired if damaged. A coat of wax over any finish also adds luster and depth. Varnishes harden in and on the surface of the wood. With shellac one coat can dissolve the prior one if not careful, but once the varnish cures it does not dissolve again. Sanding lightly provides some “tooth” for the next coat to adhere, and the more coats the thicker the finish. Traditional “alkyd or oil” varnishes can be very water resistant and durable-such as “spar varnish” or “bartop varnish” Newer polyurethane varnishes are even more durable and water resistant, but many feel that polyurethane varnishes give a “plastic” look to a surface. Requirements for floors, dining tabletops, and desks are much different, and one might choose durability as the most important for some surfaces. But for fine furniture the classic and long-lasting beauty of oil and shellac finishes has many advantages. They are beautiful, easily applied in a small shop without need of a spray booth or specialized equipment, are durable (look at antique furniture) and easily repaired. Varnishes often need to be stripped for repair. While I am willing to try new beverages, and often find a place for them, I still have found nothing better than a good cup of coffee.
Many thanks for the overview. Very helpful.
I use water based varnish for most things I’ve made. Did all my sapelle window boards, kids bed and more recently an oak raised counter for the kitchen island. I love how easy it is to use and clean up. I can pop home at lunch, have food, get a coat of varnish on, wash out my brush and be back in work within the hour.
Thanks for the explanation on how to use water-based varnishes and your experiences with it.
About 3 years ago I bought a (new, unopened) 2.5 L can of acryl-based floor varnish (brand ‘Glitsa’, well known over here) at a fleamarket for a whopping 2 euro. It’s a wooden floor (parket) varnish. Figured that even if I used it only once, I’d get my money’s worth.
However, over the years it has become my standard finishing product – dries quickly, nice gloss (but not too glossy). Paintbrush is quickly and easily cleaned with water. And the big can will last me a long time.
I’ve grown to like it more and more, skeptical as I was about it initially. Not sure yet as to how it stands up over years of use. I’m not very experienced in finishing woodwork, so hard for me to tell whether the varnish would be considered generally ‘up to the task’ by other woodworkers. So far I’m happy with the results though. Never used steelwool for the final layer, so that’s something to try next time. I recall that you also use steelwool when finishing with shellac.
I’ve had good luck with waterborne finishes. I learned from a person who makes his living building and finishing furniture. I’d offer the following things to those who are interested in the topic. First, take care not to lump all of the waterborne finishes into one group. Waterborne just means that water is the carrier or solvent for the solids. There are several kinds of solids that one can find in waterborne finishes and their behavior varies greatly. Some are hard, some are soft. Some are brittle, some are are more elastic. I find the harder, more brittle variants more suitable for what I want to do. The second thing is to take care with sanding. Waterborne finish coats don’t melt into each other, so if you sand a layer too much, you can produce a feathered edge or thin layer that may cause problems for you. I scuff sand the nibs out, and that’s it. A quick wipe with 320 is all it takes, and even just 600 on later coats. It isn’t even worth calling it sanding.
Your first coat will make the piece feel awful because the grain will be raised. Ignore it, especially if you are brushing. The first coat, if brushed, is too thin to sand. Get a second coat on there, then give a quick scuff. It may not feel perfect, but when you scuff the third coat, you’ll be all set. The finish is actually hardening the raised fibers, making it easier to cut them. So, wait for some finish to build up (a couple coats) before you deal with it.
If you use one of the harder finishes, you can definitely rub them out to whatever sheen you want, but you must allow the finish not just to dry, but to actually be fairly well cured, which takes substantially longer. Also, your sanding will not be aimed at removing material so much as it will be aimed at reducing/controlling the scratch pattern. So, again, after building enough coats (typically three if spraying) just a quick scuff with 600 to remove nibs, and then move on to 1000 grit an above. You can find tables of grits vs. sheen. I really don’t know if this will work with urethanes, but it should with acrylics. Of course, if you want a satin sheen or semi-gloss, you can get it right out of the can, no need for rubbing out.
In some brands of finishes, you can go back and forth between oils and waterborne, which allows you to do wonderful things, like apply a waterborne dye for color, lock it in with one coat of oil, and then build the top coat with waterborne. The oil not only locks in the dye, protecting it from the finish, but it also soaks into the grain to give depth to the finish. Oils can react with the wood, changing the color of the wood and grain contrast and can affect the chatoyance, all of which are reasons to still have a bit of oil on hand. But you must carefully figure out which products can be used together, or you will have a disaster.
All of my waterborne finishes need a couple hours between coats, per the can. It varies by product, so read the can and consider the weather.
Final comment: Get a respirator. It’s $35. Just get one, learn about cartridges, and use it. Yes, even for waterborne.
Everyone finds their own methods. This isn’t meant to disagree with Paul. I really like waterborne finishes and only wish they could be repaired as readily as their predecessors.
Wow a wealth of knowledge there Ed. Thanks for sharing!
Yes, Ed thank you.
Especially for the recommendation to use a respirator! Too often and too many people go without one; it’s not always that the first time will kill you, but over the years some damage will accumulate.