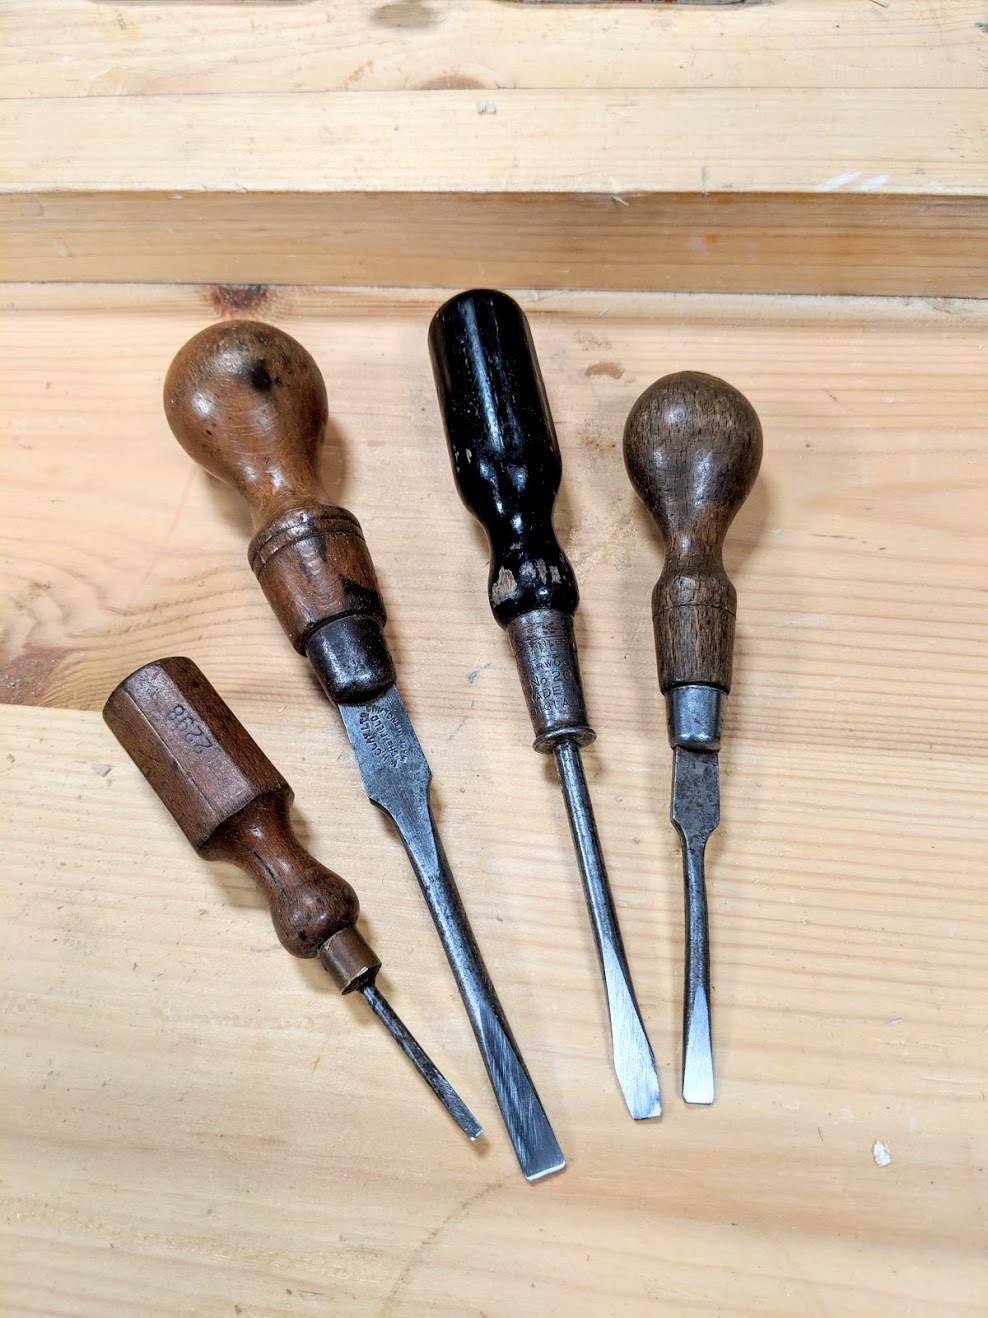
I Grab a Few Treasures to Work On
Joseph once told me that he saw how significant it was for me to repair things, you know, an old saw, a plane or a piece of discarded furniture. He said in all the years he had consciously known me at my workbench as a furniture maker he’d noticed there were always pieces dotted around that went from apparent trash to total functionality.. It’s true. This week I looked around and saw that I had gathered yet more to turn back into full work life. I picked up a dozen bits from the charity shop,more on eBay and then some from my packing cases on my return to the `uk from living two decades in the USA, my home from home.
Dismantling and repairing has been my great training ground. With and without others to teach me I searched out my teachers in the work they left behind. I think I have learned more from them than any modern-day maker since my apprenticeship. The whole process of dismantling and restoring teaches you many things. Mostly for me it taught me the essentiality of personal integrity. I am always left in awe when ten panels eight foot long of mahogany two feet wide are all flawlessly hand planed and were never sanded with paper by a man with a 3 1/2″ wide by 18″ long bench plane. If you have read any of my blogs or watched my videos you will know this.
A table with splayed and tapered legs taught me as much in two hours as I would ever learn in organised education in a month. The reason of course is my fascination with the subject matter. As it is with most teachers and a genuine student, a symbiotic tie is quickly unknotted that becomes the conduit for the impartation of knowledge from student to teacher. In the case of my researching most of my teachers died decades and centuries ago. The designer and maker of a wooden table was talking to me in the same room through the work of his hands. It’s not mystical or ethereal, just that their work spoke eloquently of concepts surrounding specific elements of design, of composition, of their choices and placement of wood, of its seasoning, colour and grain direction, of joints and the complexities of not just making the joints but ways of awkward working that avoided damage when the completed joint needed planing, assembling, clamping or dismantling.
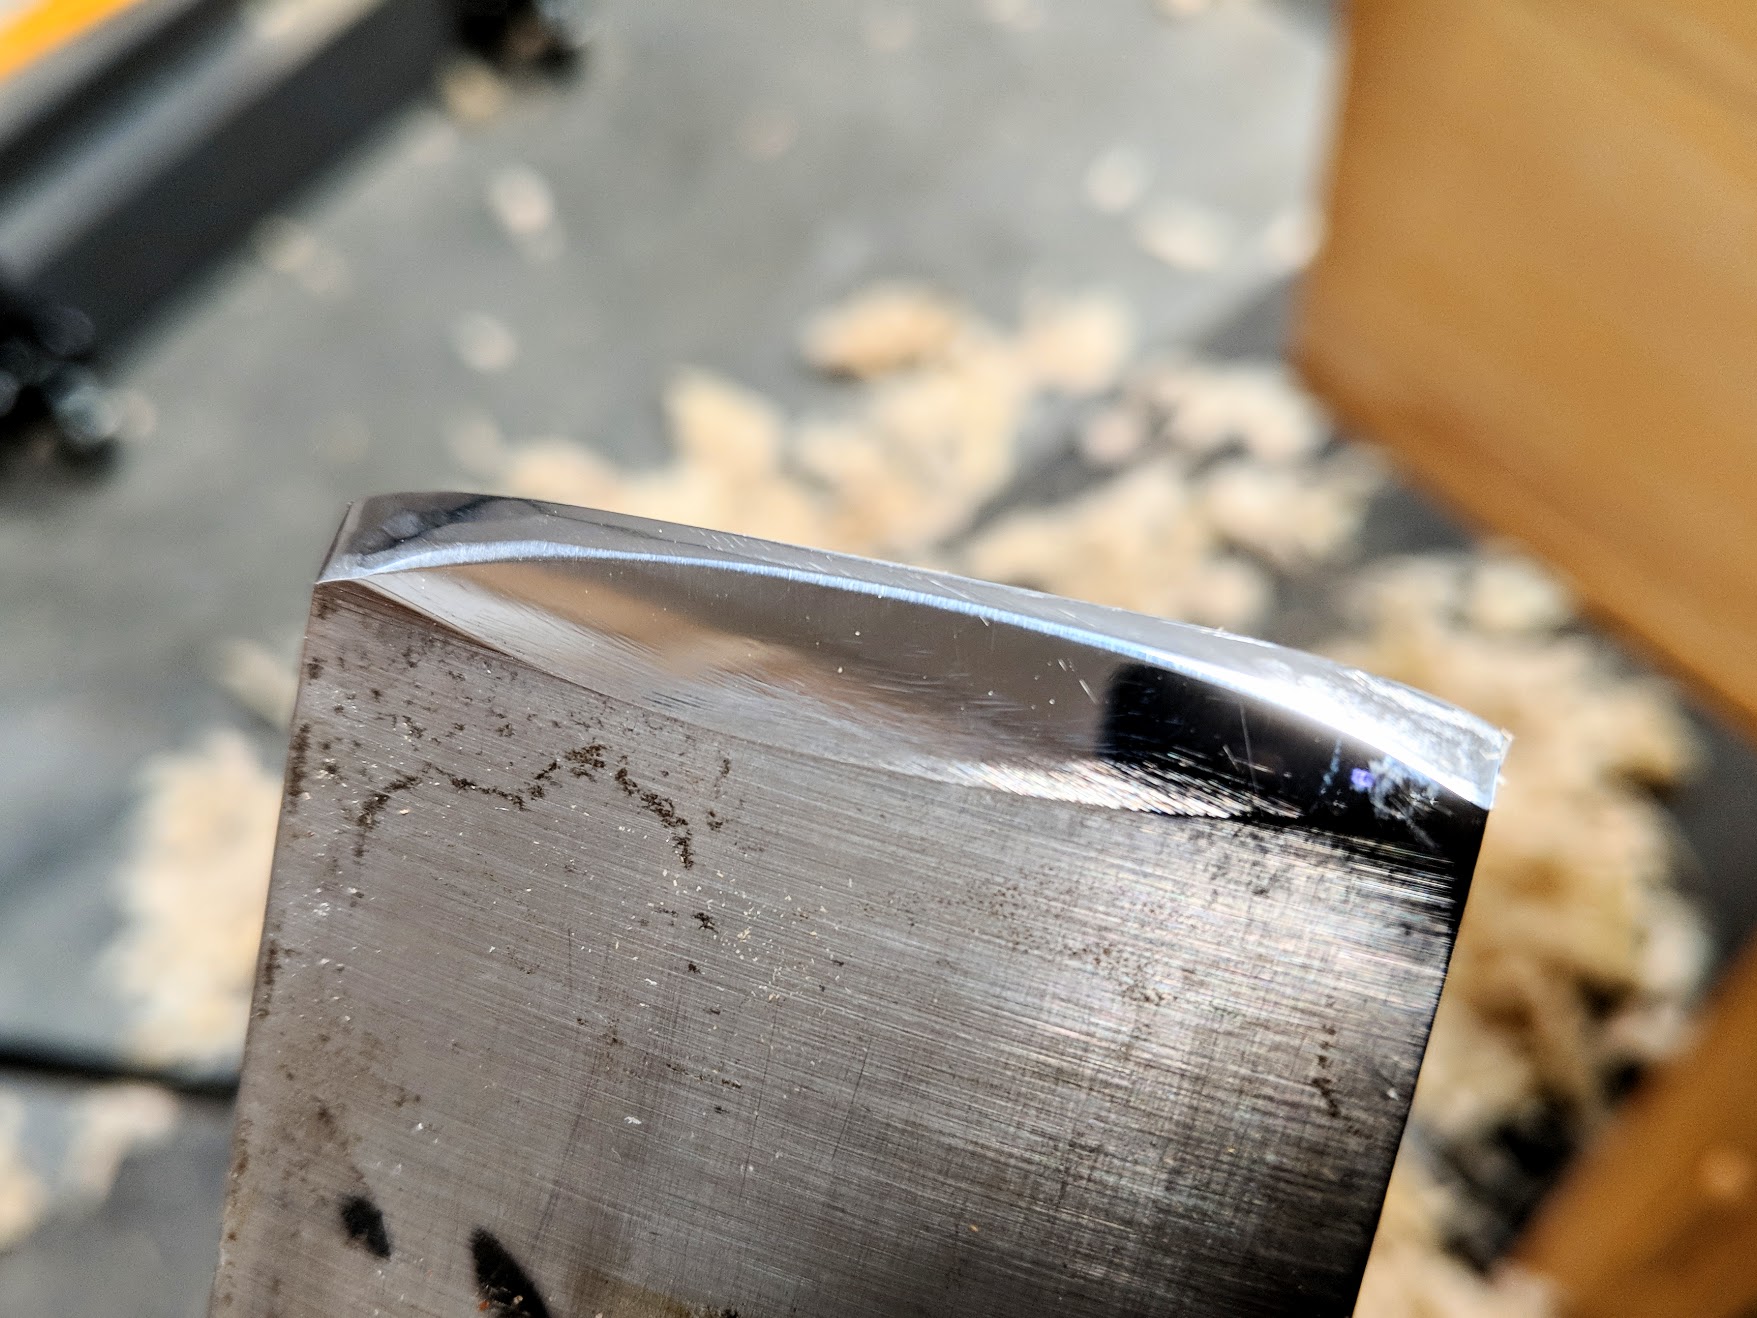
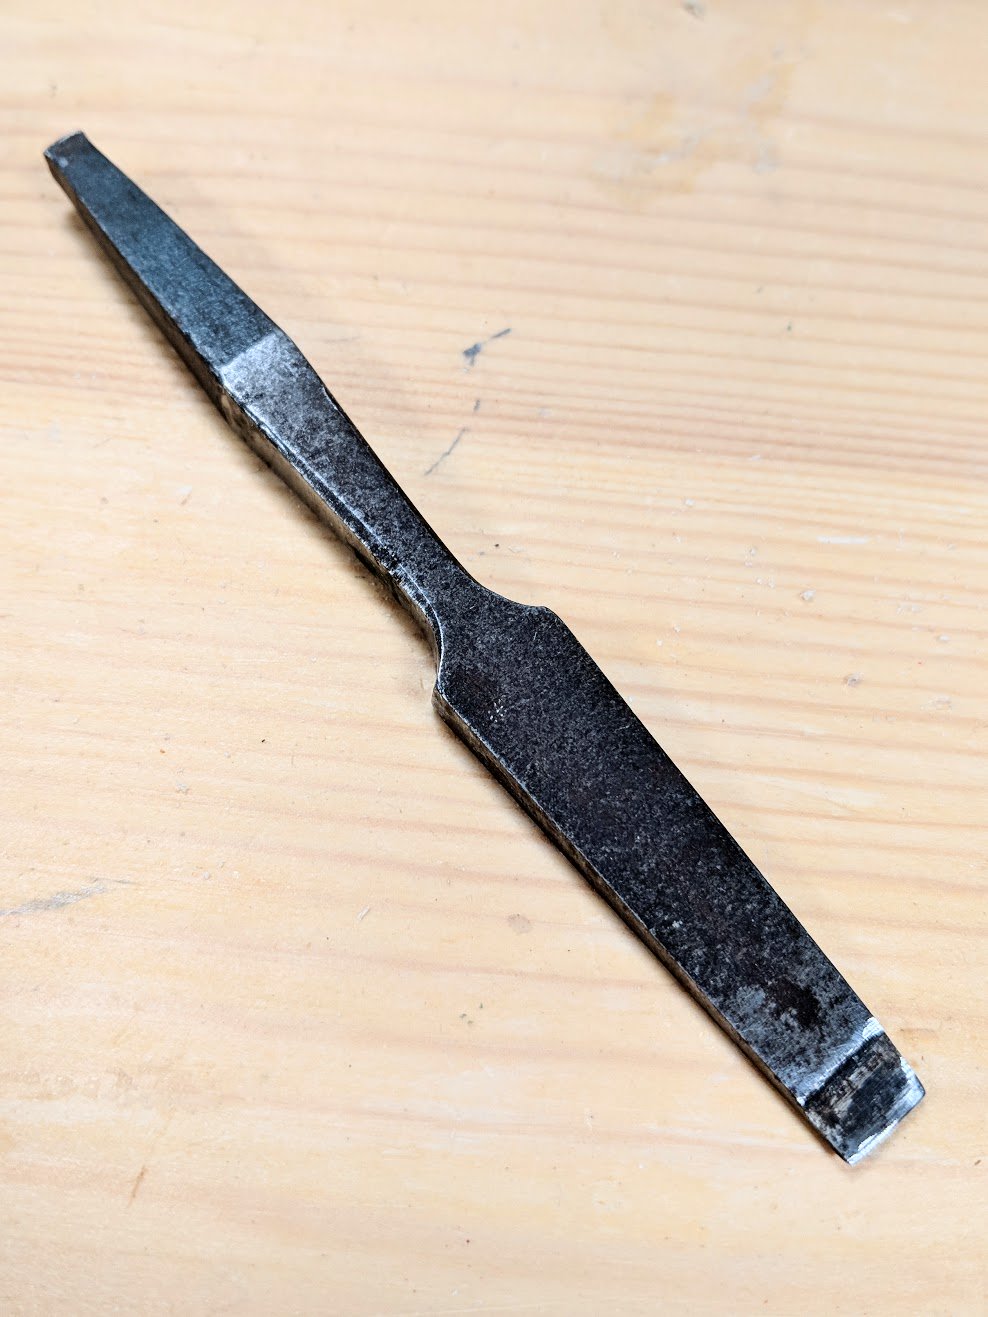
Each time I dismantle a plane I look for shavings inside and beneath the cutting iron. I look at the bevel and the way it was sharpened. Here is one you may or may not like. It was rough in its shape when it came and I confess being critical of the man that ground it-even cross. The reality was that the blade had been used as a scrub blade in a basic #4. In other words the cutting edge was cambered as it is now. But the scallop! What about the awkward scallop? Well it’s not the first time I’ve seen it and it seems to make no sense. Let me tell you something, it makes an inexplicable sense. When I decided to keep the concave yet follow the curve with my standard convex I found it sharpened very quickly and thereby more easily. I also like the way it looks. These are the things that draw me in.
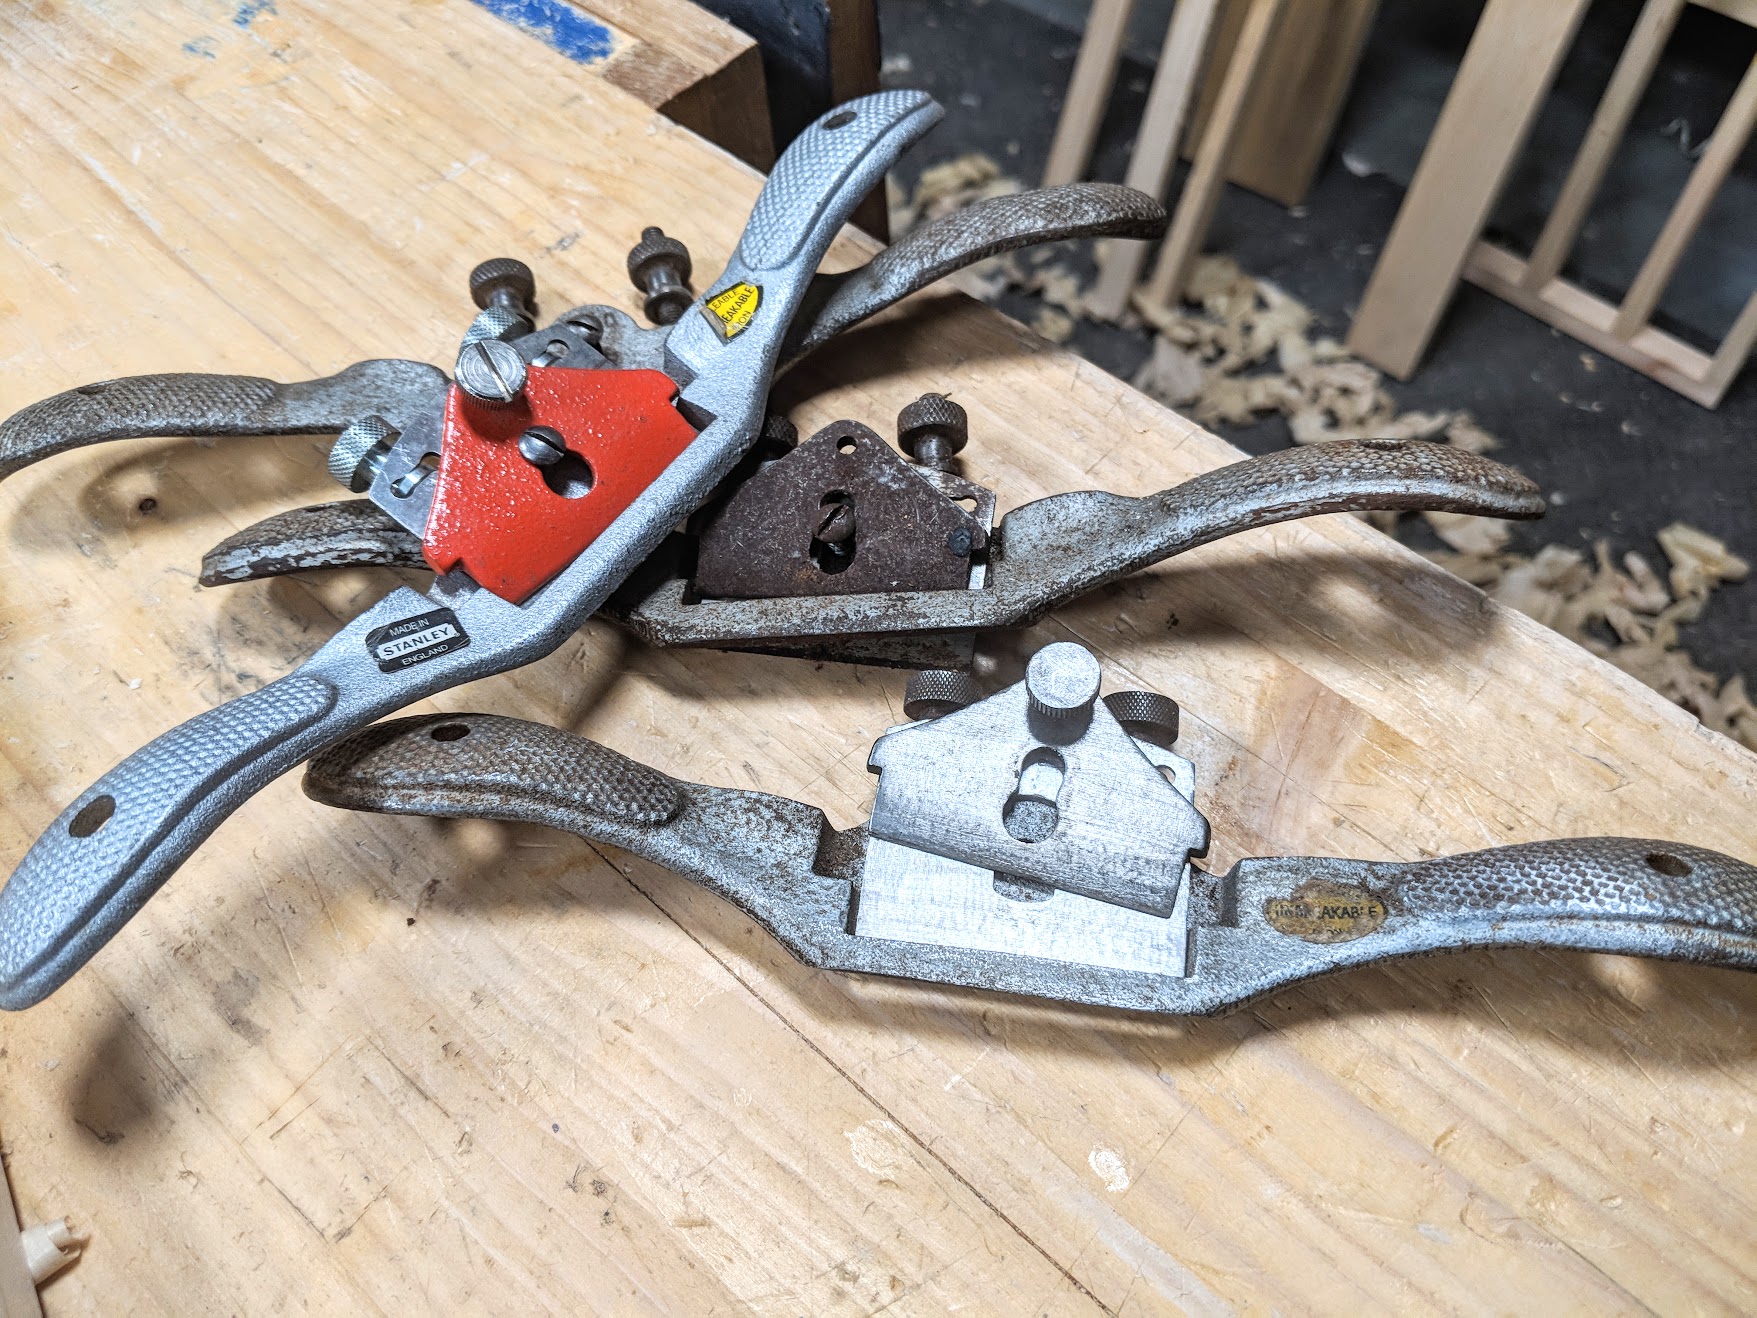
I did buy rather too many spokeshaves on eBay this past two weeks. #151 Stanleys, the ones made of malleable steel. Drop them on concrete and they don’t break. I had bought a perfect one and then one that was sold with the wrong screws. I looked online for the screw and they were grossly overpriced. I found two for parts for #8 so combining the four I will end up with three good ones for around £15 and a perfect one for £20. I jus wanted to blog and vlog on them because I thought to share the experience and then the outcome. Inside an hour they will ll work and work well. Then they can be passed on. It’s going to be a what to do and what not to do i think. So far anyway.
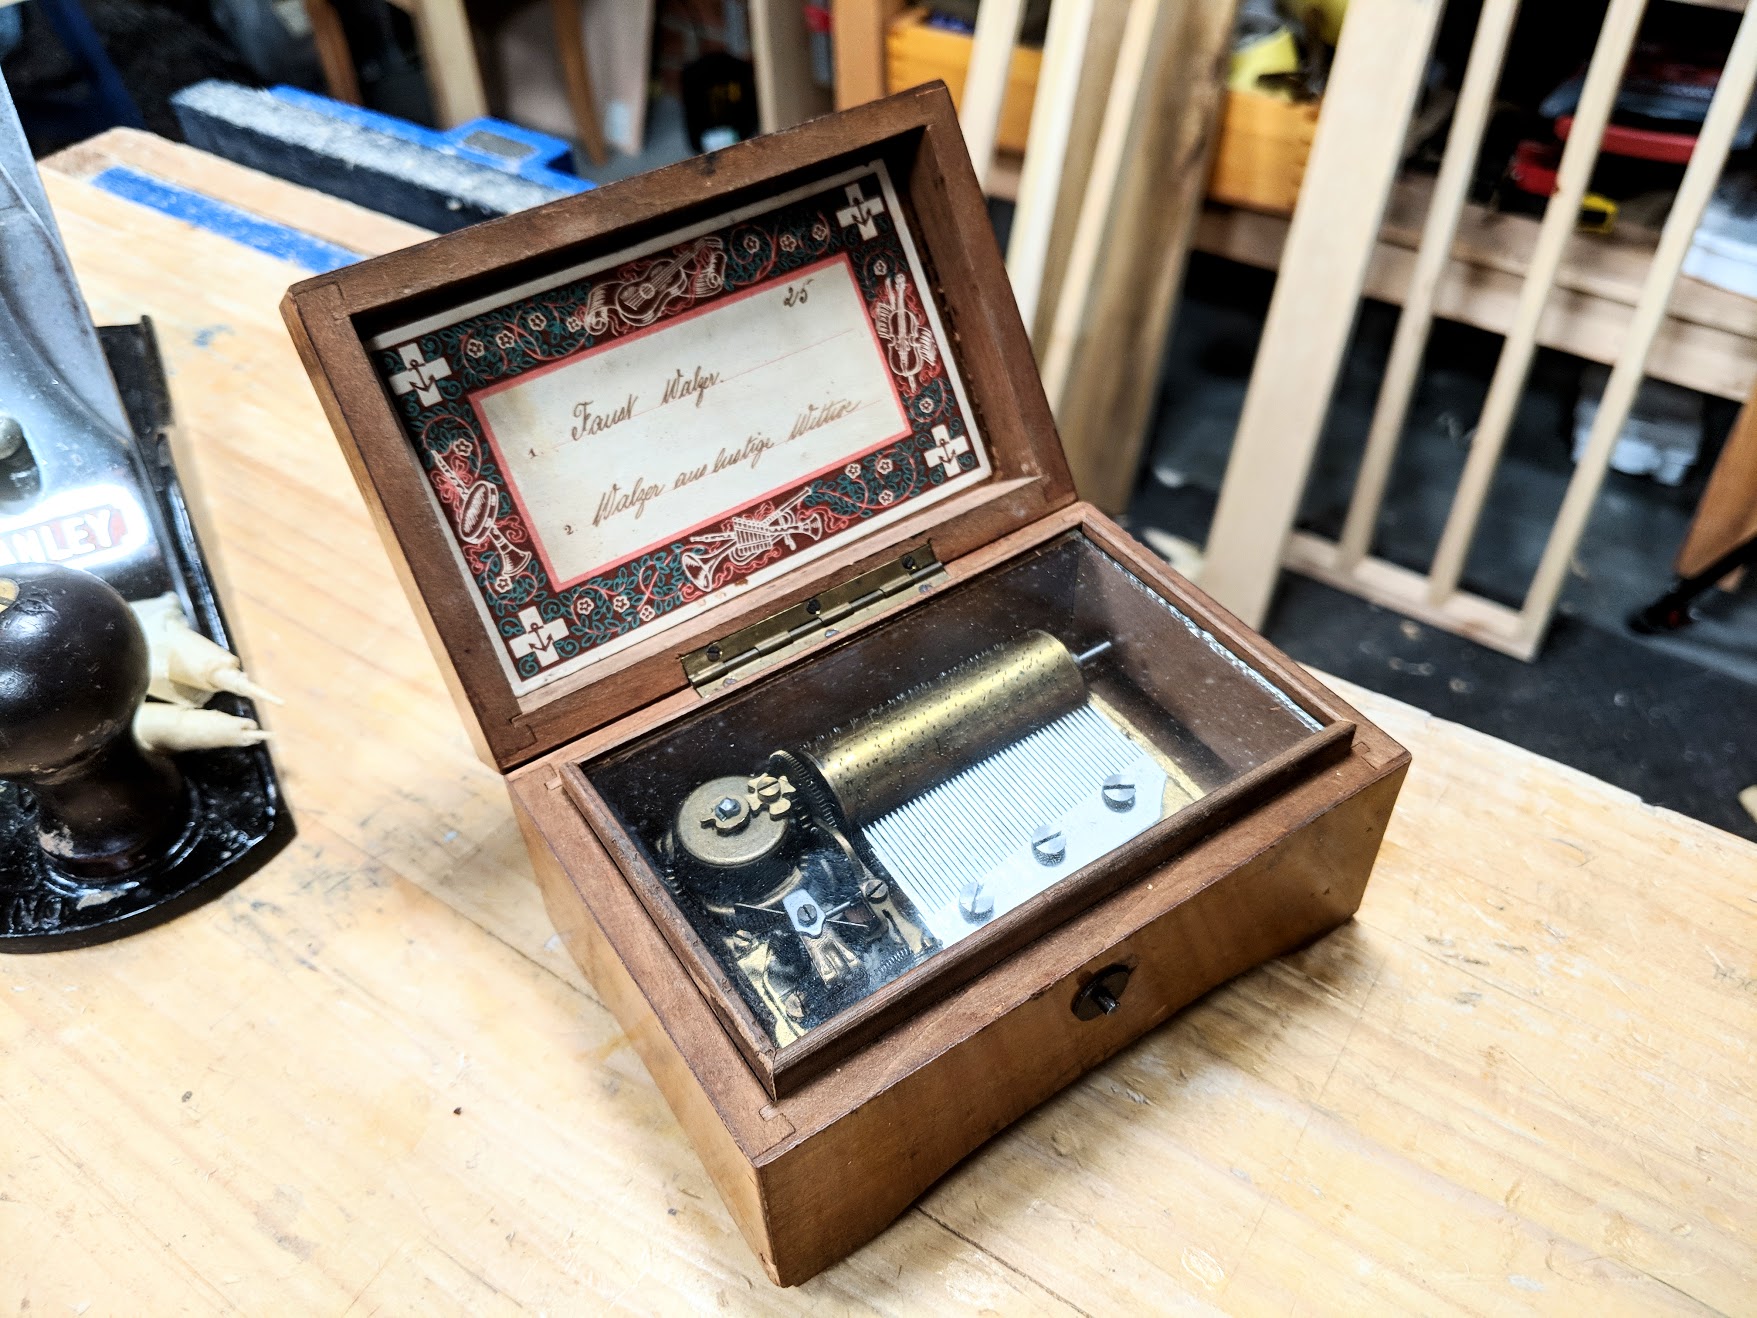
The music box is an old one. I have had it since 1987 but it dates back far beyond that. The glass does not quite fit and the outside need refinishing with shellac. When that’s done it will be a fully functional model. It’s only a few minutes work to preserve what was put together by another.
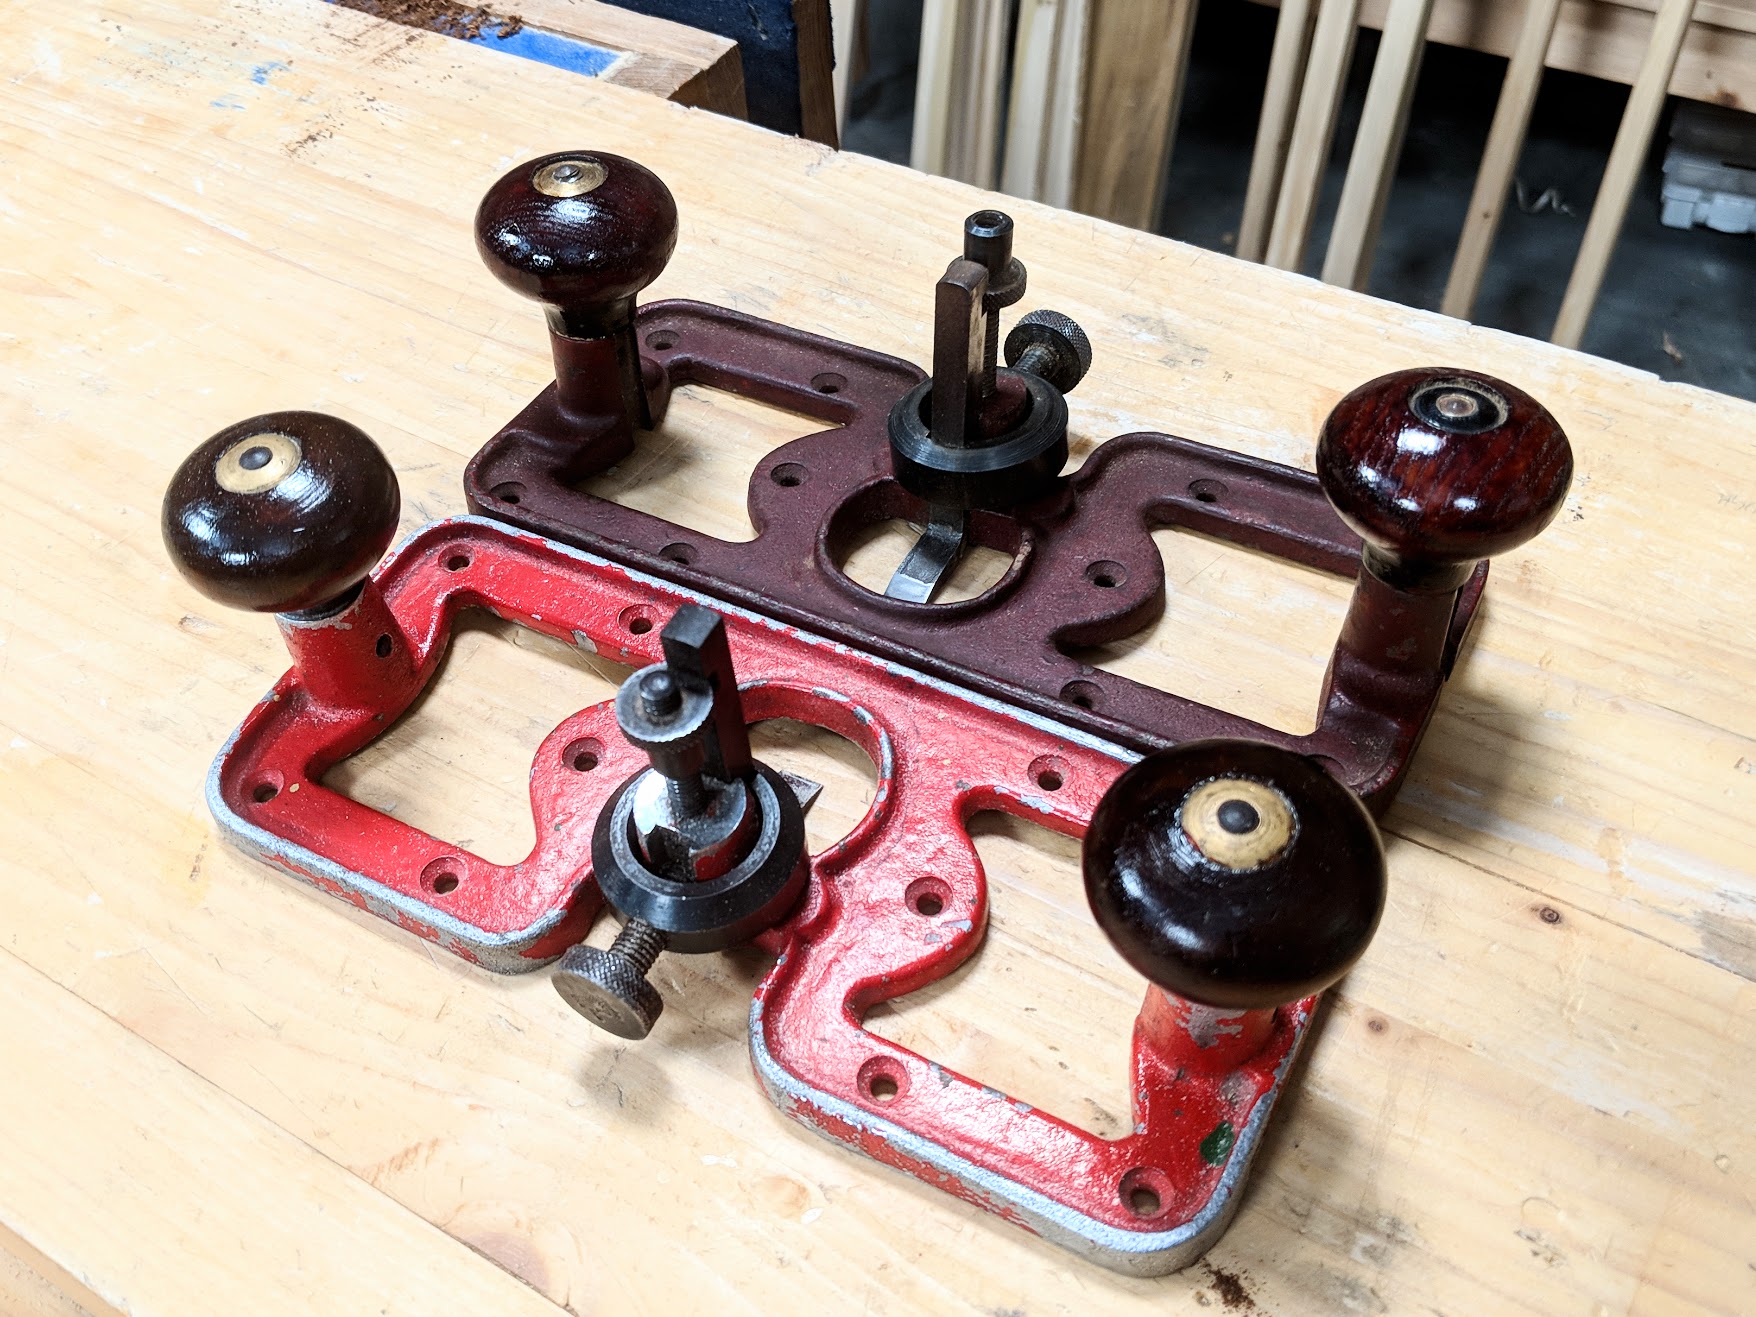
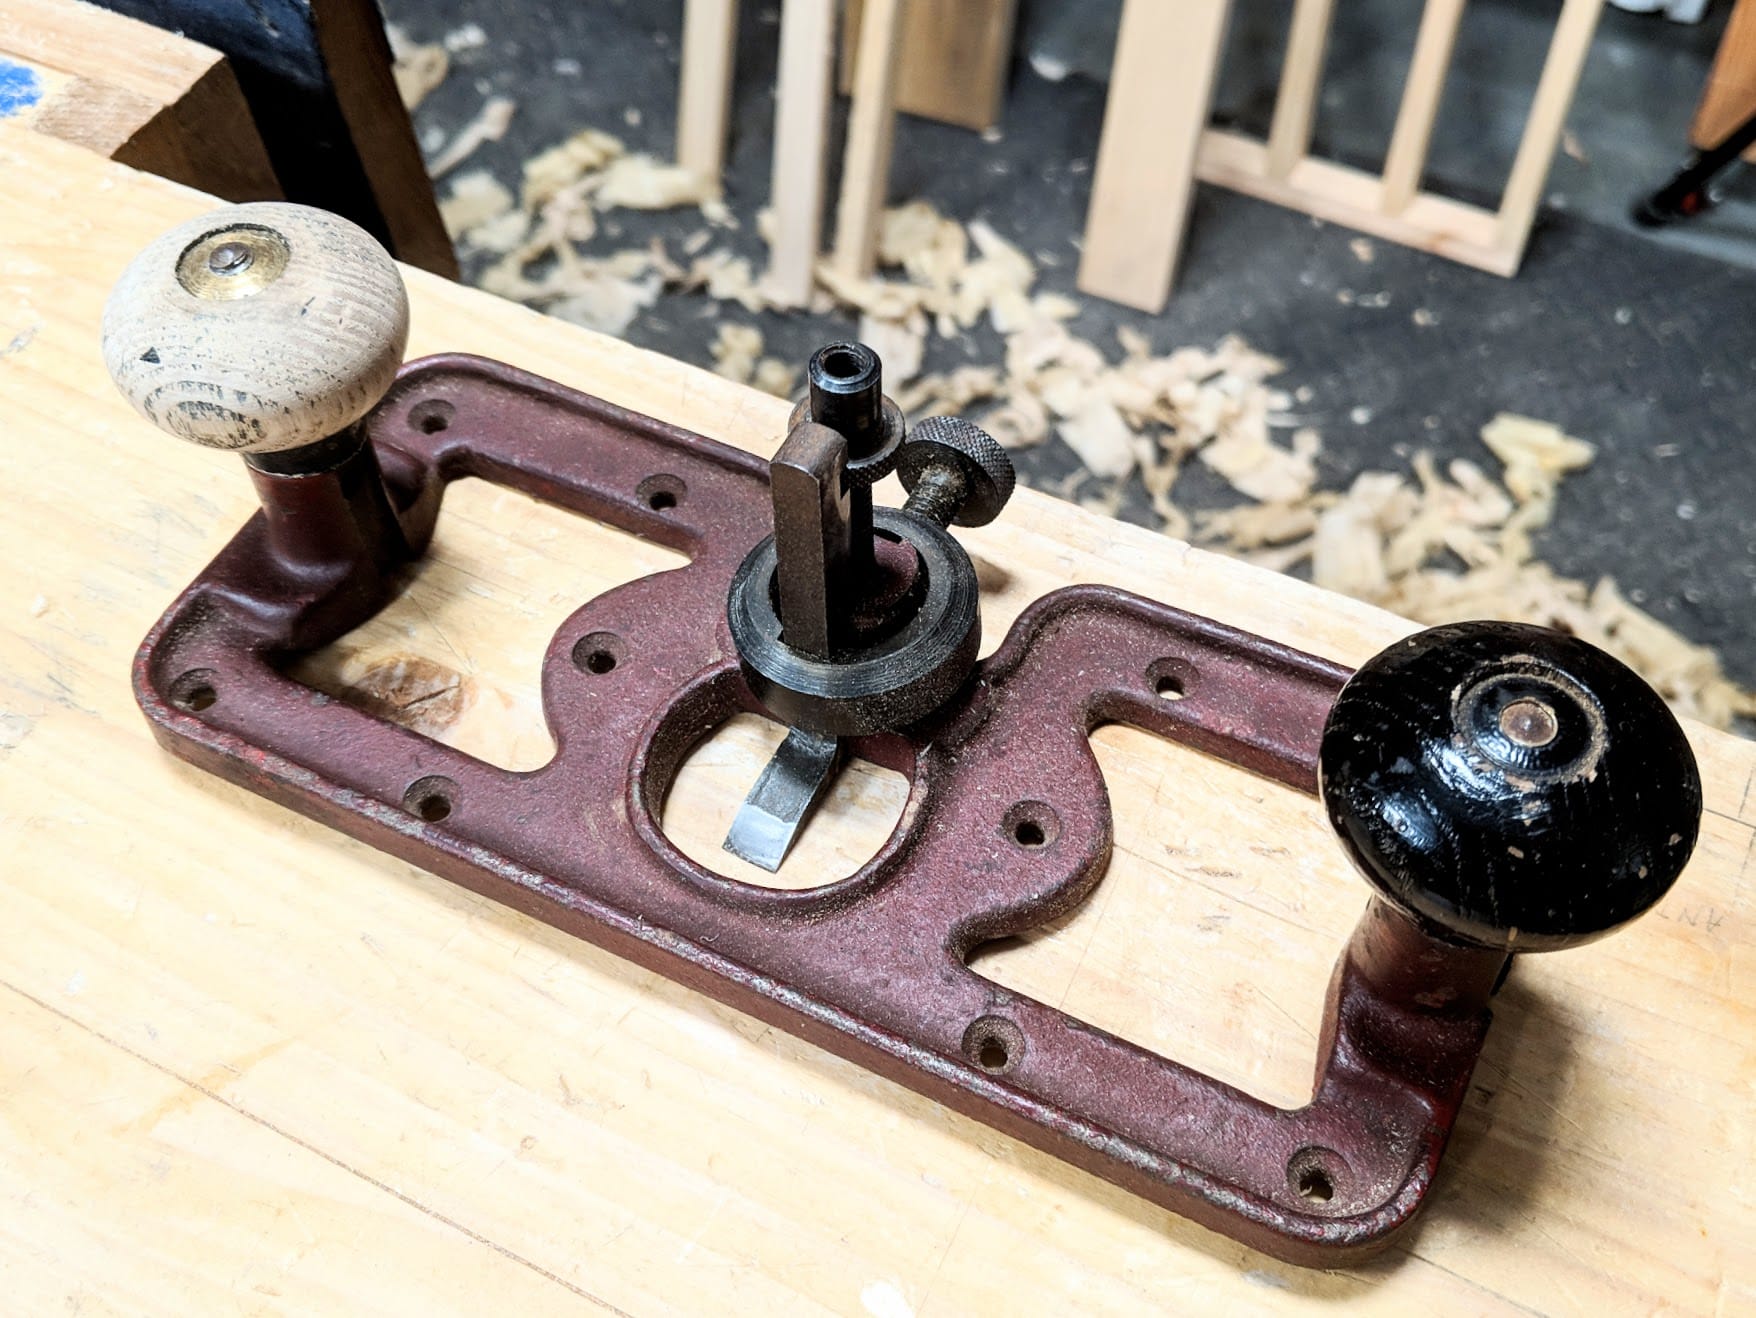
Now this Tyzack hand router plane is one from my US tools that I shipped back to the UK last year. I never liked the roughness of the handles nor the black paint so I chucked one in the lathe to sand off the black paint knowing the wood was ash. I will use dyed shellac for these handles. One I mixed that has a red colour. My old Preston version has that and I really like its colour and feel.
I have also been restoring a hand plane by making a new tote and will be showing you a new and foolproof way to make one via a video.
There you are. I have started this work alongside all my other making of new things. I apply my knowledge and pass it on through the blogs and videos.
Excellent post Paul thanx for sharing
Hi Paul
Could you kindly tell me what you use to dye the shellac for the router plane handles. I guess I could also dye shellac to use on my bathroom cabinet that I have made from pine? It would be nice to try to colour the shellac rather than using paint.
Cheers
Ian
Hi! I believe this question came up very often so now the answer can be found here: https://paulsellers.com/knowledge-base/finish/ under “How do you add colour to shellac?” section. Basically Paul uses a leather dye (Fiebings).
Good luck with the bathroom cabinet! I think it’ll look lovely if you finish it with some dyed shellac.
Hi Alexander
Many thanks for taking the time to reply. Your link provides the answer plus many more!
I’ll certainly be trying this out on my bathroom cabinet!
I use Fieblings leather dye. You can mix colours for the colour you want and either dye the wood with thin applications or colour the shellac itself.
Love your posts as always. Not only are the older tools superior to the new, I think we are good stewards when we repair and reuse tools and furniture.
I’m a fervent thrift-store and fleamarket shopper, always on the lookout for metalworking, electronics and woodworking tools
The past week I found a Stanley #3C in good condition but with missing blade (have put in a #3 Handyman blade I had lying around), otherwise immediately usable. Remarkably flat sole, but the tote and knob can use a re-finish. I consider 2 euro for a plane to be ‘for free’, for all practical purposes. Also an Archimedes drill in good condition that needed a bit of simple work but is now working as good as new. It has in a short while and after a few uses already become a favourite tool I find myself reaching for more often than I anticipated.
And is 0.25 euro for a Rabone no. 1375 2ft boxwood ruler, ‘made in England’ in excellent condition, too high a price? I decided to take it home with me, despite the fact that it’s not metric but imperial. It is the only occasion I can remember where I’ve bought a tool without any intention to use it. When I gave it a closer look at home, I saw ‘1943’ stamped on it. I assume this was its year of manufacture. I wonder how it ended up here in continental Europe – in 1943 this region was solidly under German rule. Maybe British soldiers brought it with them during the liberation, as this area was liberated in October 1944? It’s obvious the ruler has never been really used. I can just imagine how perhaps a Tommy soldier gave it to a child, who has carefully kept it as a small treasure all his life, in a living-room drawer, too valuable to be actually used? More likely it would’ve been a Canadian soldier, as this region was liberated by the Canadians. Or maybe it’s just my imagination running wild and the reality of how it ended up here is much more mundane.
Today, as I was working on a cabinet for in the shower, I was also repairing two gasoline blowlamps during the moments I couldn’t continue with the cabinet due to glue drying or the occasional rainshower (working outside – when it rains, woodworking stops and work shifts to other jobs inside the shed). Cleaning them, cutting leather and rubber washers, making and installing new cotton wicks and test-running it.
Good, usable tools for free, really; the only appreciable expense being the time and effort required to bring them back to working condition.
Having my birth occur in Southern California and living a large part of my life in the Deep South, in fact in the Heart of Dixie I’m used to certain specific dialects of English Speech and Letters. I have to say that I’m often “tickled” (as we would say in Tennessee for example) when hearing the unique British constructions, which to my ear, are musical and mellifluous. One of my professors in College observed that in general the persons educated in England have superior language abilities and clarity of thought, with which I have to agree.
Thank you. for your careful and precise phrasing, much like that in your Blog and Videos which is what one would predict after watching your wood working methods – that’s what we call Professional. I greatly enjoy and appreciate them.
Restoration and refurbishment is one of my favourite areas of activity; nothing like giving new life to something neglected or considered life-expired.
Look forward to the tote video as I have a requirement for several now.
Thanks Paul.
I agree with you all the way, Paul. I too have far more tools that I can ever hope to use, largely because I hate to see potentially good, useful tools being discarded for want of a little TLC (‘tender loving care’ for those of you who might not be familiar with the acronym).
I was given a very rusty heap of metal which turned out to be a Stanley #4-1/2 with a really nasty replacement tote. The donor couldn’t believe his eyes when I turned up with it a few days later, having de-rusted and cleaned it, made a new tote patterned on my #5 and fashioned a new yoke (from a blank bought online) to drastically cut down on the backlash. It has become one of my favourite planes.
I’ve also rescued several old tenon and dovetail saws. The time taken in cleaning, sharpening and repairing handles, (and in a couple of cases making new handles from scratch) is all worthwhile. I’d be happy to post photos if anyone is interested (and if I knew how!).
thank you for all the information you give. you do not have to be a woodworker to enjoy and learn from t his blog. I feel that the way you talk of your life and lessons learned could apply to anyone, who does anything.
I’ve been learning to make things out of wood using hand tools for three or four years now. The vast majority of my tools are second hand and old. I’ve found that I get as much enjoyment from working with the tools as with the wood. Understanding the tools- how they work, how they were made, etc is fascinating. I do think my woodworking would have progresses a little faster in the beginning if I’d bought new “ready out of the box” tools. Early on I spent as much (or more) of my time working with the tools as with the wood. On the other hand, you really get to know your tools when you do it the way I did it. At this point, I have most of the tools I need ready to hand. Nevertheless, I find I still spend time finding and fixing up tools. If is interesting to take a new tool apart for cleaning and tuning and learn about it’s details. It is satisfying to end up with something usable.
Paul, you are an inspiration and thank you for getting me started into this type of wood working! Great site and I am looking forward to your easy tote fabrication method. You mentioned turning and I’ll have to look in your videos for guidance and would like to know your process and tips. Now, if I only knew about these planes and wood working tools when I was stationed at RAF LAK.
Keep it up!
Kindest Regards,
David
I also cant wait for the tote video, bought 2 really old planes in the past weeks, and one is a wedge style, cant wait to make new totes for them! Keep up the good work Paul!
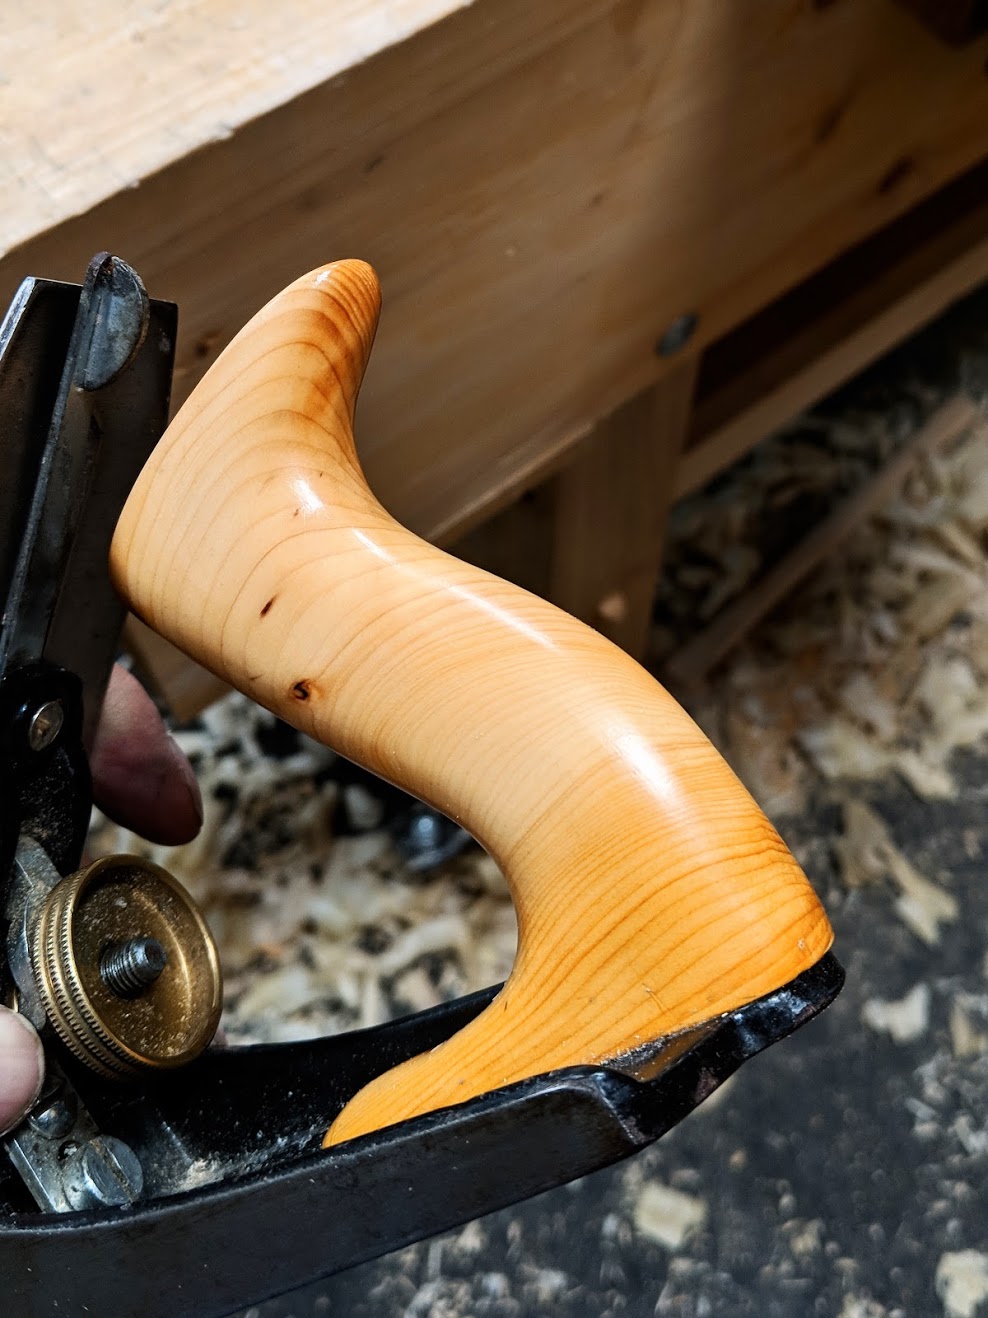
That new tote is just beautiful: so alive!!
I love the way the grain darkens and seems almost to compress at the foot.
What is the species of wood?
It’s Yew. Not t all typical for handles of this kind but I have to say this handle, customised as it is, increased accuracy and confidence to every stroke.
I’m once again putting a wood shop together agter many years and your media has been a big help determining what’s important and what’s a distraction. Professionally I am in automation and the production of related machines. For woodworking , your blogs and videos are helping me change the way I think and at this point is very important for me to slow down and make one good piece after another. So Ive been setting up with older used hand tools as I find a lot basic tools that can be had new are of really poor quality,. Instead I could rehab old tools and be further ahead, not that it’s a race, I just don’t want to play.
So I’ll do this andd sprinkle in some Veritas and Lie neilson pieces if they have something I like or cant get good enough in the used market. It’s about the journey with wood and the tools .
I’m currently contemplating a Stanley 55 combination plane that’s for sale locally. In decent un-rusted condition. My reasoning is that with the combination of cutters I can duplicate some of the trim and embellishments in for iture I’m wanted to repair or add to. I wanted to know what your thought on this tool are. I’m afraid it might be too much set up for the purpose I want to use it for. I have no other molding planes yest either.
The 55 was never really a viable reliable tool. It was a flop for Stanley and Record because once people bought into it they found that they did not mould stock well at all, nothing like moulding planes which were successfully used for centuries. In theory of course they might be seen to be a good alternative to owning 150 moulding planes at a fraction of the cost. Mostly they tear the grain at some point. However, they do work fine for tasks like plowing and such and if the price is right then buy one.
Well in that case I think I could do better just picking up molding planes as I go. Do you make your own? Do you have to make the irons too or can they be bought?
No. The irons should be tapered from thick at the cutting end and thin at the top. Hard to do without the skill and the equipment. And, where can you buy a full wooden plane, profiled and with a blade for around £12 per plane. I once bought 100 moulding planes on eBay for 7.50 the 100 planes. I had to drive 8 miles to pick them up as he lived remotely to the rest of Britain in north Wales.
In this article Paul uses Fiebings Leather dye (alcohol base) to tint the shellac for the handles on his hand router.
I am wondering how this mixture would work on the wall clock project in his videos. I have made this clock from pine, and wanted to stain it, but was worried about blotching. I planed on brushing and wondered how this might work. I realize that he probably finished his router handles while spinning (burnishing) them on the lathe.
Would Dying this clock be a disaster?
No, I don’;t believe it would. You must decide whether to dye the wood or dye the shellac. Options are to mix the depth of tone you want and test it on the same wood having first sanded it to the same level you did your clock. You can deepen tones by using coarser sandpaper. It’s not comm0n practice but it will do that. You can darken by dying again but remember that the dye cannot be reduced once applied too easily. Alternatively you can dye the first application of shellac. Again, experiment. You can again add a second coat dyed with the dye but remember that subsequent coats dissolve the previous coats and unless you work quickly the brush can drag colour from one flowing spot to a dragging spot which results in blotching. My recommendation is to get the first dyed and thinned down coat on and leave to dry for at least two hours. Apply subsequent coats of clear shellac from there on.
Paul, thanks for your input. I like your description about flowing spot to dragging spot, easily understandable. I will try on the same spare wood…then decide. If it fails I can always paint it (which was my original plan).