Replacing a Garage Door and Frame
I’ve never really liked up and over garage doors, mostly because they hang well below the door frame and take off valuable head room where I need it, which is above my workbench. I am always finding myself ducking as I pass through. I don’t know how people above six foot go on. So my task this day was to remove one and replace it with a pair of nice wooden ones. My plan is to reuse the up-and-over on my new shed at the back of the house as soon as I get to building it. Firstly I made the door frame. It was simple enough but to buy the one I needed was an extra hundred pounds and I could make a better one for around £20 with an hour or so’s work. I took out the other before the frame was made so once that was done I was committed. I knew what time I had to finish up and the race was indeed on.
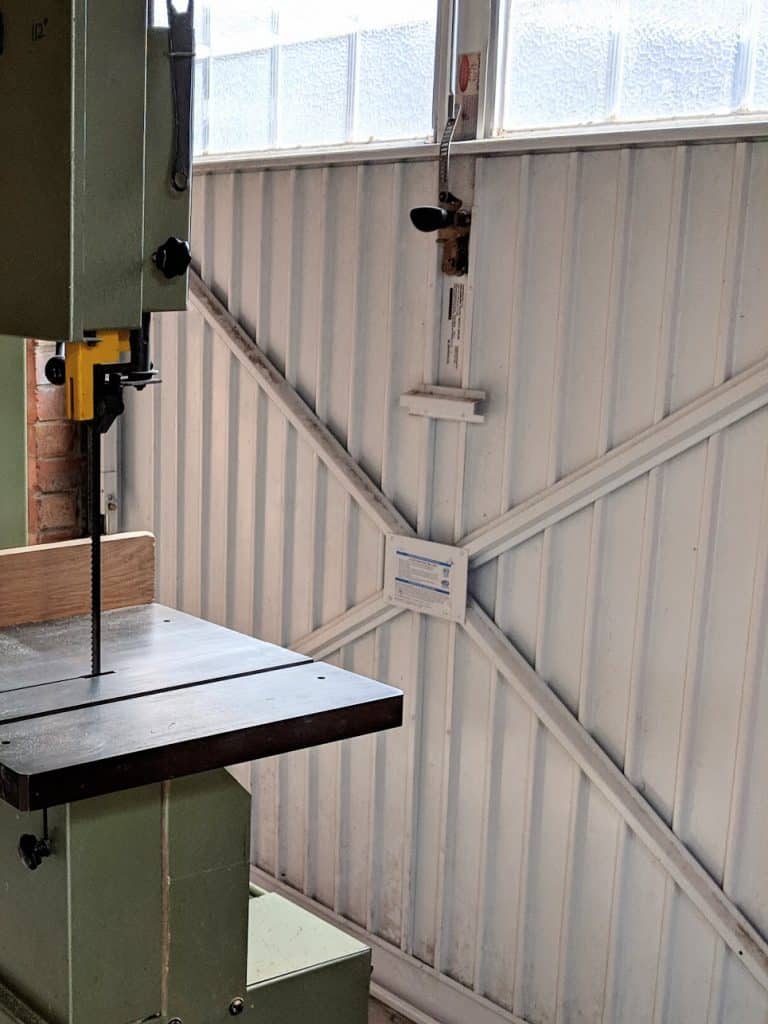
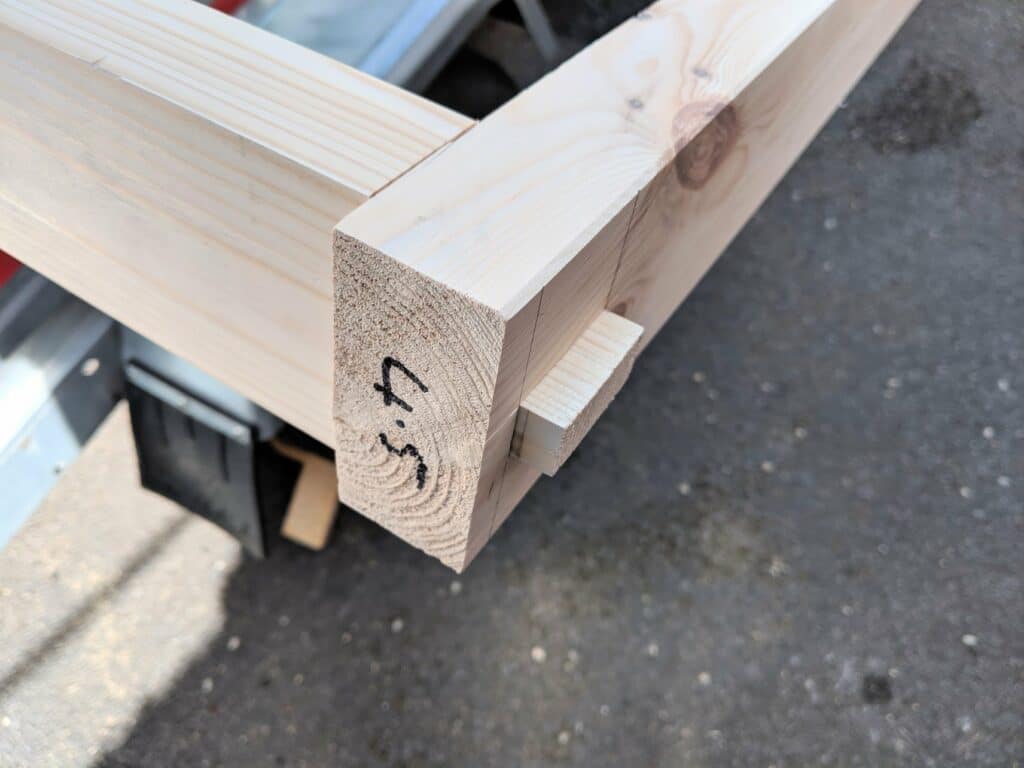
At 3.30pm I cut my header and stiles to length and started the mortise and tenons. at 4pm the frame was together and I was sliding the metal up-and-over down the side of the garage and out if the way until I install it in my new shed when it’s built. I’d already worked all day on a new design in oak and glued it up before I went to the house.
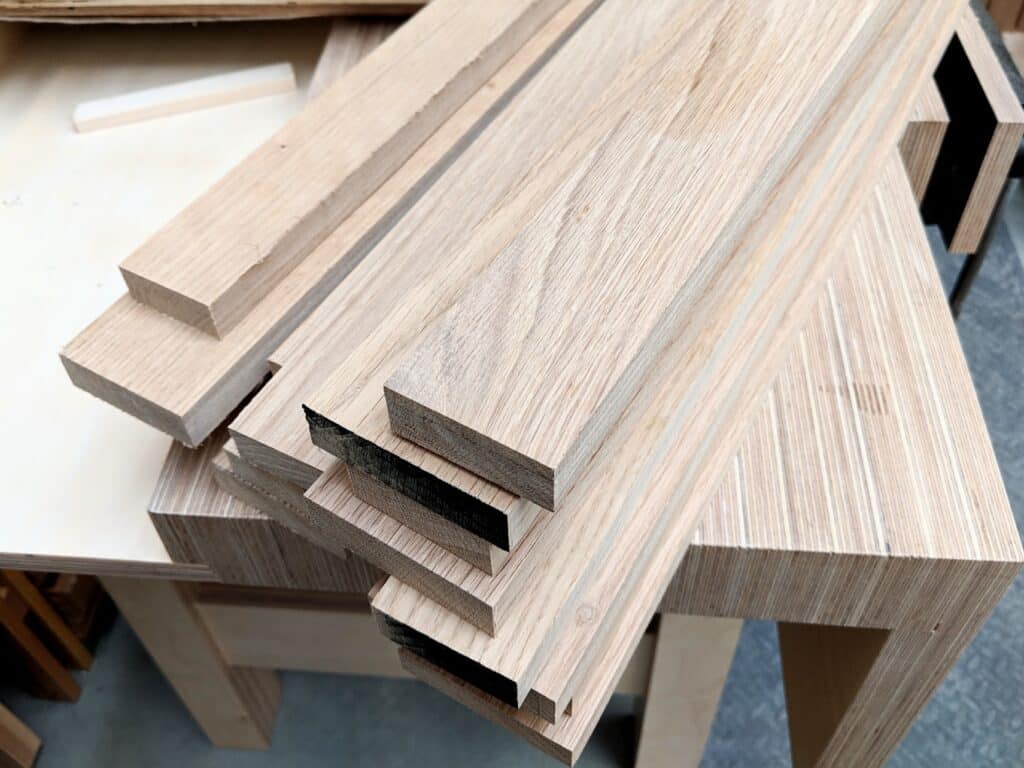
I am so happy with the design because I was looking for something that could be built from readily available wood without needing heavier 2 or 3 inch stock for the legs and such. It worked well and I was happy with my choices. This is a new masterclasses video series so it also means I can relax over the weekend knowing everything that began with just a thought works as well if not better than I actually envisaged. What I loved the most though was offering the tape from inside corner to inside corner showed it was perfectly square after glue up and the release of the clamps – not even a discernible fraction of a millimeter off. The project is a entryway or hallway table. It has a few features as yet unshown so offers some new learning instruction for everyone. I believe it should be very inspiring for everyone. I doubt anyone has shown these methods online or elsewhere before
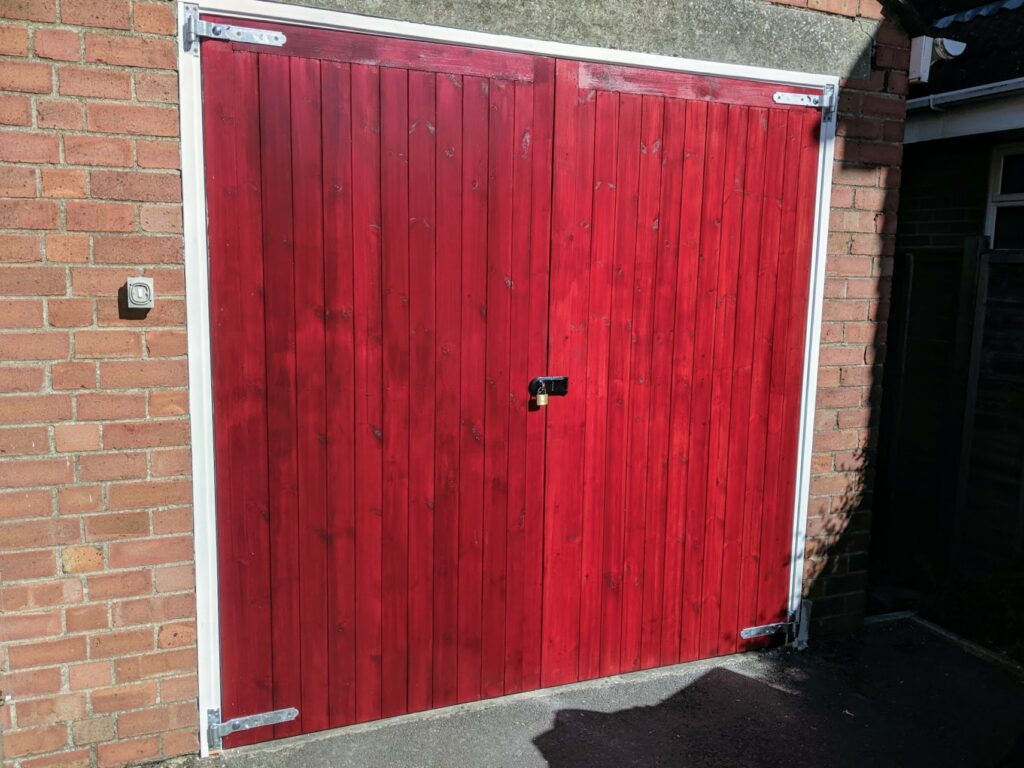
Installing the garage door frame went like clockwork too and all of my forward planning was a dream of well-worth-it-ness. I worked within about a millimeter throughout the sizing and joinery so that when I stood the frame in the opening it slid in place with 5/8″ shims equally spaced to screw through into the brickwork. Now for those who don’t know such things, brickwork is harder to deal with than 2×4 studding. Bricks don’t move. They are unswervingly rigid and no amount of pounding will move them the 1 or 2 millimetres you need to make the gap right. In this case the woodI had bought in was 1 3/4″ by 3 3/4″ so not enough to get tight brick to brick. Hence the 5/8″ packings. I have already said that I have cut in excess of 120,000 hand cut joints in my lifetime as a furniture maker so chopping out these mortises for the frame in addition to the 8 in the oak for my aforementioned table earlier in the day, and then 8 more for the turn-buttons in the aprons too, all gave me immeasurable pleasure. It has never been tedious for me because I love it so much. And it has been like that since day one in 1965, even when the outcome might not have been so successful as in the last 24 hours.
My garage is solid brick and the bricklayer should be proud of himself. Plumb throughout, he made my job as easy as pie. That meant anchoring the frame went perfectly well with screws into plastic plugs. I could also have used the traditional wooden plugs into the mortar joints but I chose the first because they work so well. It is also an option to use a combination of the two methods. Doing that means no packing off. Anyway, the frame sat squarely inside the brickwork. The resultant gap is trimmed out inside and out to the sides and top. Starting at 3.30pm, taking a 3/4 hour break for dinner, I was installing the hasp and staple to lock the hung doors at 8pm.
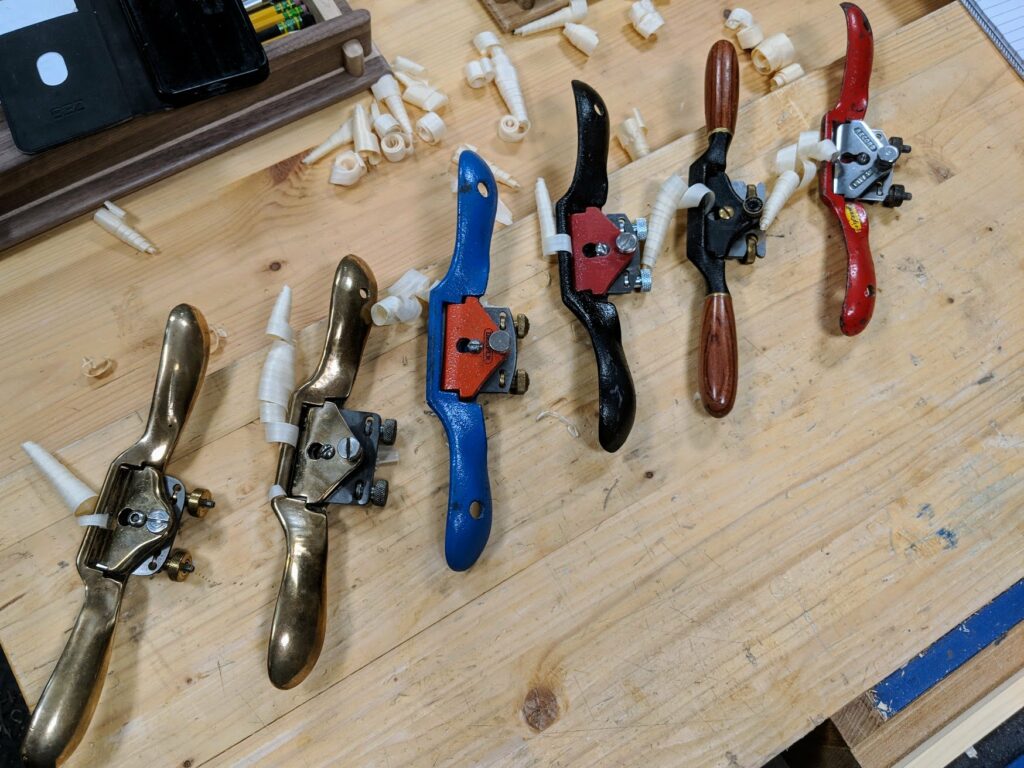
Between stopping points throughout the day of course there were a lot of other things to keep up with. The Q&A in the spokeshave via YouTube went amazingly well and people expressed their difficulty in mastering the spokeshave until they saw the video which gave them the answers they couldn’t find elsewhere. That made me glad we did it. Many things that I take for granted have become the source for our training program via our commonwoodworking.com. This is our foundational work that trains new and seasoned woodworkers who were never exposed to the reality that hand tool woodworking is highly efficient in most areas once you have established the skills of using them. So many of you are making amazing progress. Thanks for sending your images in for me to see your progress. Without foundational training it is hard to know if what you are doing or expecting is right. Commonwoodworking.com is working for thousands!


Hope you filmed the making and fixing of the garage door frame as well aas the making of the doors.. It’s this approach that I love about your youtube channel, The way you break everything down and explain it in laymans terms. Thank you.
My thoughts exactly! I completely agree with Paul about up and over garage doors and plan to do this myself sometime. I think it will take me rather longer than one day though!
I hope the hinge bolts/screws render the door fully secure!
With the availability of battery operated tools, is there anything still burglar proof?
Sylvain
Mostly we can only make things more difficult for thieves to access our stuff. If someone wants to steal from us they will find a way. My working till 8.30 PM to get the doors on was to do with securing my stuff before dark, hence the rush. But I did it, they’re hung, they work and they are fine. It’s just a garage workshop guys.
It’s shocking to read that you’re living in a place where you need to work until 8:30pm to provide only minimum protection against thieves. Are thieves so brazen in your town that they’ll rob you with impunity?
Maybe it’s time to move back to Texas.
Really David? It’s irresponsible to leave your tools or other belongings out for the taking anywhere. People willing to take what’s unsecured in front of them are in every location, including Texas.
If my garage door was made of solid padauk or bloodwood or whatever this is I would be more worried about someone stealing the door.
The house I will be living in soon has two such up-and-over garagedoors. They both need a repaint but it wasn’t until I read this blog-entry that it occurred to me to perhaps replace them with wooden doors as you did. It simply never occurred to me, odd – I guess it’s because of the familiarity of having grown up in that house. A wooden, hinged garage door(s) would really add to the appearance of the house. The up-and-over garage doors do have a bit of a ‘quick & dirty (& easy)’ air to them.
I agree with the other poster, a video would be very, very much appreciated. Even if it’s not a full-blown video to your regular standards and just a compilation of many still-photos with perhaps a voice-over audio track added with remarks, that would be very helpful. Reading your blog only made me more curious as to how you made it and fitted it. I’ll be doing a lot of such work in the coming 2-3 years. Quite a few hinged windows and frames need replacing as well. Fortunately, all the walls are plumb and the general quality of the (brick)work is excellent, all done by my father.
Hi Paul I like the idea of your good quality galvanised “hook and ride” lift off hinges.
One reason doors are replaced with up and over is because the bottom edge of tgv rots as rain runs down and also splashes up to bottom end grain.
When shooting a door into frame bottom edge can be bare wood but yours can be lifted off to treat end grain after fitting and during maintenance.
Doors this size can warp easy So a couple of bolts on the outside top and bottom together with a rebate to closing edge can stop ( used in conjunction with lock)
I would use a 7″ bottom rail and raise hinges up a nats then cut off frame by 1/2″.
Good to see you deviate from fine furniture, a great help to many people.
In one of your blogs you mentioned the use of wooden plugs some years ago – I would be really intrigued to see how they were used to be done and fitted to a brick wall. I have searched the web and it seems there is hardly information on it. I think you mentioned using theses type of fixings during your apprenticeship, it would be lovely if you could one day elaborate on these
Hi Peter, I was a bricky and we used to put a elm pad that measured 4in x 3in x3/8in into the joint as we built up the brickwork. they were put in at 1ft off floor level then every 18ins up the door opening
Thanks for the input Robert!
search Paul Sellers blog
“the joiner’s axe – part II
I’m with Pete on this. I hope it turns into a project too though given the time frame you did this I’m pretty sure this job wasn’t done on a filming schedule!
I’ve got a small cinder block garage I’m setting up as my workshop. It has a crumbling over head door that not only doesn’t keep much out, it’s in danger of falling down, AND it blocks a portion of ceiling I want to put lights on for my woodworking.
It never occurred to me to go with swinging doors instead of an overhead.
John
I second the above comments i.e. hoping that the garage door(s), the making and installation of were filmed. I’d be very interested in seeing how you did this all of this.
I have a metal roller shutter garage door and this is not draught proof either at the sides or the top. The sides due to the shape of the metal segments and the top due to a variable gap depending of whether the door is open (fully rolled up) or closed (fully rolled down). An after market brush strip at the outside top helps but does not eliminate the problem. I think a carefully made set of replacement hinged wooden doors would fit far better and could potentially eliminate any draught or make draught proofing so much easier.
Hi Martin the hinges are not ” cut in” the 4×2 frame has a 5/8 packer Paul says, so he has used a trim to close gap between frame and brick.
I would have used. 4×3 frame then a narrower trim would fit round hinges. I would have used 4″ Fischer fixing with head sunk in 1″ and plugged.
I would also set face of frame in about 1″ and use a flexible sealant plus a water drip above door could have been used.
There is more than one way of killing a cat, Paul has his way…MINE IS NOT CORRECT
The lintel is the ugly bit so I plan to install additional protection there. In a previous house the doors were the same and so was the installation and I never had any problems with anything and I couldn’t recess the doors any more than I did for three additional good reasons.
Tut tut Paul, take the top trim off and do again. Should have scribed it to the saggy concrete lintel. Also not sure
about the cutouts for the hinges looks a bit like a cock up!
I too could have done the job but not anymore. Same age as you exactly but back and arms shot from a life as carpenter and builder. Just a bit of French polishing on a high bench to your design to keep me busy.
Your right, but the closure at the top is temporary as I plan to cover the ugly lintel to create additional weather proofing up there.
Hi Paul,
I work in a builders merchant here in Northern Ireland and the metric measurement written on the end of the 94x44mm timber in the picture is uncannily similar to my own writing on the timber here. Anyway keep up the good work and thanks for all that you do.
Well, if you live in an area where you have snow, you won’t like your door.
Also if the threshold is not somewhat higher than the drive, the door might not swing over the driveway.
I hope you have a people door for everyday use.
A canopy of sorts over the door would also be nice.
Just sayin, JIM
I see my red door and I want to paint it….now you will be humming that tune the rest of the day, ha ha. What would be really interesting is if you had a scene painted on the door of you working on a piece as if the door was not there!
All joking aside, thank you for sharing you knowledge so freely as it is much appreciated.
It may be a good idea to have an editor look over your blog copy before posting. When you are making technical descriptions it’s difficult to follow when there a significant number of typos. I’m not judging. I love to read your blog and and the subject matter. I would just like to see the blog improve and grow. Cheers!
*there are ?
I would rather Paul spends his time on content, rather than text typos. I am a perfectionist and proofreader/editor. Sometimes perfection gets in the way of being good enough, so it’s important to choose one’s battles. If Paul’s postings were in a book and sold, that’s different. These are free and should be treated with due gratitude. (Did you see your ‘and and’? Glass houses!)
I agree. I personally look at it as a compliment. People who are not professional proofers are paying so much attention to what Paul writes; they’re able to pick things out. The whole point of a written language is to transfer knowledge and Paul does this perfectly.
The complainers are out today. Thanks Paul for the blog entry. I do appreciate all that you do for free.
If Paul likes, I would be happy to read over his blogs for free to show appreciation for the free content he provides.
Great build Paul, My wife and I back East visiting my daughter and my several day old granddaughter. Whenever I get a break from leveling unbalanced doors and squeaks in her flat I look for something to learn from you. I definitely will use this idea in one of my projects. Thanks again, always staying busy one of your biggest fans of you and your team. Reggie
P.S. with much respect to the Past Mother’s Day I will say that I have erred in my typing. My wife and I are back East visiting our daughter and our several days old granddaughter. And a most happy belated mother’s day to all the women that are into Woodworking or supporting their significant others in Woodworking…
I have long thought of making a door like that to replace my conventional american style door that rolls up and uses up lots of valuable space. I don’t even keep a car in my garage so I really don’t need it. I would have to make sure it’s very well insulated though as temperatures can get down to -30C here and I have to heat my garage regardless.
Confession — like Trinity Too, I have a reputation of being a perfectionist, and have some experience in editing and proofreading. But I like Paul’s writing — it is honest and intelligible. He is so busy working on projects, and filming his work, and making blog entries…I wonder when he finds time to live his life. I’d much rather he spend any time he has on new blog posts, on new projects, rather than spell-checking and grammar-checking.
If I wanted to nitpick, I could ask (with nose lofted high into the air), what does “them” refer to in the following sentence?
“This is our foundational work that trains new and seasoned woodworkers who were never exposed to the reality that hand tool woodworking is highly efficient in most areas once you have established the skills of using them.”
Sure, it could have been wordsmithed into:
“This is our foundational work that trains new and seasoned woodworkers who were never exposed to hand tool woodworking. Once you have established the skills in using such hand tools, you realize that they are highly efficient in most areas of woodworking.”
But I ask you, be honest, did you really have any trouble understanding the sentence as Paul wrote it? Yes, I’ve seen typos in Paul’s blog posts, but never any that interfered with my ability to understand them.
I agree with Trinity Too in another area: perfection stands in the way of good-enough. Here’s a passage I stole from entrepreneur.com:
“Voltaire: ‘The best is the enemy of the good.’ Confucius: ‘Better a diamond with a flaw than a pebble without.’ Shakespeare: ‘Striving to better, oft we mar what’s well’.”
Long may Paul write as he does.
I second the motion, Jim!
What holds the garage door planks together? I’d love to see a photo of the other side. I need to replace my existing rotting overhead doors and this design looks great.
To answer my own question, I just discovered you can get a glimpse of the “other side” of the garage door in Mr. Seller’s recent Instagram video of the hack saw.
the door is of the same design as the door of the “garage” were Paul is doing its video.
Have a look at the second picture in the blog “plywood workbench is out” dated 8th of February 2019.
I’m totally confused. Is that through mortise & tenon part of the garage door frame? If so, I’d love to see more pics of the whole thing.
“Not even a fraction of a millimeter off.” I know how pleasing that was for you. I hope one day to find an elastic tape measure. The ones made today just will not hold up. They always come up short on one side, you pull and pull until the end pops off.
Used to call those doors “Carriage House” doors….
been too busy the last few weeks…re-doing a dangerous front porch, and adding safer steps and railings to the back porch…old knees can’t handle slippery steps with 8-9″ of rise….and no railings to hang onto, when using the old step…..yep, just one step front or back.
This fall, I will be building a new house and workshop. Between the house and shop, I’ll have (get to!) build 4 “garage” doors. I want to make them out of wood, but I’m toying with the idea of up-and-over vs side open. I think the workshop doors can be side open, but the layout of the house doesn’t really allow for that type of opening. I’ve been reading and watching everything I can find on building garage doors, so I’m excited about this post and, like others, would be interested in seeing a project based around this. With a new house soon, I’m also very excited about your upcoming fill-a-house-with-furniture idea, Paul. Thanks for all that you’ve shared with us over the years.
For minimum space impact (inside or outside) , one can also make folding doors ( articulated vertically). So if you divide the opening in 6 vertical panels, it will protrude inside (or outside) only one sixth of the opening width. Paul’s double door swing (externally) on an arc with a radius half of the opening width.
Many apartment in Brussels build beginning of the XX c. had three room in a row separated by large openings ( width of about 3,2 m) with glazed folding doors (2 X 2 doors).
Sylvain
I have a garage with a flat roof and an “up-and-over” door. I am not particularly tall but have head butted the partly open door on a few occasions. (This does no harm to the door….). The roof is supported on deep rafters and the intervening space can be turned to useful additional storage – except where the raised door goes below the rafters. Hanging kayak(s) from the rafters is an absolute pain. A further problem is that the door bottom catches the concrete but raising it by about a 1/2″ (to insert a rubber sill) would be darned hard work.
All in all, I have come to detest my “up-and-over” garage door – so this blog has added yet another project to my very long ‘Do List’. With my list of jobs as it currently stands, I will probably need to live to be about 120 before I get anywhere near the end. Also, the list just keeps getting longer!
I will probably post some photos of my finished projects – in about 50 years time!