Prepping Wood III
I have never really gone back and forth on my methods for prepping stock from rougher slabs, planks and boards without relying on the use of too many machines. I am happy with the evolutionary processes and shifts to date that add tactics to enhance my work and at the same time make my hand methods less tedious. Dispatching the old machines to the scrap dealer was a great move for me but I recognise that producing stock on a large scale is likely the only way for business woodworkers to go. The issue for me comes when business woodworkers abandon all handwork and then diss hand methods without ever having tried hand methods. I met a serious furniture maker who went through 24 hours of self stressing at the thought that the only way he could install a recessed hinge in a particular case would be by hand. He applied to what was quick and simple hand method what he did to his power router and applied stops along cut lines to prevent any possibility of an overcut with his chisel work. This increased a two-minute section of work to half an hour and then his stops shunted and moved the line anyway. Oh well!
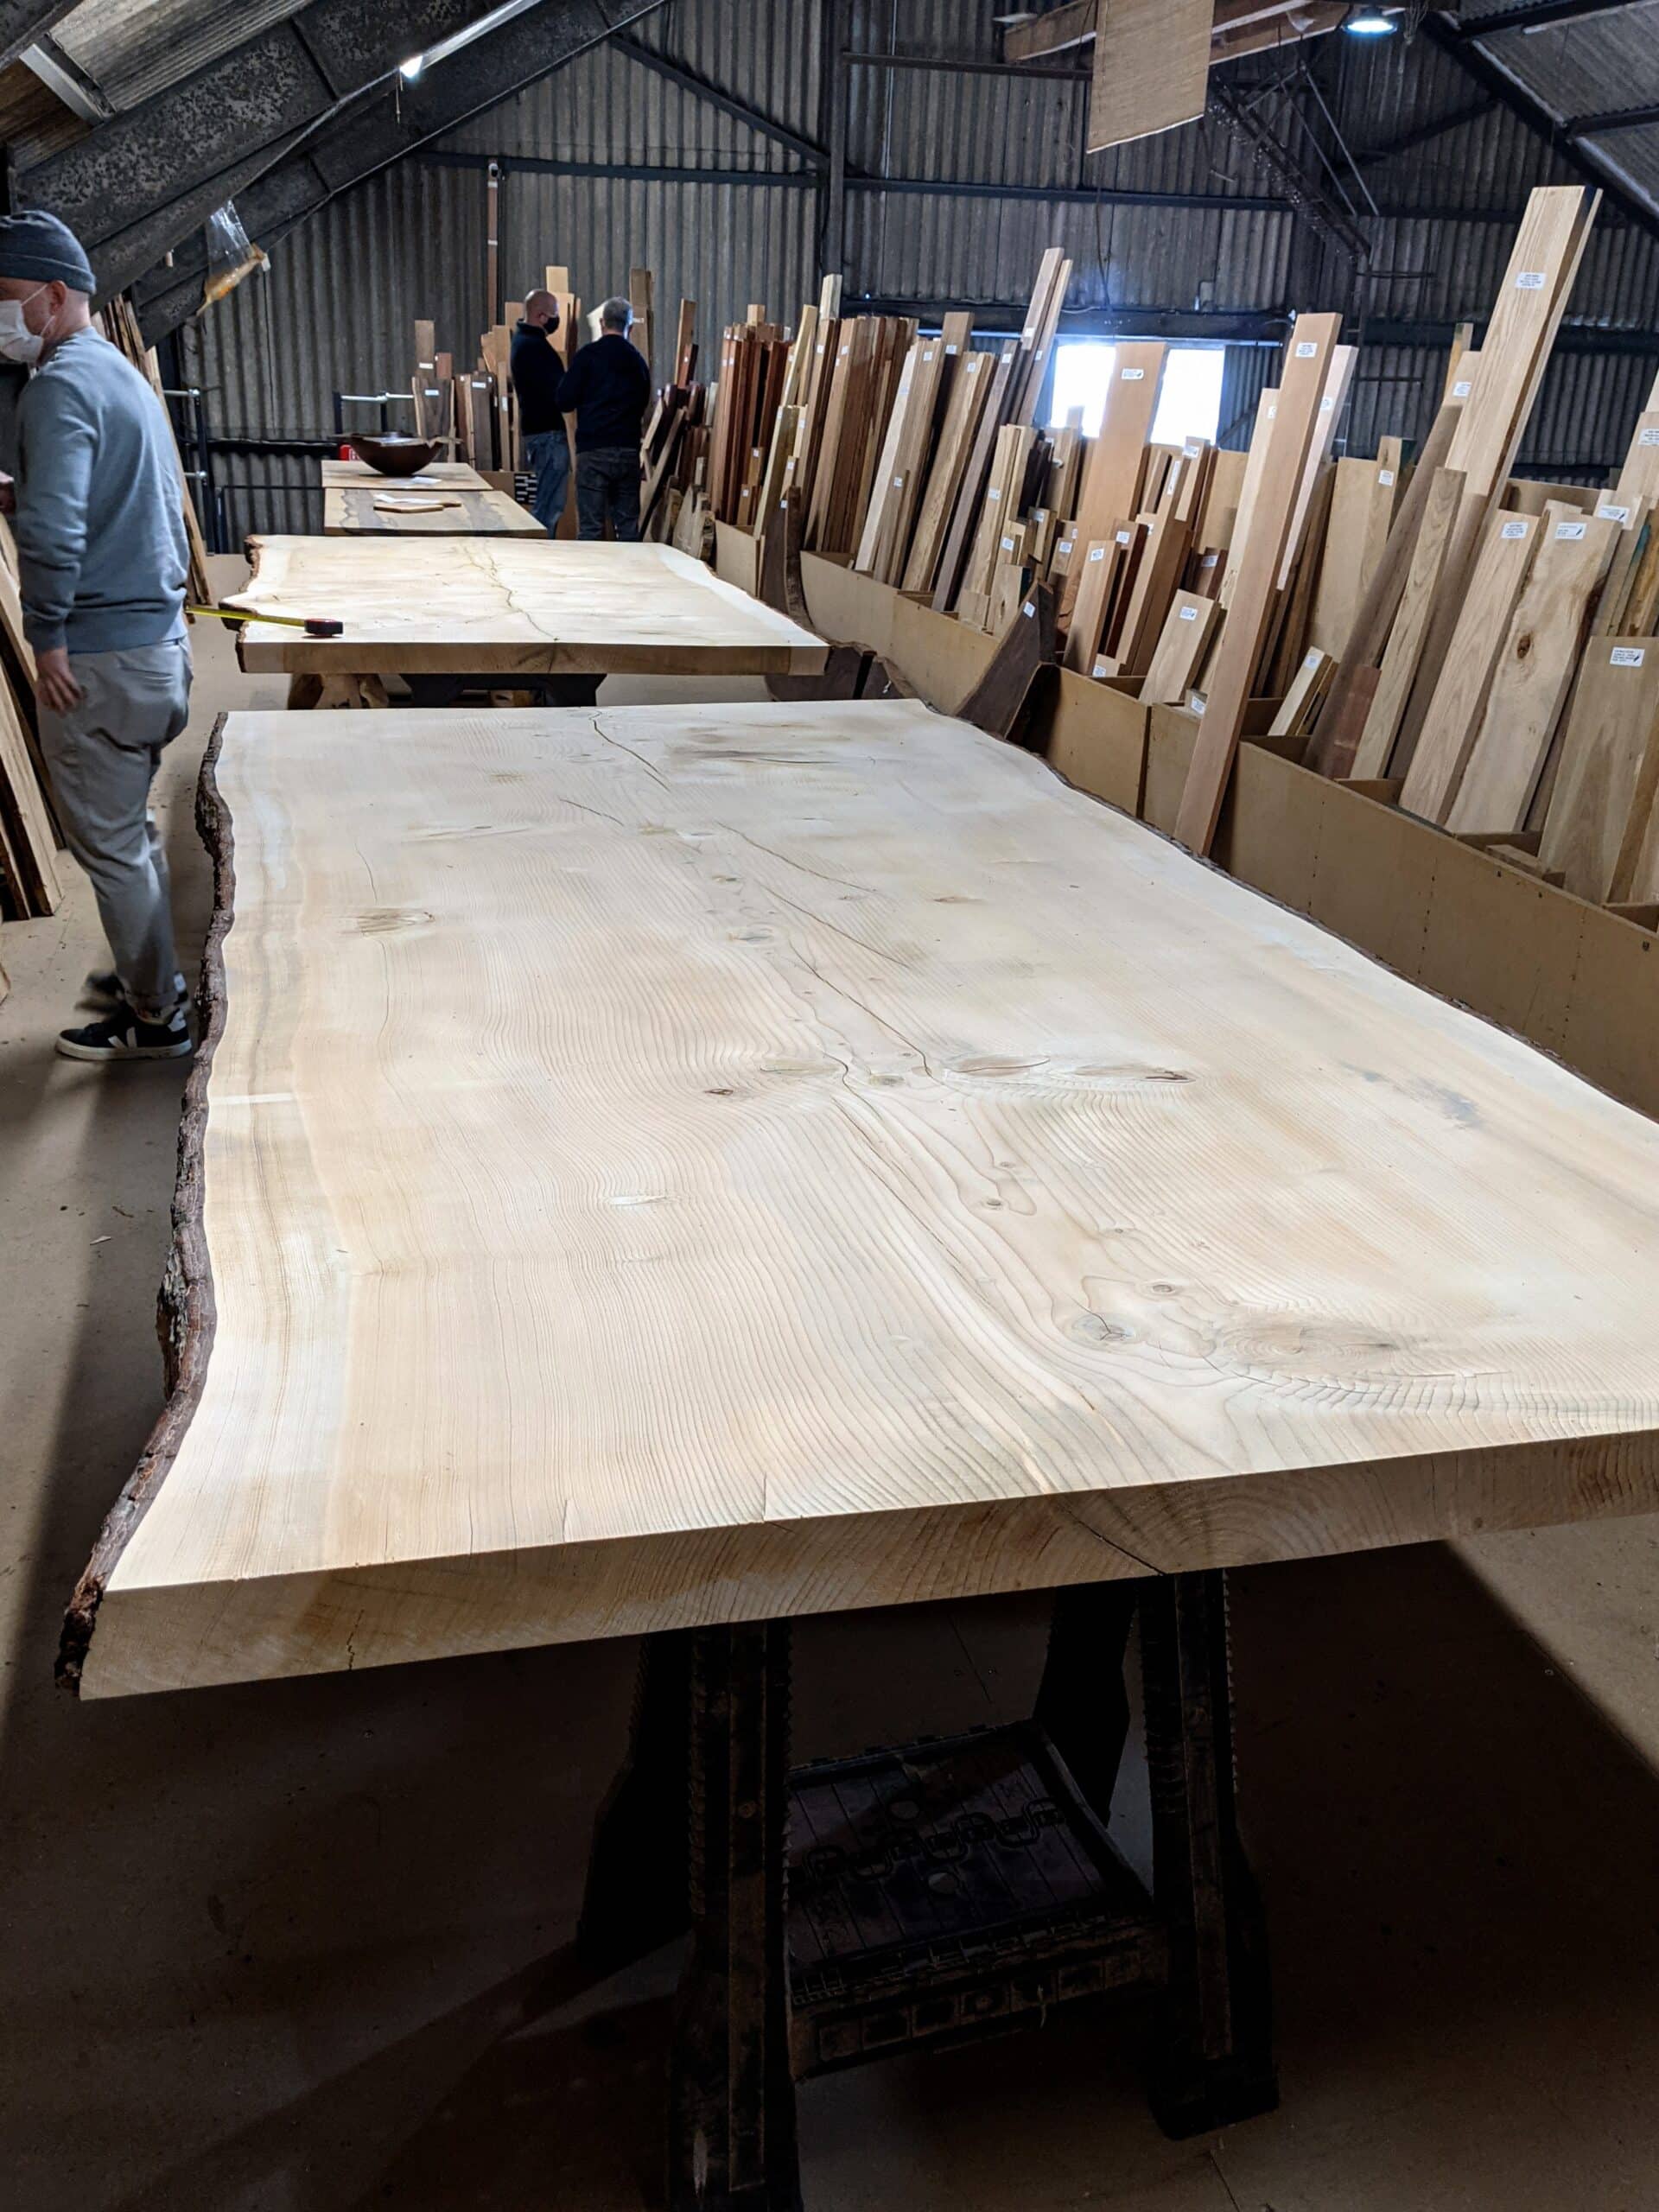
When I had the different woodworking schools in the US and the UK it would not have worked for me to hand-cut 500 pieces per class of 20. This donkey work is for the machine for a variety of reasons and of course, for some non-business makers, the machine can be a gap-bridger that is essential to them. The one woodworking machine I rely on nowadays is my 16″ bandsaw, which suits me very well for taking any rough-sawn stock down to lesser sizes I can get by resawing heavier sizes.
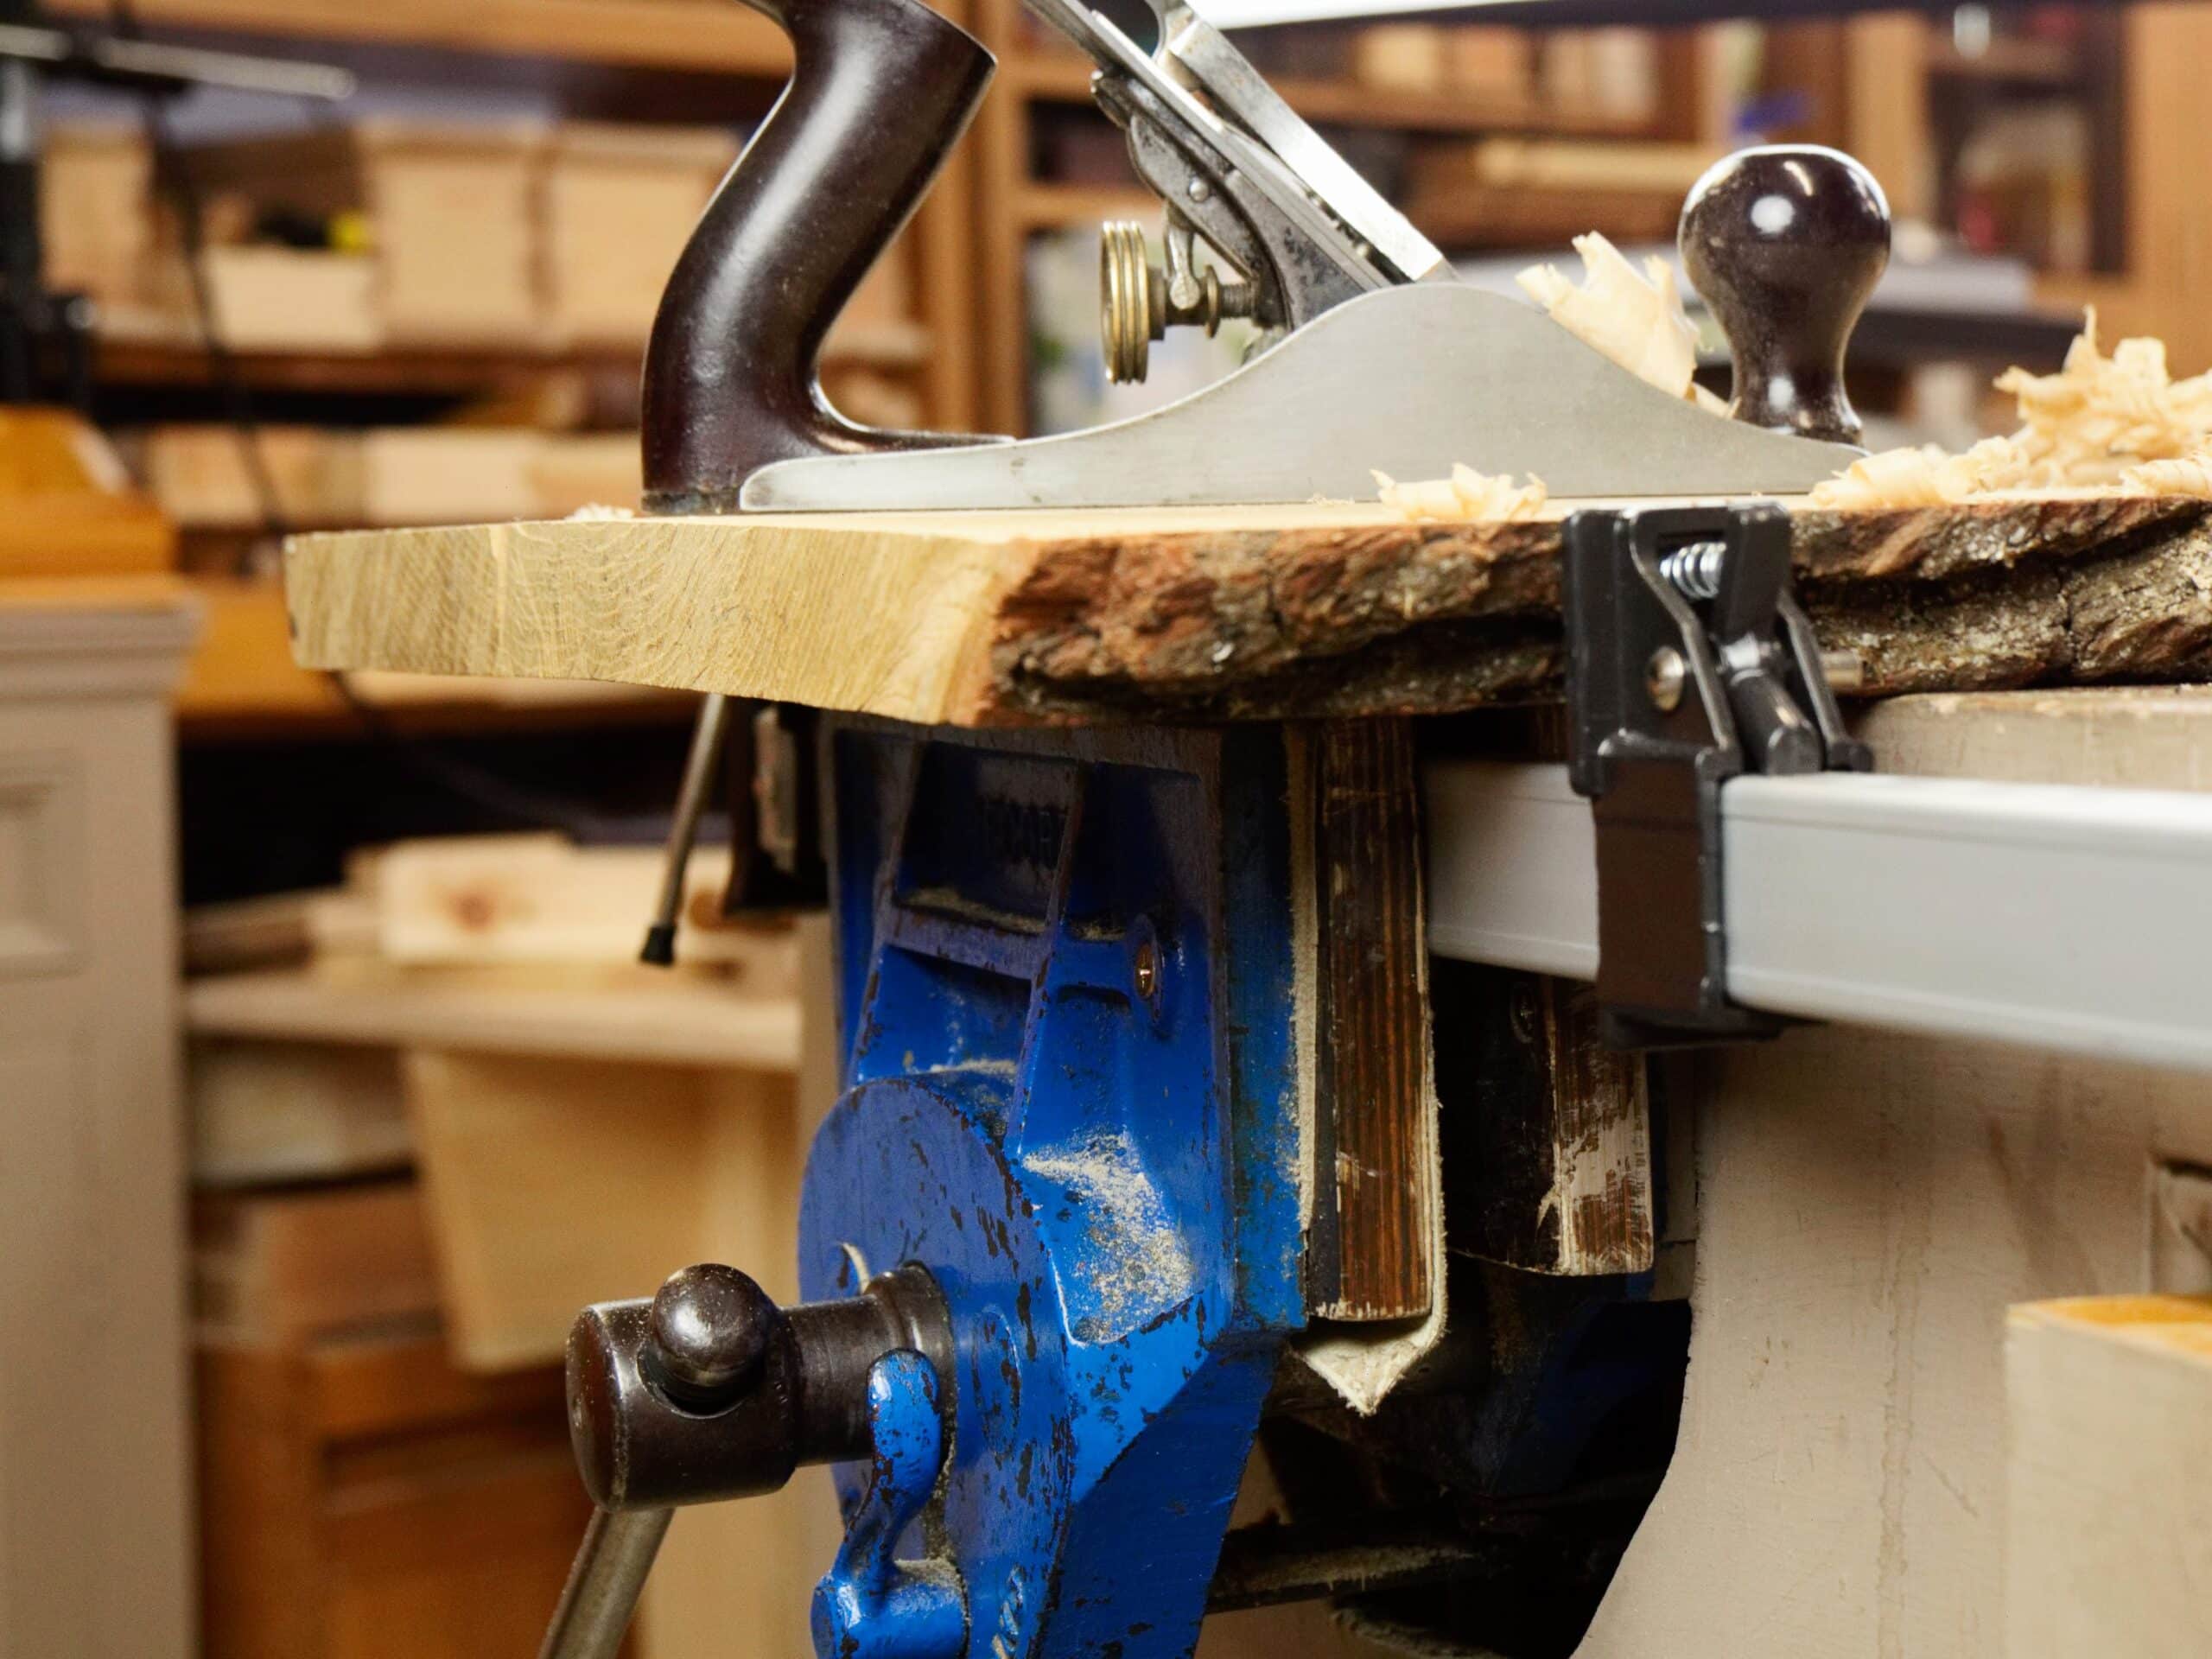
My stock prep tools comprise a pair of winding sticks to guide me when taking the initial misshapes from off the first large face, a #78 rebate or filletster plane with a shaped cutting iron to use as an aggressive scrub plane, a converted #4 bench smoothing plane with a curved iron and other adaptations to use as a second level scrub plane, a #4 smoothing plane for truing and fine finishing and a #5 jack plane for leveling and smoothing. I do also use two less essential planes, a #4 1/2 and #5 1/2 for edge work truing and edge jointing as well as face work. With this cluster of planes I can rapidly reduce stock to accurate levels and prepare all of my wood for joinery and other aspects of work.

In most cases, it is always best to reduce your sawn or rough-cut wood closer to the length, and width you will need for the parts in your project. I will make this concrete for you first. Imagine a table with 3″ square legs, four aprons and a tabletop. This table also has a stretcher and two lower rails; the stretcher unites along the long axis of the table as shown in my sketch. The final, overall height will be 30″, length, 72″ and depth across, 42″. The final sizes of the components are:
Tabletop 1 @ 72″ x 42″ x 7/8″
Legs 4 @ 29 1/8″ by 3″ x 3″
Apron long 2 @ 69″ x 31/2″ x 7/8″
Apron short 2 @ 37″ x 3 1/2″ x 7/8″
Bottom rail 2 @ 37″ x 2 1/2″ by 1 1/2″
Stretcher 1 @ 69″ x 2 1/2 x 1 1/2″
The best method for attaining wood is to go to your chosen supplier and pick out your own wood. Call ahead to see what stock they have available, you could save yourself a trip if they’re out. 3″ square stock for the legs may not be their stock size and they may need to order it in for you. They may have had a run on the particular wood you want, so it is good to let them know that you are on your way anyway, and when they know you, they may hold something for you for an hour or two.

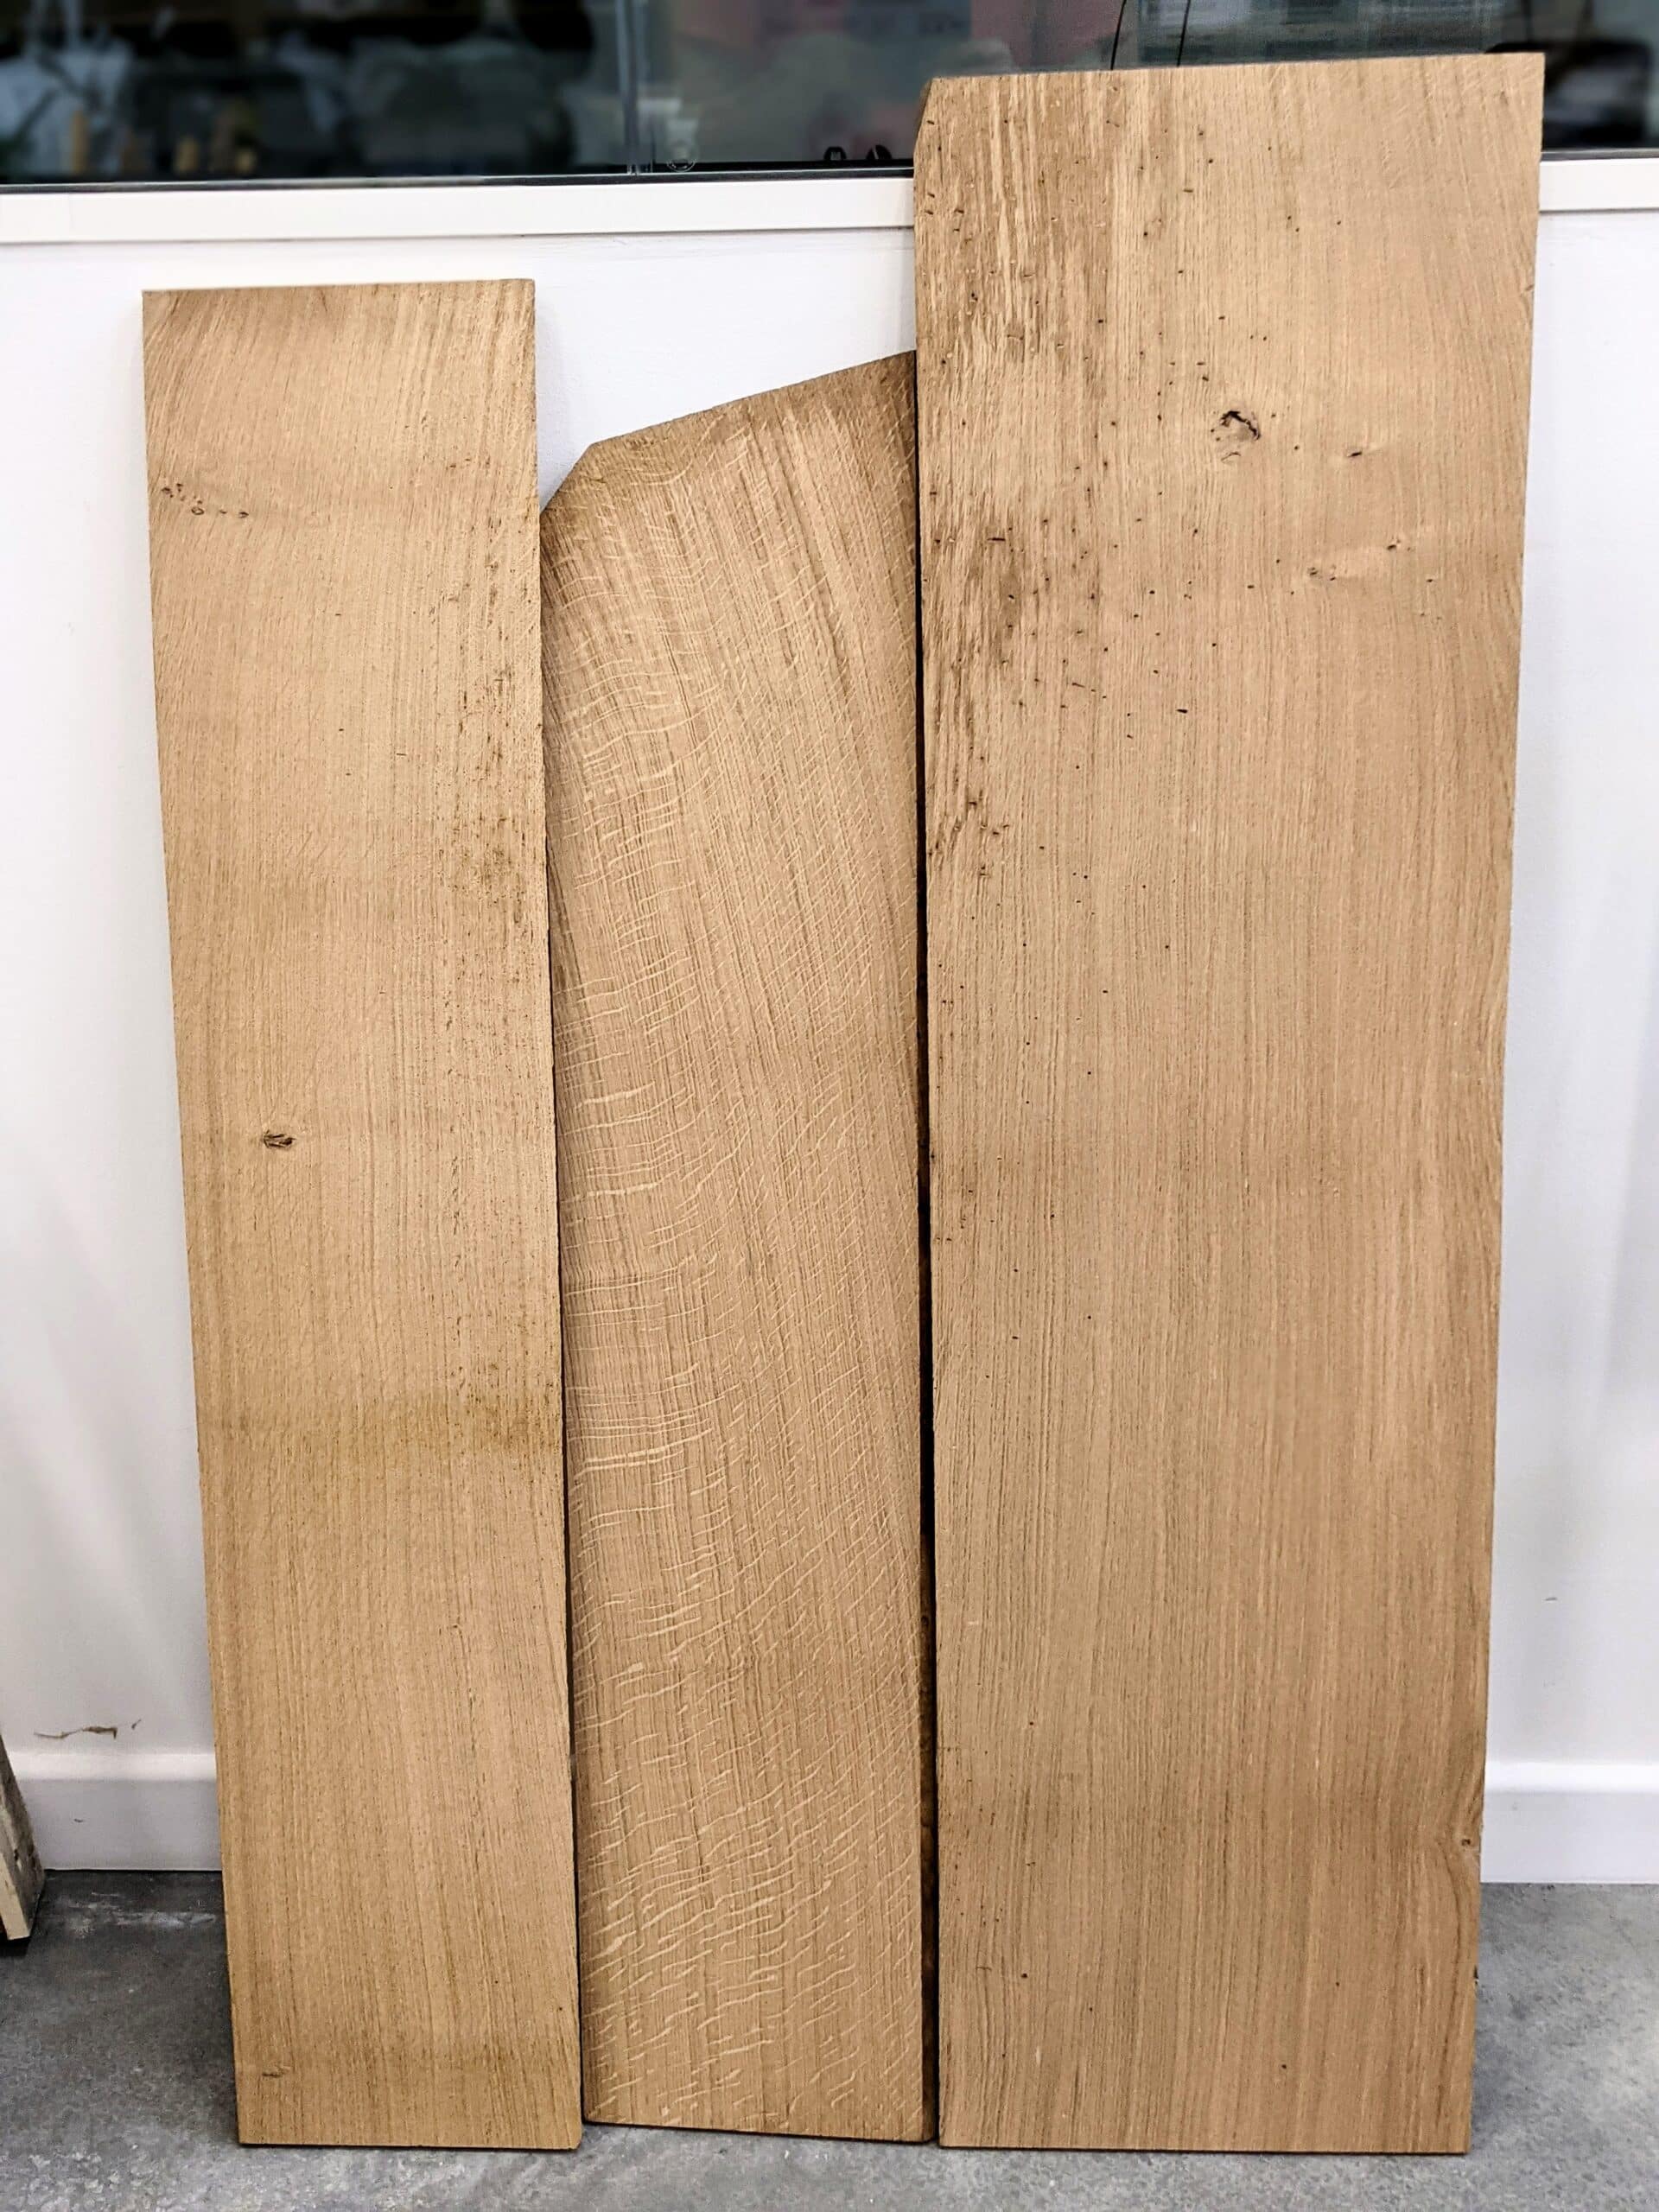
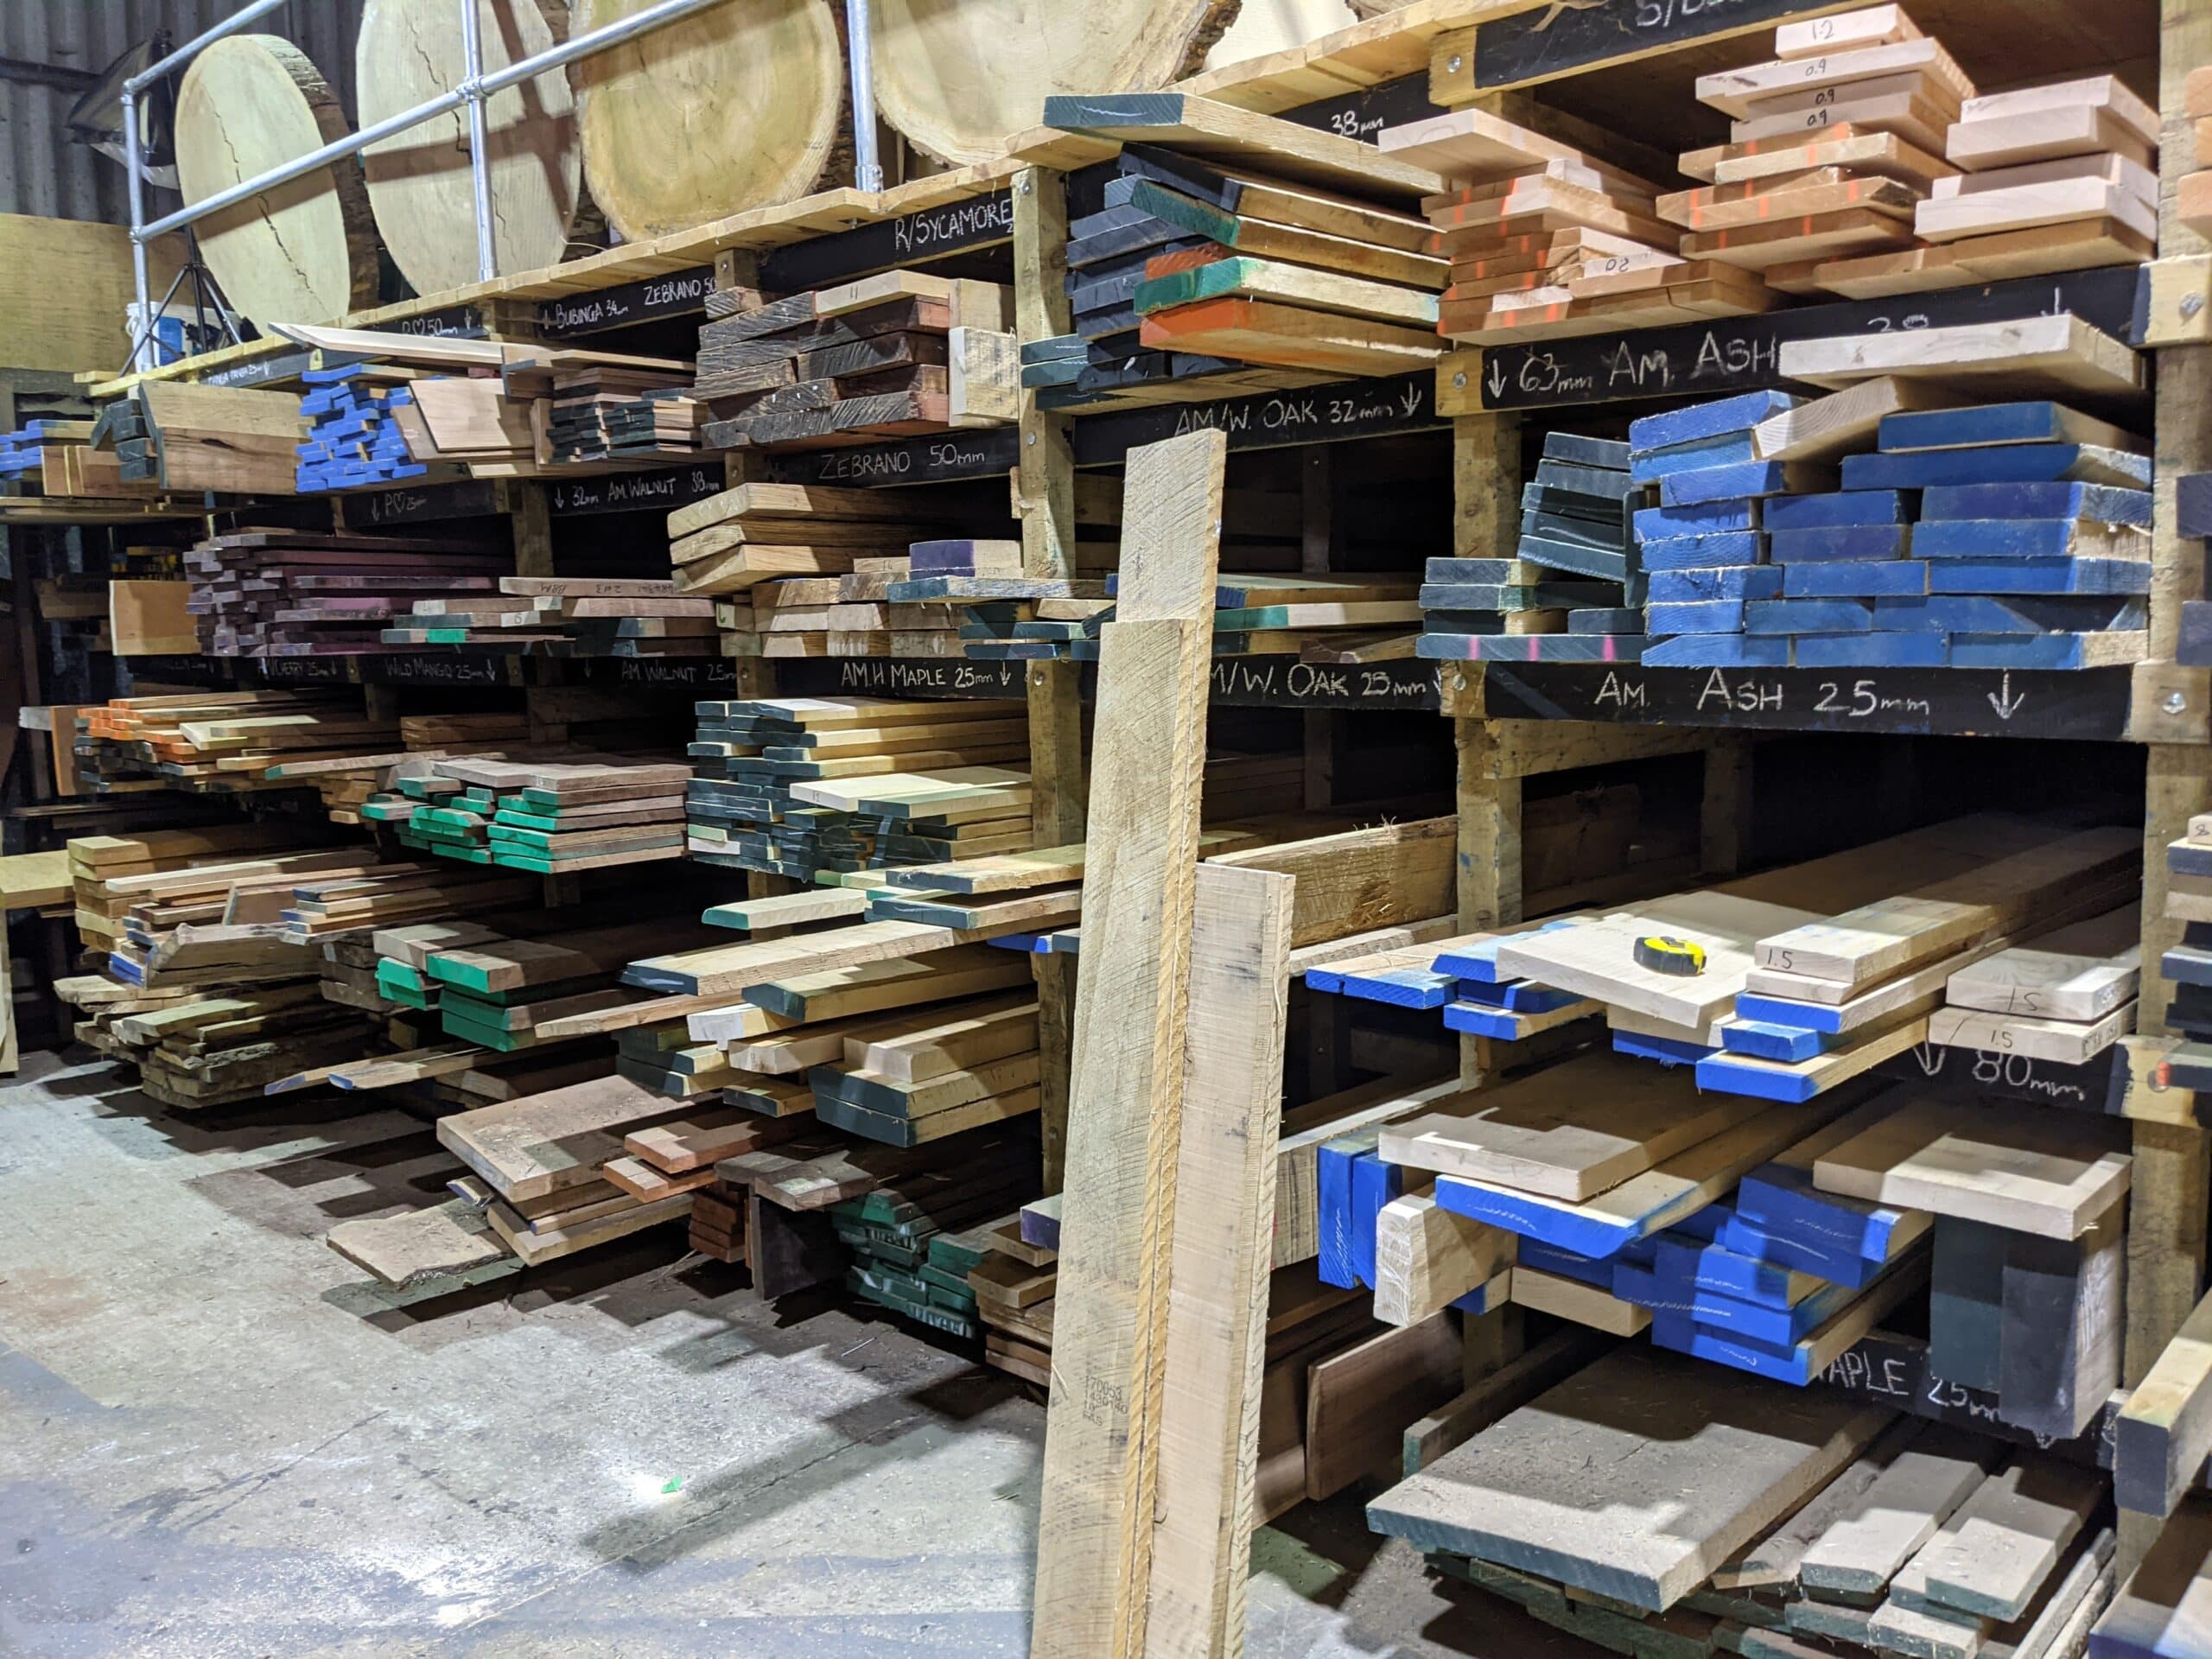
Visiting a timber/lumber yard is a good way to let them know who you are and it is always good to give a little of your time without taking too much of theirs to get acquainted both ways. At the supplier, you can browse the stocks and the odd-ends bins for shorts. You might well find some special pieces in small sizes there too. I bought some thinner, 5/5″ to 3/4″ quarter-sawn oak which had some small wormholes in some isolated parts but not throughout.
This type of stock is handy for a variety of small projects and it’s good to take advantage of a trip you might not otherwise take. In all of the yards that I have established a relationship with they have always let me pick through the racks and stacks to find what I want. The critical thing here is respect. Don’t treat small companies like the big box stores and leave wood you rejected in a heap or miss-stacked. Even when the wood has been poorly left, I will restack wood correctly if I have picked my wood from the same misplaced stacks.
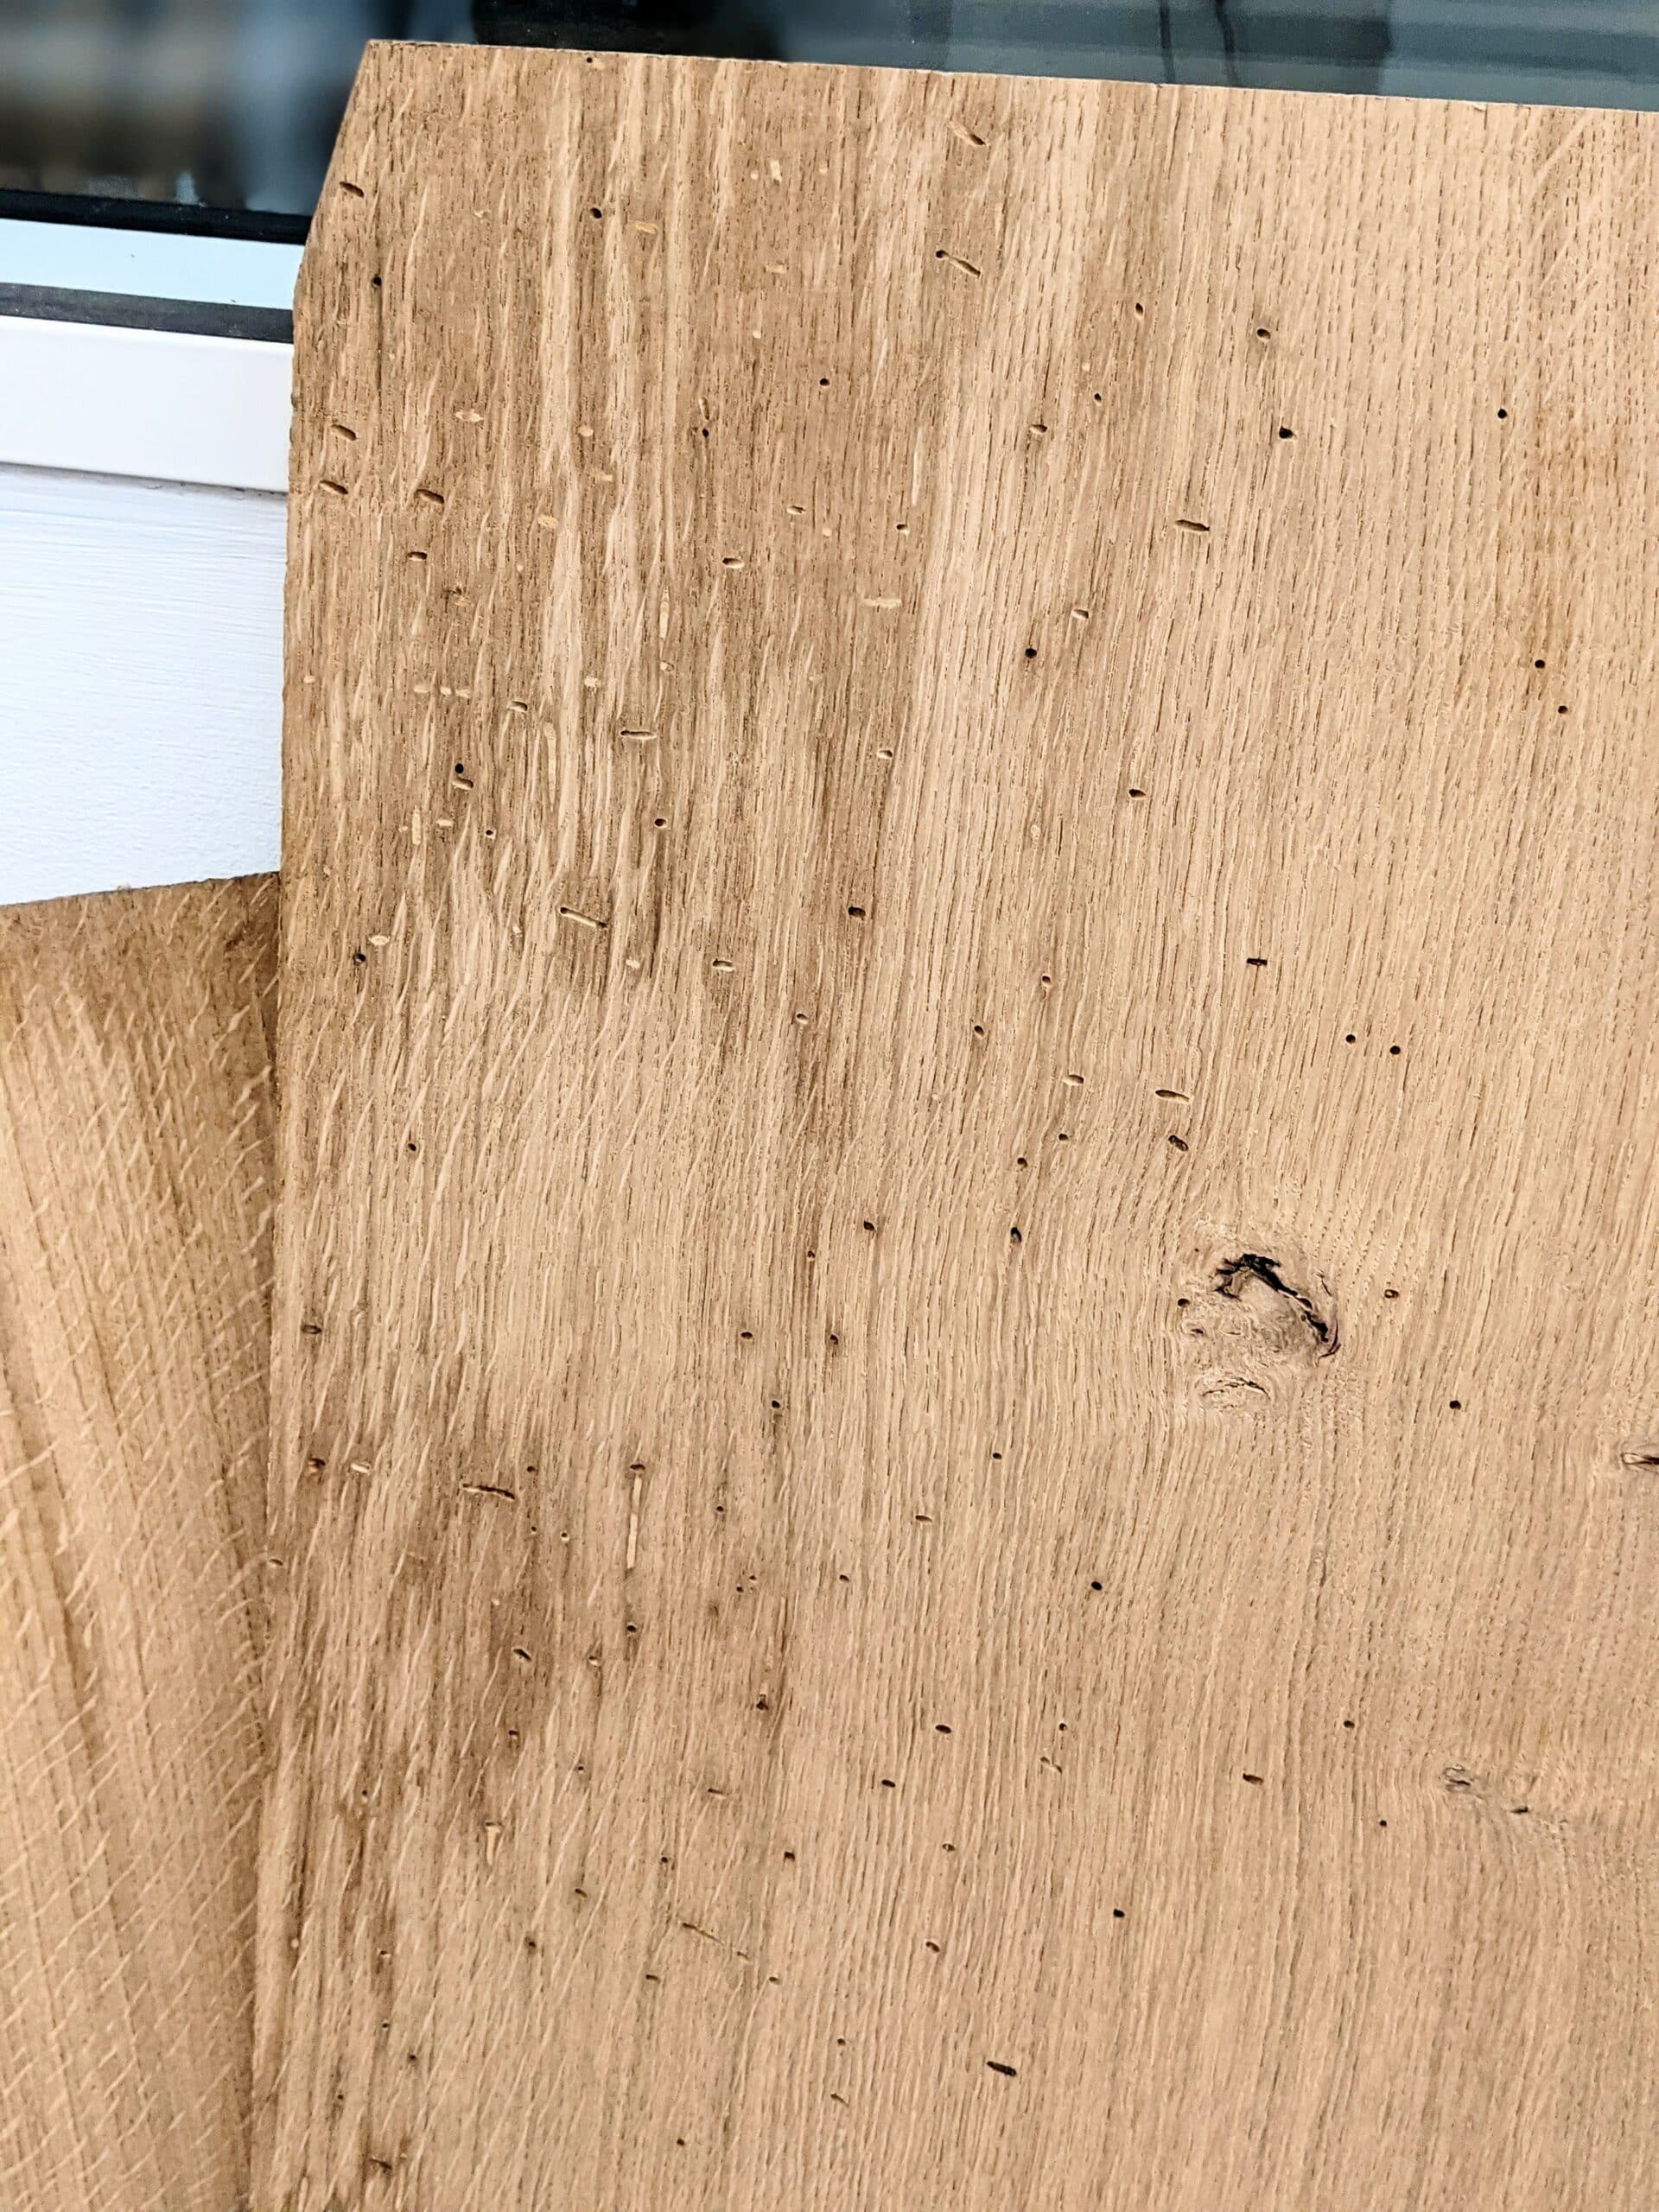
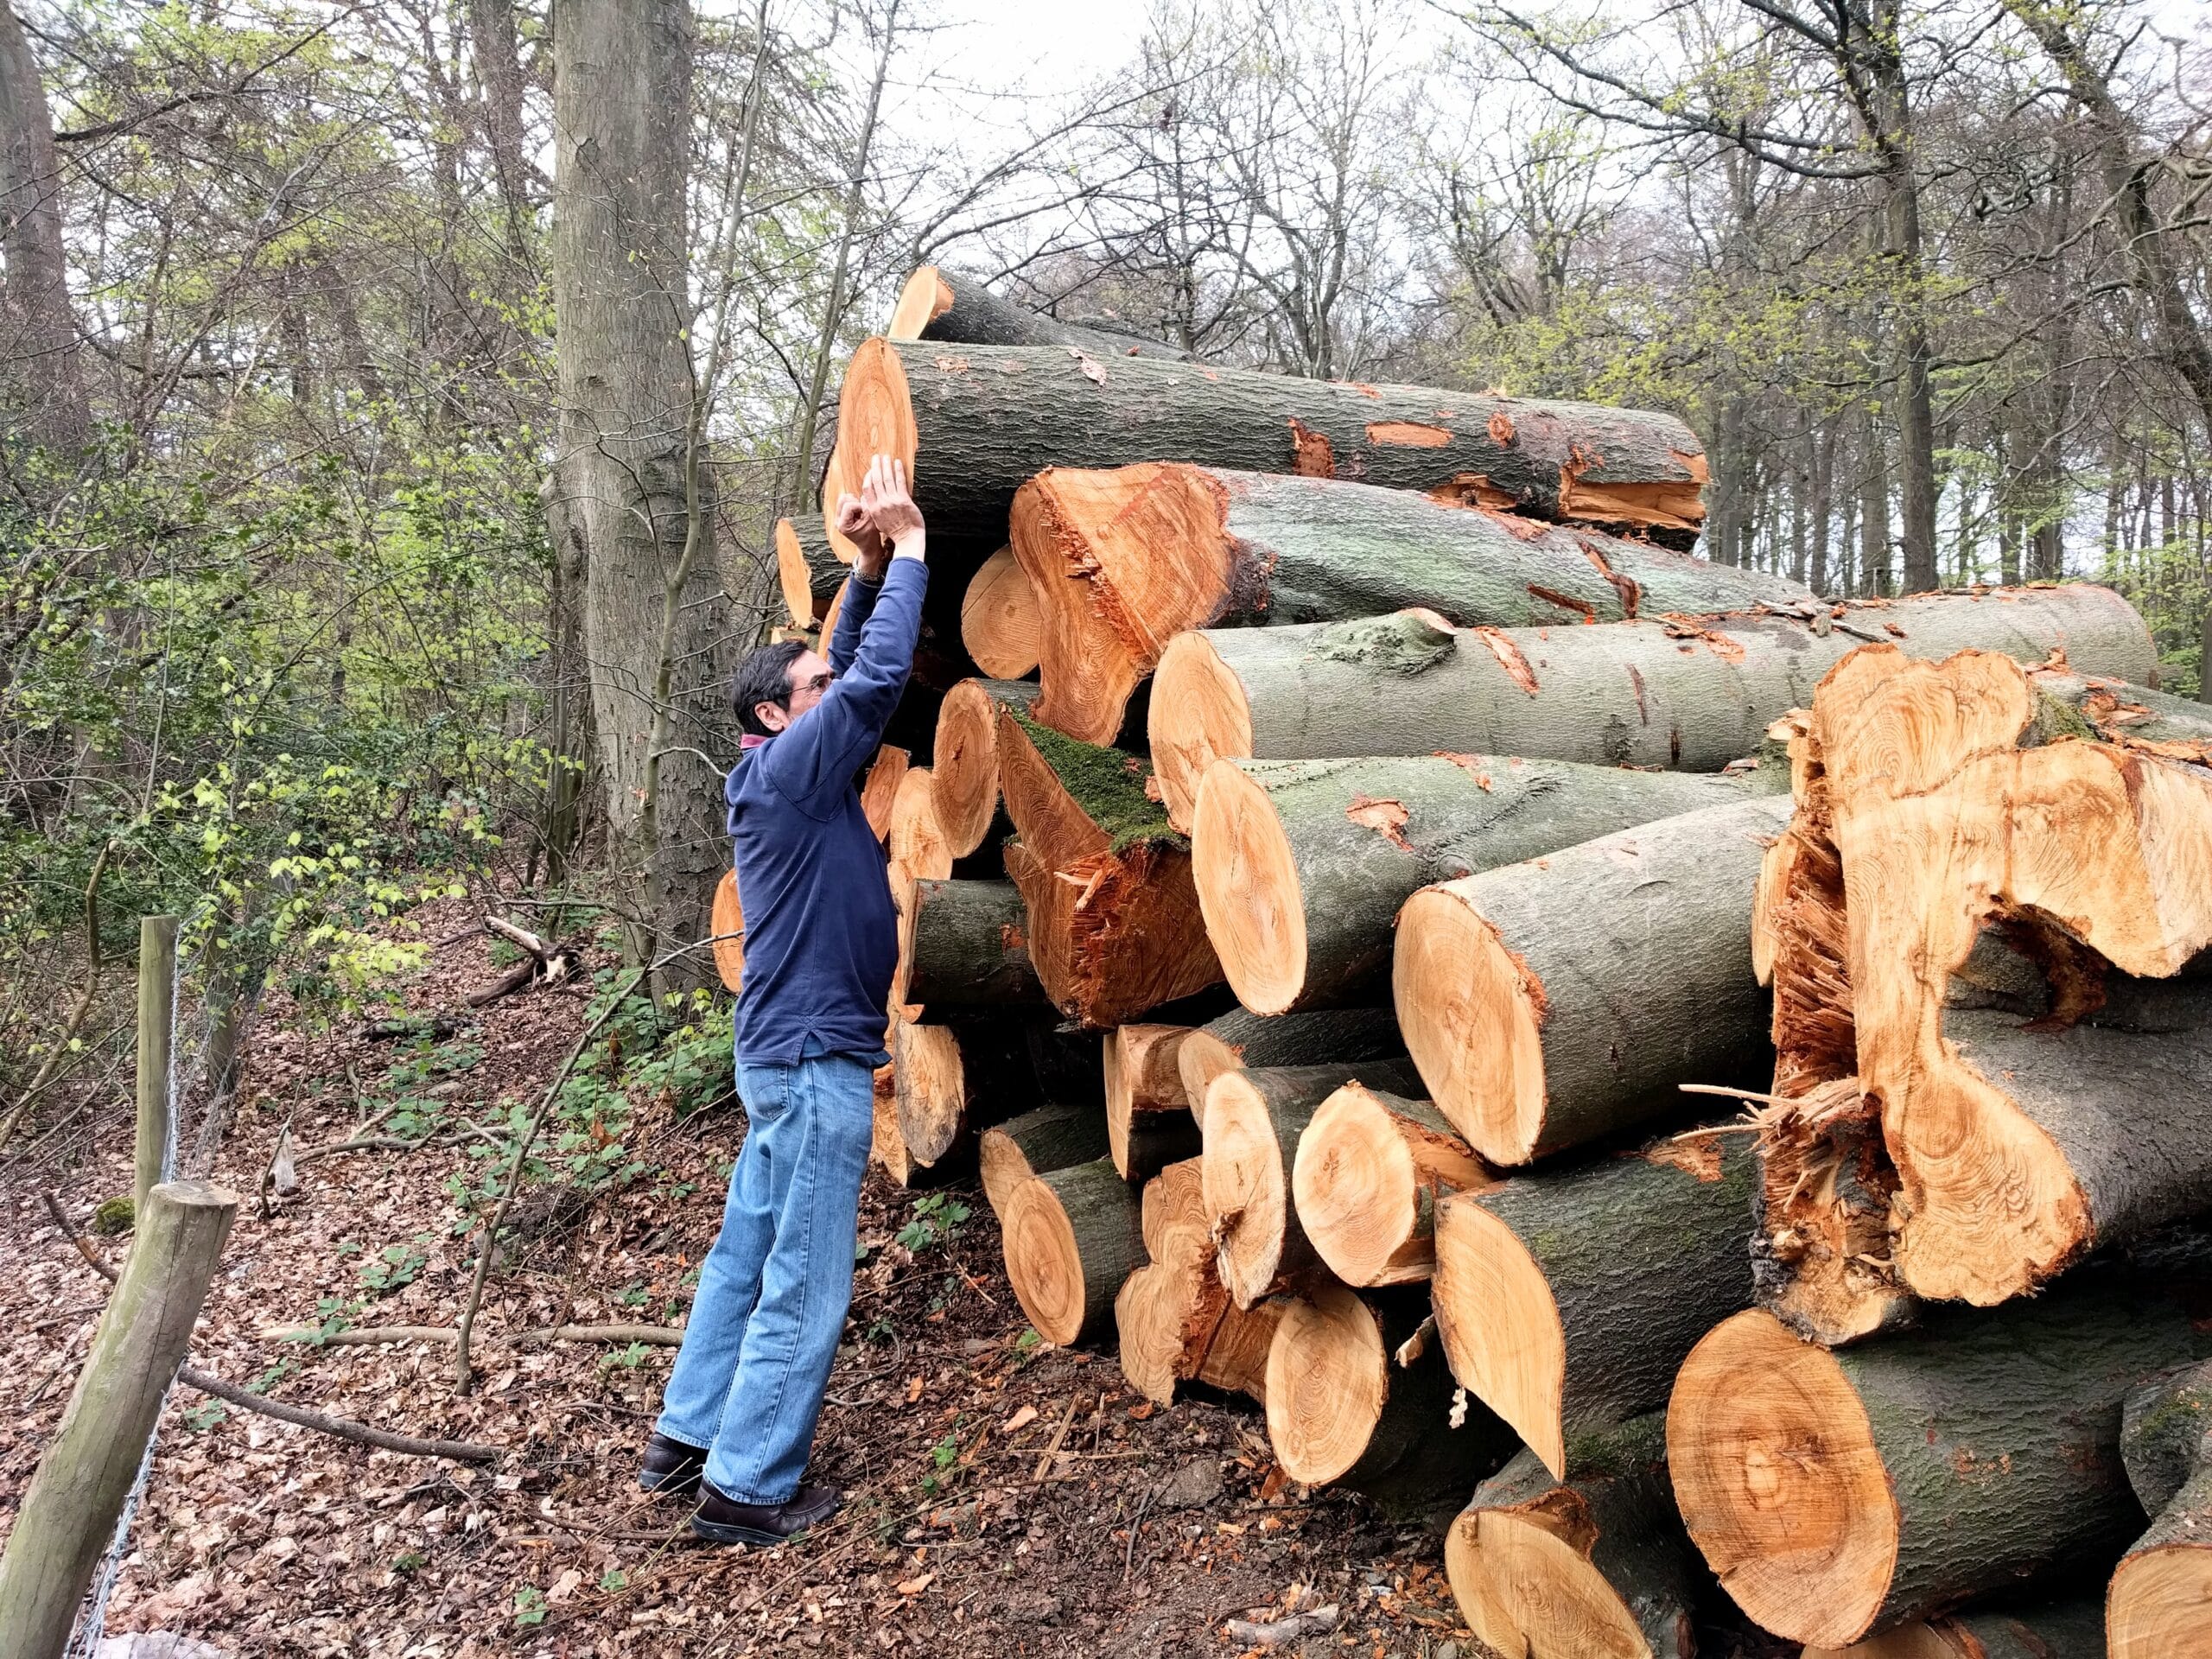
Once you’ve glanced around and perhaps let your friends at the mill know you are there, the search for wood begins. There is no short cut, each board must be touched, flipped and eyed for any obvious evidence of why not to buy this or that one. You are looking for wood with the minimal amount of defects such as deep cupping and twisted stock with long curves, too many knots and surface checking (fissures) along the length mid-board etc. Cracks known as shakes in the UK and checking in the US can travel into the length of wood beyond what is visible. Unless you know that you can cut either side of the splitting, I suggest you leave them there. Watch for sapwood, damage on edges from the forklift, indents from skid strapping, severe sticker stain that sometimes ruins a good section of wood because its gone too deep below the surface.
Wood at the yard can be stored in racks laid down and stacked or stood on end. Stood on end is easier to choose through and because the boards are allowed to ‘float’ and not under compression from stacking will usually show distortion straight off. One defect I do try to avoid is twist and by this, I really mean twist that seems more excessive than normal. Most boards will have some level of twist, the goal is to pick boards with as little twist as possible. By the time you have gone from one end of a board to the other to plane the twist out from both sides and then make the two faces parallel you can lose 30% of the thickness and what you hoped would be 3/4″ (19mm) might well not make 1/2″ (13mm) and this can be worse if other defects like cupping are present. Stacked racks are more economical on space and stacking does keep boards flatter if your supplier has a large quantity. From this stock, you must basically pull the wood and eye it from the end to look first for twist and then bowing. Pull the board until you can see the opposite end, hold your end up to eye level and sight your end with the opposite end. You will soon be able to detect even a minor twist in say an 8-10 foot length. If you have your end level to your eyes, the opposite end will show a high point when comparing the far end with your end. You might think about taking two parallel 1″ by 2″ sticks, 16″ long with you if seeing twist is a challenge for you. We call these winding sticks and they will obviate twist more readily because they stand clearly above the wood’s surface and are wider than the boards you might buy. Place one on the far end and one at your end and then sight from one to the other to see if twist levels are acceptable or not. It is unlikely that the boards will have zero twist. The greater the discrepancy twixt the two, the greater the loss of wood in the reconciliation.
When a board curves along its length, usually from end to end, we call this a bow. When we rely on a long section say 7 feet long to be straight and our board or section is 8 feet long, with even just a 1/4″ of hollow, straightening the board by planing one side true is not the end of the work. We remove material from each end along a straight line and lose that 1/4″ of an inch. Then we must plane the opposite face to remove the bulged area of the midsection by the same 1/4″. So now we have lost half an inch from our mass. But this may not be the end of the task. Removing wood can release more stress and the board can bow a little yet again. In such a case we need to go back in and repeat the process even though it will usually be on a lesser scale. This all factors into the reality that from a 1 1/16″ thick (one inch) board we often only end up with 3/4″ – a nominal thickness in other words. This does not necessarily mean that we will automatically dismiss an otherwise beautifully-grained board. We may well be able to cut the board to much shorter lengths for our short table aprons for instance. A half-inch curve along an 8-foot length when cut into four for any needed shorter sections will result in a barely discernable curve that can be planed out with just a few strokes. We could also still plane the outer surfaces of the longer length needed without removing the bow but still out of twist and parallel for the long aprons. By judicious placement, we can put the curved length so that the crown is innermost and push the aprons out with our turn buttons when the undercarriage of legs and aprons is completed.

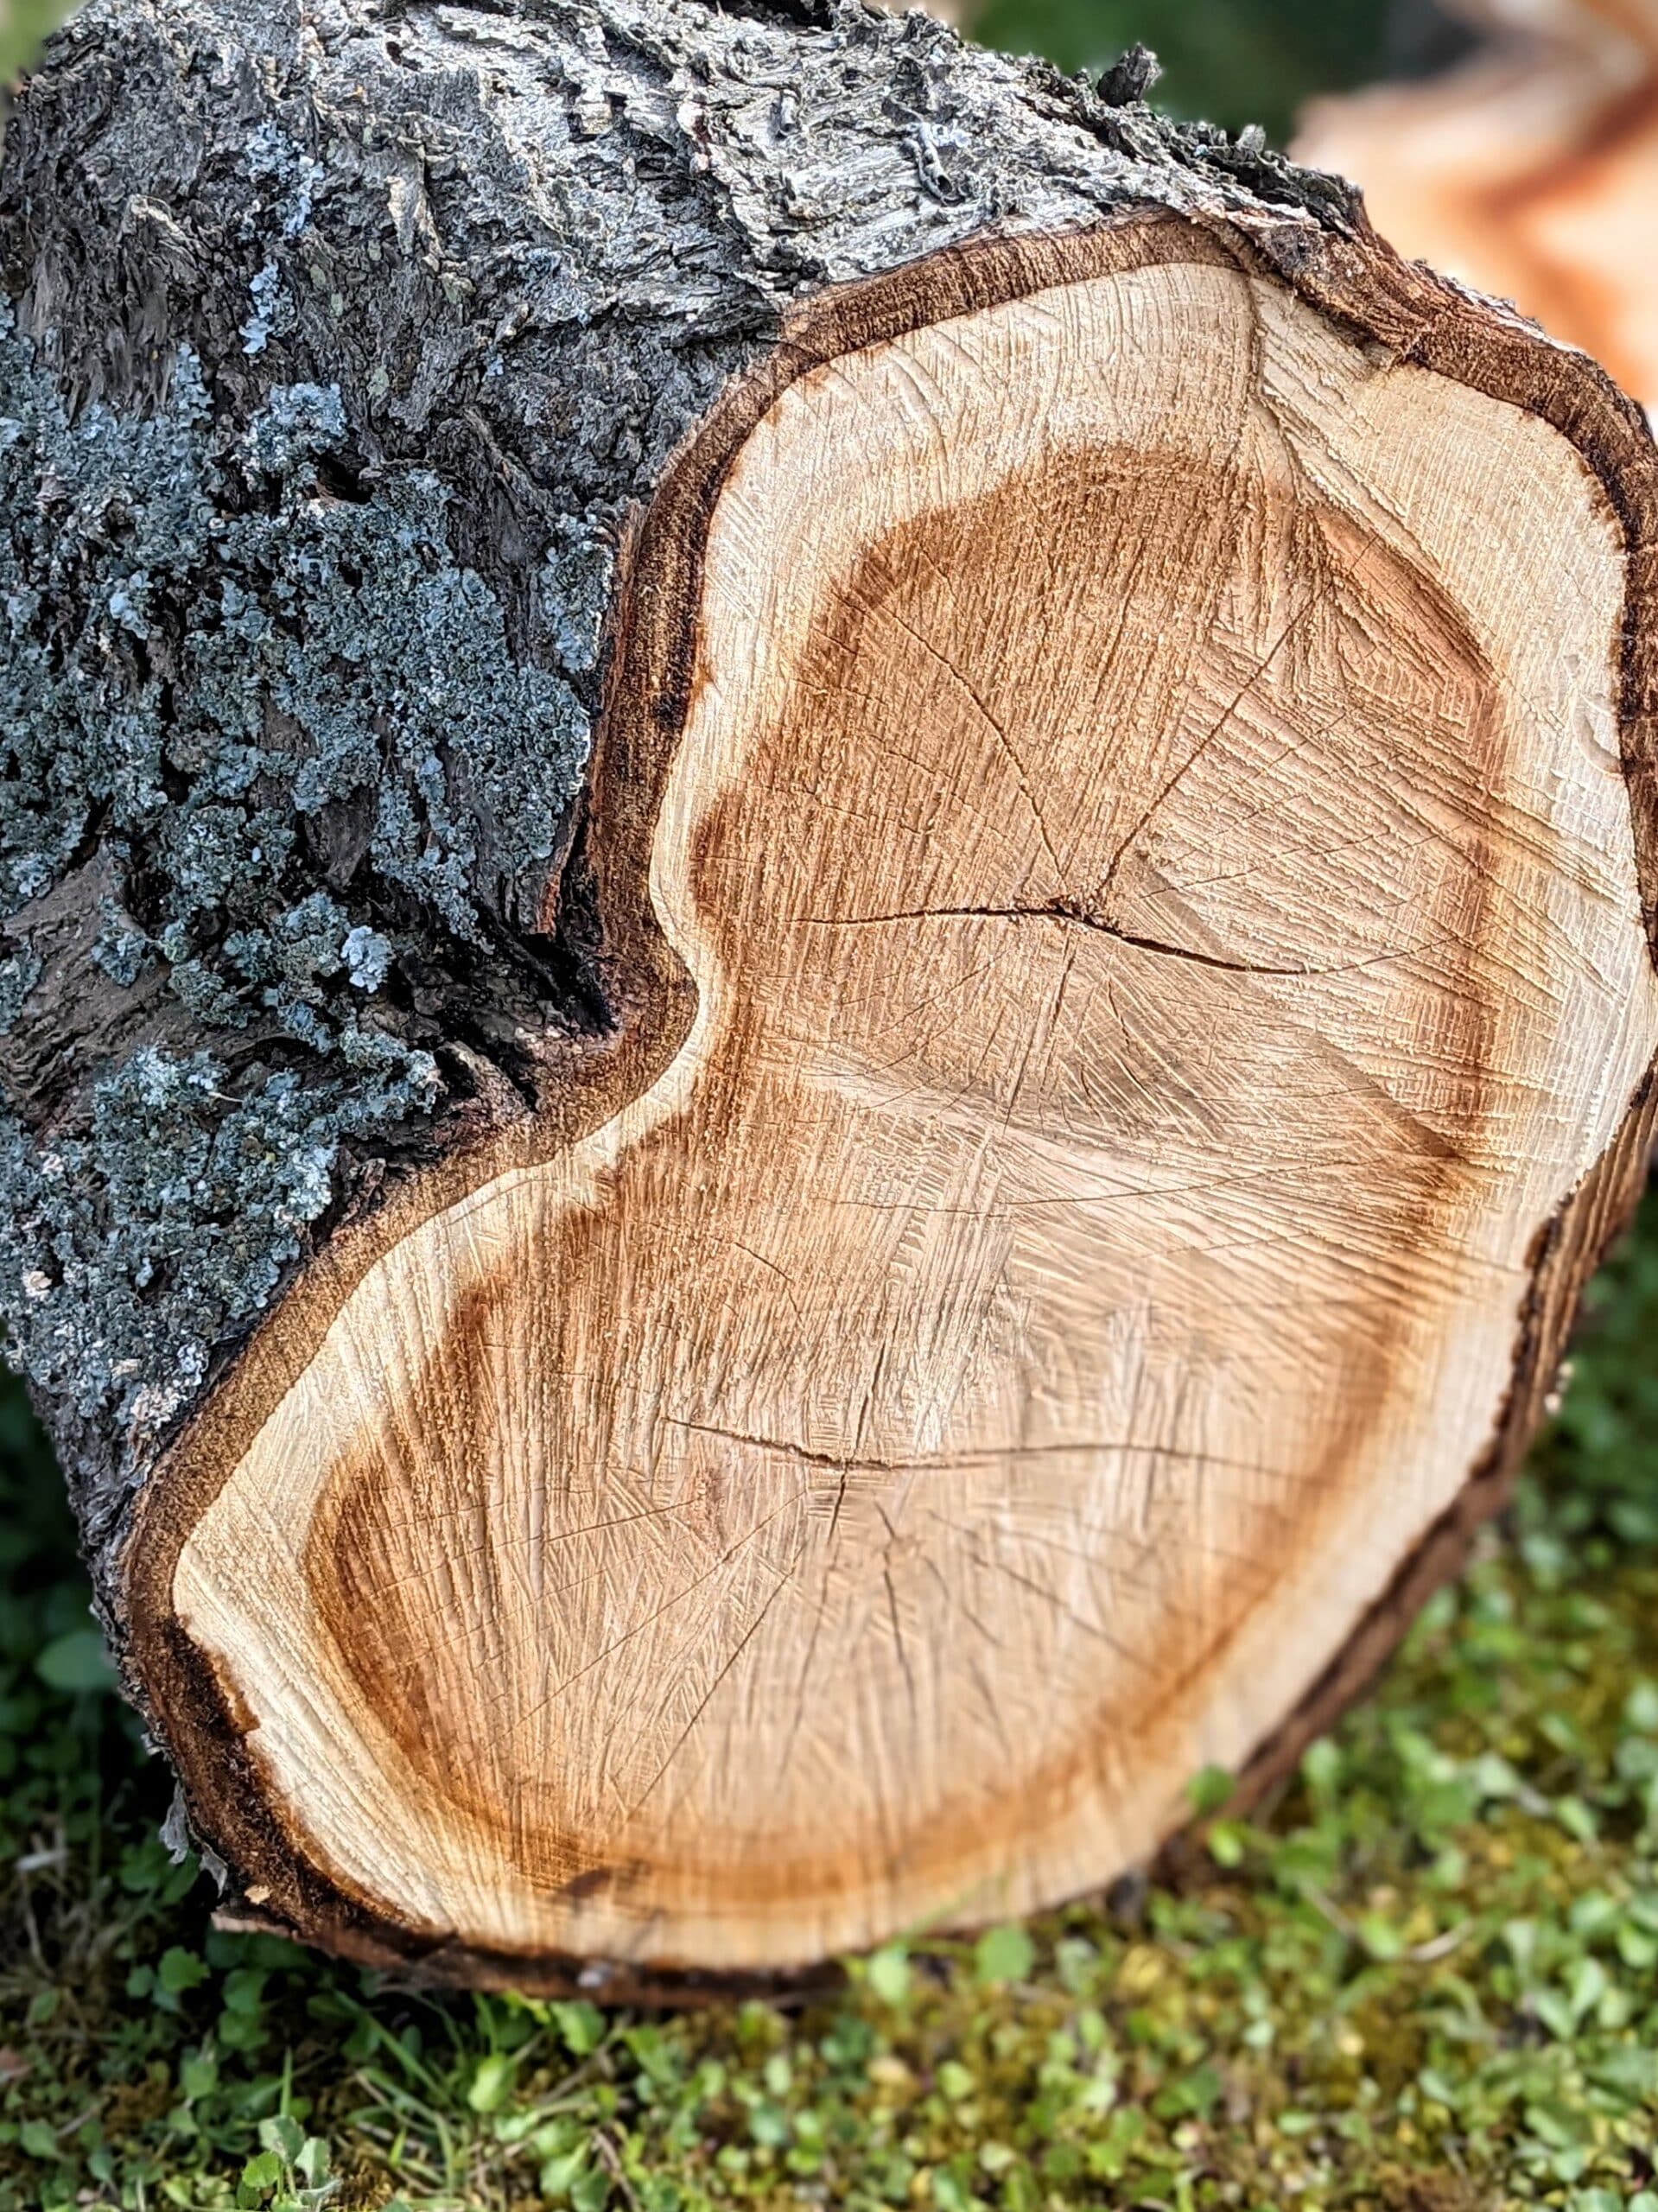
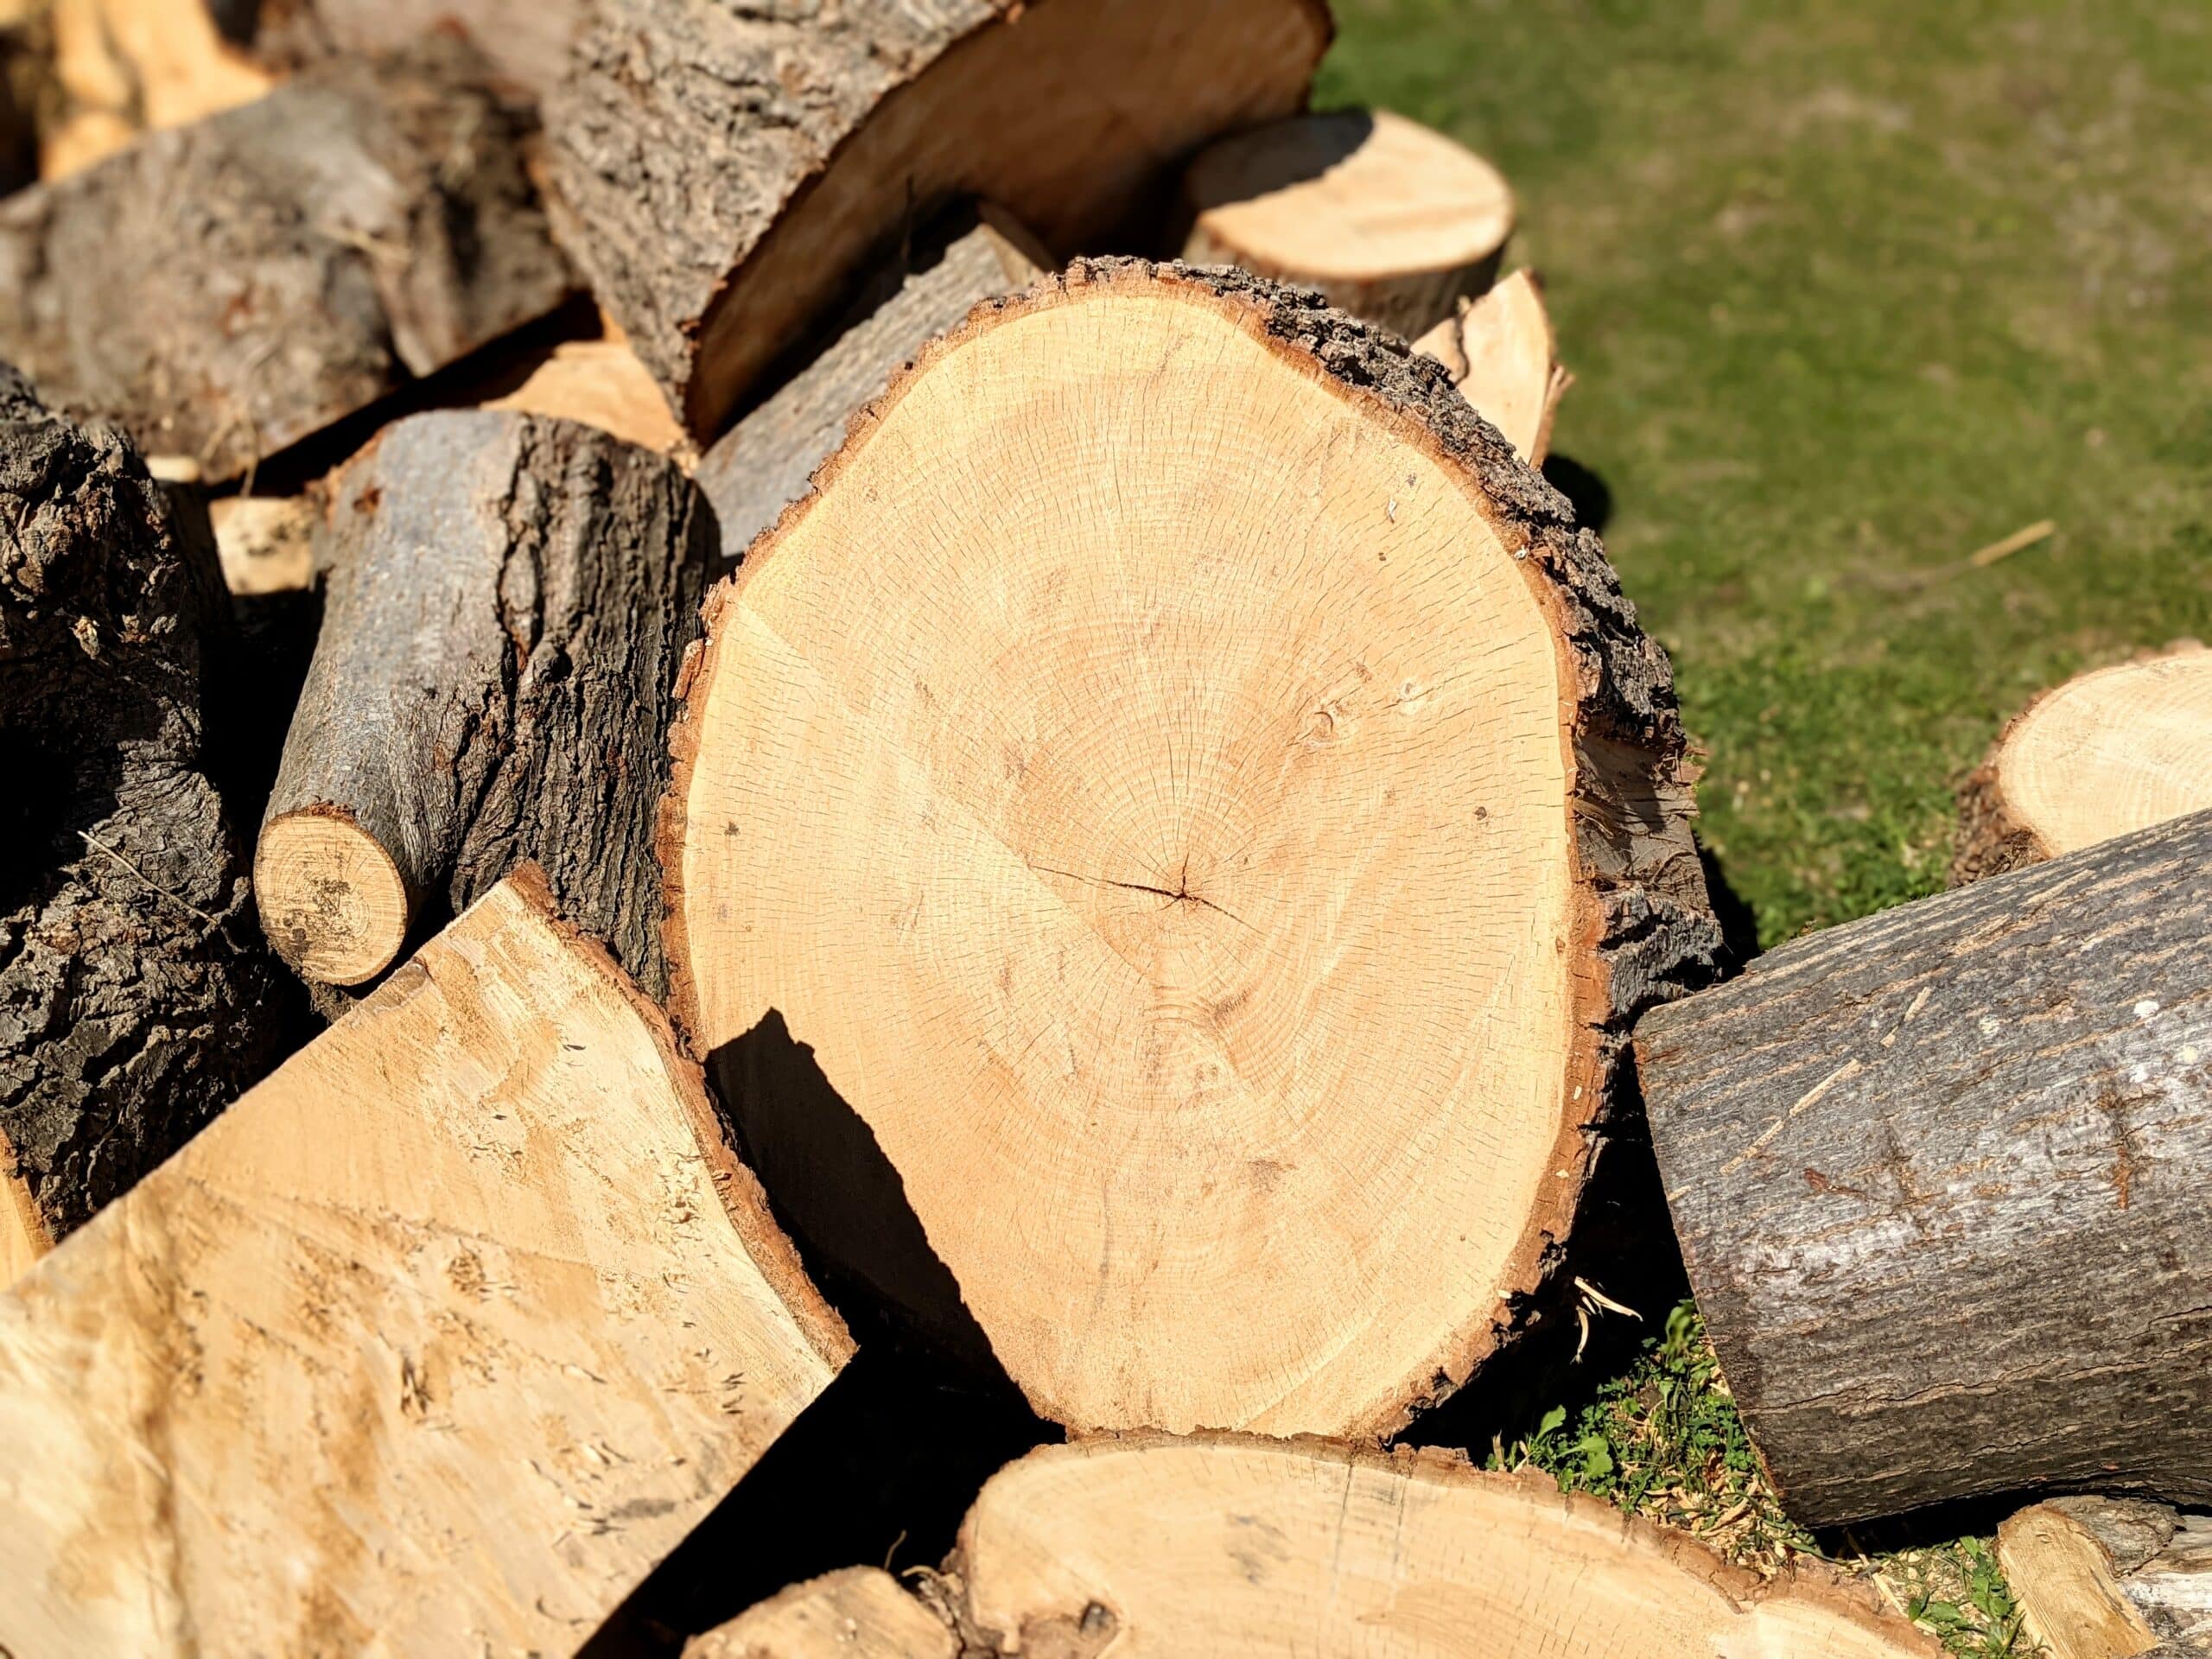
There are subtle differences between the terms splits, checks and shakes. I don’t recall in living and working in the US for 23 years ever hearing the Americans use the same terms we use here in the UK. I just heard the term ‘checks’. Something I never heard in the UK. Checking seemed to be a catchall for any of the various splits we encounter. In the UK we have three types of notable shakes or checks. We have the heart shake, the star shake and the cup shake. These developments are specific. A heart shake emanates from the centre of the log along the medullary rays which also emanate from the centre in the same way wheel spokes go from a central hub to the outer wheel rim of a bike wheel. When we see that medullary rays radiate as cellular structures reaching out from the centre of the log we also see that they are perpendicular to the growth rings and that these cell structures can separate to form a star-like configuration. In planking our boards, these cells sometimes separate resulting in what appears to be cracks. In some cases these separations can be parted and glued permanently back together. The hearty shake generally has only two or three points coming from medulla or pith, the epicentre of first growth, dead centre in the section of a tree stem.
A star shake also emanates from the dead centre of the tree but the splits are more numerous. This splitting is caused by differing rates of shrinkage after the tree is felled. If left to its own, the tree will continue to dry ‘in the round’ so to speak. Because the main stem is still enveloped by its outer ‘skin’, the outer layers of bark, cambium and sapwood, the main body of wood retains a high level of moisture similar to the levels in the growing tree. Left to its own, a tree will gradually rot and degrade back to the earth. To prevent this and to lower the risk of splits and shakes, we slab the tree into boards so that the moisture is released equally from both sides of the slabs. This is done as soon as possible after the stem is delimbed and separated from its roots. In most cases, where the wood is wanted as a harvested material, the ends of the logs are painted or waxed to slow down the release of moisture from this area of the stem and this reduces the degree of splitting that takes place.

Cup shakes are also called wind checks in the USA. I have seen this occur greatly in mesquite tree stems where the wind checks become very evident as long-grain separations along the whole length of the stem. Cup shakes occur along the growth rings. This defective growth takes place on the medullary rays where the rays fail to bind together in the annular or growth rings in a consistent way.
Crooks and crotches in a tree growth can be both good and bad. Crotch grain is the most highly figured of all and can give us some very decorative material for book-matching and so on. This section of a tree results in swirling, non-continuous grain patterns and omni-directional swirls that contrast markedly with the regular straight-grained sections we generally rely on in our construction.
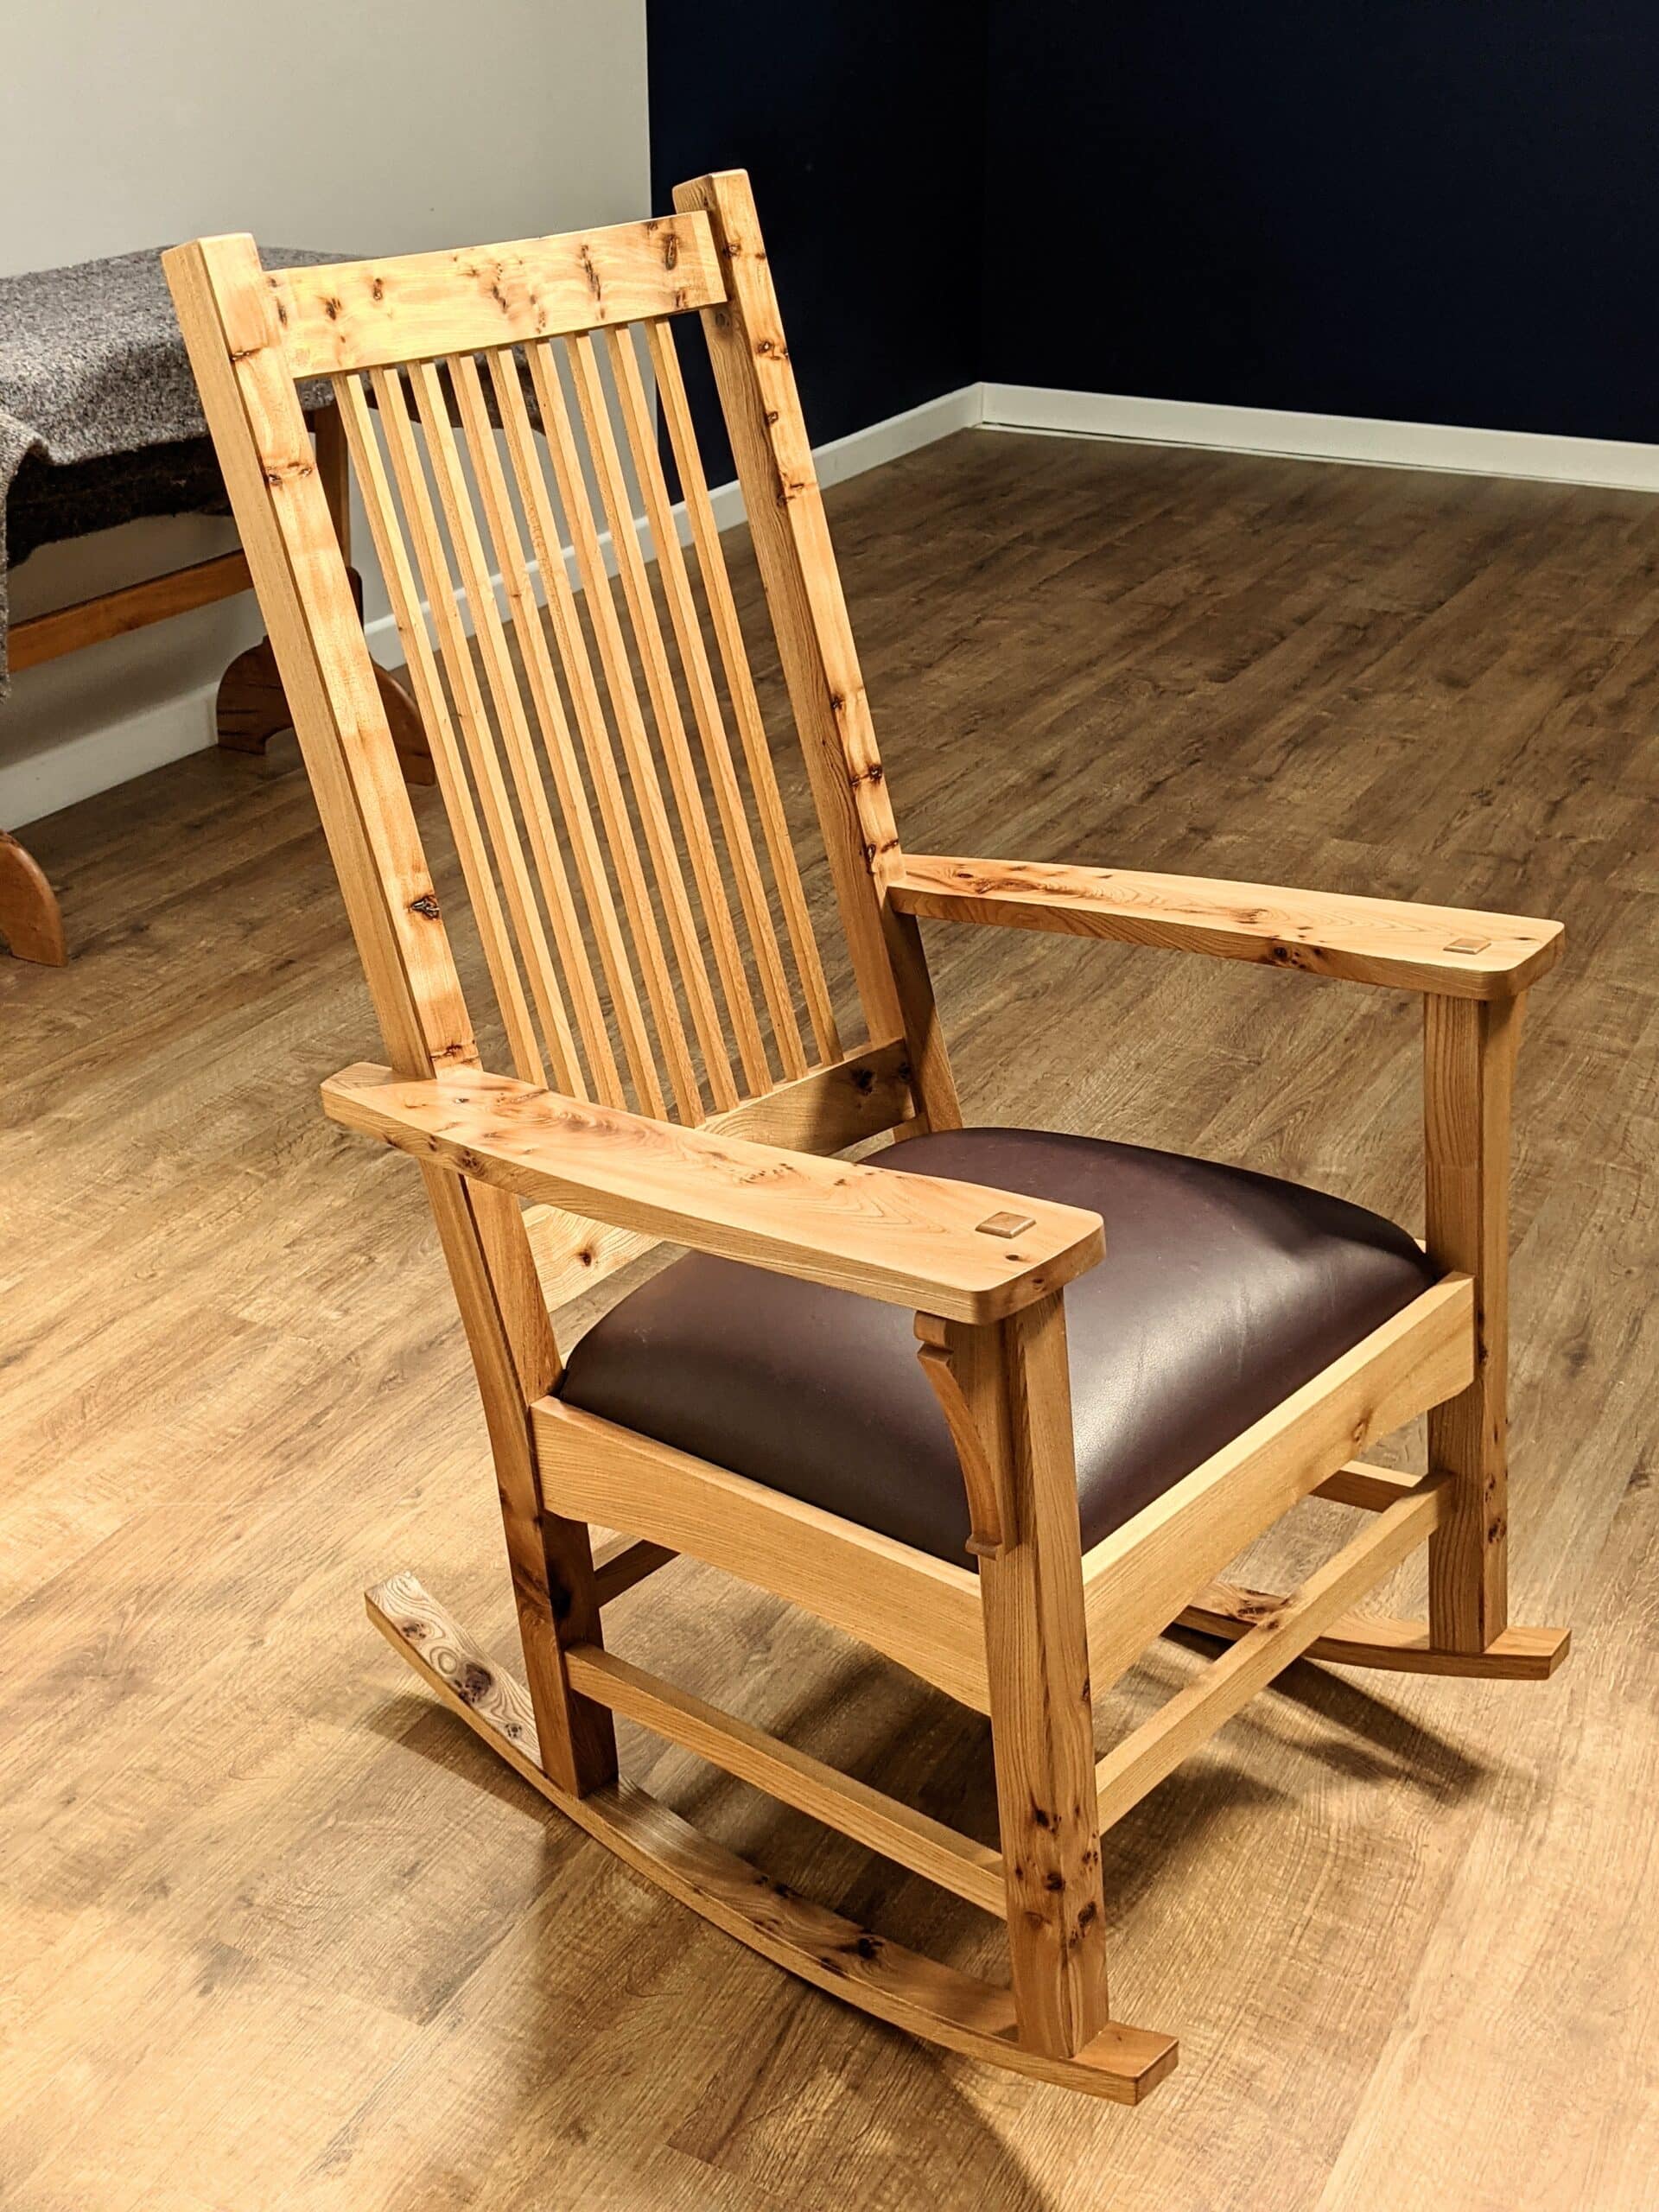
Burrs and burls are one and the same and the US uses burls more than burrs to describe this outward bulge on the side of a tree. Elm is particularly noteworthy of a tree with burl wood and this outer growth roots itself as non-productive buds within the stem of the tree. This rocking chair by John Winter is a prime example. With judicious matching, some veneering, an outstanding architectural construction can be enhanced still further using ‘different‘ wood.
How does all this affect us in the timber yard?
Well, what we see on the end grain of the log tells us about the inner growth and then what we see in our boards and planks helps us to understand what we are looking for and indeed, ultimately, what we are buying. As non-mass-makers, we engage more with our materials than commercial enterprises do. We have no guarantees and we want to analyse our stock asap when we arrive at the suppliers. This way, we minimise loss and of course waste of the valuable time we have no excesses of. This preemptive work is an imperative for us.
To be continued very soon…
Winding sticks needs the ends of the boards to be flat. Otherwise, the stick might be rocking; giving false indication.
Have you ever considered the “Roubo” winding sticks?
When you ask a man with nearly 60 years of experience in woodworking if he has ever considered “…. (whatever your suggestion is)… “, two answers are possible:
1. Yes. I prefer…
2. No. I prefer…
When, on the other hand, you ask a journalist/writer/ editor about Roubo winding sticks, he will write a book about it. And it will become the new fad.
…and he will print multiple editions to maximize his follower’s buying opportunities.
I never hear about “Roubo” winding sticks. did some google and they look more complicated that two flat stick imho 🙂
I am not going to overcomplicate this advice. At this level of selection, you do not need pristine sticks with inlays as shown. This is the only pic I had to hand. All you need is to throw two parallel sticks of pine scraps 1″ by 2″ into the van, go to the supplier, flip the board cup side uppermost and place one stick at the far end and the other at your end and sight in. 99% of the time you do not even need this as the boards will mostly be within an acceptable level.
No matter what, the hump has to come off to flatten a board so do that first and then test with the winding sticks. Another option is to test the concave side for twist first which allows a plain stick to touch the far edges of the board.
You have got to be kidding here Steve. There we are in a timber/lumber yard picking out our boards and we start surface planing their wood!!!! This is going far way more complicated. This is just a basic kit of a cut list, tape measure, a knife and two sticks for going to the store to check for how twisted a twist is. No store will expect or accept a buyer to start hogging off their wood in the racks
That was in response to Sylvain’s question about Roubo winding sticks.
I don’t bring winding sticks to the lumberyard. No kidding.
Aha! Got it.Sorry!
“…flip the board cup side uppermost… ” does exactly that.
@Sylvain.
Je remercie les commentateurs ci-dessus pour leur leçon sur les subtilités de la langue anglaise.
Sans doute aurais-je du écrire : “what is your opinion about…”
I think our group are always so helpful in steering us and there are many nuances to the English language and the English people that need a lot of explaining sometimes. Even the English-speaking US needs some translating: Here are a couple of instances. I say, “Boy, I am so surprised at the way the voting went this year in the USA!” Listener replies, “I mean!” This means, ‘Absolutely! Hard to believe isn’t it?’ and, “How much is your rocker there, my friend?” I reply, “$6,500!” Questioner replies, “You must be mighty proud of that rocker, Sir!” and walks on.
If the winding sticks rock or spin that just tells you still have work to do.
Sylvain – If the winding stick user does not notice that the ends of the board are not flat then he is simply not paying attention!
Paul has written a very helpful article that covers many of the problems about buying wood. In it he uses plain winding sticks, which are easily made and he has a video on how to make and use them. The advantage of Roubo winding sticks is that errors due to bowing of the plank across the end are eliminated because the ‘legs’ are set on a rebate on both sides of the plank. When this rebate has been established it is easy to see how much wood needs to be removed across the plank to get it level and not have to continuously test with the plain winding sticks. Like Sylvain I would like to know if Paul has used the Roubo style of winding stick. Before I embark on making a pair I would like to know if he has any experience with them and if there are any disadvantages. Both types are simple to make and will achieve the same result in the end.
I am not going to overcomplicate this advice. At this level of selection, you do not need pristine sticks with inlays as shown. This is the only pic I had to hand. All you need is to throw two parallel sticks of pine scraps of 1″ by 2″ into the van, go to the supplier, flip the board cup side uppermost and place one stick at the far end and the other at your end and sight in. 99% of the time you do not even need this as the boards will mostly be within an acceptable level.
Paul, thank you for your useful answer.
I am using the winding sticks I made about 5 years ago, following your blogs of end May 2014.
There is a video somewhere with the same winding sticks as yours but with the added four sliding feet. One can remove them and use the winding sticks as usual. I didn’t make those additions.
There may be an obvious answer to this question, but I’m curious none the less. When starting to flatten lumber for a project, is twist addressed first or is bowing and cupping?
All of the above. I will be covering all of this as much as possible and in detail.
‘To be continued very soon…’ suggests Prepping Wood Part 4 is on its way.
Could this be the moment when ‘Quarter sawn’ is explained in a little more detail.
I wonder if using the bandsaw for stock preparation does fall in the side of, let say, using sandpaper for sharpening? I never used a bandsaw and I wonder how long a blade last when using it this way? Might sound like a stupid question, but, on a jointer and planer you can sharpen the blade to their former glory. Is it cost effective with a bandsaw?
Absolutely. A bandsaw blade lasts three of us using the bands for about a month and thousands of feet of cuts. That’s about £13 a month for a premium blade. Sharpening your knives for the planer will cost that and more even though we are not comparing apples for apples here.
Paul,
Great article. How do you use your bandsaw to thickness wood?
Do you plane a reference face and reference edge, run the board through the bandsaw, and then clean up the saw marks on the other face?
It seems like a bandsaw could replace a thickness planer if this is the process you follow. I like the idea of just using a bandsaw considering that thickness planers are so LOUD.
Removing wood to straighten and flatten it seems wasteful. I can’t help wondering whether applying and maintaining torsion and bending moments, then steaming it, might achieve the same result without creating any waste. I don’t say it would be cheap, but I just wonder whether it could be done.
Waste or necessary. Centuries of development and progress have resulted mostly in the development of plastic substitutes, MDF, pressed fibreboards, OSB but almost zero developments in anything other than accepting wood for its unique and natural performance and for us to work with its characteristic properties. I don’t consider this to be wasteful, as you describe, I consider short-term engineered substitutes with built-in obsolescence to be greatly wasteful, yes, but also highly controlling; we must keep returning to IKEA and others to replace what should be made to last for a century. We should remember that it takes the same amount volume-wise of wood to make a pressed fibre door or tabletop as it does real wood. Having us keep coming back is good for their economy and not really ours.
@Andrew, you want to regard how a tree grows – well not palms – but just about every other plant we call a “tree”. Conifers and hardwoods are essentially a sequence of cones, each cone laid on in a year. The fiber grows from very slightly to extremely spiral within each cone. Even riven wood reveals to one degree or another that spiraling of the fiber. Attempts to “engineer” this out of the wood all carry their own shortcomings, mainly lesser strength, complete failures, and just a lot of trouble for an uncertain outcome. And not all woods respond to the same engineering treatments the same, not even boards from the same tree. The best way to reduce wast is to cut pieces as near to length as possible, then do the planing and dimensioning. If a 12-foot board is otherwise good but has a little twist, and the pieces you need are no more than four-feet long, those two cross cuts will reduce the twist by a third if it is evenly distributed. That is a lot less to remove.
For some applications, it is not necessary to keep the board in one piece. Then one can flatten each piece, loosing less wood.
That is what I did for my workbench top. Some layers of the lamination are made in two or three pieces. It needs more work but it allowed me to use seriously warped recycled (well dried) wood without loosing too much of it.
I did a similar thing with the legs adding a central lamination made from 2 offcuts. Made heavier legs and moved the strong support inwards. I know that it is probably overkill, but it seemed a good idea at the time.
Very useful information, thank you for sharing this! Very helpful.
Another quick way to view a board is to look at 2 at the same time stacked face to face n flip but sighting a board from one end with the other end on Terra Firma for reference should be more than enough…should 😉
Badly bowed? 🤔- make a rocker 😎