Clearing the table
There are times when my bench gets freed up from a newly completed project. It’s a rare thing for it to be open and empty, a few brief minutes, mostly. I have just put 15 handmade router planes into boxes and I am about to add in the ones I use regularly made from cast metal. I am also about to load the bench with more wood for the next project I am feeling a creative buzz about. Actually, I just did, since typing in these first three lines. Strips of scraps just became a set of items and two weeks ago more strips and offcuts became something completely different. In my quest to teach and train I use every scrap I can, be that wood, my energies and then too every scrappy minute of time. This is who I am.

Often, scraps left are just too small for me to use for much more than the fire and heating. Other times they go to a local disability and restoration charity for a wide range of good reasons because people there make amazing things as part of the charity’s rejuvenating therapies getting people into work, back into work and then too into better health and ability. I suppose I’m saying that there is no waste when it comes to working creatively with real wood, it’s more how we think and deal with it and so too, there is no wasted effort. I take two bags of scraps too small for any entity or too rough and rugged to use for projects each week. I lean them at the front of my driveway with a sign saying ‘Free, kiln-dried firewood’, and an hour or two later they’re gone. The plastic bags are stout, reusable and often turn up folded neatly under my doormat or a planter a few days later. Shavings are more problematic because the local council does not see them as recyclable. Machine chips are more easily dealt with because they are not continuous strands that entangle everything if allowed to float free as garden mulch, pet bedding and such. Because of the risk to horses, I cannot give the shavings for bedding; walnut shavings can apparently kill a horse, literally. So I suck the air out of the bags with a vacuum cleaner to a third of the size and they go as waste, but still to the recycle centre for them to deal with.
This week I made a new router plane. Well, I actually made the fifteen I spoke of as each iteration gave me an improvement or a different type with a specific function. In the final version, the whole operation took me about an hour and a half and cost about £3. I tell you this because it was so very absorbing and quite a luxury for me to take a couple of weeks out to perfect an idea I have contemplated tackling for a year or more. I wanted something that was a poor-man’s router plane without it being of a lesser standard in performance with any of the ones I own and use. Now that that is achieved I can get back to my next piece for Sellers’ home and filming this week. We did film the new plane, by the way.
The clock is always ticking for me! I just finished the drawings for three projects and now my rhythm is restored I am preparing for this week to come. I went to look at timber with John and was happy to see Oak from Europe and the USA in abundant volume along with sycamore, elm, ash, American cherry, Poplar and two dozen more. I plan to go back next week with the trailer to load up wood for 2022/23. I like to get my wood in ahead to get it acclimated, thoroughly dry and ready for projects before I touch it.
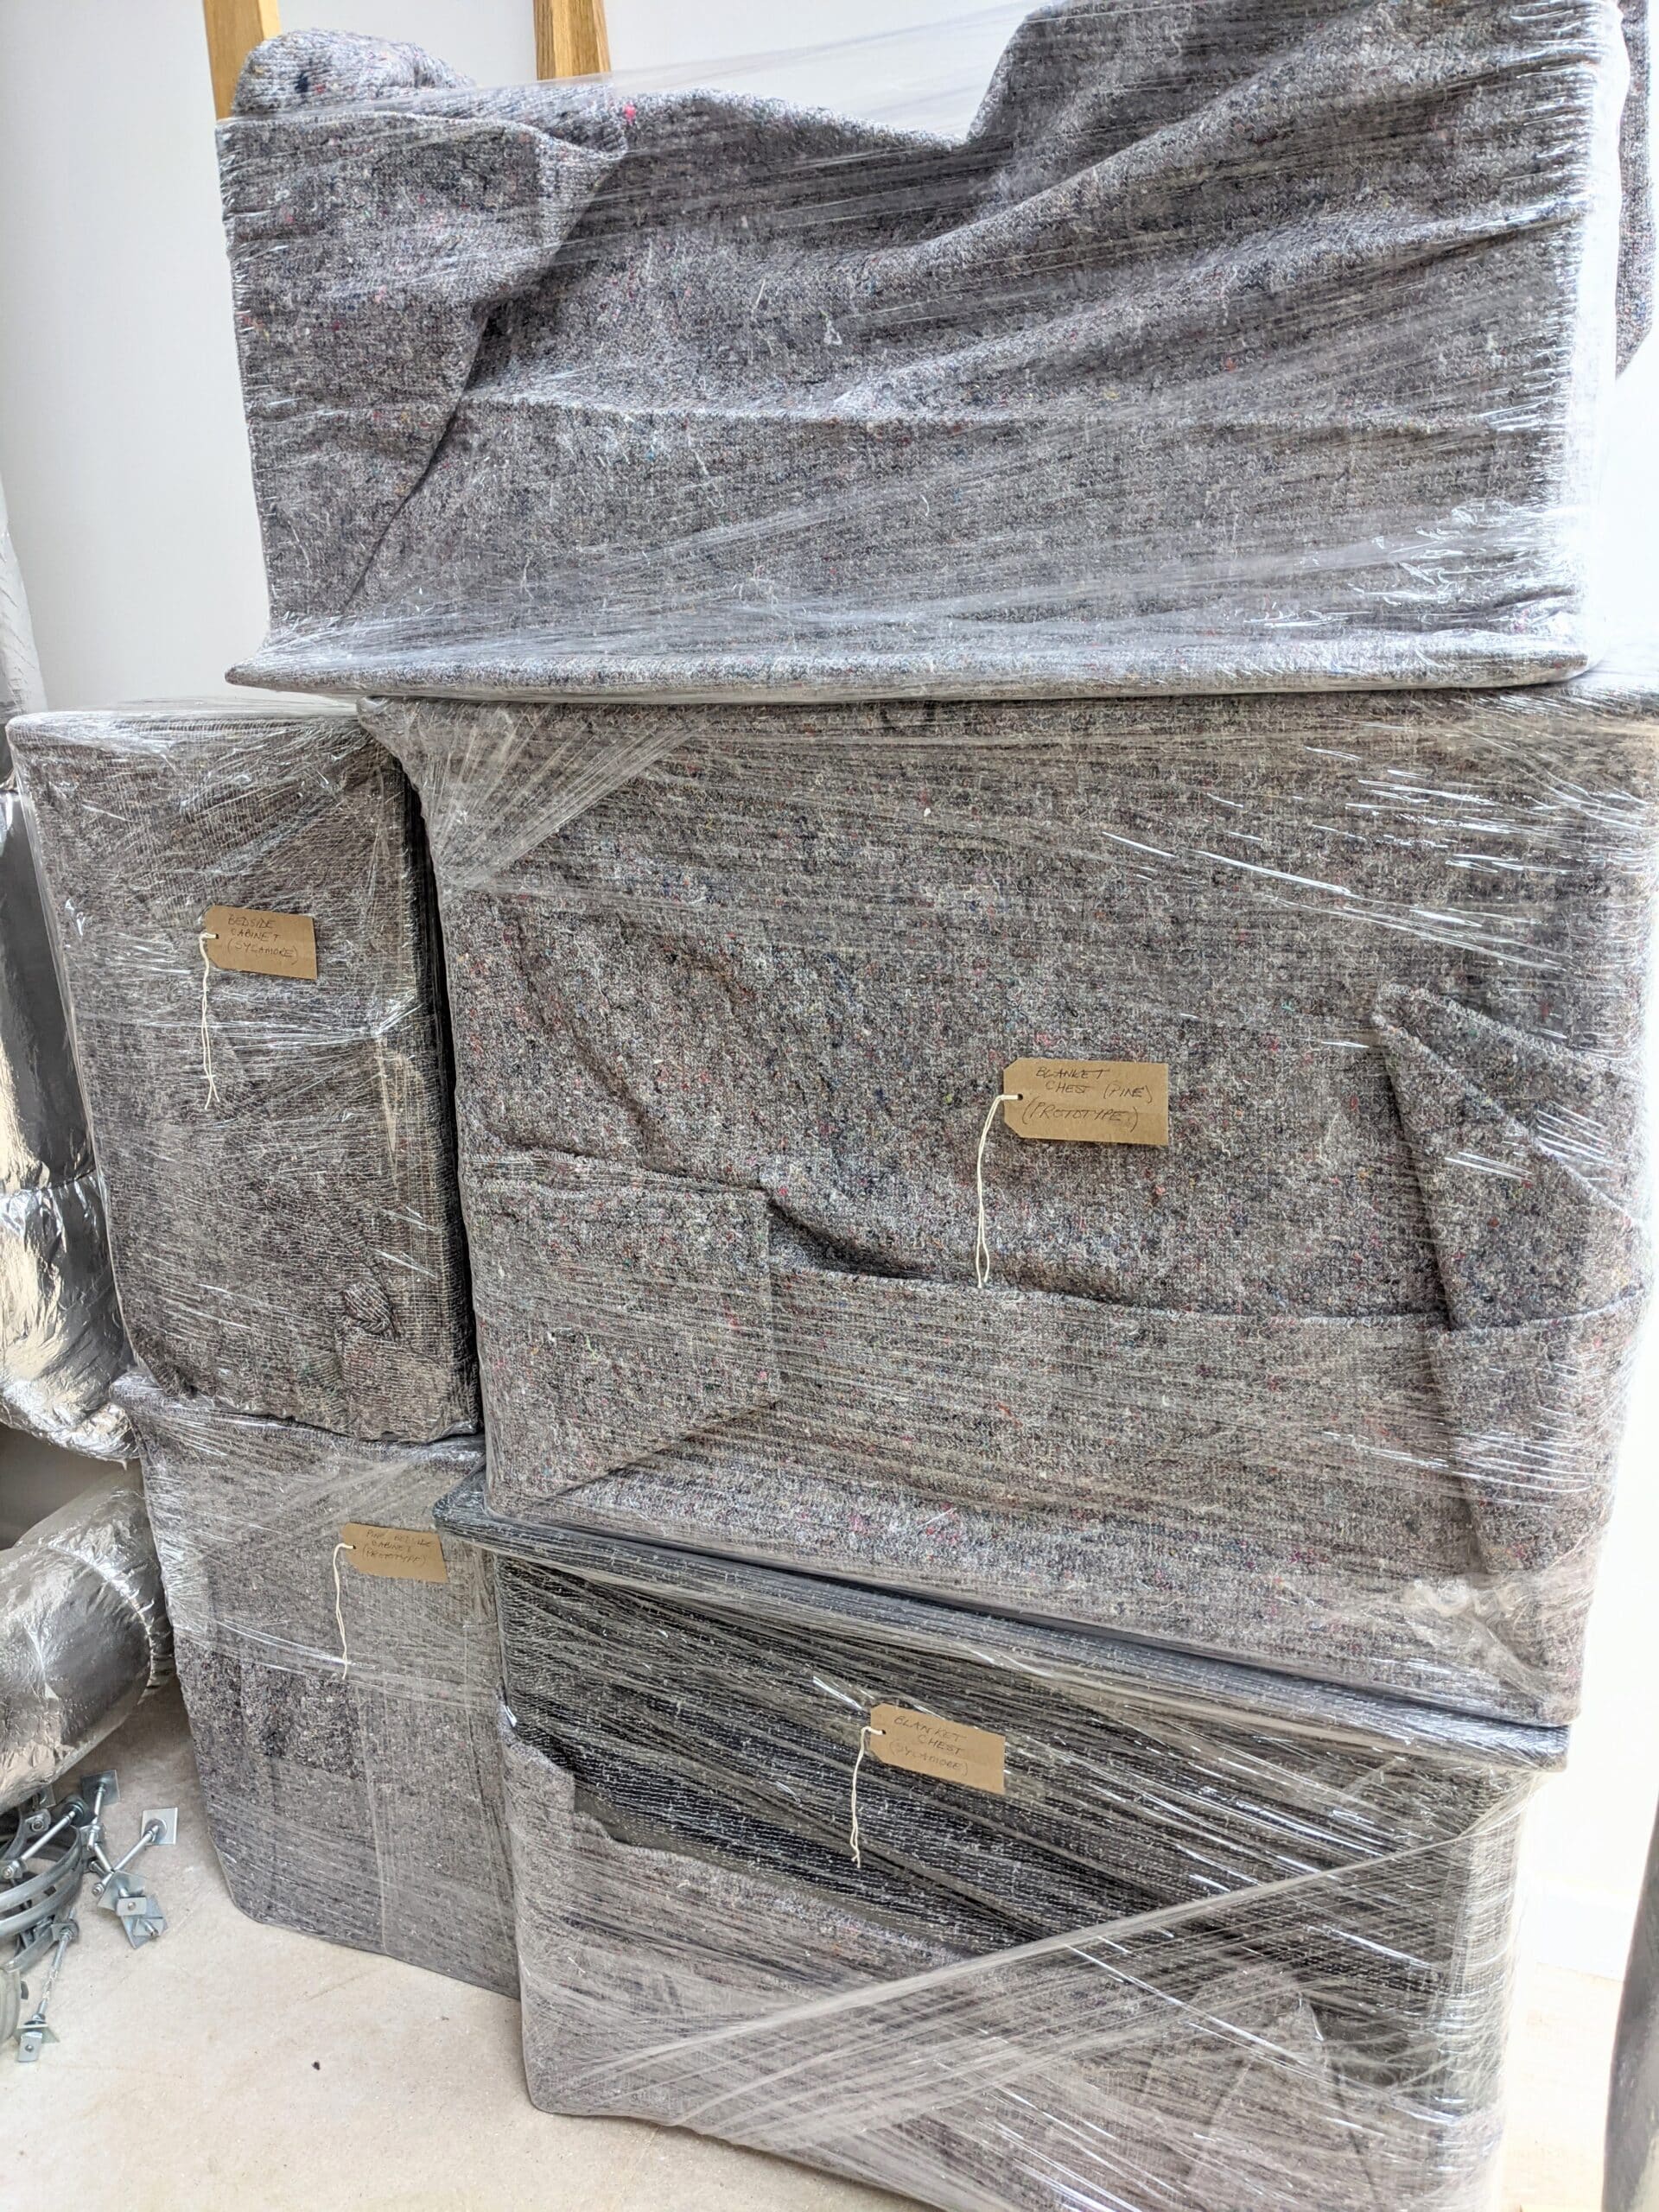
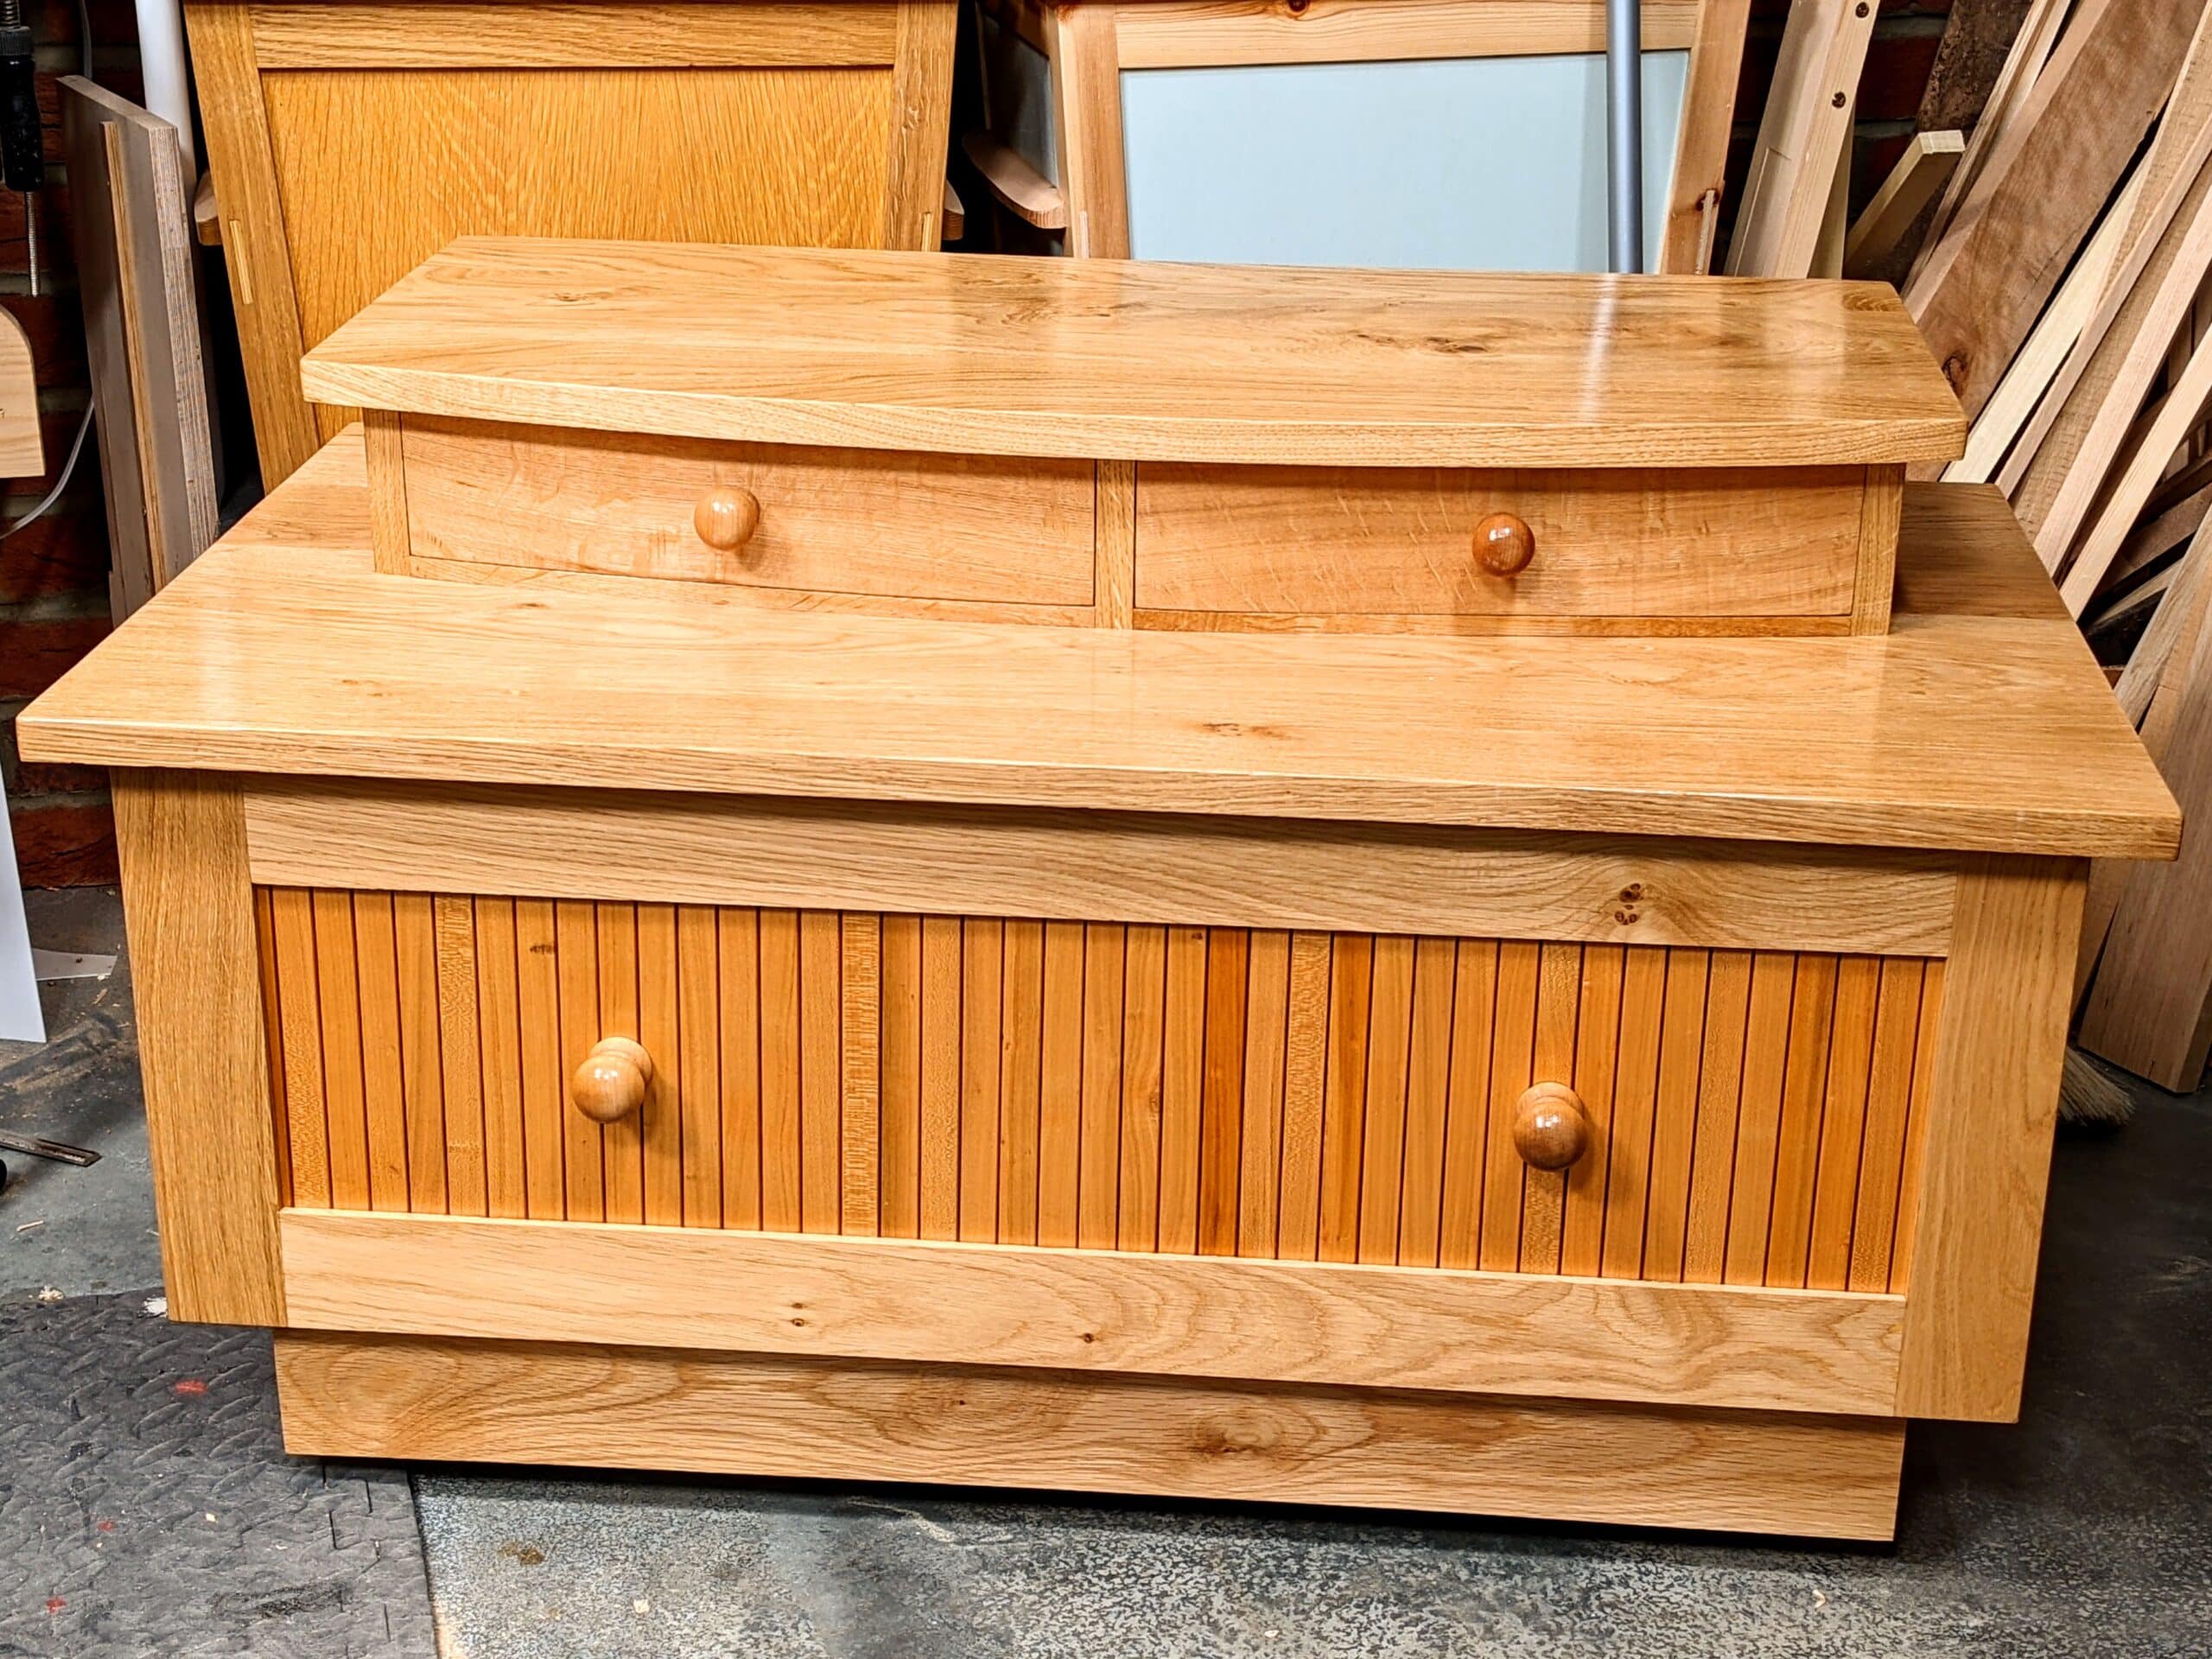
To make room I have been blanket wrapping and stacking ten years of masterclasses projects in a safe and controlled environment. That’s a lot of pieces if you have been with me for any length of time. You must remember that I often make more than one of anything we film so it is rarely one coffee table but more likely to be three and then of course, there are some part-made or completed that I reject for different reasons but still keep anyway. The wonderful thing now is that every piece I am making going forward will be going into Sellers’ home to take up its rightful place in each room that it is custom-made for.

Living room, kitchen, hallways and dining room, bedrooms and so on.
Stay with me for an exciting platform of new woodworking in new videos and new projects. It’s a special time for us all and the therapy of woodworking after so long a time of covid threats I am hoping greatly for 2022. I don’t do well on sun-soaked beaches or following the tourist tracks. I do do well when I am making and designing and teaching. My work is my vacation!
Hi Paul,
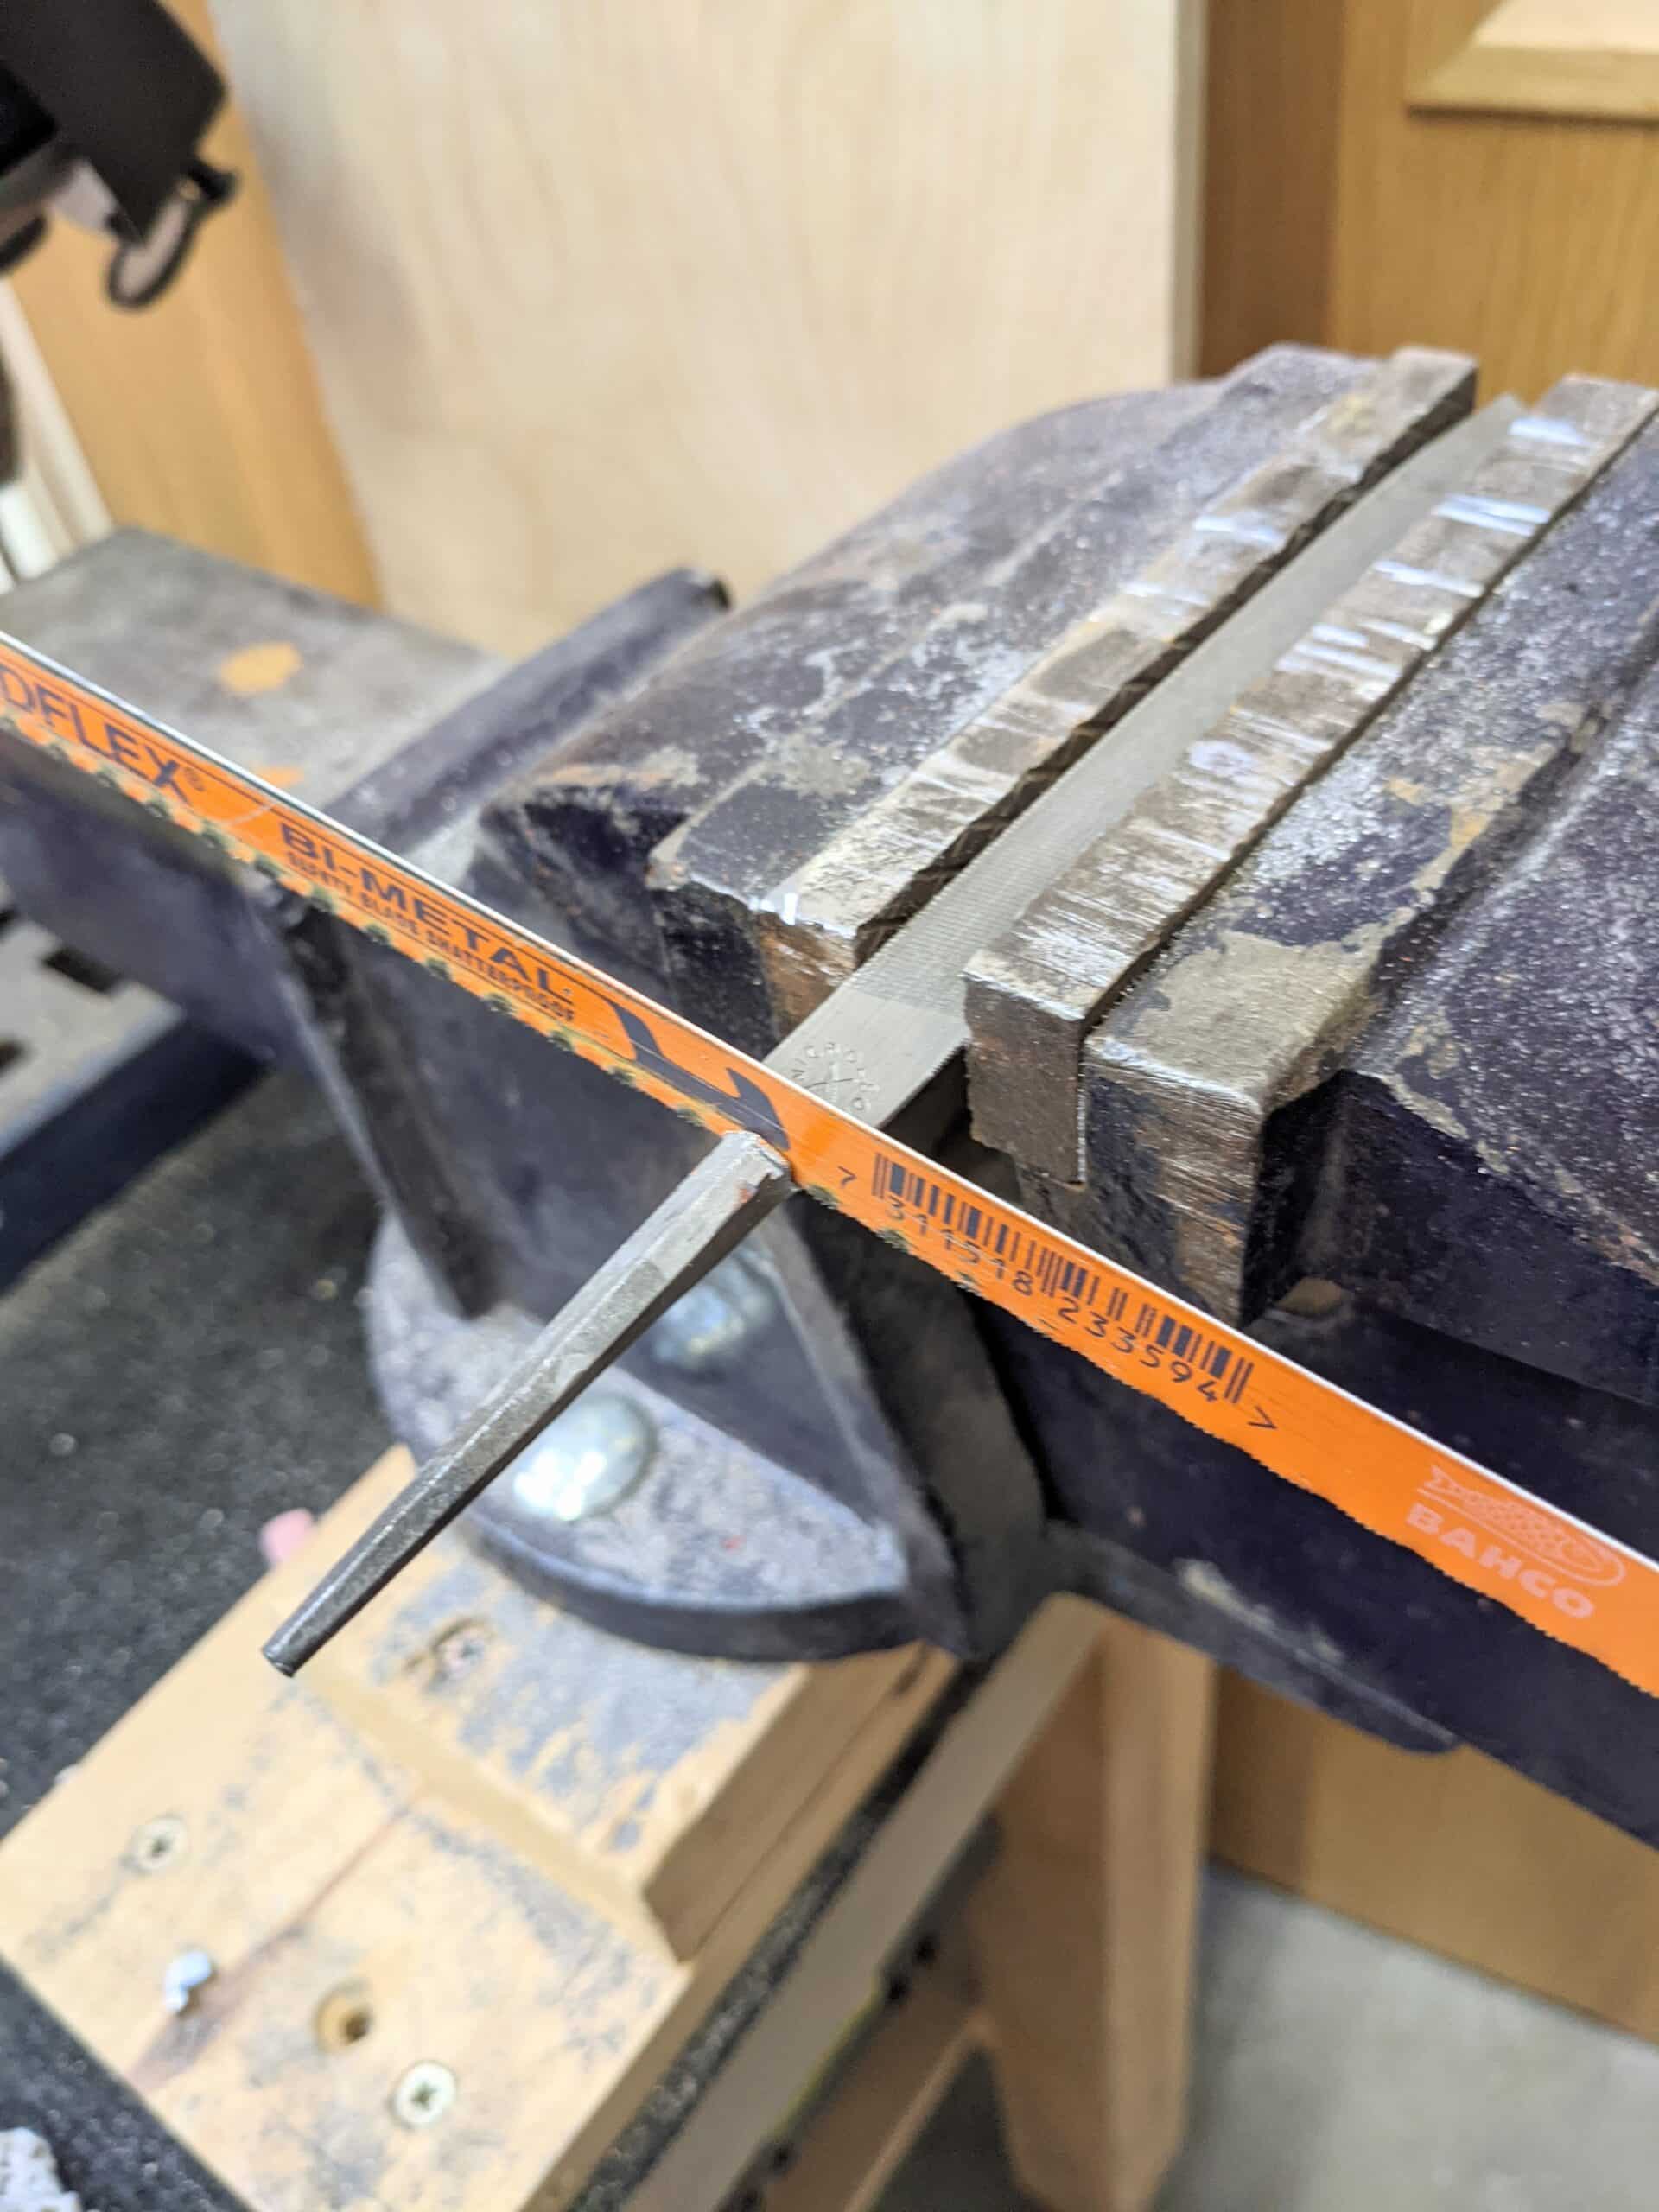
I’m intrigued as to what you are doing with the saw file in the picture above?
Great blog post as always,
Thanks
Ross
ditto!
I tend to put wood shavings on the compost heap. Recycling them to become new plants.
Here in the suburb of Boston in a town called Belmont, there is actually a legacy working vegetable farm. I have permission to dump any quantity of woodturner chips and shavings into their mulch pile, and it gives me great pleasure to do so.😊
Stock for a router cutter blade maybe?
I put shavings in bags and give them to my sister or friends when the bags are plenty. They use them for start fire in the fireplace. They work very well and don’t have the awful smell of sticks with kerosen.
I was wondering why you were cutting the file as well? Would love to see a blog on the sorts of things you make out of the useable bits and pieces.
I frequently give my pine and oak shavings to a friend who has a large patch of blueberries — apparently they like the acid from the shavings; I have two blueberry bushes of my own to which I add them occasionally, along with all the pine needles from my yard.
I am using the tang to make a small nail punch. The file is no longer usable and I will use that for another tool.
Hi Paul.
Thats a great idea- good tool steel scraps can be used much in the same way as offcuts of scrap wood 🙂
I saw something good once., A friend of mine had a big barbecue with friends, helping him set up he put a couple of old files in the bed before lighting, then the next day once the barbecue had cooled he dug them out of the ashes- perfectly annealed steel for making into other things!!
Thanks so much again for your work, you are keeping us all sane and very fulfilled in our attempts to follow you. Health and happiness, Lawrence
“My work is my vacation!”
What a blessing.
greatly looking forward to details of your router plane Paul. I have an old stanley one which I use quite frequently, but it has no fine depth adjustment (it is quite old I guess), and would like to make one with this function.
Mine work so beautifully, with a vibration-free, smooth action.
It would be interesting to see those unfinished or rejected projects if you have the time to write about them..
Hi Paul, if you have a garden waste bin I’d be surprised if the council wouldn’t take wood shavings in there… after all, it’s not far from branch cuttings, just in a slightly different format! My local council will take wood shavings with the green waste bins – could be worth investigating
Great article!
What do think of bamboo as a material for building stuff?
Well, it is in plentiful supply but I have never used it and am not sure that I would like to.
Paul, An off topic question that may be on the minds of many. That is, how do I plane the edge of a board without taking it out of square?
Sorry about the bracketed stuff. That’s what I get for letting my browser do all the fill in info.
There is no quick and easy way freehand. It’s all a question of practice. The more you do the more you develop the skill. However, if you clamp an already squared piece to the side of the edge and just about but not quite flush, then use this as a registration face, it will keep you square as you develop.
Not wanting to wait for a video nor able to afford the router planes available in the USA (and intensely jealous of Paul’s wide and long bases on his router planes) I upscaled a new Admini router plane (not cheap by any means, but cheap enough) by adding a Bakelite base (yes, they still make Bakelite) measuring 3 1/4″ x 15 1/2″ and added my own handles, just made from 1 1/4″ x 6″ dowel scraps. I wasn’t happy with Admini’s router blade so I had a machinist friend with access to a mill modify the plane in order to incorporate a Lee Valley plane blade, which allowed for easy removal of the cutting part of the blade for sharpening. I’ll probably make another base before long (I like the length but it’s too narrow) since bakelite works easily with woodworking tools and is available on the web at McMaster Carr. Also, I too am struggling with getting up enough practice on my planes to consistently produce truly square edges, so I built a set of ‘training wheels’ for my No. 5 Stanley jack plane, which is just a jig made from scrap red oak and screws to the side of the plane (after I tapped the side of the plane out to accommodate a pair of 10-32 x 1″ flat-head screws). The only down side to this jig is that the blade wears much more quickly, necessitating more constant sharpening, but other than that it works fabulously. Hoping to outgrow it in another couple of months. By the way, Paul’s tip (see earlier) of using thin diamond coated steel plates from eBay also works fabulously, especially if you take the time to build a stable base and double coat it with polyurethane (assuming you build it from wood). Also, you can just stick the plates down with “carpet tape” (a double sided, thin tape available at most hardware stores in the USA) onto the set up polyurethane and it’ll never come up or move. It may be a trial to come up, but I haven’t had to after 8 months of continuous use. Thank yo for all your fabulously useful woodworking knowledge Paul, and I look forward to you all’s router plane video, along with your woodworking projects.
Cool to hear about those cheap diamond plates – I stuck them to a piece of melamine coated 2cm thick plywood and am only now waiting for some auto window cleaner to arrive in the mail before going to town. I dug a large flat marble tile out of a waste bin from a local marble supplier, so I have something to start grinding my chisel backs and lap plane soles on. Exciting to get to work on ‘new’ tools and make them work again!
Tim,
I started with a marble table mat but it was quite thin.
Another source of flat marble is the piece that is cut from a worktop to accommodate a sink. This is thick and solid. I have also got a long strip of marble from a fireplace that was dropped during handling. 3 of us got flat surface plates from that one. Nothing goes to waste.
My wife has requested 2 new bookcases. I know just the plans that will complement and far exceed the 1st one I built.
I also need a shorter version for my office. I think I may get fairly good at bookcases after this.
Hi Paul,
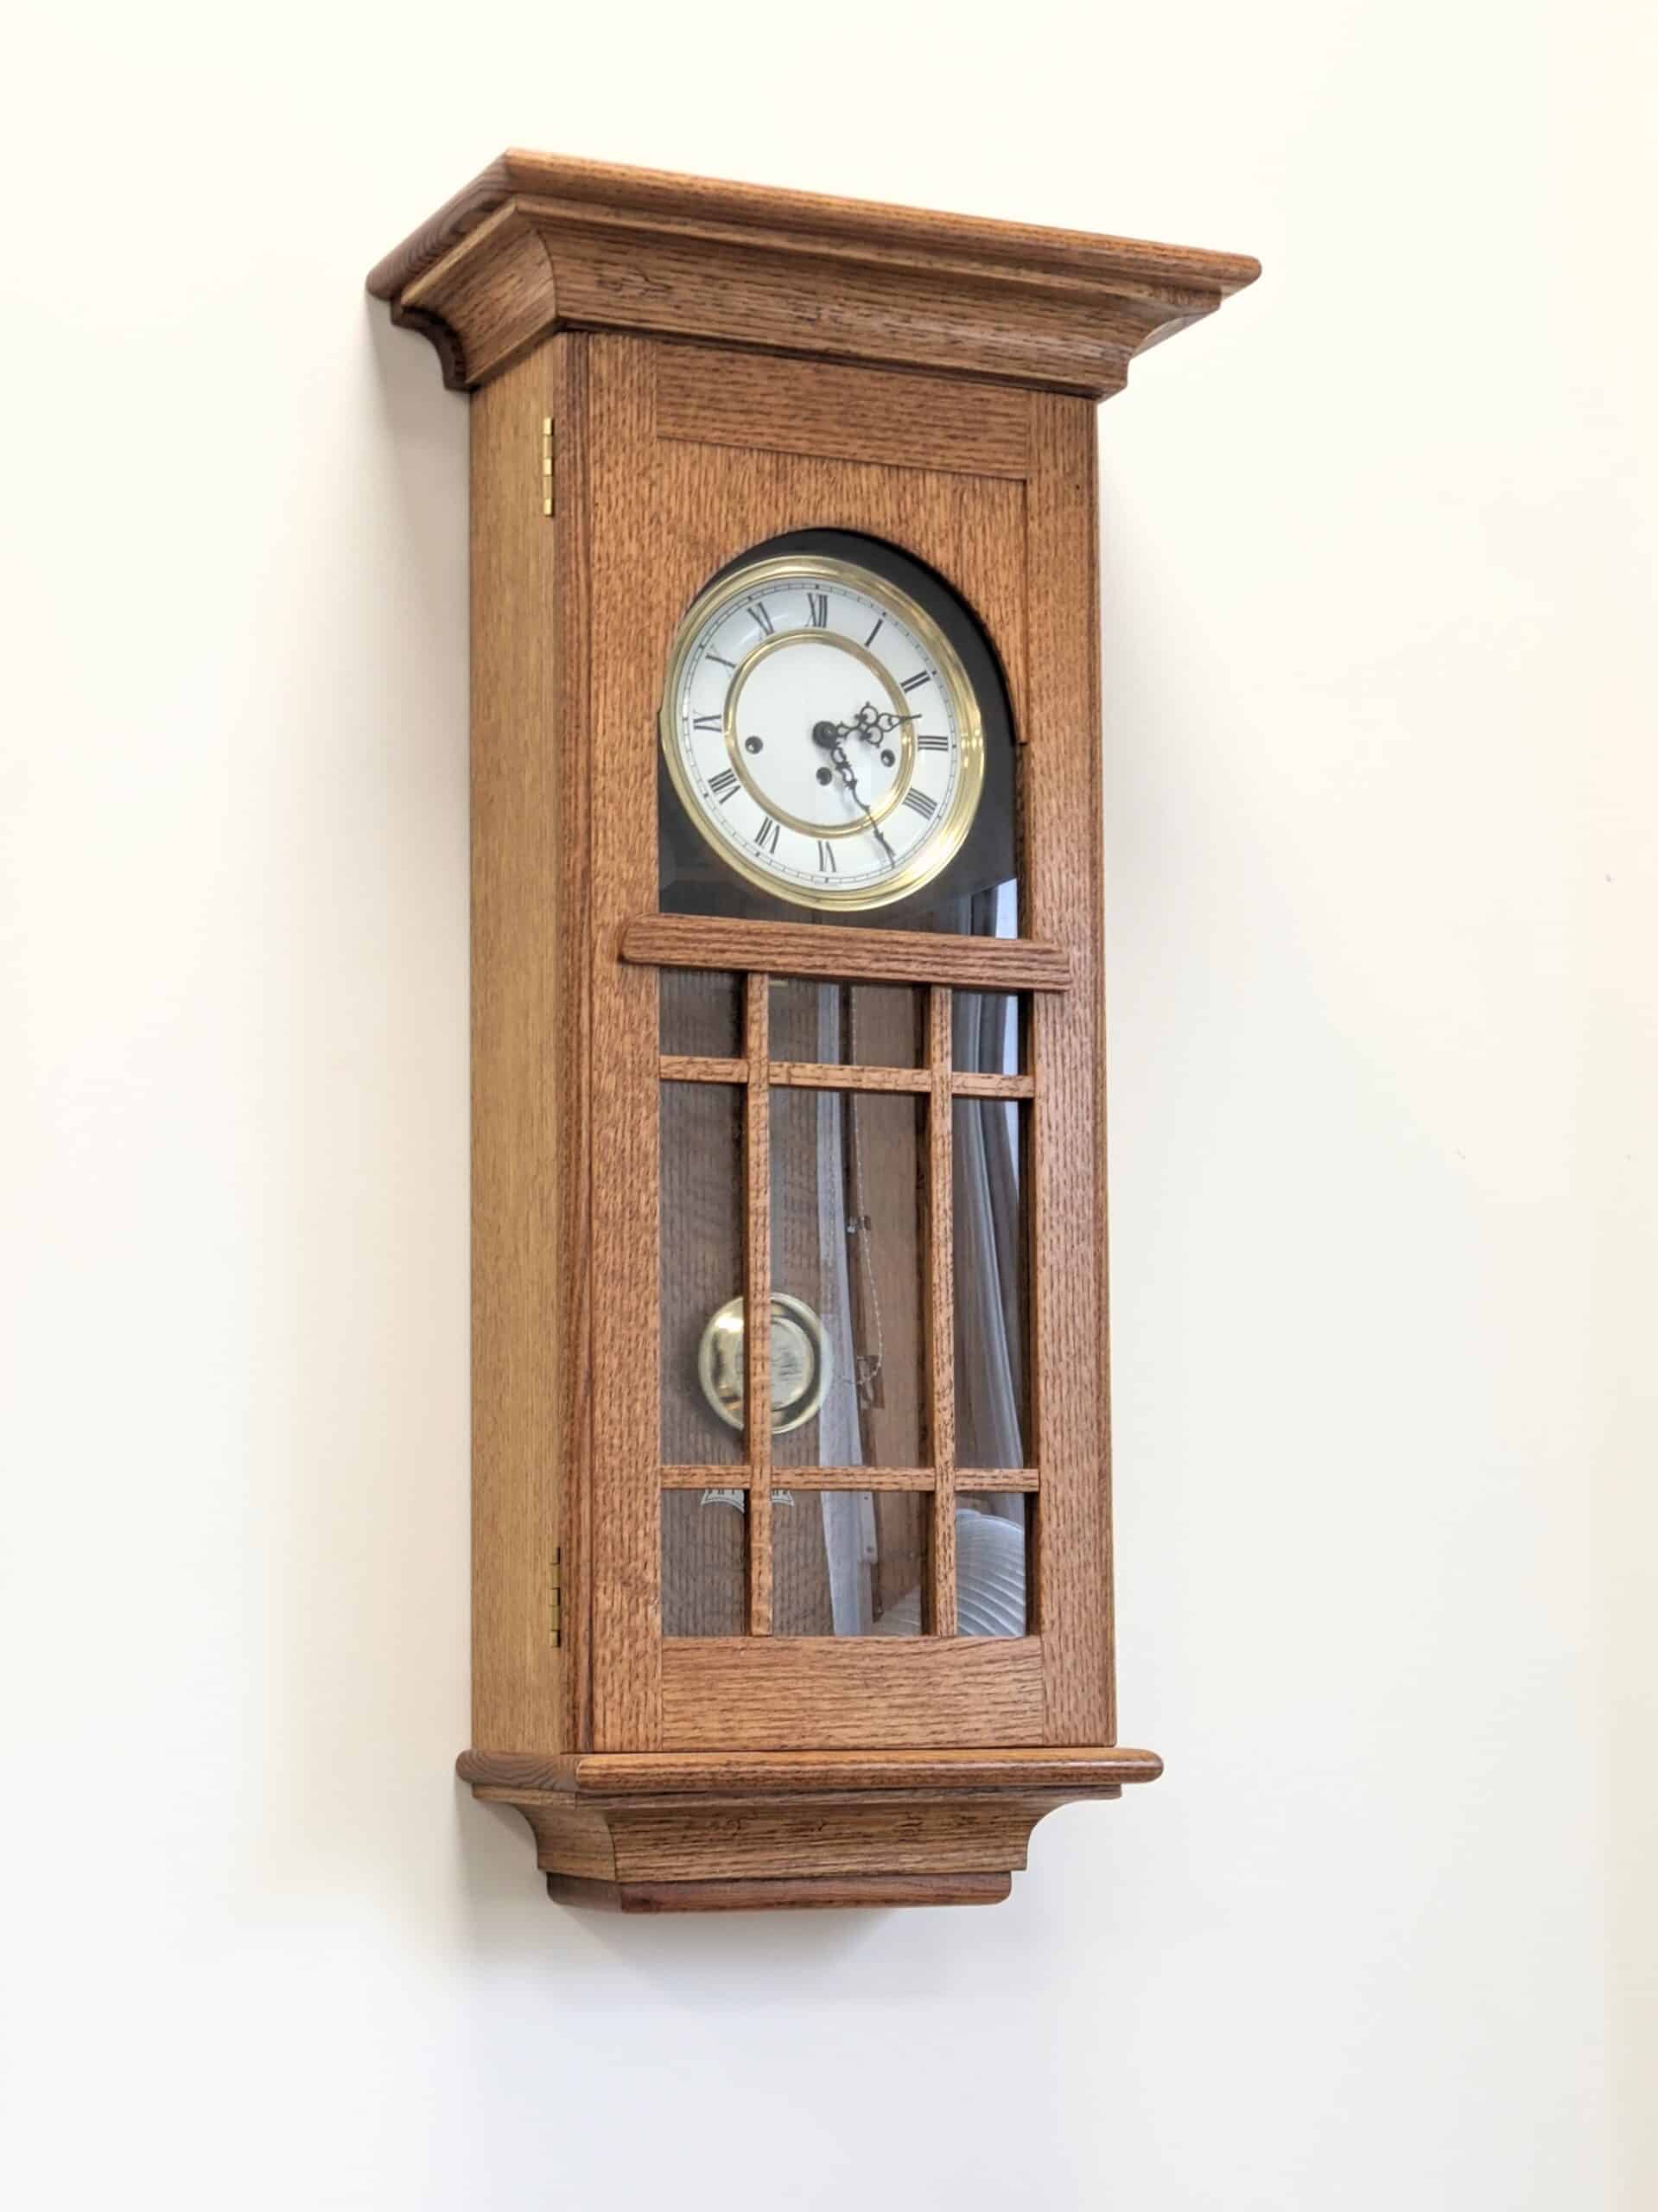
I very much like the wall clock design pictured in this blog post. I’d like to make one for my shop wall. It’s possible to work out a design from the picture, but I’m curious whether you’ve published plans or video for this clock design?
BTW, I’ve been a subscriber to your YouTube channel and Woodworking Master Classes for many years, since the beginning. You’ve transformed my approach to woodworking.
Thank you.
Dale Suilmann
Try mixing the shavings with grass clippings to make an awesome compost.
Are you going to do any videos on the router planes, I’d sure like to see them!!
I either bag my shavings up and give them to my neighbour for their chooks. Or, I make fire bricks with them for my wood heater – mix up the shavings with torn pieces of cardboard/old newspaper, soak in water and then compress into a brick (you can buy the brick mould for a few dollars/quid). They burn very well, not quite as much heat as a log, but worth supplementing the cost with.
I am afraid that time would never permit such a thing and I don’t have a fire to burn in anyway.
Thanks again Paul, looking forward to the router plane video!
I love the beautiful clock in the photo! I’ve built your Shaker influenced clock from the Woodworking Master Class. Would you make the specs for this clock available?
Sorry, Cindy. I designed it for my family fifteen years ago and it would take too much of my time to draw something up.