Using scraps
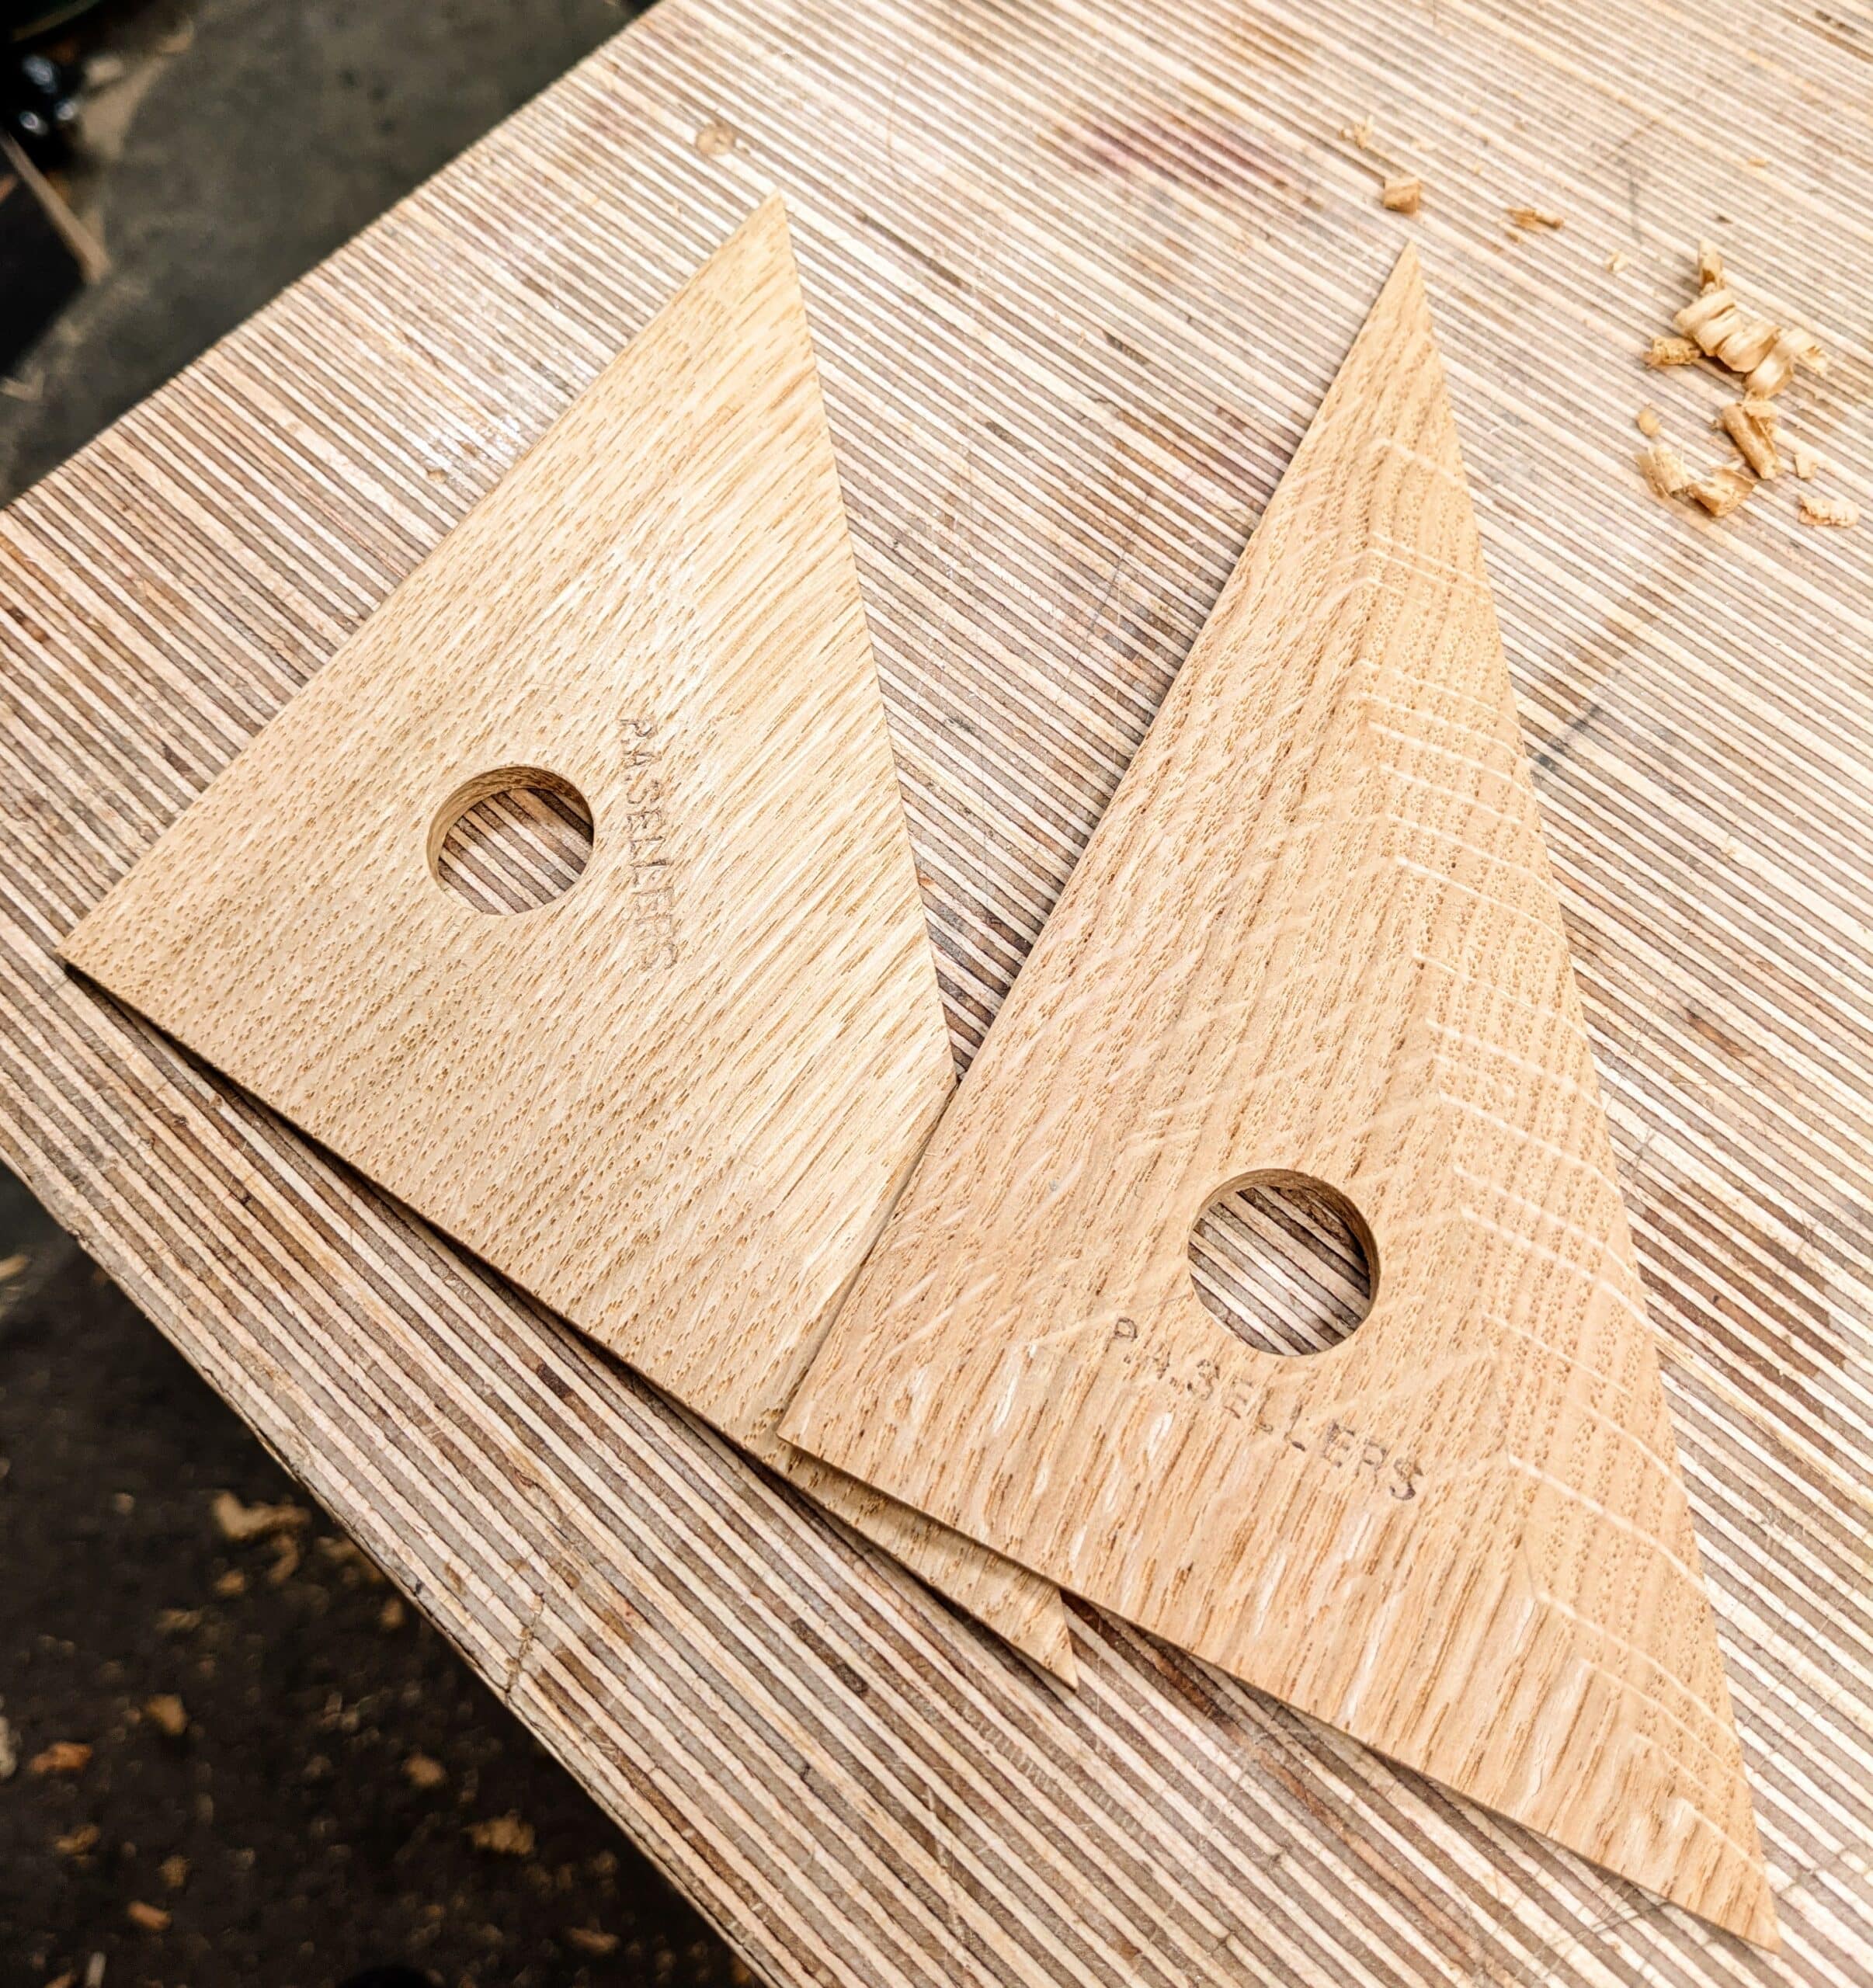
An offcut of quartersawn oak lay at the end of my bench for two weeks and I couldn’t throw it away. The angled cut reminded me of the days when my geometry squares were all wood and stamped with the angles and the name Helix in blue. Then I was sent the most beautiful scale ruler in boxwood one day and I asked myself why breakable plastic? I still use my plastic scale rulers and my protractor and squares. They work well and have served me well for decades but I also like the wooden options; worthy of my name stamp at least.
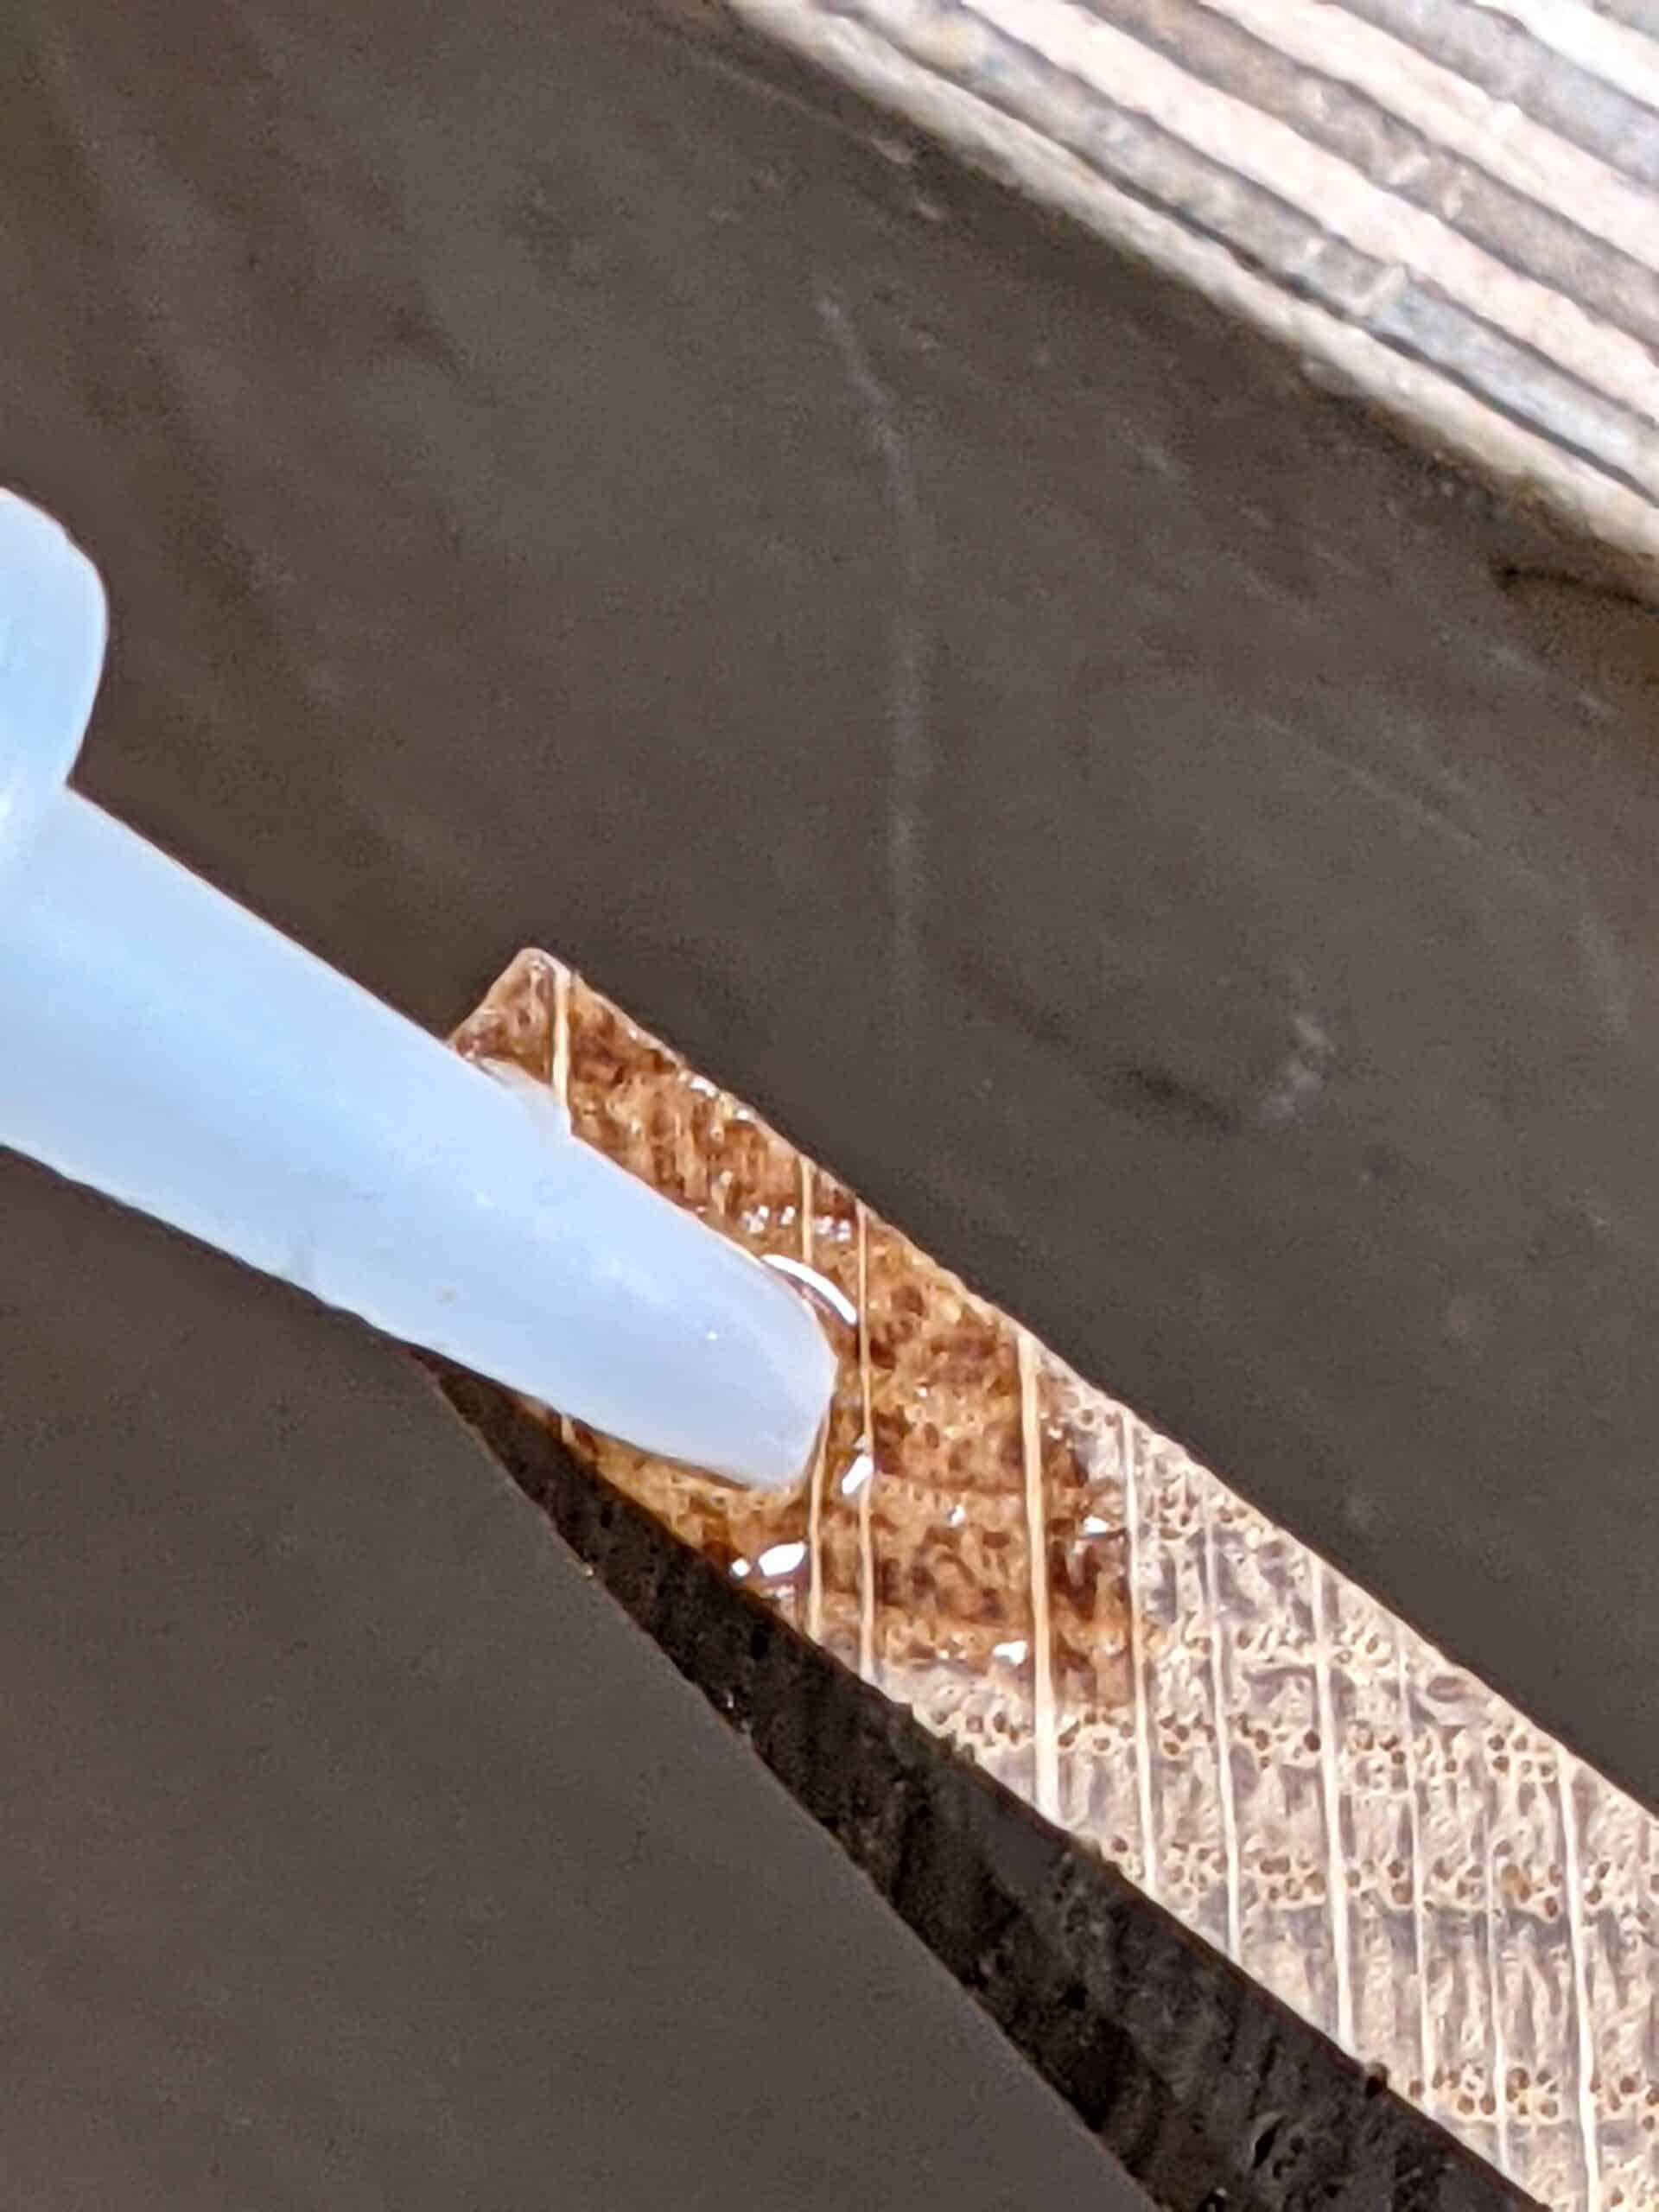
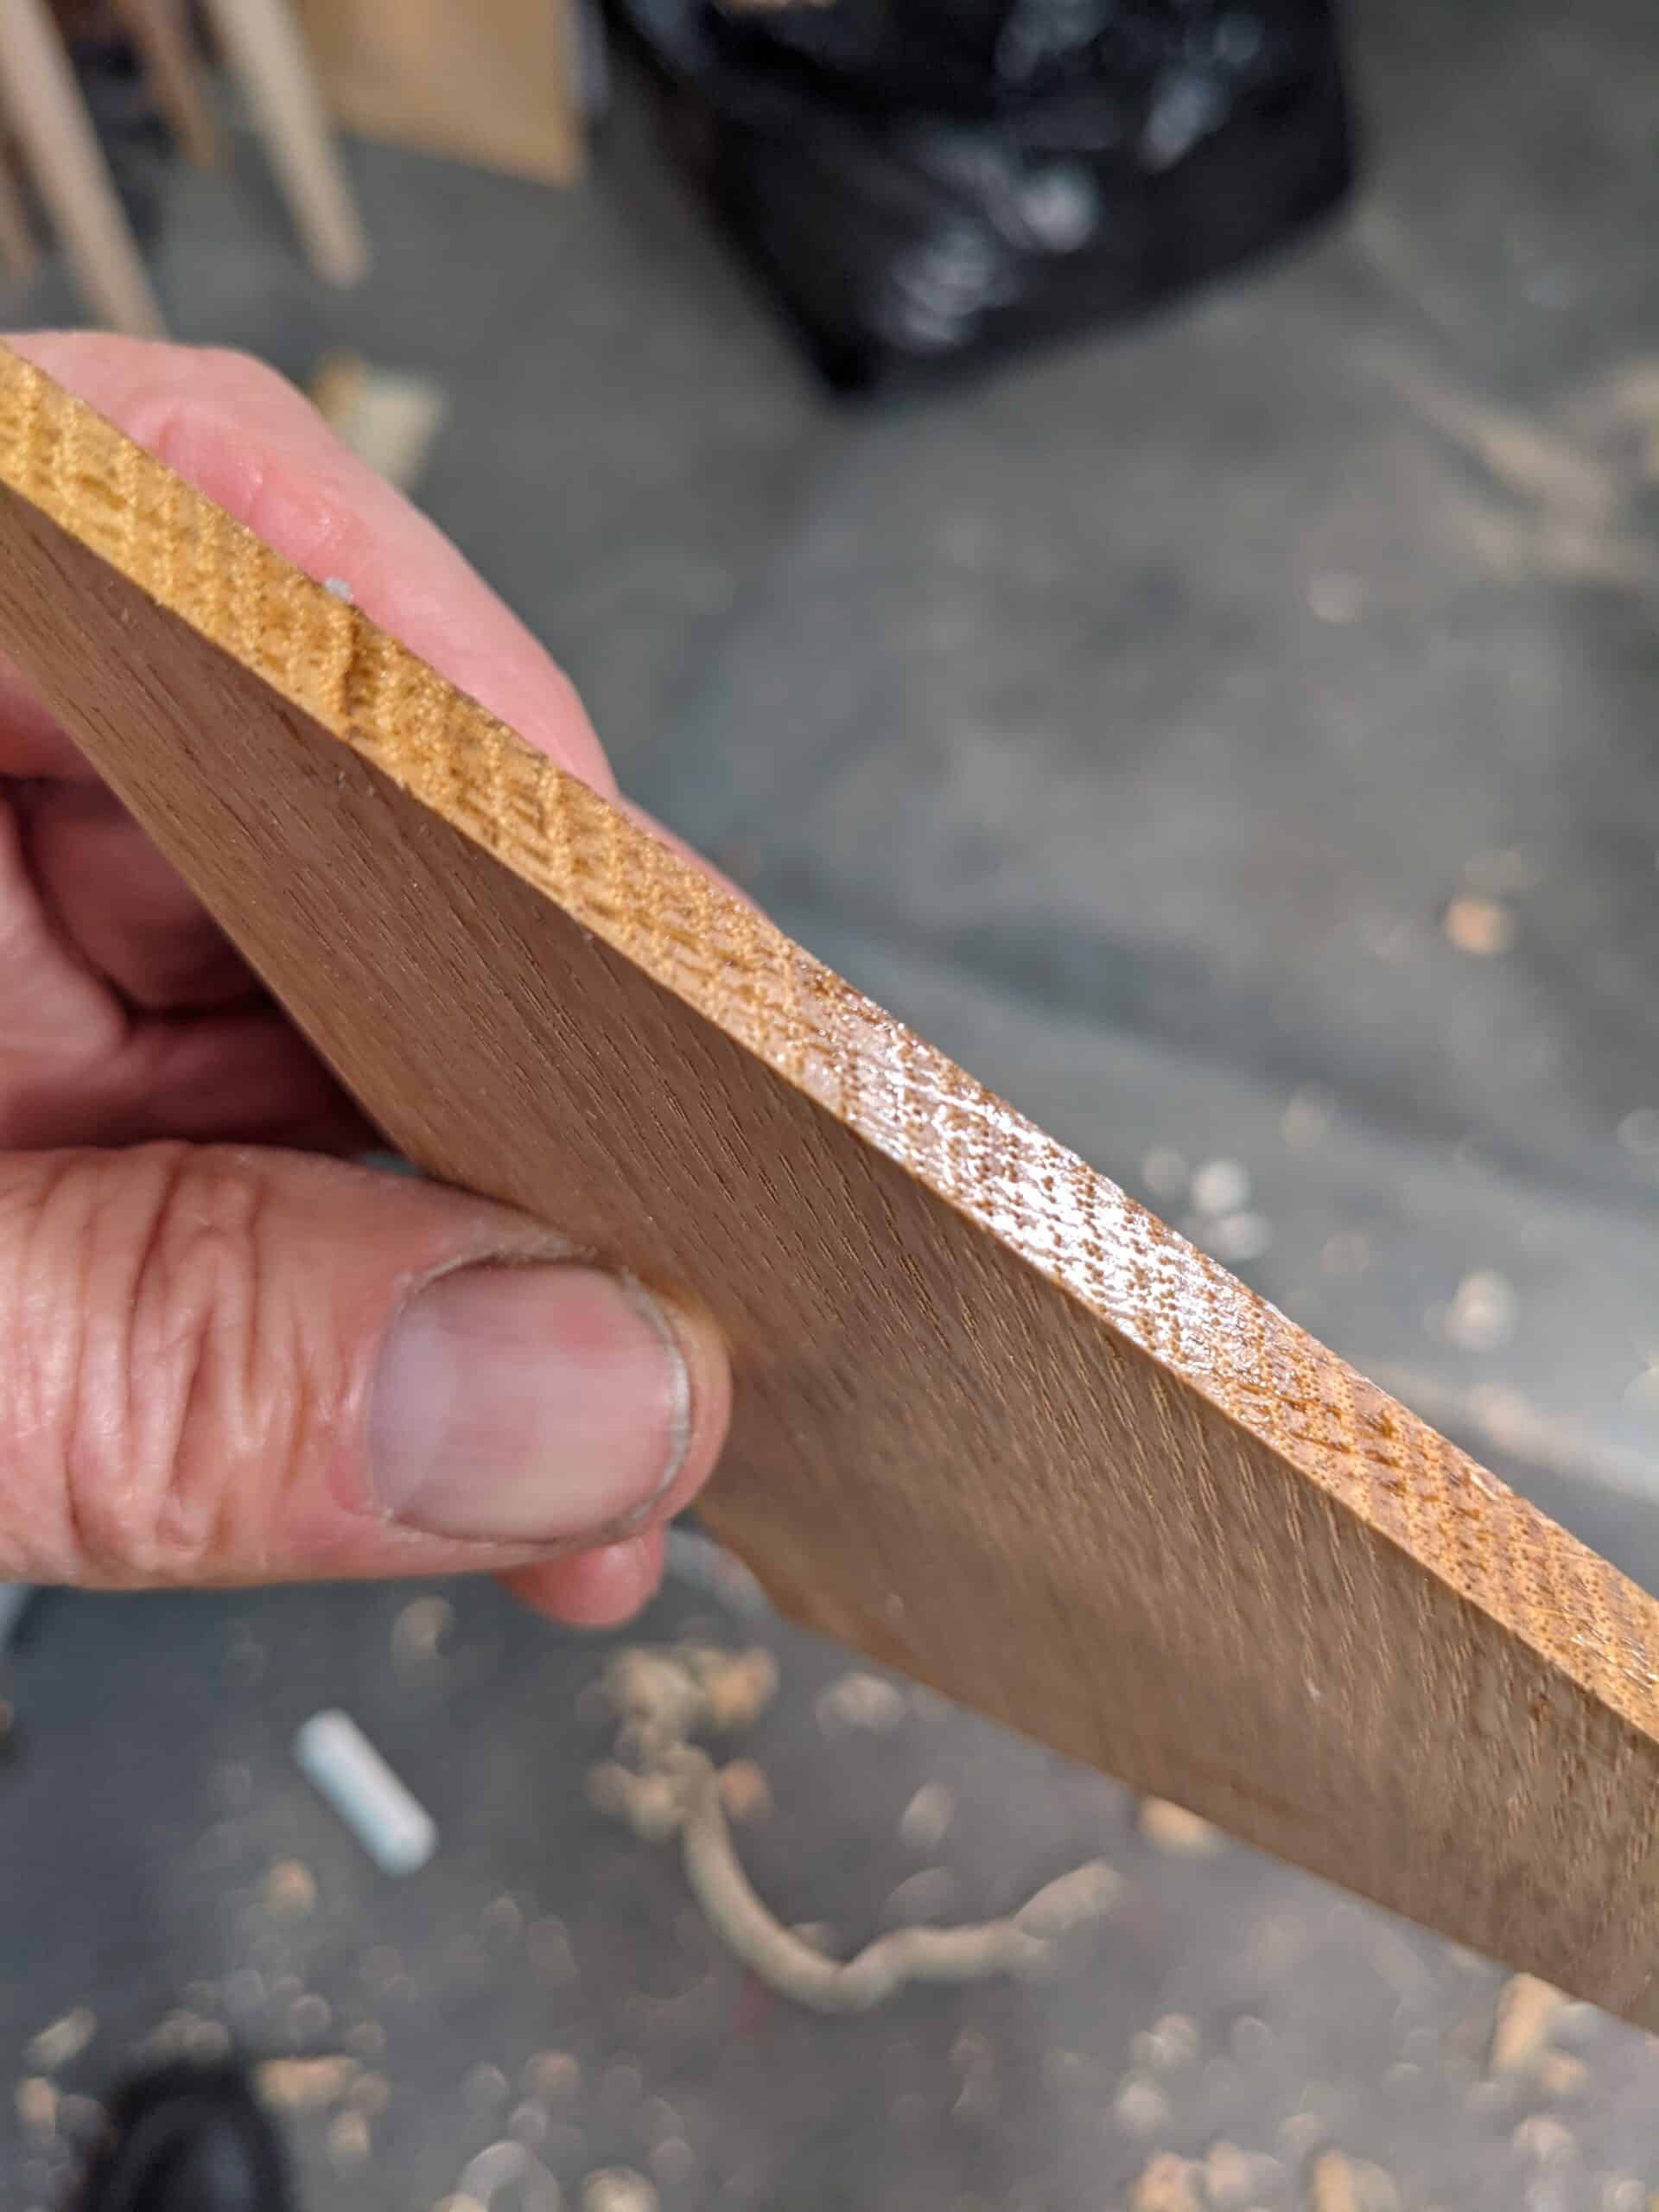
Once the edge planing and angles are done, I use a thin CA glue to fill the pores and grain fibres. Drizzling it on the end grain fibres allows it to wick in and solidify the edge. The capillaries suck up the superglue well into a good half inch and given a few minutes it sets very well. I usually take a single pass with the supersharp plane to clean up the edges and pick up any slight snags. Once this is done I bevel the edges with a low angle plane skewed to the long axis of the grain and that’s all I need.
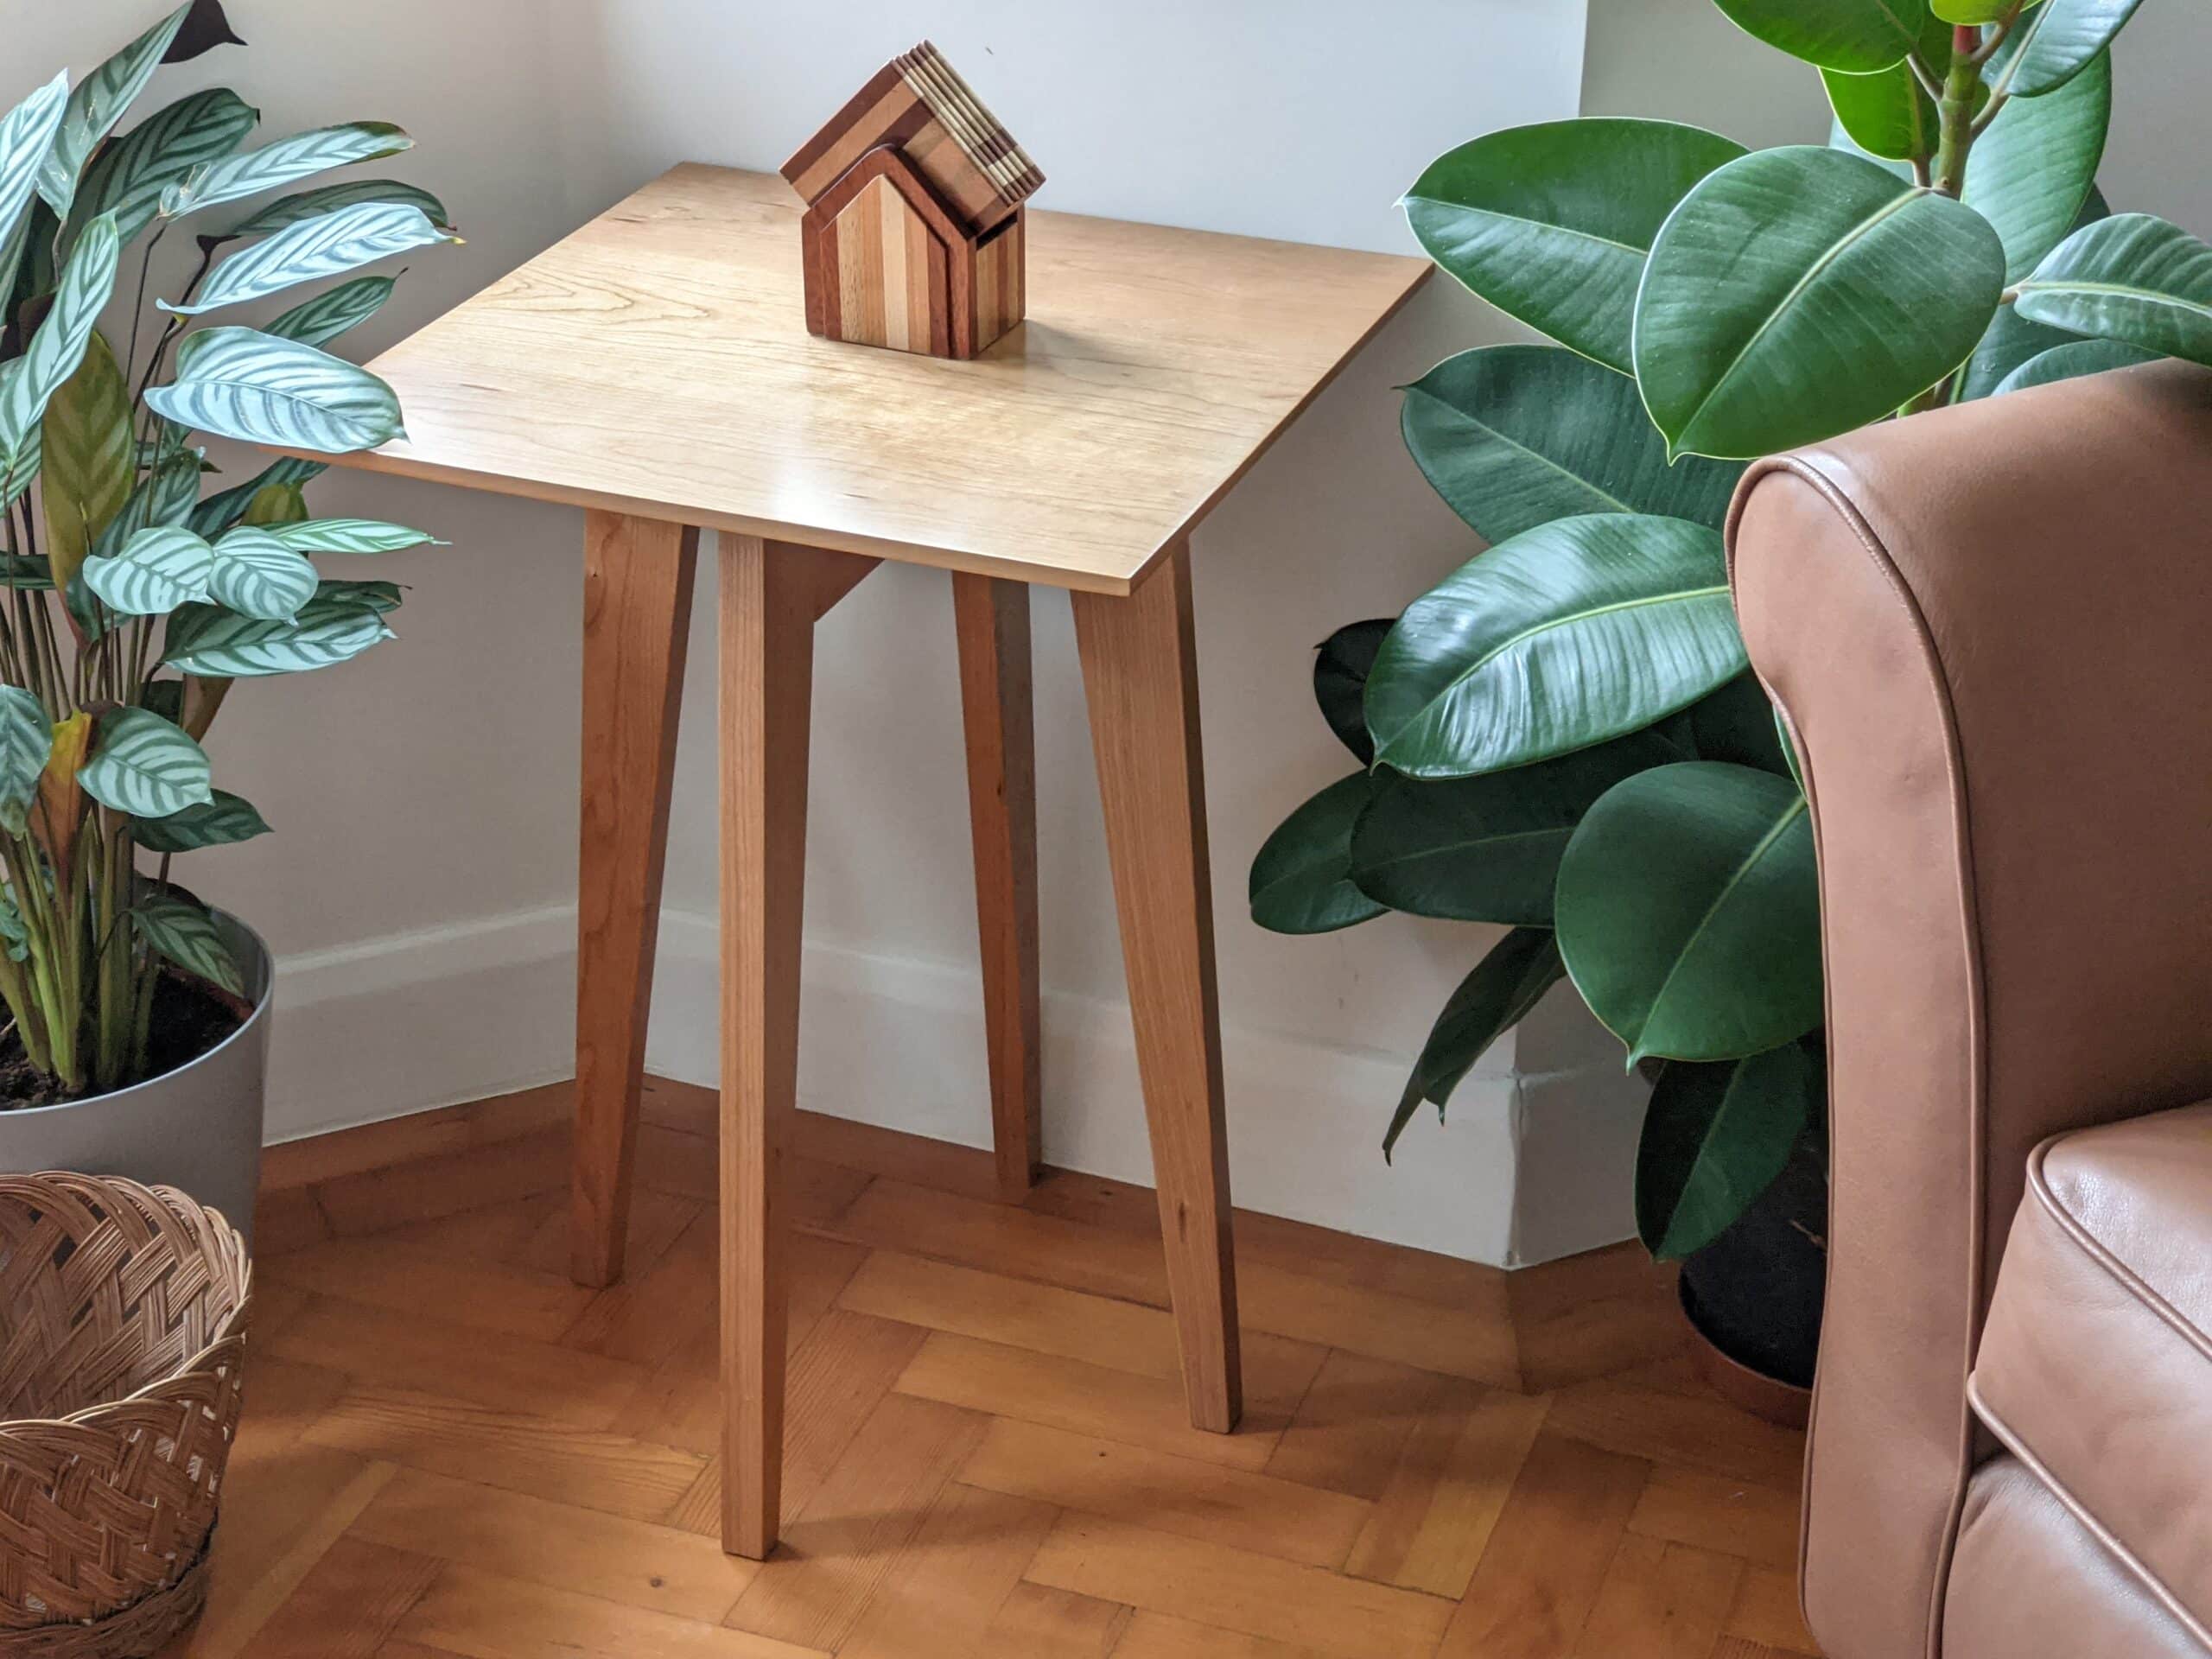
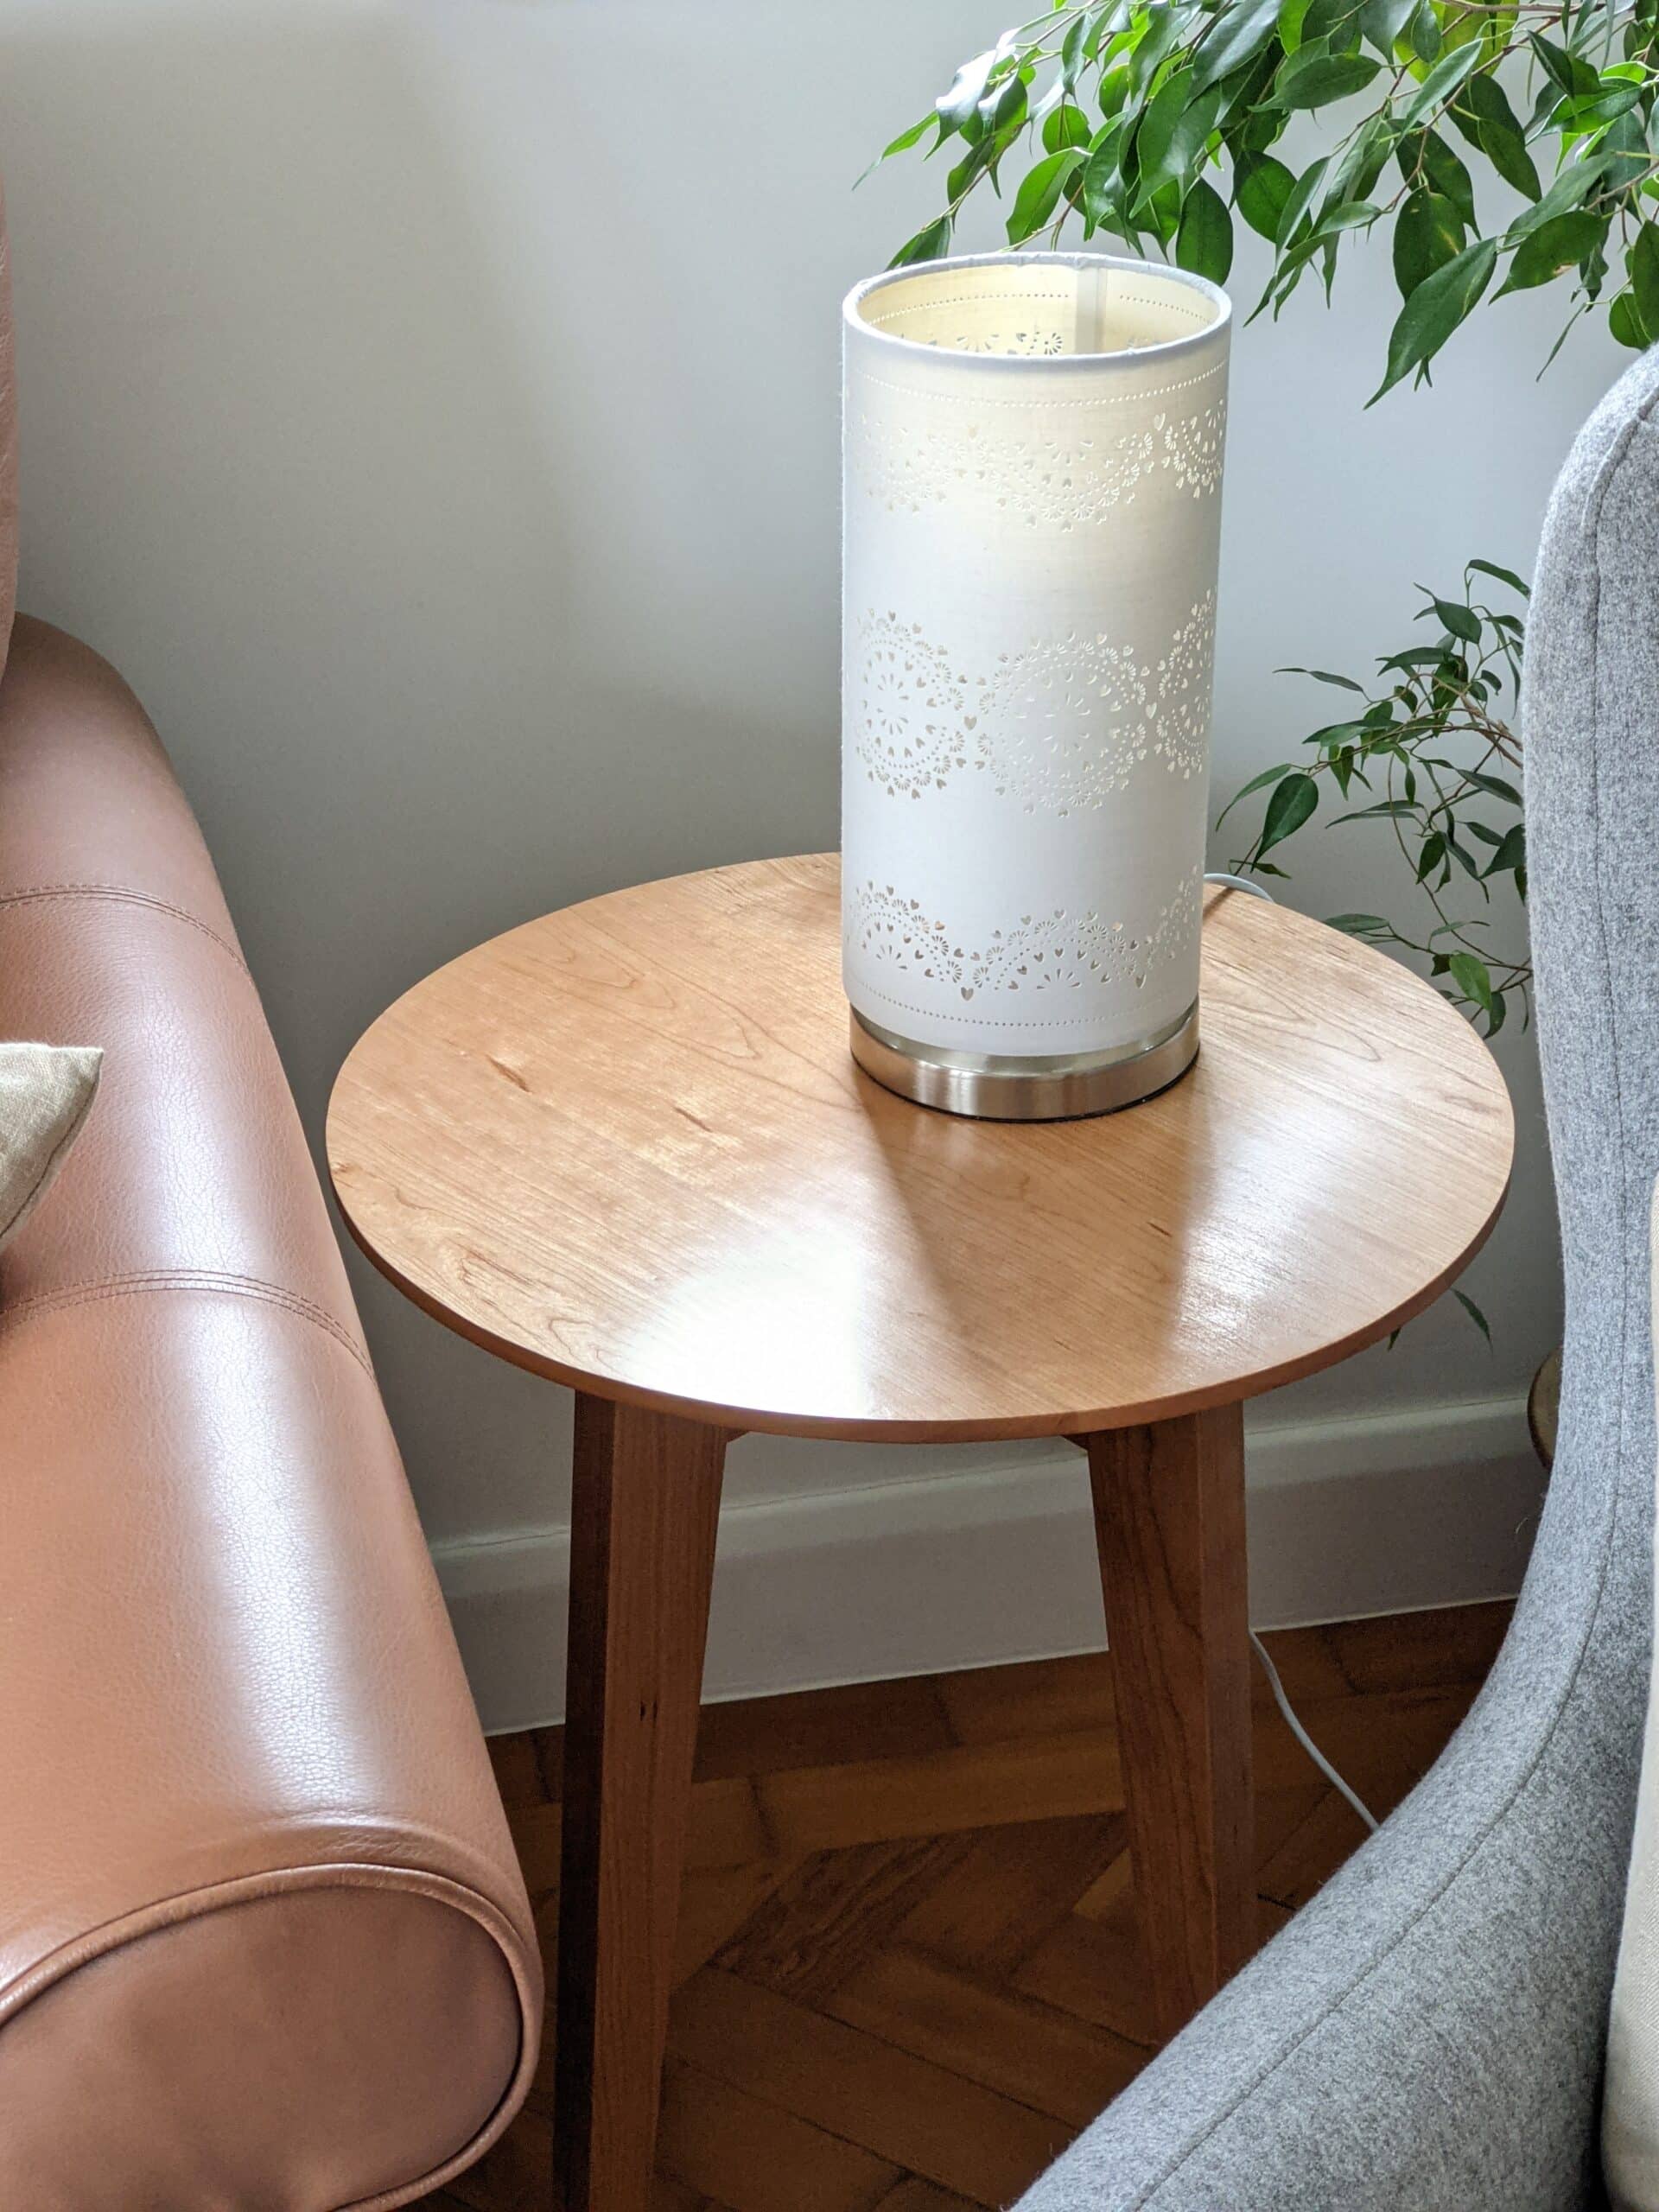
This week I finished the end tables for the Sellers’ home series and put them in the living room collection where they seemed to nestle down perfectly. I used cherry, but of course, oak would also have gone perfectly well too. There is something special about these pieces but what I think is remarkable is what I have made from cherry I bought for £300. The first piece of the year was the cherry rocking chair. I made three of these at the same time, one in oak, one from two-by studs and then the final cherry version. Next came the cherry coffee table followed by the bookcase. Remember, I always make two of the pieces so that one becomes the first iteration of the prototypes. I made the TV stand from mixed woods but mainly oak and cherry tambour panelling from scraps. The total cherry piece of the wall shelf was another from the £300 lot and now I have four cherry tables, three for the Sellers’ home collection. So seven pieces with still some cherry left for another piece yet!
Currently, I am prototyping the dining table for the Sellers’ home dining area of the new kitchen. It will be an uncomplicated piece for the eating area by the big windows and doors. Remember though, I am prototyping in pine and this can be more than acceptable for a dining table. But, I also like painted wood finishes and this can be done in a variety of ways and not the least of which is to age the wood to make it vintage looking.
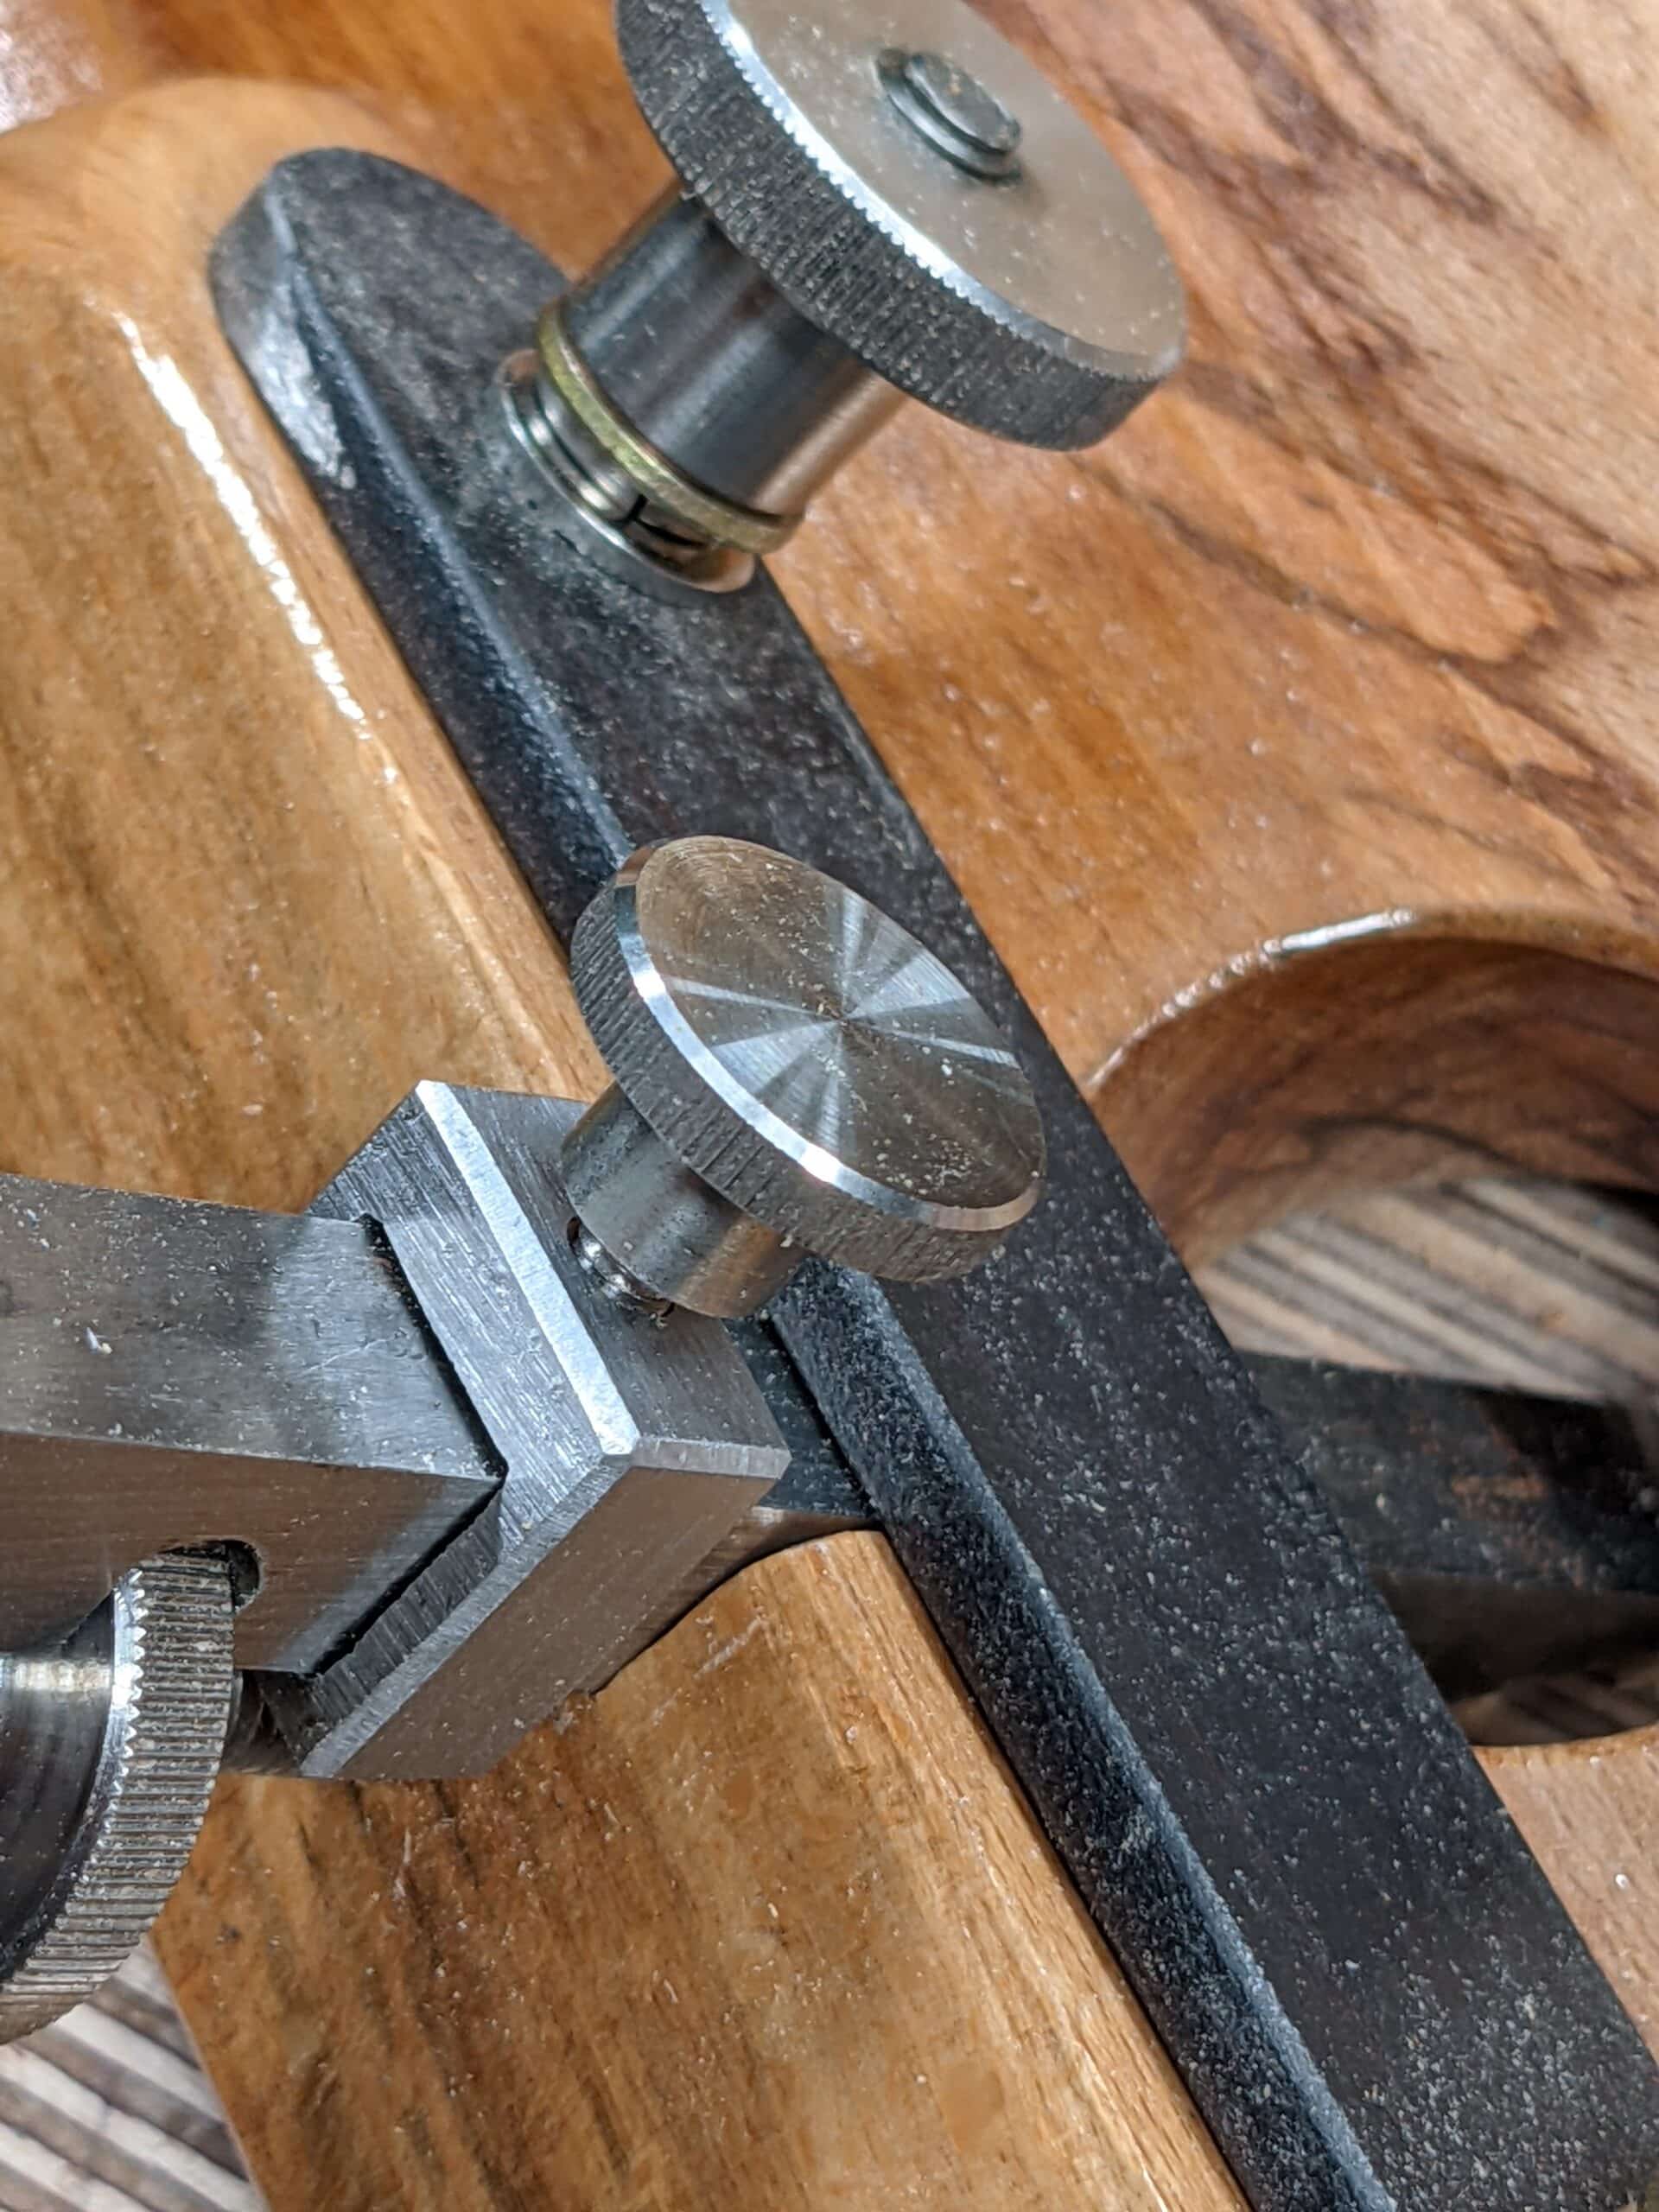
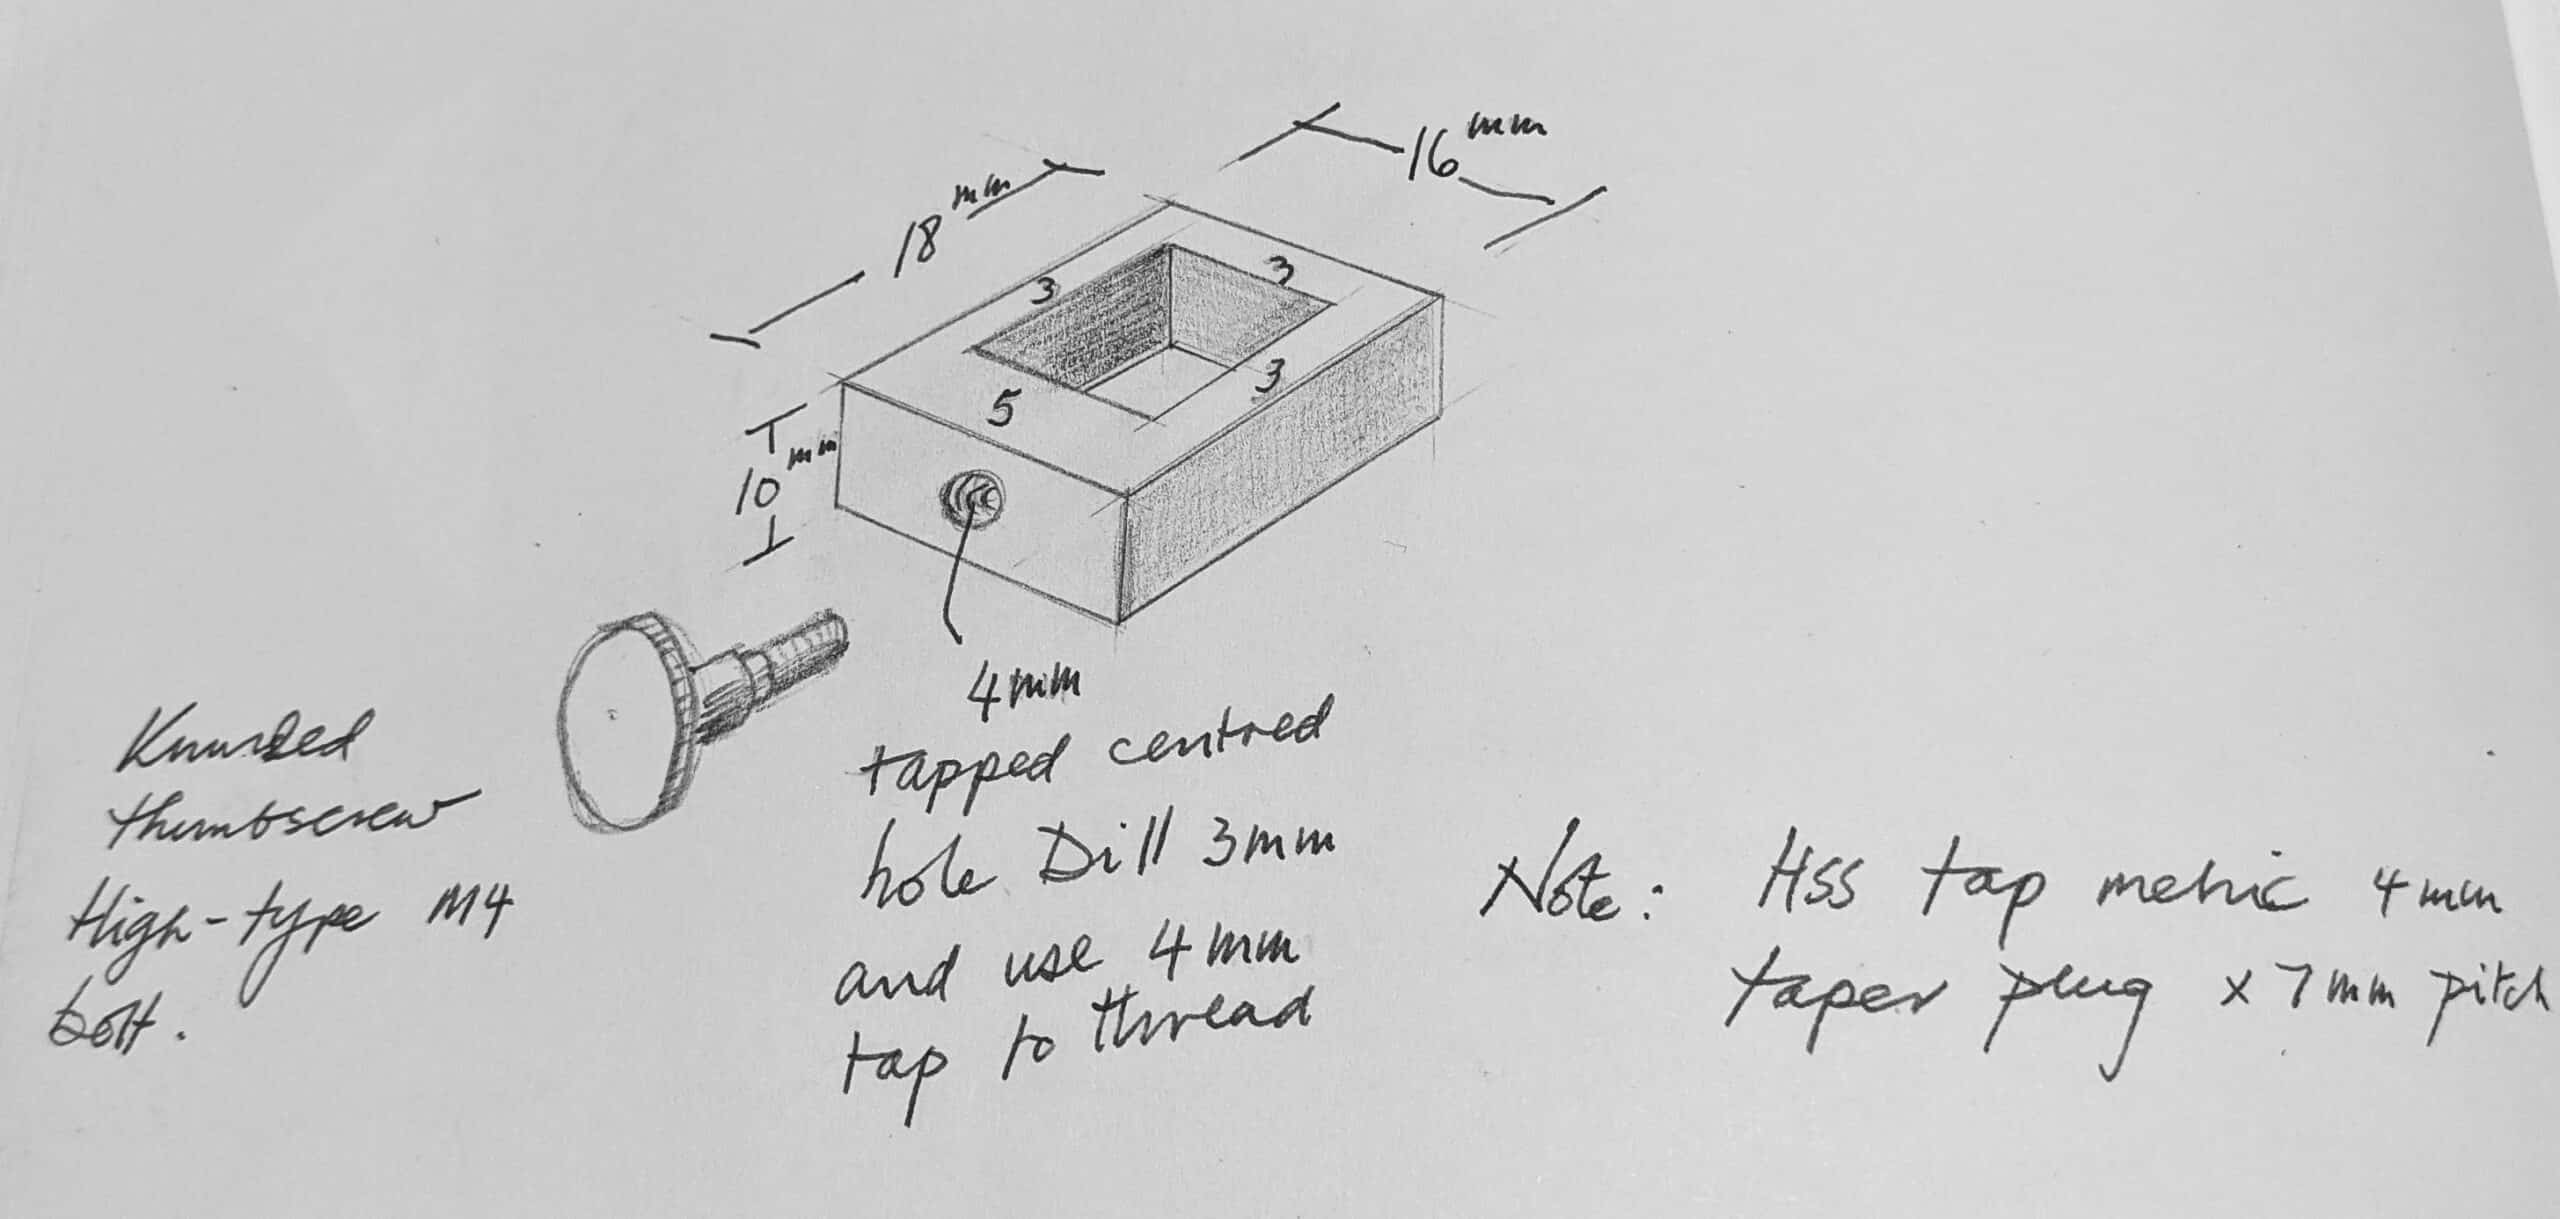
I have some upgrades on my router planes and will let you know about them when they are tested thoroughly enough for functionality and longevity. Here is a collar that won’t wear out in a hurry. I made it as a depth stop from a section of O1 flatstock steel even though I don’t see myself using it but once a year, maybe. A 10-12mm section of any steel or brass will do. It’s nothing tricky, basic metalworking, drilling, filing, tapping and so on. I will show the whole process for this in a blog, most likely. I have another simple upgrade made from nylon I will show you when I am done, that will make the plane even better and more versatile.
Love those tables! Happy Thanksgiving Paul, I hope you can find a way to celebrate even though you’re not in the US anymore.
Yes, we always celebrate American thanksgiving this time of year. I have 23 fond memories of Thanksgiving from my USA life and it’s carried over here in the UK since my return in 2009.
I regularly use some of my grandfather’s tools which have his name stamped on them in a similar way to your name on your setsquares. I would like to get hold of a stamp for myself but so far have been unable to source one. Can you make any suggestions where I could get one made?
Chalco here in the UK makes them to order. http://www.chalcostamp.co.uk/index.html
Love the stop collar idea and the wonderful quantity and quality of teaching you have given to us all. But, I’m going to predict the next refinement of the best router plane in the world–at least in the ones I will make–will be to provide a bearing surface for the stop collar by making the back surface of the elevated cutter bed body normal to the cutter, that or leave in a substantial boss around the cutter that will do the same thing.
Never mind. Watched the video again. You’re way ahead of me. It’s designed in. Nice. Just so nicely done.
If you’re residing in the USA, I recommend Infinity Stamps Inc. in California.
They’ve made steel stamps to replicate original fonts and a few logo stamps for my business. They do nice work.
Good day Paul.
A couple of small thoughts if I may.
First, I never heard of the superglue in the endgrain trick before. What a great idea. Thank you, I’ll remember that one.
Second, with your depth stop. I see your notes say to drill 3mm to tap 4mm thread. But the commonest pitch of 4mm thread has a core diameter of 3.3mm (0.7mm pitch) so one would risk breaking the tap in steel. Of course 3.3mm drills while they exist are uncommon, but 1/8″ drills are as common as mice and daisies. Conveniently, 1/8″ is 3.175mm; much closer to the correct hole size. So a 1/8″ drill would give the M4x0.7 tap a much easier time of it.
Hope that helps. Have a great day.
Kindest regards;
Rod.
Off topic alert!
Speaking of taps, threads. I have a Record 778, dark blue, missing fence clamping screw. Would they be Whitworth threads? Any suggestions for knurled head screws or plane parts (not eBay plane parts miners) would be appreciated.
Thanks,
David
Paul,
I am curious how, or if, you deal with the input from the lady of the house on your furniture designs?
I love my wife but must always temper my furniture designs with what she wants. Sometimes her desires are either not practical (which she realizes only after they are in use) or very difficult to produce in my shop.
I look forward to each and every blog you post. I love your optimistic, positive outlook on life, your creativity and innovation, and your passion for your craft. Your generous spirit means thousands of people all over the world have discovered what you always say: ‘I know you can do it.” Thanks.
Using scraps is very satisfying. I was working at the home of a customer and she alerted me to the thin pieces of floor underpayment she was throwing away. The wood is hemlock I believe. Some 300 years old. That wood turned out to be the first planing project for me. Recently I have been making I=pad holders from it. All kinds of different looks to the pads is exciting to design.
I don’t quite understand the super glue info Paul included, maybe someone could explain it for me. Thanks as always
At least three purposes: 1) Seal the end grain to prevent moisture gains/loss and resultant warpage, 2) toughen edge to prevent wear and resultant inaccuracy, 3) toughen edge to prevent fraying of edge wood fibers and resultant non-straight edge.
4) Fill the edge grain to make it smooth so lines drawn from it are clean.
Thanks that is great information. Nothing like understanding
Jim
Hi Paul,I was brought up that the ruler lived in England and the device for measuring with is called a rule.Even when I was draughting the device was called a scale rule.
You are an amazing fella Paul…..thanks for all you give us
Best john 2V
dear paul,
you have far more experience than me, so I hesitate to suggest this…however if the depth stop commonly slips, would it be worth trying an alternative ‘split ring’ type depth stop design, where the depth stop is in a square (or actually rectangular) c collar shape, where the screw thread goes through the the tips of the C?
This design is straightforward to make, but allows the full 4 sides of the stop to grip the blade stem. It certainly works better as a drill stop, and it is a design sometimes used in industrial collar applications because of better grip.
[please delete this bit if not appropriate -> see https://www.leevalley.com/en-gb/shop/tools/power-tool-accessories/guides/32244-split-depth-collars-for-drills to get an idea of what I mean if havent explained well?]
Everyone loves the warmth of cherry heartwood. Now i am hungry for a bowl of fresh cherries…
I always save all my scraps, almost any size. Just used a bunch of small offcuts of Ipe, Spalted Walnut, Spalted Maple, and Japanese Cherry to make veneers for iron handles for my daughters craft brew pulls. 5/16 x 13/16 x 2.5 inches. All but the Ipe came from our farm- pruning of branches, some left to spalt, and then all dried for 5-10yr. These pieces were the scraps left from preliminary shaping of projects such as shoe horns, long narrow ‘bowls’ etc. The Ipe was from offcuts given to me by a landscape company. Even the different dust from sanding is saved for many applications.
Any more word on the upgrades to the router plane?