Wood Moves, ALways, All ways
I am often troubled by how many woodworkers are surprised by their wood moving after they’ve recently ripped and planed it true. I understand that this more an ignorance of what they are working with so it is important to discover this reality early on in your woodworking life. This will help to avoid disappointment and ensure successful making as you progress. The reality is that wood will almost always move differently in accordance with the wood type, the level of dryness, the level of surrounding atmospheric moisture, such like that. Truth is, it’s going to move by unpredictable amounts in unpredictable ways no matter how good the science is. Science helps a little, not much, it’s what science cannot predict that influences our work at the bench. Being in tune with your wood means seeing the issues in the grain; that knot, that swirl in the grain, that medullary ray cell. Hmm! This knowledge comes only by experiencing the wood you work in your zone at your hands and NY your willingness to sometimes be patient, experiment and take risks too. Mostly I see that woodworkers think that that process of size reduction and planing straight somehow stabilises their wood, that once done, the wood should no longer move, but there is no immunity to the disease of wood movement. By disease I mean did-ease. It makes you less at ease. Living with this dis-ease is par for the course. We must learn to live with it and learn to minimise its impact on our work. Unfortunately, there is no permanent fix for something that is always influenced by the weather, the atmosphere, the surrounding conditions and so on. We woodworkers just do our very best. This lack in our knowledge of wood and its properties is usually due to our not realising that the atmosphere surrounding where we live and work affects almost all craft areas by influencing the basic materials we work with. Any spinner of yarns knows about the fibres being spun and how damp, warmth, cold and so on uniquely influences how they work their material. Spinning it is one thing and then too there is the weaving of the said yarn too. It’s the same with almost all materials ranging from metals to woods and reeds to rush.

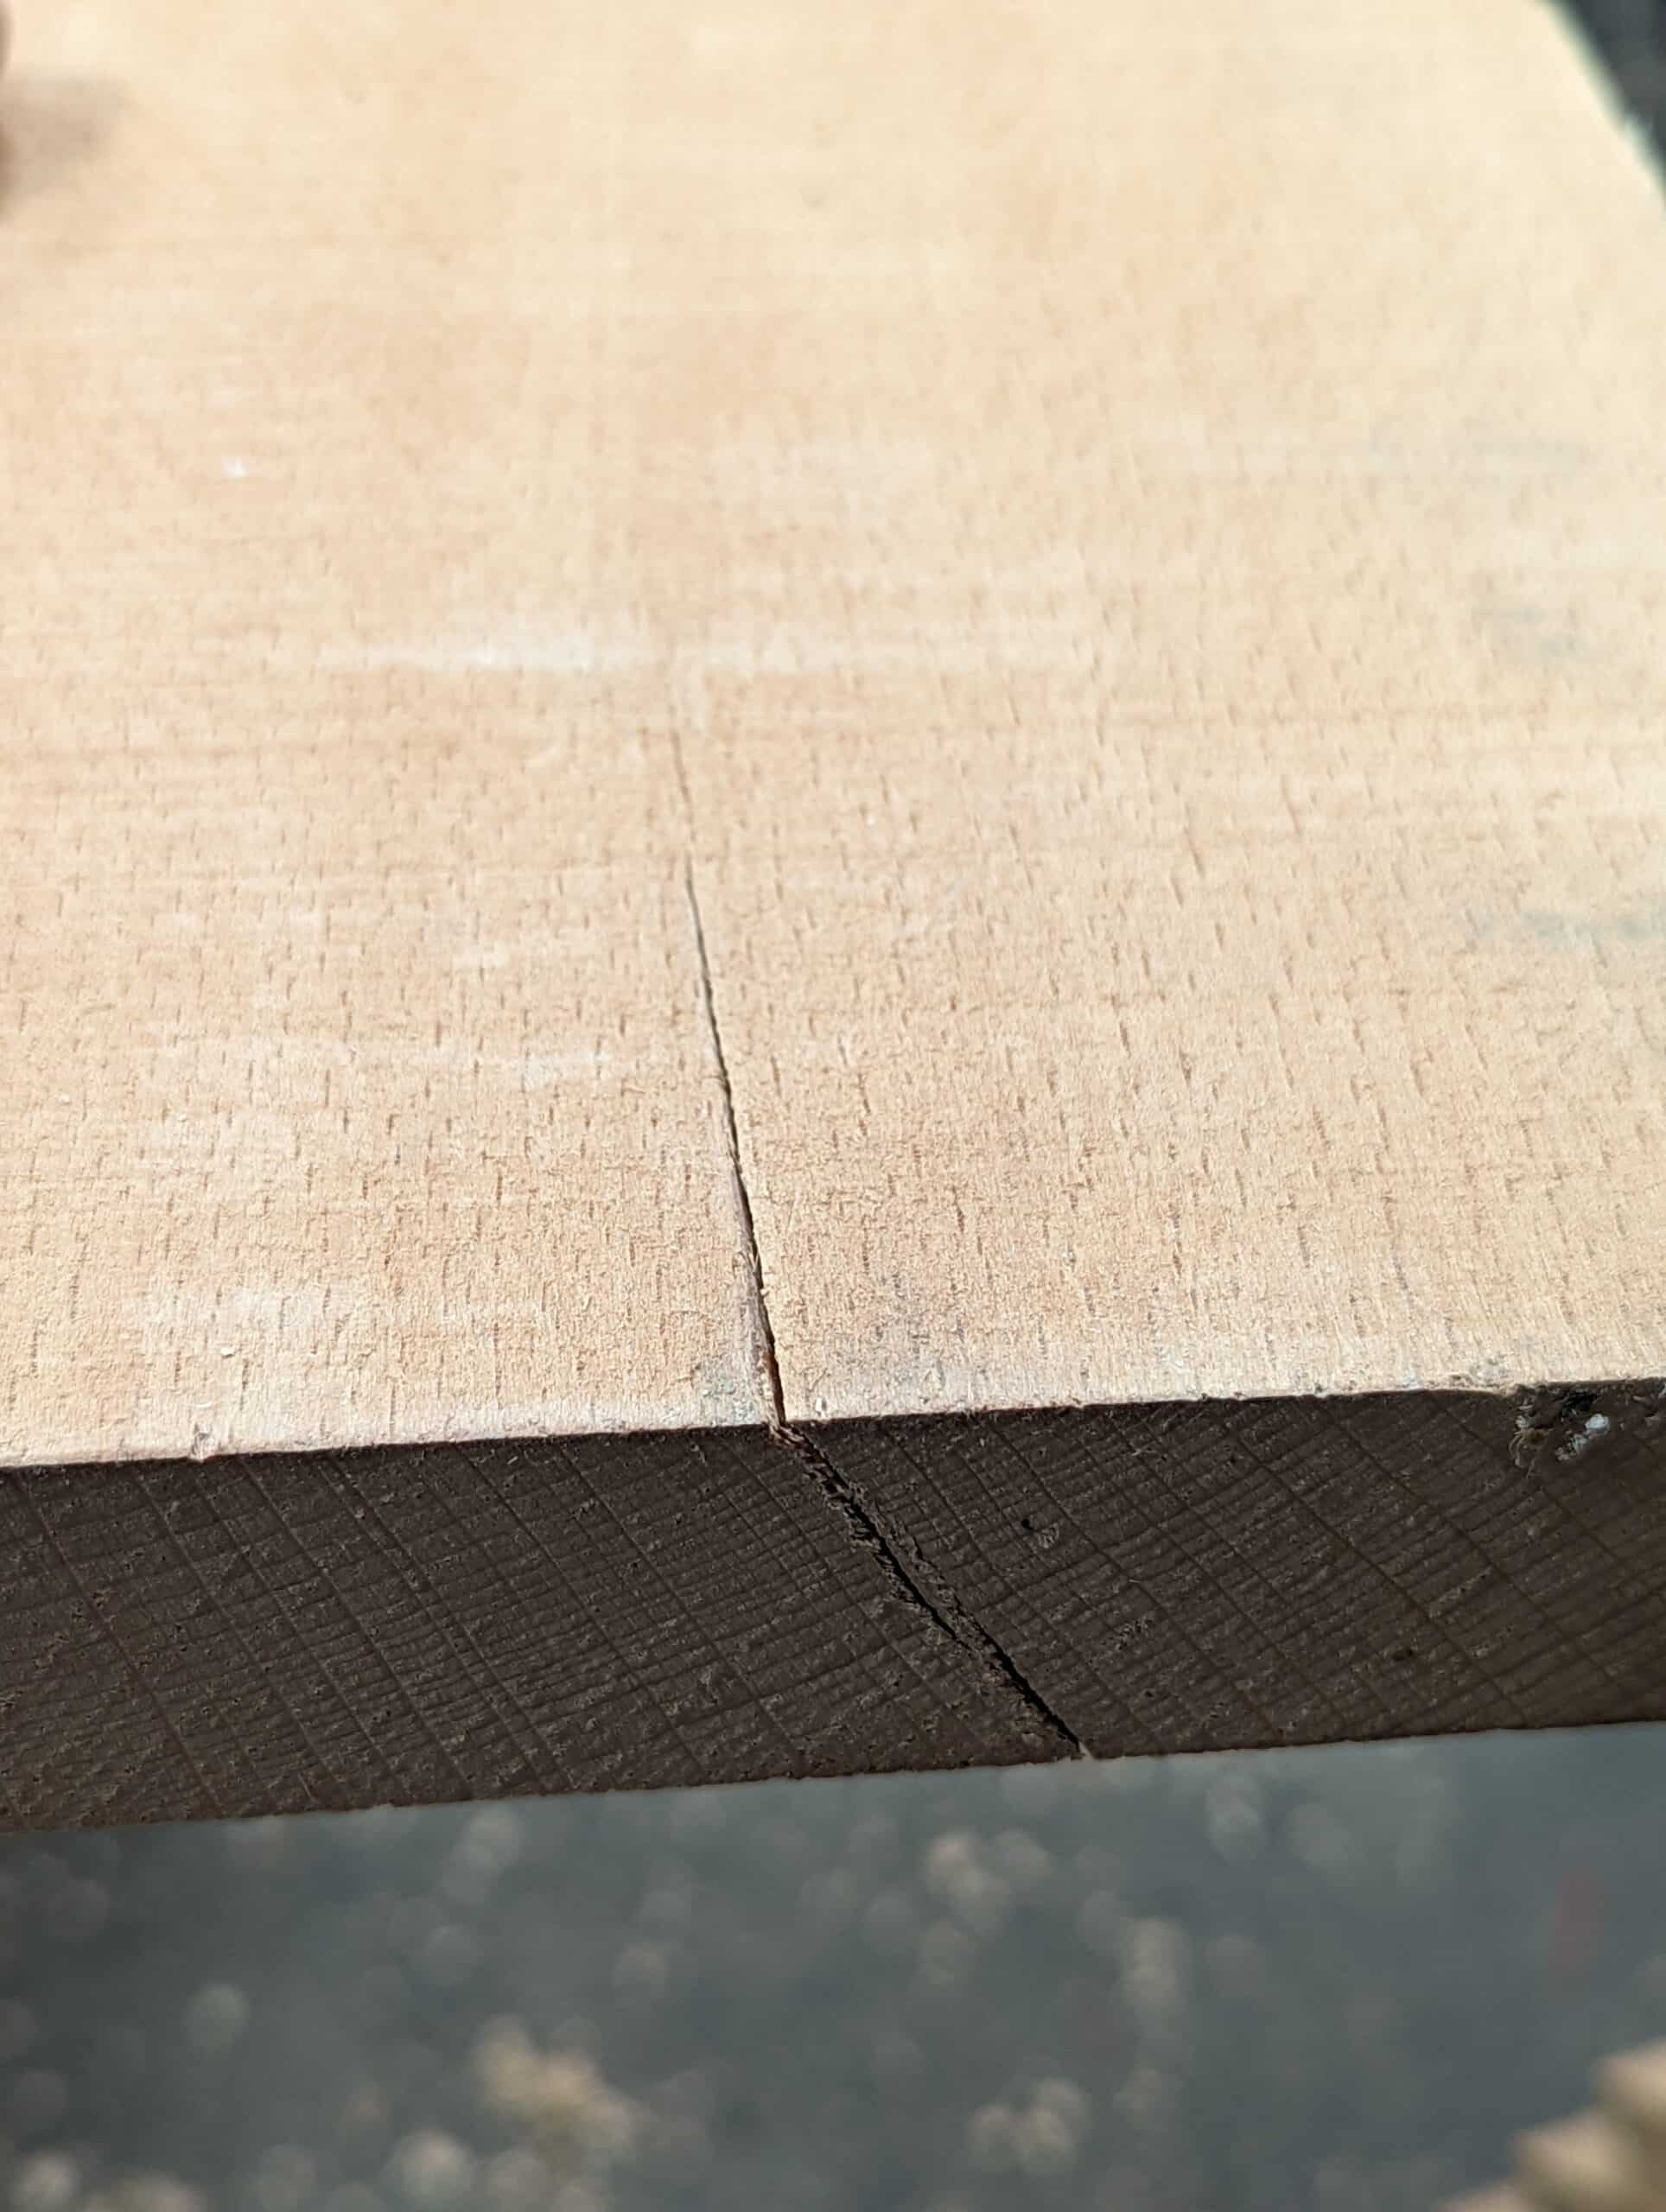
In my world of working wood, the most predictable thing about wood is its unpredictability when it’s been ripped, crosscut, planed smooth, squared and trued. We woodworkers soon begin to understand that wood continues to move and distort soon after and long after sawing, after planing and, yes, even after truing we may well need to retrue a distortion that occurs due to the permanent or temporary changes in the atmosphere our work remains in after completion. How many finished pieces of work have you seen with shrinkage cracks or cambers and twists a few weeks, many years and centuries after being made into a finished piece? I’ve worked its fibres for so long now that I factor in the probability of such movement until I have concluded the joinery. Ideally, I try to conclude my joinery within a few hours of the final dimensioning. It’s safer that way. Because of that, I usually get on with the joint making in the continuous flow of working and take the wood from squared stock to joint-making as soon as practicable. Immediately is best! Making this an essential strategy usually means that I ripcut my wood to width and thickness and then leave it close to hand and near the bench until I am ready to surface plane, thickness and true my wood. Joinery does constrain wood in almost all projects but you must have strategies. If you use breadboard ends on a flat panel like a tabletop you must dry it down to as low a moisture content as possible and use M&T joints that allow for expansion and contraction. Recesses for drawers cannot be too tight because they might expand and it can be impossible to open them later if they expand in a damper atmosphere later. Everything from door panels to drawer bottoms are designed to minimise the expanse of shrinkage and expansion. Start considering such examples more critically to better understand the reality woodworkers accepted when they made their projects a hundred and two hundred years ago.
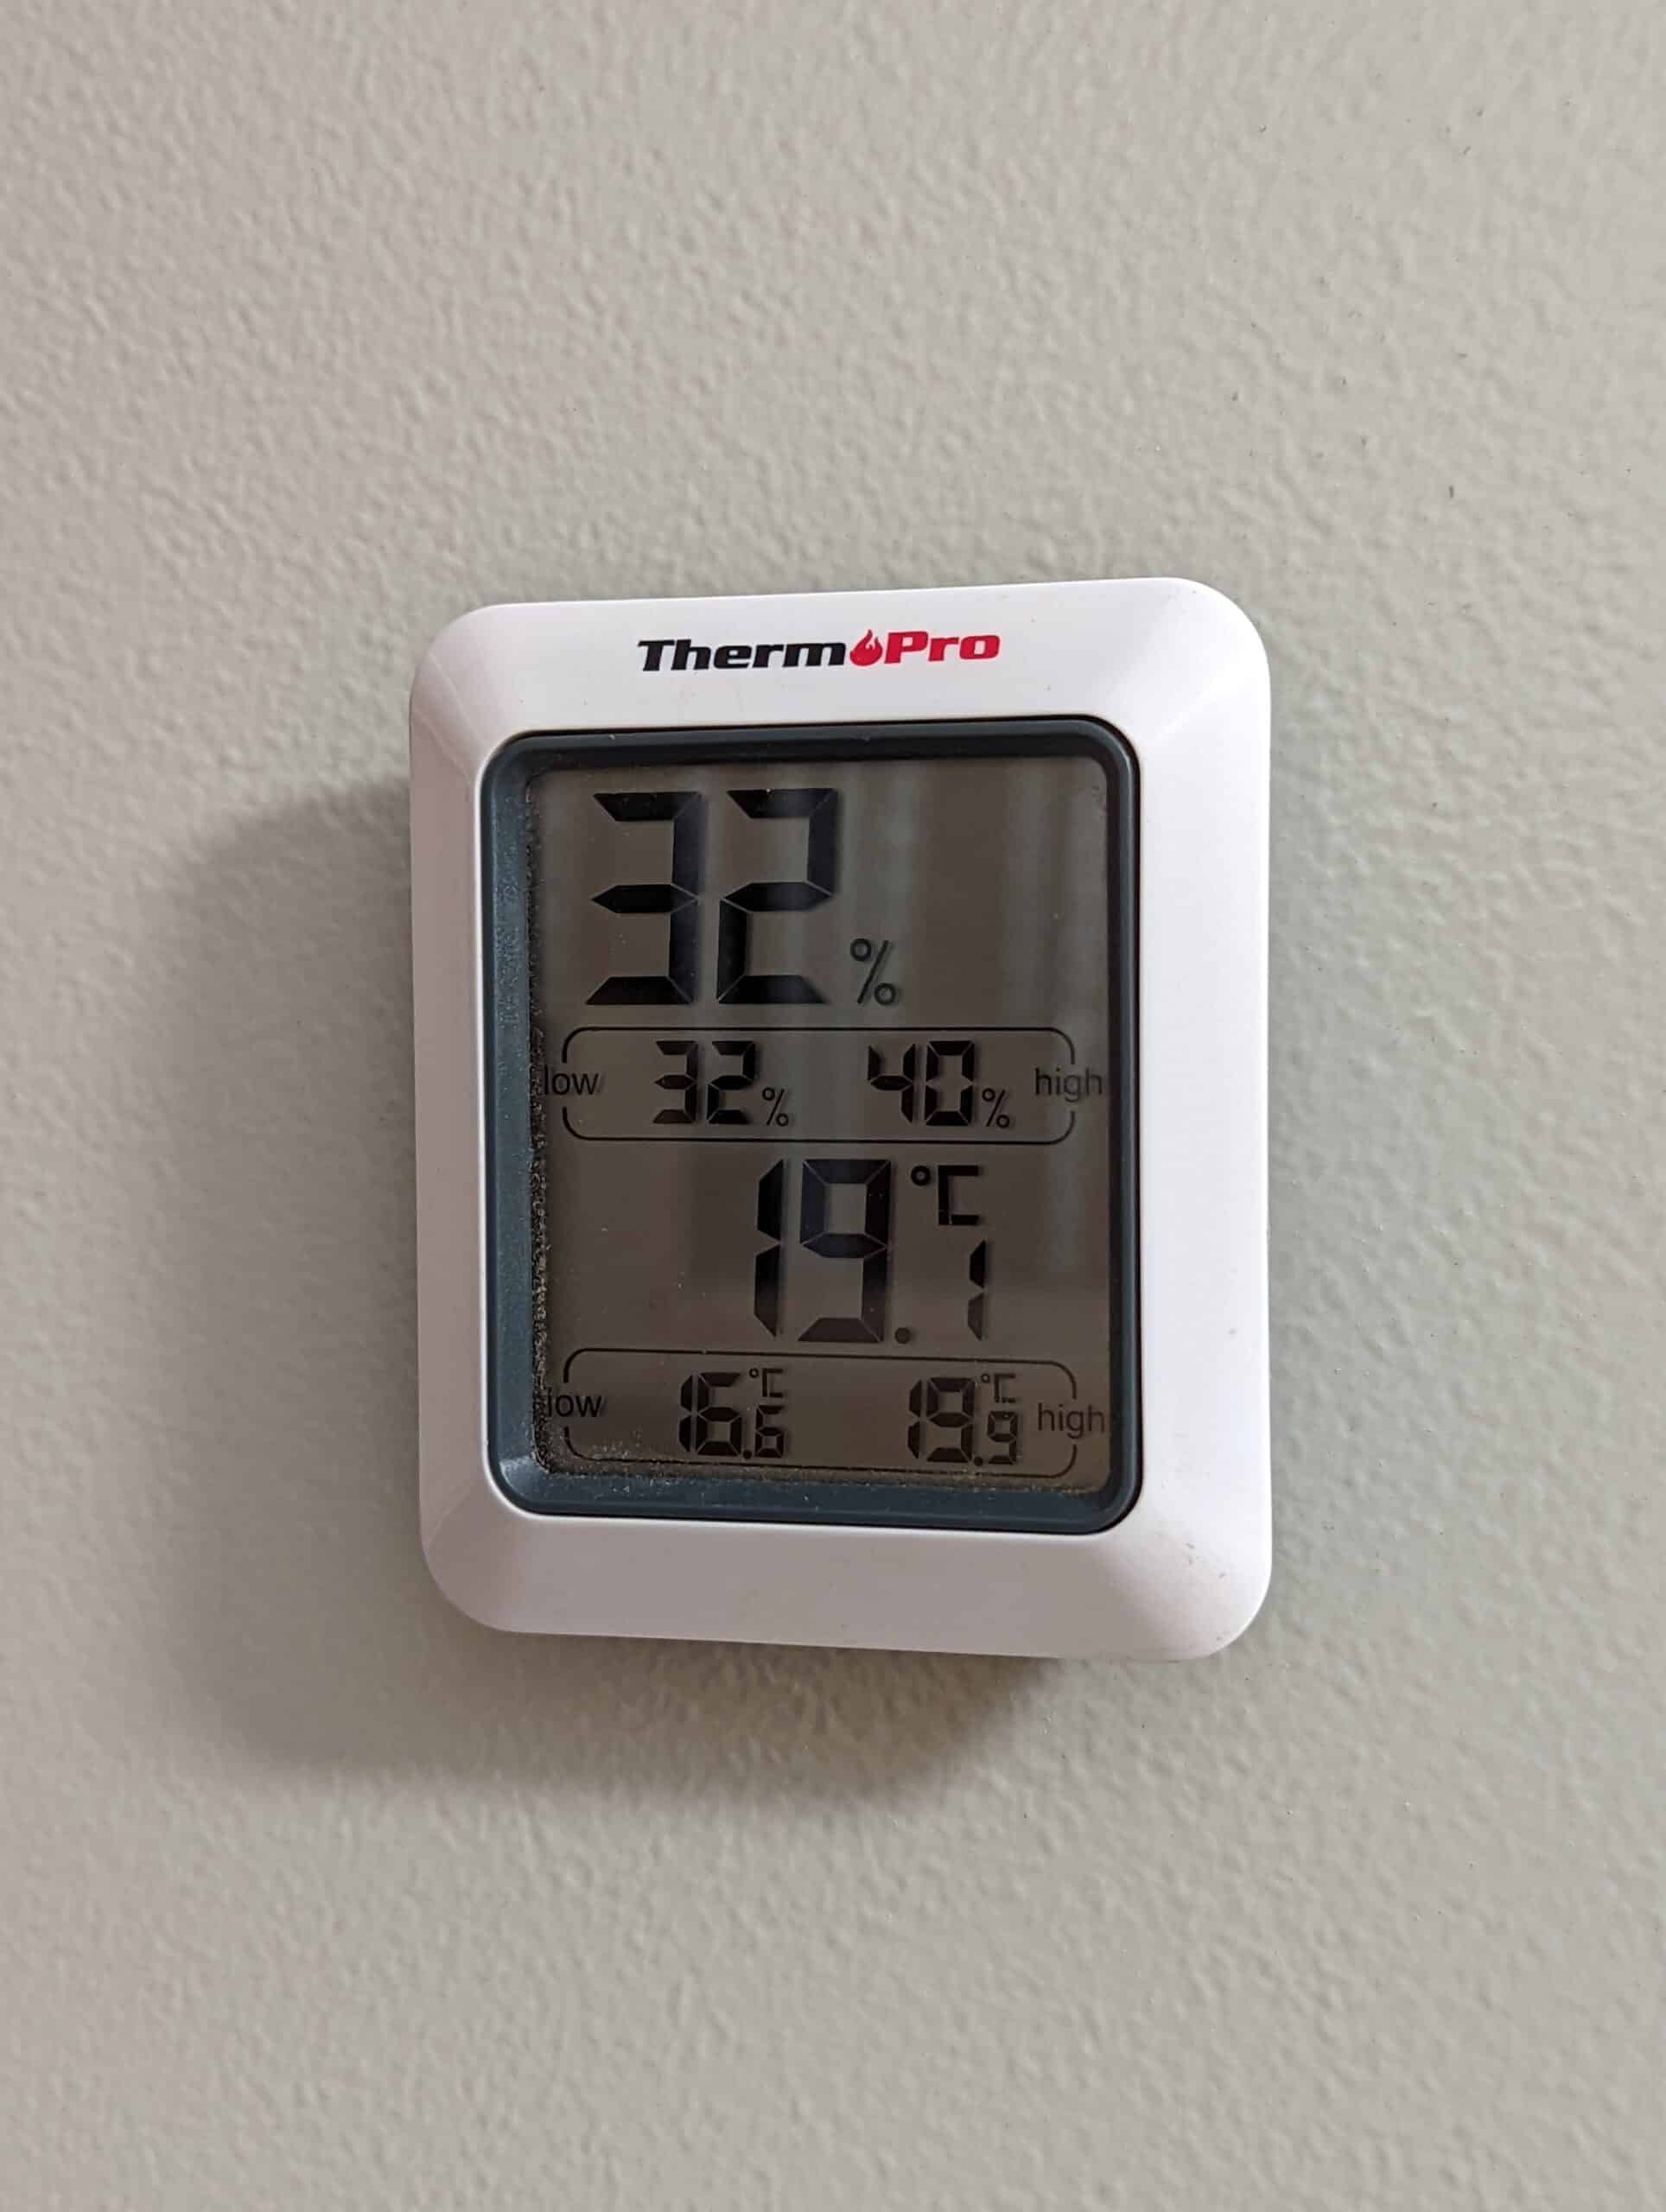
Making my chairs meant that I took the six pieces for the front legs and seat frame in successive batches, sized them and trued them and cut the six mortise and tenon joints and the four housing dadoes in quick succession until I could leave them fully assembled and constrained. Within an hour and a half, they were secured and constrained within their relative partnered piece, unable to ever move again. They will remain so until they are glued together in the final assembly. Guaranteed! So, much better not to finish preparing your wood until you know you can get to the joinery. If you can’t do as `I suggested, and you want to prep the wood so that you can dedicate your next work session to joinery, shrink-wrap it as tight as possible or bag it in a plastic bag and seal it tightly. Keep it away from any extremes of weather or atmosphere and esp[ecially if the atmosphere surrounding the wood and workshop is highly changeable. It’s a good idea to know what the atmosphere humidity/temperature is anyway. Mine is controlled. 36% seems as good as it gets to me. I rarely have any issues. Oh, and it is always good practice to keep your wood in an environment that is as stable as possible. If you don’t have that, I suggest you work on it. At my home garage, I had vast extremes of changeability. Dry-lining the walls and insulating the floor, adding damp-proof membranes, etc have changed everything to make it totally controllable. It’s easy enough to add stud walls, insulate them and face them with a material like wood or plasterboard (sheetrock USA). Concrete floors can be more problematic but still doable.
With wood being so sensitive to exchanges of atmospheric moisture levels, some woodworkers make hygrometers out of U-shaped sections of wood, strips of wood and such. The wood curves in high humidity and straightens when the levels fall. They usually just hang somewhere in the shop. But hygrometers are relatively inexpensive, accurate, and smile to read.
Anecdotally: I stored a tabletop from a longleaf pine coffee table I made in Texas from some virgin longleaf pine retrieved from the beams of a demolished factory in the loft of my garage. Prior to this, it had been stored in a storage container in central Texas where summer temperatures would be 40+ C (104 F) In my UK garage the top curved like a banana into a half-inch camber over the three years of storage. That’s over a 21″ span. In my studio workshop, it released the excess of moisture over three weeks and returned back to the original flatness of when I made it 30 years ago.
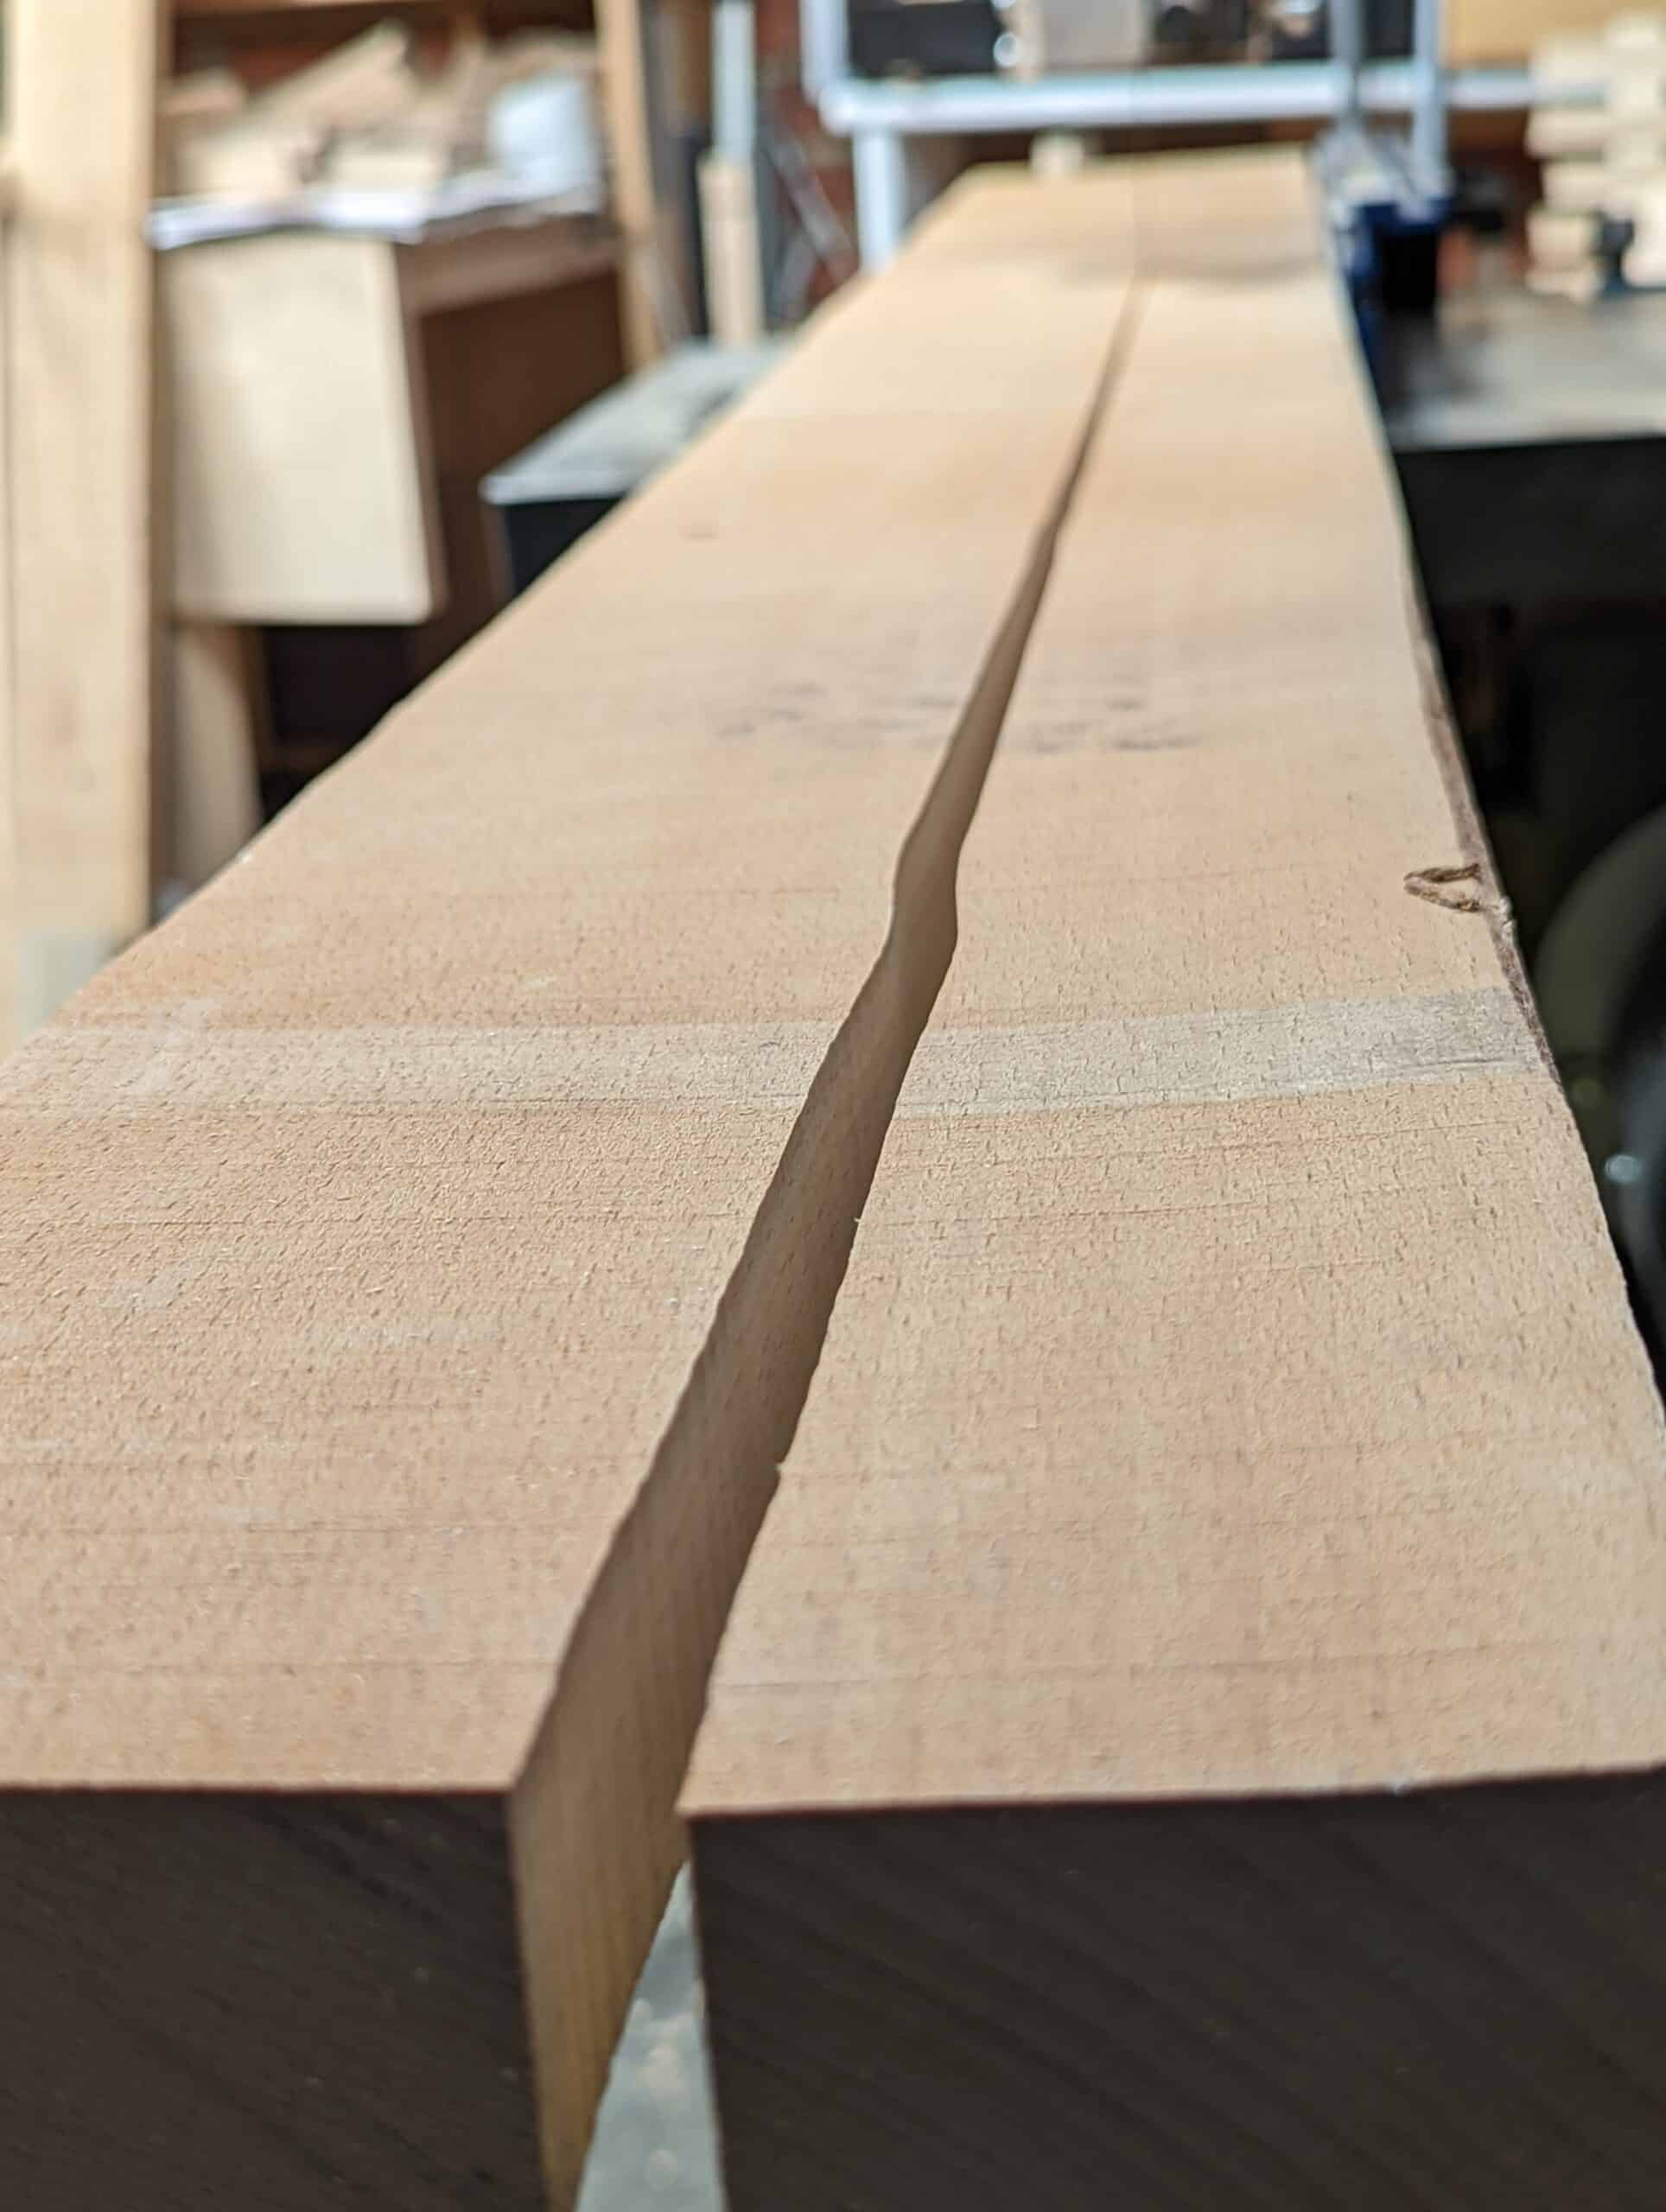
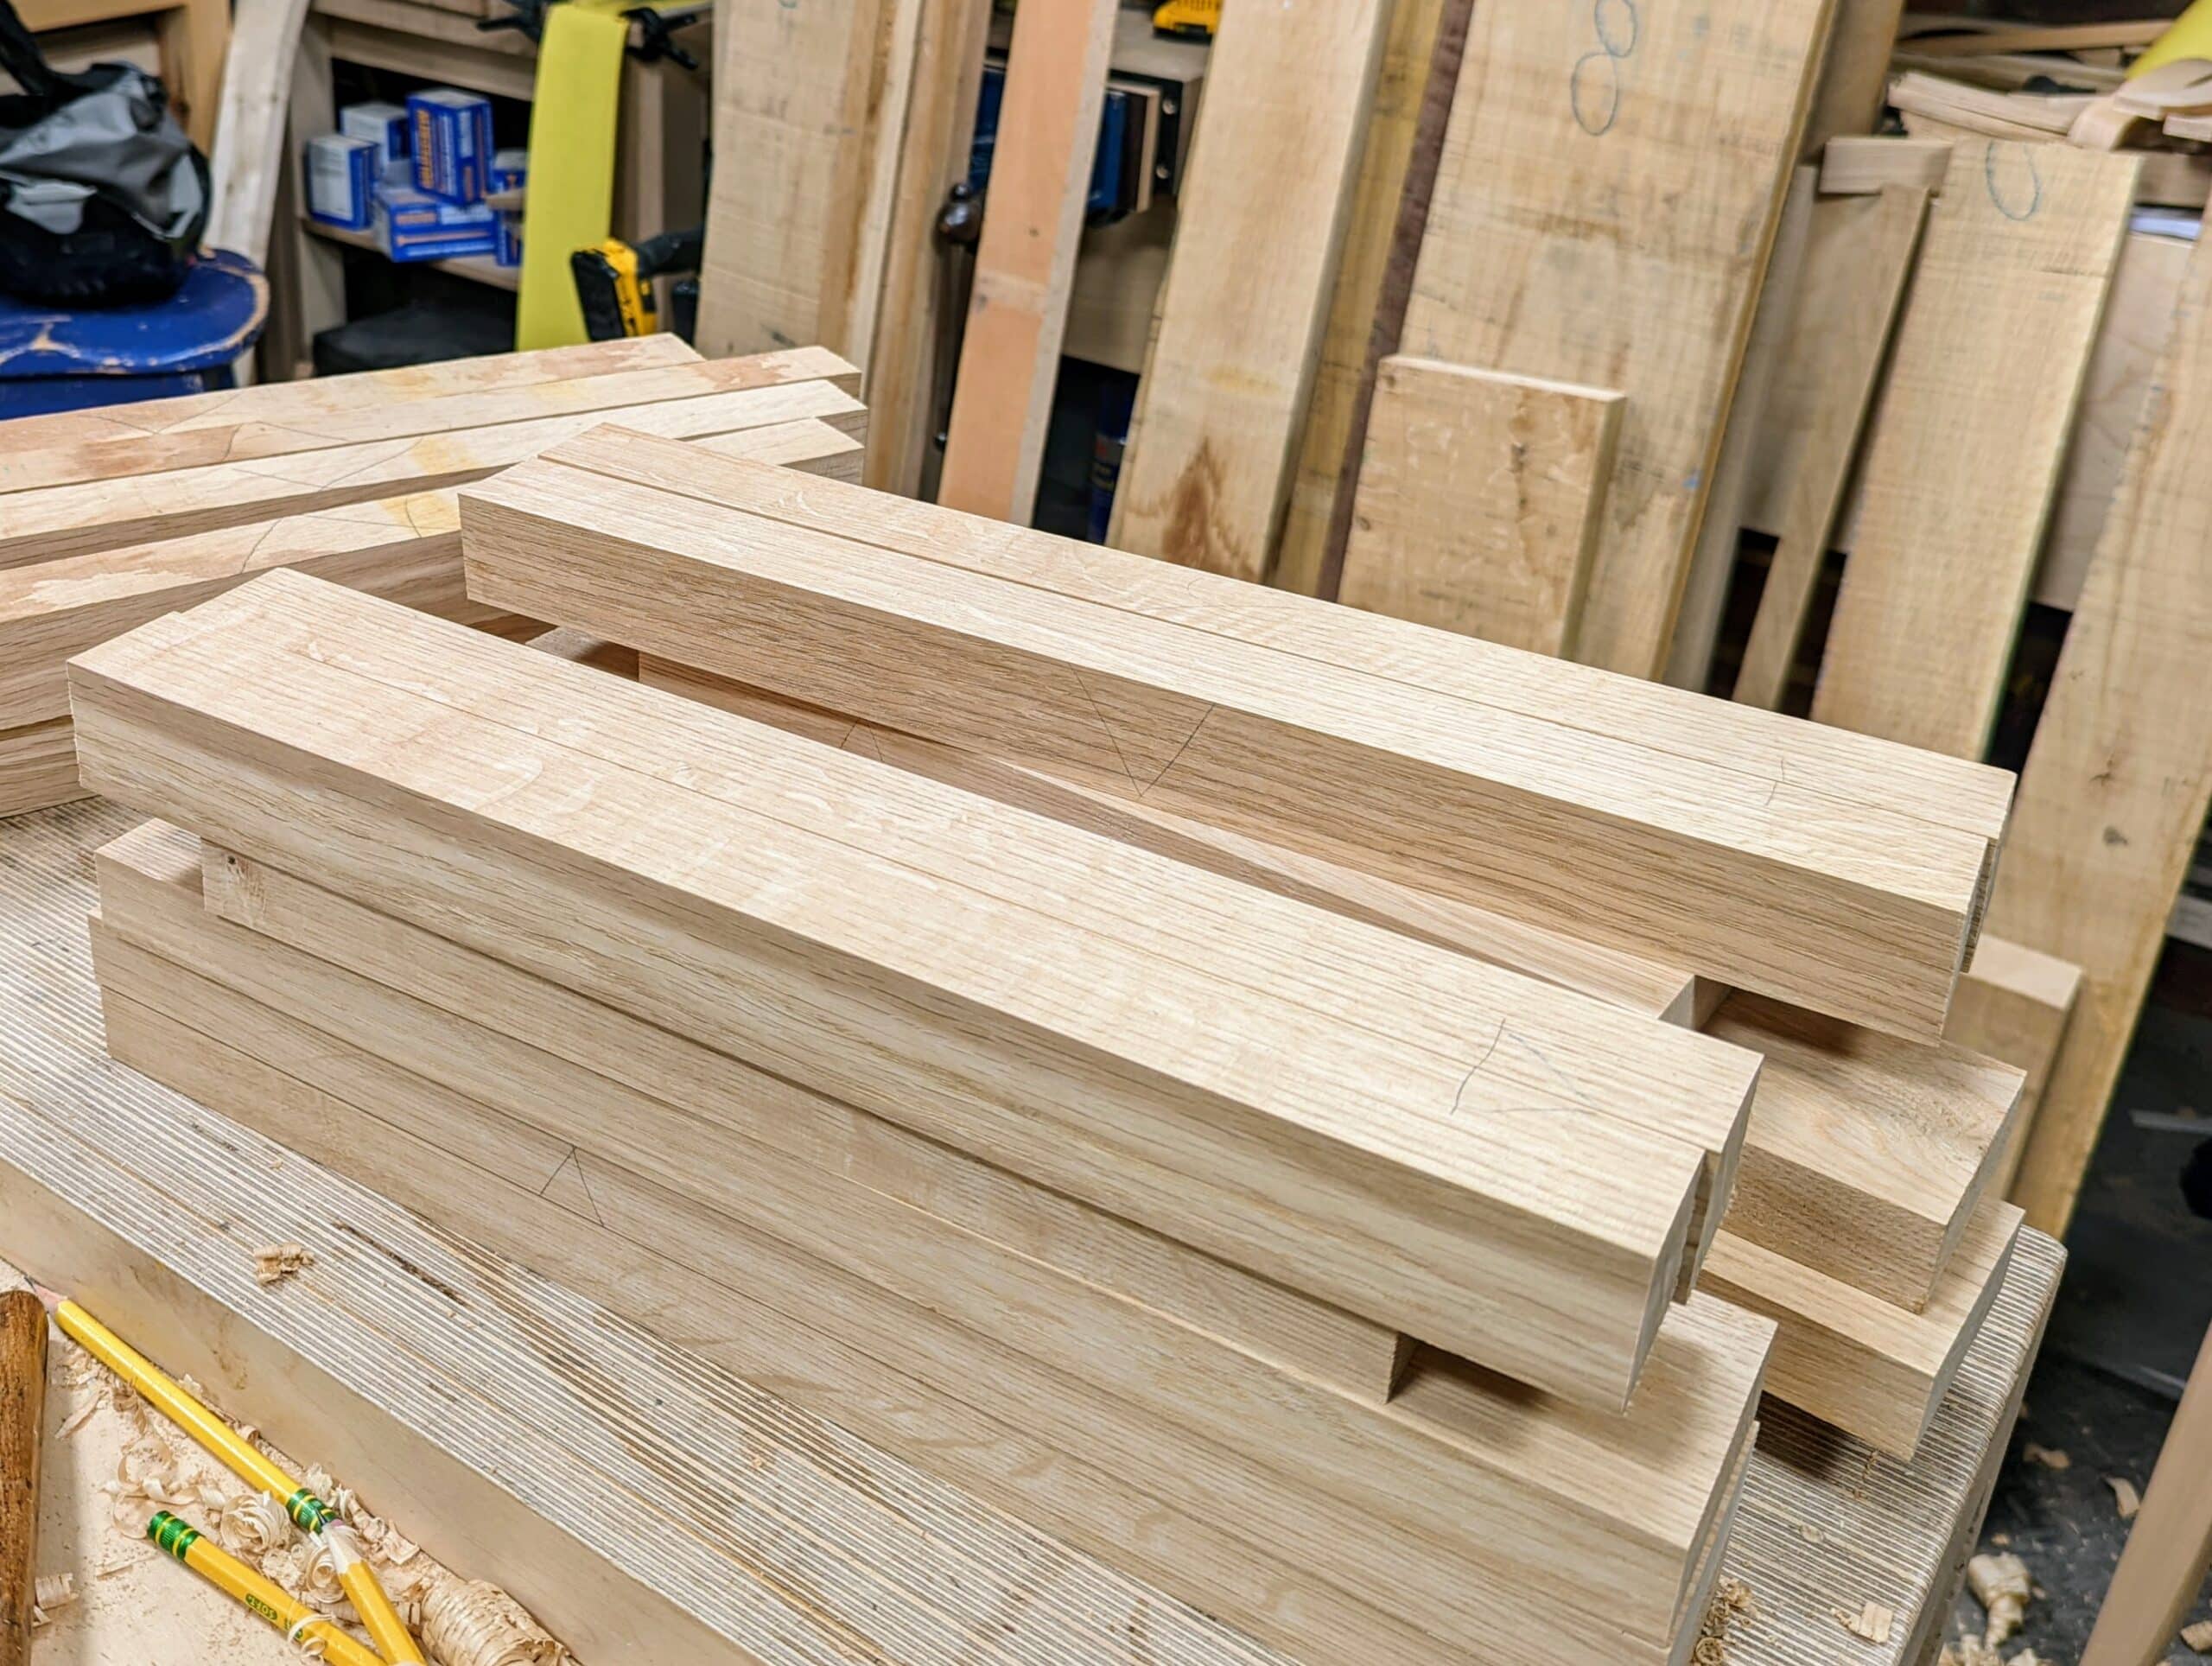
Cutting the oak for the dining chairs, my wood remained near-perfectly straight and true and, with parallel cuts made on the bandsaw, I noticed the wood did not curve as each of the long cuts progressed along the length. This is the nightmare of tablesaw enthusiasts because in a split second the curve can tighten onto the blade at the back end and cause kickback as the wood is thrust upwards and often slammed back towards the user and smashing into the face. Even with all of the safety gadgets and gizmos in place, you must always be ready.
Another similar anecdote:
Last year, I made the Paul Sellers ‘Desktop Organizer’ as a gift for my daughter. It was made with oak that I had let season in my work shed. Once it was done, it was a couple of months before I was due to hand it to her (on her birthday), so I left it in the shed.
We had an unusually hot and humid period during that time, and my work shed is not insulated or climate-controlled. A week before her birthday, I dug it out from where I had put it away and the top had curved up like a banana. I was initially very upset, as I didn’t have any matching oak to remake the top.
I decided to see if it would regain its shape in the house, and it did so. It took a while, but it slowly straightened out and was presentable on her birthday. I had to caution her that it may move after a while when she got home. She promised to let me know if adjustments needed to be made.
It might be time to get a humidity gauge so I’m not surprised like this again.
Timber movement is always (as you said) going to happen. I have an old Tasmanian oak (Australia) that was falling apart from previous owners. I cleaned it up and glued and biscuit joined the long edges or the table top timbers. Over 5 years since doing up the table the cracks between the boards thankfully are only about 1mm. Where I used to live in Horsham Victoria we get temperatures from -2 in winter to 47 in summer. I consider myself lucky. To only have 1mm gap between the boards. Also even if you paint ,stain seal it will still move a little bit. Nick Meagher.
Is there anything to be done when selecting lumber at a store, that would reduce the occurrence of these issues? Twist is the most noxious. It seems the lumber – softwood in particular – at the large chain stores, e.g. HomeDepot and alike, is often high in water content so it is inevitably going to dry out even when purchased and quickly put in an insulated garage. Thanks
Construction lumber at big-box stores is usually not well-dried, even though they usually are advertised as kiln-dried. I’ve had better luck with their 4-square ‘hobby’ wood. Those pieces can stay on the racks for quite a while, and are often pretty dry. The trick is getting decent grain characteristics. I’ve had better success with hemlock pieces than fir/pine.
As with any of those stores, it also depends on where they source the wood and how much traffic they see. That varies widely in different parts of the country.
When I buy from a big box store I look closely at the grain and select only flatsawn or riftsawn pieces. You have to take your time and carefully select your lumber.
Then sticker them and stack properly to allow them to acclimate to your shop.
Having said that when I have something I’m spending a lot of time making I would never shop there for my lumber. There must be some specialty lumber yards near to you that know how to store wood. They are more expensive but you get what you pay for.
In other words big box lumber is good for birdhouses, sheds and perhaps wood for a workbench.
I heard (not verified but it seems logical) construction lumber these days is steam bent and not kiln dried. Supposedly its faster and cheaper. I can believe it, given the amount of warp and twist I see, both at the store and even after installation
One thing you can do with the softwood is look for a 16′ 2×12 that has the pith in it. The store can cut it into 2 8′ lengths (or smaller). When you get it home rip the pith out and you’ll have some quarter sawn pieces.
Then wait a month before working with it. Should end up with 32′ of nice 2×5 boards and are pretty stable. I keep a batch on hand and when I dig into one “lot” I’ll go get another so it is ready the next time I need some.
Good strategy on the rotation and also on selection. The 16′ boards in big box stores are usually from straighter grained sections of the tree and, if you pay special attention of the ends of the board, what you want to see vertical grain from face to face. In fact if you can find 4 by material with the same grain characteristics [great for workbench legs, etc., but not all outlets carry it], so much the better.
Thanks Paul. About 4 years ago I bought an inexpensive hygrometer. I keep the front few pages of my woodworking journal reserved to record date and % humidity readings. Each day I work in the garage, I record the date and value. As such, I now have a pretty good data set on the % humidity (or is it relative humidity – I don’t know the formal term I must say) over the months, seasons. Helpful to know. Also, as a scientist, I like to record data so it is kind of fun to do.
Thank you Paul. Would you be able to give some details on how you control temp/humidity in your garage? I am just waiting to replace an up and over door on mine (whose gap around the edges must total at least a six inch square)
with a uvpc frontage. It seems to have never dropped below about 5 degrees C even when frosty outside (made out of double block and below the bungalow that is built on a hill). I am hoping to heat minimally and perhaps use a dehumidifier once I have some control over the airflow.
Neil, you need to minimise temp. variation by maximising insulation and seal any air gaps. you also need to minimise any water exchange between the internal surfaces and air, i.e. all internal surfaces, where possible, should be sealed (polythene sheeting in walls, painted wooden surfaces etc). Is your floor sealed in anyway? If you maximise both of these and use a dehumidifier you will greatly reduce variation in humidity.
Thank you Keith. The uvcp door and side panels should seal the biggest airgaps. There are some small gaps in the walls near the ceiling which I will fill. The concrete floor is painted with non permeable paint and I intend to repaint with the same to lighten the colour and add more impermeability. On the double block cavity wall I went for a breathable paint. My reasoning was that it would allow the room to ‘breathe’ but slowly. My thinking was that me being in there for several hours a day and bringing in new wood etc could actually make it more humid unless the moisture could escape slowly. I’m hoping that with a slight temperature differential it won’t travel in the opposite direction! Be interested in your thoughts.
It sounds as though your building is not so much the problem but the where you live maybe. Are the walls dry. A cavity wall as you describe takes care of that mostly. Is the concrete solid or crumbled. If the flloir paint is good and not peeling from rising damp then you may well have a damp proof membrane in place so no rising damp there. A few air holes should present no problem so maybe radiated warmth and a dehumidifier in the months of higher humidity will do it for you. Of course, drying wood with high moisture content in a small garage workshop is not ideal. A small amount is OK, and a dehumidifier will take care of most humidity if it’s a decent size. Based on what you say, that is where I would go first. After a week or two you can start to measure the result and see if that gives you what you want.
Thank you Paul. Yes, walls are dry and concrete floor is in good condition. Humidity here in the Conwy valley is quite high at times! Similar to what you had at Penryn I would guess. The wood I buy has usually been partially dried at least. Reassuring advice; I was thinking of a dehumidifier and an electric oil radiator to start with. It’s a fairly generous sized single garage built with the house in 2005 soI’m hoping that will be enough.
Neil
Before you do anything I would monitor humidity and temp. variation.
Warmer air can hold more moisture, which condenses when it cools. Metals attract this condensation due to their high heat conductivity meaning that they cool quicker. Some people protect metal machines from rust using a small heater to keep them “warmer”.
Ventilation that is closed when external air is moist and on when it is dry, could help keep the interior dryer. My wife (who is disabled ) uses 2 dehumidifiers to dry our washing. they do remove a large amount of moisture when in use. But i think that their current price is about £200.
The recommended way of keeping moisture out of a workshop (especially wooden) is a layer of polythene in the walls, floor and roof / ceiling.
A consistent internal temp. will reduce the exchange of moisture from internal structures. As well as insulation to control temp. the colour of the walls do as well. Black / darker colours absorb and emit heat more quickly. White or light colours (ideally silver) are poor at absorbing and emitting heat leading to more stability.
It all depends upon what you want to achieve and how much you want to spend.
I tend to live with the conditions in my garage workshop. Most of the time its OK, but in prolonged periods of rain it can be a bit damp. Can’t justify spending the money needed to totally eliminate it.
Hi Keith. Yes I agree, I don’t think I can justify trying to completely control the humidity and temp. I think I can work comfortably at a minimum about 12 degrees centigrade. Beyond that what relative humidity and equilibrium moisture content I can achieve with a bit of background heating, closing up the airspace more and maybe some dehumidification I’ll have to see. I have been monitoring the temp and relative humidity. The latter has varied from about 45 to 92 percent over the last 5 months. If I can narrow that down a bit I’ll be happy!
Is your garage strictly a shop or you park cars in it? Have you considered HVAC equipment? Typically the way to go for a garage is a ductless mini split. When in cooling mode it will dehumidify at same time. If you ever park a car inside you can’t just run duct from house system. It’s against code, dangerous, and besides that, the unit wouldn’t have been sized for the added load.
Hi Keith.
Just a shop fortunately.
I did consider a small heatpump that just needs two small holes to fit and can be plugged into the mains. It costs slightly more than an oil filled heater and a dehumidifier together would and has a dehumidifier mode. It might have been a good trial for seeing how these things might cope with heating the house too. It’s fairly new on the market and the main thing that puts me off is the fact I have no idea what it’s robustness and longevity would be.
Neil, I can perhaps chime in with my own experiences – maybe they’ll give you some ideas.
My shop is an attached one bay garage. It is constructed from LECA blocks, with troweled concrete finish. The roof is a flat concrete slab. The previous owner glued 5cm EPS on the ceiling, but that was it for insulation.
I built a new wall where the sliding garage door was. 15cm of glass wool insulation, wind breaker – the works.
I then put down some concrete to get the floor mostly level, then used self-leveling compound to get it smooth, flat and level. I painted the floor with two-component epoxy paint; there is plastic underneath the floor which stops moisture from rising through the concrete. This made my floors REALLY easy to sweep!
I then put up a stud wall with 5cm (2”) gap between the wall and the concrete wall. The stud wall has 5cm of insulation. The gap between the walls prevents mold from forming – lets the concrete wall breathe.
I covered the stud walls with OSB sheets which I painted white.
I run a small dehumidifier (12 l/day capacity) and keep the shop heated to 18-19 °C year round.
The small amount of insulation did a lot for keeping the shop warm, and the dehumidifier keeps the relative humidity between 40 and 50%. I have some oak on sticks which has dried outdoors for two years. They were about 15% moisture content when I brought them into the shop. I expect them do drop below 10% over the summer.
I cannot see any change in the humidity levels, so I think I can bring in even more of my oak for drying without any problems.
We bought the house in 2019, and I finished the walls in january this year. Slowly but surely, the shop has transformed from a cold and wet garage to a nice, dry and cozy woodworking shop. Over the coming years, I’ll continue building shop infrastructure and let the shop evolve.
Thank you Vidar,
Some useful tips in there for me.
About sealing air gaps, don’t forget:
– one has to get enough oxygen;
– one is exhaling vapor (not taking into account wood drying).
Double flux ventilation with temperature and humidity control might be expensive.
Thank you Sylvain. I’ve got a little window planned for one of the glass side panels next to the door. I’ve painted the interior block walls with breathable paint too so I will see how that goes. Yes, I don’t want to spend a fortune on this!
Thanks Paul, as always very useful and timely. I am new to woodworking but as is often the case, I have big ideas!. I want to make an Oak book shelf for my Conservatory, but am concerned about the movement of the wood as the temperatures can vary from about 1 degree to almost 100 degrees throughout the year. My plan is to cut the wood and leave it in the Conservatory for a while for it to acclimatise, but could someone advise how long I should leave it before I put the piece together. I expect some movement, but is there a point where it slows down?
Great question Kathy. Not too easy to answer but the best method will be not to have any elements where the long grain is in opposition to fixed grain. In other words, make the case from grain oriented in the same direction and don’t try to fix shelves within a framed side piece without allowing a way for the wood of the shelves to expand and contract. If the sides, top and bottom are framed with panels in grooves then there will be only very minimal differences to be expected throughout the year and the exchanges of atmospheric moisture levels causing problems. Choosing this means that the shelves must be floating and resting on rails or buttons or brackets which is a good solution. Shelves can be housed in too but most not be glued so that they are free (floating) to expand and contract. If the shelves and sides are oriented in the same direction, so that the shelves and the sides etc expand in the same direction from front to back, you will have no problem.
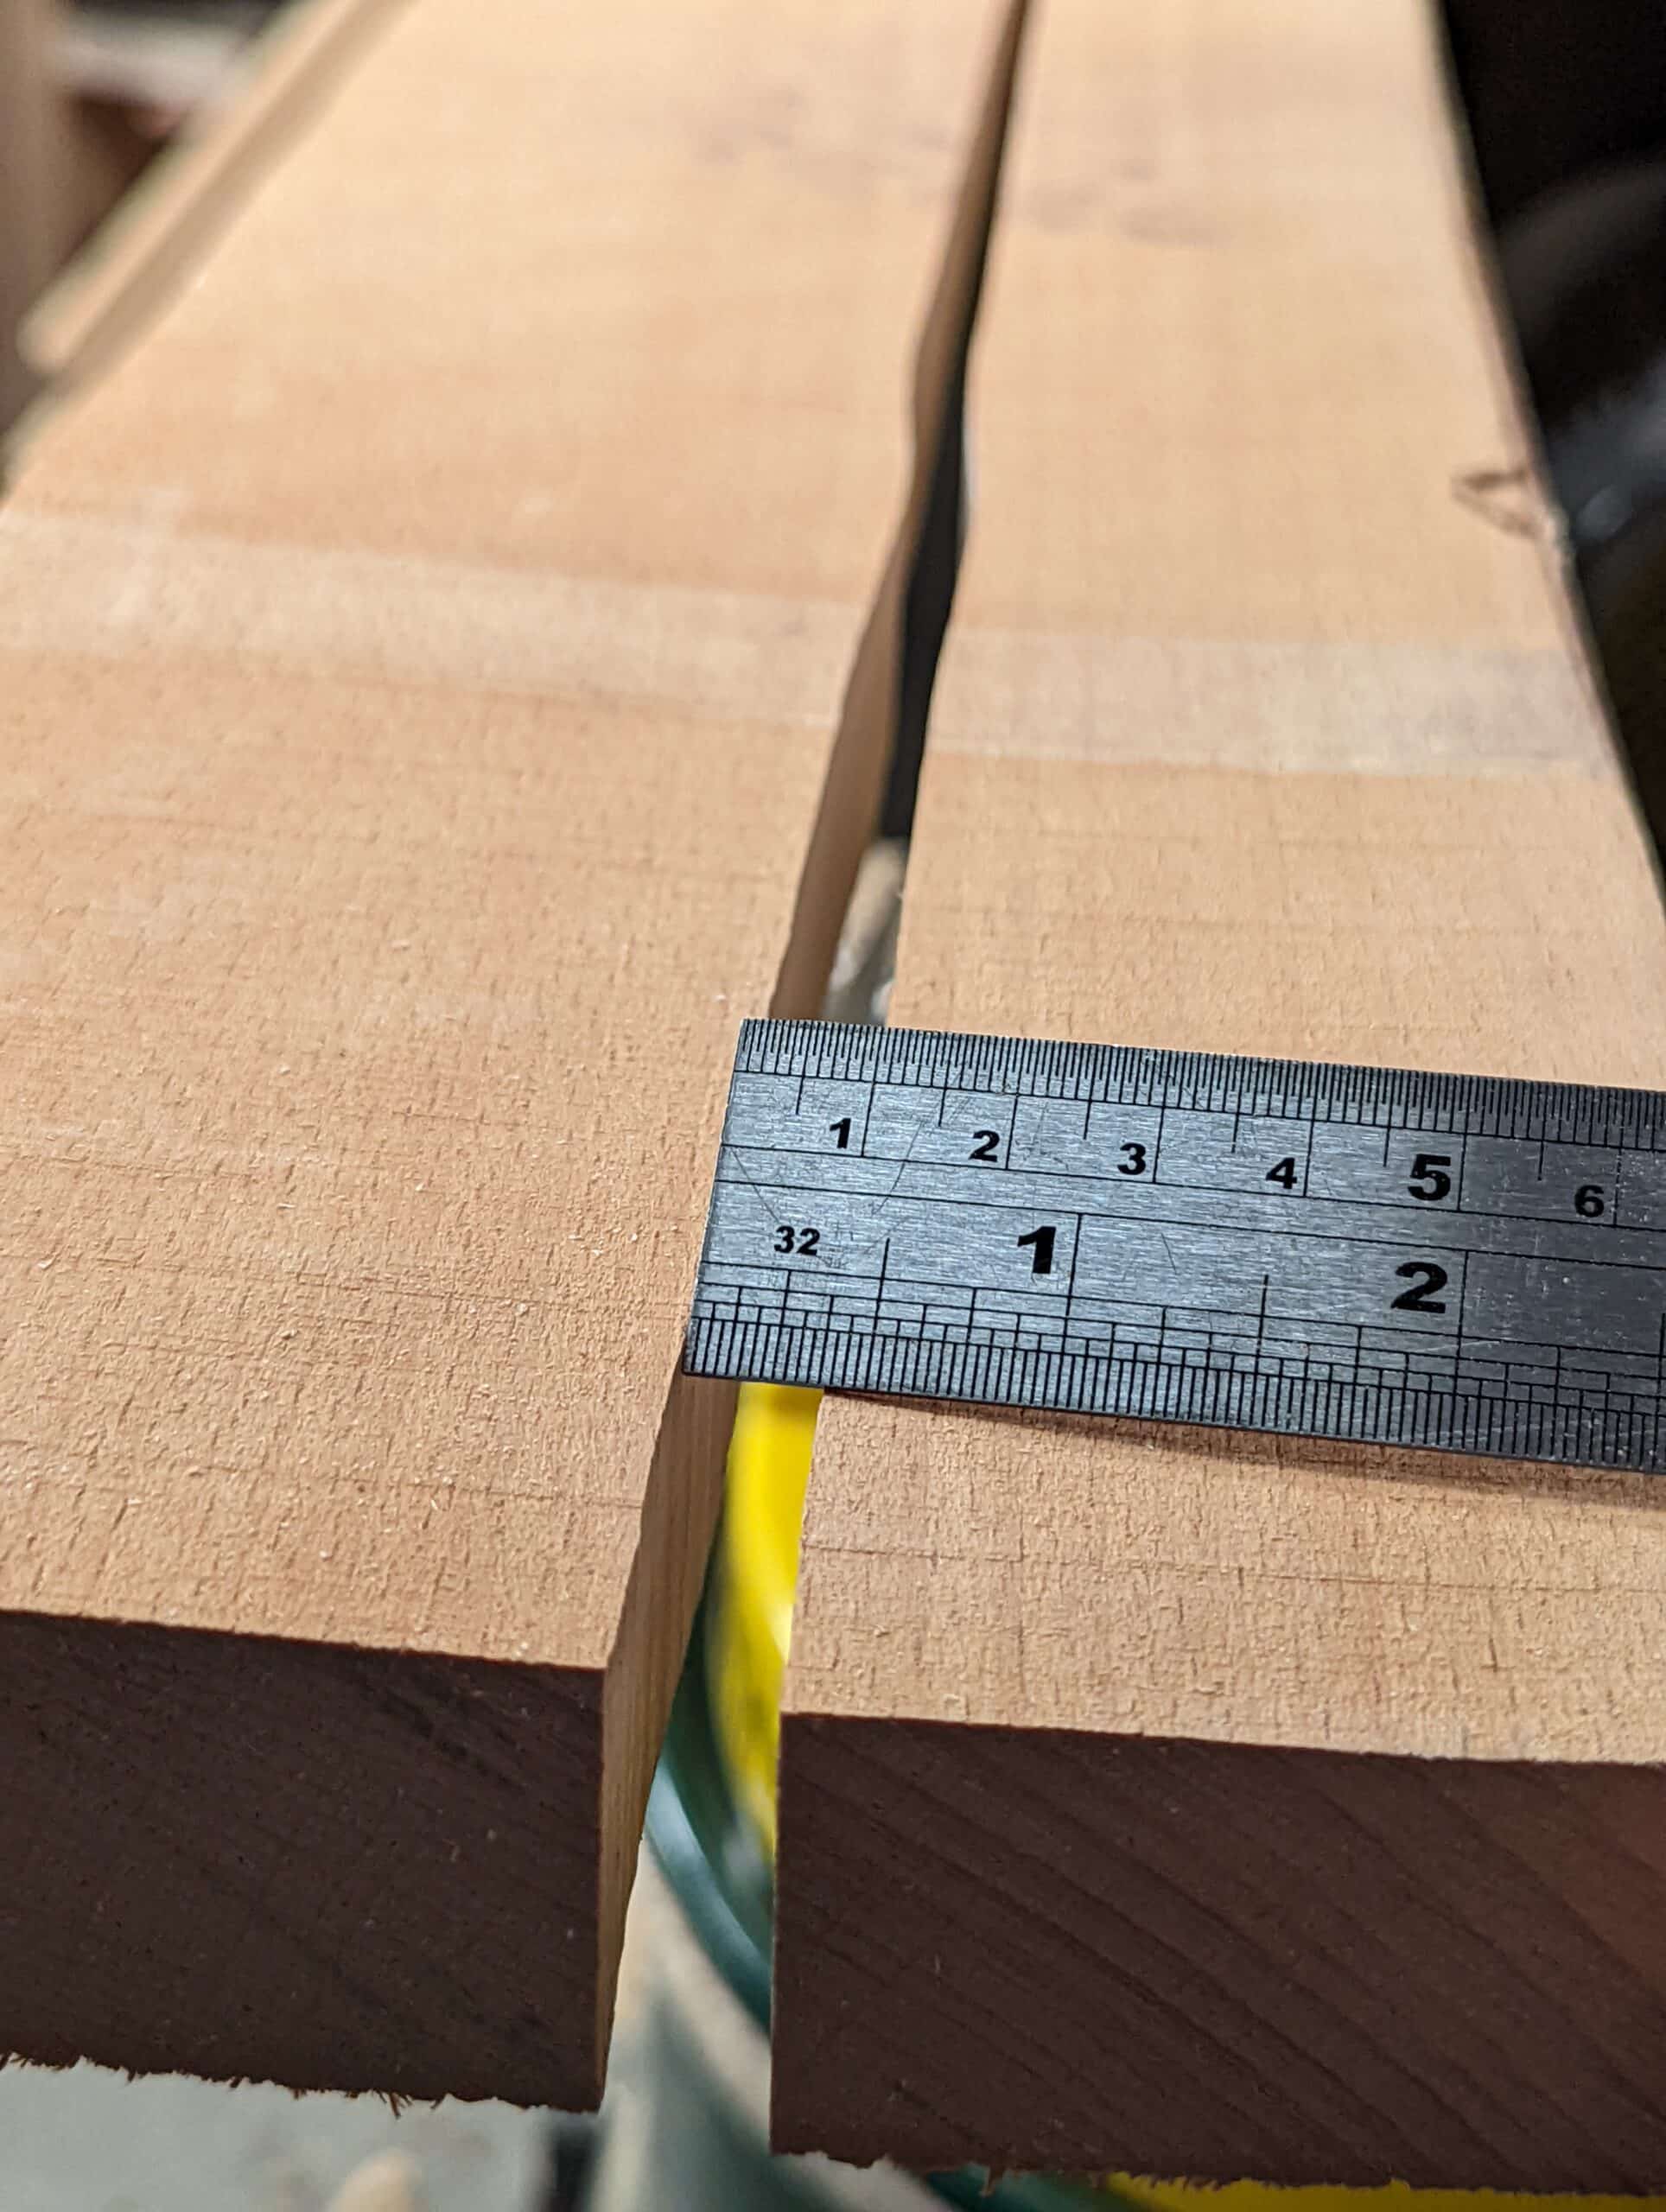
Check moisture levels: Two ways to do this, actually three. One, use a moisture meter to see what percentage of moisture is in the wood. Between 7-10 is good for furniture, two, weigh the wood over a week or two to see if it is going up or down. If it is stationary then it will have reached equilibrium and there is no need for more drying. Three, measure the width with an accurate measure. This morning I took clamps of some laminations that were tight last night and loose this morning. That means the wood dried out more even overnight. This too is a good way to check if moisture is being released. Actually, it is less to do with temperature than moisture as in humidity in the atmosphere where the wood will be stored or end up finally. Wood will always expand and contract. I do believe that it loses its elasticity but not enough for us to ignore catering to it.