Tool Sharpness. . .
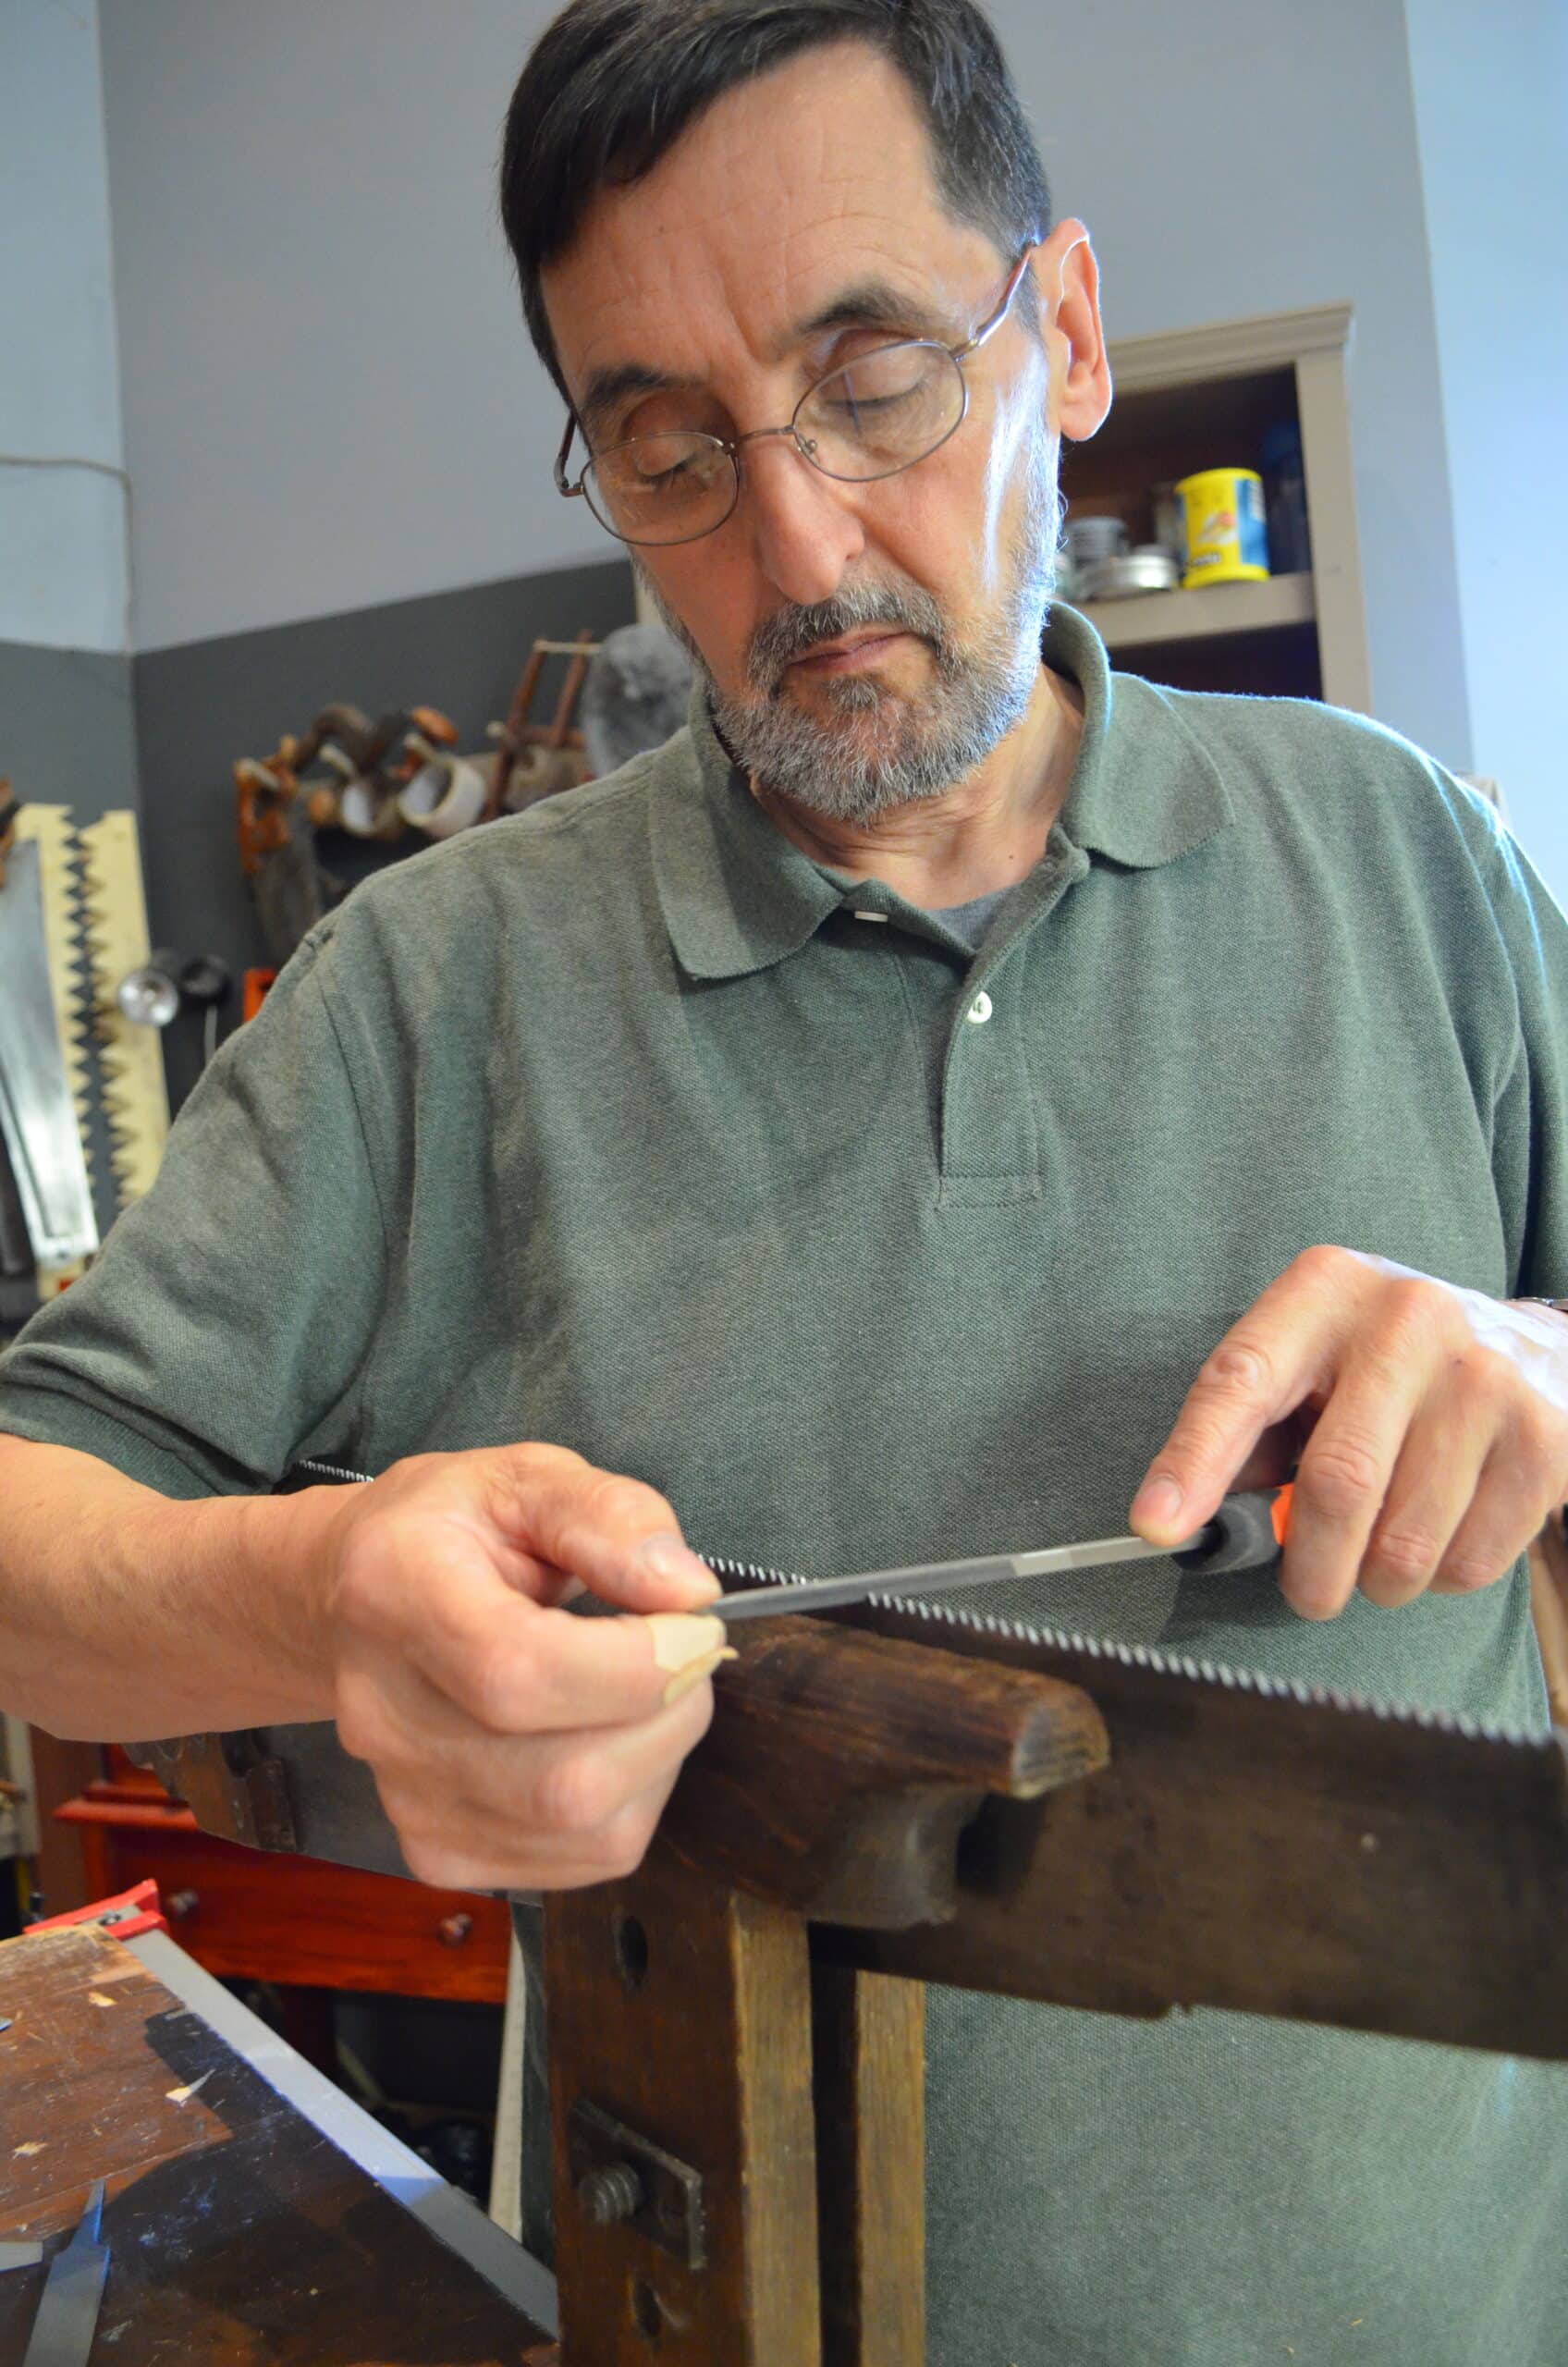
. . . depends on your regularity. It’s often a regularity that woodworkers most generally neglect. In fact, tool sharpness reflects who you are. As an apprentice, George said sharply across the bench, “Sharpen up and don’t be lazy!” As an adult, such things are unsaid to you. Or are they? Does not a still small voice nearby, inside you, say, “Sharpen up!” from time to time? And do we not equally often ignore the prompt for a while longer than we should? We go until the saw’s stroke strains and the plane’s swipe resists to confront our energy in faltering stammers and we feel, well, more exhausted and frustrated than we should. Simply put, we rarely sharpen up enough and yet sharpness is key to the well-being resulting from our work, in our psyche and other elements of our health. The simplicity of self-discipline wrought through simple acts in workmanship, sharpening, for instance, changes the energy of output and dynamism of working the tools and wood as they should be worked. George and all of the other men would often ask me if I would just “Touch up the saw for me will you, Paul?” and I would take a saw file and file the teeth of their tenon saws with a single stroke through each gullet even though I might have done it only a week or so before. Touching up the cutting edges and saw tips of their tools was an ever-important part of their daily self-discipline. For the older men suffering from the poorer healthcare in the war and then the postwar era, poor eyesight had made saw sharpening more difficult for them. Eyesight and arthritis, hand tremor and steadiness resulted in elderly disabilities before their time. They didn’t want to be seen as less abled than the younger men. A sharp saw made all the difference.
Just when to sharpen is more often delayed than resolved as ‘a stitch in time.’ Our own dullness and inability to gauge just how far the edges and tips have gone beyond their sharpness usually results from procrastination, but by pushing the tools too far we lose the critical edge that separates waste from the wanted as an infinite edge and then too the perfection that sets our work apart. In woodworking with hand tools, sharp edge tools and saws are critical. If you are not prepared to sharpen up every day and then throughout the day you should give up on hand work. Sharpness gives everything we do the crispness we need and without it we forfeit what we could and should have in our output. Most often we do it an hour or two later than we should and the evidence is clearly reflected in the shoulder’s corner line or the face of the wood we just worked. The result of dull saws, any kind, may not be quite so evident at first glance, but looking a little more closely will tell the truth of our laziness. But of course, it may well be that we actually don’t know what we are looking for or what to expect. It may also be that we don’t realise how little it takes to ‘touch-up‘ those saw teeth. A single, half-length pass with a file once every few hours of use might well be all that we need to restore complete crispness to the edges of those teeth so that any severed fibres give us the perfect precision on the surface fibres. Pushing a tool beyond its limit is how we craftsmen and craftswomen work. I’ve said this before and I will no doubt be saying it again and again, “Sharpen up!” Here is a success though; I never have to tell John and Hannah to ‘Sharpen up!’ This, to me, is maturity!
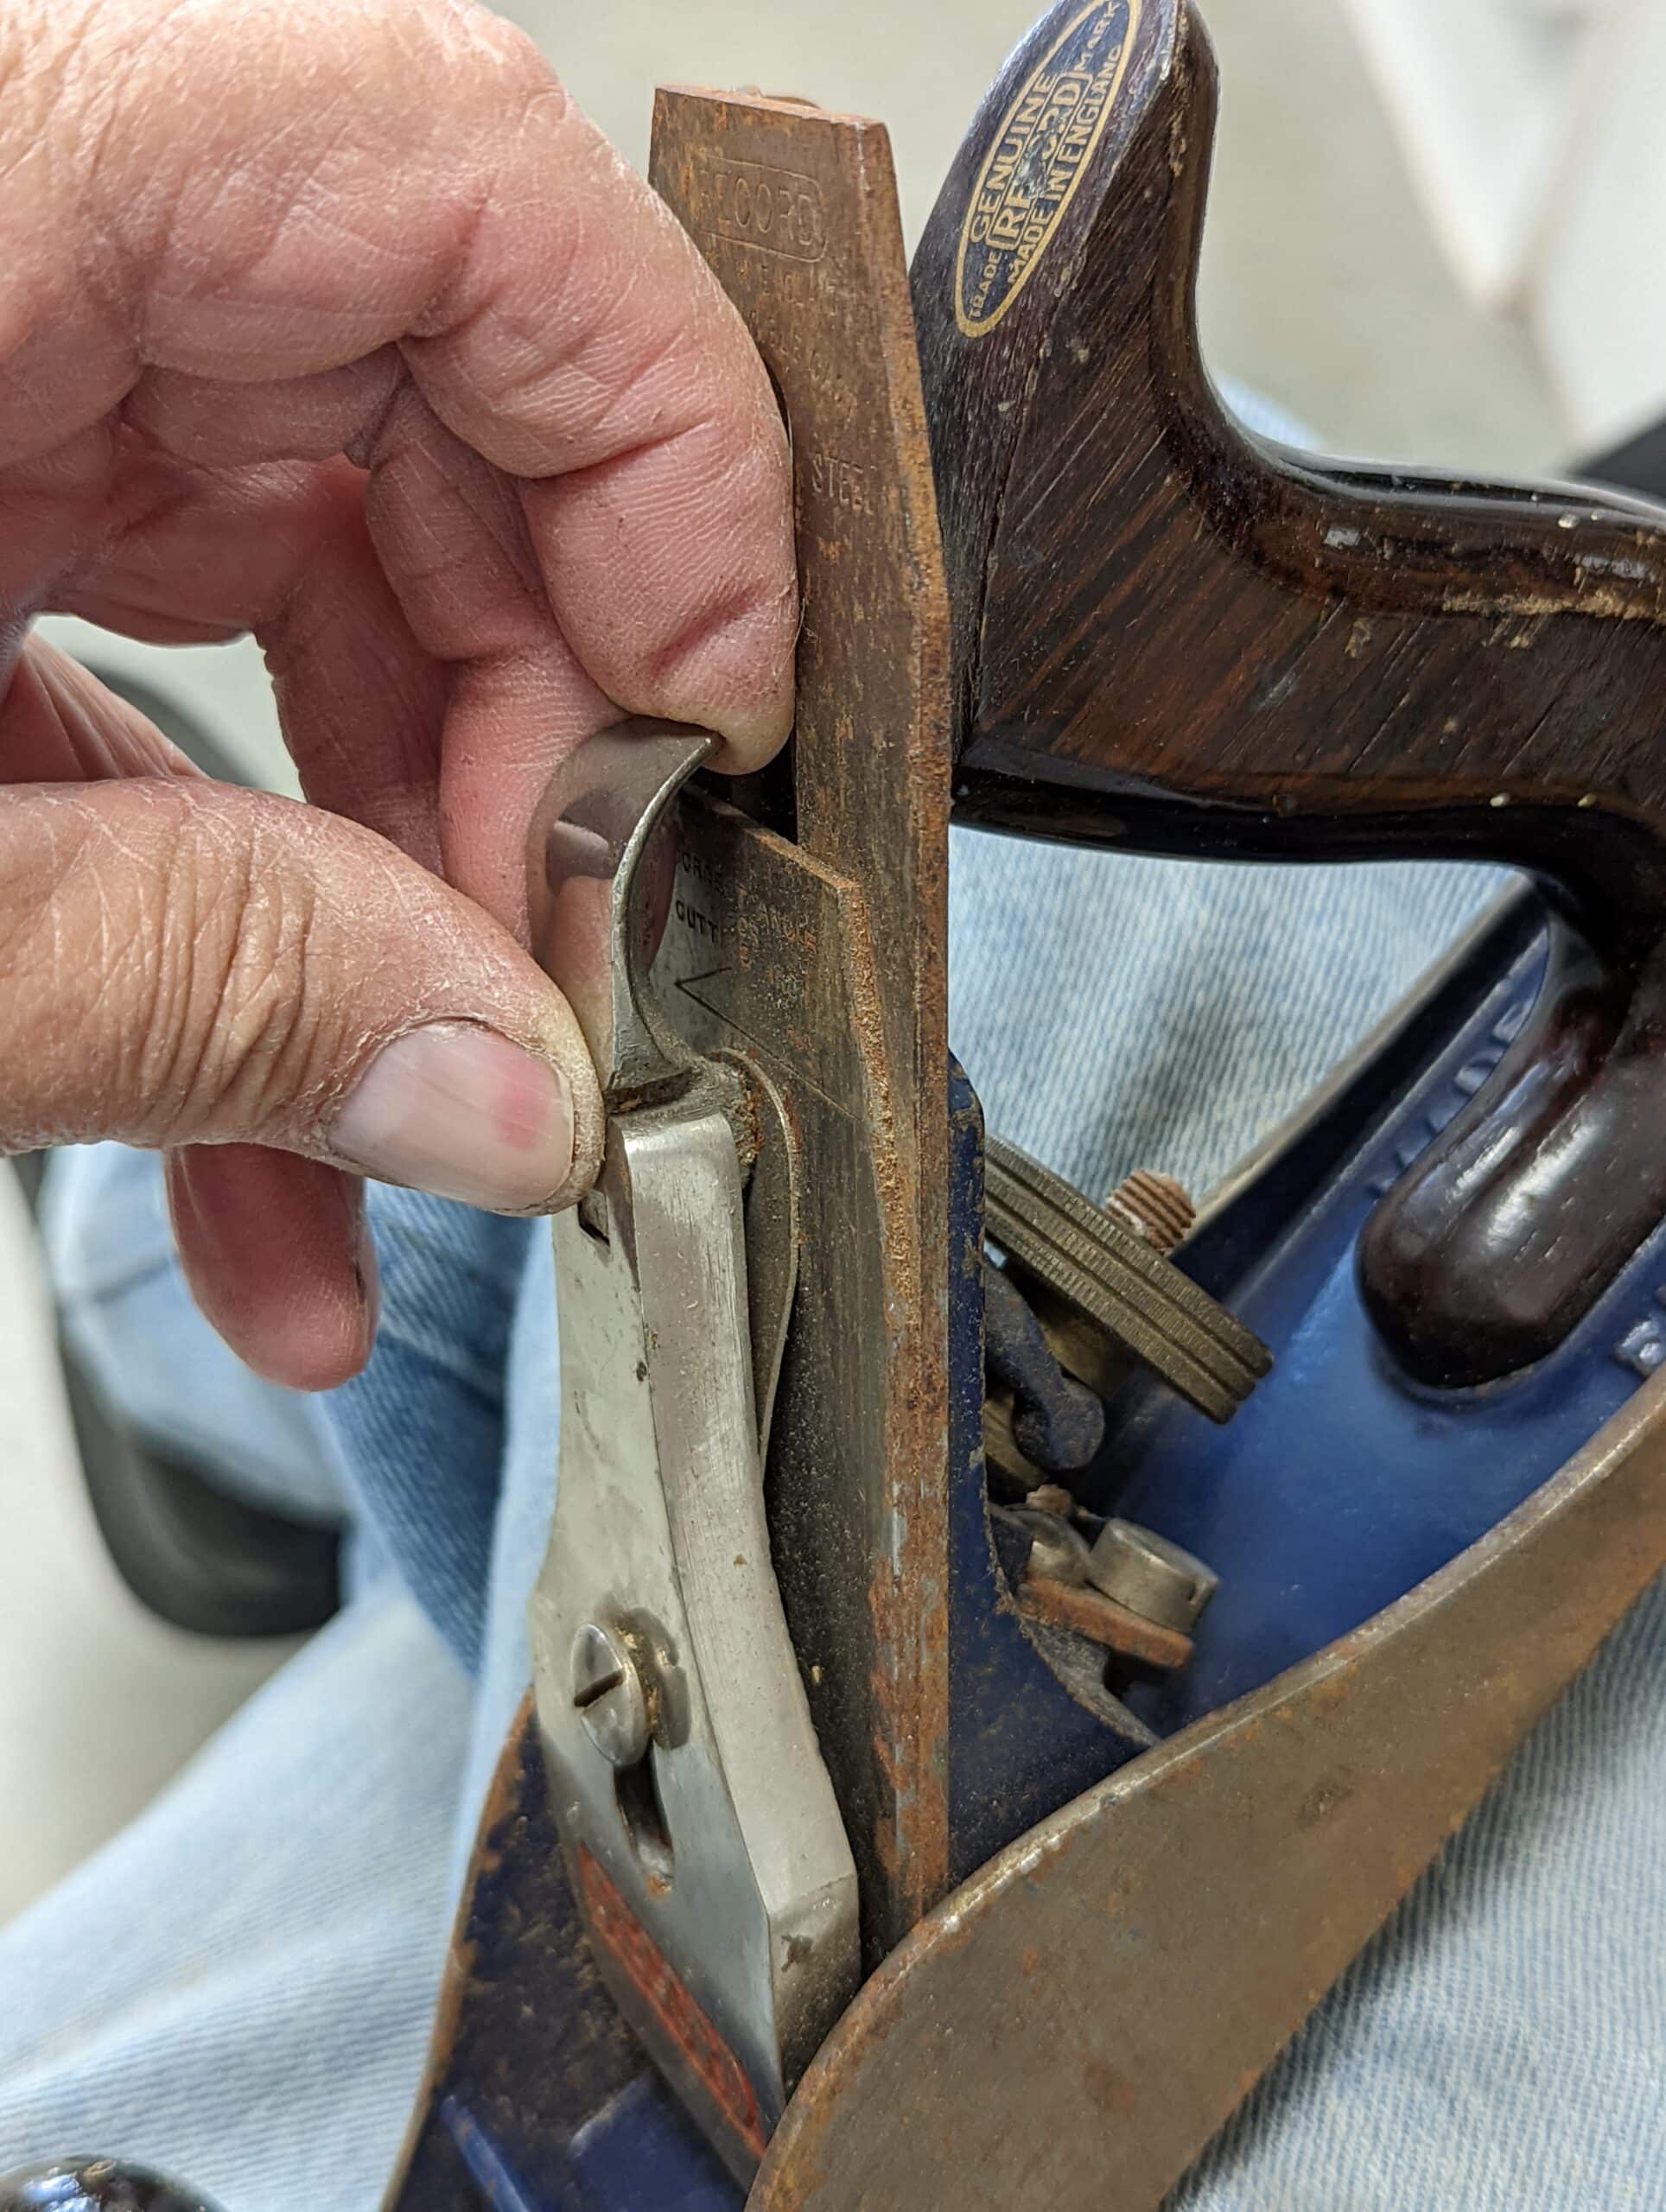
I bought a #4 plane for my granddaughter recently. It was an especially nice one that she could work with when she is old enough to use one herself. I doubt that that is too far off. She comes into the workshop most weeks to be with me for a while and helps me to sweep up and bag shavings. She also uses her spokeshave fairly regularly, knows what it’s called and where it lives in her toolbox by mine. I think that she is due for some more wood bonding time all the more. I noticed that the plane I bought had only been minimally used before my eBay delivery. The blade is full length and had evidently been sharpened but the rest of the tool showed no signs of real wear. As it is with many tools bought online, when the tool lost its sharp, usable edge, the user continued until the cutting edge was completely rounded over and could no longer be forced even by the most powerful but dulled muscling. We will sharpen it together when the time comes.
I want to talk about saw teeth’ sharpness and why we should sharpen them more often than we might actually see. I hope that I can persuade you to sharpen as needed and not as wanted. Rarely do we see saw teeth for what they are. The pictures below are of rip-cut saw teeth.
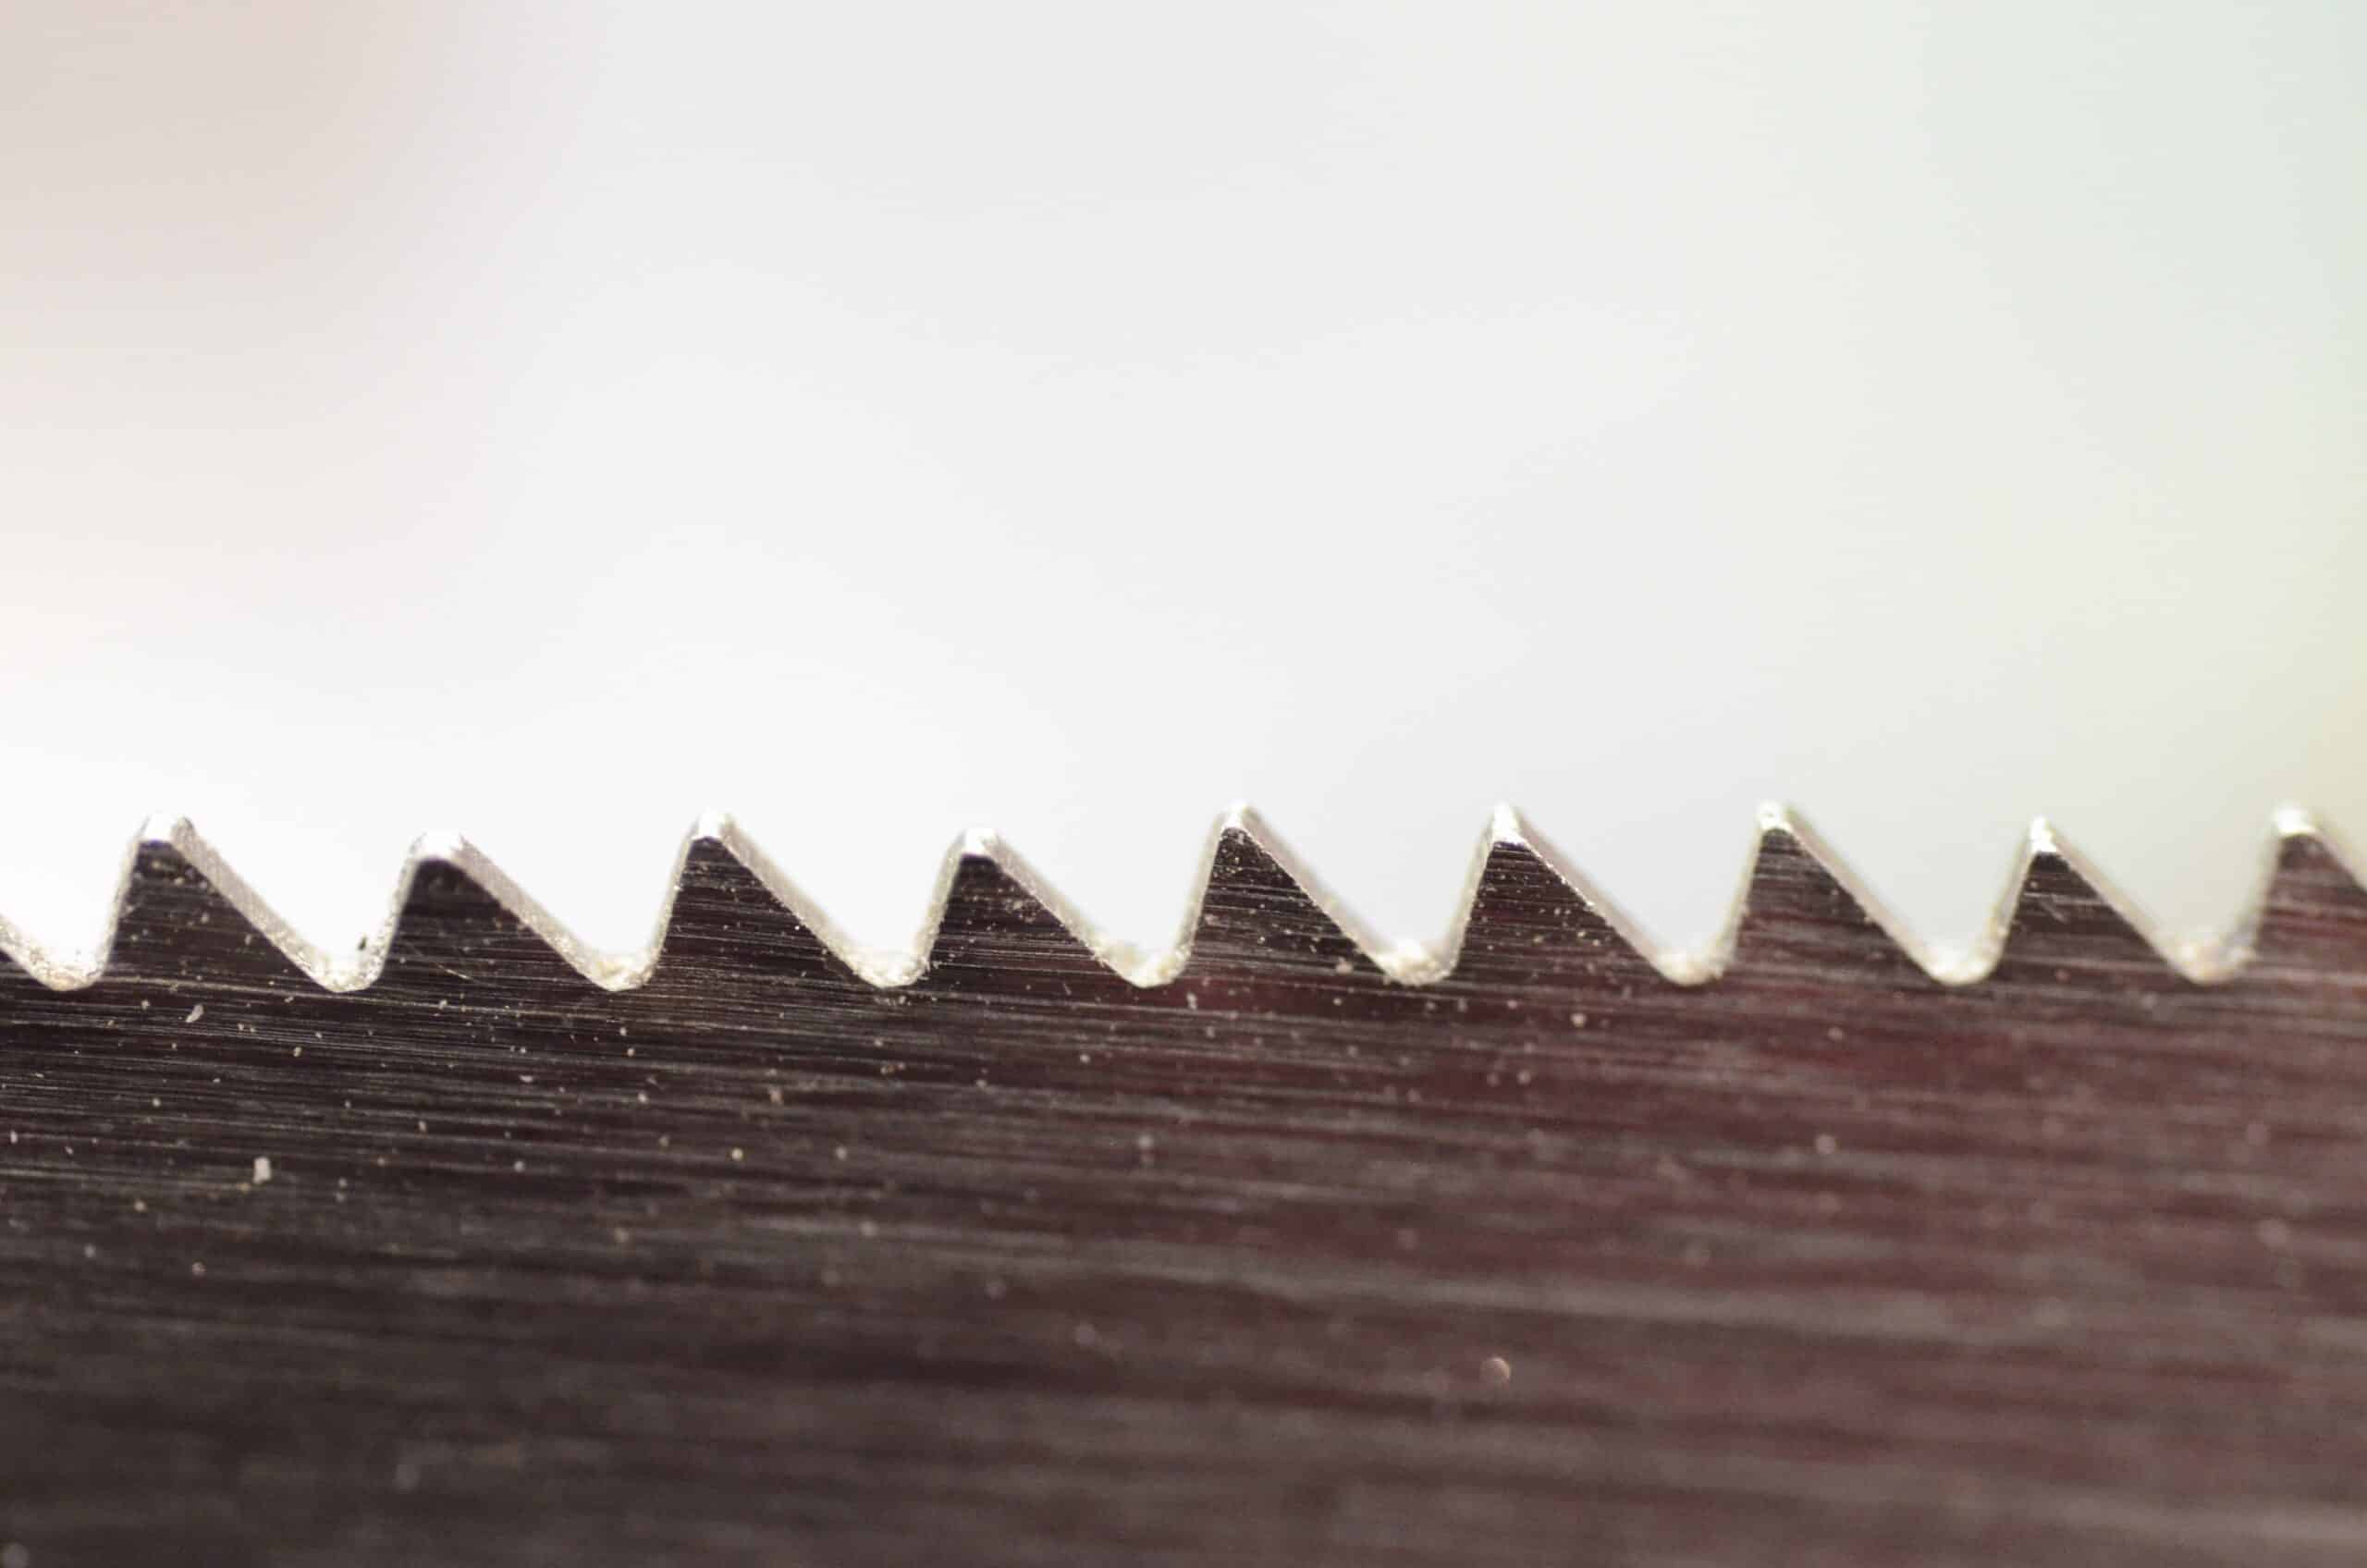
That’s what I use in 95% of my woodworking as these are the saw teeth we use the most in joint making. Dovetails and tenons are mostly rip-cuts along or with the grain. Small rip-cut teeth saws work perfectly well for both rip cutting and crosscutting wood in joint making and even on shoulder lines. But the saws must be sharp and repeatedly sharpened. Ripcut saws have four sides to the teeth but use only three sides of the teeth to engage in cutting the wood. The offsetting of saw teeth with set negates the insides of the teeth from actually cutting. The chisel edge cuts the face of the wood, but the outsides of every tooth shear-cut the two sides in the kerf itself. The part of the saw tooth that wears the fastest, therefore, is the outside corner of the tooth. And it’s this that needs restoring the most. To restore the crispness of this outside corner means sharpening the two main facets plus a little surface honing of the outside faces of the teeth. Honing the outside faces refines the cutting edge at the pinnacle point or corner where the three sides to the teeth meet. It’s a small step that makes all the difference to our western saws. For cutting two-by-fours in construction, we don’t need this. For dovetails and other joints with crosscut edges, we do.
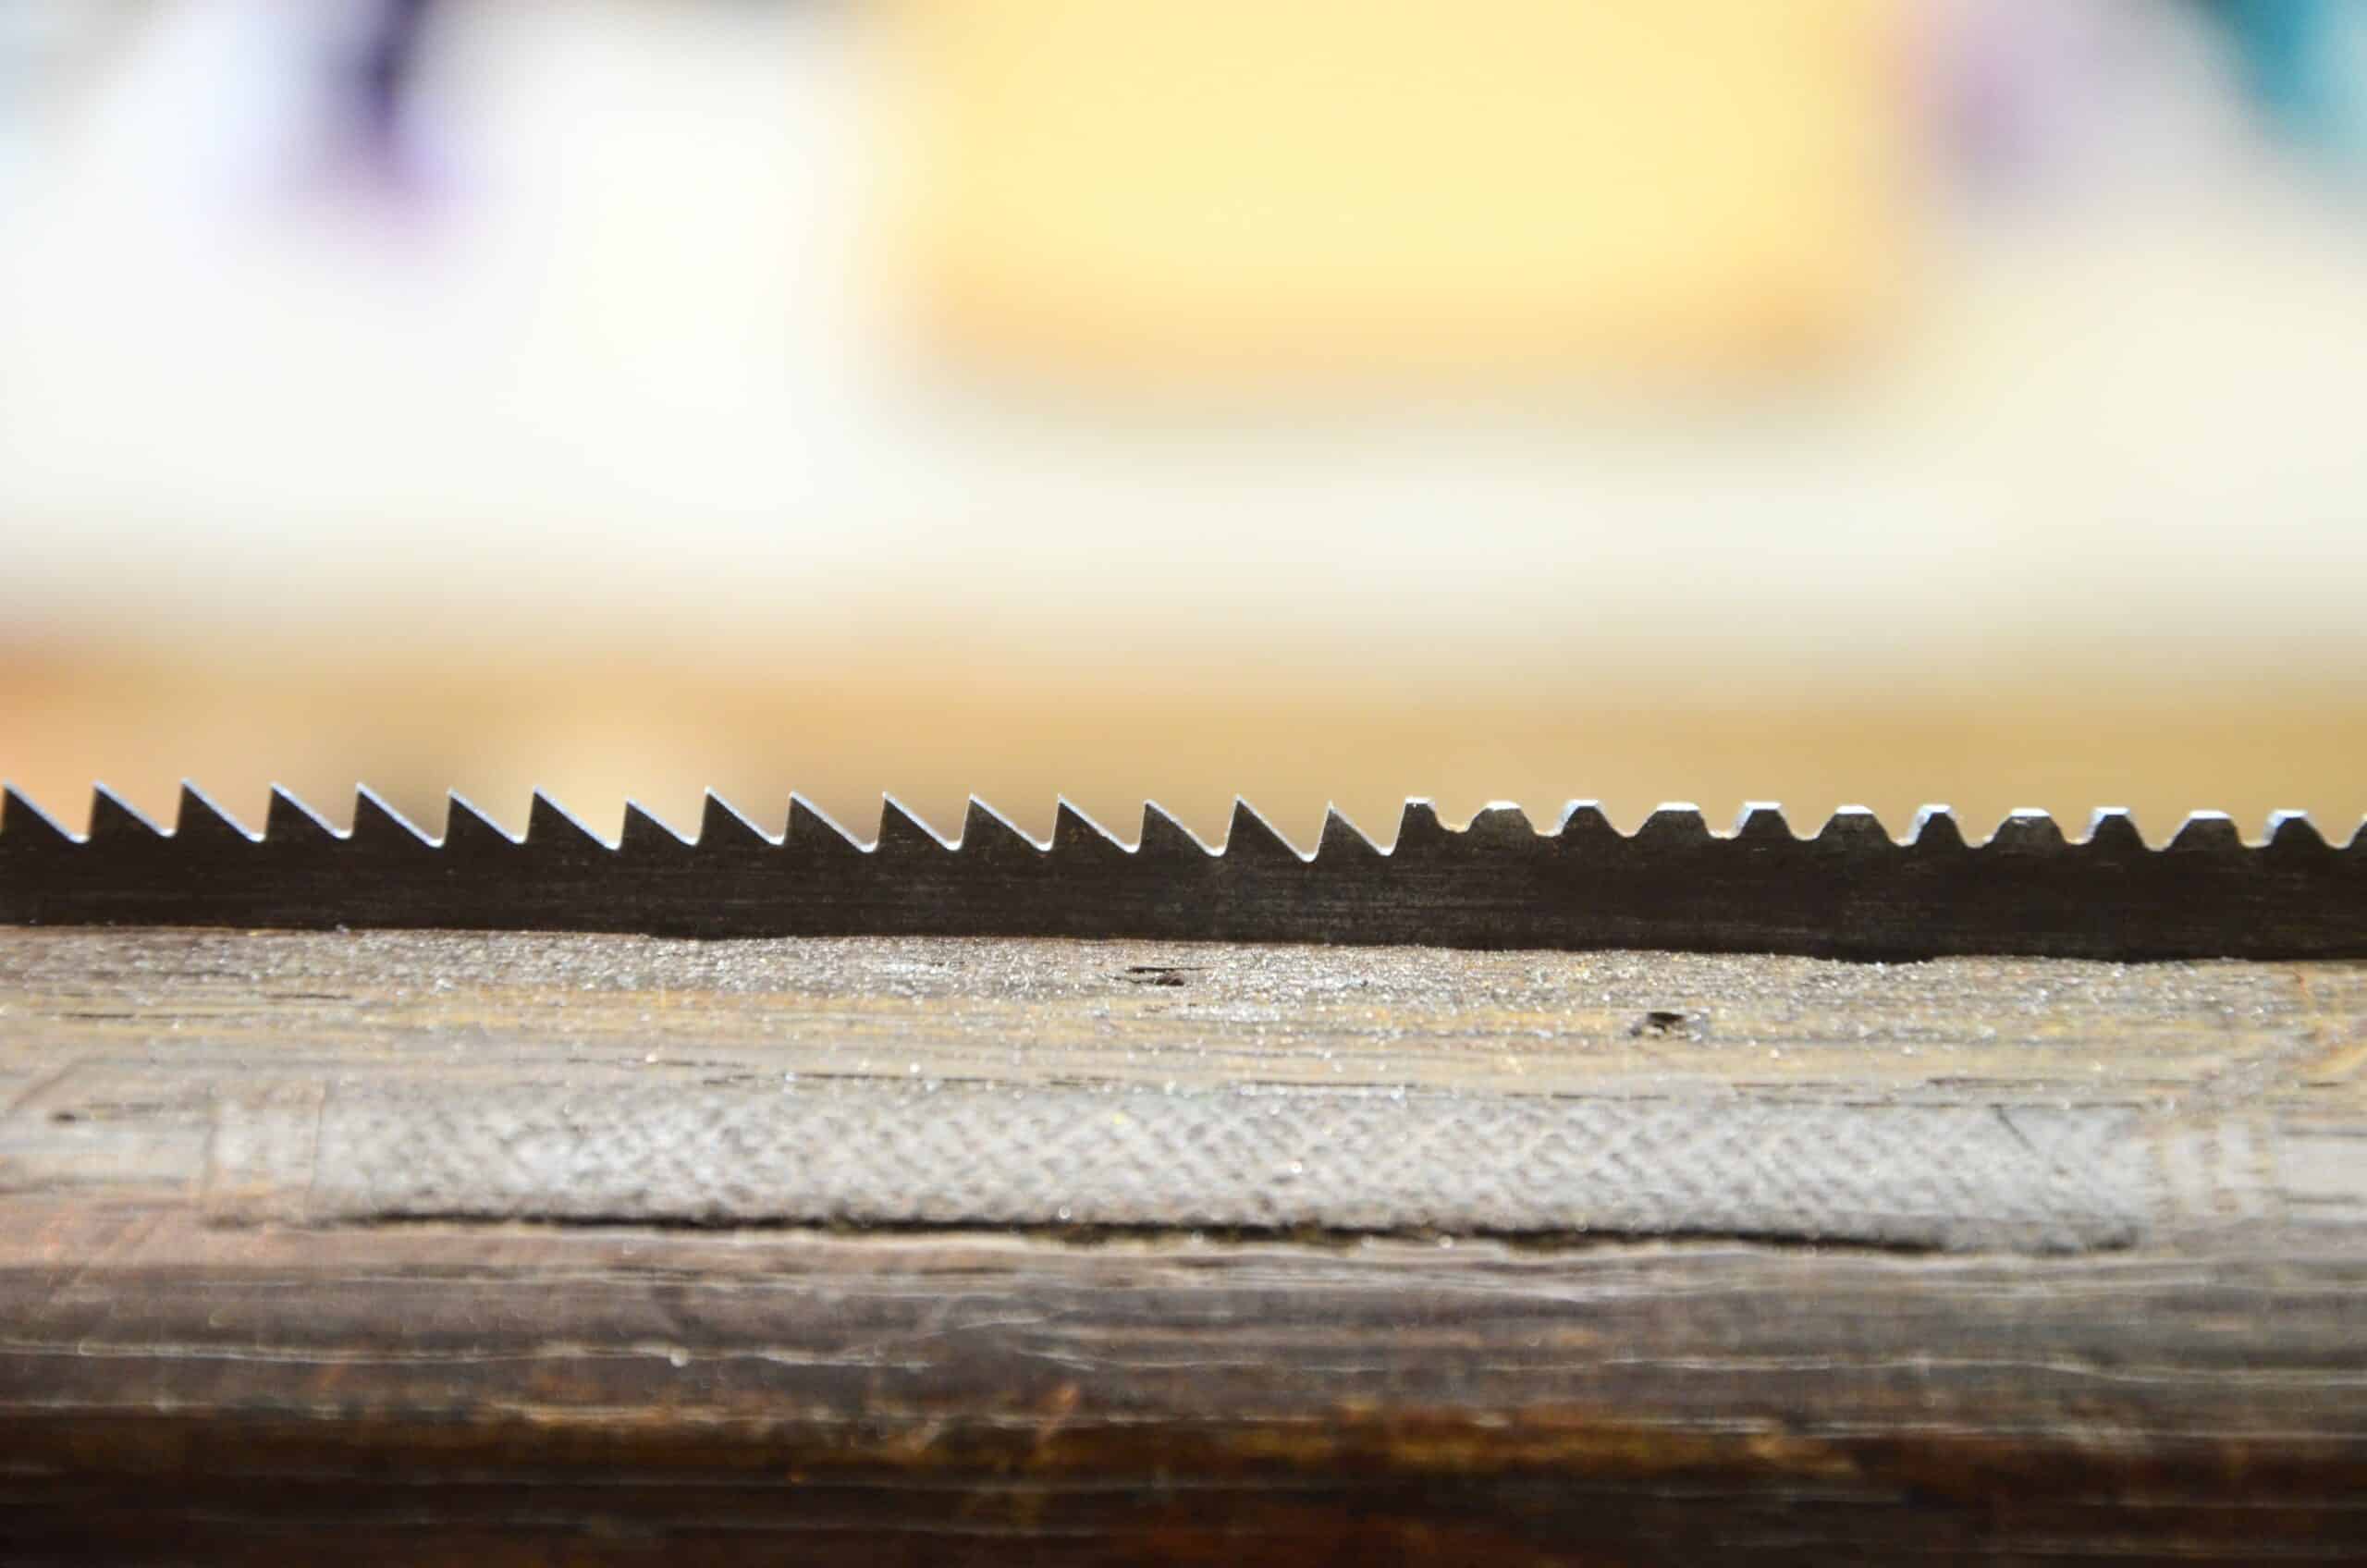
If I can persuade you that the actual chisel edge is marginally less important than the outside third face of the saw then I have succeeded. The business edge of the saw is indeed the chisel edge. Don’t get me wrong, but no one I have ever known has talked about the third face with any degree of importance so I’m doing it here. You have to understand that we force each alternative tooth into a slight bend to create set. The very exposed corner in an exaggerated picture shows how little support there is for that specific corner to each tooth. It makes sense then to say that this corner is the most fractious and the one that breaks off the most readily. One small step takes care of this and increases the quality of the cut and also the longevity of the working capability of the saw teeth.

After setting the teeth, I add masking tape alongside the saw teeth. Depending on how much set I want, I add one, two or three layers of masking tape to increase thickness. I then take a diamond hone or a sharp flat file and use the tape as a registration face to run my hone or file along to keep the cutting face of the tool parallel to the saw plate. This then further refines the cutting quality of the tooth. I don’t need to do this every time I sharpen, perhaps every two or three times, that’s all. It’s this that gives my housing dadoes and shoulder lines the crispness I always strive for and it also enables me to go deep down into the cut with less or any need for pare cutting with a chisel after the saw cut is done.

Hi Paul,
I’m struggling to visualise the masking tape bit. Are you saying you lay the saw blade flat and horizontal on the workbench with the teeth facing away, applying the layers of tape below the line of the teeth along the side of the saw, then running a flat file horizontally across the tape to file the outside edge of the set teeth?
Thanks,
Mike
Exactly.
Cheers Paul! It’s something I never considered before. Every day’s a schoolday!
I still don’t understand this.
Perhaps you would be good enough to include a demonstration of the technique in one of your upcoming videos.
Thanks.
He has a killer video about this subject. I think it is a free one on YouTube and I guarantee it is on common woodworking, too.
I had to read that bit three times. The key words for me were “keep the cutting face of the tool parallel to the saw plate”.
So if I read it rightly more layers of tape used as a register face will result in more set (less metal removal) while maintaining the shearing edge parallel to the plate.
I get it now…(I think)….
You do.
Hi Paul. Do you use this honing technique on all your rip saws, or just the large ones – 6 TPI etc? Or do you do this for the finer dovetail saws too? Thanks. Alan
Mainly for the tenon saws on down to and including dovetail and gents saws.
Have I understood correctly from this reply that you do not need to hone the sides of the teeth on the big rip saws, or is it optional? To digress slightly, I have a fairly old Disston hand saw, rip cut – about 6tpi, which I saved from being thrown in a skip. I have only touched up the teeth but it cuts cleanly, except that the blade is twisted and it doesn’t cut straight. I have found references to correcting bowed saw plates, but is it possible to correct twist, and if so how? It is twisted by about 10 to 20 degrees, mostly towards the tip end of the plate.
Thanks for the great insights into how saw teeth really work.
As an Apprentice Joiner For A Shop Fitting Company In The Late 80’S in Birmingham UK,One Of The More Experienced Joiners Said To Me “Look After Your Tools and They Will Look After You”.
To this Day I have Never Forgot Them Words and Still Practice it On a Daily Basis, even Though My Work These Days is Mostly Site Based.
Paul, thanks for talking through the function of the exposed corner of the tooth. Logically, I have long thought that it must be important, but until now I’ve never heard an expert say so. So, I had doubted my thinking. (The reason I recall reading for honing as you describe has been to equalize the set on both sides of the saw to promote a straight cut.) Now we know.
What’s your rule of thumb for how many strips of tape you use for various saw types — dovetail, tenon, panel, etc?
Thanks for adding this nuance to our knowledge of saw sharpening.
I have a problem seeing each individual tooth and I sometimes cut the same tooth twice or lose my place entirely. I tried using a black marker and that seems to help, I color in each tooth and then look for the shiny bit to know where I was. I’m trying to visualize the tape tip, I don’t thing I’ve ever seen you show that in your tutorials.
What a great post Paul!
I’ve read many different texts and watched videos on saw sharpening. Never before have I seen stoning the side of the tooth parallel to the blade to prevent corner breakage. It makes a lot of sense, probably why I never would have thought of it or even considered it.
Thanks again.
-Tom Stenzel
In response to Tim see where he is in sharpening teeth, what I do is use blue layout die like machinist use. At Seventy one and failing eyes this lets me keep track of where I am and makes the tooth you are filing actually stand out. It comes in small bottle with brush and is easy to use.
Paul
How often do you put a fresh set on a saw? How do you know when a saw needs a new set?
When I feel slight resistance in the cut, especially any binding, I usually set the teeth.
Hope you make a video of the saw honing technique in the future
Paul, as it seems to have great results,have never heard of this method before.
I’ve never heard of it or seen it done. I came up with it out of need and stuck with it as a technique.
Doesn’t the tape shear off, and clog the stone when honing the sides, or is the tape attached to one side of the stone, so that the plate can sides back and forth over the tape, and hone the side of the teeth?
I’m not sure you’ve thought this through, Ronald. Nope, it isn’t an issue. The hone glides back and forth just fine.
How often do you joint the saw?
Not too often. It’s necessary as I am a practised sharpener after 57 years of regular sharpening so my saws are not uneven.
Thanks. I suppose then in theory one needs only joint a found saw that is in needs of restoration, provided you are diligent and careful with sharpening.
Much appreciated, dear Paul! I am wondering how that relates to your advice on putting a micro bevel on the back of the teeth (https://www.youtube.com/watch?v=yfefD6NARiY)?
Best and a nice Sunday,
Christian
(A picture, video of the actual process would greatly help, probably not only the non-natives).
Yes, I still do the back bevel too.
Hi Jim,
The bluing due is a clever idea. Thanks for sharing. It will definitely help Tim, myself, and others.
Sincerely,
Joe
Hi Paul,
What might be helpful is when you are showing your videos and doing the repeats of the instructions, maybe you could include in that silent working part some the saw touchups, chisel sharpening, etc. Part of the challenge of remote learning is not seeing some of the little day to day things you do that you so kindly share with us in these blogs.
Sincerely,
Joe
Hello,
Thanks for the question Dr Rapp, I had the same. A follow up question Mr Sellers, would you the micro back bevel before or after the side honing, or it doesn’t matter and I’m just over thinking it.
Many thanks,
Allan.
Is this a refinement to the stoning of the saw.. This was were after setting a sharpening stone was passed lightly over the sides of the saw supposedly to even out the set was what old tradesmen used to say
I’m not sure where “stoning of the saw” crept in but I hope it goes away as quickly. It’s not to even out the set as the set will be even anyway, no, it’s to refine the shearing action of the teeth by honing the outer face of the teeth as I said in the article. That’s even though it will level out the line of the tooth set too.
“I don’t need to do this every time I sharpen, perhaps every two or three times, that’s all.”
In the video “how to sharpen a saw in 5 minutes”, sharpening for rip cut, you file all the teeth from one side.
I guess it produces a sharp edge on the entry side of the file. But, doesn’t it produce a small burr on the exit side?
So is the saw evenly sharp on the two sides?
Does the burr (if any) disappear at the first usage stroke?
Oops, you mention the burr at the end of the video;
So would touching the exit side each time be beneficial?
You’ve answered your own question, Sylvain. It really does. And I cannot tell any difference. That said, in general, I do follow up with a slight back bevel on each tooth to reinforce the cutting edge and this gives greater levels of longevity to rip cut teeth no matter the saw type and includes pull-stroke ripcut saws from Asia. Combining the back bevel with the side hone creates a perfect cutting strategy for rip-cut saws.
Fabulous article and words as always Paul. Reminds me of my great grandfather (ref the old boys who’s health was of no consequence to the owning class in this country until a Labour government got us our NHS) He was a Royal Marine with good conduct, no sickness or injury throughout the Gallipoli / dardinells campaign) .. yet served EVERY SINGLE day from the MEF landing to rigging the rifle to fire after their “evacuation”! to Mudros. After the war he lost his veg shop as he wouldn’t chase the poor who couldn’t settle their bills and went to work for the Post Office until diabetes put him in a coma in 1944… but us peasants were treated like trash, military service or not. Lives wasted by posh boys, we are here again.
Can you make the saw cut on the pull and push. Might save 50% of your time lol.
My mom always used to call me lazy. Still hurts at 45 years old. I don’t think folks are lazy so much as motivated by different priorities…with some exceptions. Just my observation.
Laziness is underrated and is not a bad thing. Not at all! I am lazy myself. Do you need to move lots of stuff? For example, say you haul rigging and equipment for a large band – you’ll want me on the team, and you’d send me into the venue beforehand to plan the move. I’d look for any shortcuts and how to do the job with as little effort as absolutely possible!
Being lazy is not a bad thing at all if you take advantage of the trait. Being a slave to laziness, on the other hand, is a different thing.
Your mom was wrong in judging you by her own standards and/or needs. It is sort of like chopping off the legs of a frog, tellnit to jump and then criticsize it for not paying attention – or assuming it is deaf…
Sounds like a Tom Sawyer-esque situation, really. 🙂
Thanks, friend. I feel like a legless frog!
Labor saving can be good or taken too far. That’s sloth…which is great for a type of animal not for personal character…though when is the last time a lazy person ever hurt anybody? Maybe hurt a bad of chips/crisps? Lol
Push-pull
Good for limb cutting, not for precision work.
Some, I suppose, just care about the getting done with whatever task is they’re doing as quickly, with the least amount of effort they that can exert. For them it’s a drudgery to be done and over with as quickly as possible. For others it’s the satisfaction of knowing they’ve done their very best from start to finish – not just on the surface finish everyone can see, but on the details inside that no one will ever see or know just how well everything was joined and fit together. For them its not “Work”, it is a passion best summed up by the old adage: “If you love what it is you do, you’ll never work a day in your life”.
Back in late 80’s I was working with fellow wood worker from Europe to learn more ways to do things. He had one rule for working in the shop, {sweep up the floor, and sharpen all the tools you had used that week on Saterday morning} At 85 I still do that when and if I have worked with wood.
I still remember the headline of one of your previous blogs: Sharpen more often. It has become a very important headline for me in my woodworking. I don’t need to repeat any of what you say in today’s blog – but what really has meant a giant leap forward in my achievements in my woodworking activities is the sharpness of my tools. It’s unquestionable…
Excellent advice, dear sir, coupled with a couple of inside insights as to the “Why” of usually unexplained “Little Extra’s” that make a difference. I recently purchased a number 52 Spear & Jackson “Spearior” 8″ dovetail saw from a seller on e-bay that was “Hand Sharpened”. It was sharp, but a little “Sticky”. A quick pass or two over a damp 1200 grit diamond stone and it is excellent. Thanks to the tip of yours from a previous video. I love how this saw has the traditional proper three finger grip hole instead of the now usual (& inaccurate) four finger design.
Which uTube video is best to look at to review sharpening saws>
They’re all good, all have a purpose so hard to say.
Paul,
When you’re sharpening your plane blades, do you worry or pay attention to how square the cutting edge is to the side of the blade? Is it important to correct the blade if it is out of square or let the lateral adjustment correct this while setting up the hand plane?
Thanks!
Good question. No, I don’t ever take a square to the cutting edge because if I cannot see it out of square it will be near enough and totally functional without compromise. Yes, too, to relying on the lateral adjuster. That is what it was invented for and it is quick and accurate. There is far too much fanaticism about such issues as squareness in the same way people obsess about a variety of issues like micro bevels, different stones or sharpening plates and such. You will see when your iron starts to go out of square even though at first it will not be obvious or discernable by eye alone. When you do, this is the point to take a few minutes to square up again, but it definitely does not need at all to be done all at once. You will by this point recognise your bias. This is the point where you correct yourself with each subsequent sharpening and not all at once. It’s totally unnecessary. Begin to press harder on the longer side and within a few sharpening, you will have self-corrected and be back on track with no waste of time, effort or steel.
Thank you for your response! It’s very easy to get lost in misinformation out there on the internet and YouTube.
Another great post! Thank you, Paul!
I have a saw vise and files from Lee Valley to keep my saws touched up. Because I don’t use them often, I don’t sharpen them regularly but inspect them before use and touch them up. If I’m going to do a lot of cutting, I just get the vise and files out first and have a go.
I have a question about sharpening plane blades and chisels. I only just now got some diamond sharpening plates, having used sandpaper in the past. The set I bought consists of 250/600/1200 grit equivalents. I’m not good enough at sharpening to need more but will get some if my skills improve. They are on a metal substrate that is about 1.2 mm thick. I plan to mount them on a piece of MDO then put the MDO in a sharpening frame like the one you instructed us on. My question is, “How far above the sharpening frame should the sharpening surface be?” This will determine the thickness of the mounting plate I use.
Outstanding. I have always lightly honed to remove burrs from sharpening. Guess I have been sharpening that third face all along thanks Paul. The tape is brilliant and I can’t wait to add this next time,.
Mr. Sellers, I recently watched one of your videos where you were demonstrating sharpening a plane iron. I decided my old cheap oil stone I’ve had – and used rarely – for a long time wasn’t good enough, so I promptly ordered a set of water stones from Amazon with grits from 400-8000. As soon as I got them, I sharpened and polished the iron for a cheap low angle block plane I’ve had for years, as well as the brand new iron I purchased for a 17 3/4″ bench plane I just finished building using Cherry and Black Walnut I had laying around the shop. Both the old plane and the new one can now slice off gossamer thin shavings, something I’ve always struggled to achieve before now. I was using the new bench plane yesterday to thin another piece of Cherry to make a handle for a Japanese Ryoba saw blade. I’ll also soon be using the blade from that cheap old block plane as the basis for a small low angle plane I’m building from Maple and Black Walnut.
I have a 67 year old Shopsmith and use it often for turning bowls and pens. I also build ukuleles for fun, keeping most and giving some away as gifts. I’ve long thought about wanting to build one using hand tools only, but have chickened out on some of the more difficult steps, like cutting the neck and binding channels. I do use hand tools like planes and card scrapers as much as I can, but as you said in a different post, I’m not sure I trust myself to not make a mess of certain parts if I don’t use my table saw or router.
Tony Turley
Thanks for the update, Tony. Wait until it grabs you and then give it a try. make the transition slowly if indeed you feel you want lass machining and more skilled work. The wonderful thing about woodworking by hand is it doesn’t have to happen all at once. It’s been seven years since I used most machines and longer for some. I rely on only my bandsaw these days. My last use of a power router is 11 and possibly more years ago now. I don’t miss any one of them and my health improved a hundredfold or more by getting rid of them. Would I have them again? I can’t yet imagine that I would just now but I can see that for health reasons people rely on them more as do people with busy lives and having only little time too.