The Rewards of Innovation
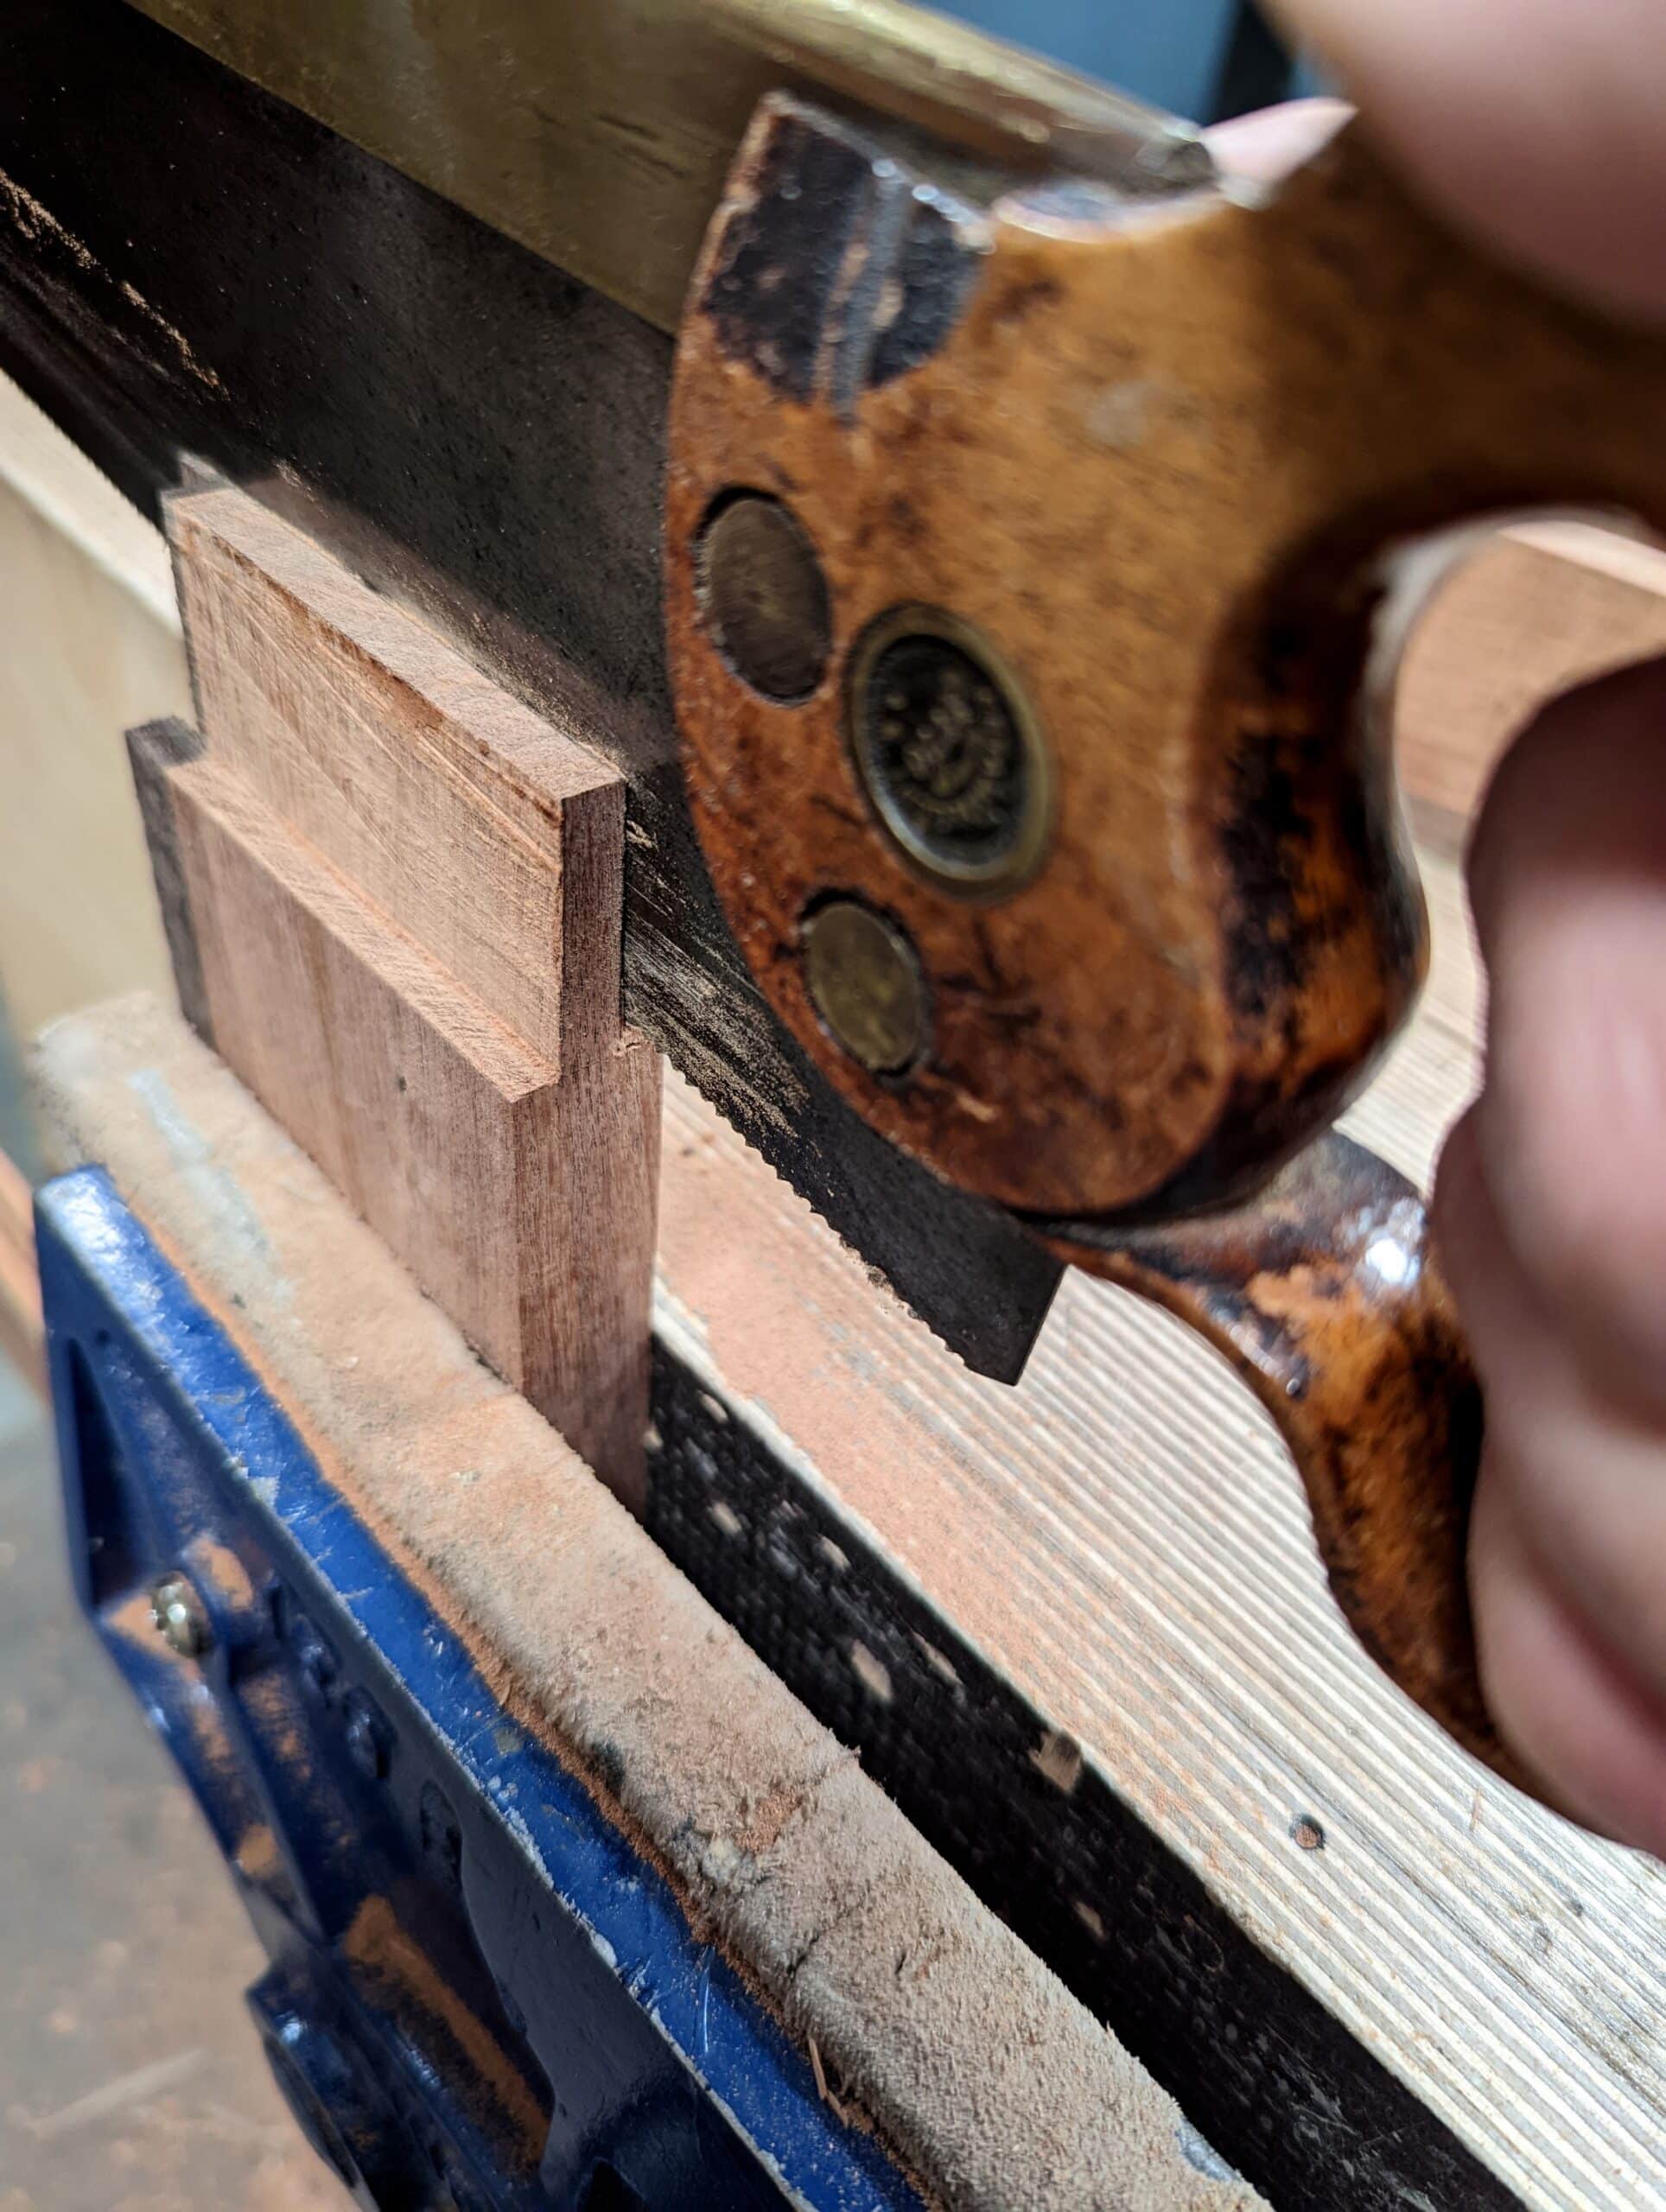
Someone asked if, “…Paul ever cuts any of his tenons to fit directly from the saw?” and I do, if or when I want to. Yesterday I did a couple like that out of the sixteen that I did cut and fit in reasonably quick succession. But when I cut several tenons of the same thickness in several rails it’s well worth using the Paul Sellers’ mortise guide in tandem with chopping out the mortise holes. On average, and for no good reason I timed chopping out eight mortise holes in a continuous mortising session — my mortise holes took a fraction over eight minutes a piece to chop so just over an hour’s steady chopping. On average these mortises were two inches long and an inch and a half deep by a quarter inch wide, so not big. Surprisingly, it takes the same exactly for a half-inch mortise three inches long and an inch and three-quarters deep. Fact is, I used to do all of my tenons and mortises freehand to the gauge lines as indeed I do freehand cutting all of my dovetails which always did and do generally come off the saw with no need for paring with a chisel. That said, for anyone new to hand tools and the very unique and specific world of hand tool woodworking, a guide like mine combined with the use of the hand router plane gives brilliant results early on in learning. I see all kinds of articles in magazines where someone pare-cuts every meeting part to creep up on the final cut line. Is there something wrong with that? Well, yes and no. There can be if it replaces a more direct approach and a confident build-up of that unique certainty leading to highly skilled workmanship. Pare-cutting has its place but it’s not something I’d recommend if it’s a million miles from the finish line. I say get close up or even directly on simply because I know there is a place beyond that margin that everyone can occupy in the early days of becoming an artisan with confidence. In my world, I see a boldness that comes from earlier practice that defies staying in the comfort zones, defies diffidence and procrastination without being at all cavalier. I think that gaining this confidence early on is an important development for several reasons, not the least of which is efficiency and efficacy. I hope that no one allows themselves to steal away the certain joy of just getting it right straight off the saw through steady and and successive early practice. That would be so sad and there’s no really good reason at all for robbing yourself of the pure skill in mastering dovetails straight from the saw. Procrastination partners mediocrity and is no friend to becoming a skilled artisan. Always best straight off the saw. Now that said, are we not creeping up on the line with the router plane? Indeed we are, be that for tenons and for housing dadoes, but we can choose to get as close as possible too and that is my encouraging aim to get you to take that moderate risk.

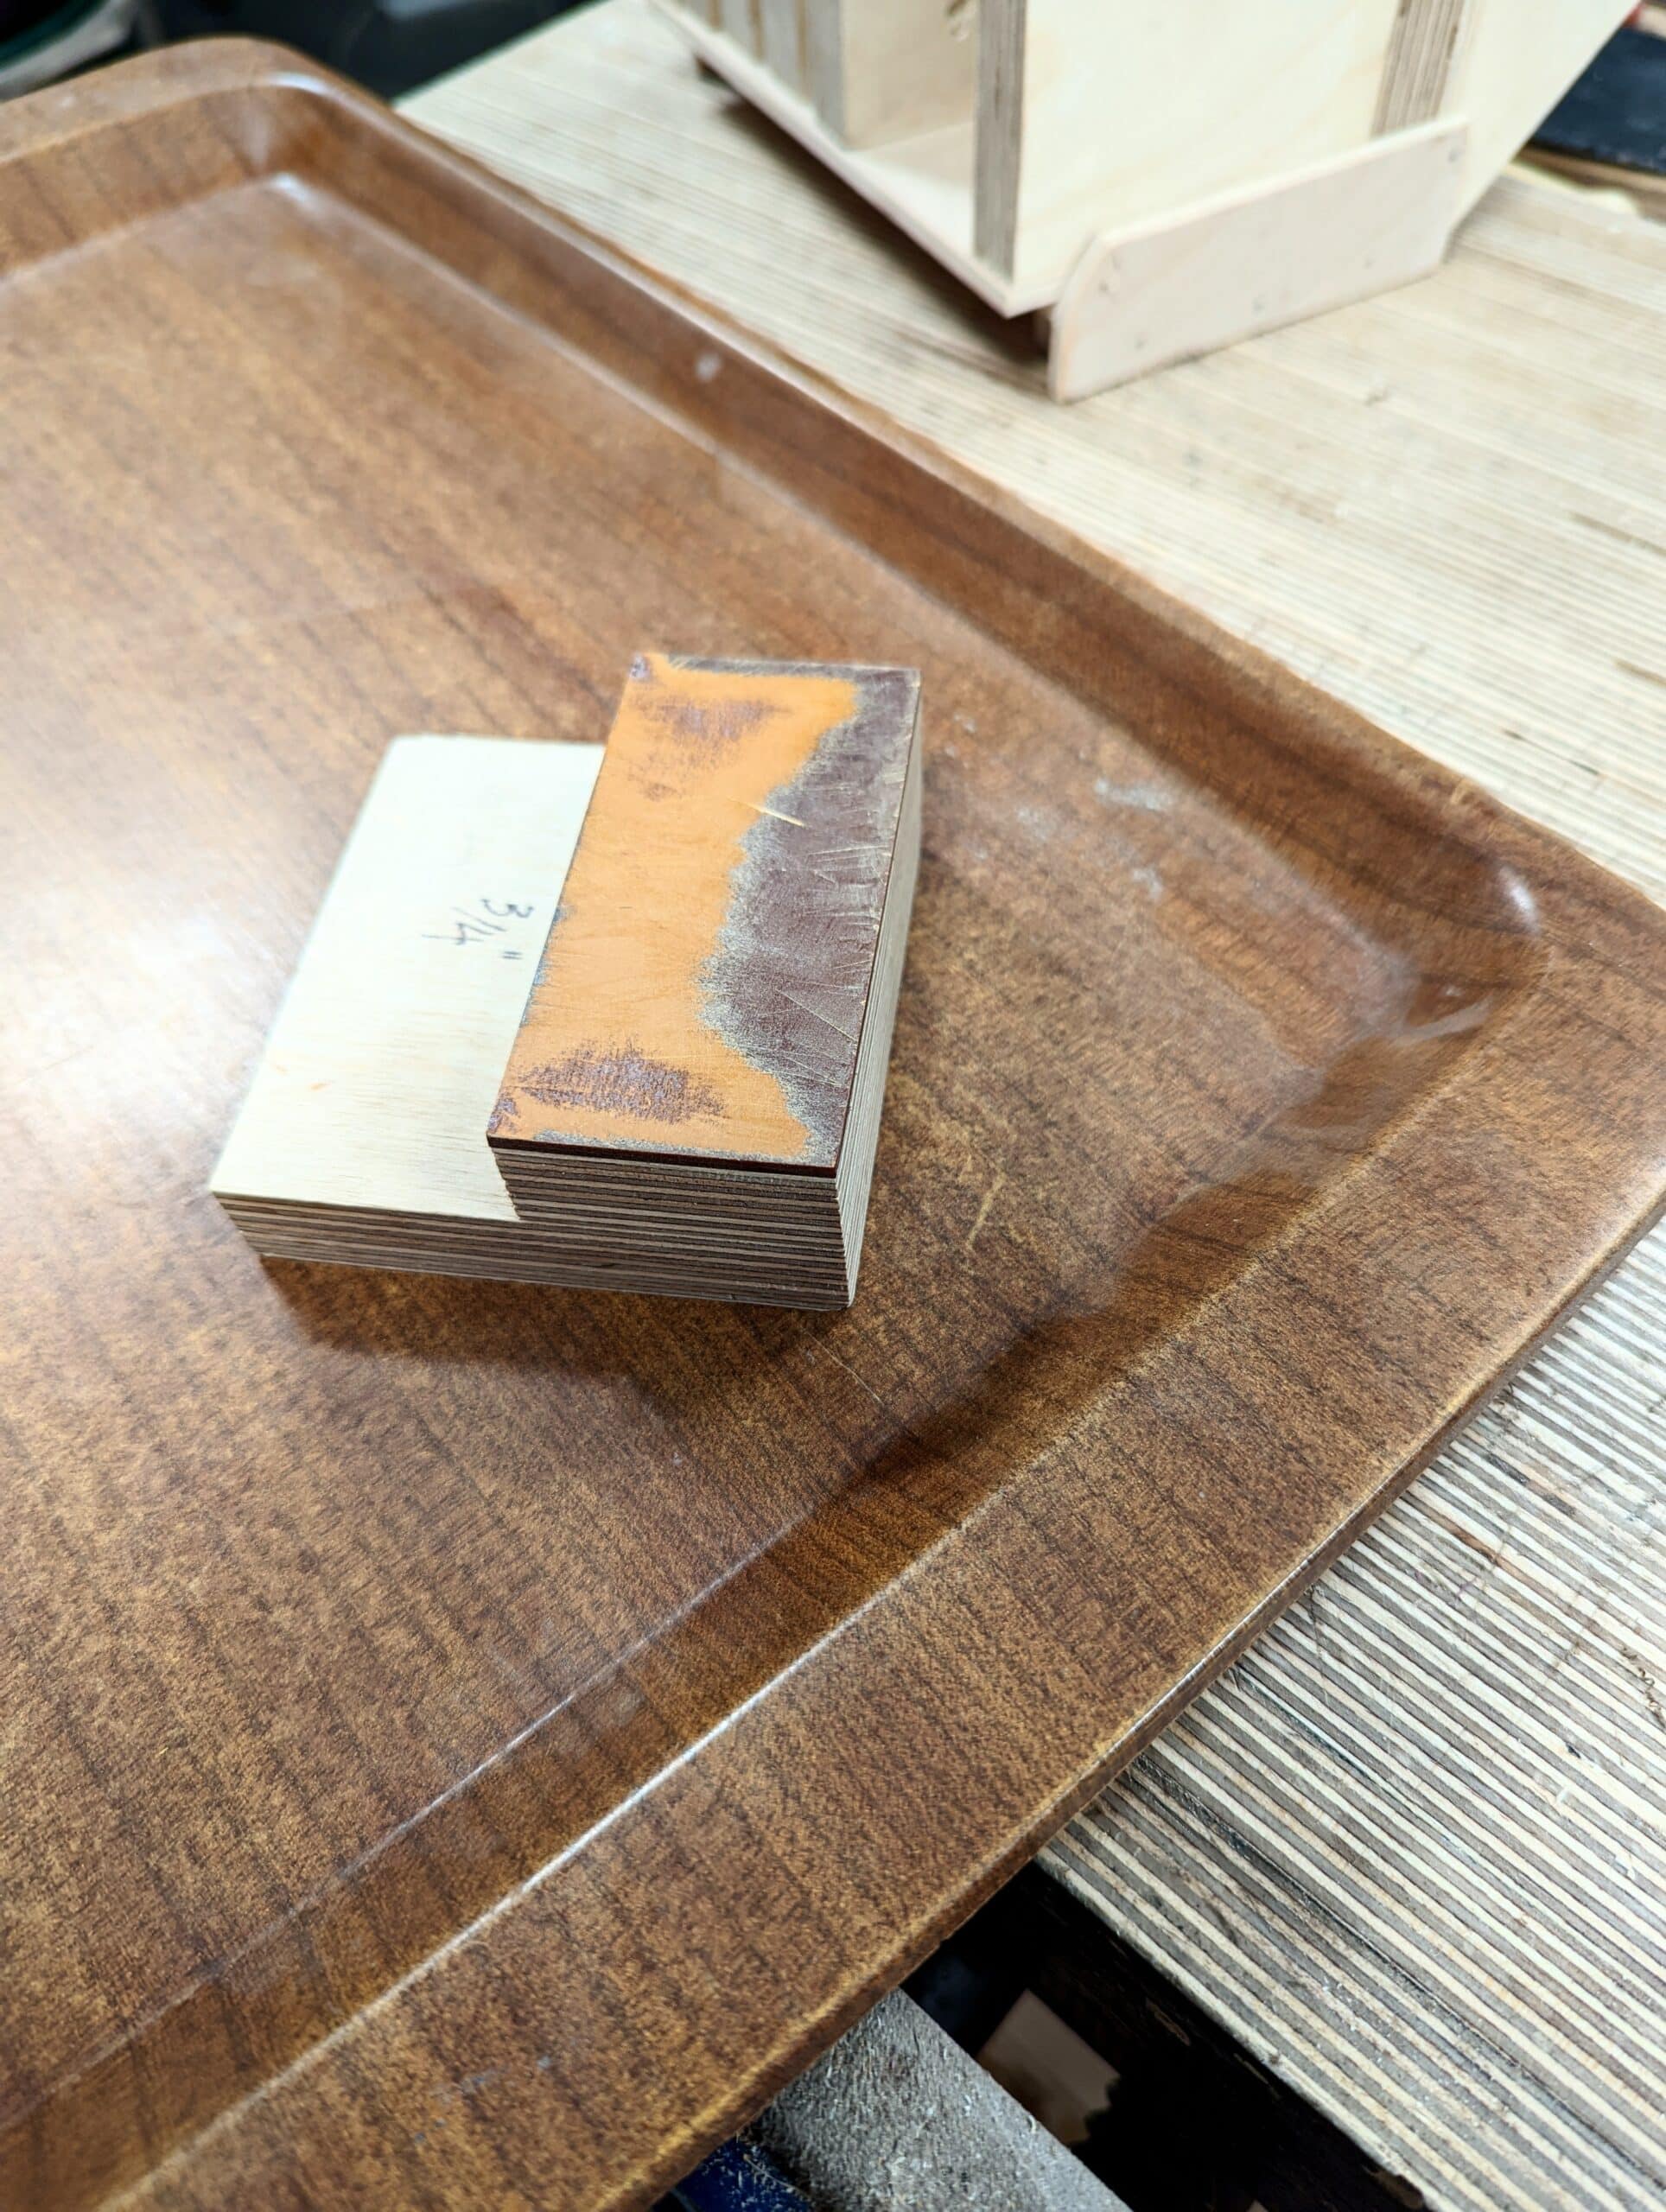
Now tenons are a little bit different than dovetails. Getting a mortise hole exactly to equal parallelity between the two walls of the mortise hole and then too to the outside faces either side can be a bit more of a challenge simply because the opening cuts, when slightly off, set the course for the deepening cuts subsequent to the start. Starting out, keeping perpendicularity throughout a deep and longish mortise is subject to a wibble-wobble here and there and yu have nothing but air to gauge how you are doing. It’s also true that the corners along the length of the chisel can be sheer-sharp and these tend to wallow out the walls when you are deeper in the mortise and need to remove the waste. My four doors came out twist free, ready to fit and hang. In door making, my guides are flawless for creating perfect mortises.
Up front, I am not saying at all that anyone should ditch the traditional ways of laying out and cutting mortise and tenons in the more usually accepted way. I am saying that you might well need that way because it could be the only way on a particular project that it might work or that you might find it good to hybridize the Paul Sellers guide with the traditional way or that my system works better in some if not all of your projects depending on how it is made. In many ways, my mortising system is so completely different that it flies in the face of the more usual traditional methods. But that’s not because traditional doesn’t work, more that it was originally developed to work from two direct reference faces adjacent to one another and planed true and square to one another. This too came from an age when all boards came from handwork and not machines. In that day it was more rare to plane all faces equal in parallelity and so only two faces were planed true and square to one another. The opposite faces might be skimmed off only and even retain some if not all of the saw marks. My method does not necessarily replace it as the traditional method was designed for the craftsman to register squares and gauges from the two trued faces only — the proven faces.
In my life as a furniture maker, I had reached a level of mastery where my holes were indeed parallel to the outside faces freehand. It was when I started teaching woodworking and furniture making that there were indeed massive discrepancies affecting the students very adversely and the only answer offered was to buy into the machines and the building to house them. Over many months and years, time and time again, I saw tenons that could never fit the mortise and yet the time of practice to achieve perfection could not be given even in month-long classes and workshops. In my early work life as an apprentice, I had a man alongside me eight hours a day steering, guiding and watching my every move. This willingness to always correct me was of great value. Something impossible in today’s world of apprenticeless woodworking, so I needed an answer to the problem asap.

Thankfully, quite early on in my then new to me teaching role, I saw the need for improving the status quo and indeed something leading to success for my students. Since then I’ve developed several things further surrounding mortise and tenon joinery. It’s been very much an evolutionary process and now it’s used much more universally as a result of my groundwork and to such a degree that many new to the craft might think it to actually be a traditional way rather than relatively new. It only really became public when I started blogging and videoing my teaching to reach the wider audience the internet gives me. When you see any other woodworking exponent using this method then he copied it from my teaching somewhere along the line.

My inventing the mortise guide system as an answer to my student’s needs is now a well-tested system from a background no one else can present from. In my world and in the schools I started, over 6,000 students have tested the efficacy right there at the bench. Combine that with the online work we do thousands of woodworkers have adopted it as part of their daily woodworking life. The fact that it didn’t exist until the beginning of this century seems remarkably bemusing simply because it is so simple and basic and it works so very well. But thinking more about it it shouldn’t be so surprising. Back in the ancient history of woodworking when men apprenticed, it became intuitive through the daily doing of it and doing it by the thousands in any given year. That is never going to happen for today’s woodworker but there are people like me who actually want skilled woodworking rather than the substitute machine work. It’s because of the internet that it has become so widely accepted. Before the internet, it would have taken me a hundred years to spread the news of it so widely around the world but now it has been proven through hundreds of thousands watching online and then too in my hands-on classes. Today, I use it for almost any project I make because, well, it’s such a superbly practical system that addresses the one thing most woodworkers cannot seem to get right and that is the parallelity it gives to our non-through mortises we use in our work a lot of the time. This guarantee of alignment ensures absolute twist-free projects ranging from chairs and tables to every kind of door.
In the quickness of CAD, the machining world and the internet, things get lost and the needle in the haystack may well be a gem of discovery buried in the never never to be found again. There’s a smallish detail most new woodworkers will never find when it comes to our losing the use of hand skills and hand tools. Because it might get lost I’ll record it here for future generations. Twelve or so years ago you could pick up a perfectly good Stanley or Record #71 router plane on eBay for £10-12; even one still boxed and with all cutters unused would not be so rare as it is now. People then, in that time and for about six or even more decades up to that point in time, either were not sure what the router plane did or assumed that it was outdated and ineffective in functionality. Those that did know of it thought that it had only one function and that was to crudely route down the bottoms of dadoes or housings, nothing more. It was the power router that routed it from usefulness. It’s no wonder, even the makers never thought to take it any further, hence nothing more is mentioned in any of their leaflets. Surprisingly, no book ever takes it further either (except of course mine). My going for a more public presence on and through our woodworkingmasterclasses.com, writing for magazines before that, and then blogging, social media, etc, brought about my teaching to pass on the skills from a master woodworker living the life as a designer maker, a lifestyle woodworker and not at all a self-appointed expert, YouTuber or salesman. It was very different because I knew the hand tools I worked with were from a lifetime of using them every day through half a century. I was an original, never copied what someone else was doing online and I can tell you I have seen less than one hour of online videos in the last twelve years. The funny thing is this. All tubers a few years ago teaching about the router plane only ever showed it for one task — levelling the bottoms of dadoes. Even the makers of them showed this task alone. Not one video exists showing anything more than that. When I introduced refining tenon faces to get true parallelity to the main face for tenons it revolutionised the levels of accuracy in tenon cutting and that translates into perfect fits from hand tools, non-twisted doors and the ability to refine amateur work to parallel in equal measure the work of professional machinists. This was something that up until now had never been done in amateur realms. I suppose it is true that I am proud to have taken the router plane use to a new level in the lived lives of woodworkers. This is how craft conservation works and not in some living history museum or any museum for that matter. Craft conservation should never be reduced to merely demonstrating on a platform . . .That’s merely preservation and not cultural conservation which must remain living through the lived lives of the crafting artisan creating and making as much as possible. Now that does not mean a full-time artisan earning a living from the craft, just someone dedicated to making in whatever time they have.

Chiefly, my introduction of the router plane in the much fuller context of refining the faces of tenons for finalising the depth of dadoing, housing, recesses for hardware and inlay work and so on came at just the right time. As far as I know, no one ever used a hand router plane for anything more than just possibly truing up the bottom of a dado. Of course. it stands to reason, this plane was abandoned because we were in an age of machine-only dominance. Remember YouTube is only 17 years old, but its mass popularity and influence is much less at that time. Can you believe that this plane was pretty much abandoned altogether by woodworkers worldwide? Imagine now if you could buy such a plane on eBay for £10. I’m proud and sad to say that this was indeed the Paul Sellers’ effect. Even a Stanley or Record sold via eBay will now reach £150 and they never sell for under £100 anymore. We’ve even shunted the sales of tool makers like Veritas and Lie Nielsen to where they can barely keep them in stock if they even can, so that’s another bonus considering it was all but obsolete a decade ago. Again, I developed the method and introduced it to my students two or three decades ago; for me, this proved the efficacy of the alternative use of the plane. It was tested by thousands of woodworkers in real-life situations as they made the projects in various ways and for different needs. Subsequent to that came a whole alternative to developing mortise and tenons using these simple mortise guides; that’s layout techniques and then truing methods for both mortise holes and perfecting tenons within thousandths of an inch when wanted.
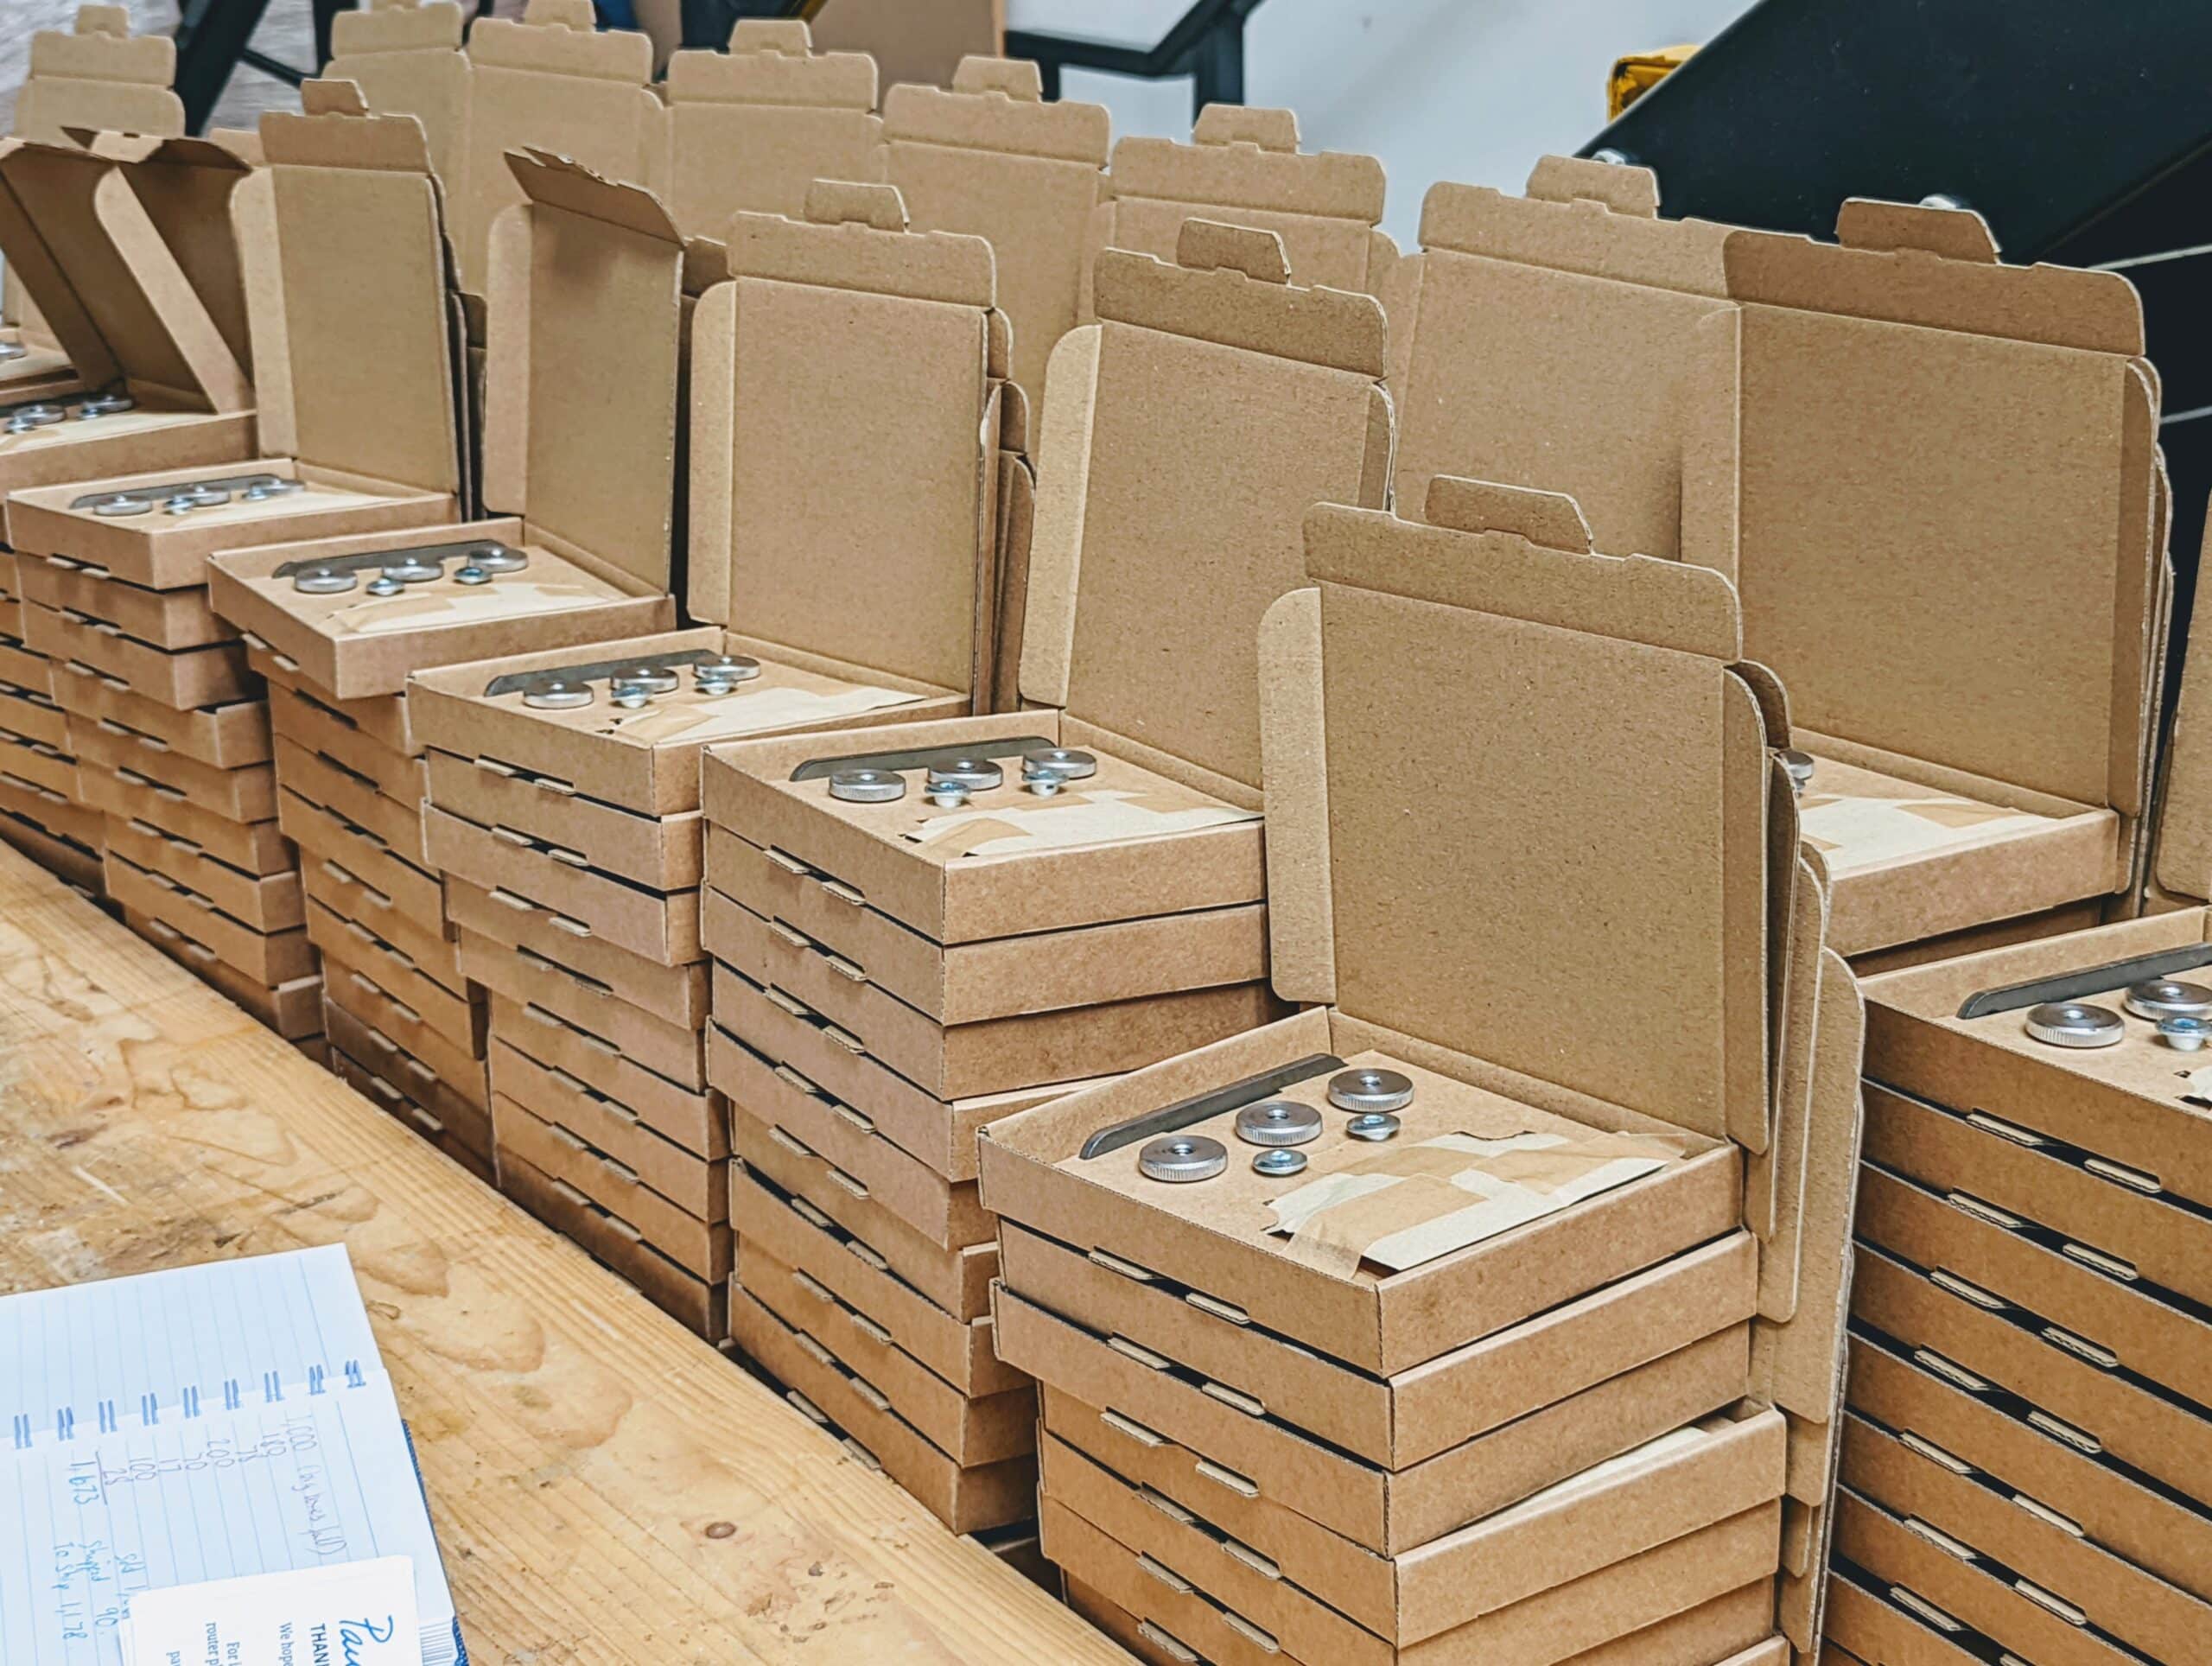
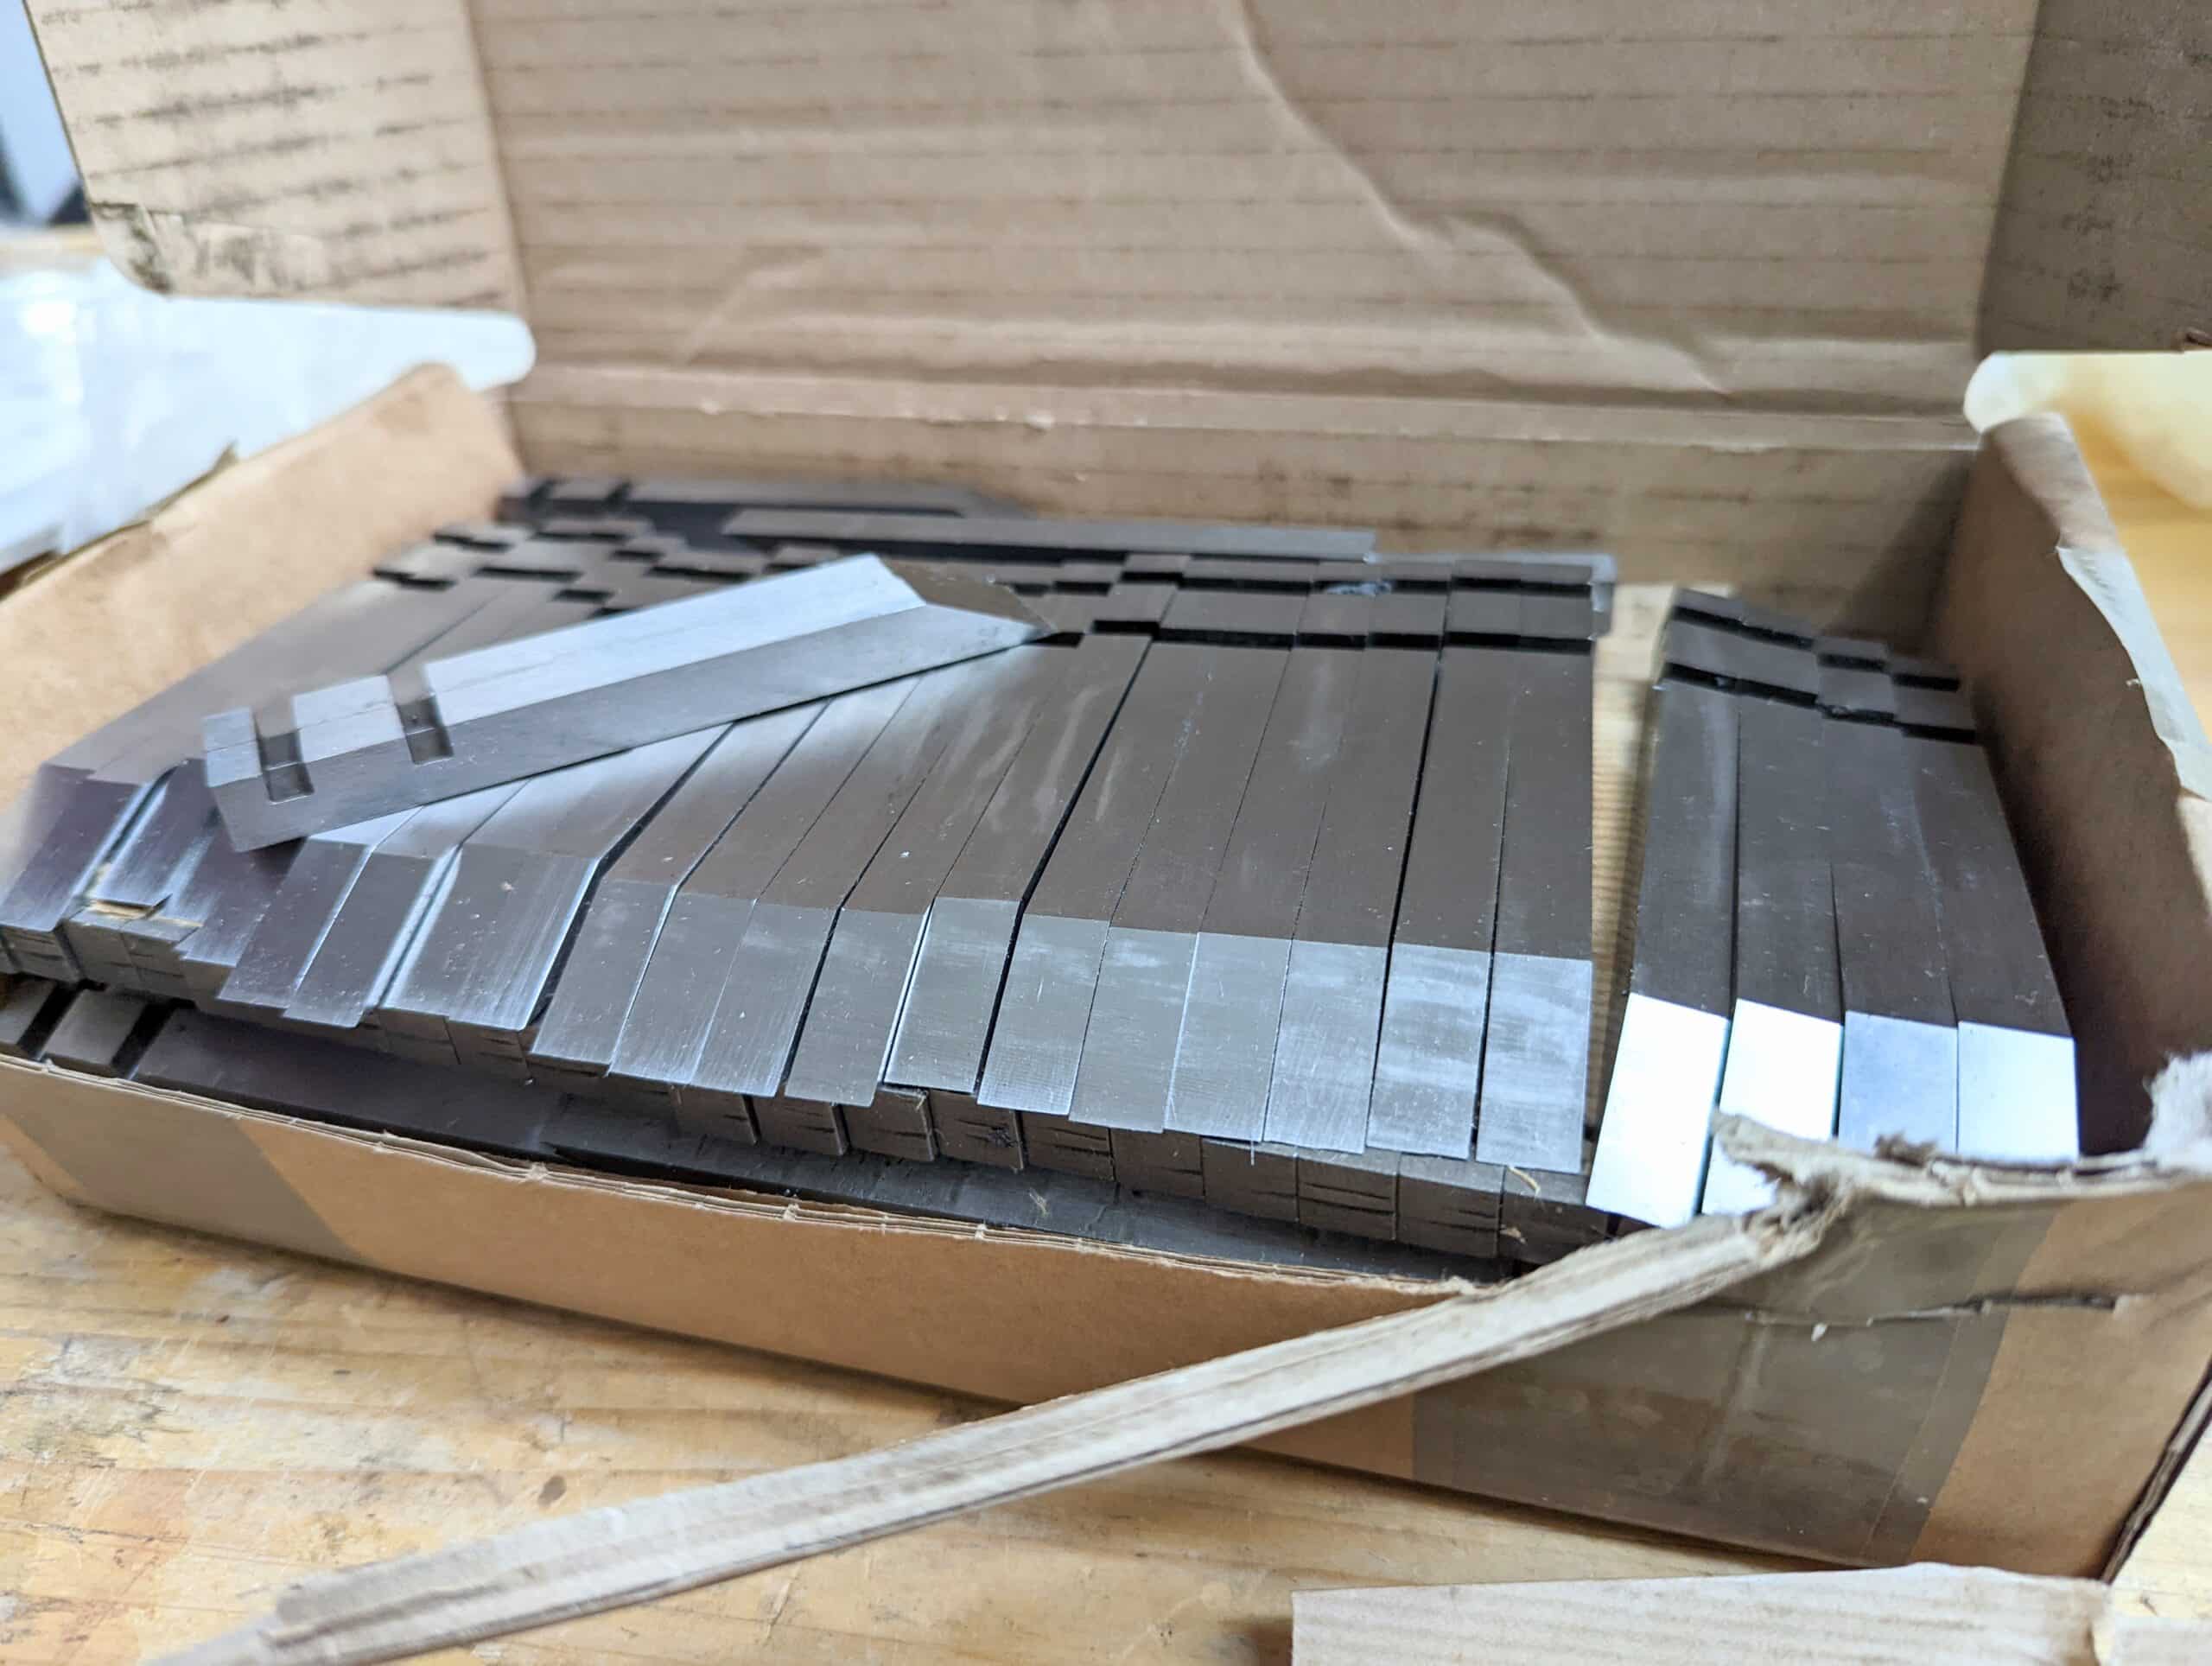
And then came the answer for the shortage of and need for a good router plane at lowered costs. Last year I had decided I just could not let anyone pay upwards of £170 to £250 for a router plane and especially for someone starting out on their woodworking journey. They might not even like woodworking. So anyway, I designed and made a router plane that anyone can make in an afternoon that at the very least equalled the all-metal, mass-produced versions with a level of solidity that any and every woodworker would benefit from and they get to solve their own problem of not having one. Having previously blogged on my then-preferred Preston router plane I yet again sent prices soaring with competitive bids on eBay. Not because it was in any way superior in functionality or quality than the Stanley and Record 71 types. Again, my £32 purchase of a Preston or Tyzack a decade or almost two back sent the prices upwards of £500 when people saw me using mine and they never sell for less than that these days. I had to do what I always told my kids when they saw a problem and complained — ‘Be a solution!‘ I took a few blocks of beech and made half a dozen router planes to my design. We made our kits available and people around the world are now spending an afternoon making their own lifetime router plane for a fraction of the cost of the all-metal ones and it will likely last for a couple of hundred years of daily use. The router plane kit has proven popular after some serious investment having the components like the blade made by a premium Sheffield maker. Here at the shop, we have all made our own planes so there are a dozen and more hanging around. I’ve made 15 to date and also developed other ideas for retrofitting with additional components to use thinner cutters as required and then too a depth stop, incremental markings on the cutter and such so you can dial in a depth in an on-the-go way.
I have a follow-up to this in the pipeline for all of the practicalities going from laying out to depth stops for my router plane and more.
I can honestly say that the building of my router plane, completes a tool kit that I felt was lacking. I have saws, have had many saws, chisels, etc… but could never quite afford to get the genuine router plane. When I saw this come up and saw the parts kit available I knew that this would fulfill that last little bit of anything I would need for the forseeable future. The kit arrived promptly (I’m in the US) and was in perfect condition. I completed the router in a few hours start to finish, same as Paul outlines here. I would recommend anyone makes their own, for that’s the start of understanding that you can be the solution to your own problem.
This has been an exceptionally helpful discussion. My studies with you began nearly 10 years ago, but I misunderstood and never appreciated that what we were shown was a bridge and not necessarily a destination. I have thus accepted the need to pare and trim and have not pushed myself to achieving joints right off the saw despite the fact that sawing is one of my favorite things.
I think that false expectations is a huge factor in apprentice-less training. This goes beyond unrealistic expectations for outcomes that cause frustration and quitting. Without a trusted person at your elbow saying, “that is good enough,” “that needs work,” “that’s good, but too slow,” the student has to guess and this is harder than it seems. In this case, I misunderstood what to expect as the outcome, what to expect of myself.
This isn’t in any way meant as a complaint. I am excited that there is more for me to learn.
Hi Paul i would like to ask you about your processes for every task involved in your working. To obtain consistent results in your work do you keep formal written instructions on how you do each task? By instructions I mean like a chefs recipe for future reference of when you do the task again you can remind oneself of the lessons learnt and the feedback so that you can work in a more methodical and efficient manner?. I have done some research and found that some fields such as aviation rely heavily on prescribed instructions (called standard operating procedures) similarly the army also have these procedures where every movement is planned. Can I ask you Paul do you meticulously record your step by step process for future record or is most of what you learn through experience?
I don’t, George. The reason the military coins phrases like An Army of One and cannot function without an identifying uniform is because the last thing they want are individuals with their own agenda. Any uniformed organisation has what we in Britain call Standing orders. In a mass of books and ledgers, there are collated ways of doing everything from folding and raising a flag to the denier count and coded number of the fabrics worn. It standardized procedures and ensures uniformity, conformity, obedience, compliance, allegiance, submission, etc. Without this, the military could never succeed in objectivity leading to success. An Army of One is about the higher call putting the organisation above the individual. The army, airforce, marines is not looking for individuality. Every military institution starts on day one by removing individual dress and the right to it, by requiring hair cuts of set limits, jewellery wearing and so on. Uniform — of one form — uni form.
I tend to draw out my ideas and make notes to myself along the way but these are the evolutionary process for any designer of my background, age and so on. I don’t keep notes to replicate my design in future or as an aide-mémoire but ido draw up plans to support my teaching, be that for the pieces I teach other to make via woodworking masterclasses and Sellers’ Home. I keep daily journals but these include nature notes, personal notes and then too projects but they are far from meticulous. I have no real need to remember anything that I do in my daily routine because it is all soindeibly imprinted on my mind. Sometimes, often, if I forget a task or method I pick up the tool and without my mind in anyway being conscious of what I am doing I perform the task. When ipick up a plane I don’t sight along the sole for the setting I simply, in a split second, touch each side of the bl;ade in the mouth and I can tell how deep the cut is and whether the blade is set perfectly parllel.
Hi Paul thanks for that response I think you very elegantly described the difference between the soldier and the creative such as yourself. If I may ask about your note taking process you alluded it to being far from meticulous? Do you not focus on it being perfectly uniform is it more as a tool where you draw, write spontaneously and use it to express your ideas more for function than having a set of “perfect” notes? And does this also apply to your teaching notes? Is it also far from perfectly organised and standardised?
Thanks Paul. Sometimes, I’d like to be a fly on the wall and get to watch you work without the camera rolling to see you in the zone. By that, I mean you working using your intuitiveness developed over 50 plus years at the bench. The quick little things the keep things moving forward. The video you did not that long ago (I think on YouTube) where you built a still without talking was the closest we’ve gotten.
Don’t get me wrong, I love all the videos. I have rewatched many of them and learned new things I didn’t appreciate the first time through. Part of that I know was due to lack of experience and having had a problem to overcome. For example, on a wide wide board, you will often only knife a portion where your hands are apply pressure. Then, after several passes, you move your hands and knife that part. I didn’t appreciate that until I had tried to mark some knife lines on a wide board. What I found was that if the knife was far away from your hands on the beam, there could be enough torque by the knife to move the beam. Even knowing that, I still found it difficult. Then, I saw what you did and it really clicked. Your videos are filled with lots of little moments by that. I get quite happy when I discover those little tricks. Thanks for all the you post. Little by little, over the past 7 years, my woodworking is getting better.
“In that day it was more rare to plane all faces equal in parallelity and so only two faces were planed true and square to one another. The opposite faces might be skimmed off only and even retain some if not all of the saw marks. My method does not necessarily replace it as the traditional method was designed for the craftsman to register squares and gauges from the two trued faces only — the proven faces.”
This was so enlightening for me, because I never completely understood the “face edge” F-mark system. Now I do a little better.
Hi and thanks, Mr Sellers.
Thanks for sharing your knowledge, not just about woodworking, all your knowledge about life and its meanings.
I am from Uruguay and reading your footnote below the router plane photo was amazing. In your contry you can purchase any tool you want, but not in mine and the fact that you have had this in mind when you designed your router plane it is just amazing.
I am building my own copy of your router right now to advance in the building of my copy of your workbench.
I cant say enough thanks to you, but lets go again, thanks Mr Sellers for your work, effort and incredible dedication.
Daniel Zolvini.
For beginners and learners the fear and procrastination that follows can be crippling but we should all be braver. I am far from perfect but remain a firm believer in removing wood by the simplest route.
That requires confidence. Because you’re not dialling numbers then confidence can come from truly understanding your process.
The mortise Guage marks 2 lines. You chop between the lines, you saw outside the lines. It’ll be fine.
It’s up to the individual to refine their skills – the saw cuts straight (mostly) if you let it.
PS. I’m quite happy ignoring Paul’s mortise guides for legs n rails. for tables and chairs….but since my washing bin lid took 2 attempts I still can’t do without those training wheels for frames that need to fit flush all around.
I have had the router kit of yours sitting around waiting for the right time to build it for months now. I already have a smaller router that I built from a piece from the pile of firewood the previous owner of the house left us and the spare blade for a small Axminster router. Total cost of materials for that build was probably less than 200SEK (≈£15–20) but it required a lot of filing to modify some of the hardware to get a screw adjustment for the depth.
Paul,
I have searched all your blogs and YouTube videos I can find looking for instructions for making the mortise and tenon guides shown in this blog without success. Do such instructions exist, or are we still awaiting their posting?
Thank you for all the work that you have posted! It has been most beneficial. As an 85 year old novice, I need all the help I can get.