Heavy Duty or Balance?
I am not sure when I first read the words, but it seems no matter how lightweight the product these days the package will inevitably say, ‘Heavy Duty’. I think I once saw it emblazoned on a US Ford one-ton dually truck a couple of decades ago and for a pickup it was pretty heavy duty even though driven by what was called a ‘city-slicker‘ crossing downtown Houston city. My own one-ton flatbed’s top speed was around fifty before the drift became less controllable and I needed two lanes to keep it on the road. It was at my time of ownership over 40 years old and had 400,000 on the clock if the clock had had the capacity to record it. It was indeed heavy duty in that there was no power-assist steering or power breaking. Get past fifty and you had to stand on the breaks to get the thing to slow down.

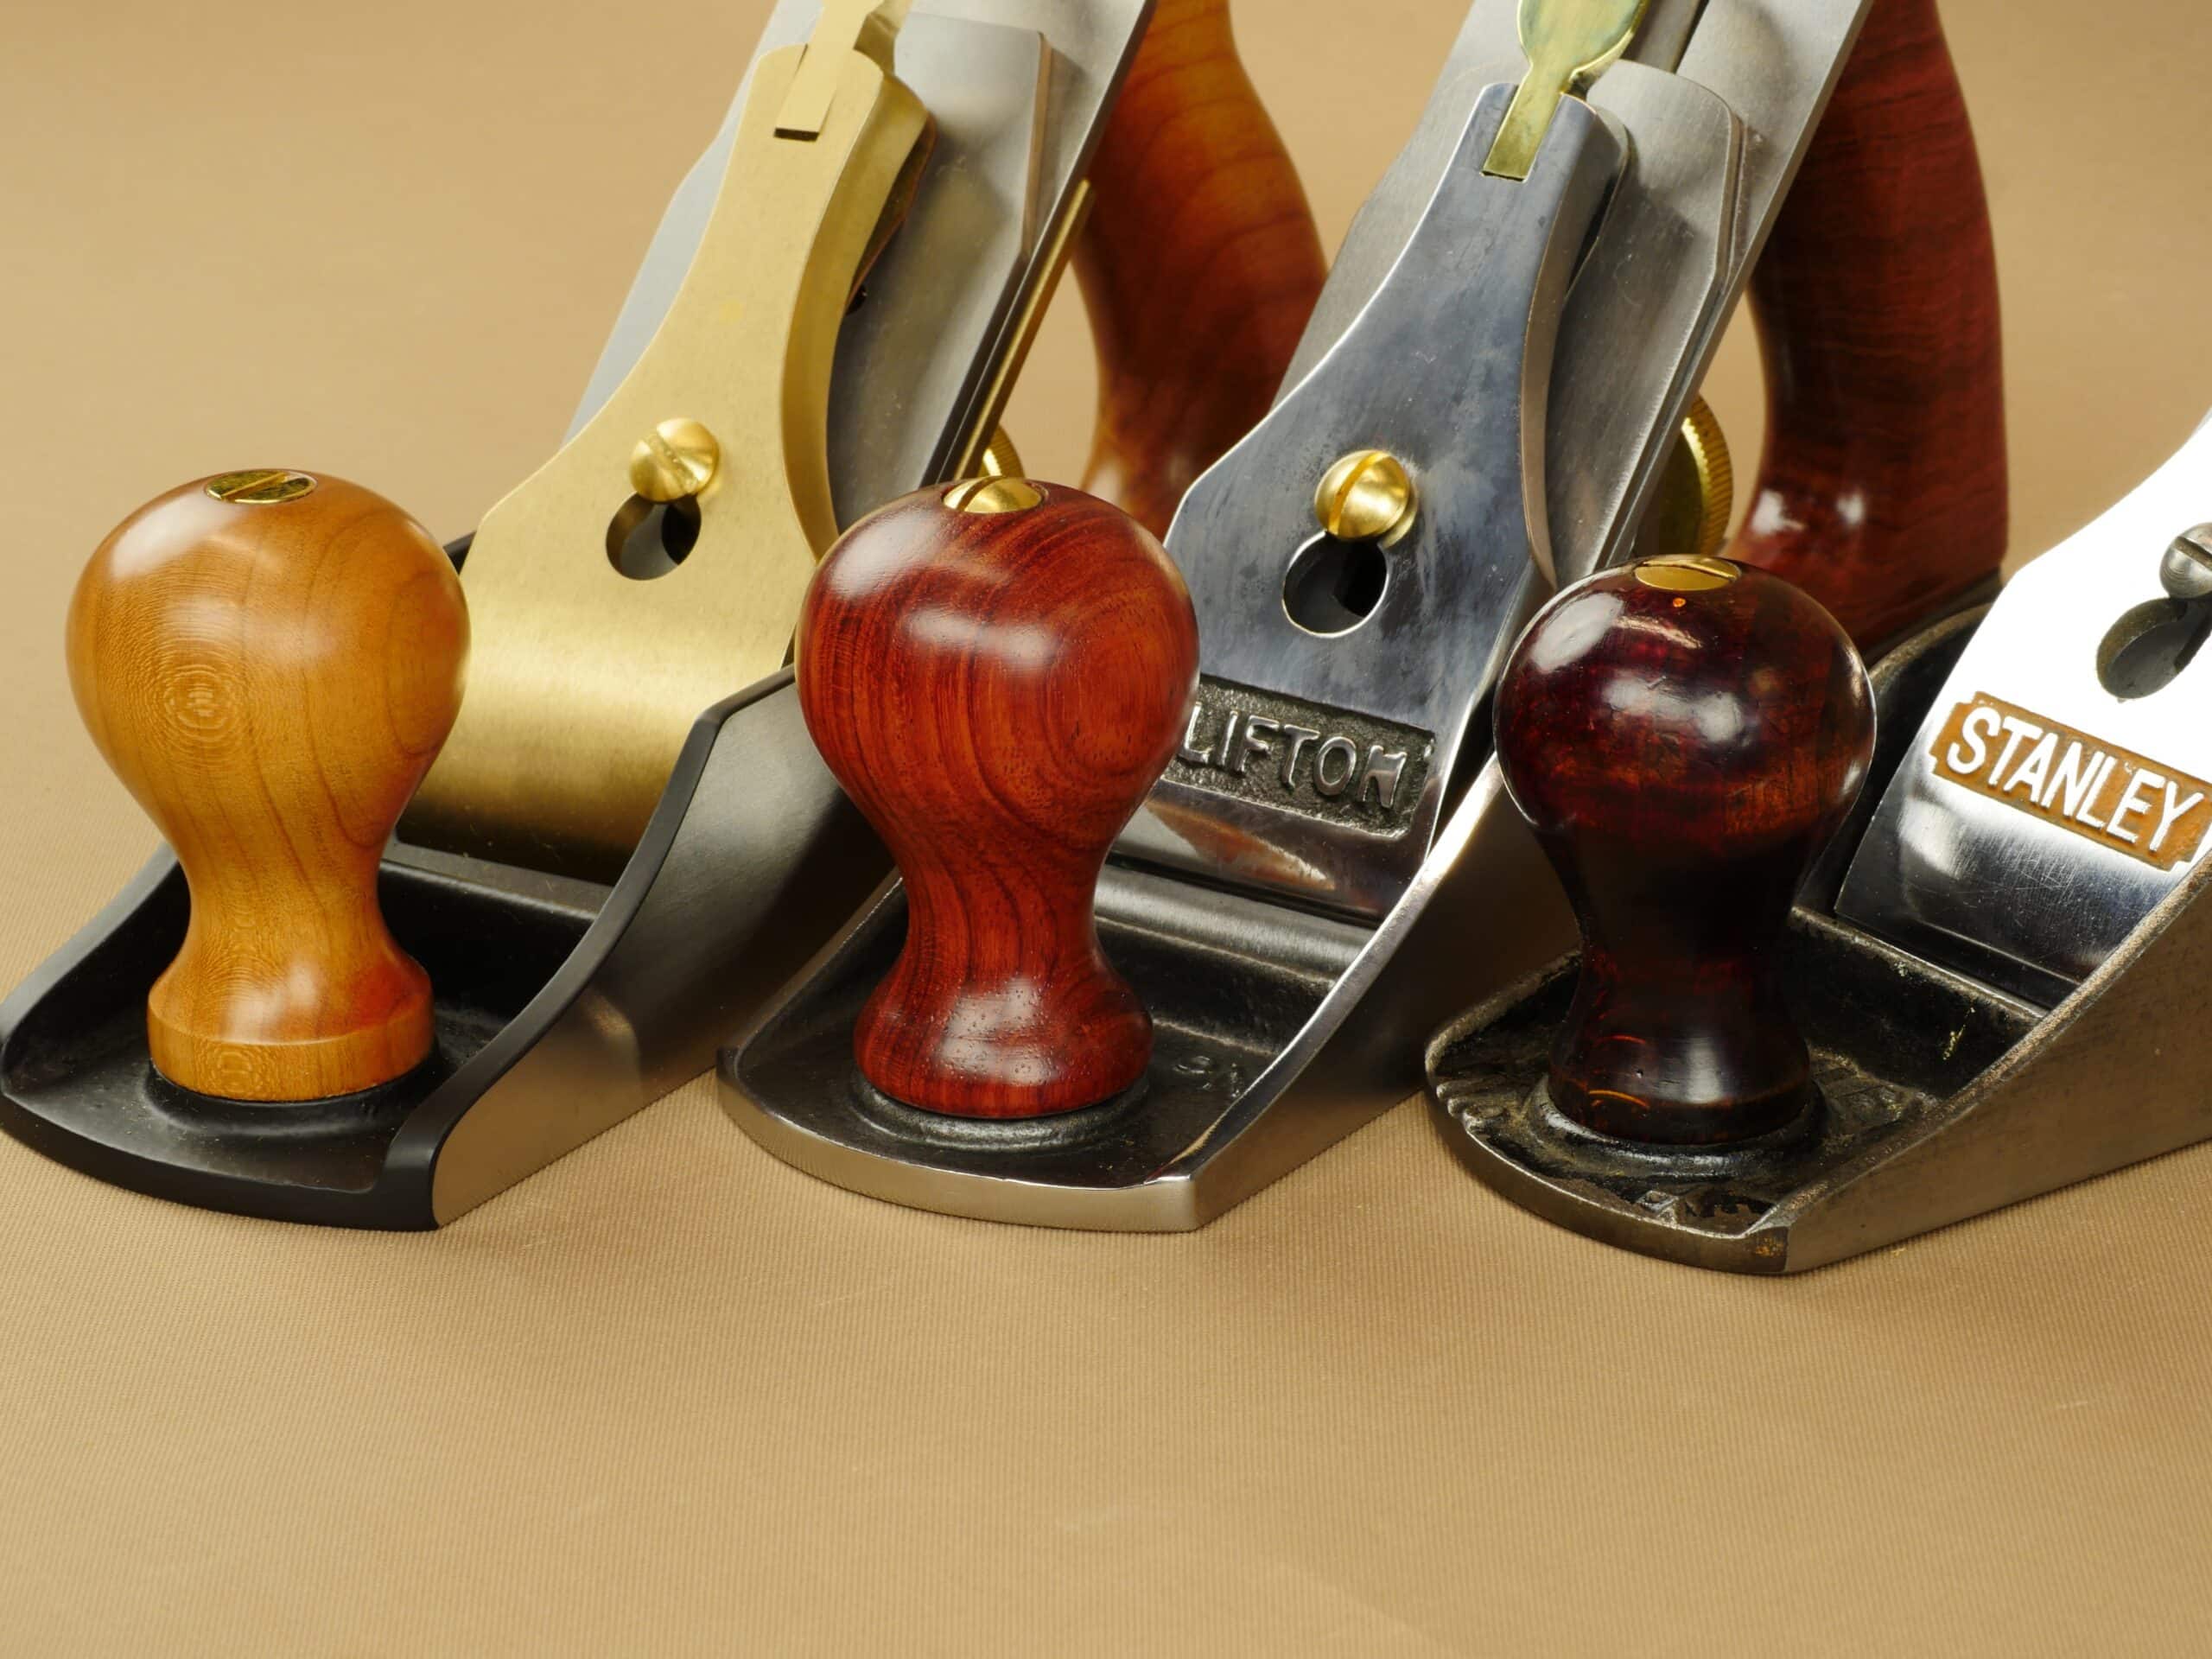
The perception of heavyweight in woodworking is a concept people like to think of as, well, long-lasting and equal to the demands of vigorous working through the ages. I think some woodworkers relate to their hand tools as rigid and immoveable pieces of equipment, similar to a road grader that levels roads by sheer mass. Some makers knew that the weight was against them and tried to lighten up their offering by adding wood whilst others just forged ahead with infills simply because the weight in solid blocks of cast iron would take a block and tackle to lift it. I have seen many concepts come forward at the hands of engineers that really challenge me even though I enjoy the works of art their planes became. I cannot imagine spending £3,000 and up on an engineer’s offering as a working plane but for an example of fine engineering I am sure some will. `The challenge of making a common plane into a work of art seems inevitable to many engineers and I think it’s mostly because they saw the slop in a lateral adjustment lever as flawed work or the whiplash in a depth adjuster too much to tolerate and thought they would solve the perceived problems. In practice, they both make no difference. 58 years on I am still capably and efficiently adjusting my plane with the same ‘flawed’ conditions of loose linkage they came with from its Sheffield factory production in 1965. Neither has any apparent decline and both operate the adjustments I need perfectly well. I do see though that those new to woodworking might believe the better option would be the heavyweights with refined millwork now offered, but that’s not the case. They do no more than my plane does but mine works easier.
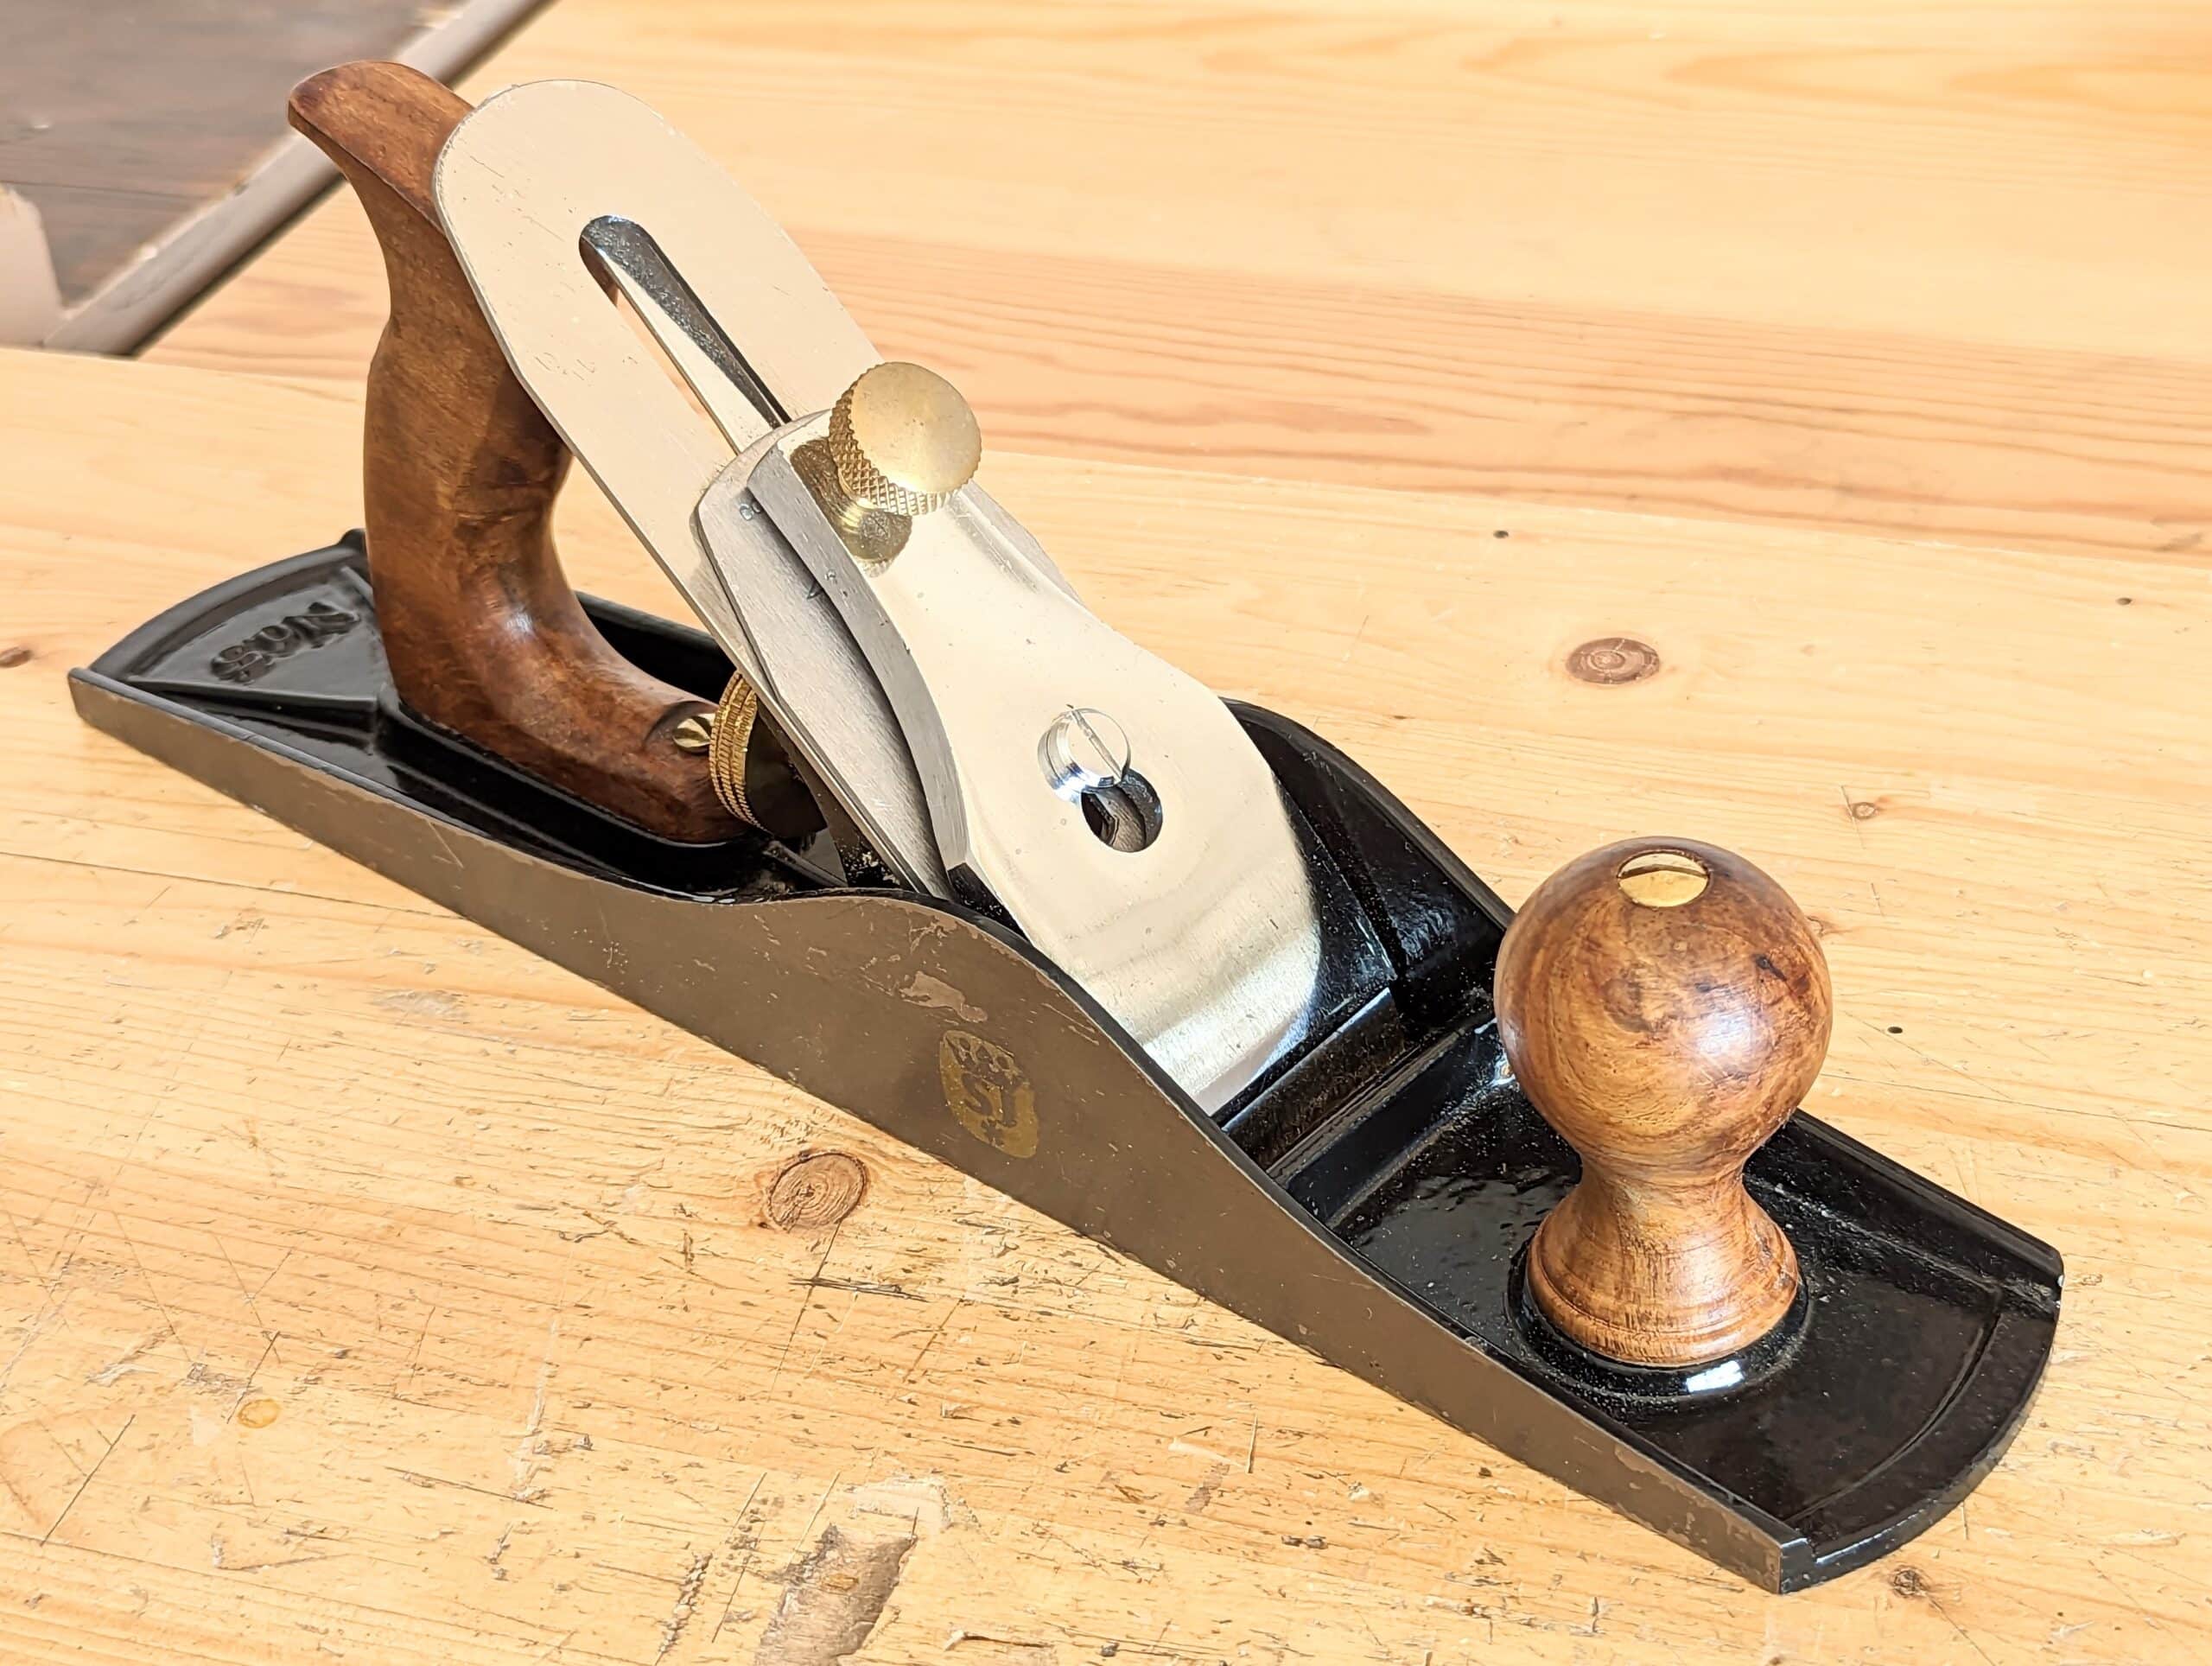
This week I used a lightweight jack plane hot from this year’s Taiwanese production line and it’s a joy to use. The tolerances are tighter than my now vintage-version Stanley without being too tight yet it is the good and better lightweight plane I would always choose over a so-called premium version. For about £30 via Amazon, this plane took only minimal fettling and no more than many others.
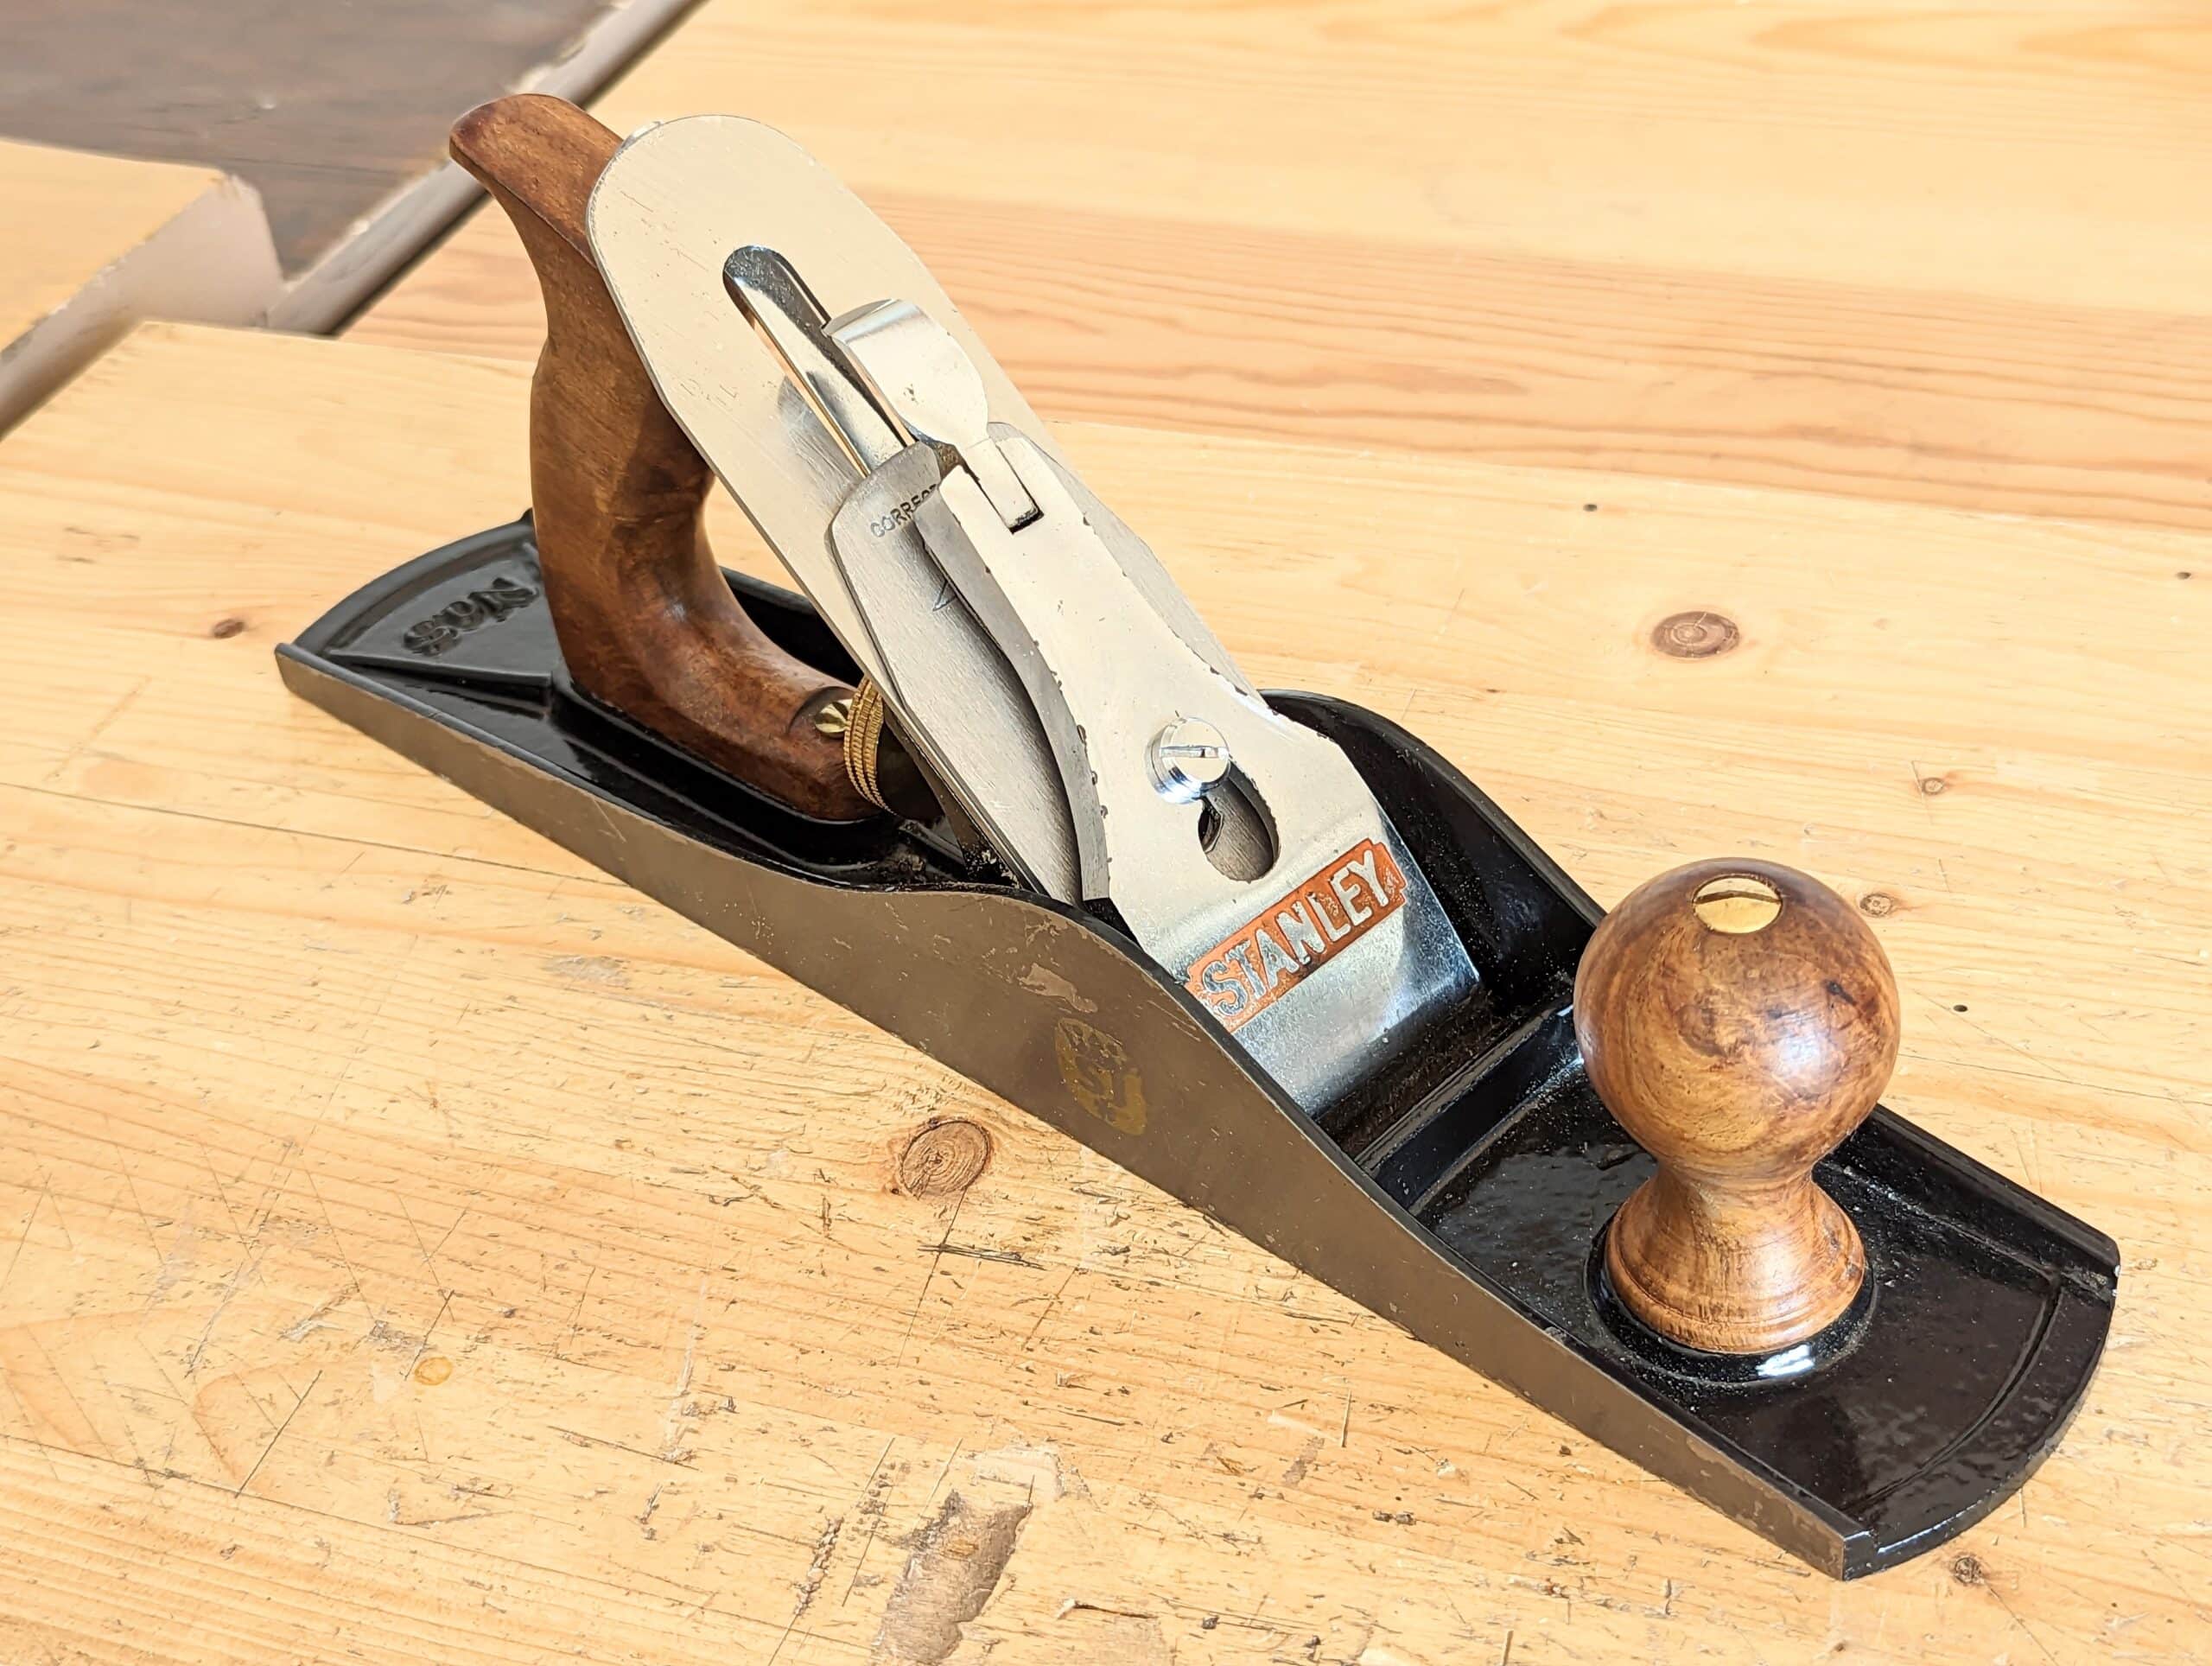
I don’t altogether care for the knurled knob for locking down the cutting iron assembly as it is second rate to the lever cap altogether even though it works well enough for doing its job, but you can switch it out by buying or finding a lever cap from a Stanley or Record and it works just fine.
Fact is, I find the looseness of lesser planes more than tolerable. And of course the better makers could give tighter tolerances using their programming to micro-adjust the milling machines, but not one has come up with a lighter-weight bench plane to date and that’s because they went ahead without really finding out what would be best for us. It’s important to know that even the basic Stanley Bailey-pattern bench planes were once considered too heavy. Why was that? Woodworkers in full-time realms were used to wood on wood so even a try plane two feet long was lighter in action than a #4 smoothing plane. Simple fact.
Of course, people nowadays usually swear by the tools they initially purchase, that stands to reason but still may not have been the best choice. Of course, I do understand this, but most never have the opportunity to make any true comparisons on a variety of tools inntruly practical ways before they commit to a purchase and even then this might not be enough. The only real way to make an educated decision is over a number of weeks at the bench. That’s unlikely to happen. When you do test out a tool at a show of some kind the tools are finely tweaked minute by minute by the salesman. That’s a different experience than you’ll get on your own in your own garage workshop.
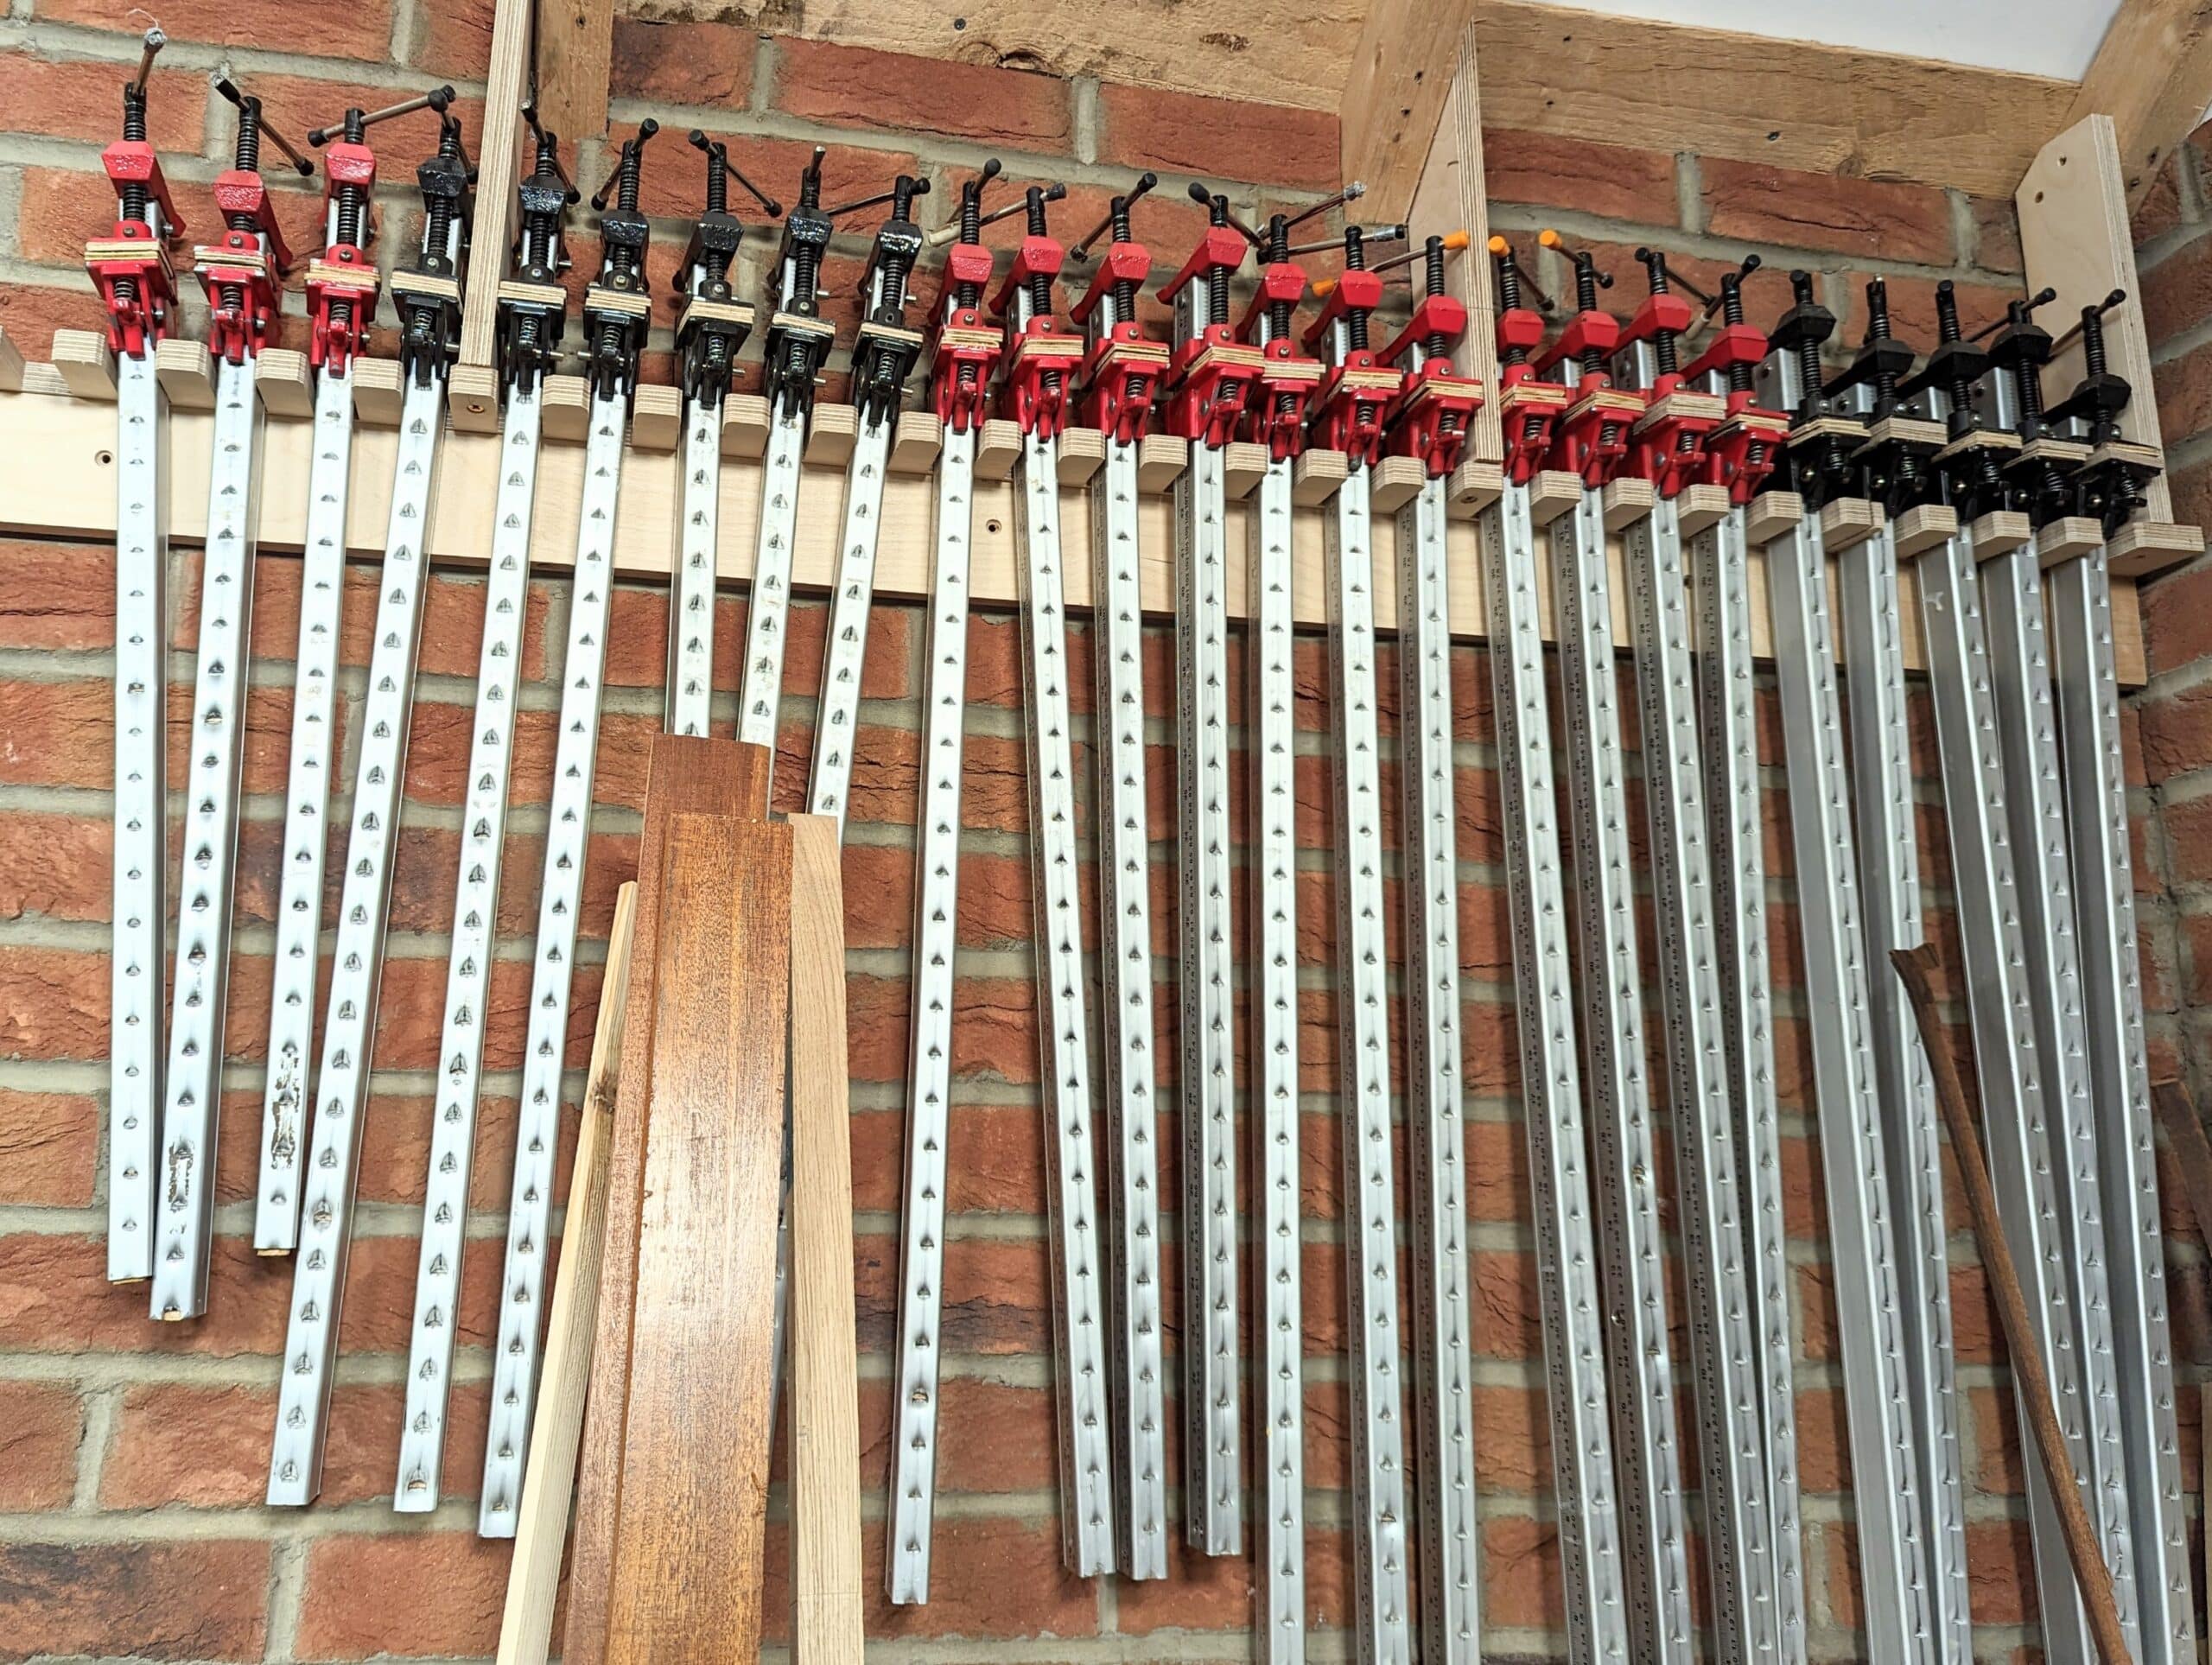
Clamps can be another example of heavyweights. When it comes to clamps I go for the lighter-weights that minimise adding masses of weight to my projects. I grew up using all steel and cast head Record clamps with hard, angular corners best suited to joinery rather than the furniture making I am involved with mostly. These hard corners will and do damage the work in a slip or drop. I was used to them, but a time came in the USA when I needed some clamps and discovered some inexpensive aluminium ones. After a few weeks of using them I found myself all the more reaching for these over the commonly used pipe clamps. Admittedly, they were not the best quality, but many projects rely on many clamps to squeeze the parts together until the glue cures. Adding my wooden inserts inside the channel completely transformed the rattly clamps and increased resistance to twisting under torque; now I never use any other type of sash clamp. I even cut some down to a foot long because I liked the positivity in use. My Record versions have been in shrink wrap for the past eleven years now. Had I used steel clamps instead of aluminium or wood I would have been in serious trouble to move them around as much as I needed to in a given day.
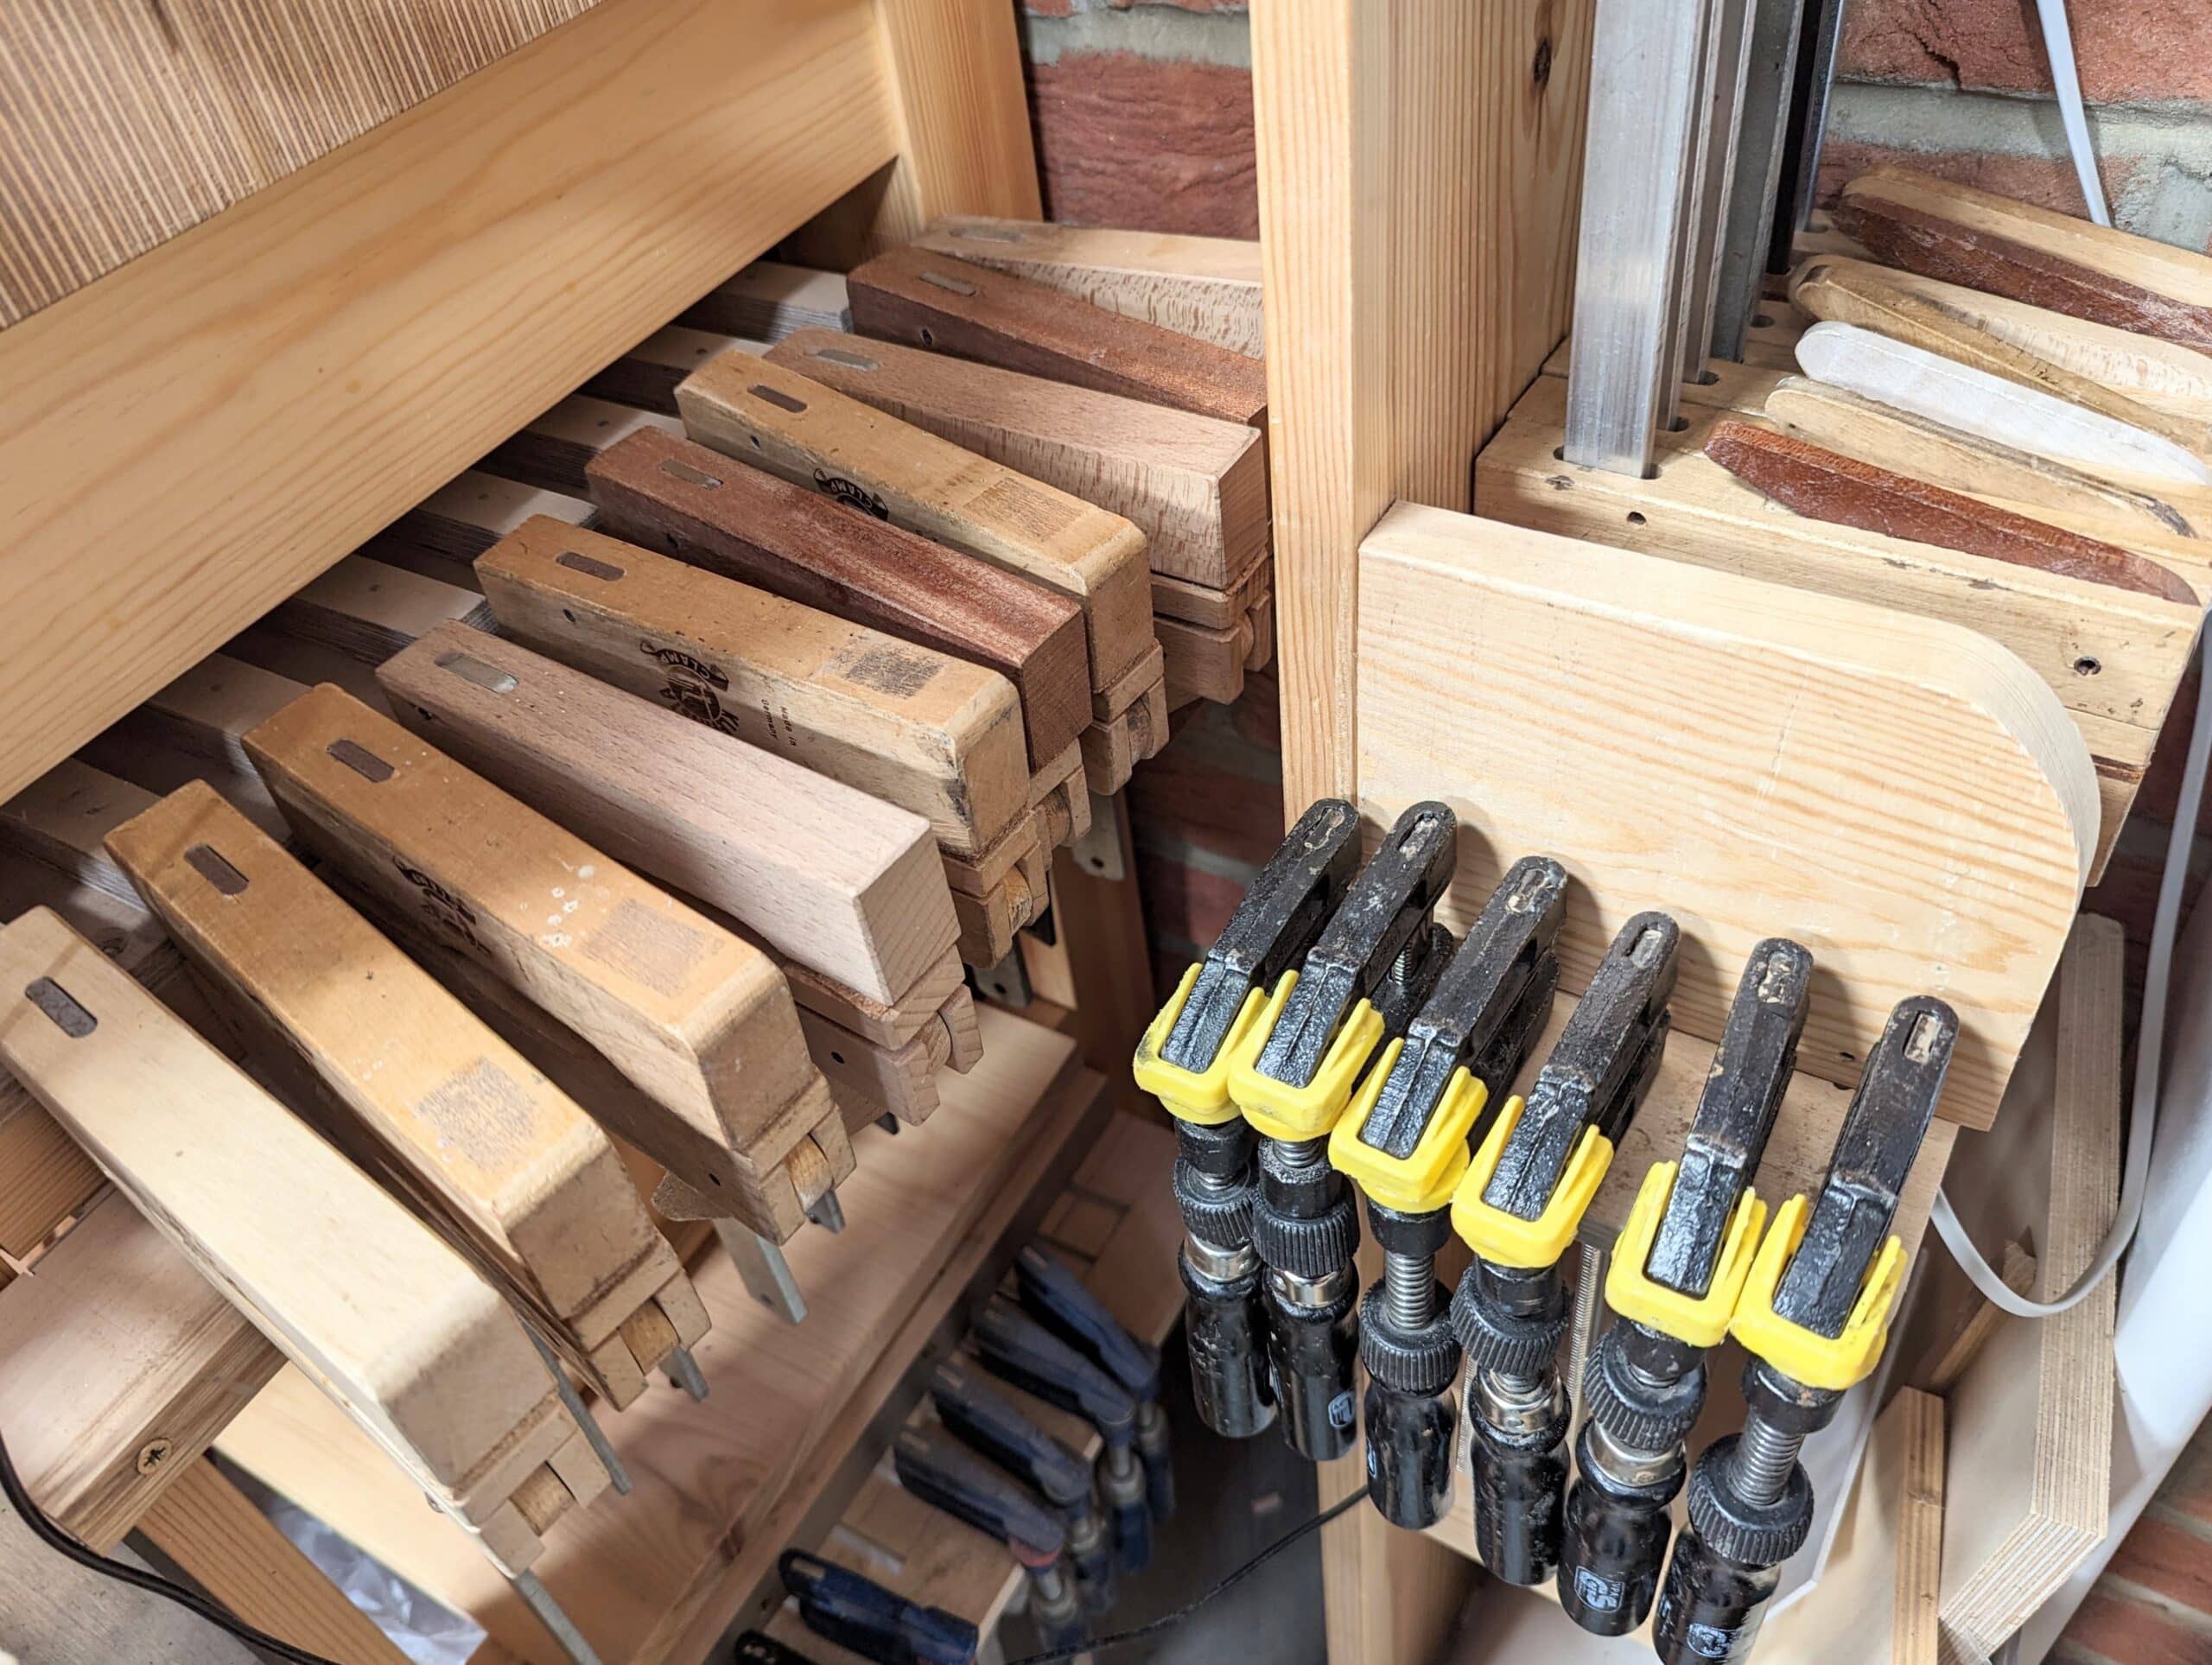
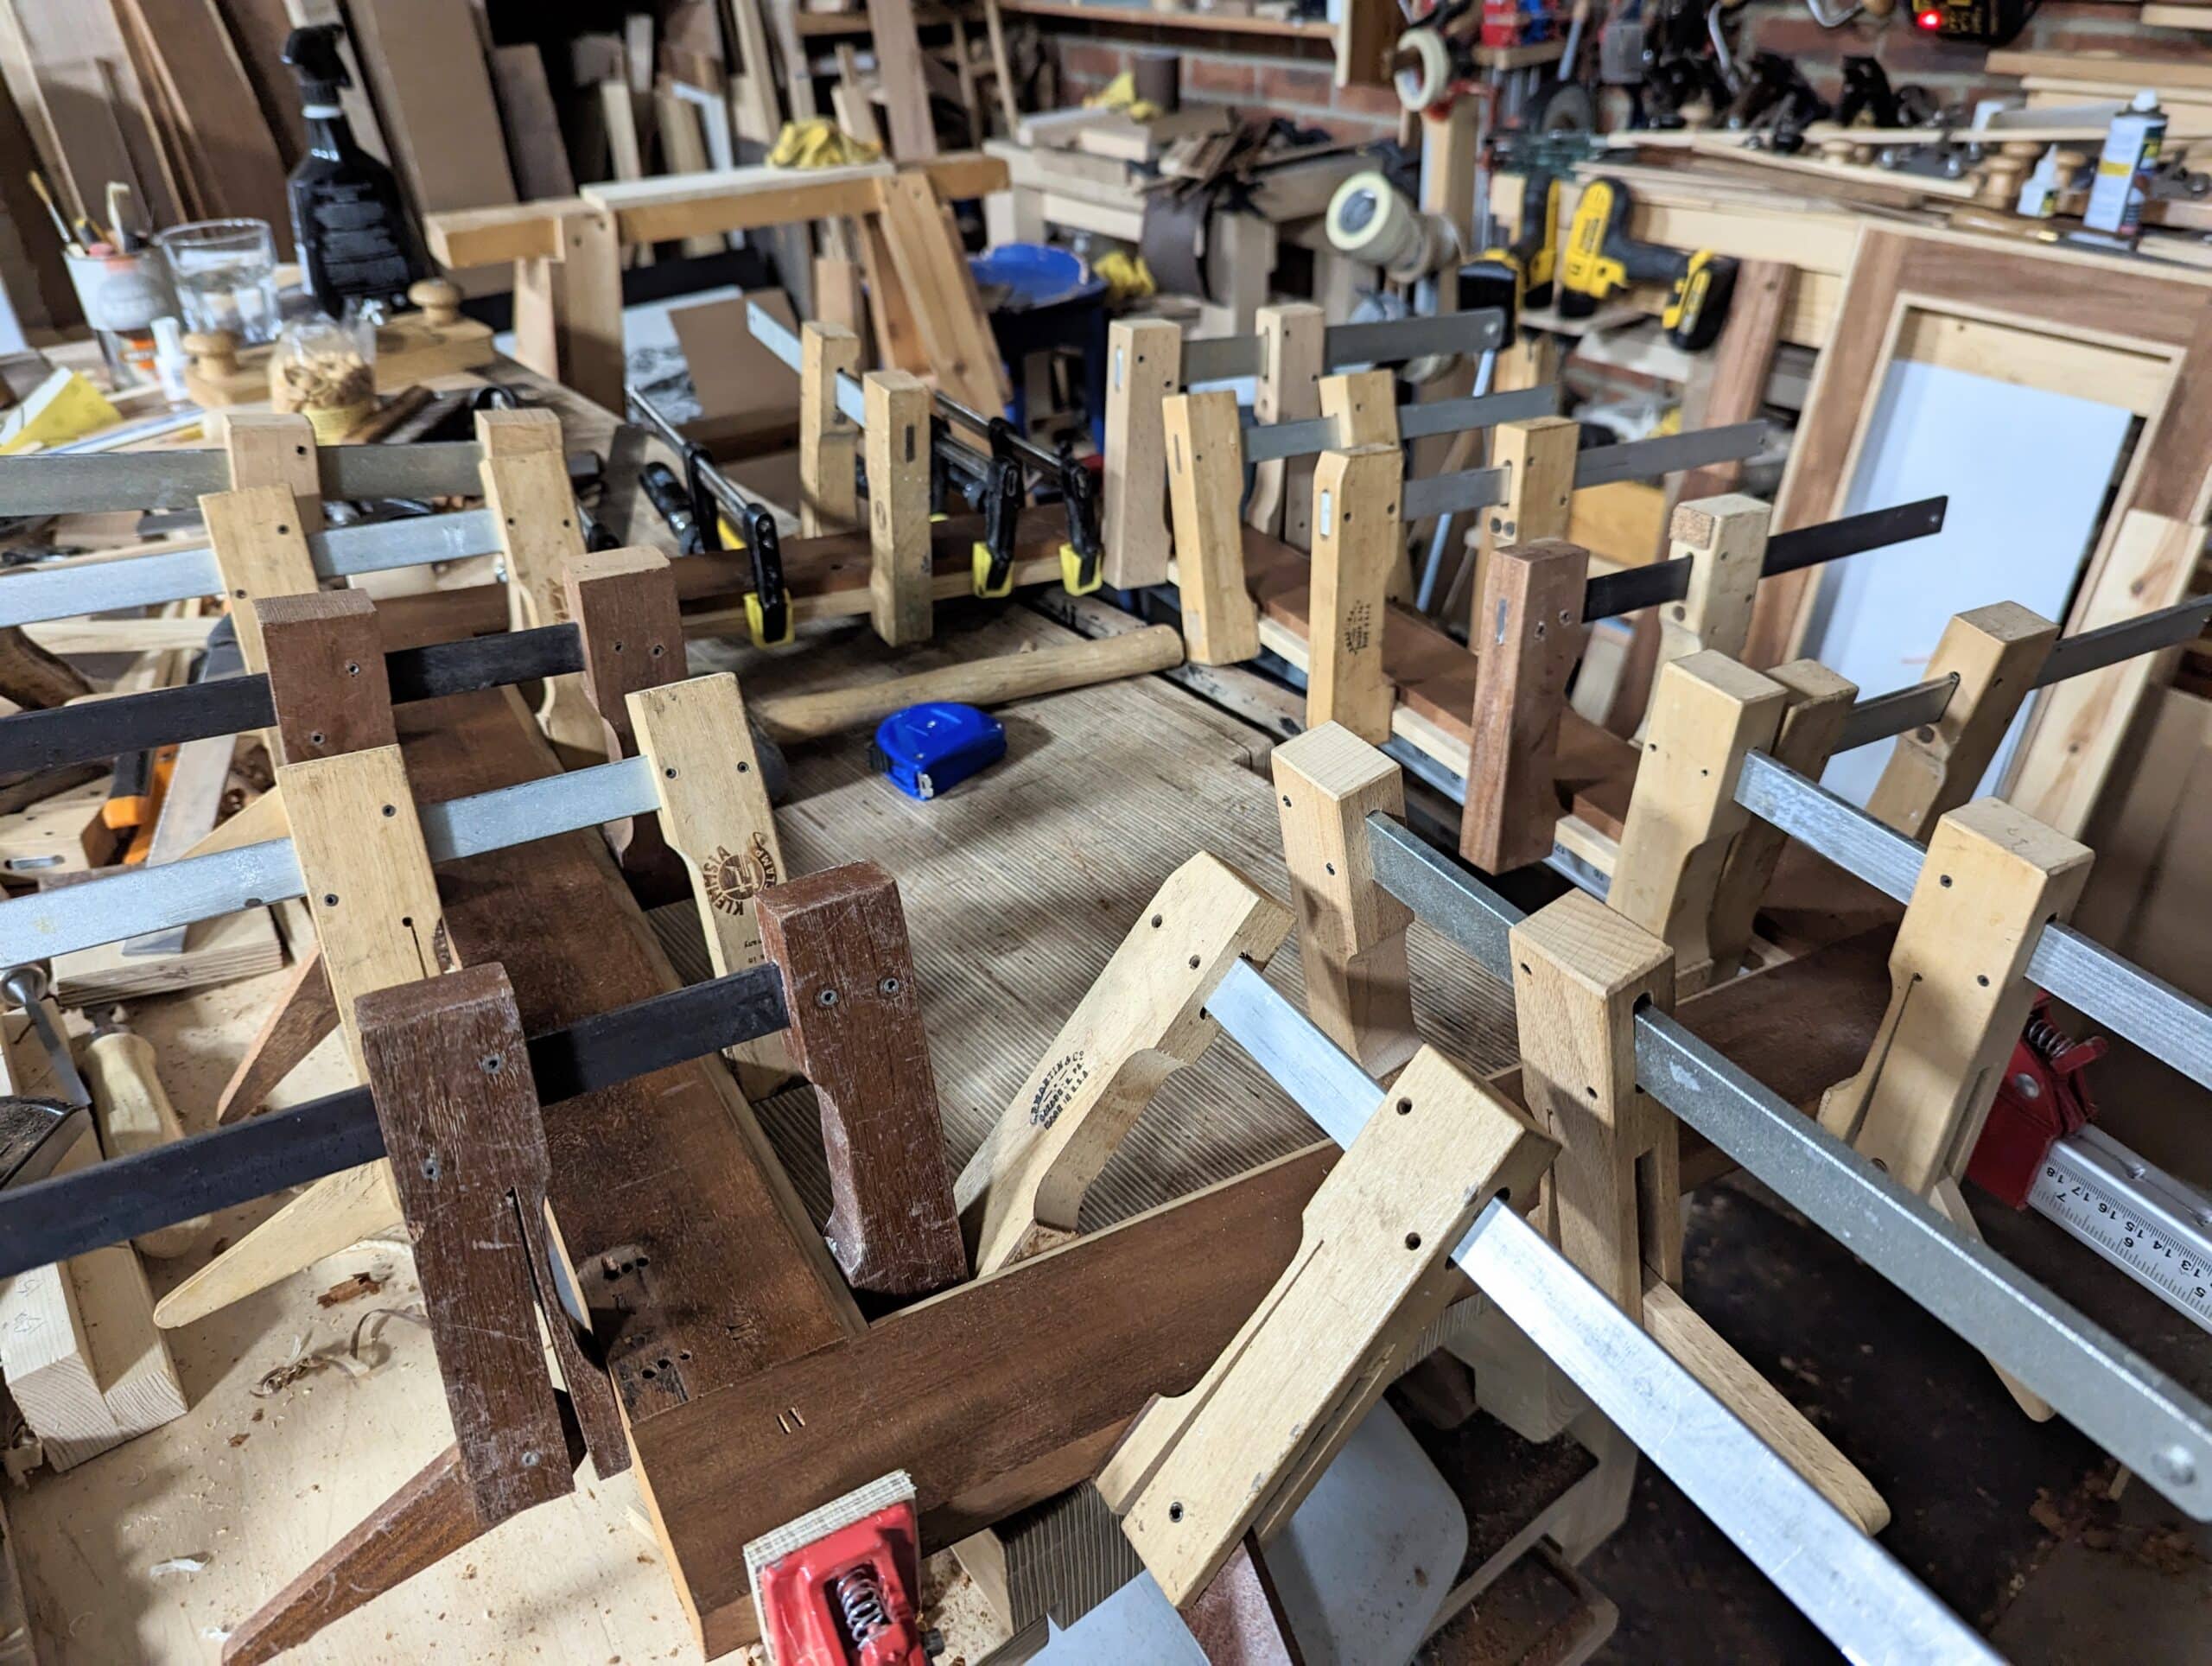
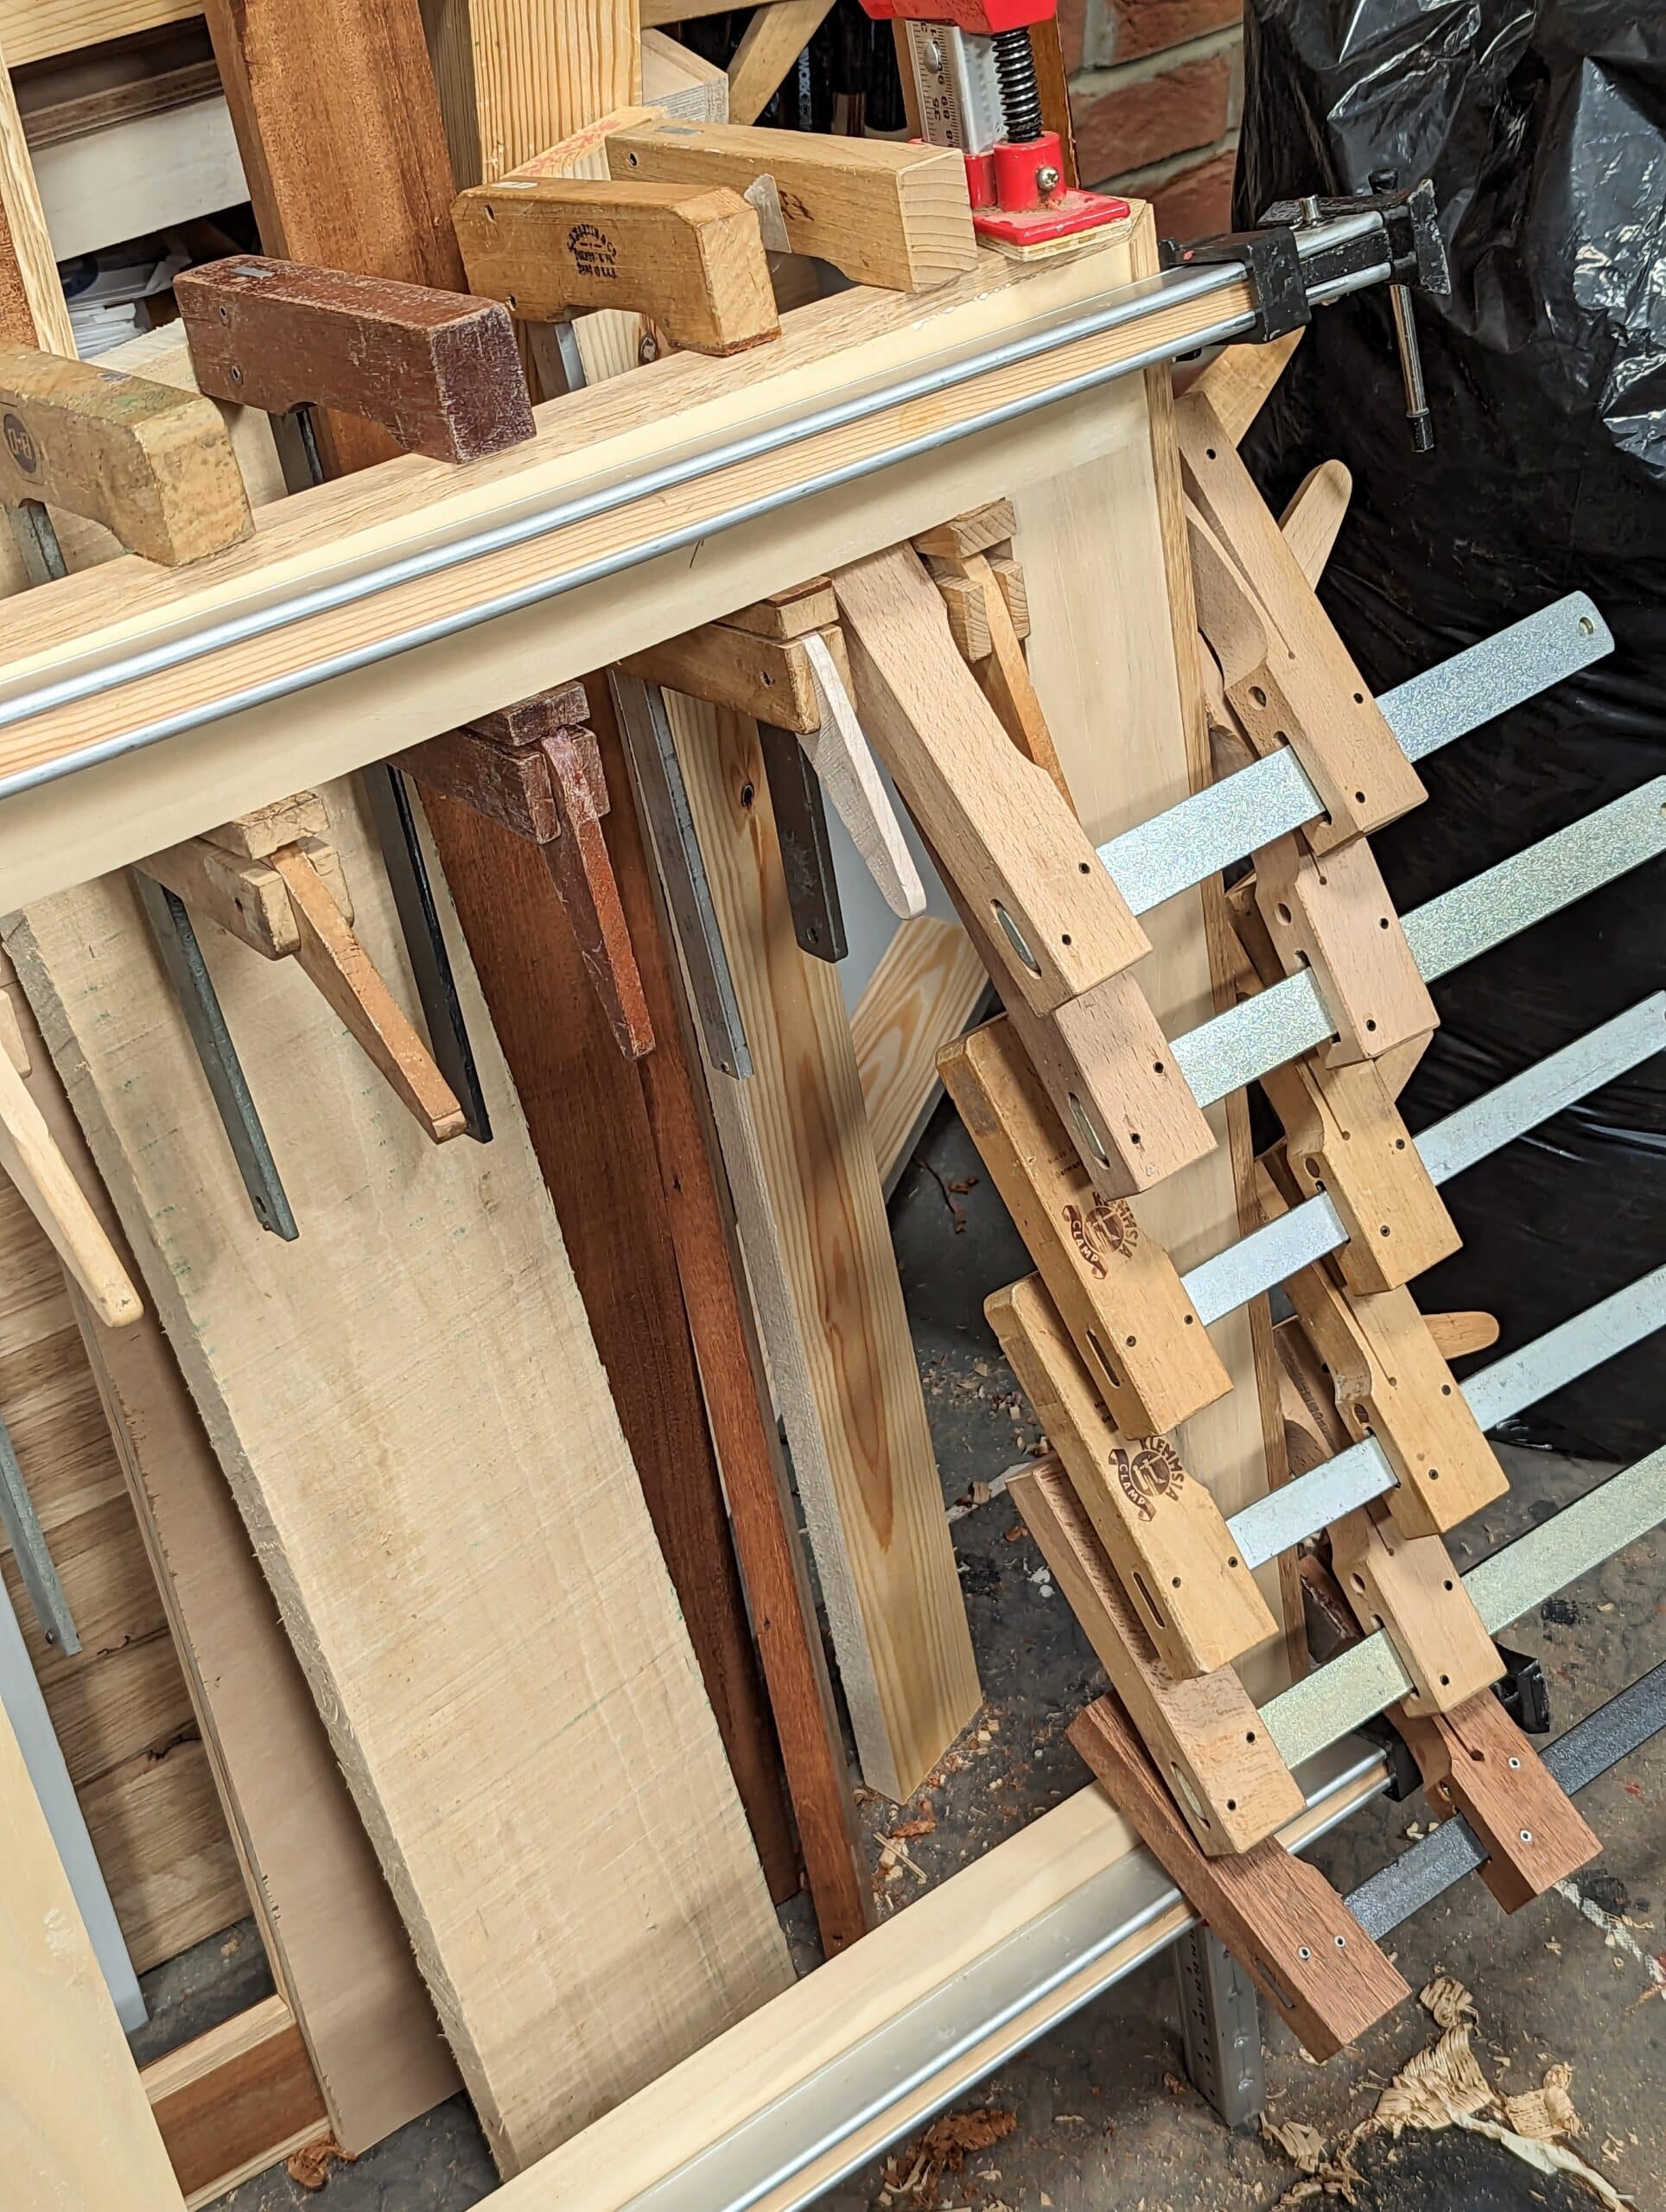
It’s nothing to have 20 clamps on some projects. On a more recent note, we made a video series on making the cam clamps you see above and below and for pennies you can make twenty in a day. These too are another must-have lightweight and handy version for me. I have both heavy versions with extreme bars and then lightweight ones with aluminium bars and the lightweights do everything and more than the heavy steel bar ones. In the end, I plumbed for thin steel and that was a perfect balance. Here is a link on making your own.
Life in woodworking is about finding the right balance and that doesn’t come to us all at once. I have frequently blagged on about bench heights through the years simply because of the erroneous ways people express very little beyond their mere opinions on what bench heights should be. Rather than trialling to establish good heights, most seem at best to have tossed a number over their overly bent backs and said this is the recommended height for a workbench and this bend in a knuckle, a wrist or your solar plexus will give you the best height. I do not usually do this but, well, hey. Here is an example of what I am talking about coming from the long-standing US woodworking magazine ‘Wood‘ posted as recently as 2019. Notice how the authors use terms like, “The standard height” having just said in the opening paragraph, “There’s no such thing as one size fits all when it comes to workbench height.” Almost all of the gurus begin with this sentence and of course, obviously, it’s true. But then again, there is the reality that we are not that different because there are national and international average heights that we can then in general use as a starting point. For males the international average is 5’9 1/2″ (1.765m).
- The standard height of 34″ matches most tablesaw heights, allowing the workbench to double as an outfeed support. Many hand-tool woodworkers, though, prefer a bench 1 or 2 inches lower, allowing more leverage for hand-plane and chisel use. If you’re mainly a power-tool woodworker, adding a couple of inches might make power-sanding and assembly operations more comfortable.
- To select a height to match your stature, use this “rule of thumb”: Make your workbench height the distance from the floor to your first thumb knuckle, with your arms hanging relaxed at your sides.
—from the WOOD® shop
Well, using Wood Magazine’s guide to establish my personal bench height would make it 31″ instead of the 38″ I have worked at for 58 years. That’s a massive backache, neck ache, shoulder and arm ache for just about any male woodworker grown to full height ever born. But this is exactly what I mean about throwing numbers around that seem very informed and authorititive. Imagine working wood for layout, planing, sawing, joint making at the same height basically as a very slightly tall writing desk which is 29″ on average.
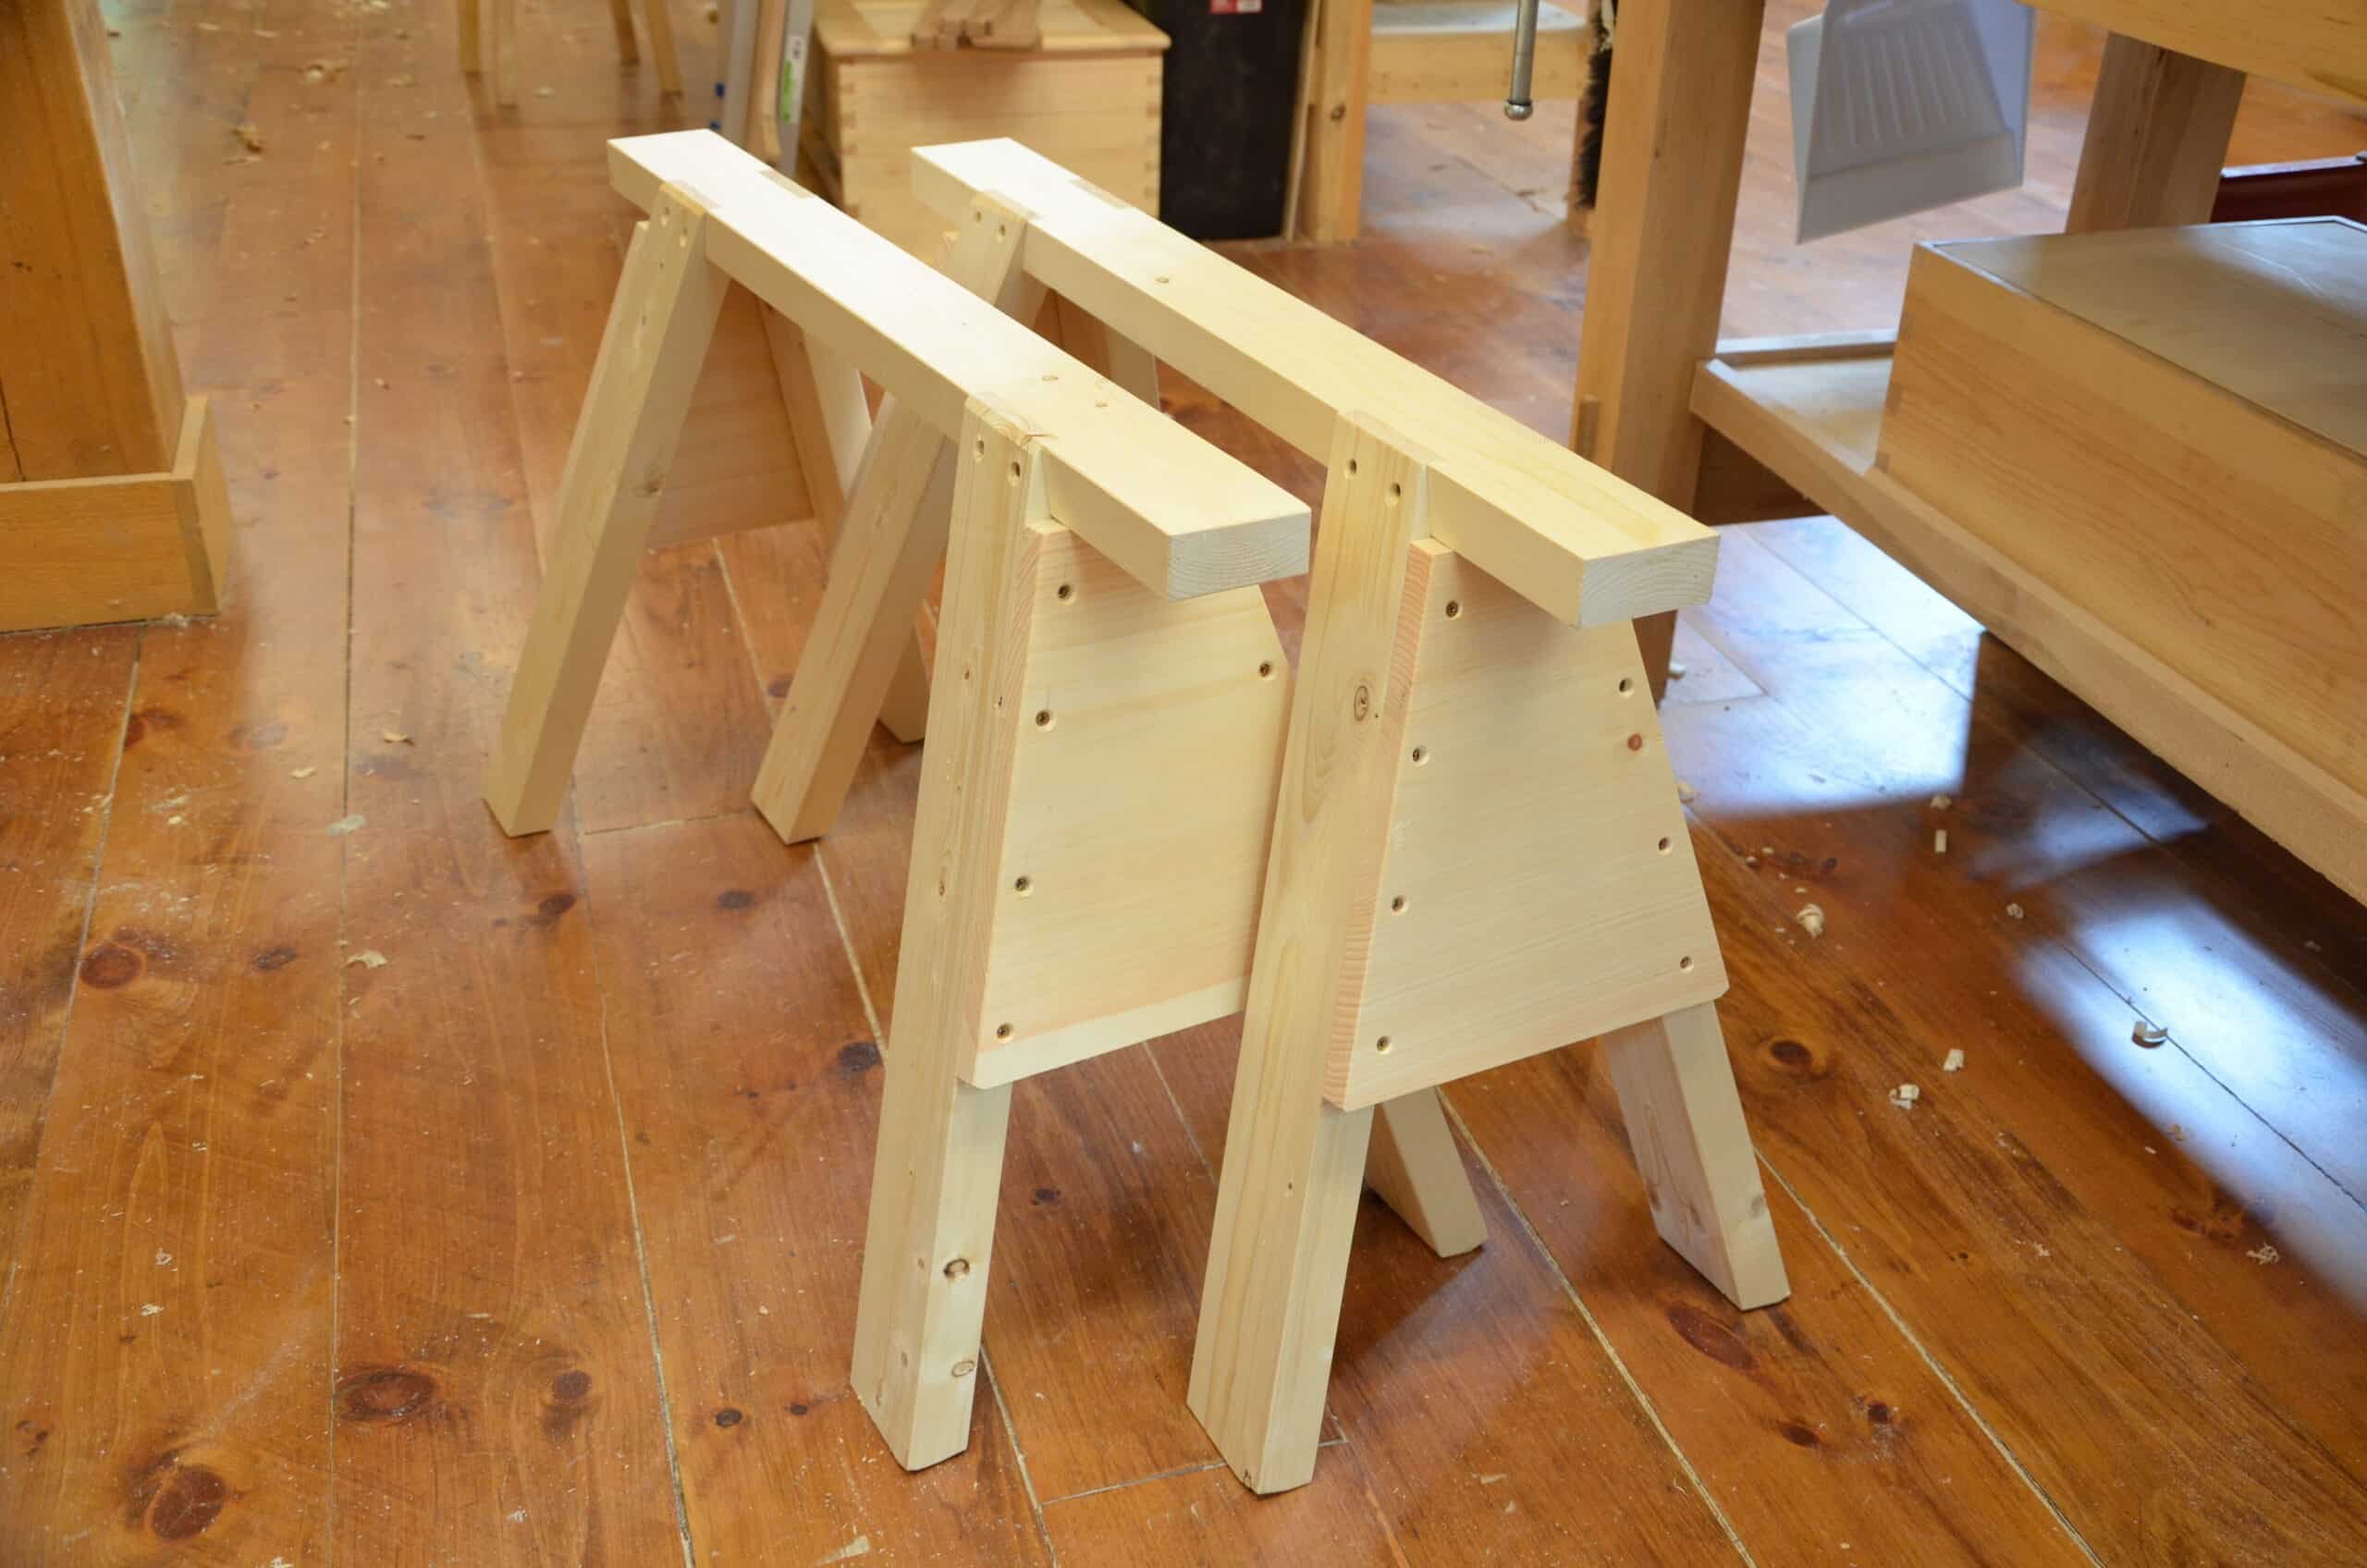
Another source, a YouTuber, says use the cuff of your shirt sleeve–that seems very iffy to me. This makes my bench height 35″, still 3″ too low and by that I mean way, way too low. Now if I am wearing my usual short-sleeved denims it makes it just a tad too high. What struck me thre more about this guru was his ‘thought‘ that left us needing three bench heights varying between 29″ and 41″. he was , at the end of the video, selling bench plans though. Now I have to say that these informants sound very confident and herein lies the problem. Replicating the work of a YouTuber or a woodworking magazine editor or writer is as most unlikely to be any better than asking your chemist neighbour next door or your highly knowledgeable cafe friend who works in software engineering what is a good height for hand tool woodworker to work at. All of these people begin by saying there is no one-size-fits-all when it comes to workbenches. You do not need a science degree to know this. It makes sense that bench heights where possible should match the height and needs of the individual likely to be the predominent user. It also makes sense to say that it depends on the type of work you do. Different tasks will often need different heights and in an ideal world perhaps we should all have the wherewithal for three benches at three heights. But our work is woodworking with hand tools so we can stop at the one height and marry the outcome to suit our personal preference. That simplifies everything. If we get it wrong our backs and necks will soon tell us. If we made the big mistake of making it too low we simply jack it up. If it’s too high we cut some off the legs but do so in small increments until we get it right. But we can also jack ourselves up on boards to get it bang on too. It’s important also to incorporate the use of trestles and sawhorses for different purposes. These temporary work supports can be used and tucked away again to optimised workspace. that’s what I do.
In my class this week I experimented yet again. Even though my testing and trials have involved 6,500 students at the workbenches over a 30-year span. I continue to look for good feedback. It’s the only way we will ever get this right. And please, never look to makers of workbenches commercially, they haven’t a clue either. Almost all of the ones offered are at 35″. Now, of course, you can make any bench work for you for short bursts and shorter days of working wood but why not consider some facts that will establish the right height right from the start? It’s really not complicated.
On Friday this last week, I held a one-day beginning woodwork workshop at my workshop. Two six-foot-tall students used 38″ high benches for half a day’s woodworking. In the second half of the day I jacked up the benches 1 1/2″ and they found them far more comfortable. I looked at commercially made workbench offerings and found them to be generally 2″ lower than mine so best suited to someone around 5’6′, somewhere in there. That’s 3 1/2″ lower than the world’s average male person.
I am so settled in my now elder years today to conclude my investment surrounding bench working heights for hand tool woodworkers to consider their backs and ideal heights early on in their establishing their own benches. To be able to offer a better and more educated solution based on practical insights taken from real life over so long a term is to help but not substitute for your own engagement to get your bench height right. It it does indeed help to do that it has been well worth it. The highest bench offered as ‘special order’ bench heights by one or two makers was for our 38″ start height and we suggest that for the majority this might be about the lowest height for the average male. In retrospect, I would like to thank every students for being unwittingly involved over my long-term search for answers. You gave me the burden and the outcome is now reaching hundreds of thousands of woodworkers worldwide.
Paul,
regarding your remark on planes, does this mean that the current production of S&J planes is better than what you reviewed a few years ago?
Yes. I bought both the Jack and a #4 and they both took very little to get them working. Currently I am using one of their S$J plane iron replacement blades in my Stanley Jack as a ; long-term test for quality and this too holds and takes as good an edge as any maker `i have tried thus far. One thing I cannot test is consistency but that’s the same for any maker.
I bought a Norris smoother, just out of curiosity, really. This was a smaller one, about the size of a Stanley #3 but a little wider, and lacked the Norris adjuster. Instead, it is set with a hammer. Perhaps I don’t have it fettled fully, but it doesn’t cut any better than my Stanley. It does feel good in the hand, and its small size is nice for getting into little places, but there wasn’t any magic in it. In day to day work, I reach for the Bailey style planes on the shelf first.
Hi Paul. Are you doing some classes again? I live about 5 miles away from you and would love to join a class if are doing them again. Where do I go to find details or get on a waiting list?
Thanks Paul. The evening woodworking class I took had two benches at 38 or 39″ tall. What a wonderful height. Planning to put “shoes” on my current bench to get it up to this height.
I have premium planes but love the light weight of my Craftsman No 4 scrub plane. So much so that I have ordered two wooden based planes (a Marples No 5 and a Seargent No 3 transitional) to try replacing my premium planes for both the wood on wood feel and the lightness.
Paul
thanks for the info. I have been doing woodwork for +- 43 years and could never work at the ‘recommended’ height I am 5 vt 9 and my wirkbench is 38 inches. I agree workhorses are the answer for different requirements
Good article Paul confirming the best heights for workbenches, very useful to know regarding a future workbench project, and your thoughts regarding planes are much appreciated.
The fascination for big and heavy tools and workbenches seems to be part of the US culture 😉
An (US) blogger once wrote about this and concluded that if your workbench moves it means your plane isn’t sharp enough.
As regard workbench height, I am 1.75m and your recommended 38″ height works well for me.
I have found a 2004 study about workbench height where they evaluated not only back pain but also pain in the neck, the shoulder, the elbow, the wrist, …
There isn’t a perfect height for the whole body: diminishing the pain in one part augment it in another.
The conclusion was: the best compromise seems to be about 6″/15 cm below elbow height (with one’ shoes on). It happens to be 38″ for me. (I had made my workbench before reading that study).
For those interested, search for: “The ergonomics and design of an inclusive best-fit solution for workbenches” by William F. Caughran – Brunel University.
While the first part of the study is about workbenches for wheelchair persons, the second part is about able bodied persons. The panel had groups of persons: young people (12 – 13), young adults (16+) and adult people of various stature.
Hello Paul, In my youth I stood 5’81/2″ with arthritis and disc issues and being a month shy of 78 I’m now at 5’7″ but I find I need a taller bench, I raised the height of my bench, looks a bit ugly right now, and I don’t have as bench back pain, I’m going to try higher.
The rational for lower bench heights seems to be to be able to put more body work behind the plane and chisels so they’ll cut better. I disagree, sharpen your tools which you advocate. If I spend mech time on a lower bench I’ll spend less time in the shop and more in physical therapy, not my cup of tea.
As far planes go I have a couple of #3s, several #4s, 1 41/2, 2 #5, 1 51/2 and a #6 along with a block plane and and a couple of wooden planes. I like my Stanleys and while I think the Lie Nielson bronze plane is beautiful I’m not really interested in owning one, too purdy to use. You’ve made me think much more about the how, the mechanics of what I’m doing, it makes the “work” much more pleasant and is easier on body.
The low bench height design back in the days of wooden planes were designed just for that i.e. wooden planes. When I first built my English workbench, I made it to low at 30″ and propped it up an inch or two. Having a workbench at this height aided me in increased crosscutting accuracy and ease in forearm muscle fatigue in planing, as for anything else a higher workbench height would work better. When I’m carving crouched over my low bench it gets very painful very quickly. I’ve made some blocks to increase the bench height to somewhere closer to my chest which requires very little crouching. For general chisel work a higher workbench is preferrable but in practical to switch heights just for that. In general, for most of my woodworking needs I keep my bench height at wrist level and I’m 5ft 9in which makes it somewhere around 32-33″. For me this works well and considering I have severe arthritis from my neck down to my lower lumber region either way height doesn’t alleviate my pain.
I use, and have for ever, a Stanley 4 1/2, and a Stanley 5 1/2. They are great for heft. About 20 years ago I bought a Veritas low angle jack plane: I use it only on the shooting board. Would I buy again – no. I just keep the Stanley planes sharp.
Mostly this is a weight-to-strength issue. I’m not sure why you posted negatively on the Veritas jack planer as it is a fine plane with lots of capability and works well beyond shooting boards. What you said is simply a matter of preference. Many woodworkers without upper body shoulder weight and strength could never use a #4 1/2 or 5 1/2 exactly because these are indeed too heavy for them. Compared to my #4 and #5, I rarely use nor do I recommend the wider planes for those lighter-weight people, about 70% of woodworkers around the world, I’d guess. “Heft,” as you put it, is of no real consequence to planing so I would not want anyone out there to think of it positively. In my world working with both through decades it’s just another one of those plane (pun intended) silly thing people toss out there in a world where woodworking is for lighter-weight people, all-gender and children of all ages, etc!
does anyone remember when the tool reps would come in to the shop and hand out sample tools to try for a week or three, to see how you liked them before buying?
“these glass pliers are the coming thing, they’re ergonomically designed, they’ll make your life easier and are far more efficient”..?..
For a tool I used perhaps once or twice a week.
My wooden 18″ plane is almost exactly half the weight of my #6, they both cut exactly the same. I can and have used it 12 hours a day, with a touch of wax it slides across the work with no effort.
Pa Sellers,
You know those little metal feet they put on classroom chairs? I think they were a Shaker or Quaker invention, can’t recall. When you lean back in your chair as a lot of kids do, the chair kind of tracks the lean so you don’t fall backwards as easily.
They have a threaded bolt so you can adjust up or down sometimes. Maybe that could be a simple way for beginners to adjust their bench height if you put them on the bottom of the bench legs? On the other hand it might be hard to get the benchtop to sit level. Might be fragile too.
Jeff D.
The shakers did come up with a swivelling foot that self-set to a certain degree for uneven floors. As to non-tipping chairs, they made the very worst kind for tipping and especially if kids kneel on the chair facing the back. Inevitably they all fell back and the fingers of the kids were always crushed when the top rail and fingers hit the floor.
The issue for the bench height is to simply start a little higher and custom-cut it. No point in introducing yet another complication. Can’t beat a square leg sitting square on the floor.
Poor kids! You are right, of course. Why make a perfect design then add junk? Custom cutting would solve the wobble on bad floors. Thanks for the reply, it’s a great honor! I am but a humble apprentice’s helper. I don’t know my elbow from my other elbow…’cept that one smells funny.
Paul, I built my wall mounted workbenches with 3/4″ plywood bottoms, sides, and tops, 1/4″ plywood backs. I made their heights adjustable by mounting 3/8″ T nuts in the bottoms, facing down, and putting 3/8″ carriage bolts into the T nuts from underneath. I can level them using the slots I cut in the ends of the carriage bolts. It has worked perfectly for 45 years, and three different garage shops. My hand tool benches are 37″ tall, and my 4’X8′ central assembly table is 30″.
I’m a bit shy of 6′ (and probably shrinking) but I have very long arms, and the first knuckle on my thumb would be a 28″ bench height! Haha. I could almost sit on the floor and use one that low.
Someone gave me a nice Japanese plane, and the more I use it, the more I’m warming up to it. Like any plane, keep the blade sharp, and the right depth. Watching your videos I discovered using a plane on end grain, and how nice that is.
Benches— Paul, thanks. My two cents opinion is to build your workbench to suit your physical size and usage pattern (i.e., types and hours of work).
At 75 I have shrunk down to about 5’7” from about 5’8 1/2”. I built my bench out of southern yellow pine 2x6s (frame and top) over 40 years ago. It stands 35” high and is sturdy. Added drawers later based on need. Since I only use it about 3 hours in any given day, it works fine for me.
Again, your best advice is make it personal.
Mine is an amateur or hobby use rather than a 10-hour-a-day workplace piece. It works fine for me.
And yeah, if need be, build it higher and cut it down to size based on your experience.
I’ve read that a lower bench allows you to put more weight into planing so that you can dimension lumber more easily. Do you find this to be the case at all?
I ask because I recently saw a bench build that used a couple of hinges on the bottom of the legs to allow one to quickly change between two heights. This seems like a simple solution if there really is much benefit to planing on a lower bench.
I have heard this repeated quite regularly and it seems a silly thing to me. Low benches damage backs long term but rarely show until it is too late. The harder down you press the higher the friction. A sharp plane pulls itself to task so the main effort is push rather than bearing down and creating friction that would indeed negate any benefit from the low bench. Of course, where I have arrived after 58 years of a single bench height that does indeed meet every need from planing and dimensioning to all joinery and other tool is is to be 73 with no back, neck or any other physical issues.
With bad genetics and many years of abuse to my body (e.g., whitewater kayaking), my back and shoulders (and every other body part) are in rather poor shape — don’t ask. I found that while a taller bench was often easier on the back, it could be much harder on my damaged shoulders which are generally better off being kept low. I like multiple heights in my bench depending on what I am doing. I solved the problem to some extent by a 35 inch bench, which is not quite perfect for anything, with three accessories. I have a platform I can stand on, effectively lowering the bench. I often use this when cutting mortises since I can keep my arms lower. I also made a sort of portable benchtop bench (complete with small vice) to raise things up. I often use this for close up work so I do not have to bend over so much. I also made a rather basic Moxon vise which allows my to cut dovetails higher than I would using my regular vise. Of course it is still all a compromise. My main vice is at 35 inches, which is a bit low for planning, but any higher does not work for my shoulders. Oh well.
Uffa Fox was a famous boat builder and a very successful builder and helmsman of racing dinghies. His dictum was that weight was only useful in steamrollers.
Determining the best height for your workbench is easy. Grab a board and your favorite plane, then place the board on your workbench, stand up straight, relax your shoulders and take a pass with the plane. Was your forearm parallel to the table? If not, you need a higher/lower table. At this height, all your sawing, planing, chiseling, etc will occur without your having to lean over, and with arms in the right position.
Wait, Phil, I have gone through every scenario out there for bench height and the impact of planing for establishing workbench height and planing is the least to consider. I have never ever understood why people just seem unable to think things through. Your theory is just the same. I don’t plane too much on the bench top I plane 95% of the wood in the vise. Thankfully the human body is totally adaptable in a fit person without disabilities. That fact alone enables us to vary our height second by second and unknowingly or unconsciously we are micro-adjusting our height to match the various tasks. It has absolutely nothing to do with forearms being parallel. The thickness of materials we use in any given project often varies considerably so that means if you do plane on the benchtop the height of the material will certainly defy any theory of p[arallelity altogether. Using your vise gives the best adjustability options but then planing a 7″ board or beam on edge means usually the your wood will be 3″ above the benchtop on a QR vise and a couple of inches more with most others.
Paul – Whether I have a 2″, 7″ or 12″ board to joint, the top of the board still only protrudes 1″ or so above my table top. One goes in the side of the vice, the other gets held up with a hold-down. When I’m cutting dovetails or tenons, I have the top of the board protruding not much more than necessary for the cut above my table top. Look at the photo of you at the top of your page under your Woodworking Masterclasses heading. Your hand/tool/wood position is exactly what I espouse, but you are stooping over to achieve it. Look at any photo of you planing, and it’s the same. Were I to work this way for only an hour or so, my back would be killing me for a week. In other pictures of your in your blog, you’re cutting dovetails or tenons the bottom of your cut is about where the bottom of your elbow is, but you’re stooping over to achieve that position, and you have the wood protruding 5″ inches above the table top, for no reason other that to bring the wood up to your working level.
You may not have any issues with your back, but I do, and have found that picking up the work surface so that I never have to stoop is the only way I can continue woodworking. Not only have I thought this through, but I’ve experimented and experienced what is necessary for me to continue doing what I love. Further, there have been 0 instances where this adjustment has hindered me in any way.
Might I suggest that you actually try it before you suggest that I am incapable of thinking things through? That was insulting.
No need to fix what isn’t broke, really, Phil. I most often mention that anyone with any kind of disability or health restriction will need to do things differently so that’s covered. I am far from “stooping over” for any of my working too. How about micro-adjusting my body to optimize focus, material strength and much more. Your picking out the things you think you see rather than what is actually happening isn’t too accurately describing what’s taking place at the bench for me but just, well, your opinion and 58 years of six-day-a-week making for around ten hours on average per day speaks volumes for me. As for “actually try it”, well I arrived where I am by actually trying it at some point and found no value at all in it. As I said, any disability or health issue should be catered to by the bench and tool user as there is no one size fits all disabilities.
I’ve got rather short arms and torso compared to my overall height. The benchtop rules of thumb likely wouldn’t serve me at all except to get the ballpark in inches. I’m currently building my first workbench (thanks for the design Paul) and being nervous about getting the size right, have opted for those extra inches in the legs until I have a sense of things.
I had a delightful moment last night, having restored my first-ever plane, a Stanley no. 4. I dared to go freehand sharpening after a less-than-ideal experience with the honing guide. So much easier with immediate feedback from blade to hand! The result was enough for this literal first-timer to get some nice even shavings. I couldn’t believe my senses, the experience was amazingly good! I have never seen construction lumber shine with a smoothness like that, and my nostrils weren’t filled with dust. I’m sure I can improve, but I’m now more excited than ever to finish this bench.
So thank you Paul for all your youtube tutorials. I’ve spent hours listening and relistening, trying to soak up as much information as I can, and the proof was in the results I got to experience.
For the sharpening setup, I went with the thin diamond plates appended to plywood. They sharpen well, but the plywood has 3 coats of water-based poly which might’ve caused me a bit of trouble, as the windex has got in under the double-sided tape and released my 600 grit. Too smooth maybe. I might need to rethink my strategy, at the very least rough up the poly a little.