Living With Changes
The transformation of the old home we’ve transformed to bring up to date came quite rapidly but of course, when builders move in it can seem like a long time in the making. The work was quite major: replacing structural walls with steelwork to transfer upper-structure brickwork weight to the external walls for a clearspan inside was transformative and as far as the practical advantages it enabled me to work on a bigger new canvas. Additionally, the house was replumbed, rewired and rewindowed with wooden frames and doors and insulated windows. In the UK we use twin walls of hard material like brick or stone on the outside and cinder or breeze block on the inner walls. We use a 2″ cavity between the inside and outside walls which in new builds takes a 2″ insulating foam skinned with reflective facings. Older homes were built with cavities but without any insulation and so offers a lower resistance to exchanges of heat. We added insulation with foam where possible and where not possible we used a trickle-down material called vermiculite to settle in the lowest extremes and fill from the bottom of the house all the way up to the top.

Looking back on a single year and a couple of months I see how my wood has changed in the finished pieces. I knew it would but 98% of my work through all the decades of my making have been sold so I never really saw the work change week by week and mostly never saw the pieces again. One thing that became evident early on was the expansion of doors and drawers.

Whereas I do strongly dislike the kind of overlaid doors common throughout the US for decades and maybe still, the main advantages were mainly practical and that was that there was zero fitting into openings such as recesses so that expansion and contraction made no difference. Older styles were pretty ugly in that a face frame was fitted over the foreedges of plywood boxes and the doors hung with face-fixed hinges. Then they would leave an inch or so gap all the way around and mould the edges of the door all round. Lots of shadows cast around the faces of the units. Drawers don’t generally stick when using metal runners with roller bearings either, but that said, things can and do look pretty ugly when you do such things to furniture.

Kitchens of course, graduated to the European styling and the development of 32mm hinging systems so the whole face of a series of cabinet doors created a completely flat fronted melamine. Graduation has resulted in MDF fronts sprayed to perfection but fashionably disposable. All fashion is builtor made for disposability and that includes kitchens. Make something dated after a decade and the makers get to replace it with more plassy junk.
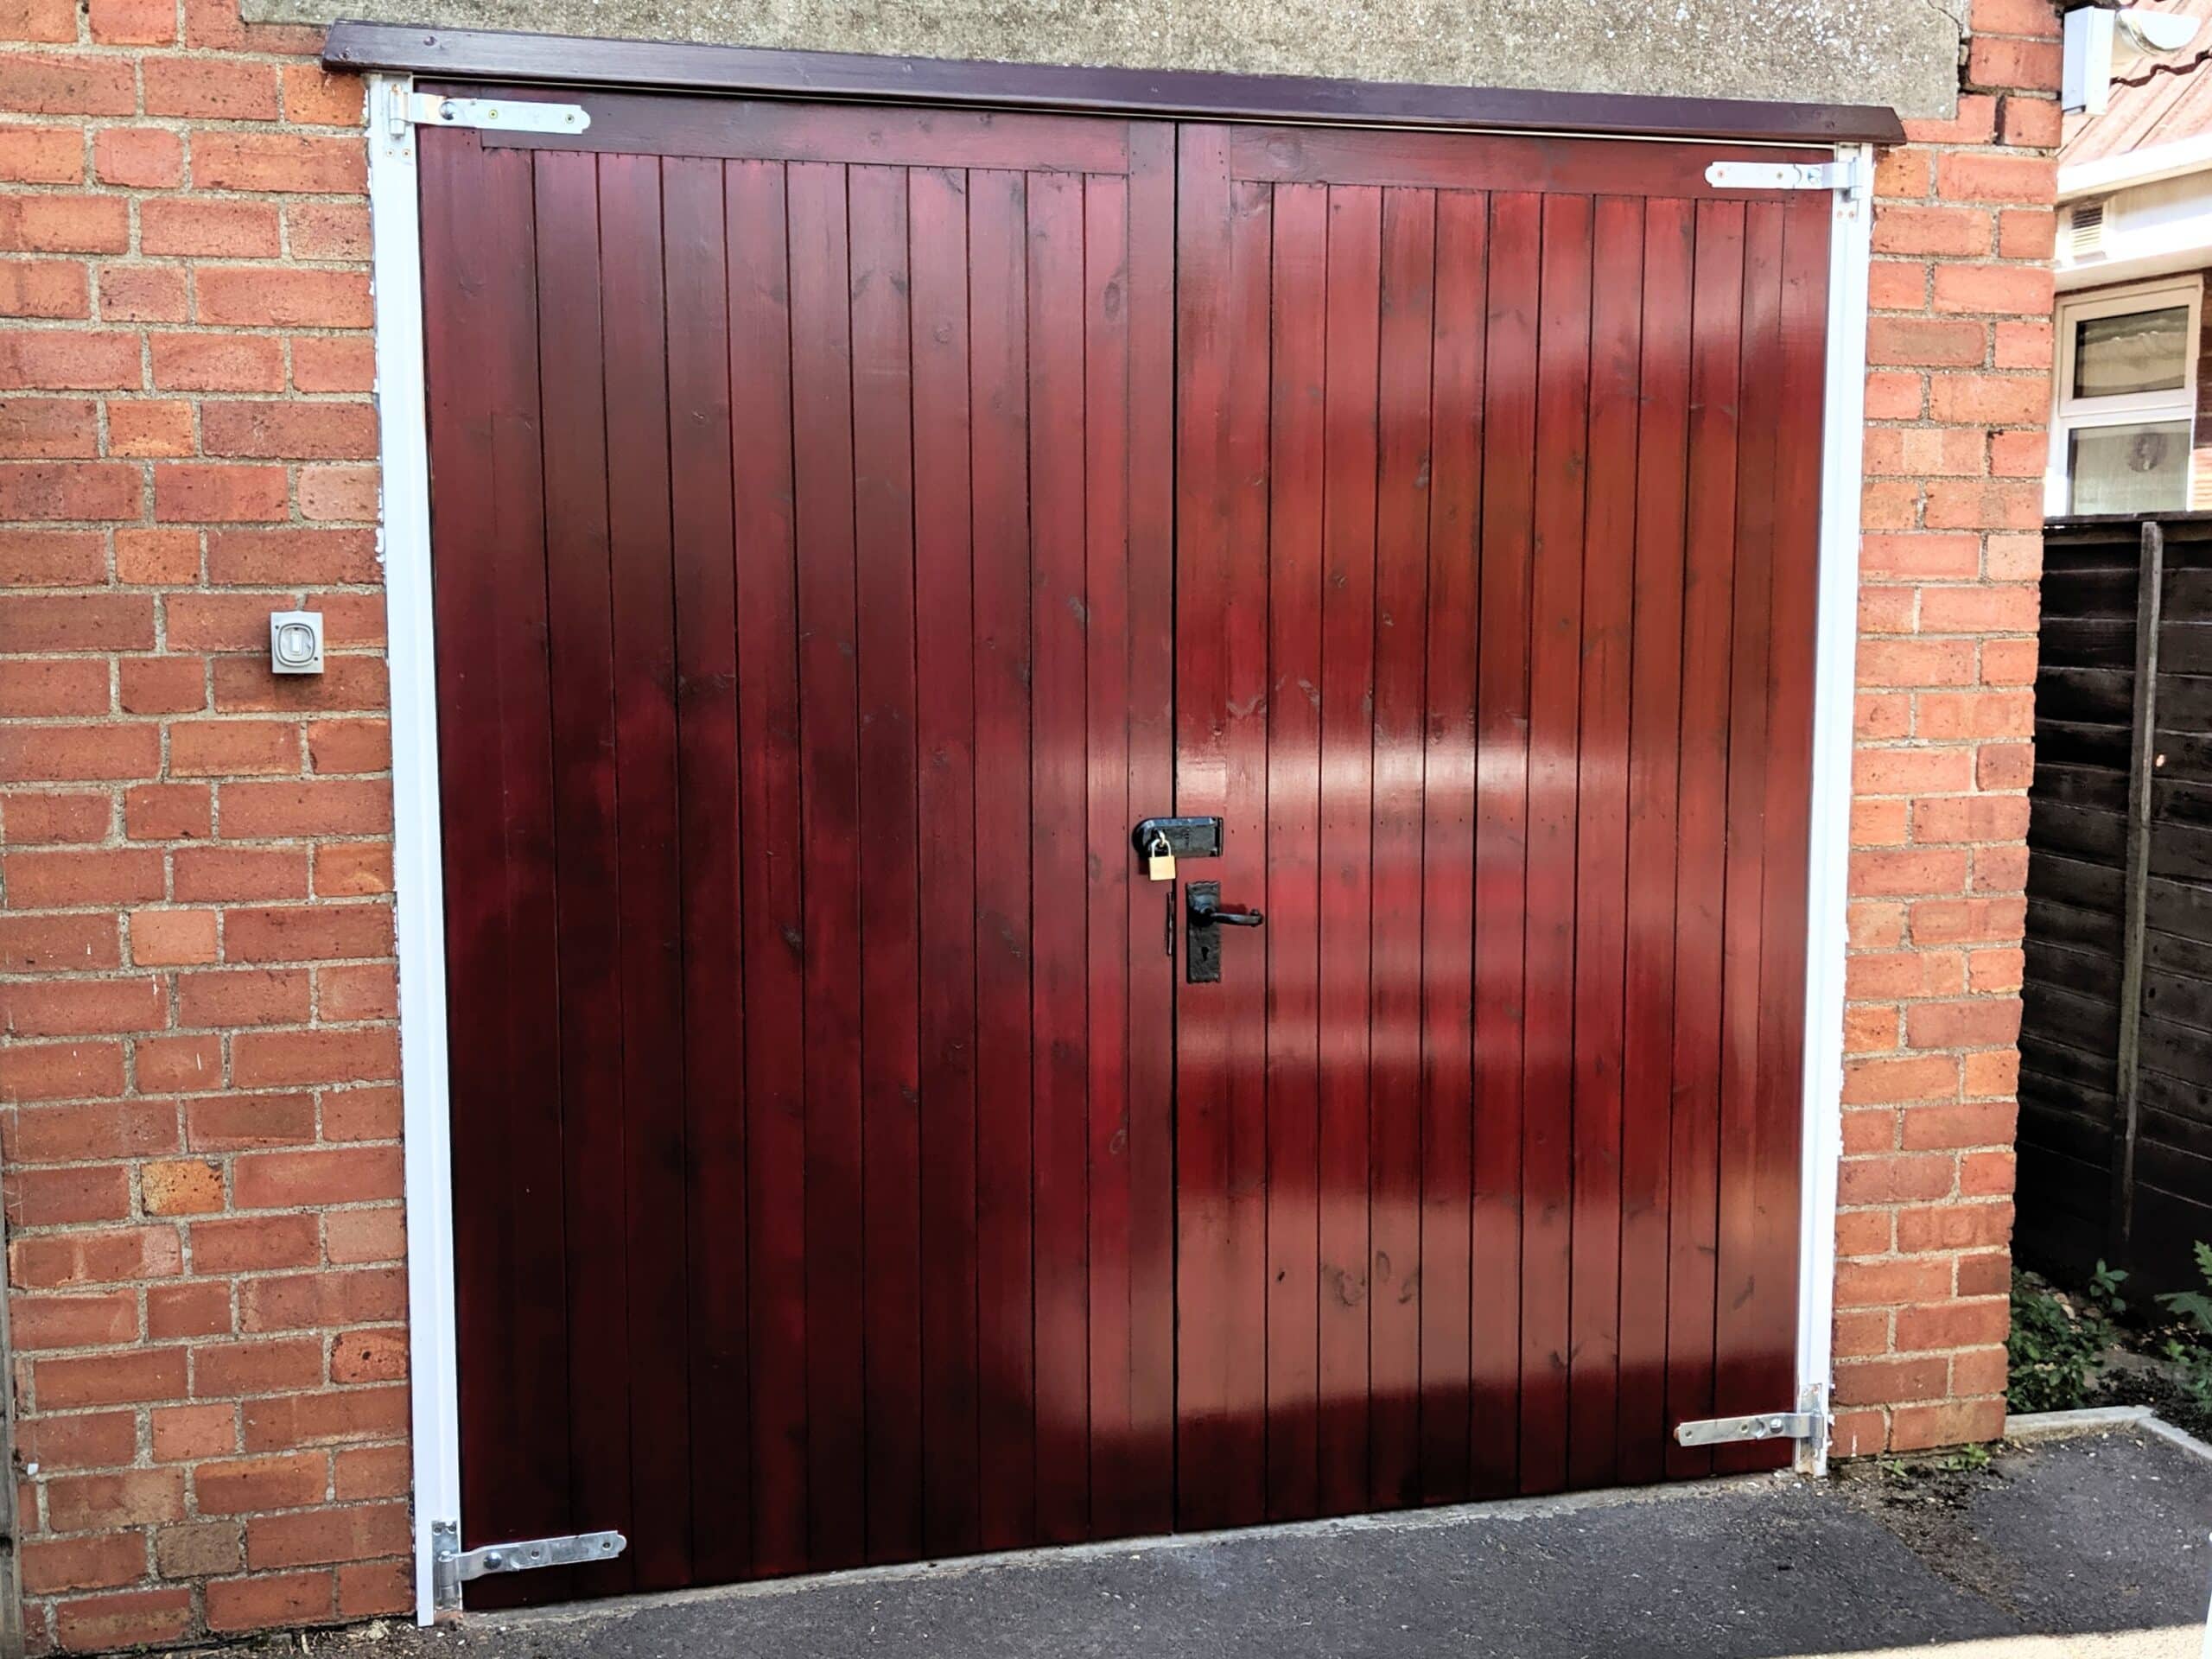
My doors and drawers at the house needed returning to the garage for a swift swipe with a plane. It was really just that, but that was mainly to do with the kitchen because of the increased humidity caused by cooking. It’s also to do with the reality that humidity in a house is often considerably higher than in my workshop. But I don’t really mind too much. Give it a few weeks to settle, refit, and you will have resolved the issue for life. When I fitted the garage doors to my garage, they swelled about a half inch over the 8’0″ width. I left them for a few weeks but not because I couldn’t be bothered but because I couldn’t get them open.
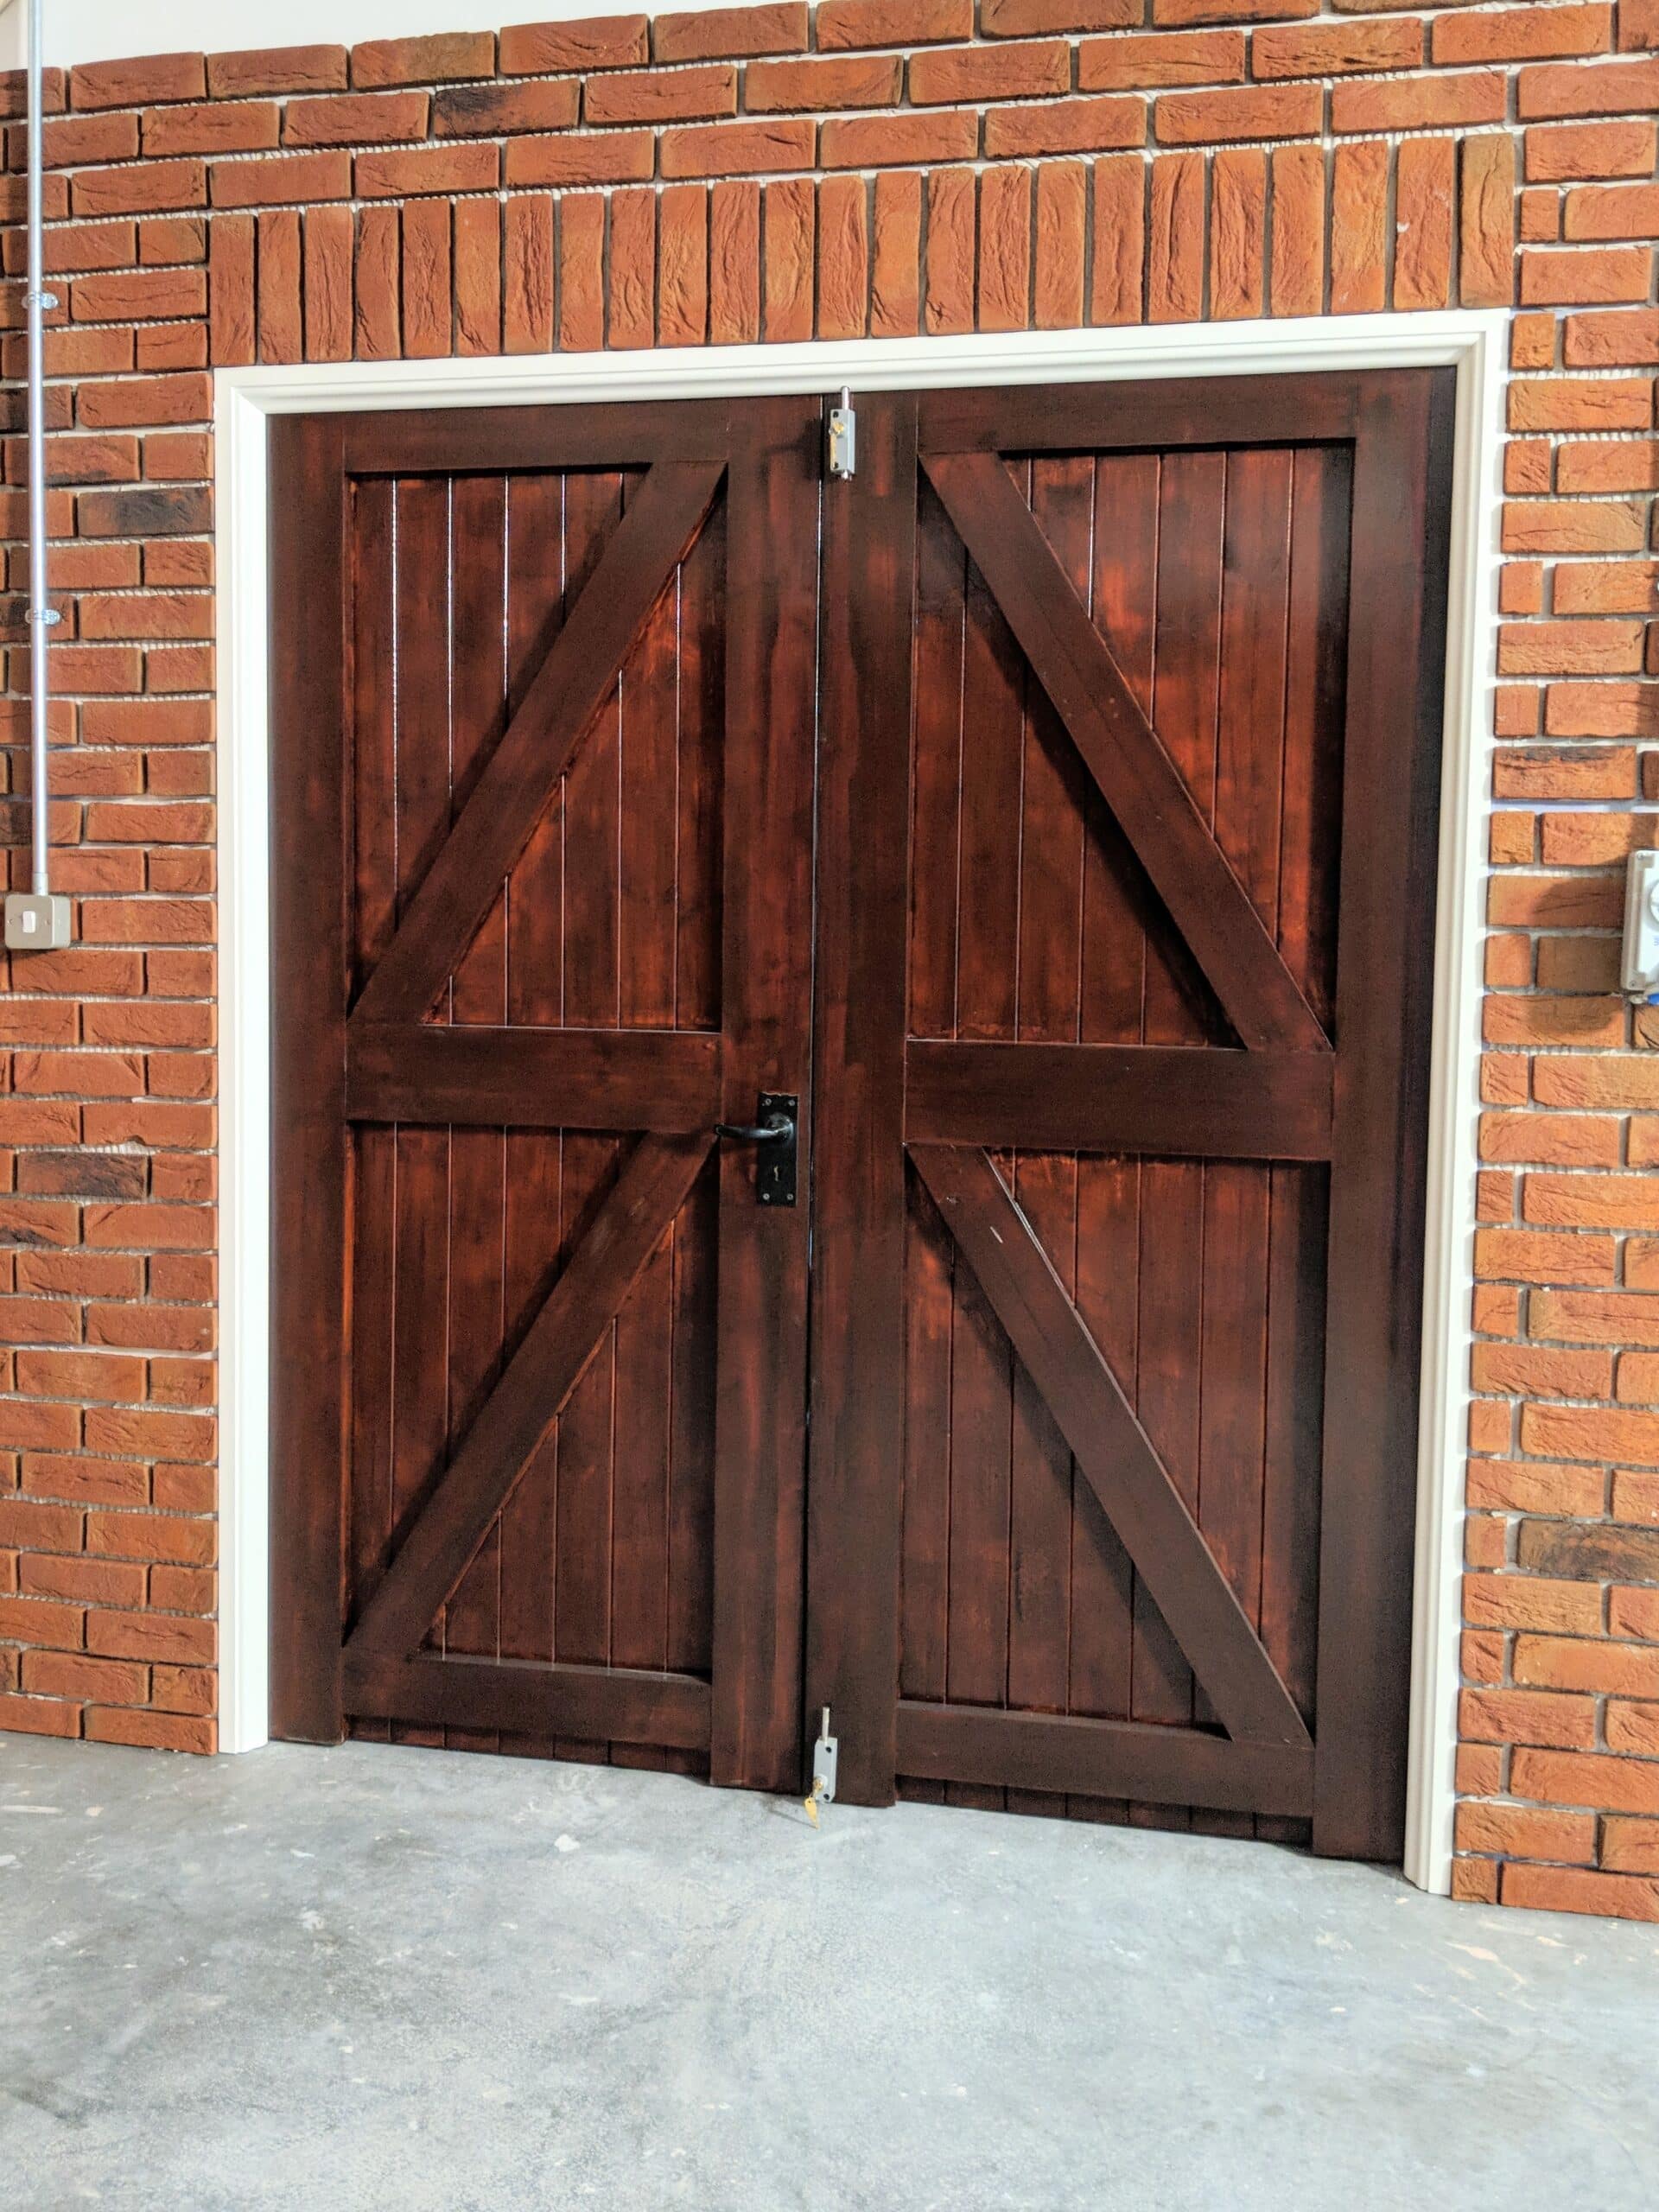
Eventually, they shrank just enough to prise them apart and I took off a combined amount of 3/4″ and they’ve been just perfect for three years to date. I could have allowed for this when I fitted them, of course, but I prefer this way.

The main thing I see in the pieces I have made is the change in colour. Oxidation, exposure to air and then ultraviolet light slowly transform the initial colour of newly exposed wood to darker shades with some woods deepening more markedly than others. My choice of cherry and mesquite are the two I know to be changed markedly in relatively short order. I knew that this would happen and especially in the dining kitchen area where there is lots of exposure in the brightness of the room.

Long-term, overexposure can and sometimes will change the colour to a faded, more bleached-out hue which is not what we want, but that usually takes a couple of decades of severe exposure to light. When that happens, if it does, and it’s not necessarily a given, I will scrape off the surface and refinish. I will be in my mid-nineties then so not sure if I will. Sycamore will often yellow a little. None of this worries me and had I made these for a customer I would have informed them. You can also apply finishes with UV inhibitors which stem the tide somewhat too.
Thank you for sharing your art with us!
What’s interesting with your nice picture is that I can visualize the combination of wood and how it impact the room. I don’t think that I will ever have the chance to work with mesquite, but wow, does it look stunning! There is a touch of tranquility with the combination of wood and the white walls, it look great. thank you sharing!
There are many other red-coloured woods that will work too: Sapele for one.
Is there a master class or plans to construct the lovely kitchen chair?
Here is the click here
Paul
Love the house, and I know about it seeming to go on forever Been building my house for five years now. Moving in at he end of August, Just doing the cabinets and interior trim now. Thanks for the inspiration you provide.
Merlin
I quite like that wood changes color over time. In fact, I finished up a Shaker nightstand. For this one, I decided to use an oil finish and give a week between coats (likely longer than needed but wanted to make sure it “dried”). On the days I’ve been woodworking on other projects, I’ve been taking out the nightstand and letting the cherry get a “sun tan” to help it darken a bit quicker.
oh to have a team come in and finish my house lol. i left the uk for nz many years ago and have never regretted it. i am now retired but am still working on the last house i bought 20 years ago. it is 400 sm on a 1700 sm section (where we live the weeds never stop growing). it was built in 1921 and was in need of pretty much a total restoration. i still have the kitchen and two rooms upstairs to redo. but now my wife has stopped me as she is sick of the mess. all this is to say that whilst it is possible to renovate yourself, sometimes spending the money and just getting it done is better.
What a treasure you have been in my life, Paul.
Good advice on how to deal with wood movement in the first couple of years, and how to plan for it. Really love your posts and videos!