Fitting the Hanger Bolts
Laying Out the Hole Positions
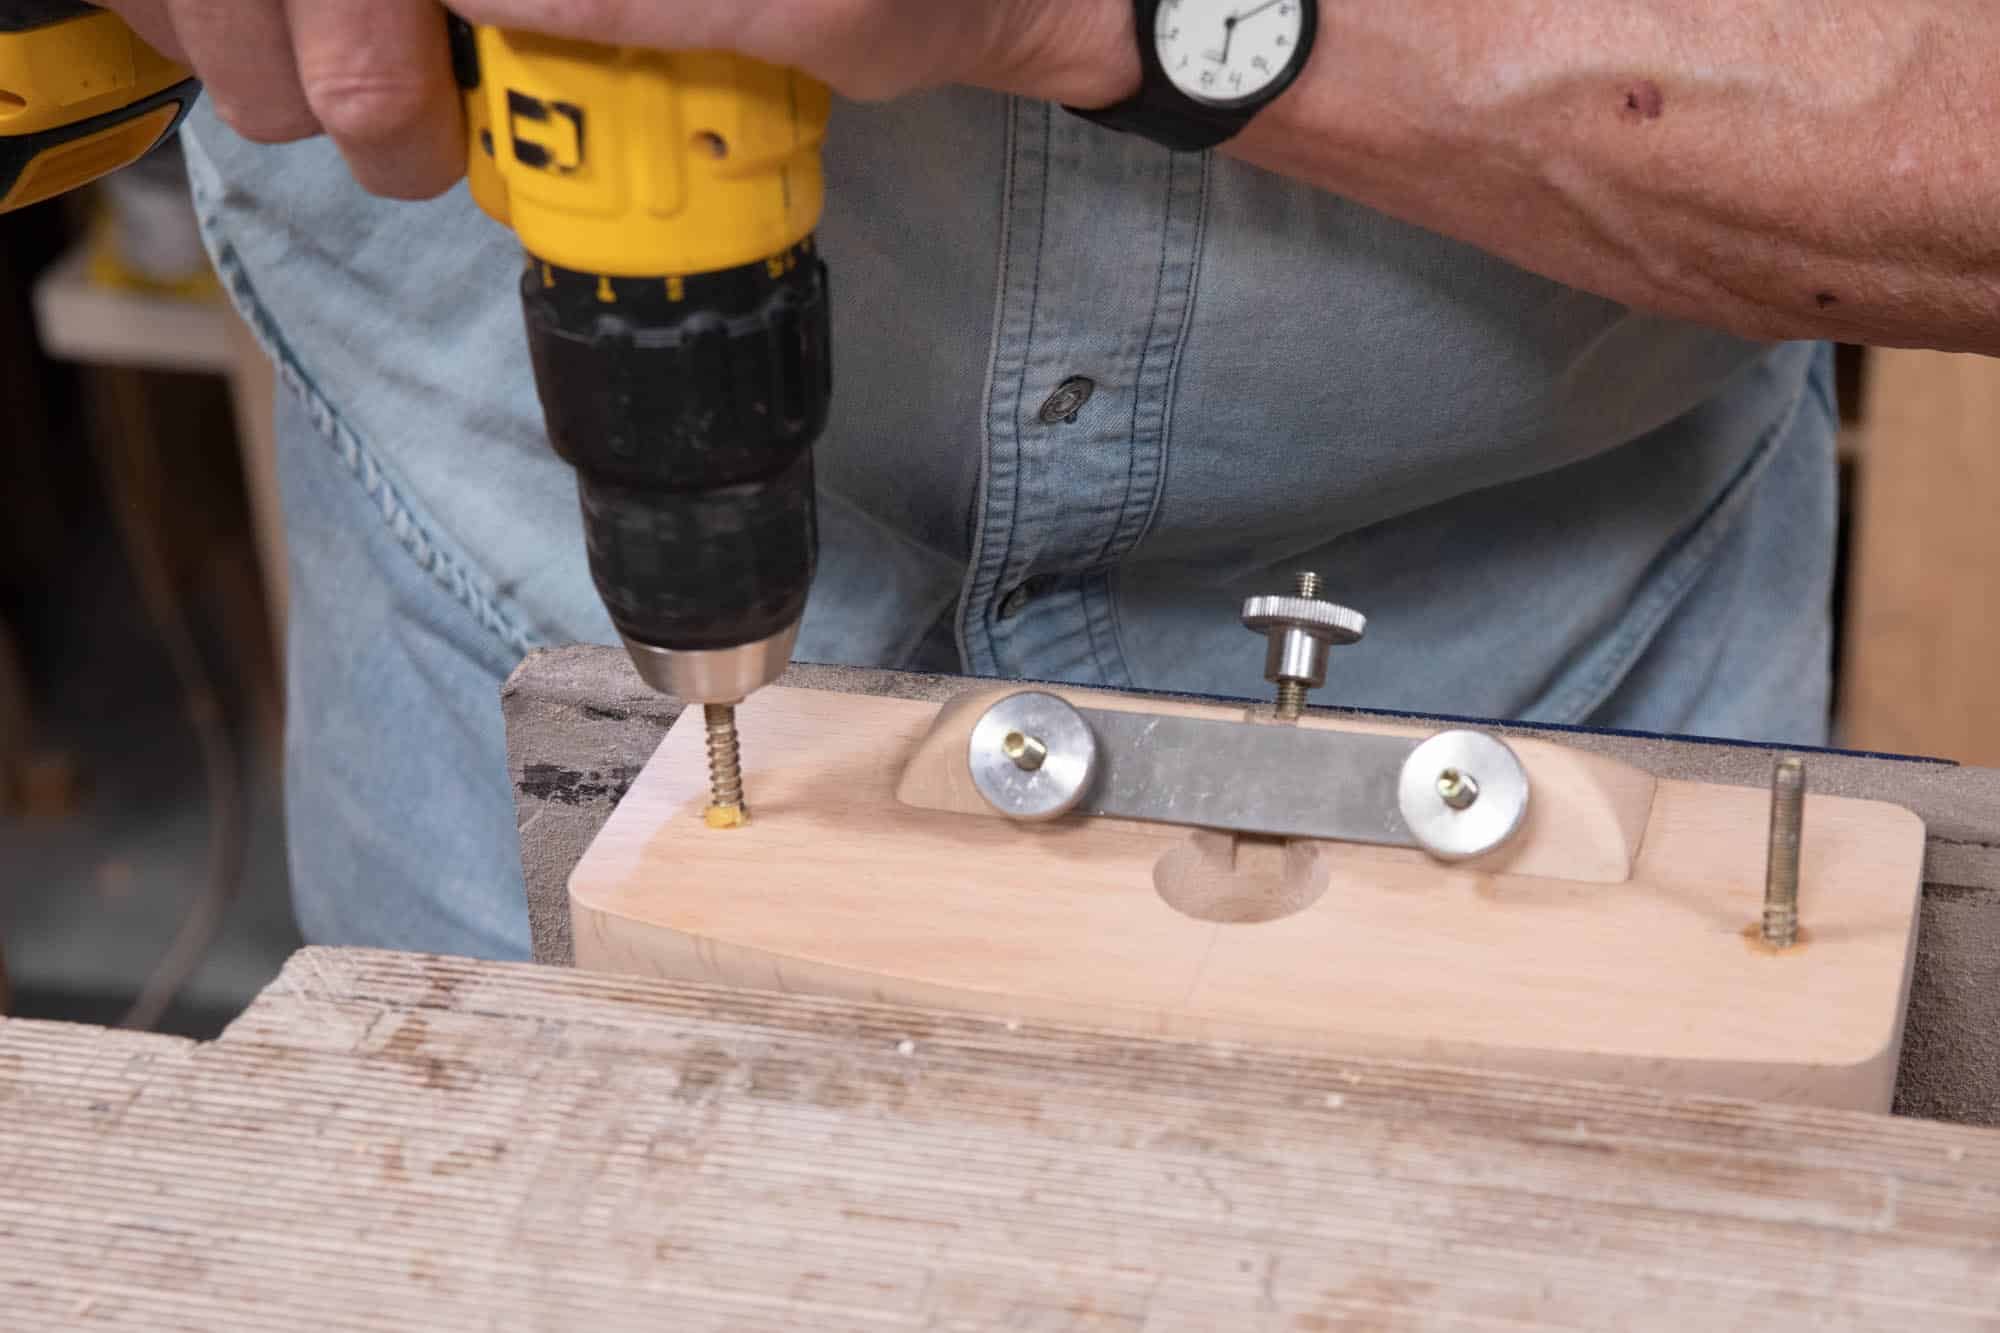
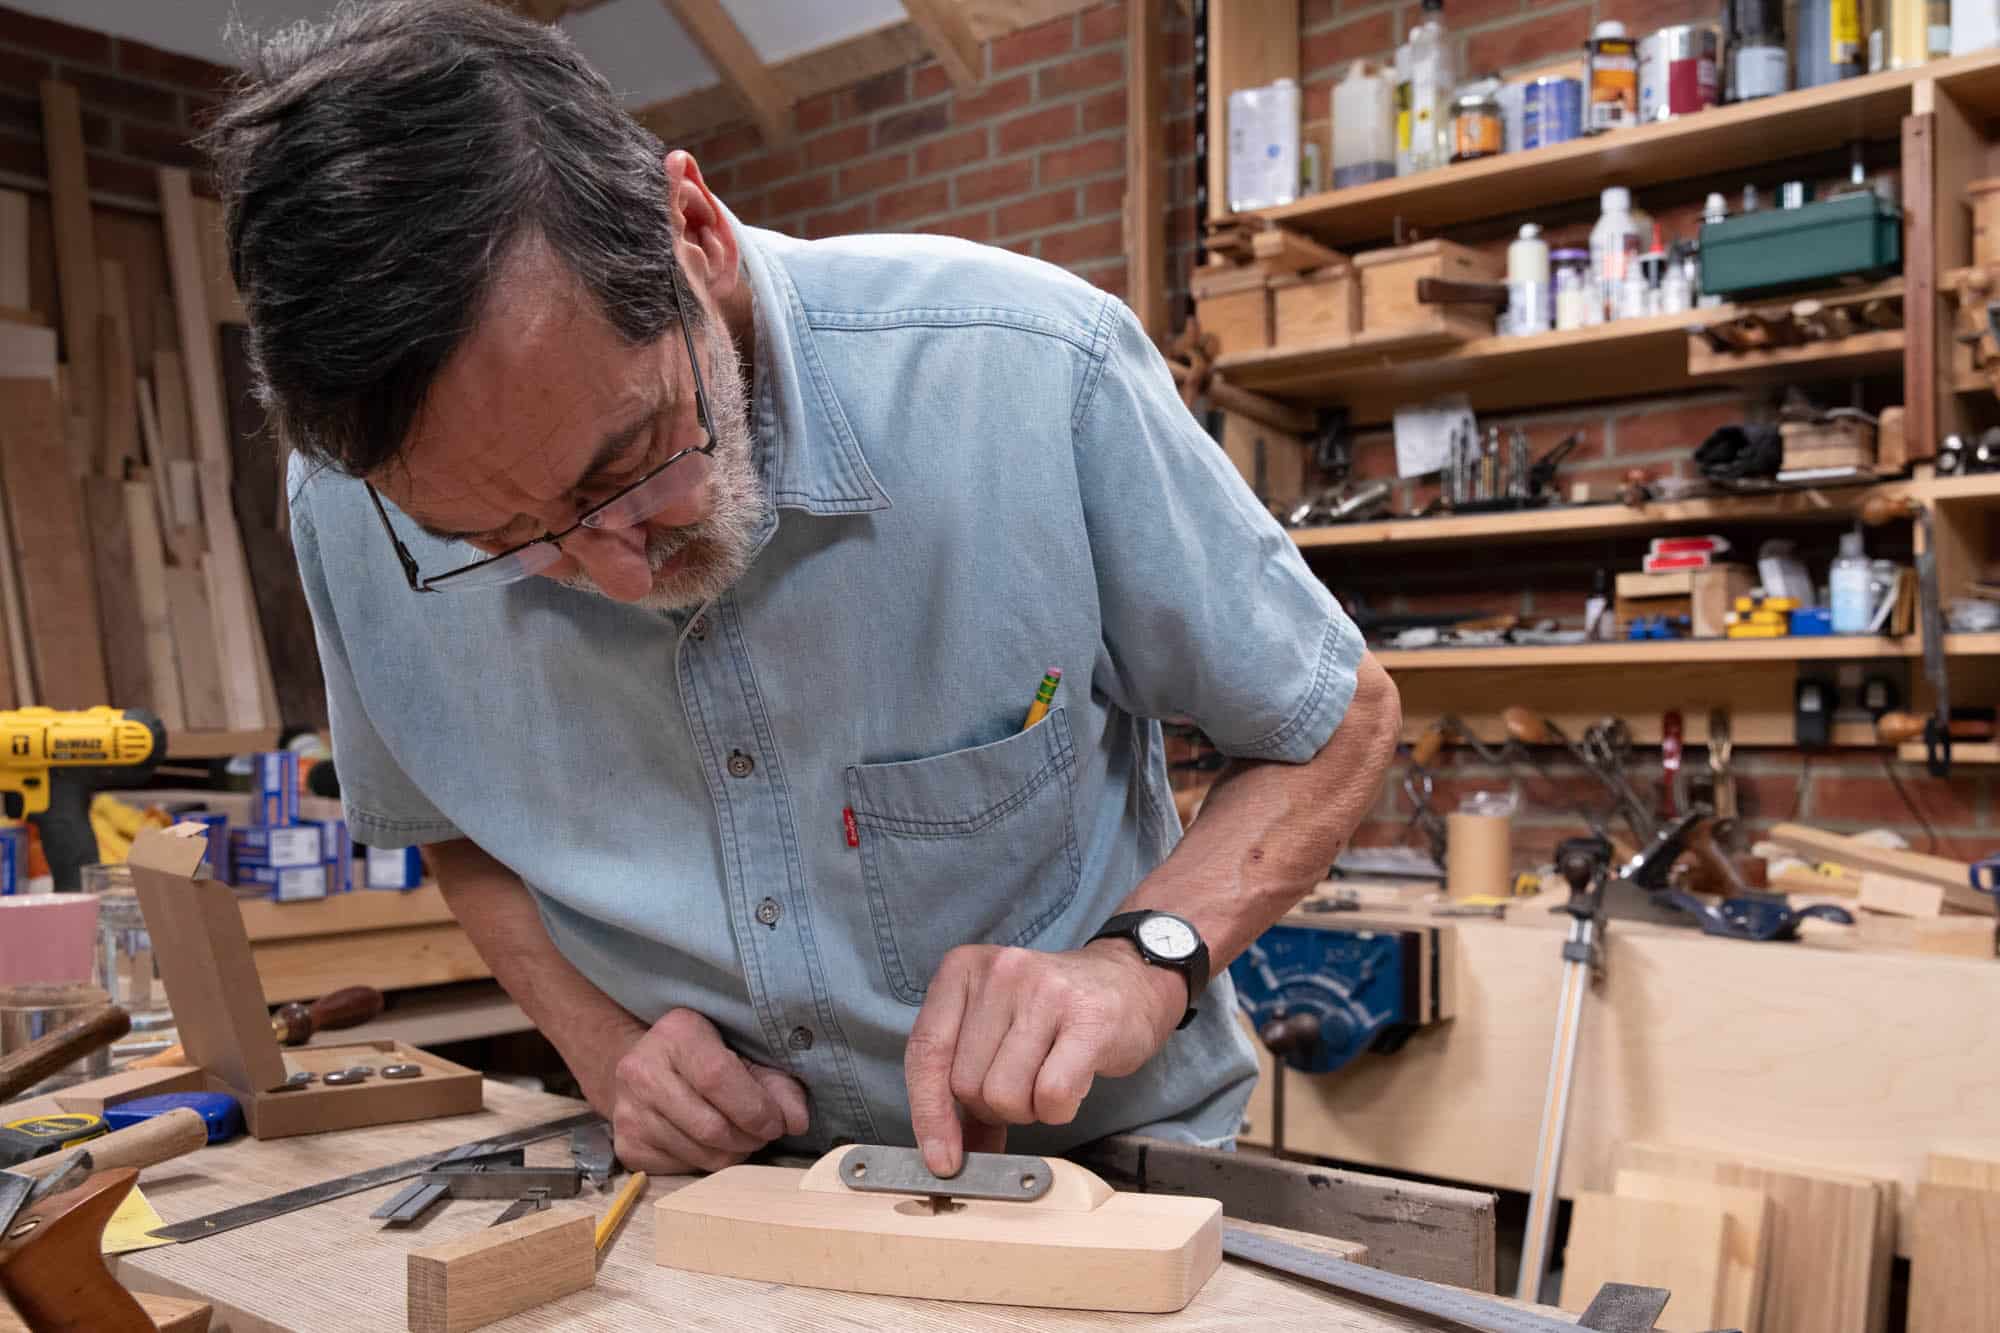
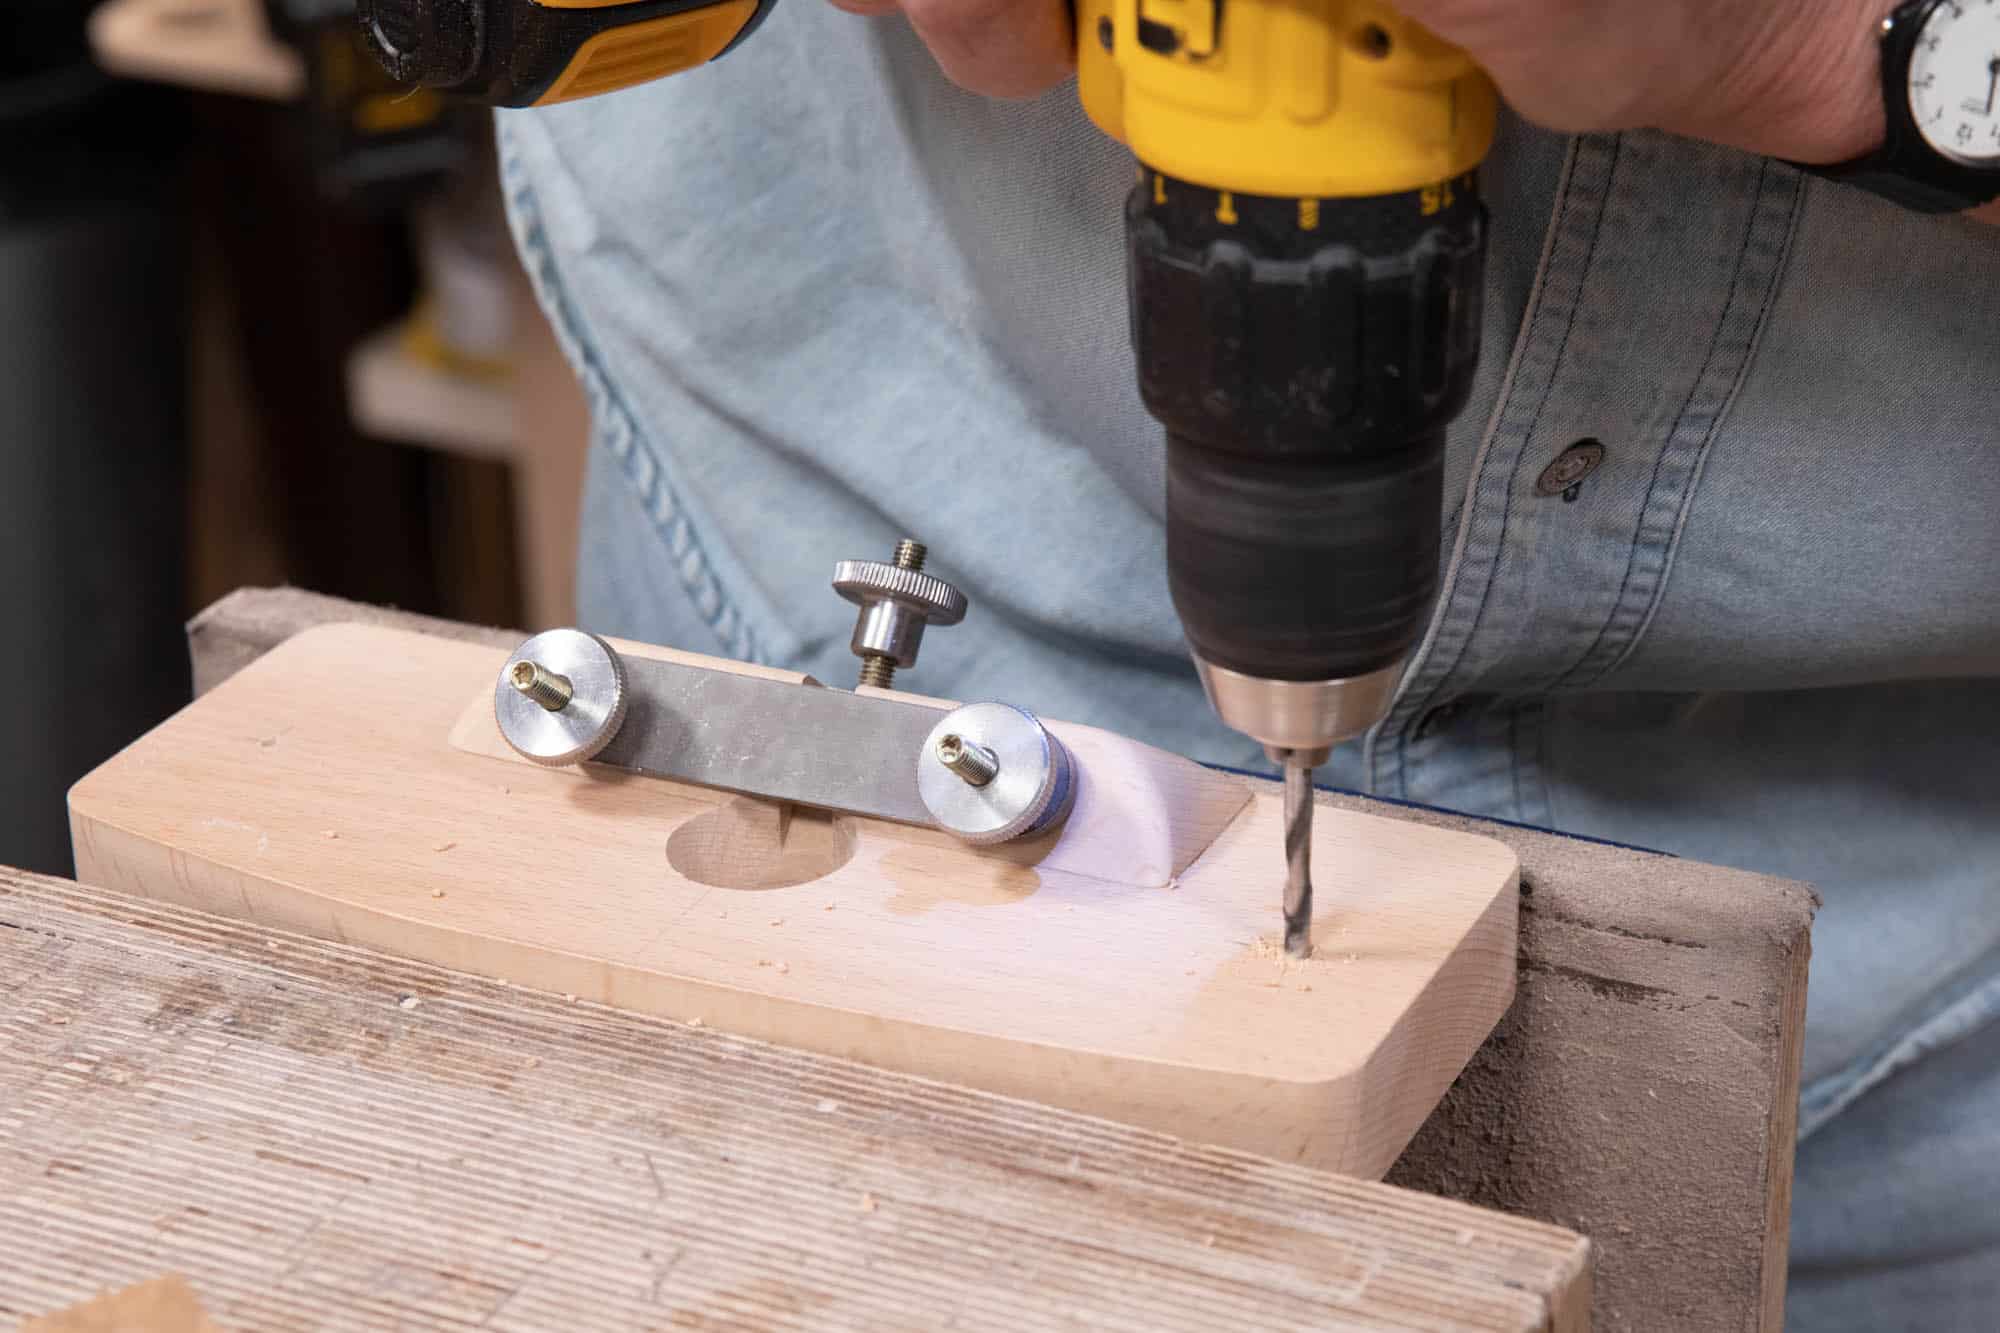
The next work on the router is positioning the hanger bolts that hold the retainer bar, the adjustment feed screw and the handles to each side of the router base. Drilling square to the faces of the upstand is important and this is where it is handy to use a drill bit guide to keep us perpendicular in both directions.
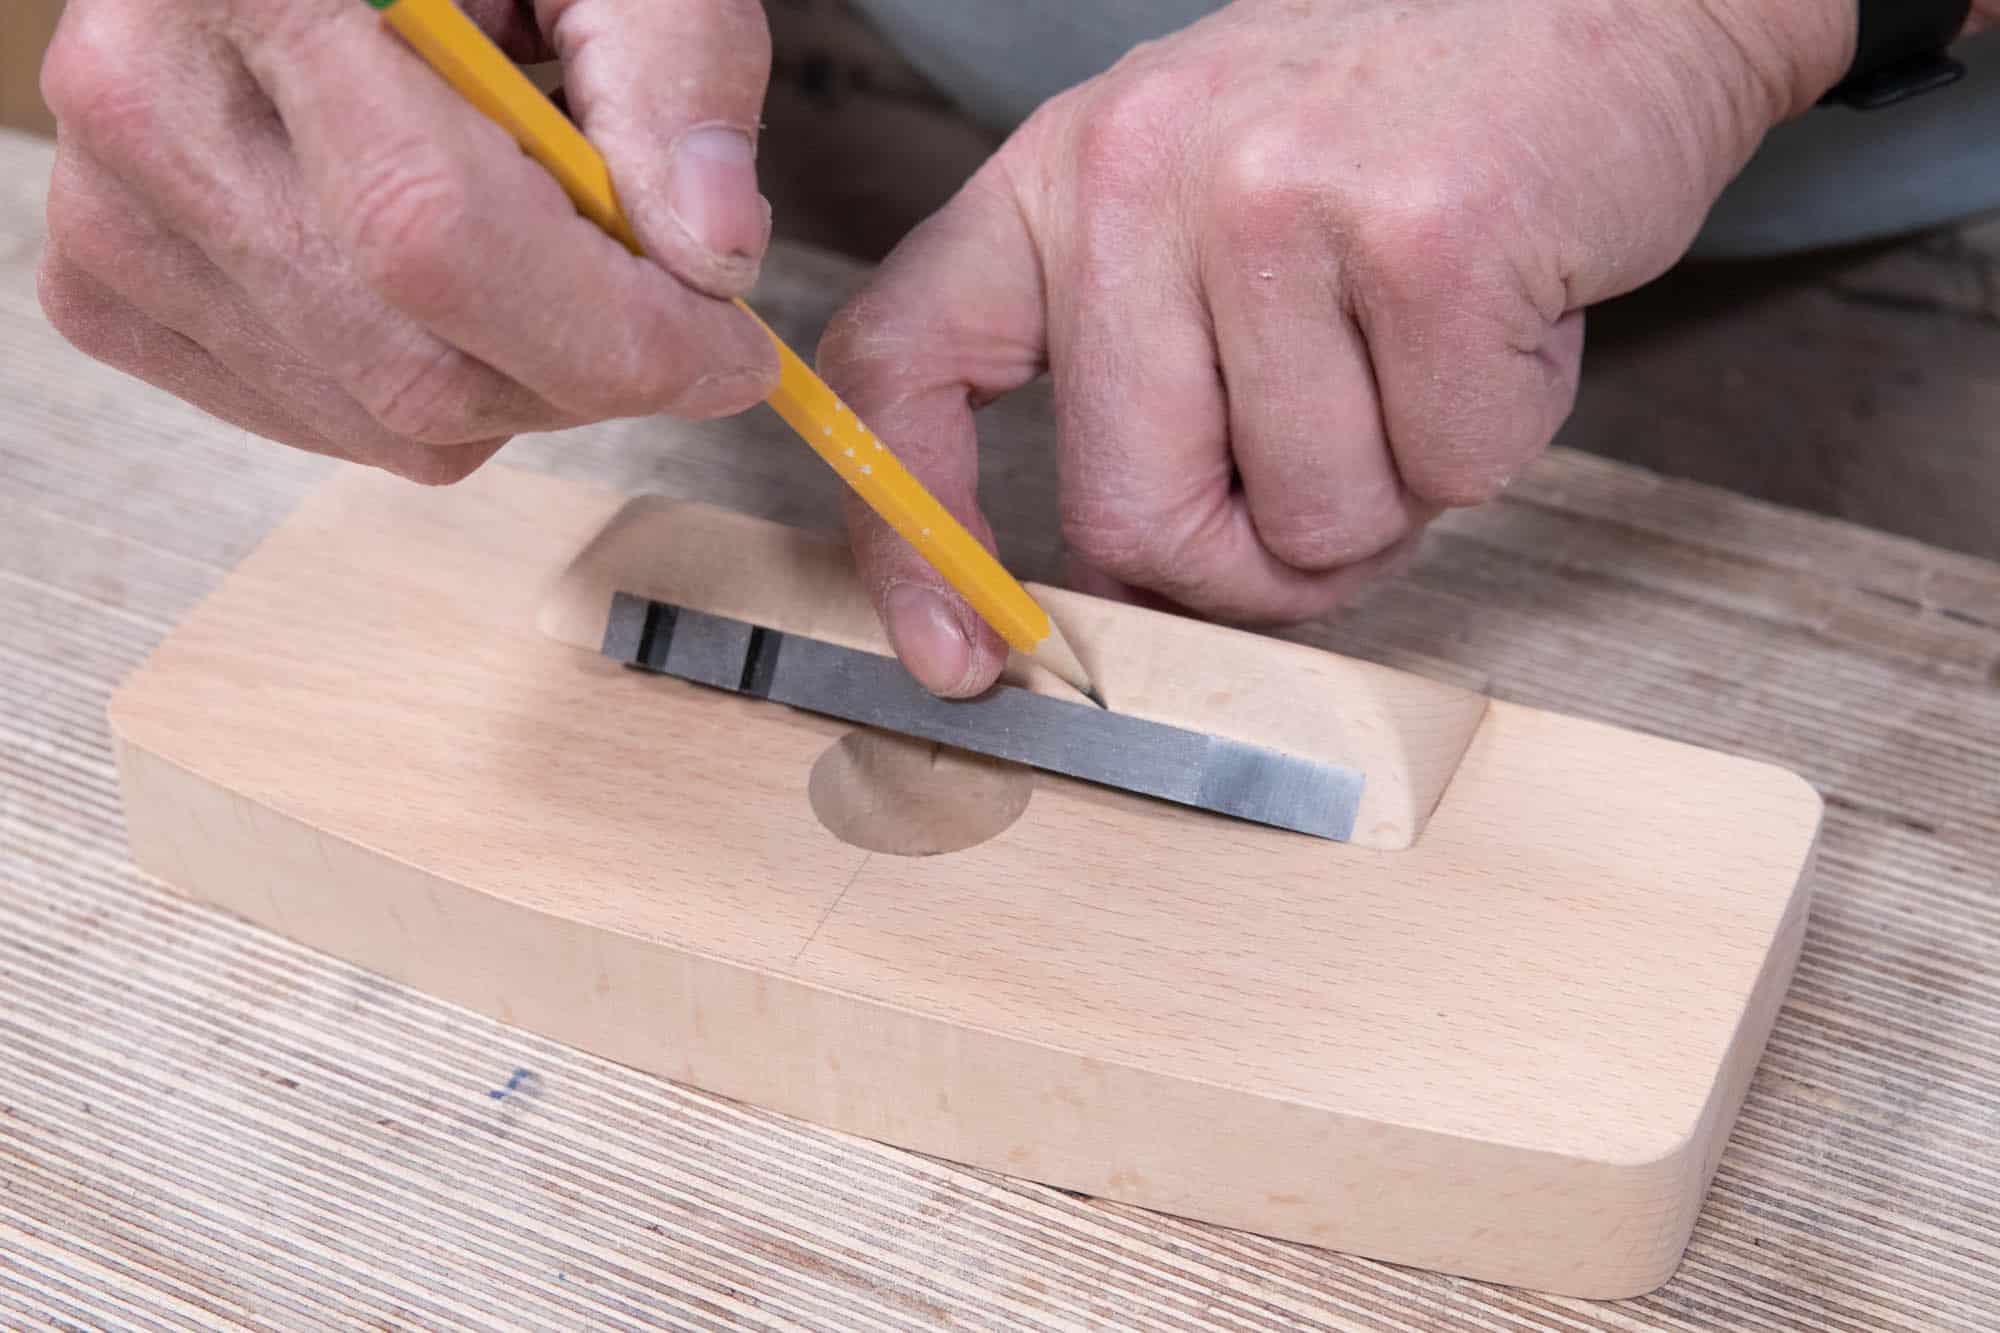
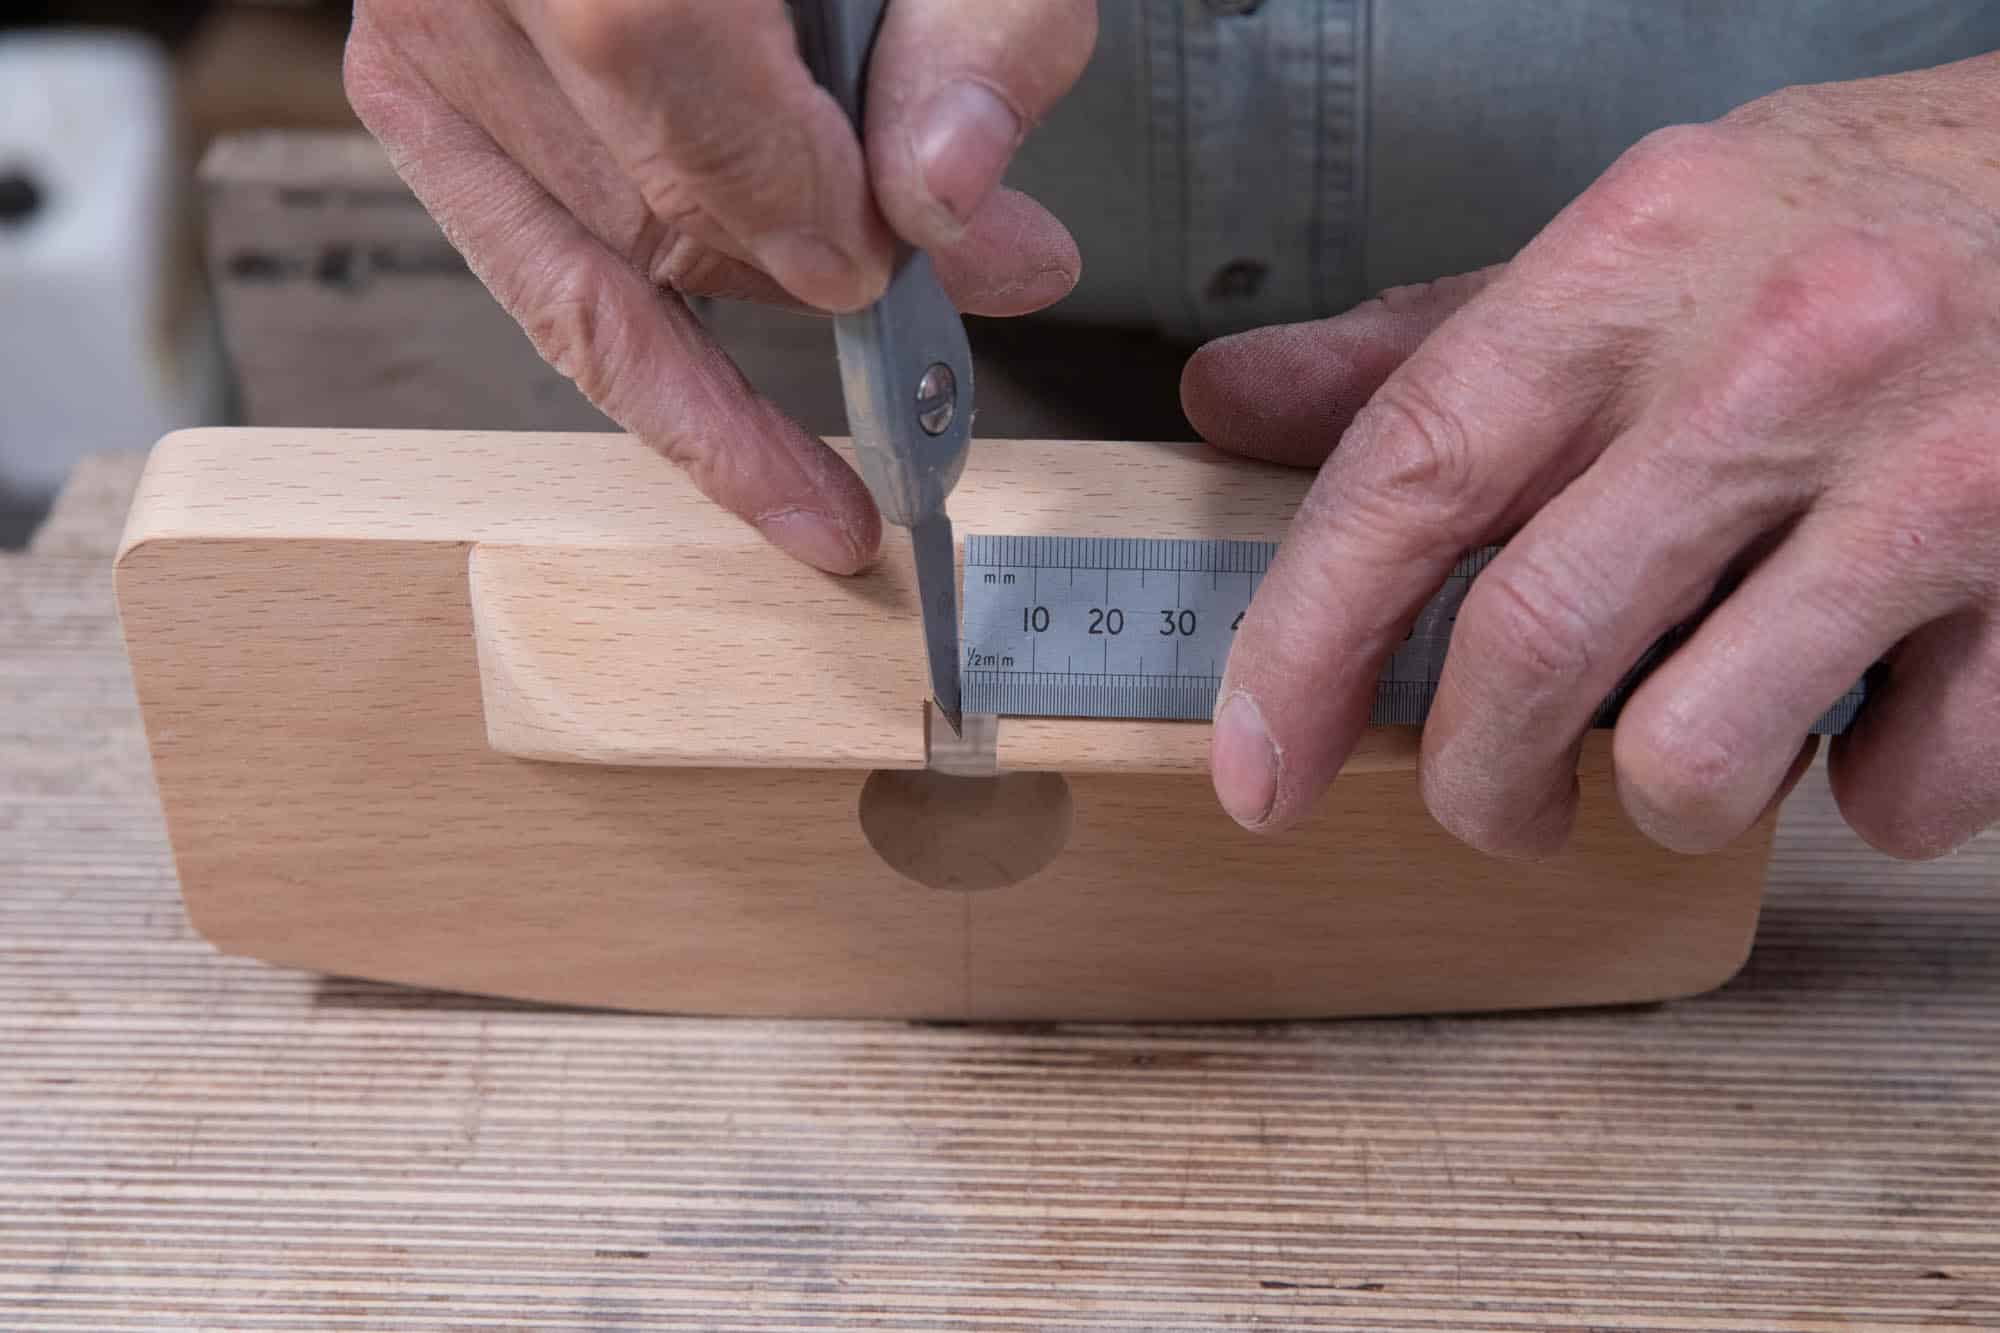
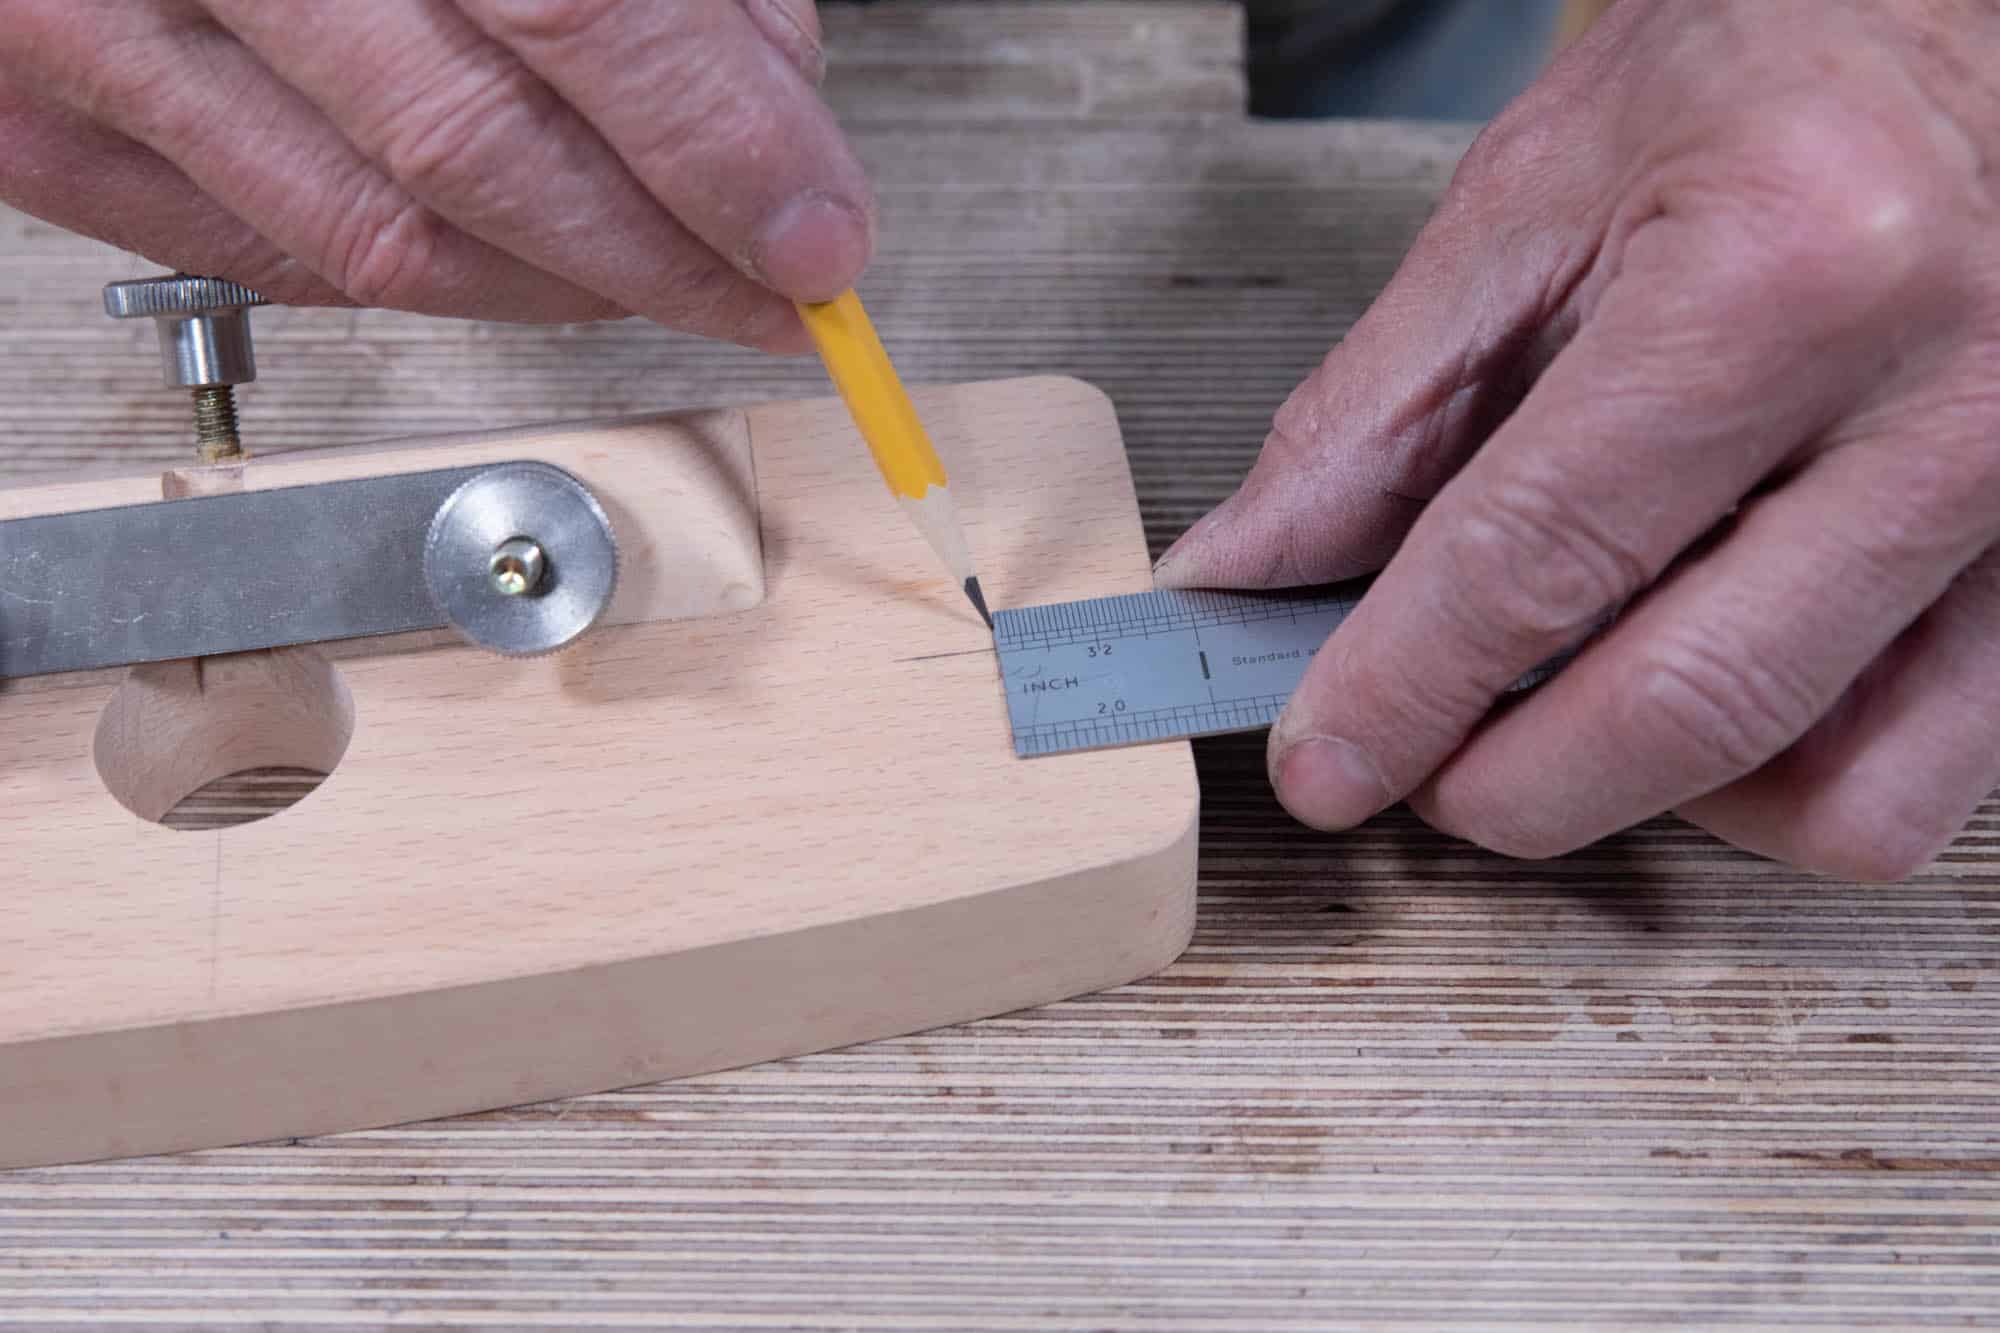
The first holes are for the retainer bar at the front. They must be centred around 3/8″ (10mm) up from the front internal corer of the upstand. As the blade is exactly 10mm wide, use this to make a line across the face of the upstand on either side of the blade channel.
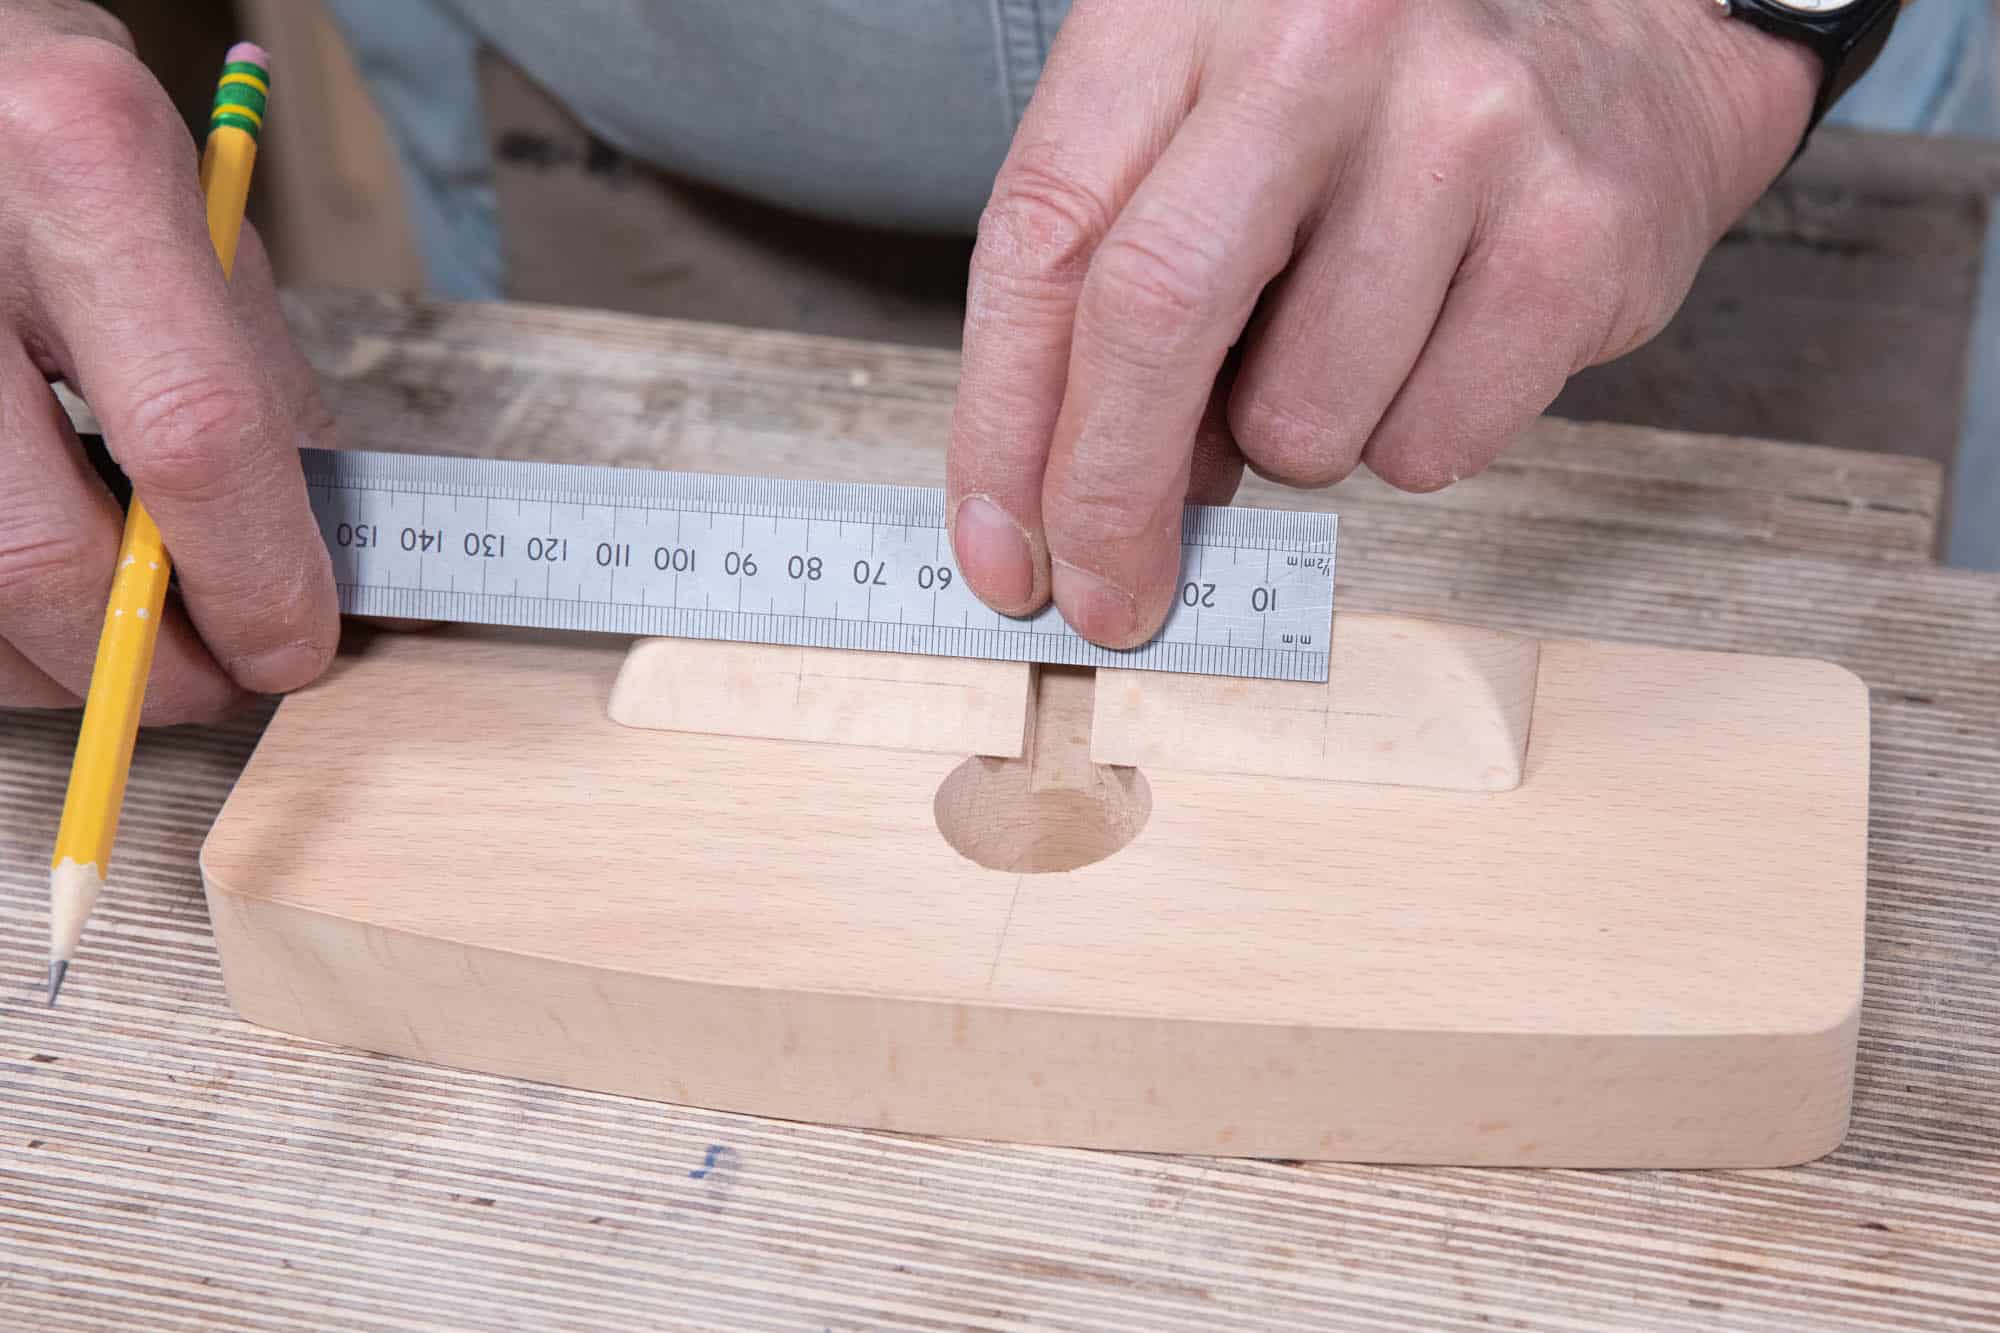
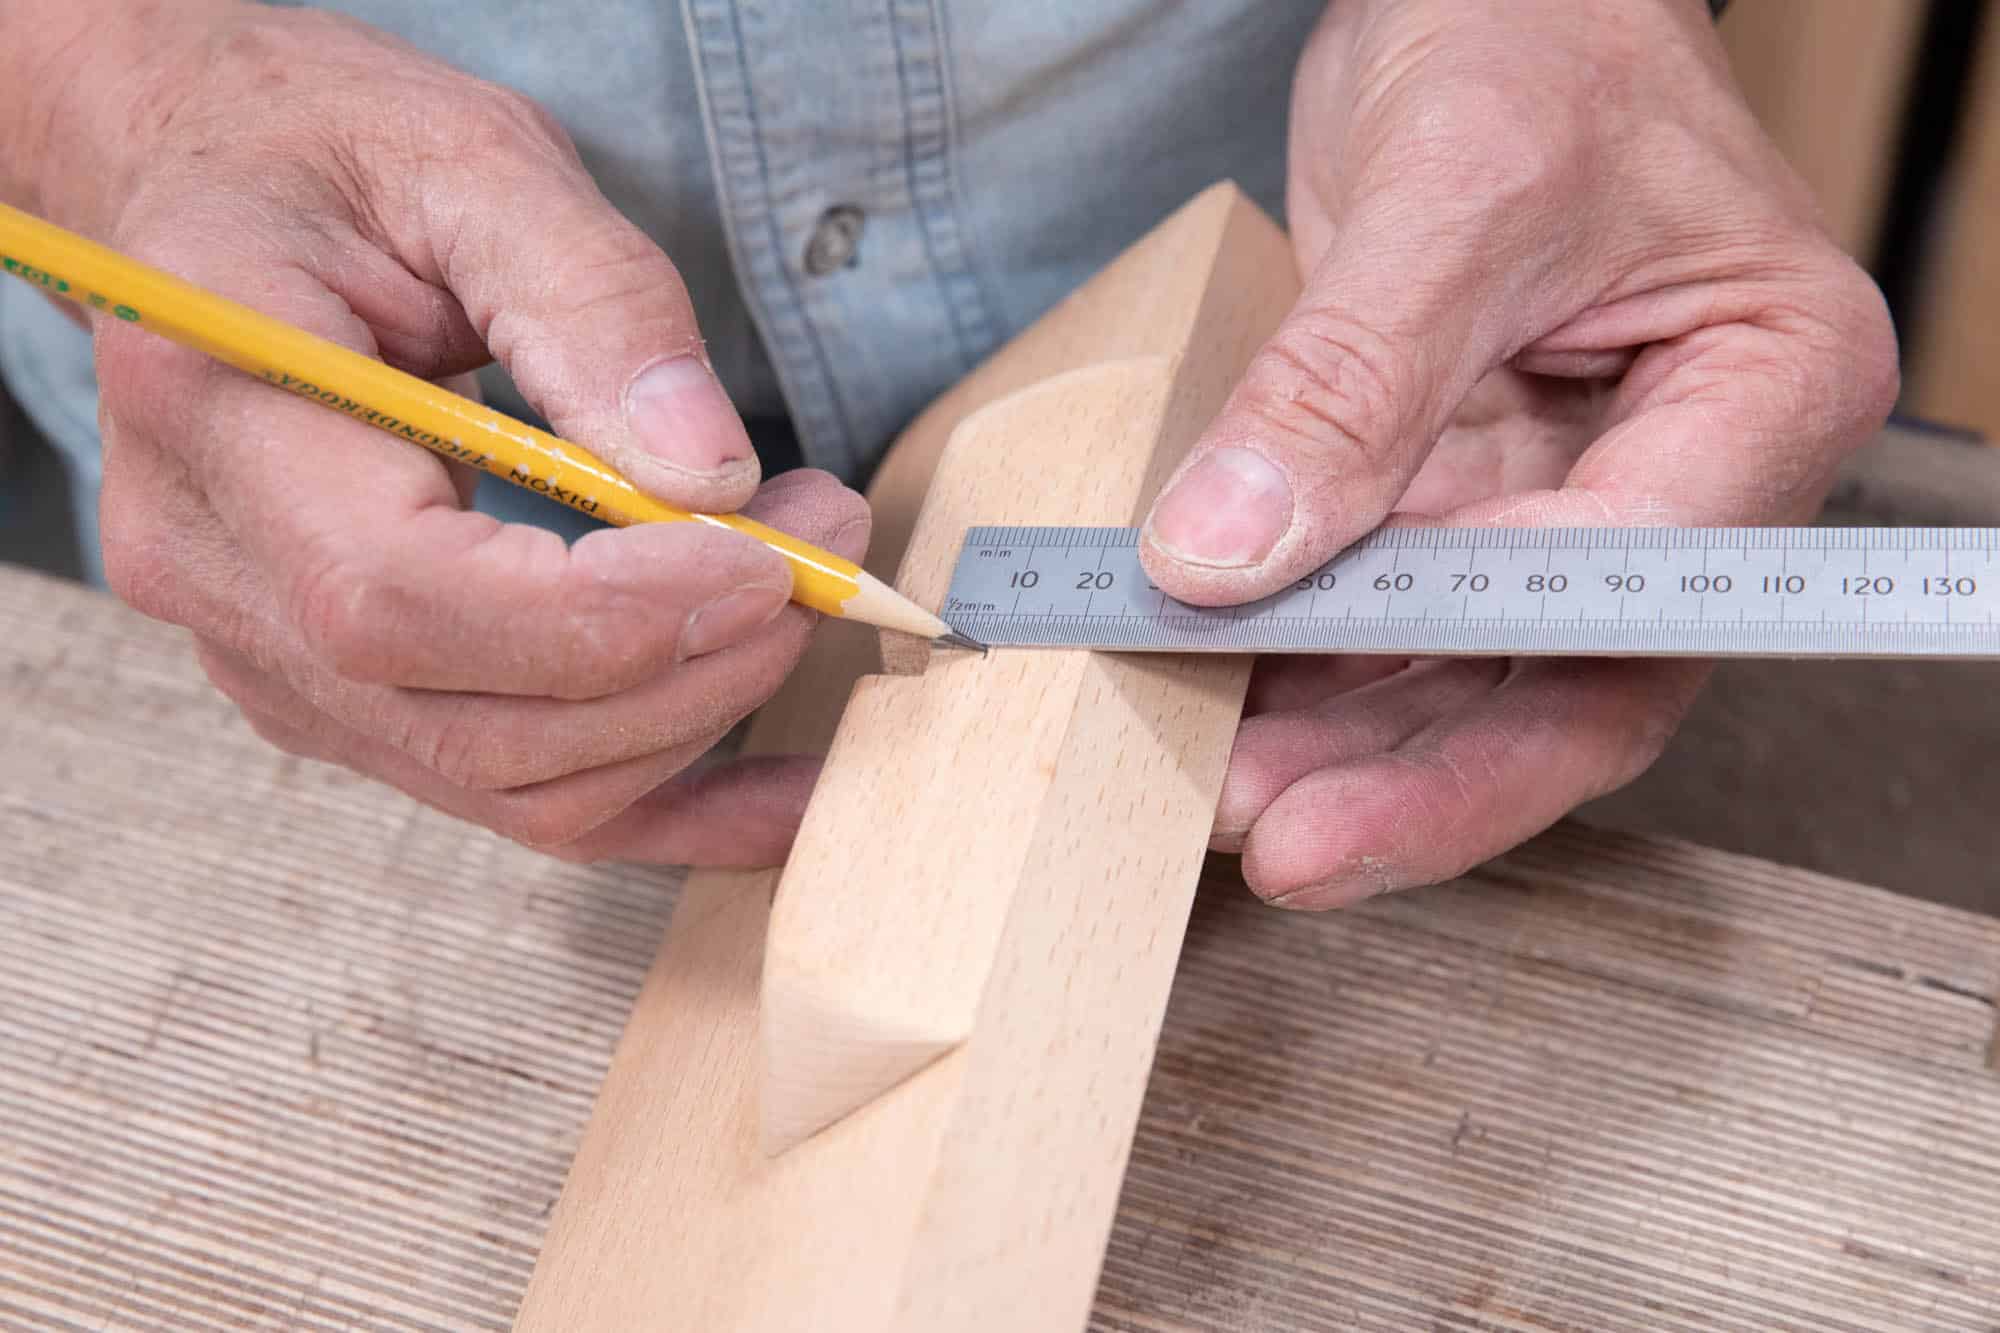
The holes for the hanger bolts that house the retainer bar should be 80mm (~3 3/16″) from centre to centre, which should be 35mm (1 3/8″) from either side of the channel walls.
Use the retainer bar to check the locations of the two holes. Notice that the retainer bar holes are offset. The narrow distance goes towards the bottom.
The depth adjustment mechanism is centred across the width of the channel at the back face of the upstand. This is the most critical hole as any misalignment could result in the hanger bolt (and therefore the thumb nut) not turning correctly to adjust the depth of cut.
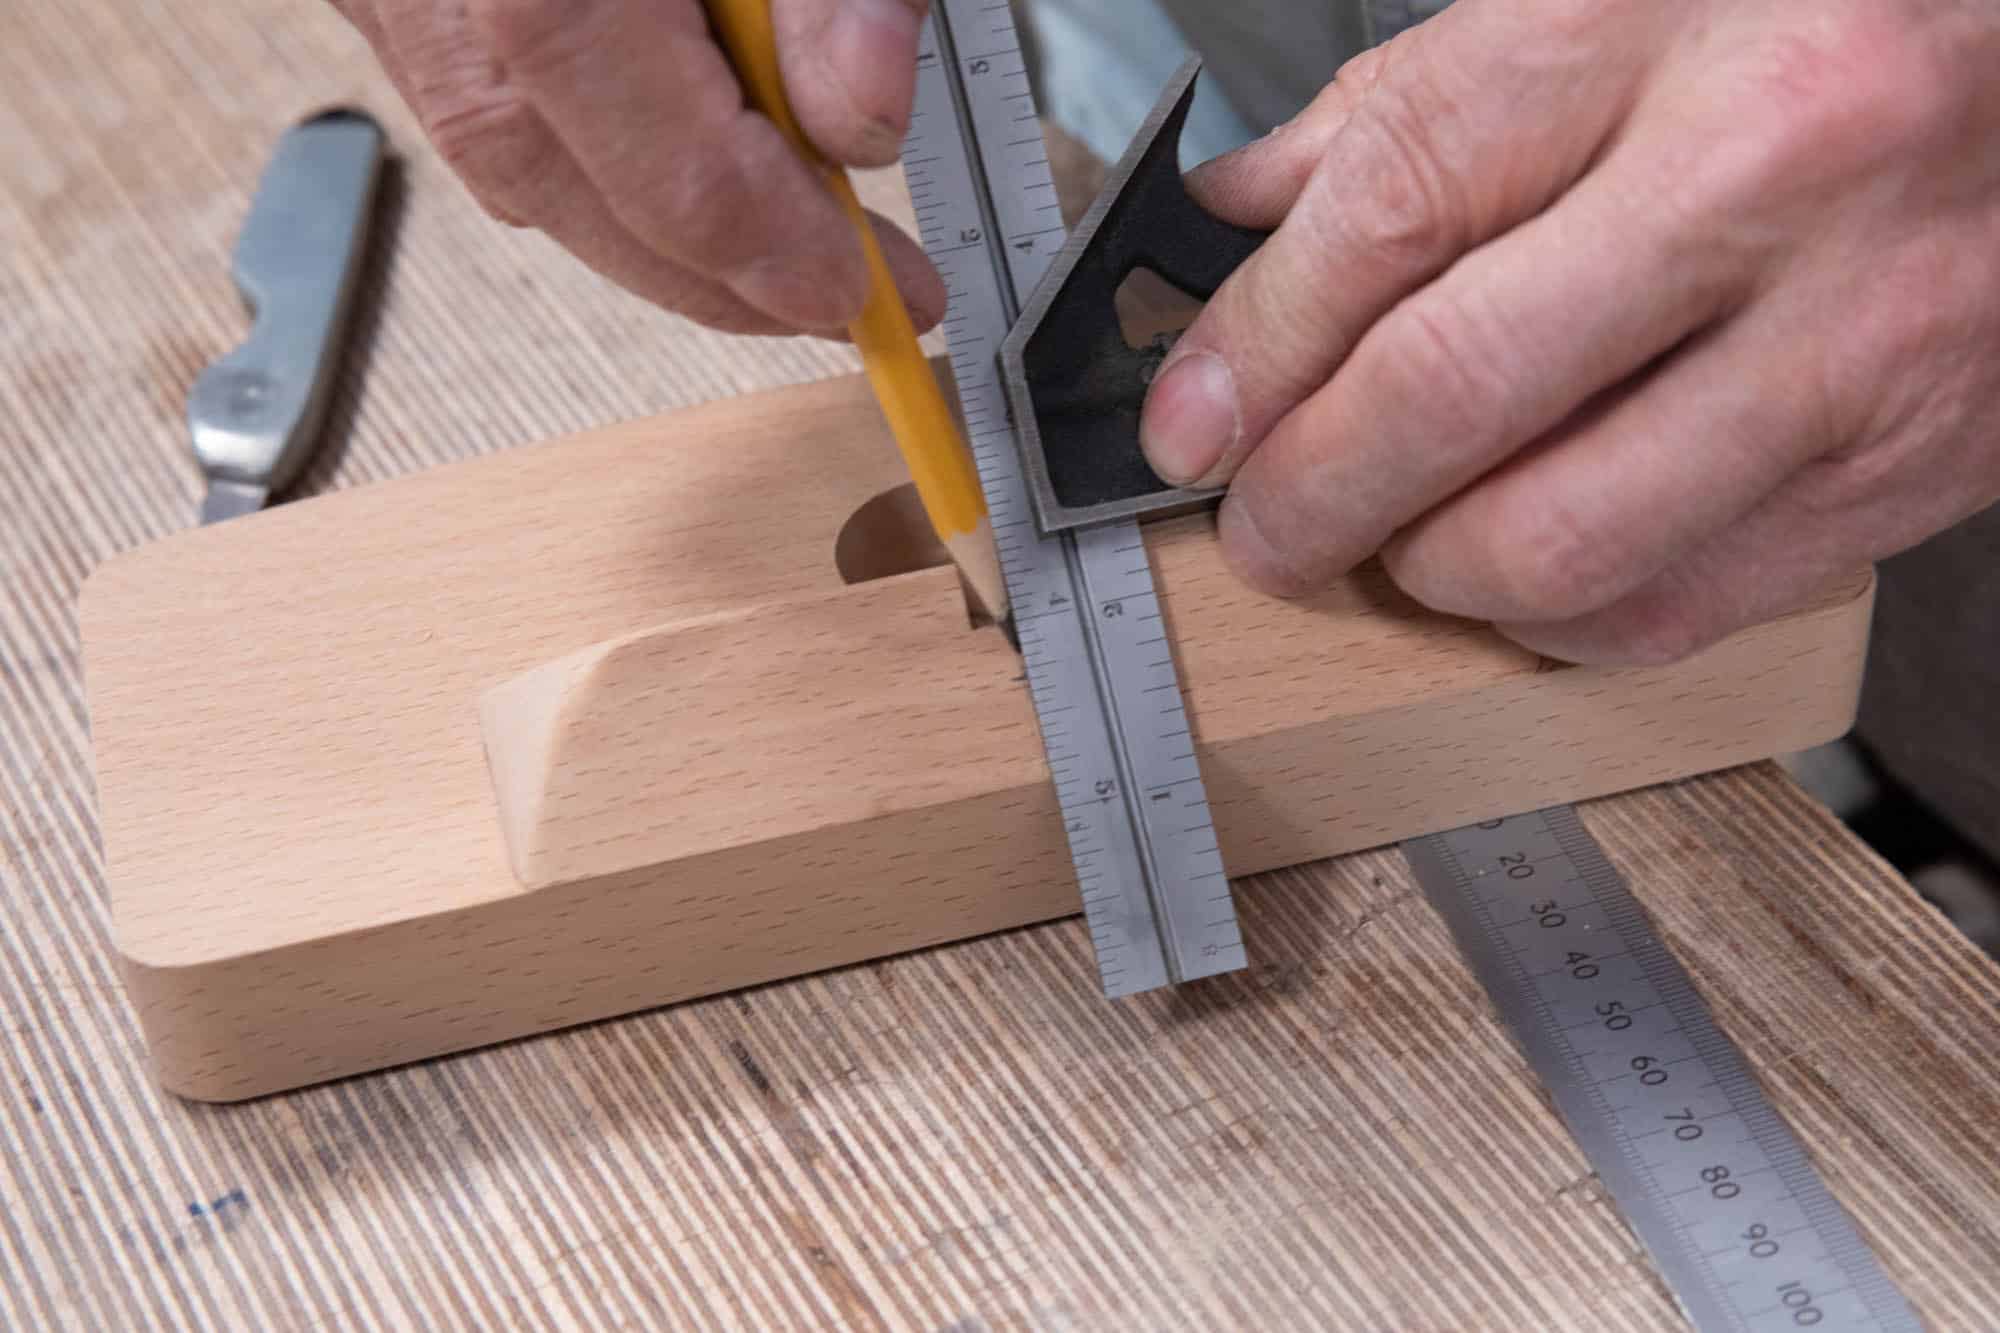
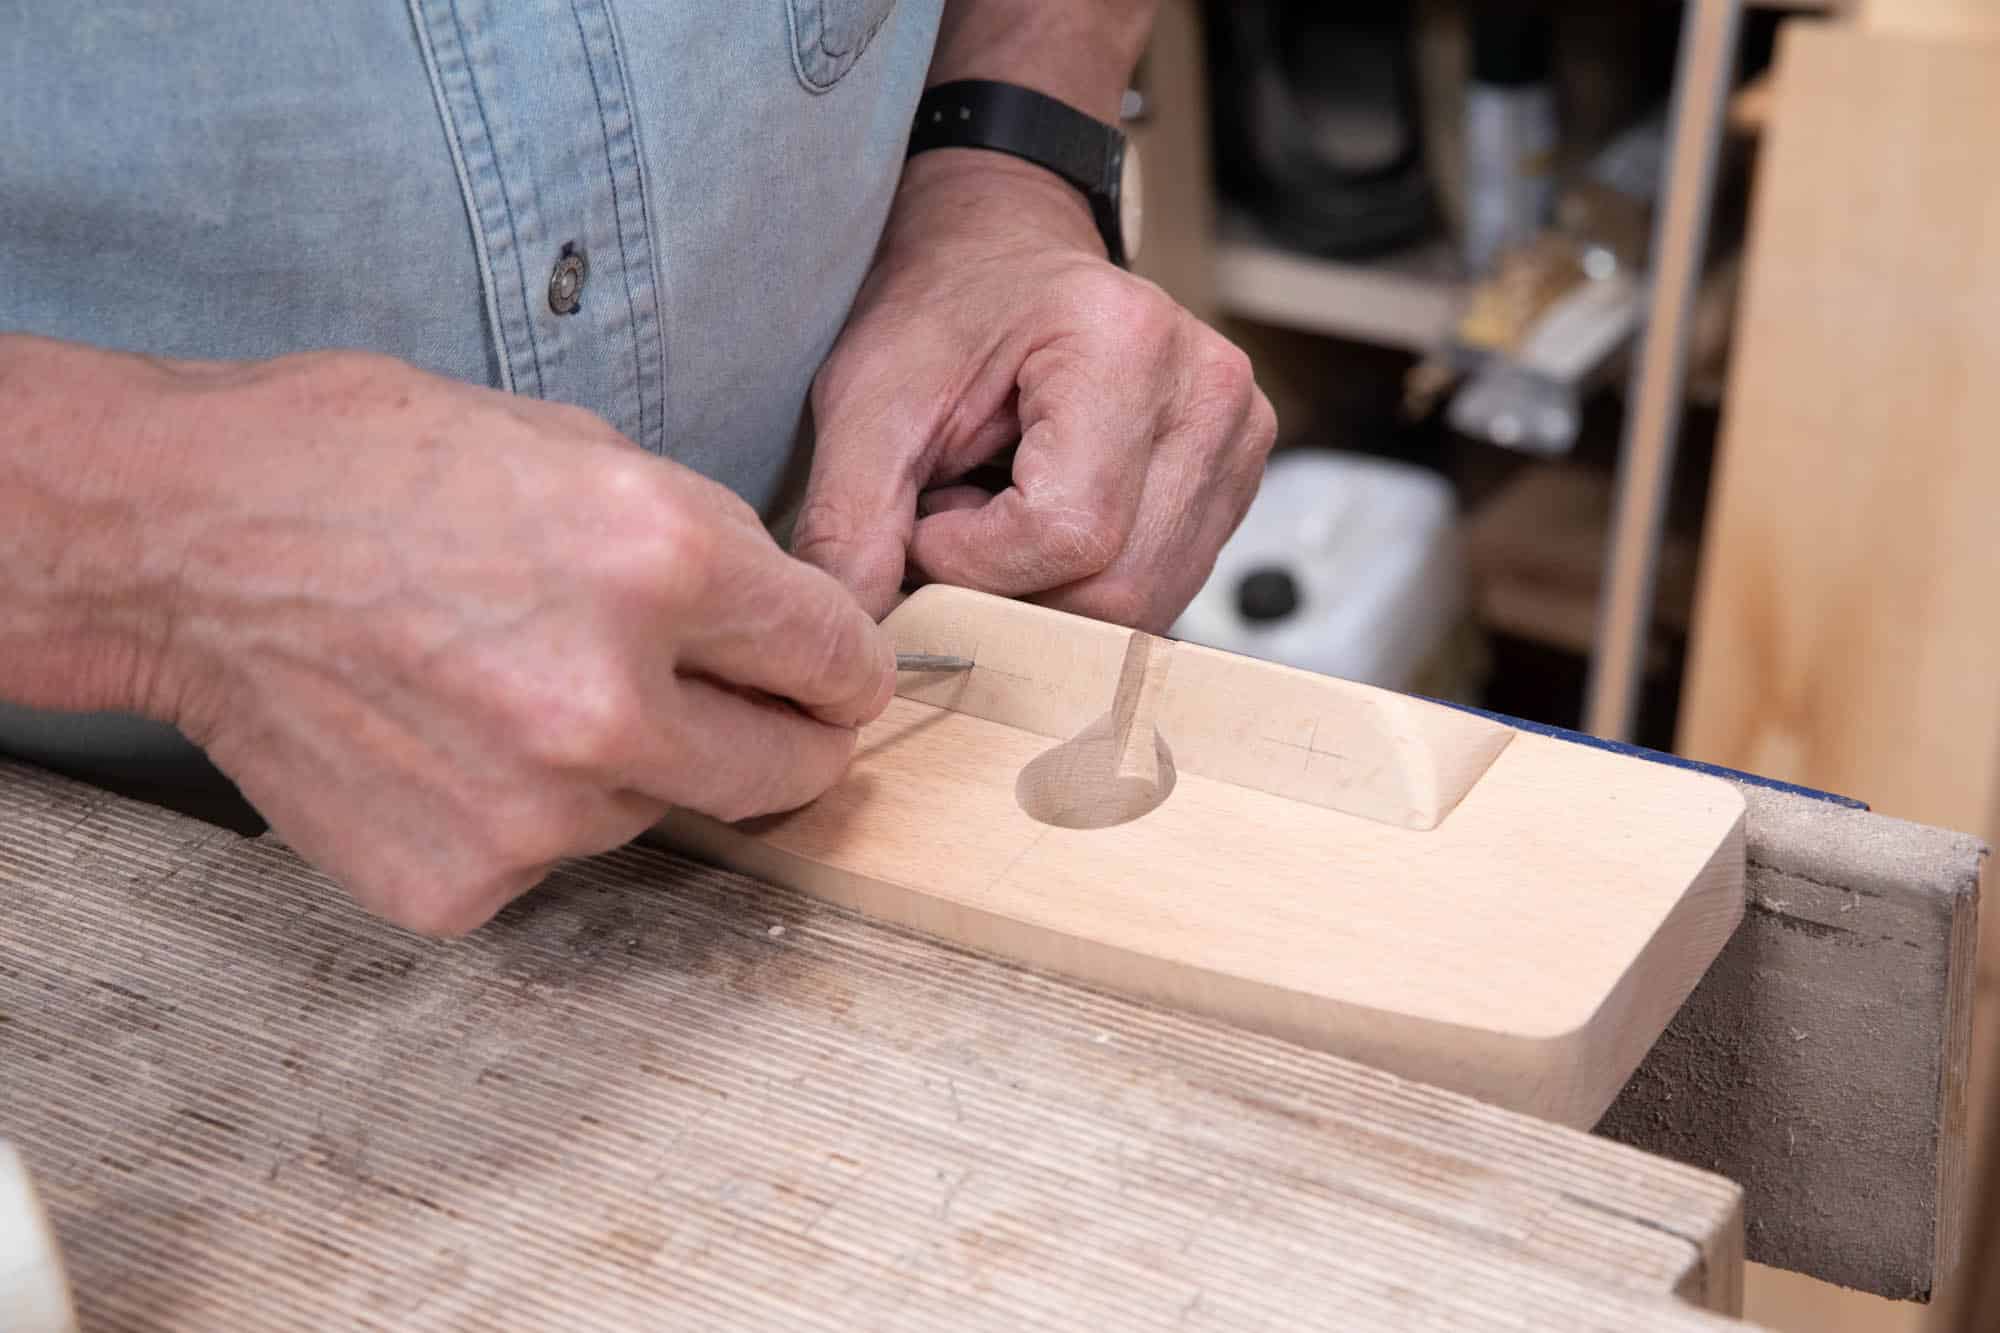
Use a knife or a sharp pencil to mark a line across the back face of the upstand, dead centred on the channel.
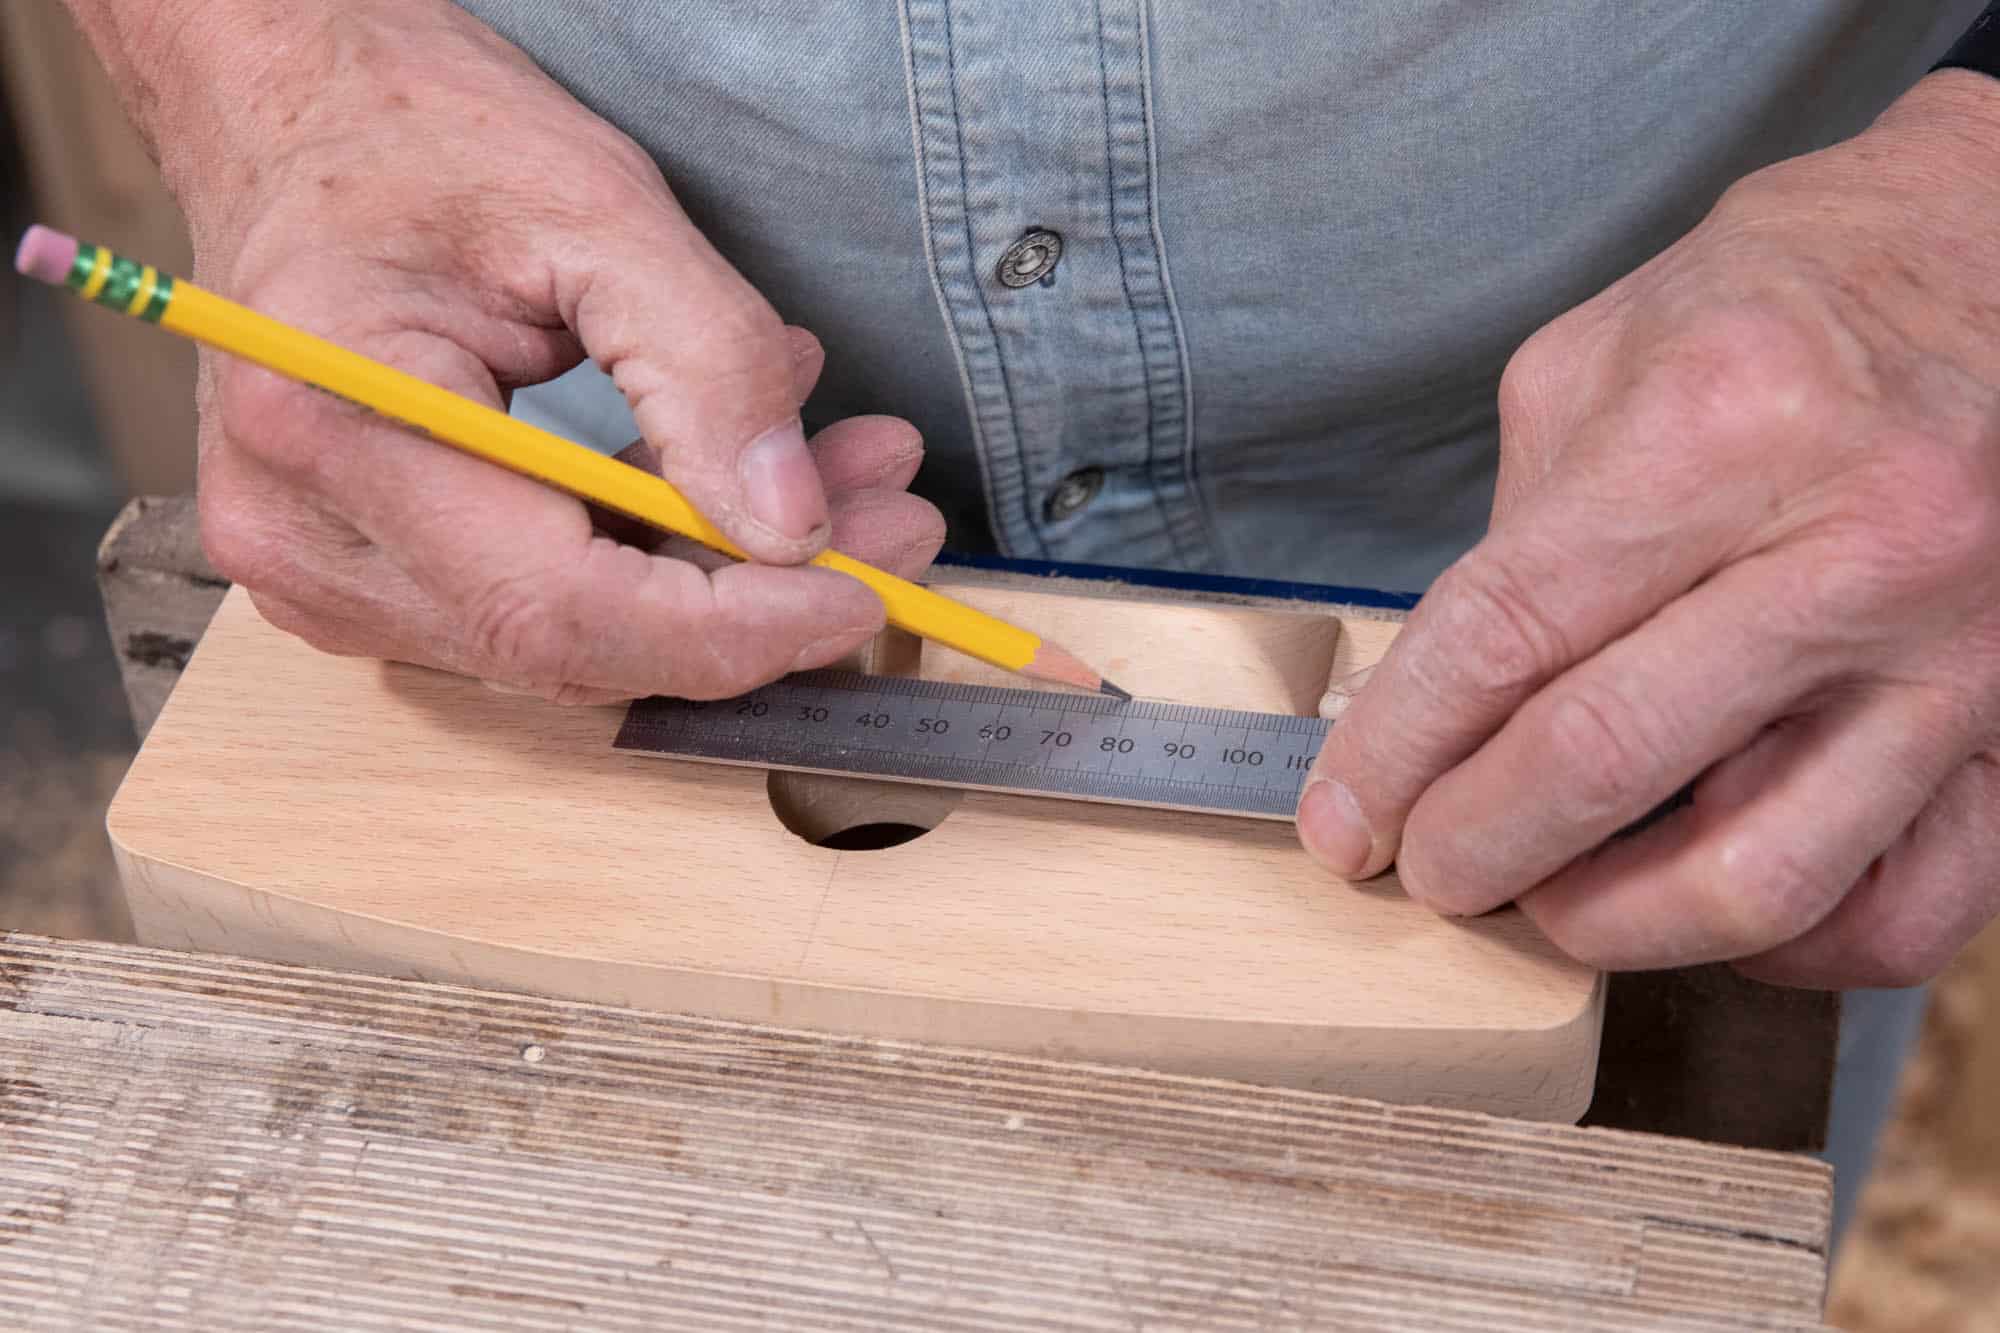
Measure 5/16″ (8mm) from the bottom of the channel and mark the position of the crosshair exactly and square the lines for an exact
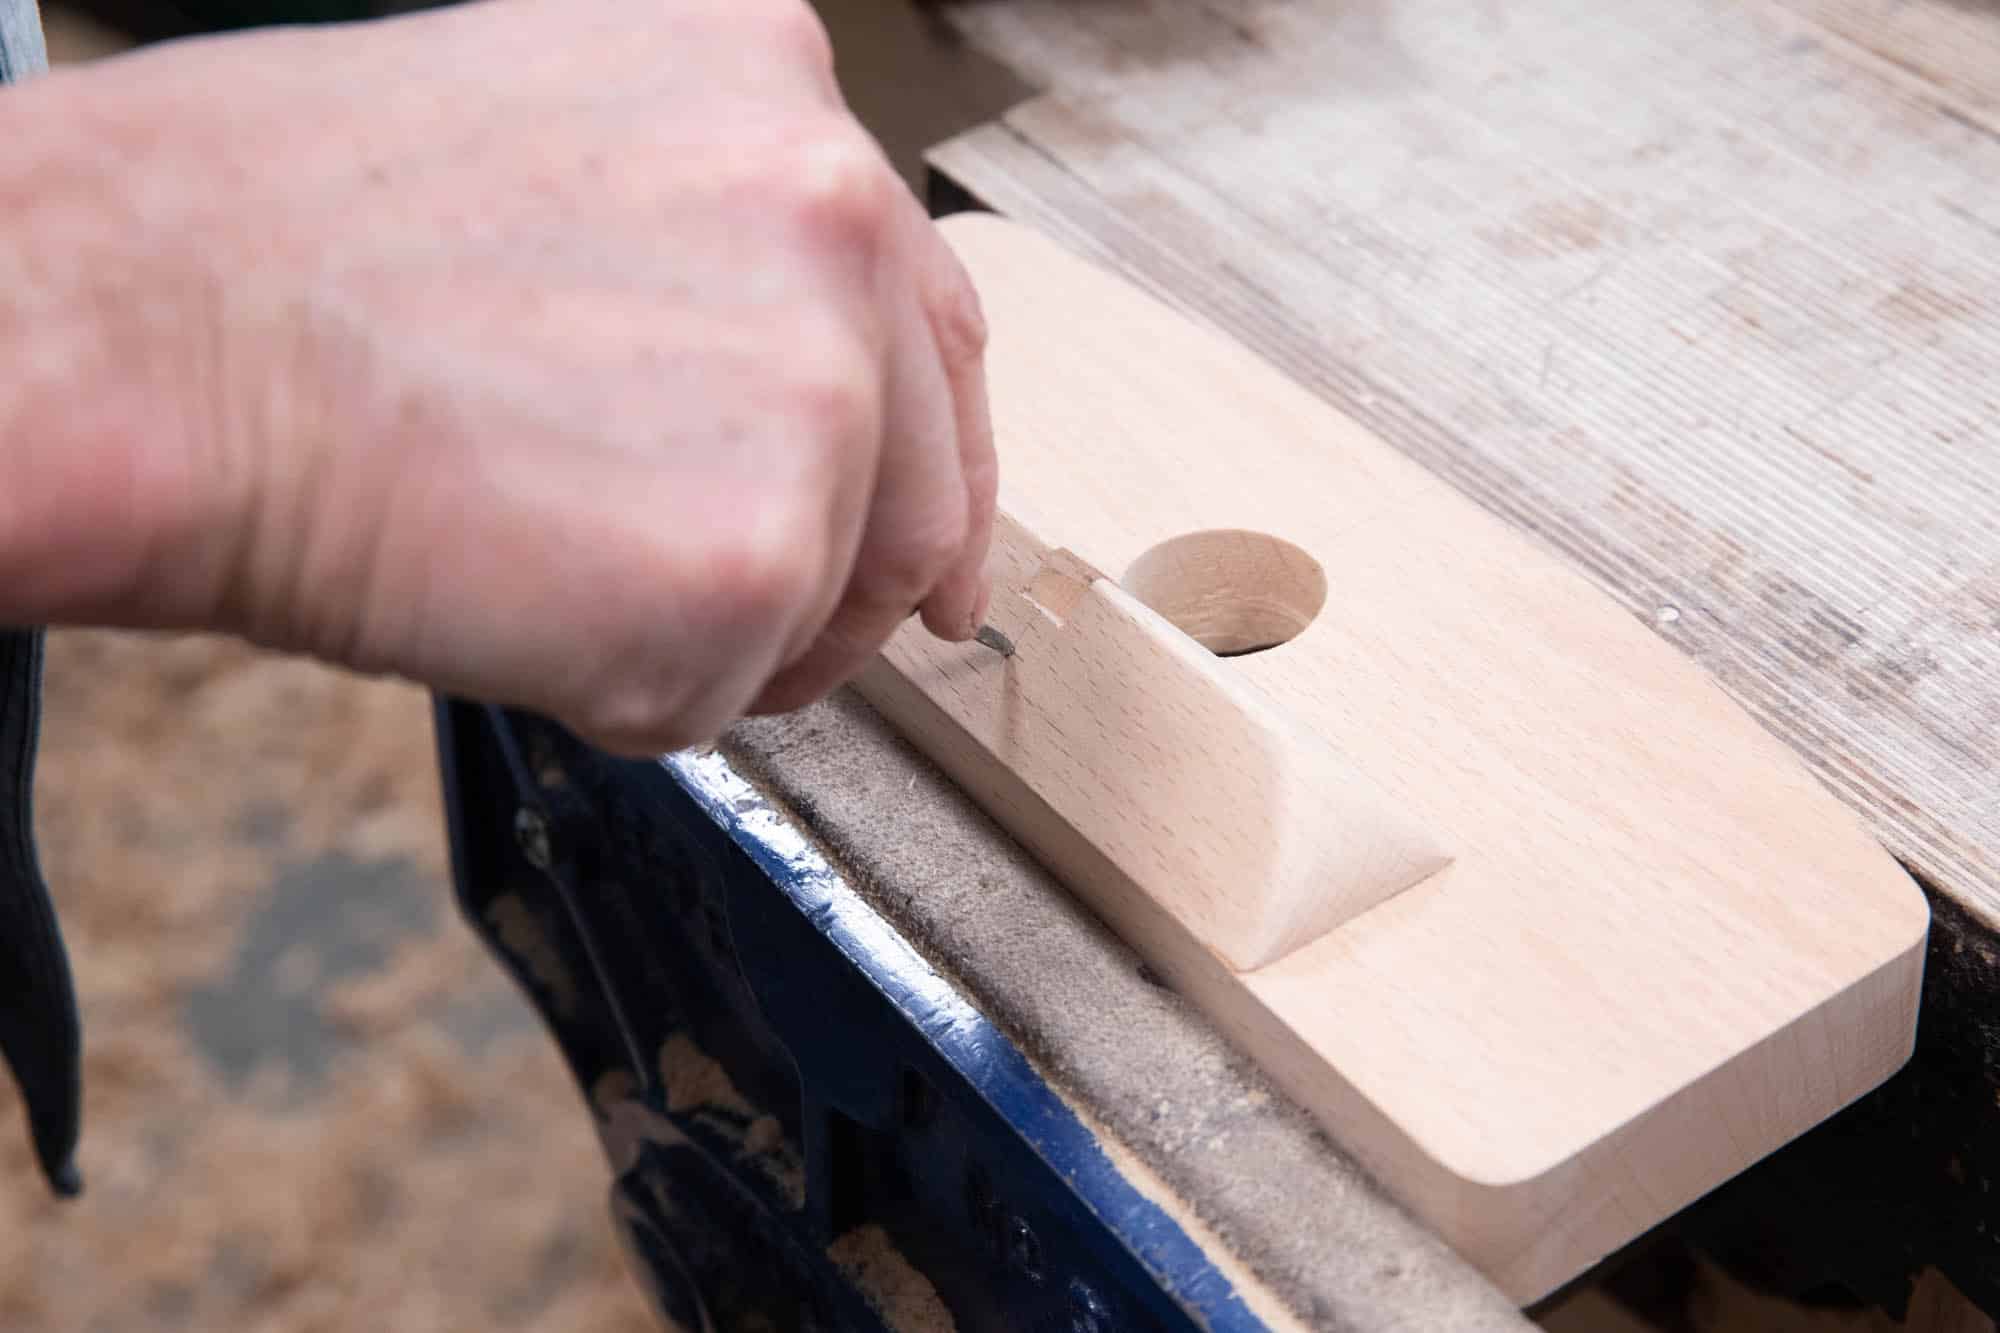
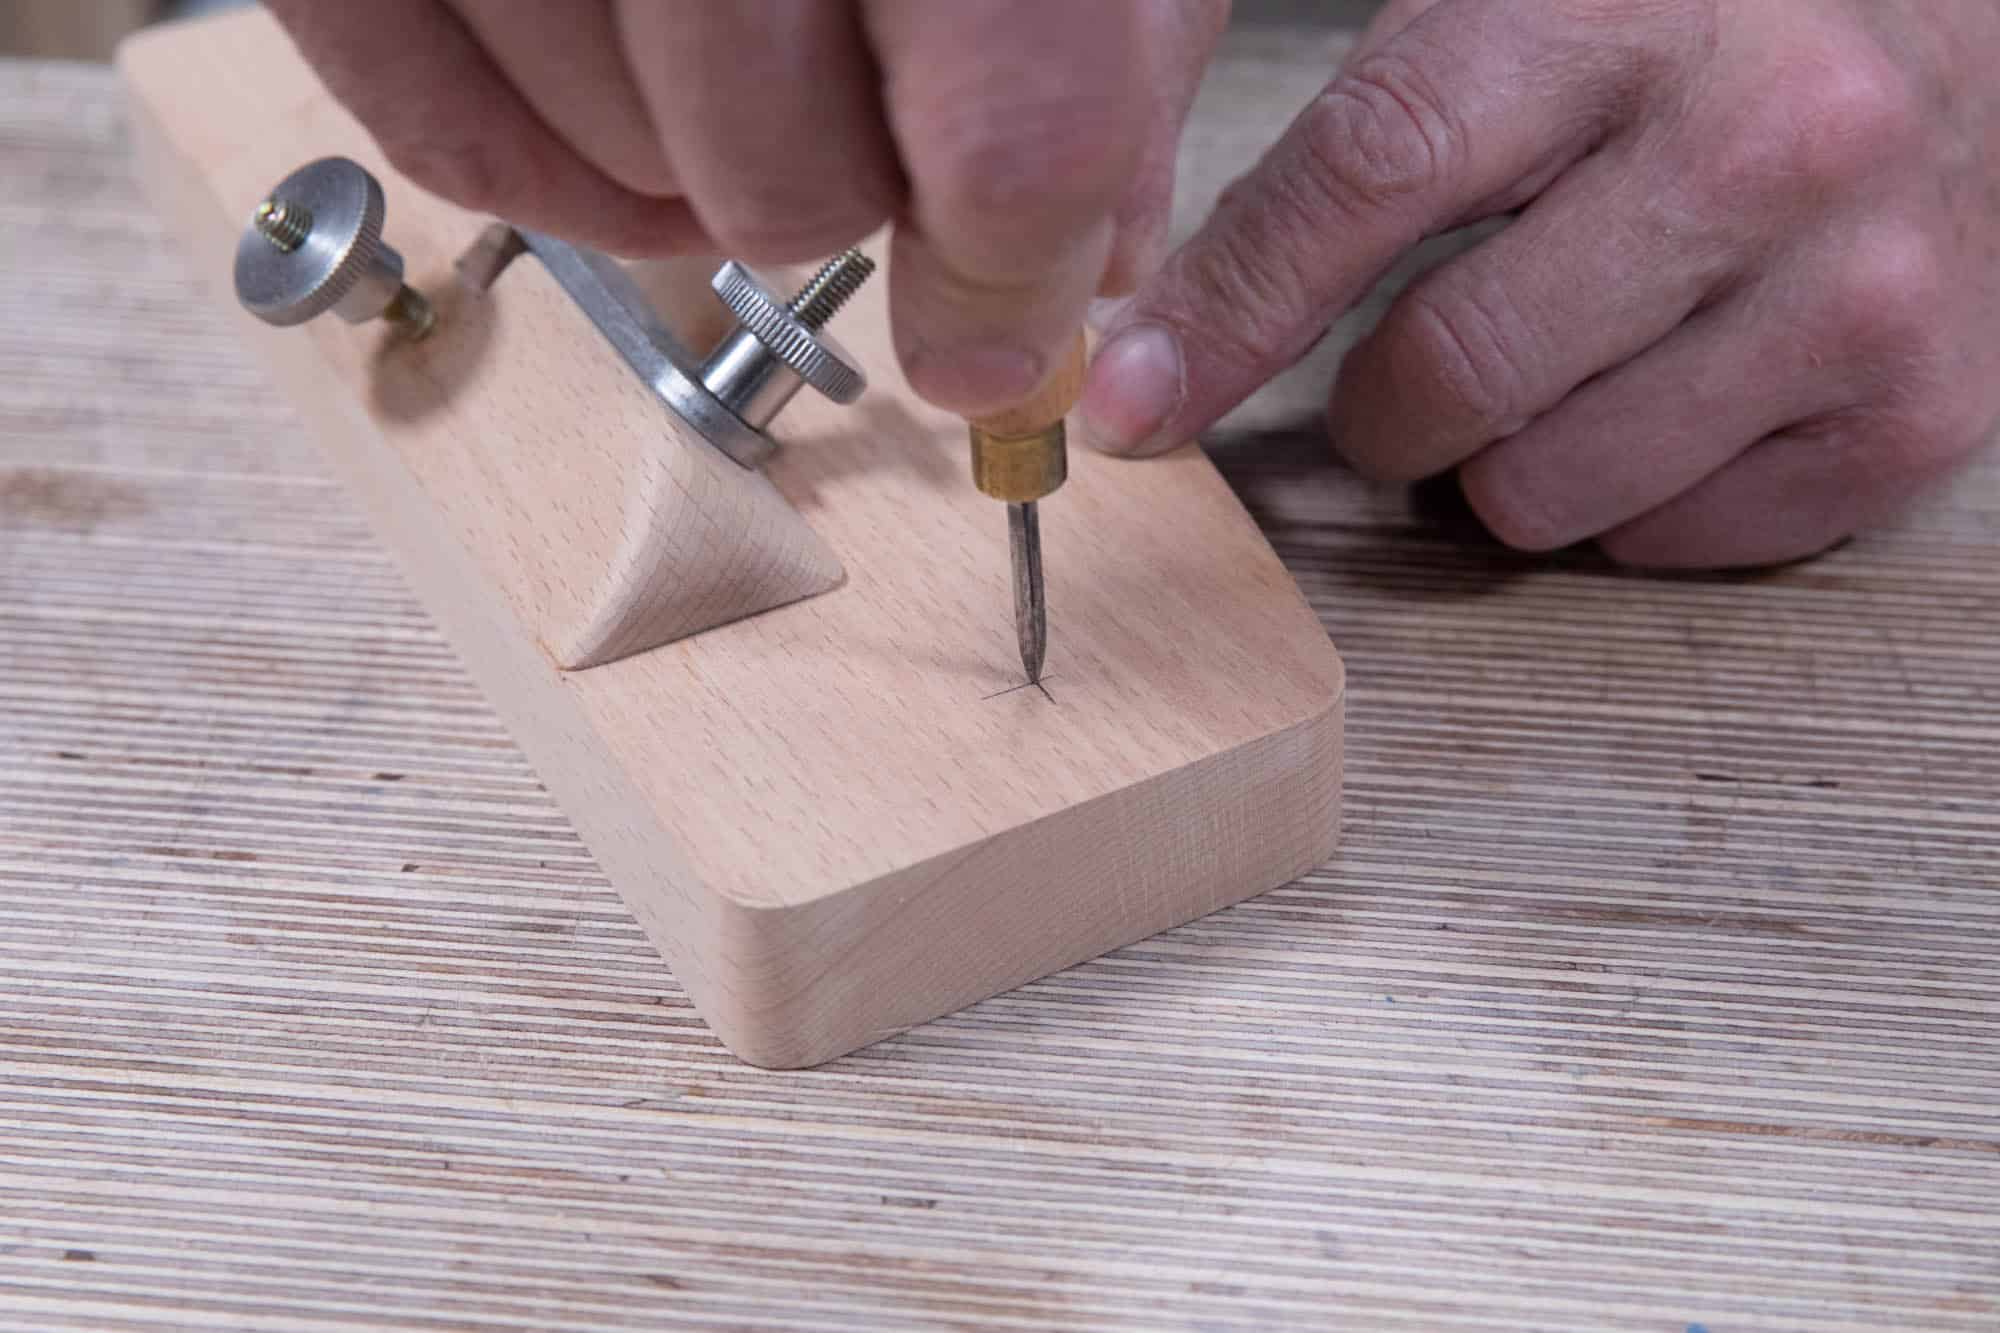
Use an awl to define the start point for the drillbit on each of the crosshairs where you will drill your holes.
Repeat on the back for the depth adjustment bolt.
Drilling the Pilot Holes
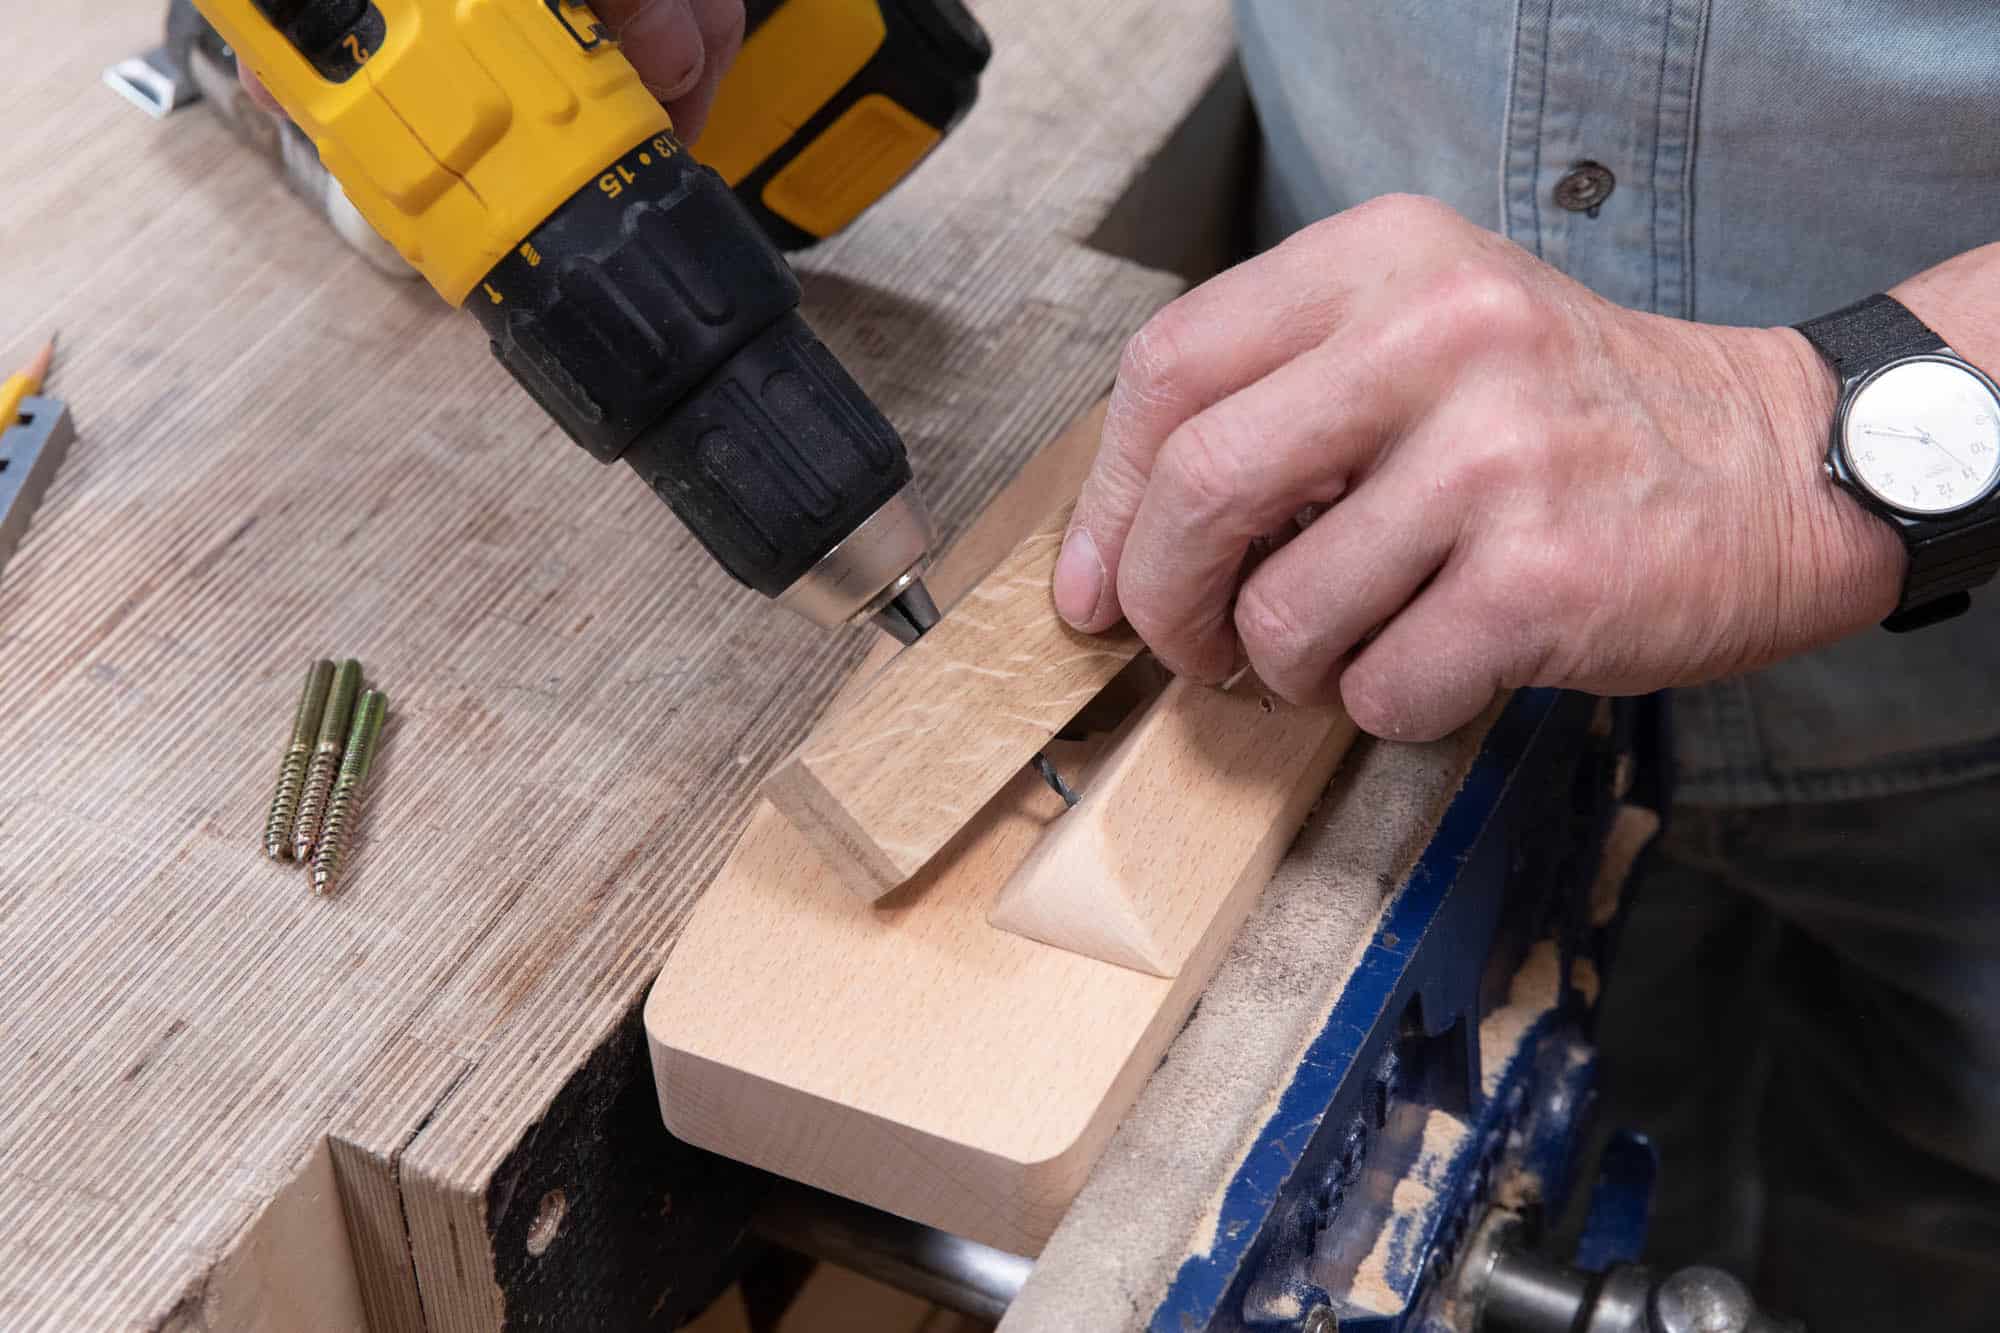
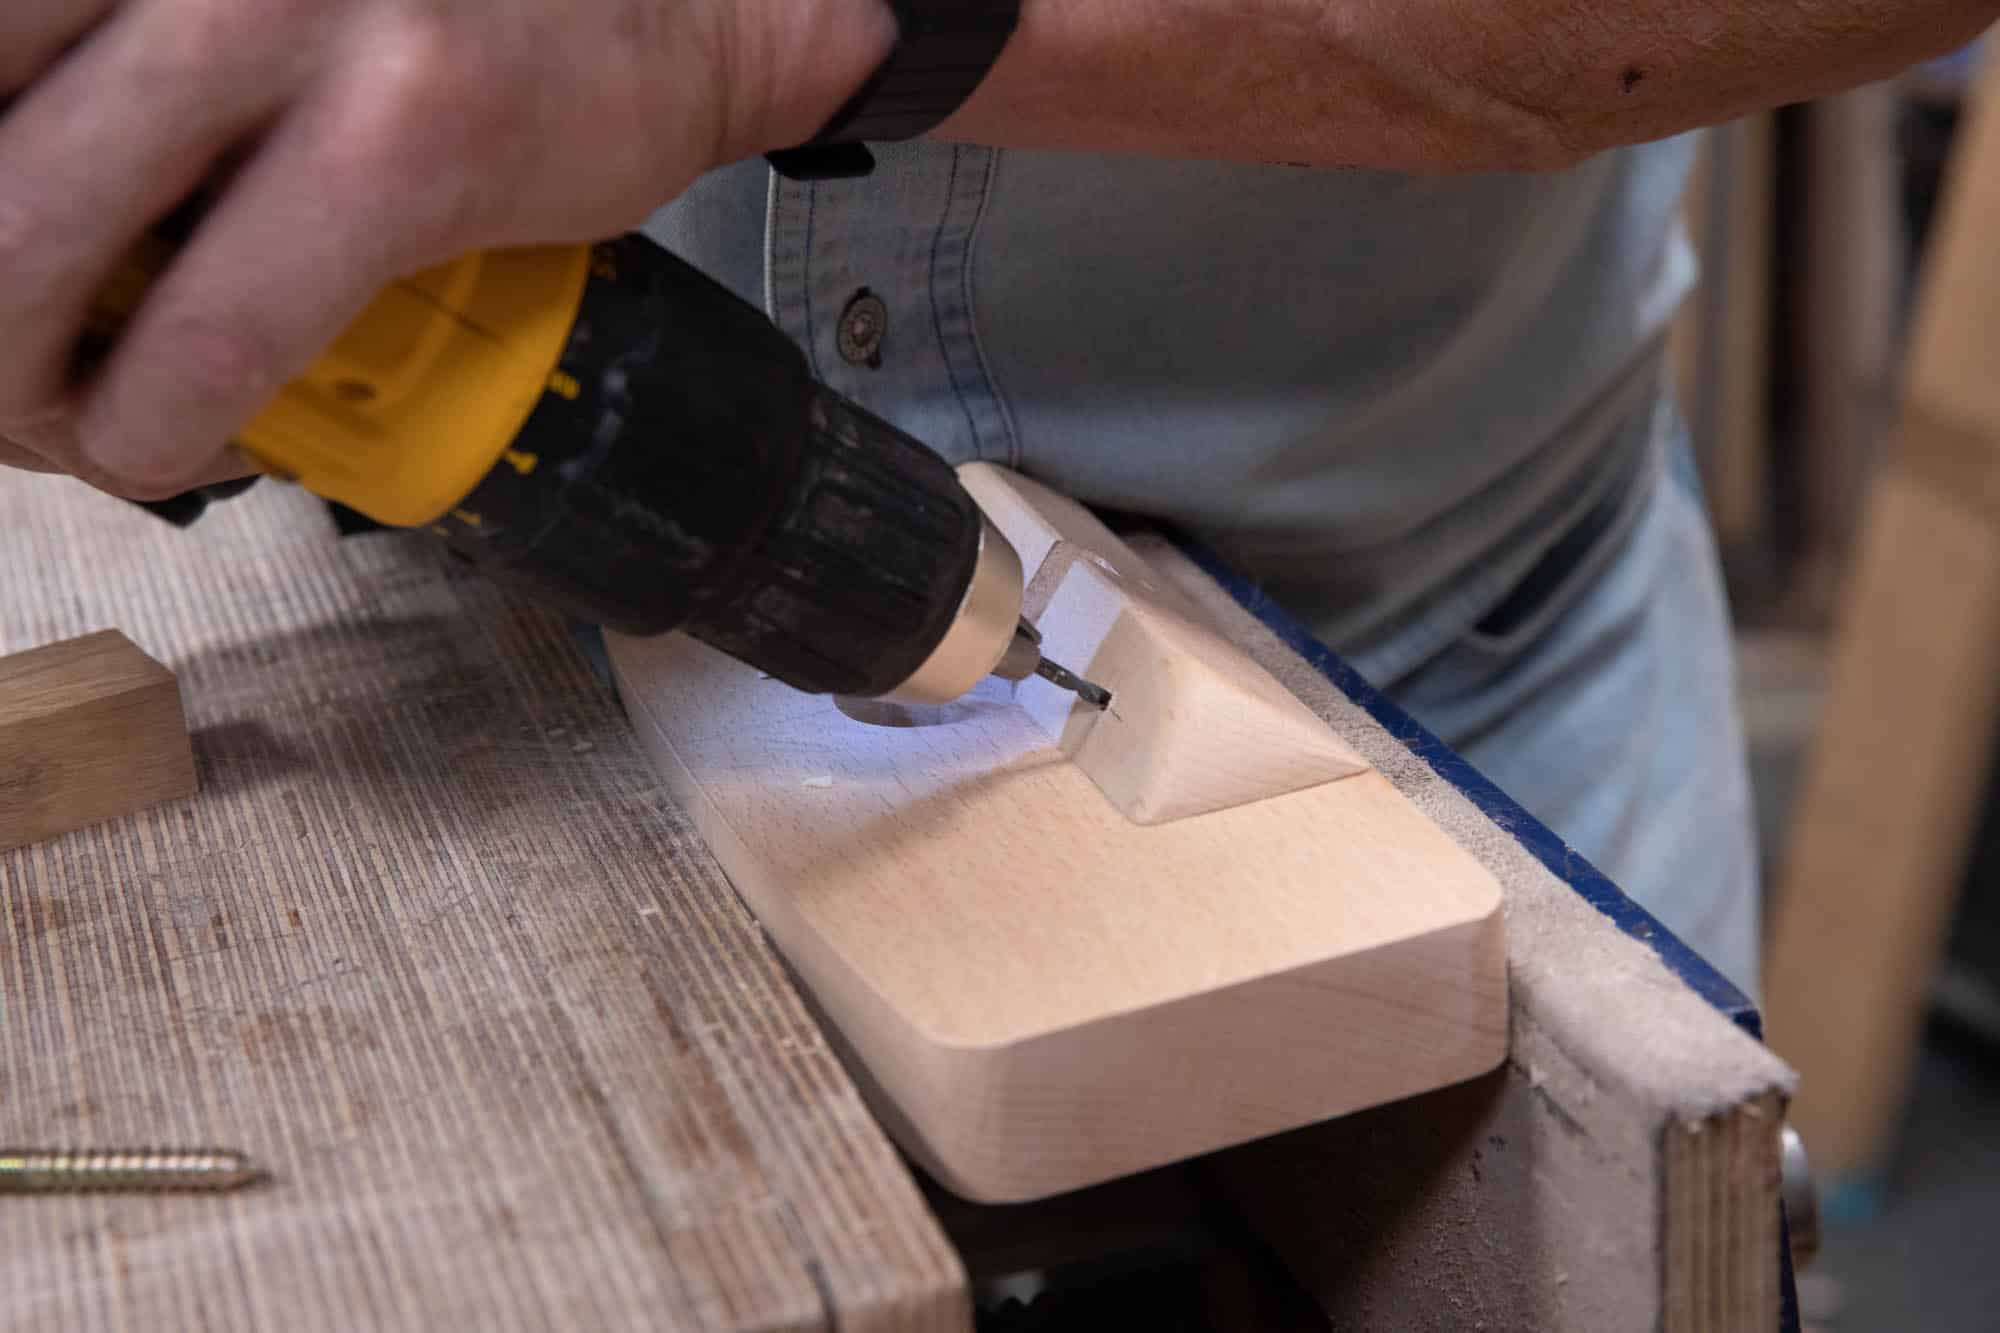
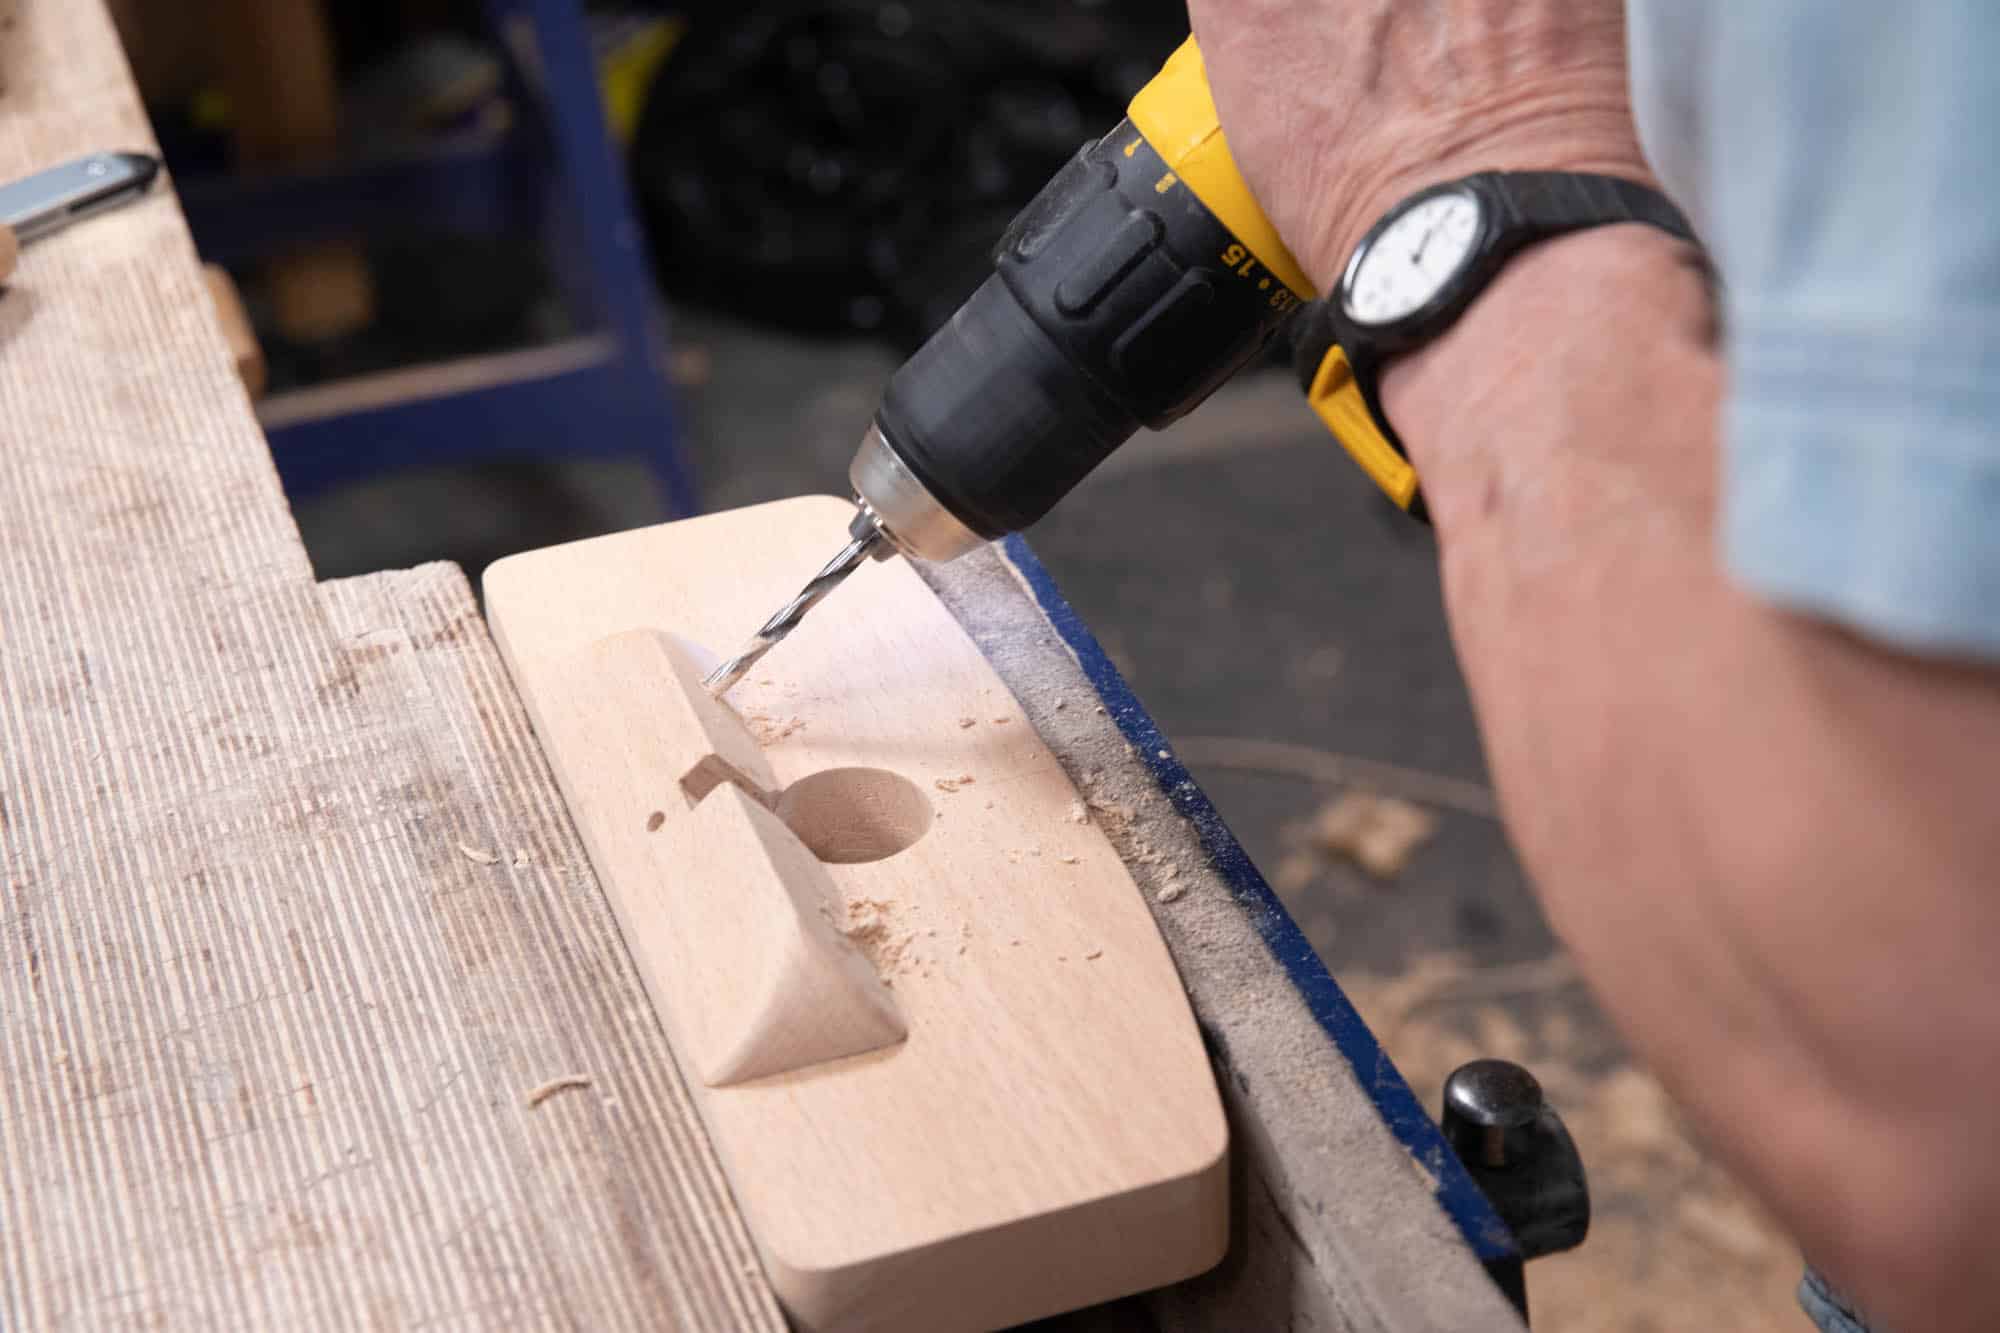
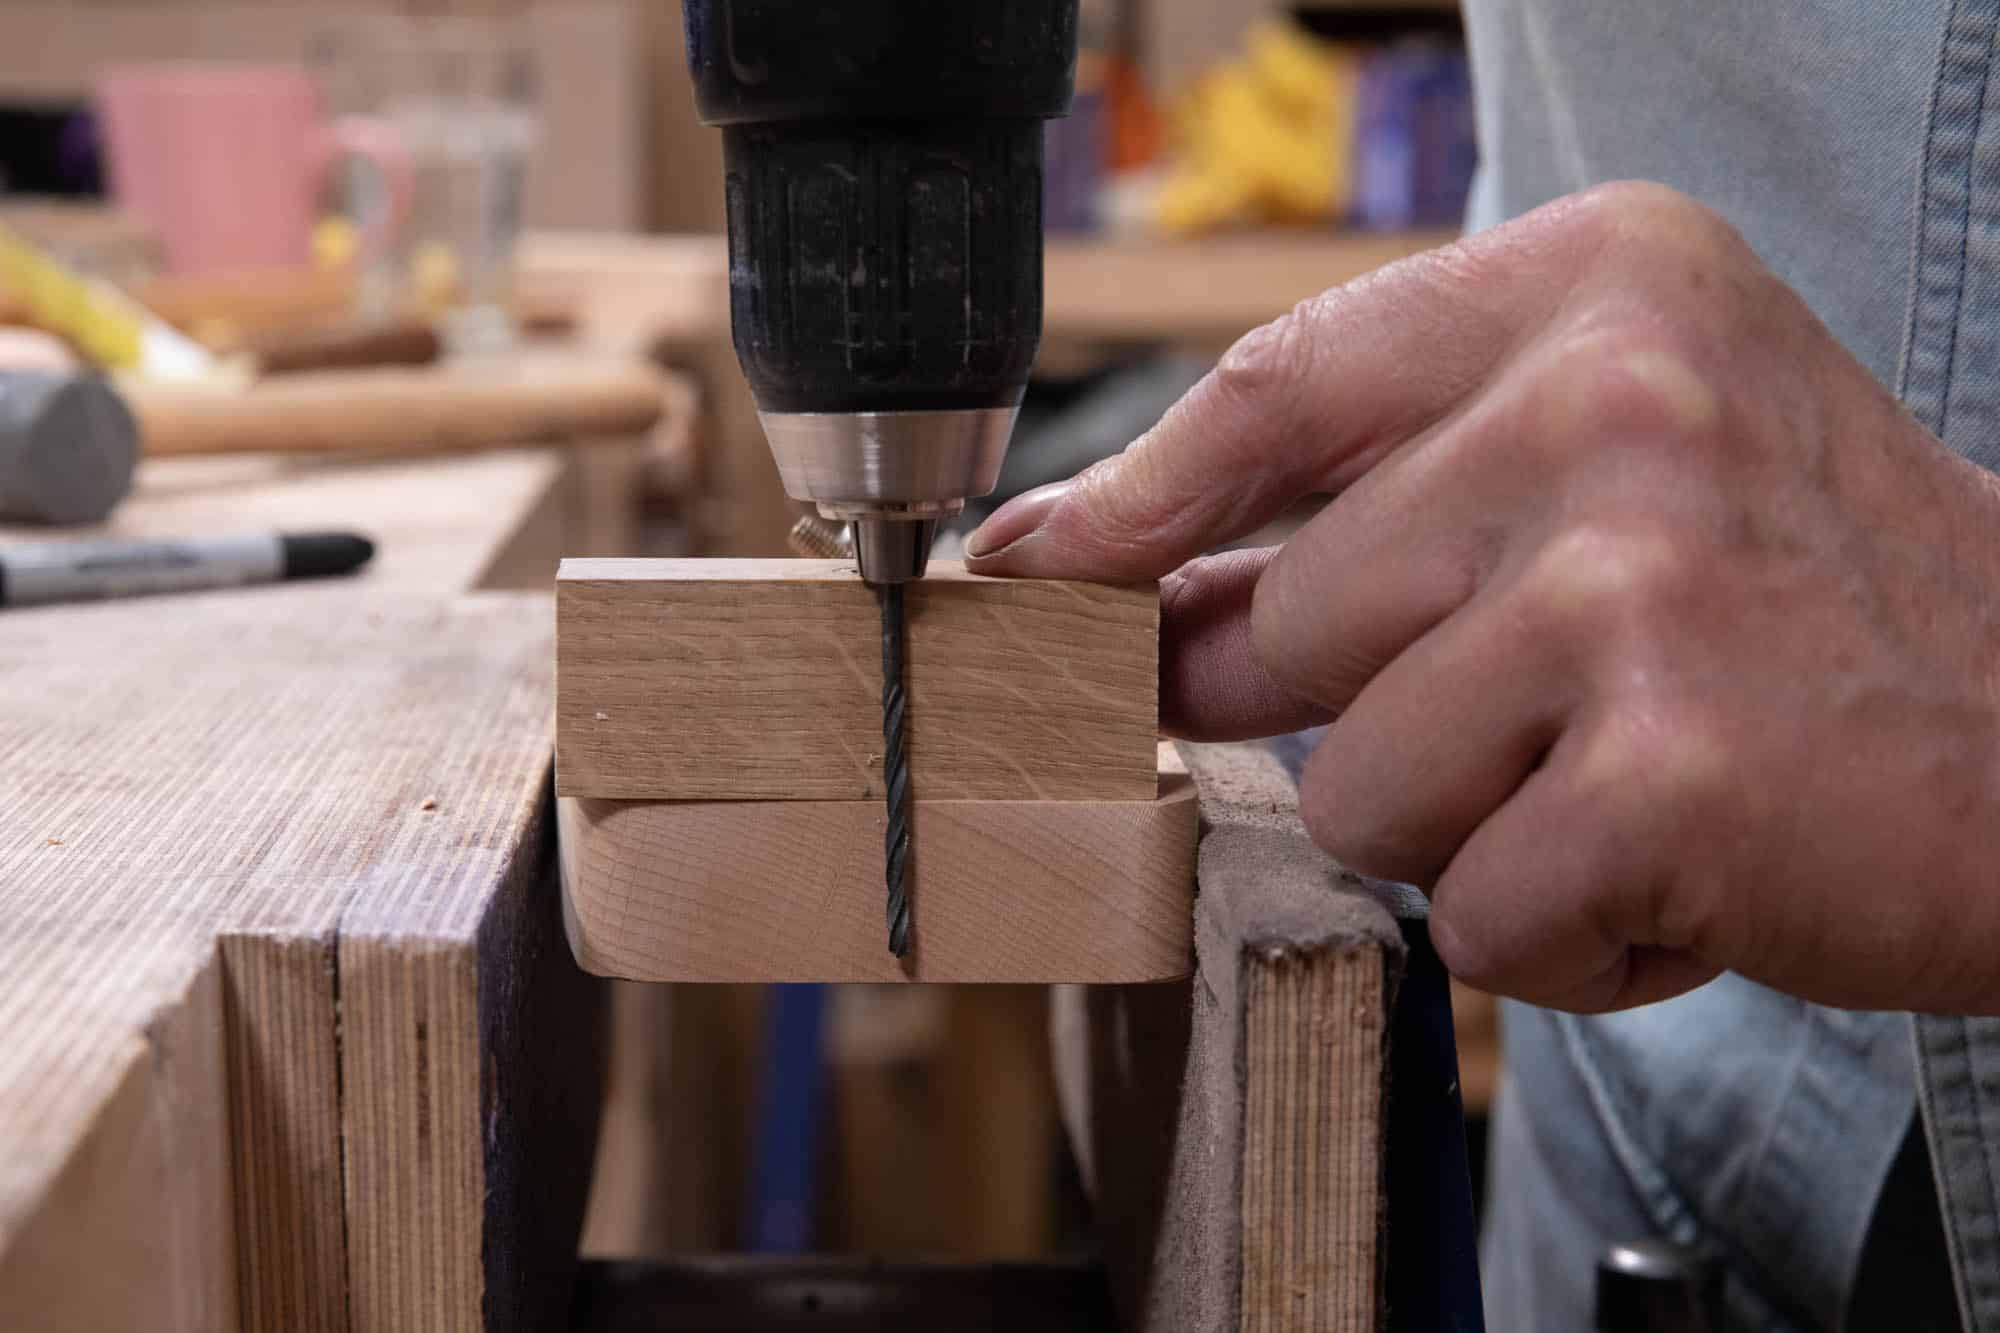
With a 1/8″ (3mm) twist drill, start the drill to make a shallow start but no more than about 1/16″ (~2mm) deep.

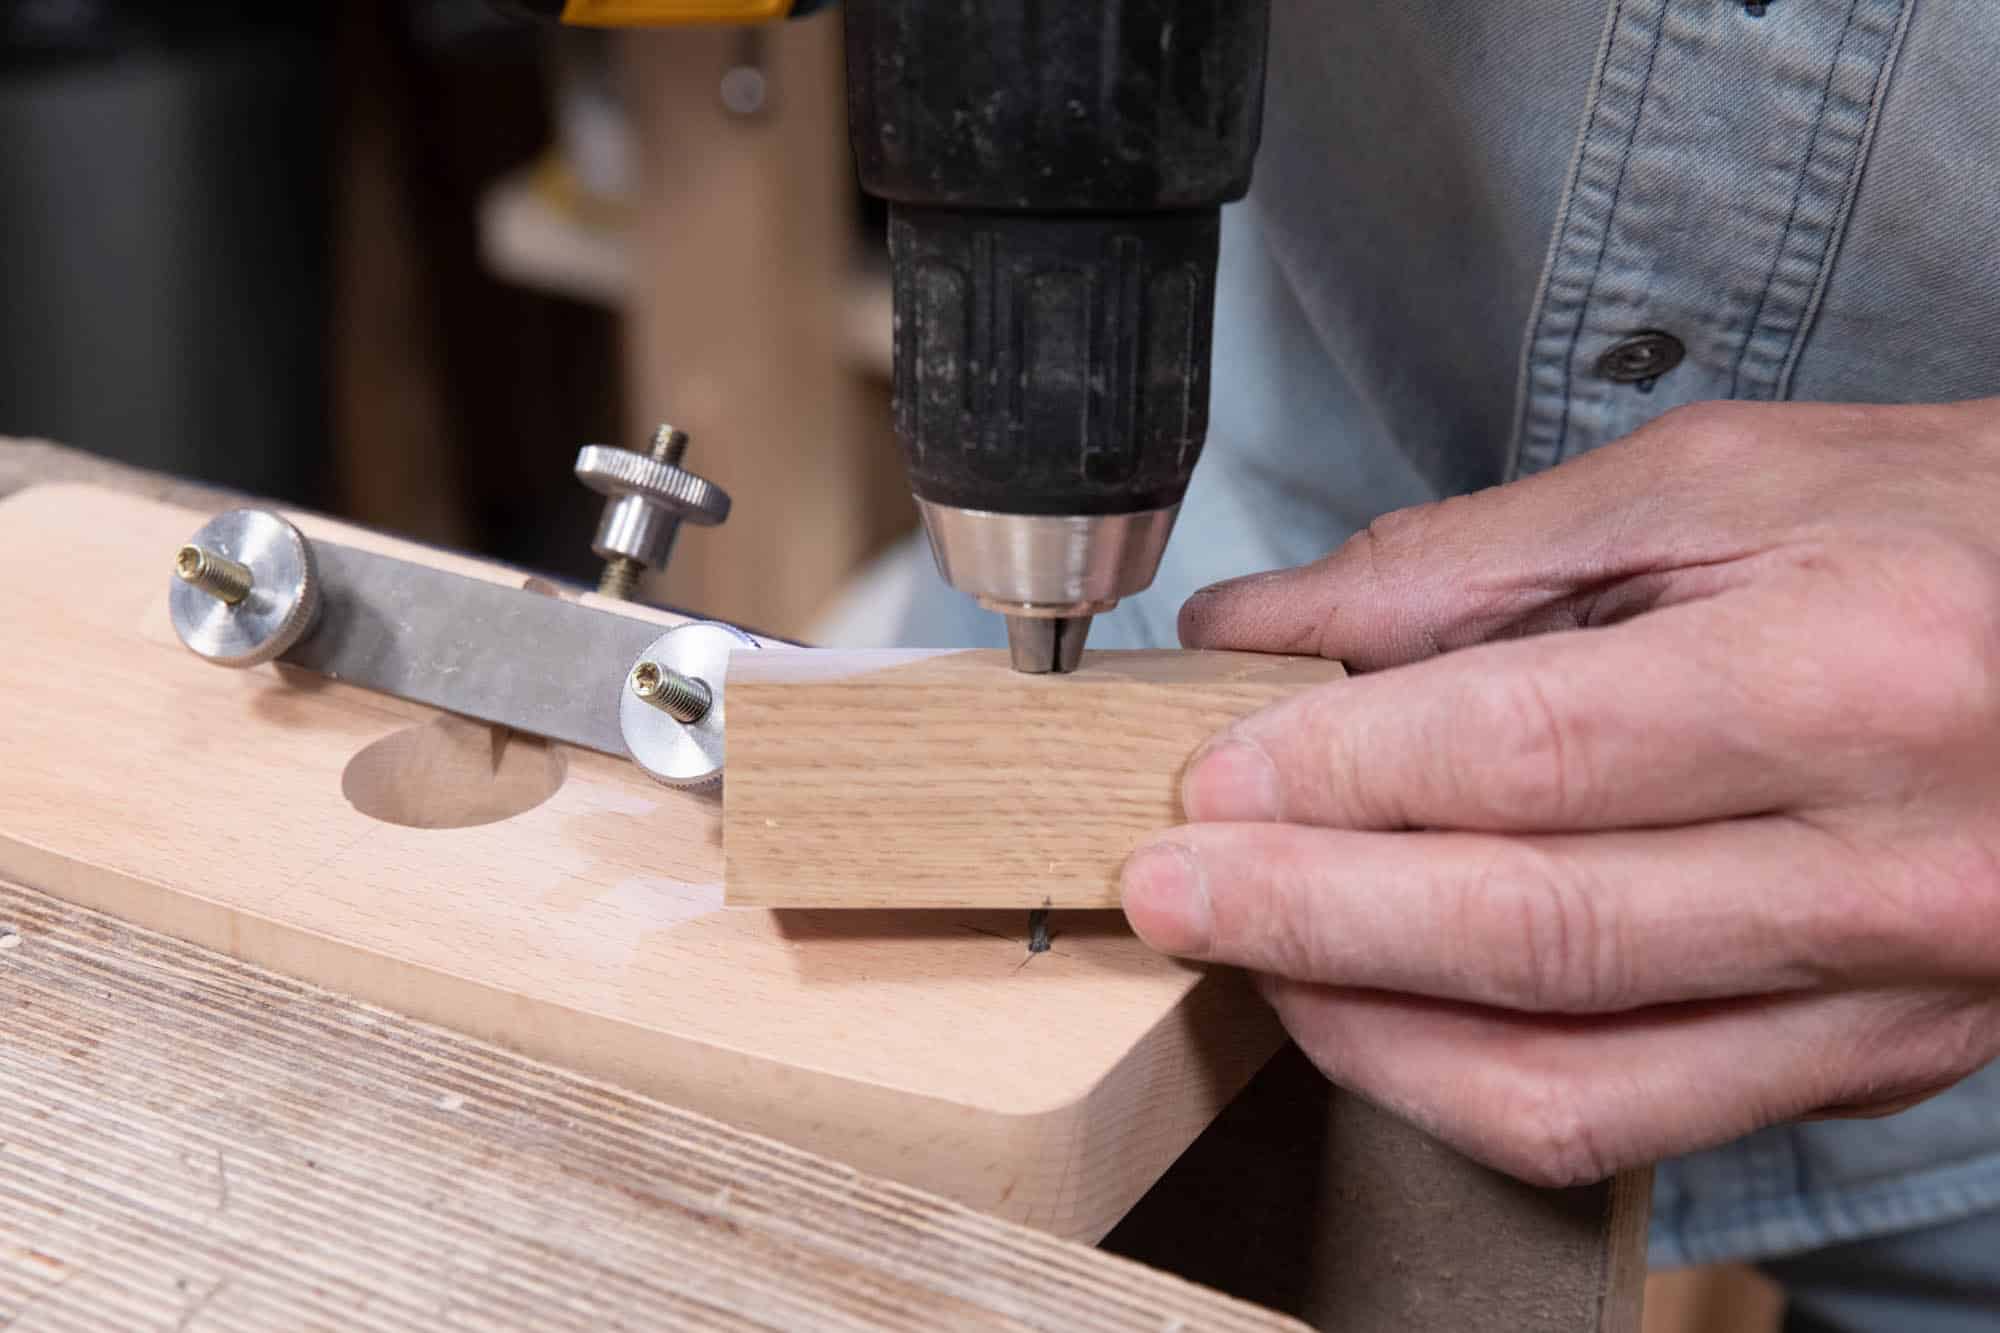
The drill bit guide guarantees that the holes you now drill as pilot holes will be perpendicular which is hard to do freehand.
Pass the twist drill into and through the guide and locate the tip of the drill into the hole you started.
Press the guide firmly against the face of the upstand and drill into it.
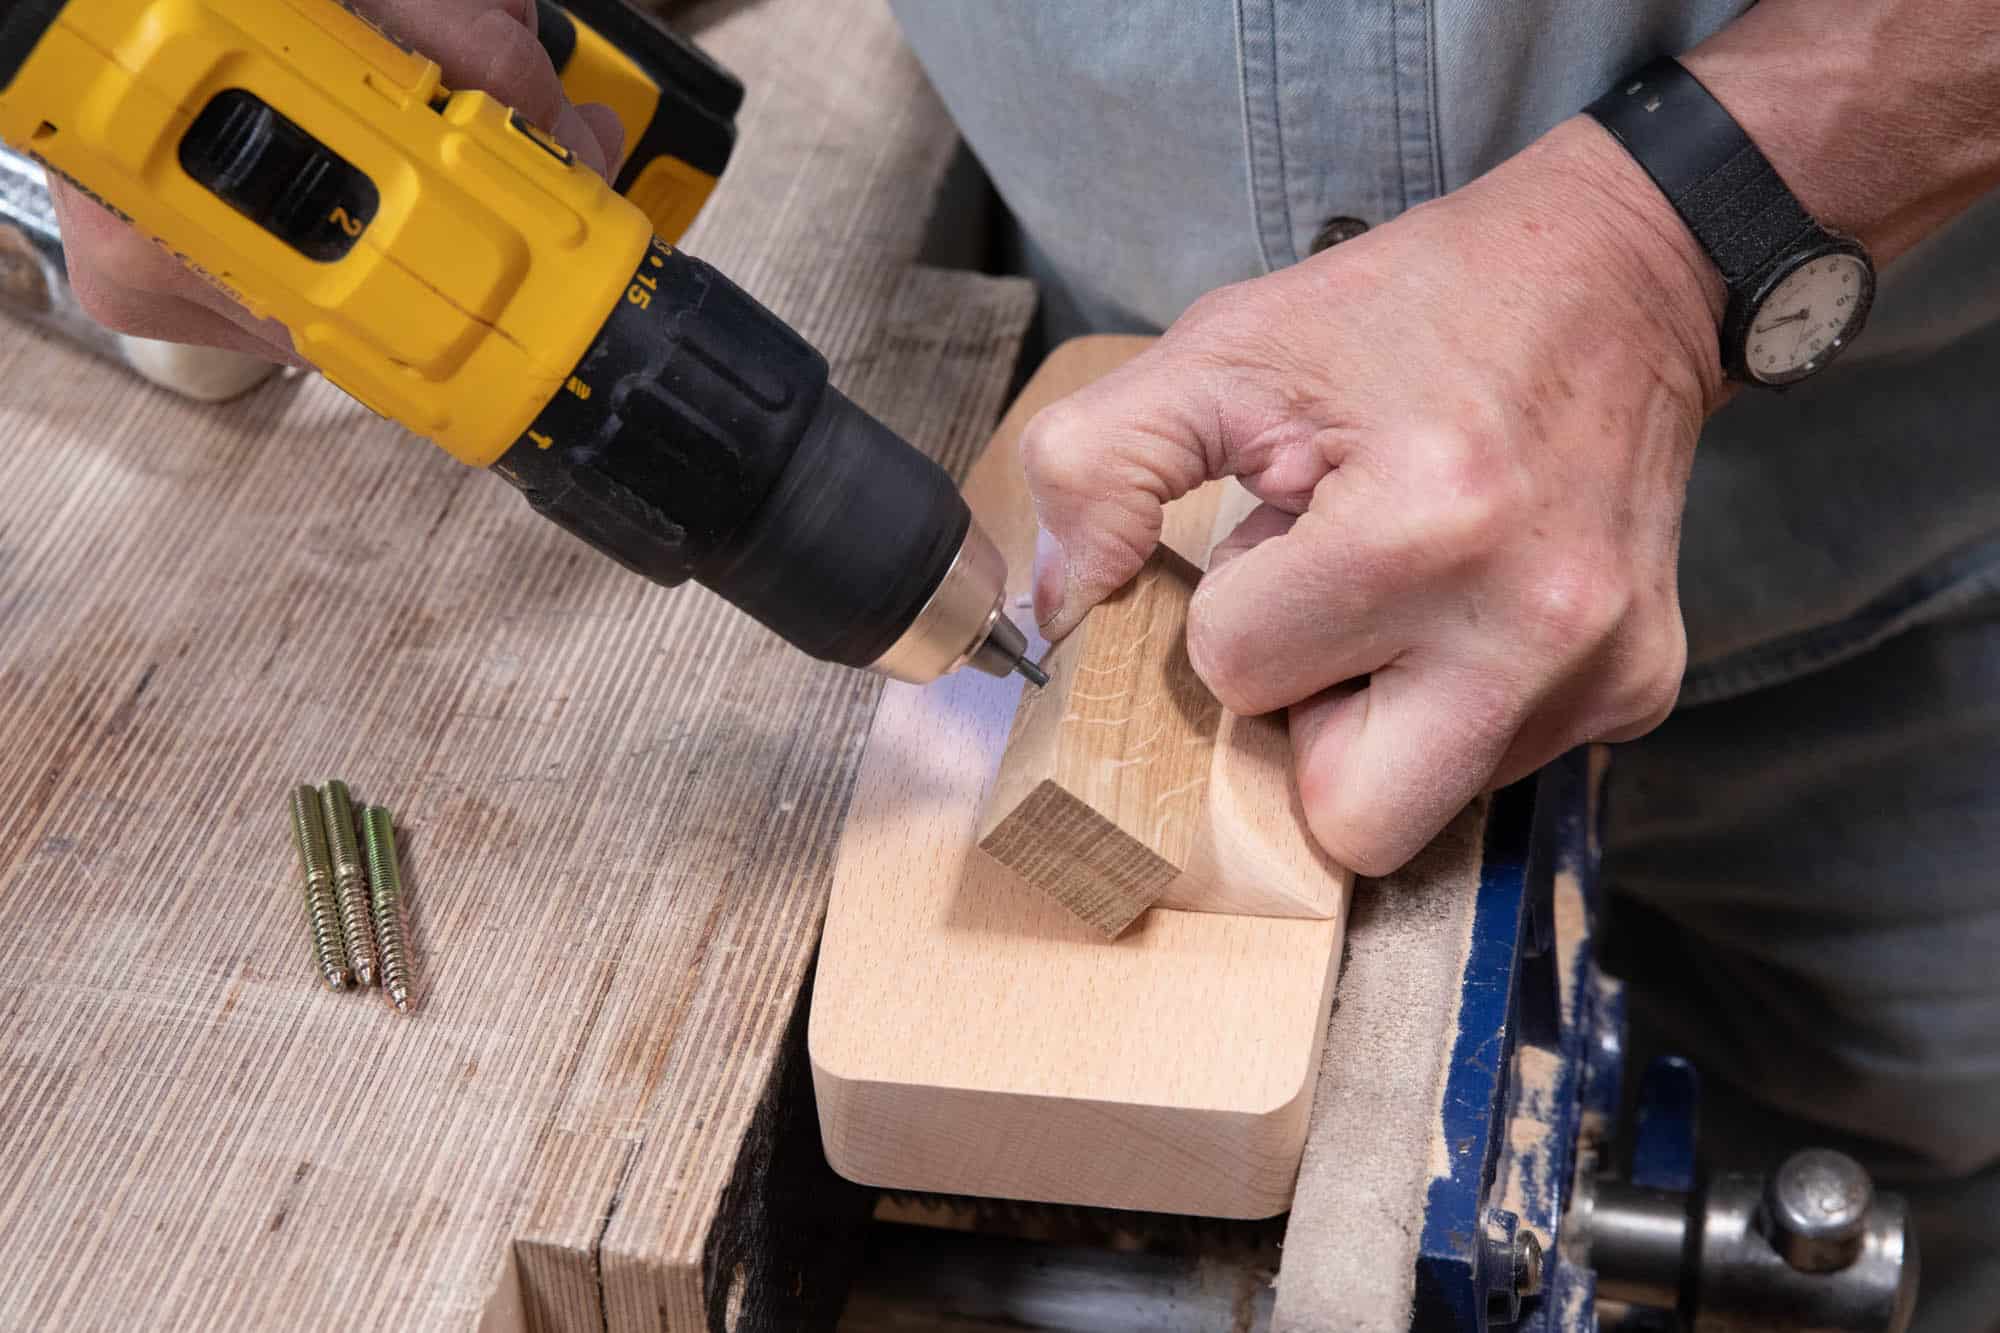
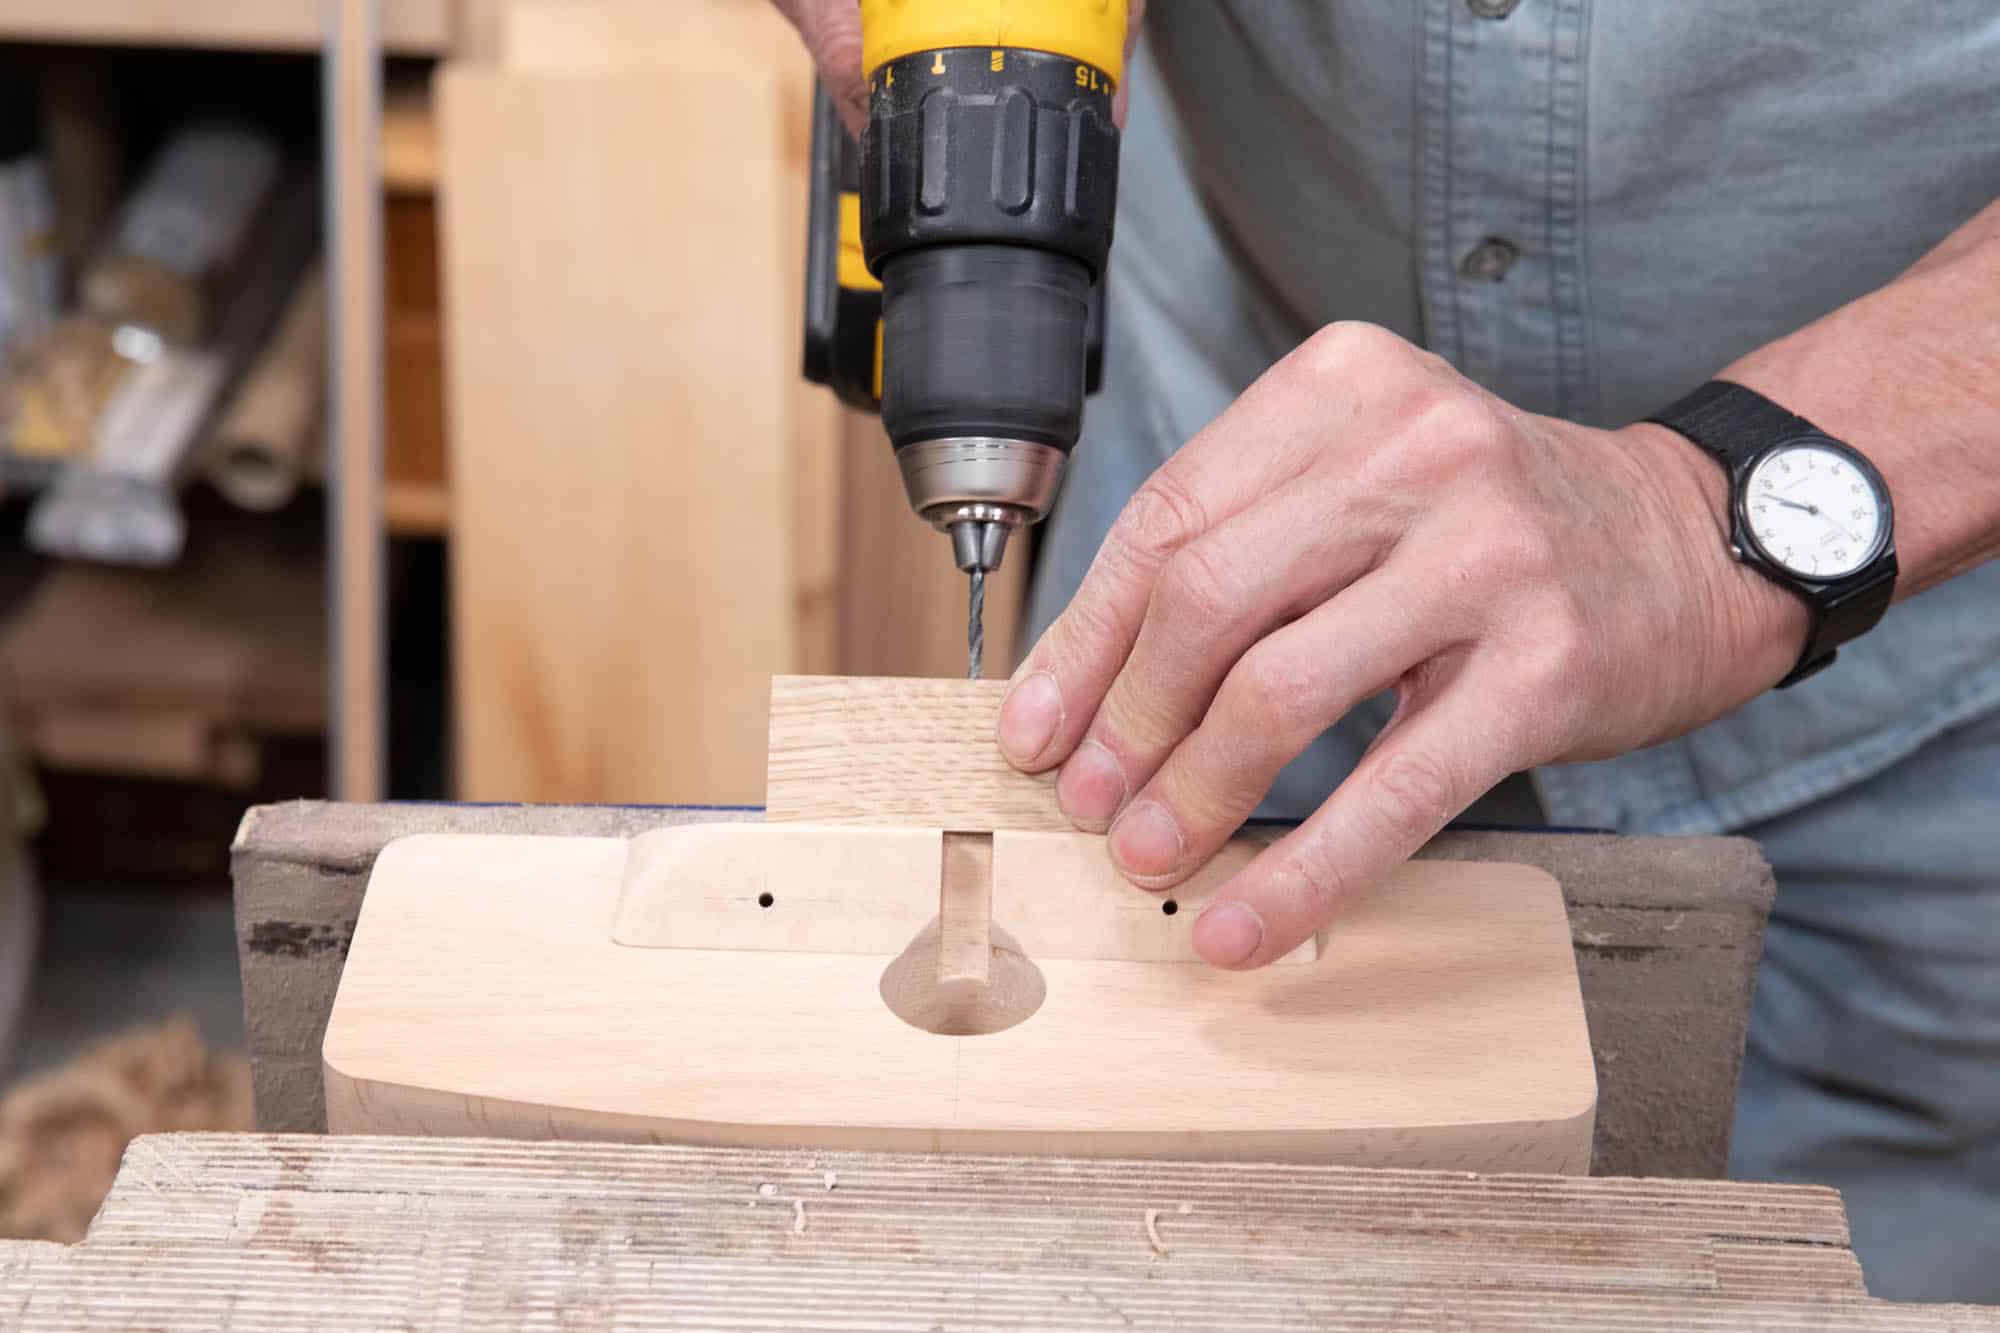
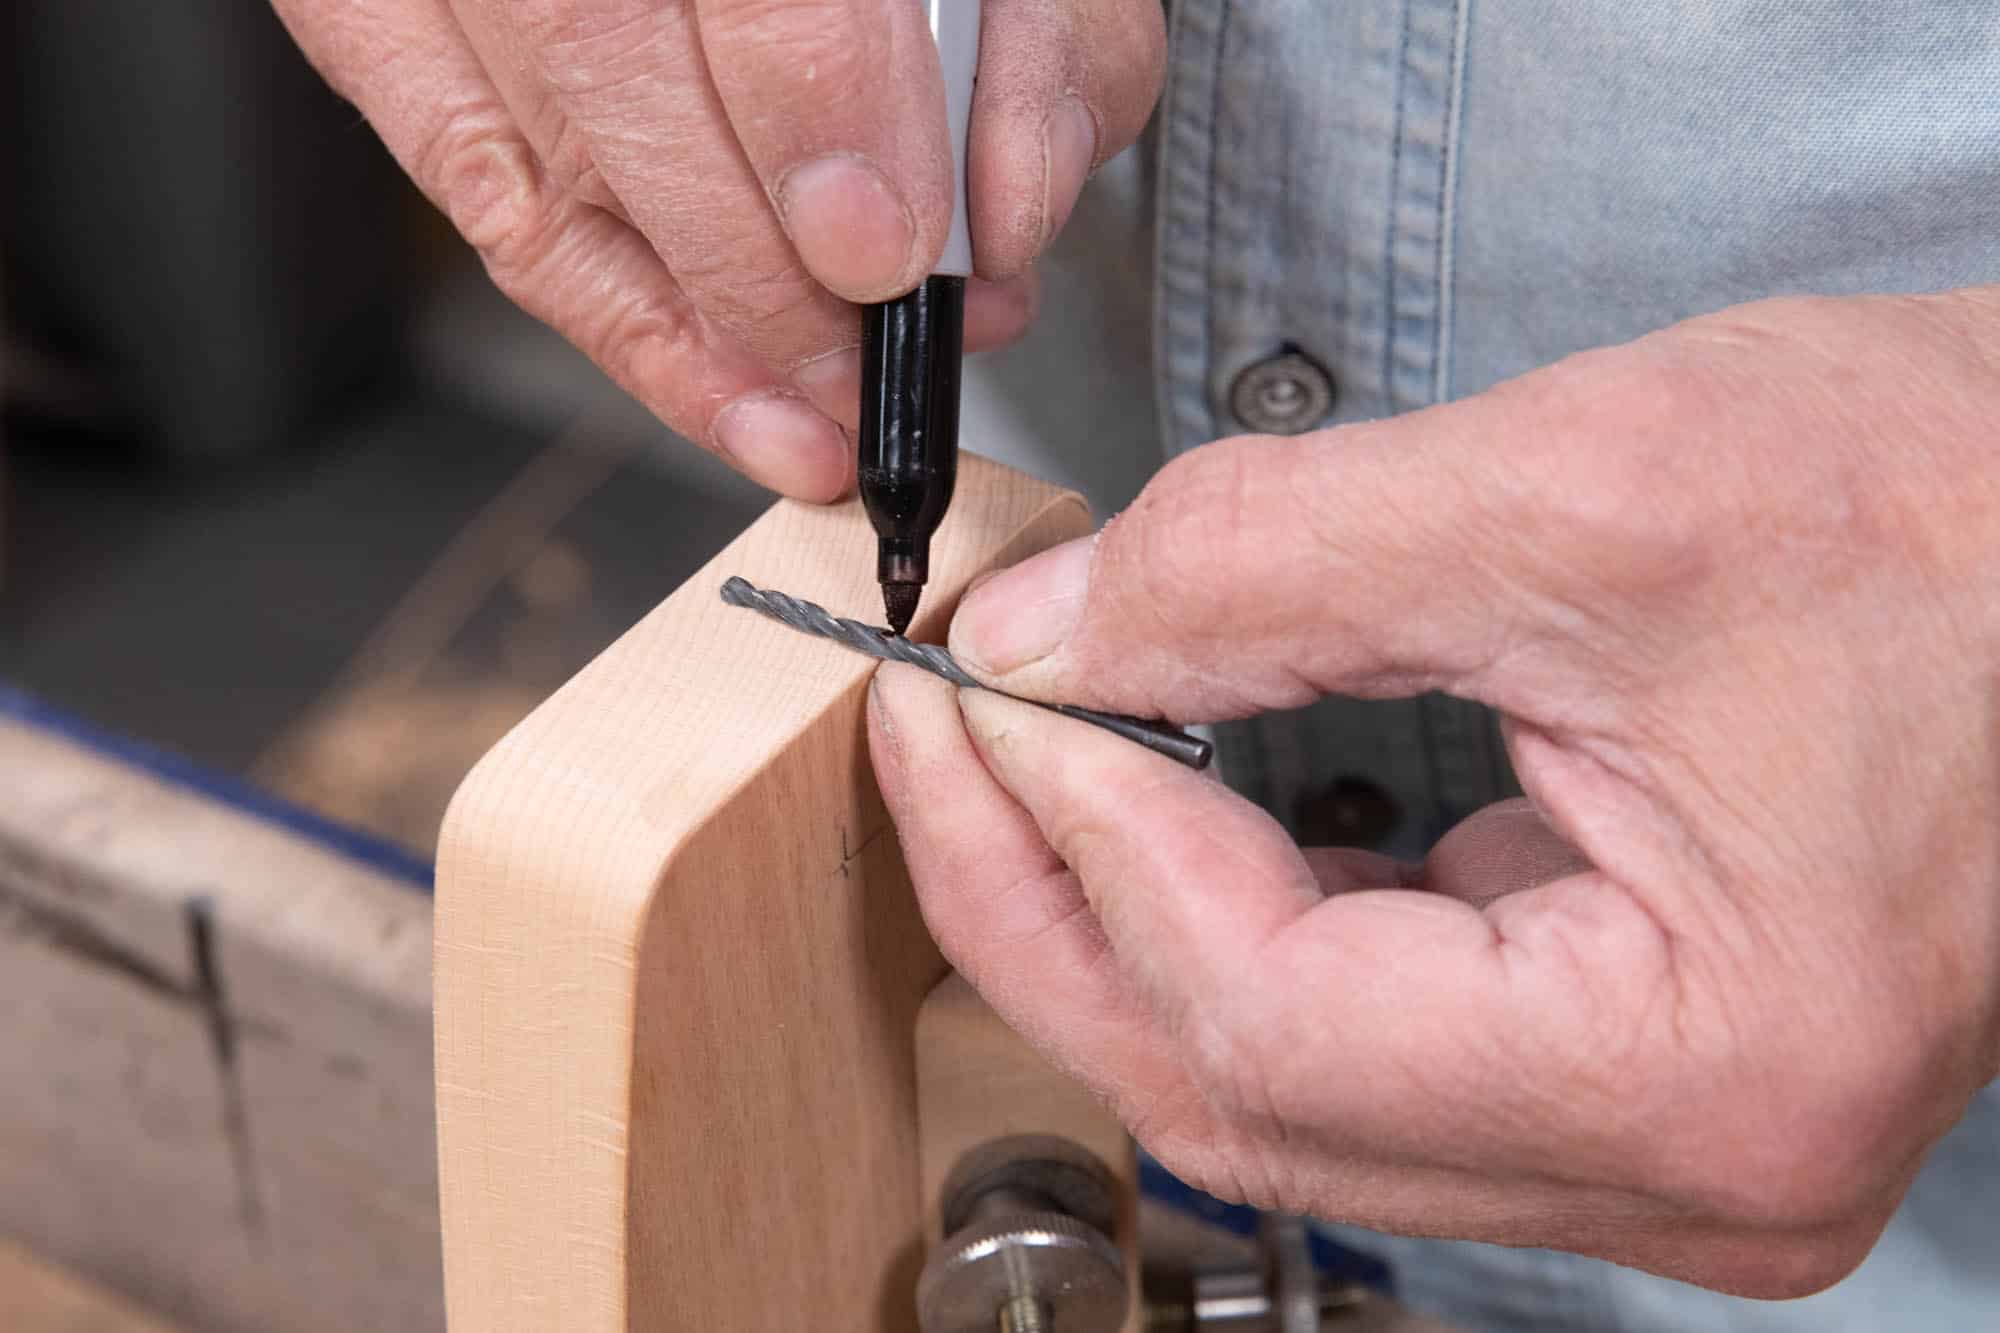
Your pilot hole needs to be deeper than the guide will allow; use a marker to mark the length of the screw thread onto the 1/8″ (3mm) drill bit. This will tell you where to stop as you drill without the guide.
Drill down to depth taking care not to allow the drill to pull you deeper than the mark.
The rest of the holes are drilled the same way using the drill guide. For the hole on the back, be especially careful to keep the guide flat against the surface as you drill your pilot hole.
Enlarging the Holes
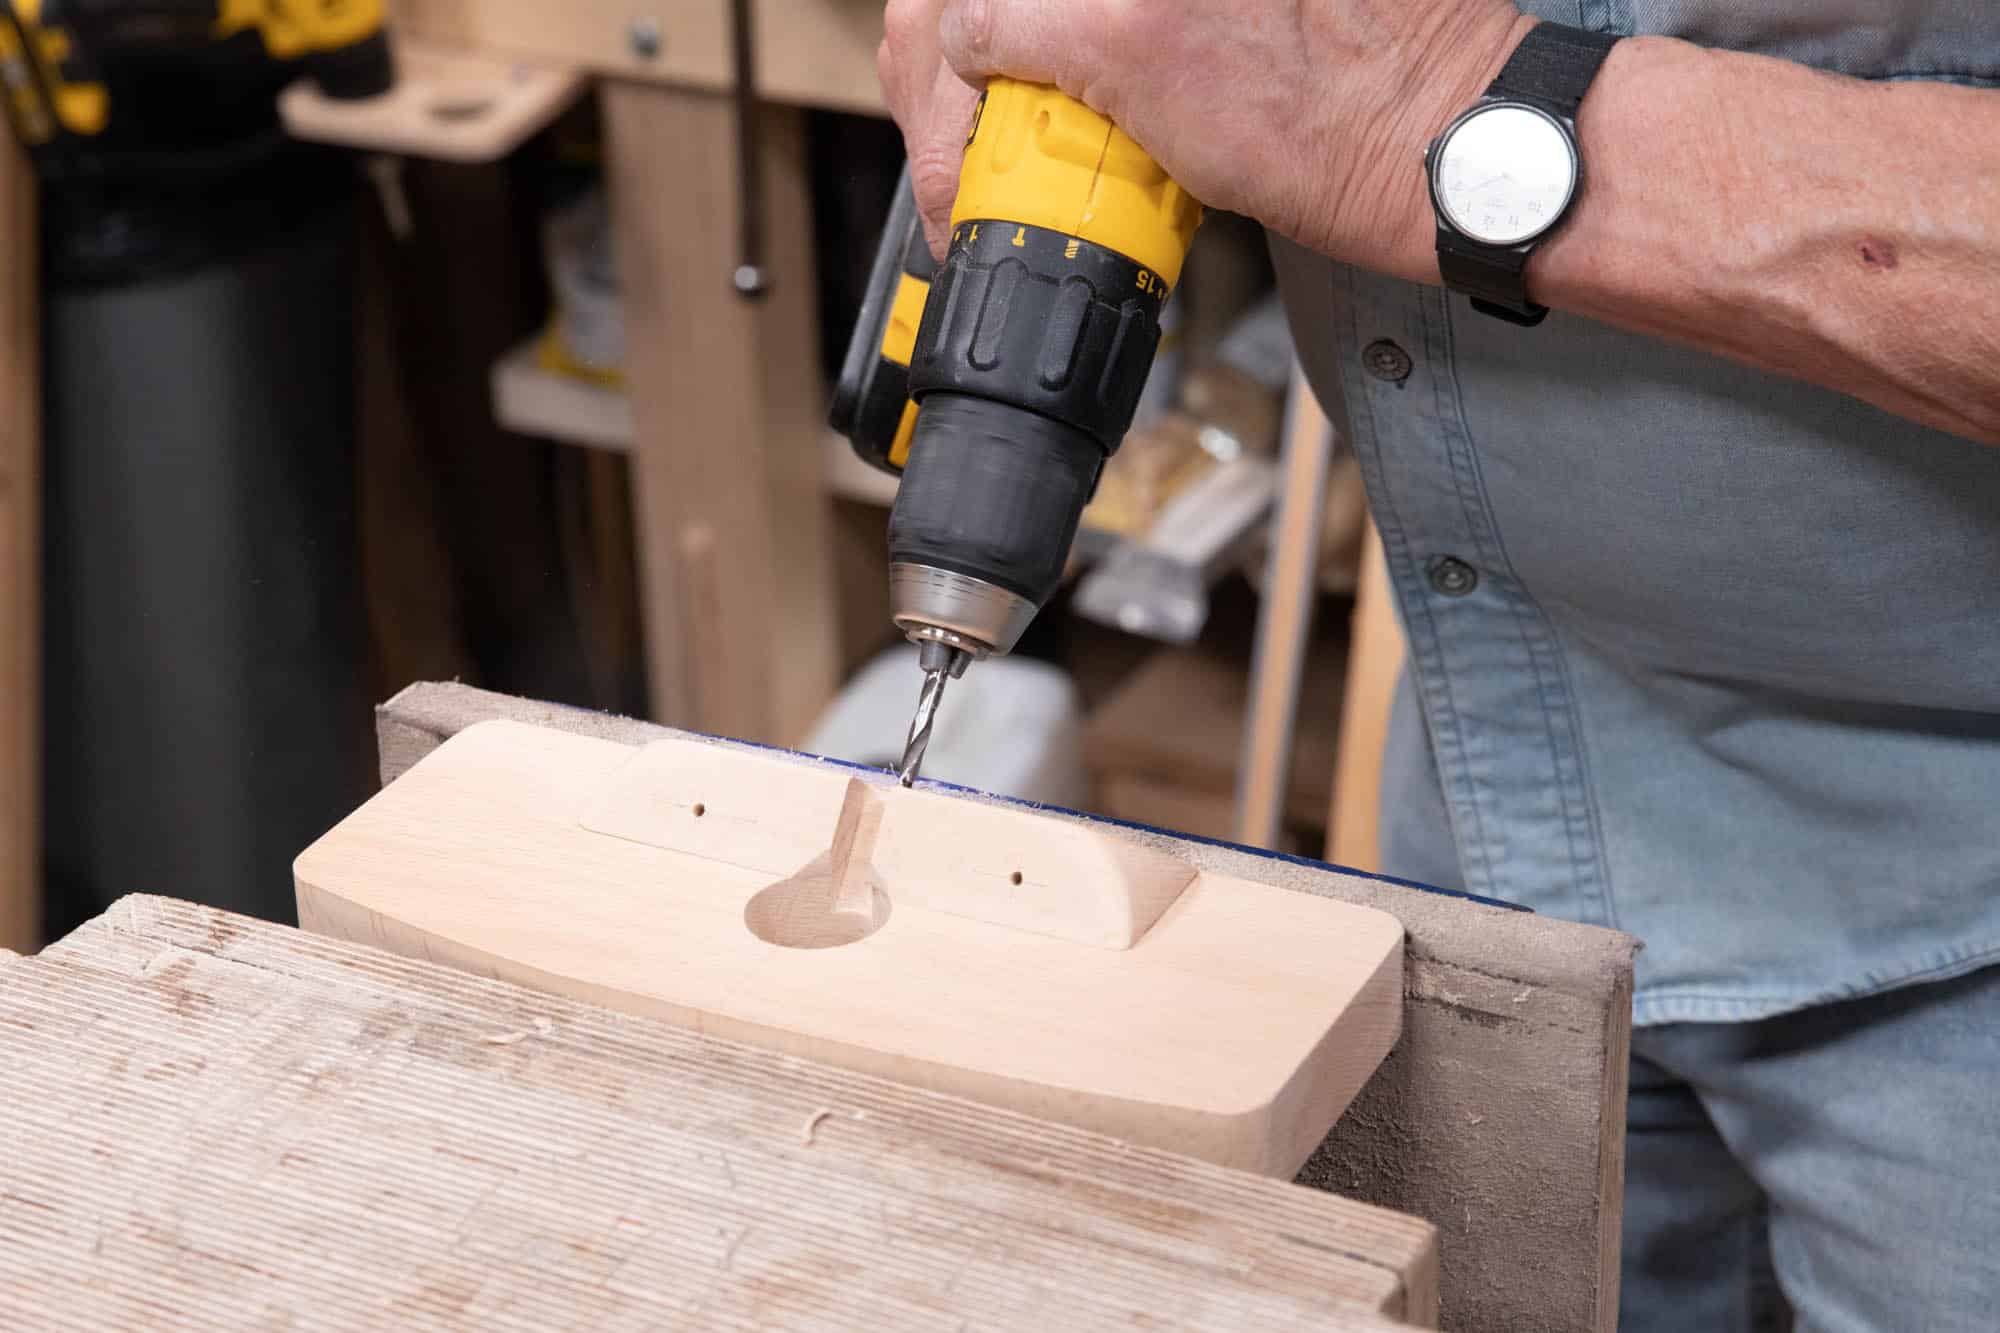
The holes we just made are pilot holes; they need enlarging to take the main body of the hanger bolts but enough wood is left to tap the walls of the holes with the actual thread of the screw of the hanger bolts. We will use a 3/16″ (4.5mm) bit for this. We will also mark the bit, again using the screw thread, to ensure that we don’t go too deep and come through the sole of the plane.
Drill the 3/16″ (4.5mm) hole for the adjustment mechanism carefully, following the pilot hole and making sure you do not go beyond the depth mark you made on your drill bit.
Inserting the Hanger Bolts
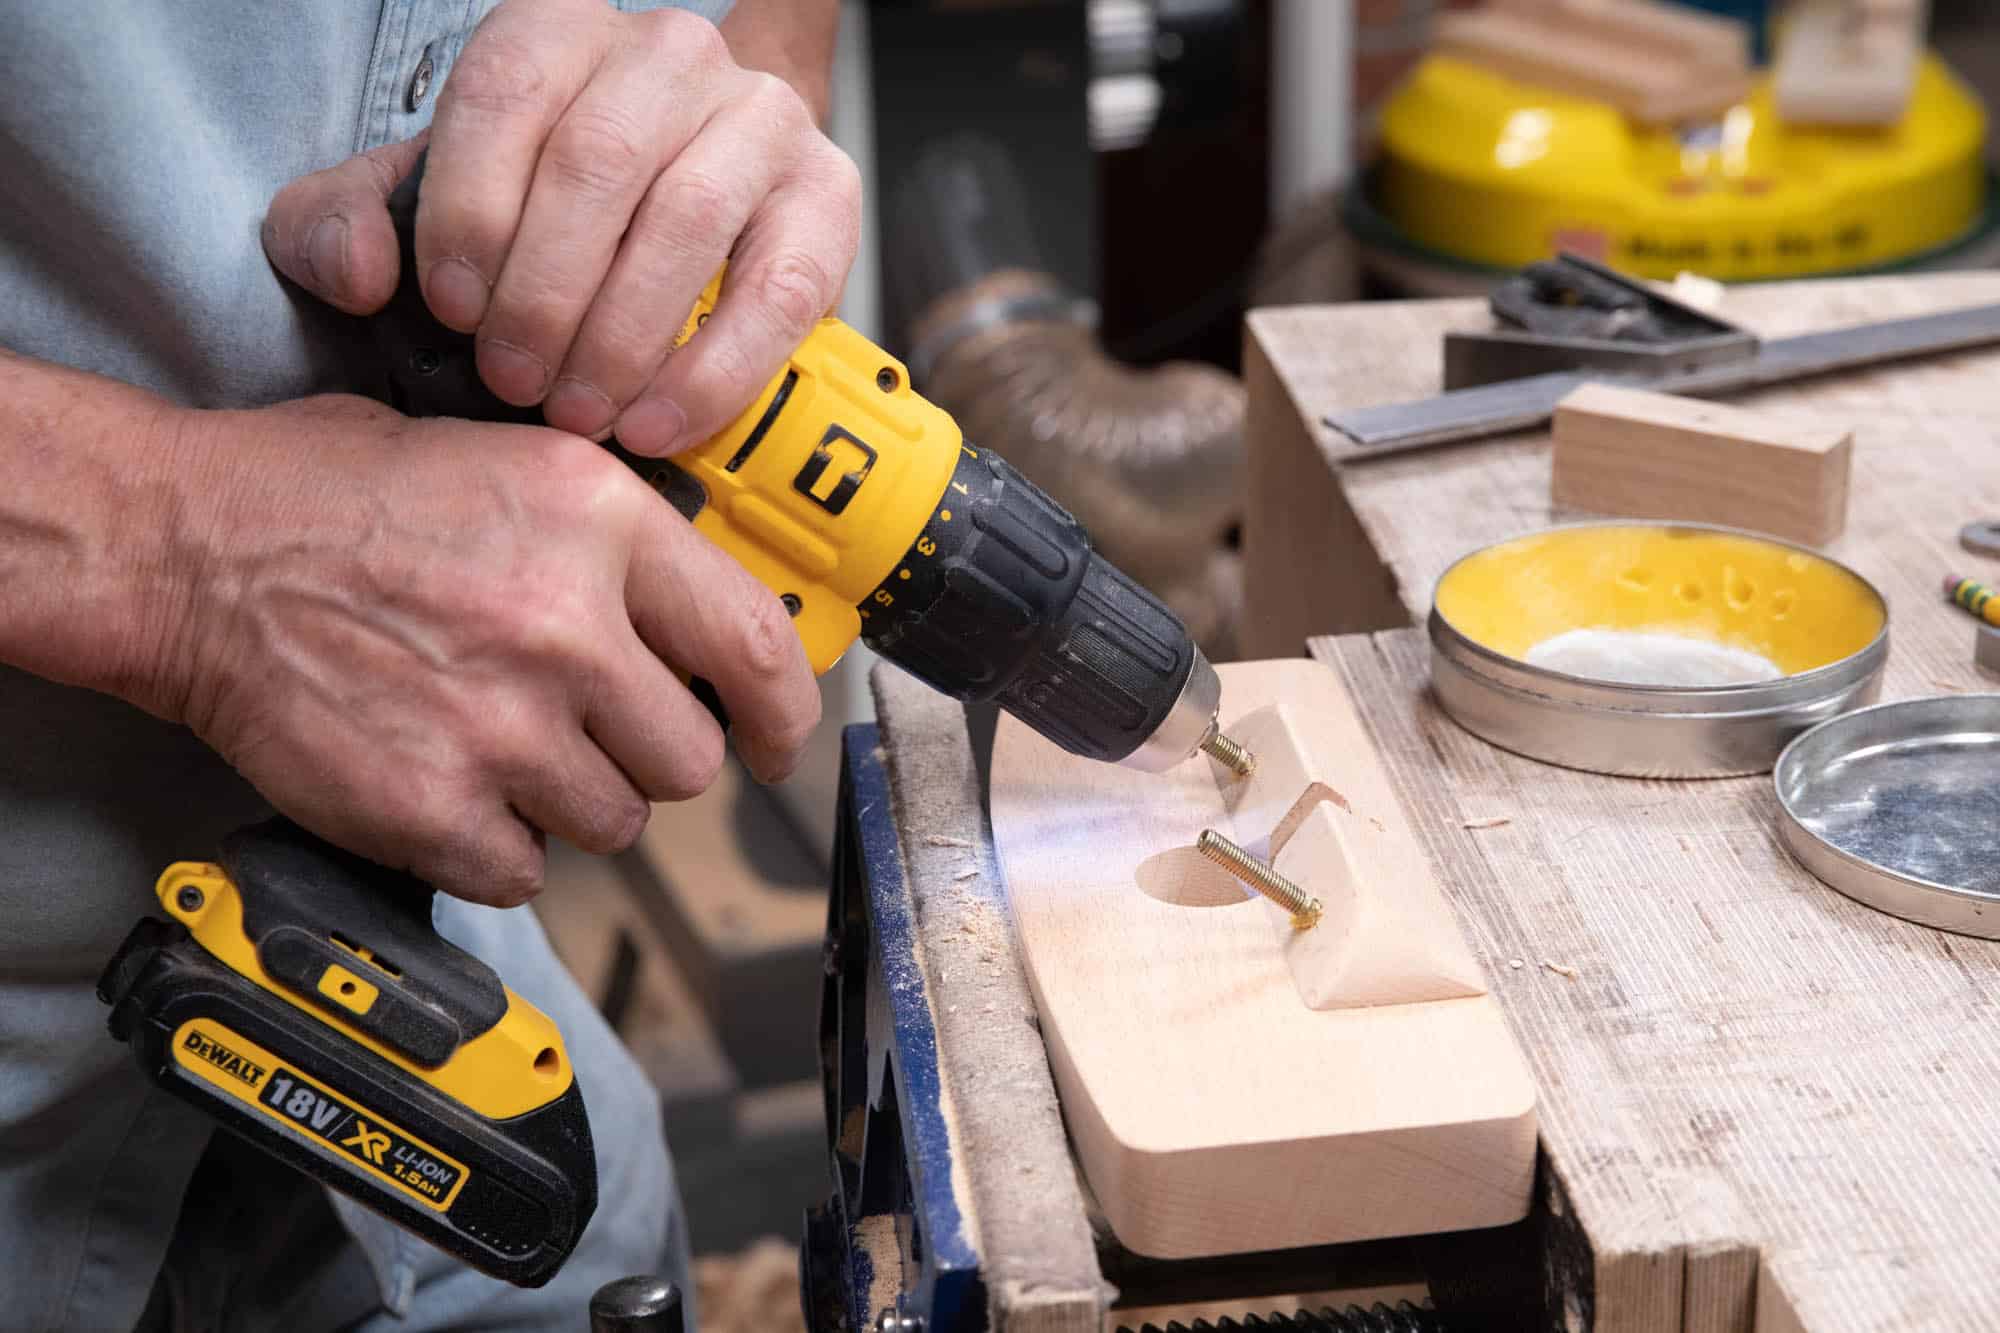
When inserting the hanger bolts I have had the greatest success chucking the hanger bolts into the chuck of my drill driver. This gives me steady control with the power at a slow speed. You must be careful to tighten the hanger bolt securely yet not cause damage to the machine threads.
Note
We do not recommend that you drive the hanger bolts using the connector nuts, used to attach the handles, as doing so can damage the end of the machine thread. In case of the hanger bolts used for the adjusters this would compromise the smooth movement of the thumb nuts or even prevent them from fitting altogether.
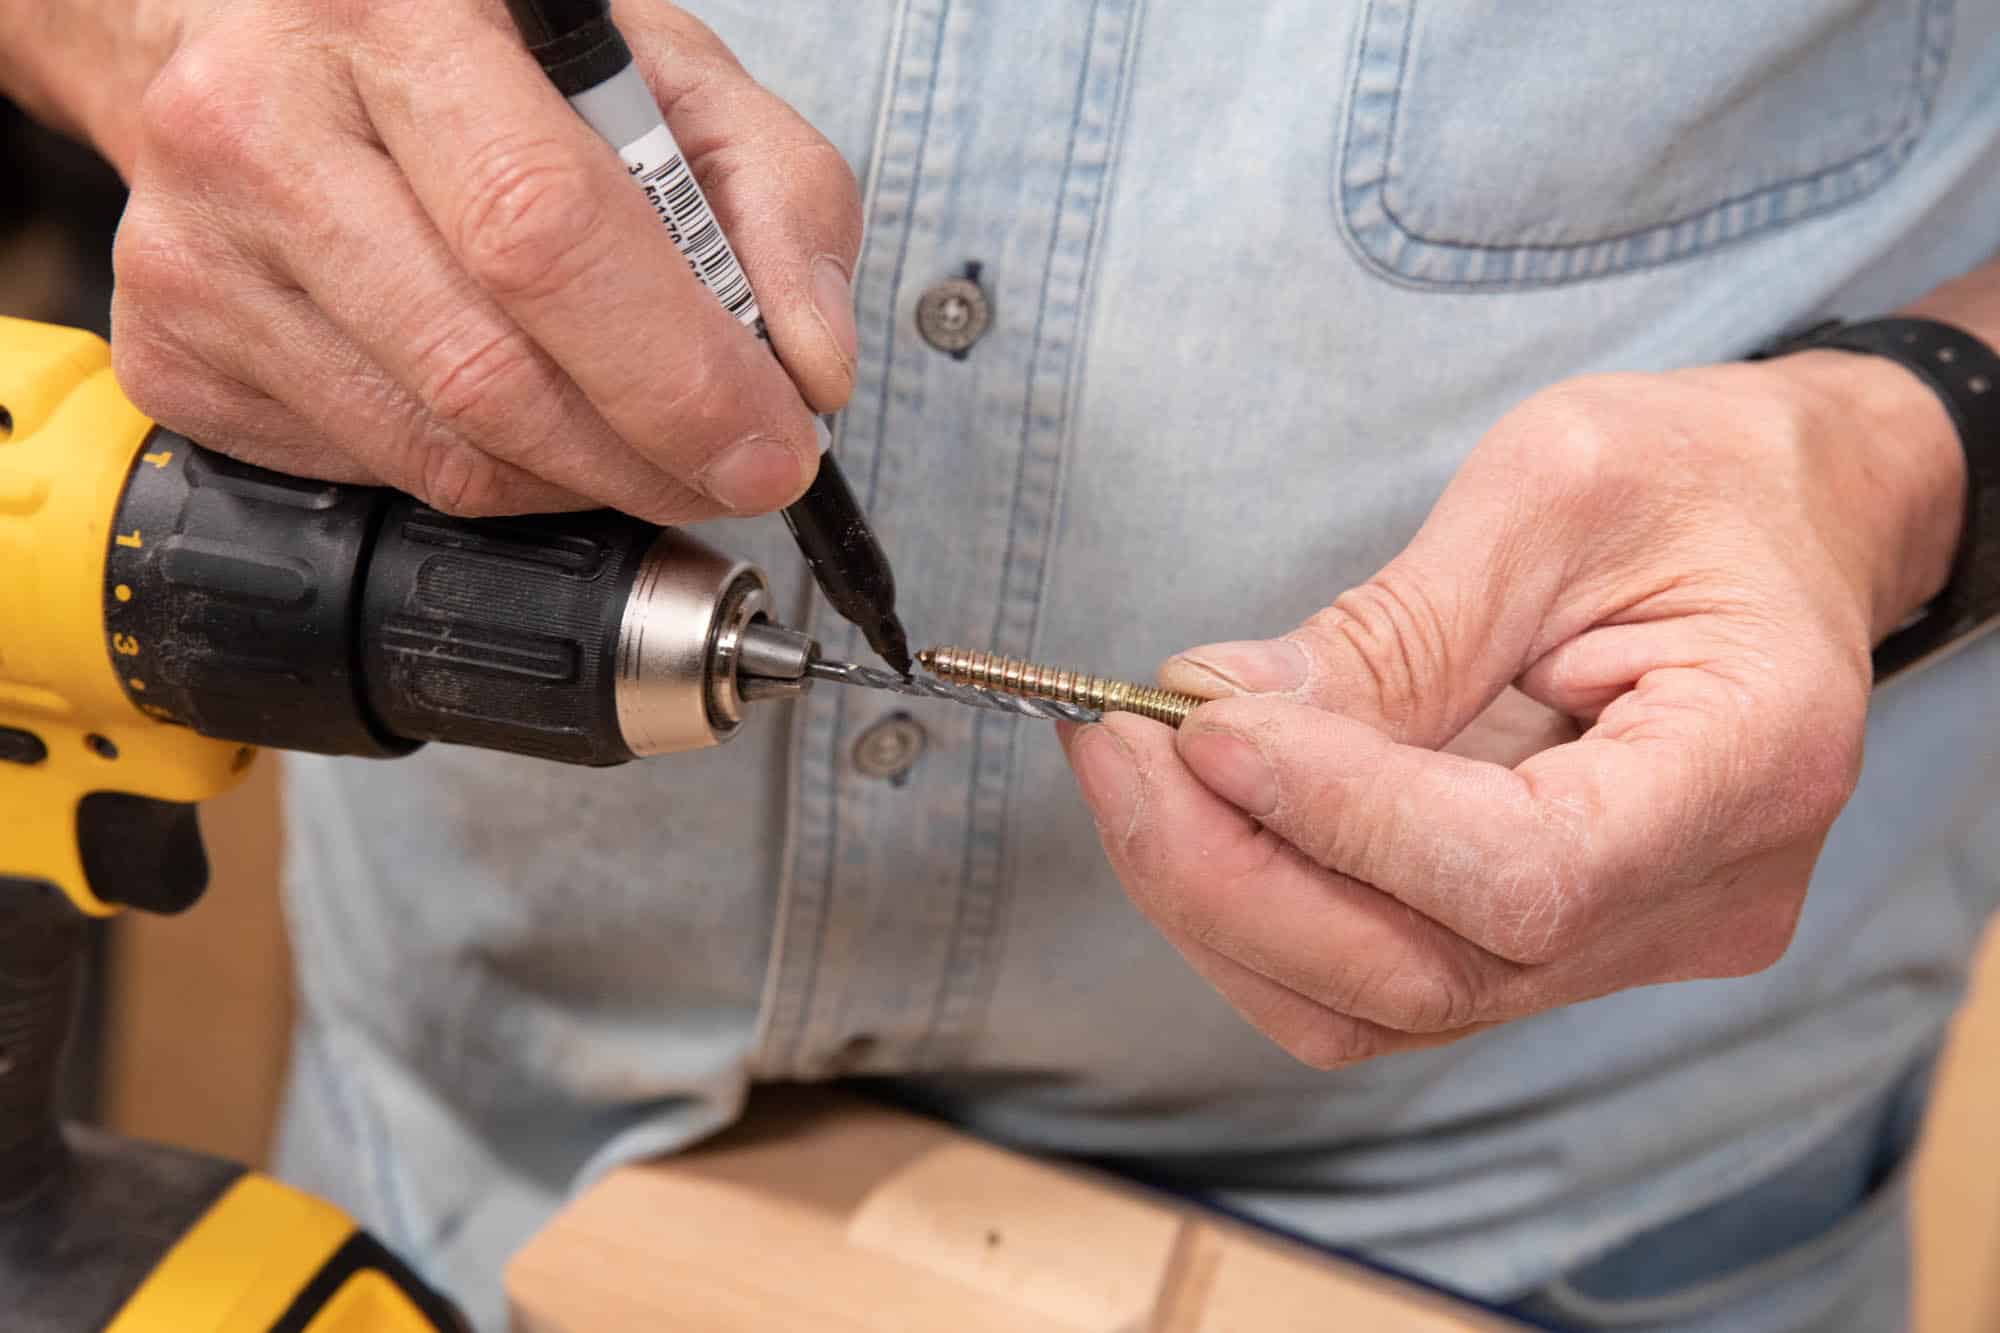
Install the hanger bolt into the chuck with the pointed (wood) screw thread pointing out. Before driving the bolt, apply a bit of wax to the end to make the insertion easier as it reduces friction.

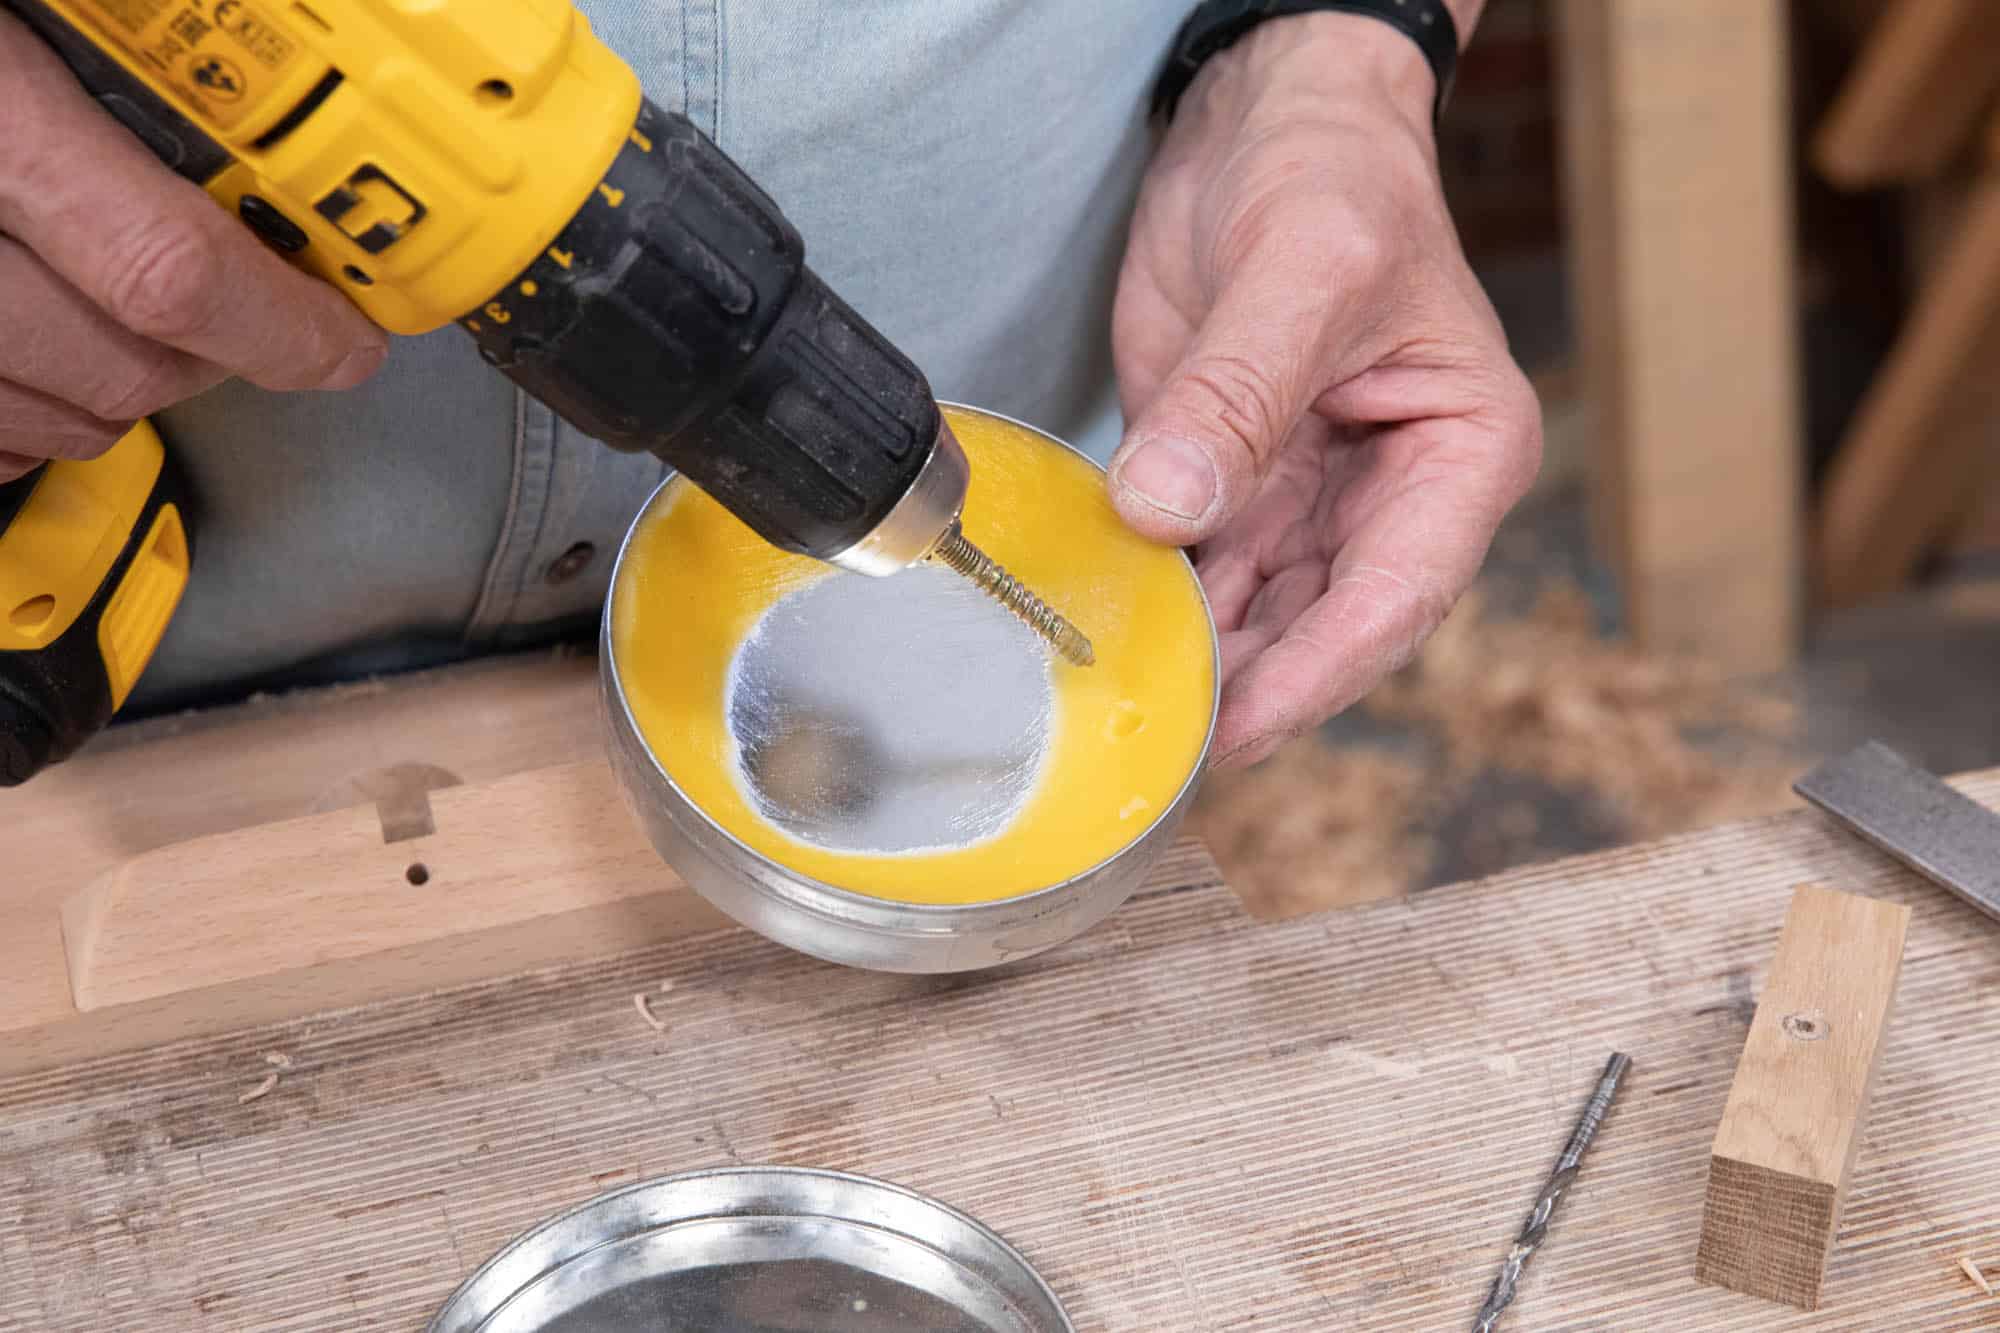
When loosening the chuck, take care to avoid drawing the bolt back out; if possible, loosen the chuck manually.
Assemble the metal components to make sure everything aligns well. You may need to micro-adjust one or two elements for a smooth action. Use oil or soft wax on the moving parts for a freer movement as needed and from time to time in the future.

Installing the Hanger Bolts for the Knobs
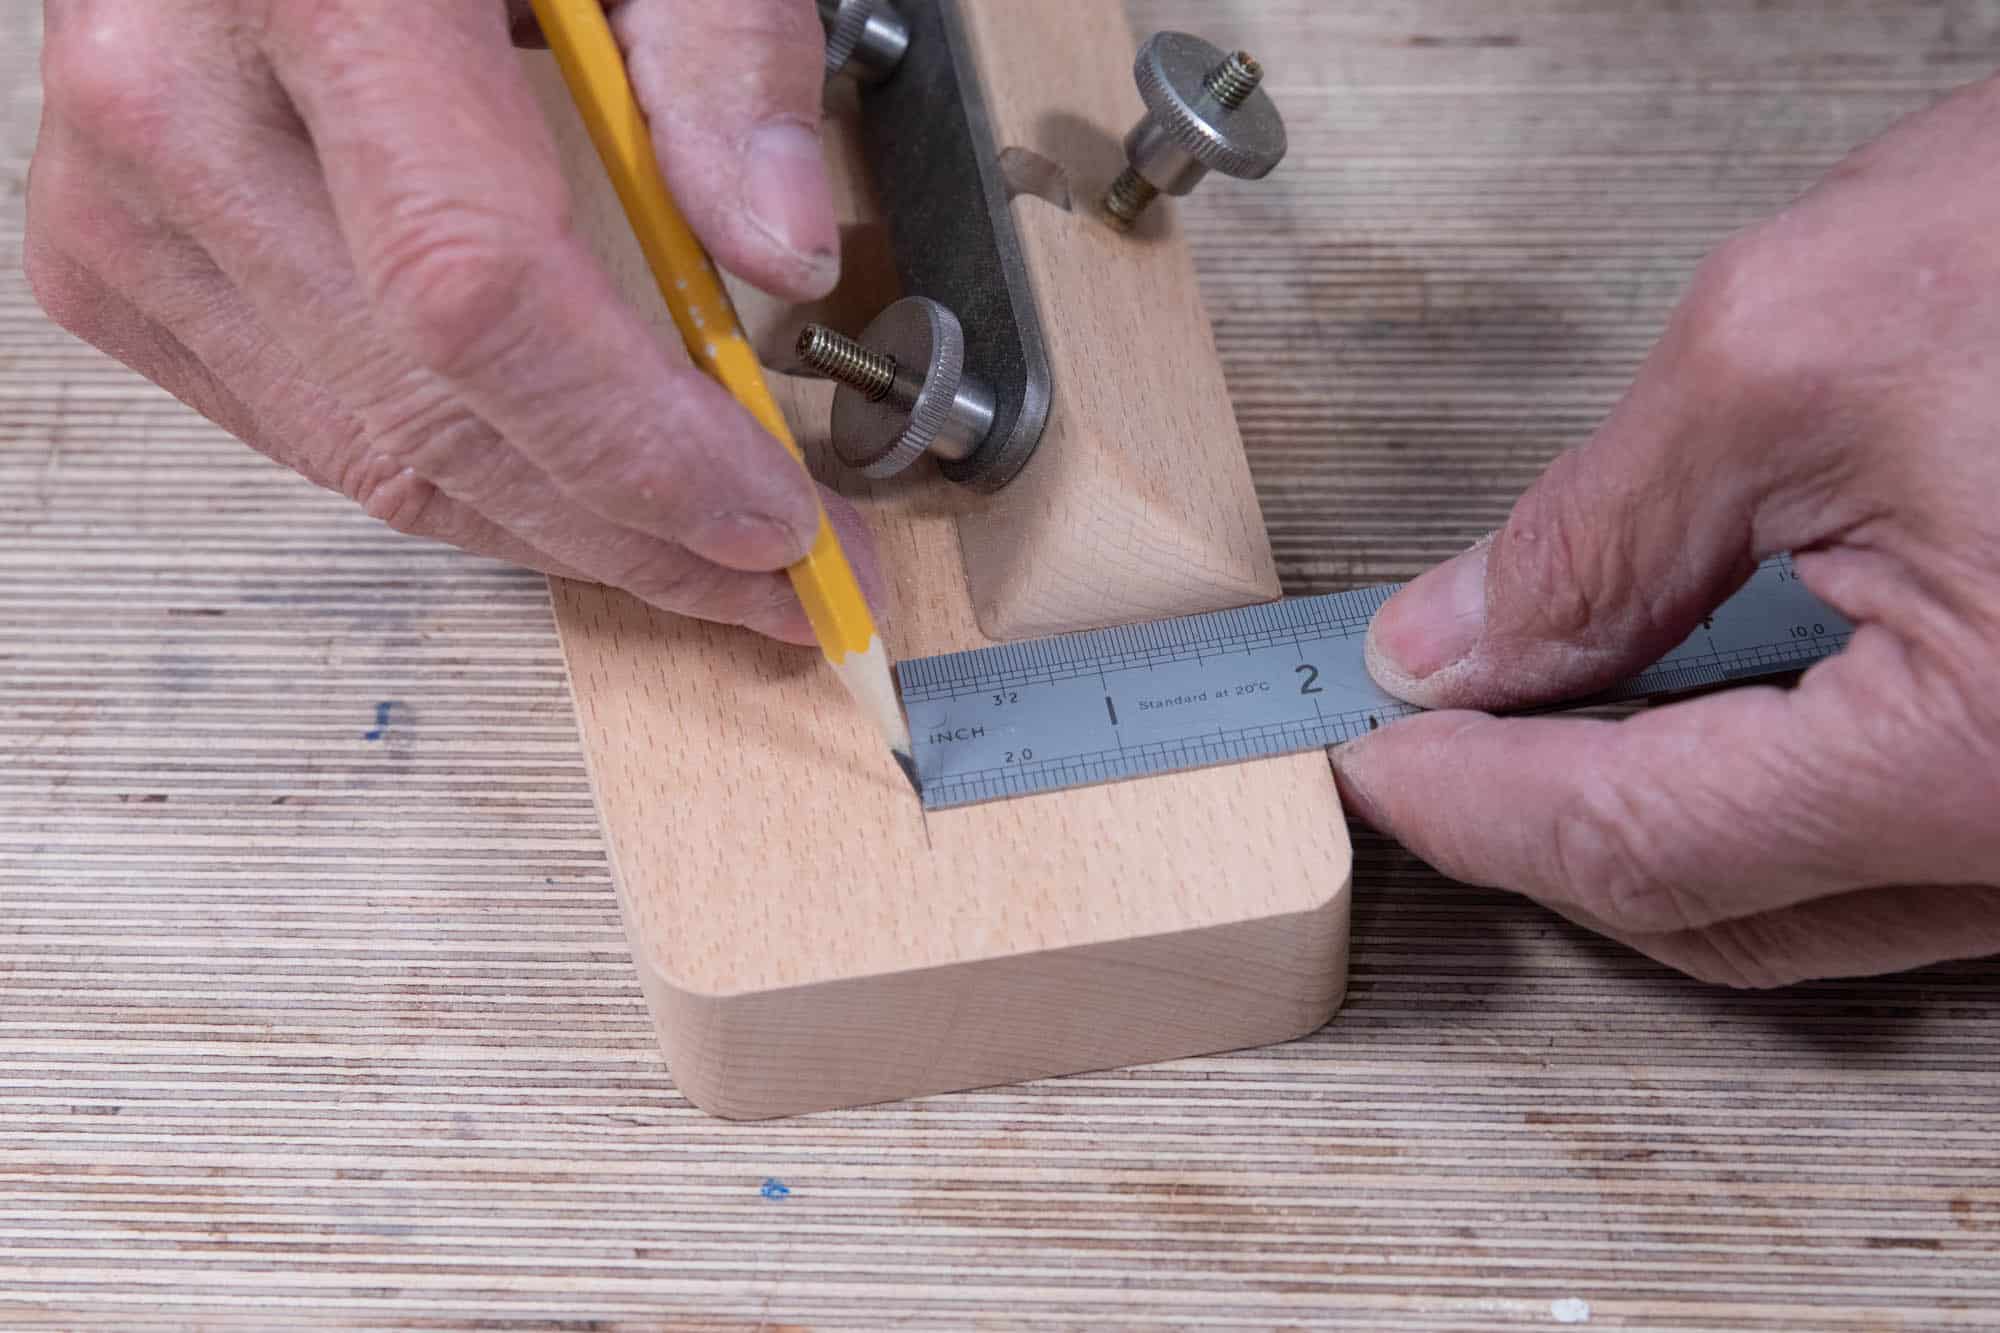
We must now lay out the position of the holes to install the hanger bolts for the knobs (handles or knobs) in the same way as the previous three. The positioning for holes will be 2″ (51mm) from the back edge and 7/8″ (22mm) from each of the ends.
In our tests the hanger bolts provided worked without modification. In our case the handles are 1 5/8″ (41mm) high, and your router base is 1″ (25mm) thick. However, you should carefully check the dimensions of the hanger bolts and your material and if the bolts would protrude through the sole or be too tall for the handles then you may have to cut down the ends of the metal threads and/or not drive the wood thread all the way in.
We again use 1/8″ (3mm) pilot holes to guide the 3/16″ (4.5mm) drill for the hanger bolts. It is important not to drill too deep but also that the screw thread into the base does not protrude too far above the surface wood when done. You will be able to micro-adjust this as and when the knobs are installed.
Start by marking the depth of the drill bit so that you go as deep as you can without drilling all the way to the underside. The depth of final drilling should be no more than 1/8″ (3mm) from the underside of the sole, so about 7/8″ (22mm).
You can now start your hole as before, and then use the drill bit guide to ensure the holes are square to the surface. Adjust accordingly so that when set on the router plane base you can see the end position of the drill bit.
With the pilot holes drilled, enlarge the holes with the 3/16″ (4.5mm) bit. As before, take care not to let the bit pull you in deeper. Allow the pilot hole to guide you.
Drive the two hanger bolts using the chuck of the drill as before, taking care not to drive them too deeply. It is best to mark the screw threads with the marker so that the screw thread goes no more than 7/8″ (22mm). Depending on the height of your knobs, the screw thread can bottom out on the caps if indeed your knobs are lower. This means that you will need to cut some off the ends of the hanger bolts with a hacksaw or file.