Making the Walking Cane with Paul
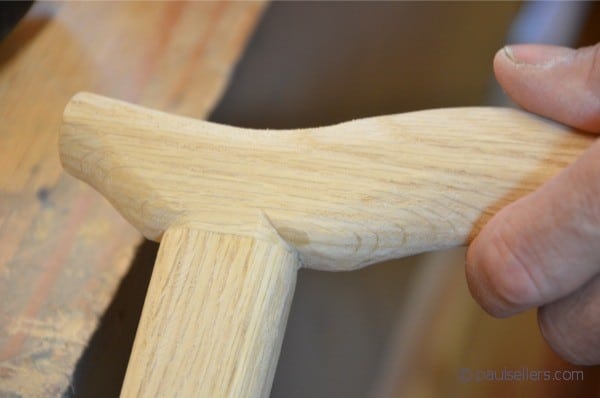
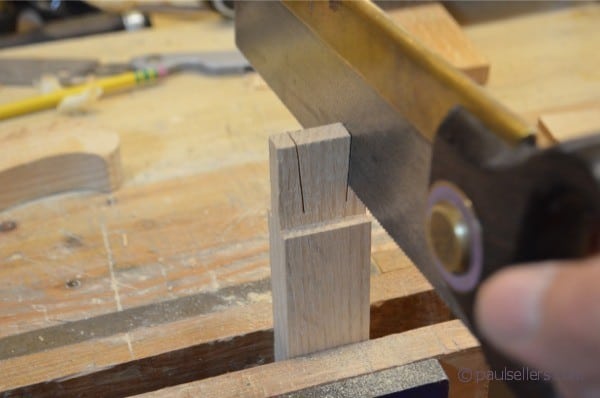
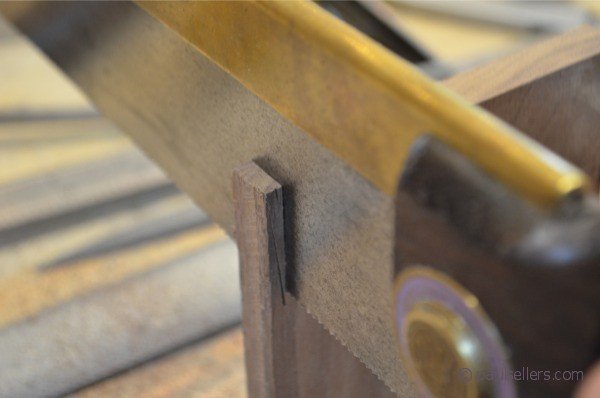
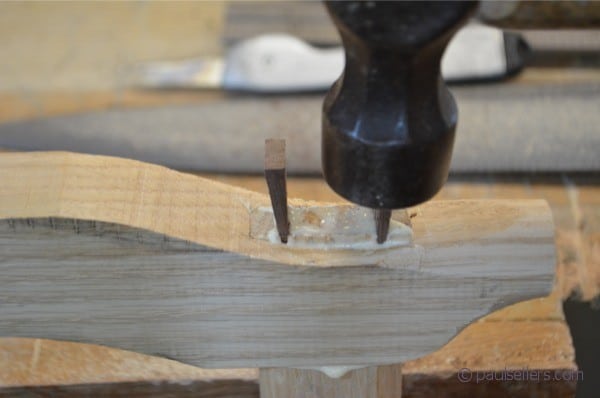
Our cane comes together with a single joint and a joint no other modern-day cane has. It’s strong and resilient and will last as long as the cane itself if it’s well made and fitted together rightly. The next phase in construction is shaping and for this we rely on rasps and spokeshave, planes and chisels and files.
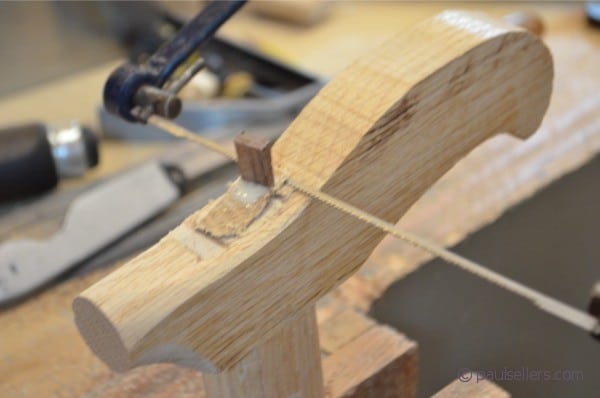
Once the shaft is connected to the handle you can start to shape the cane. The two component parts can be shaped before glue up or after. In the video I show how to do this as separated parts, but I find it is as easy to do it when the components are fitted and glued together.

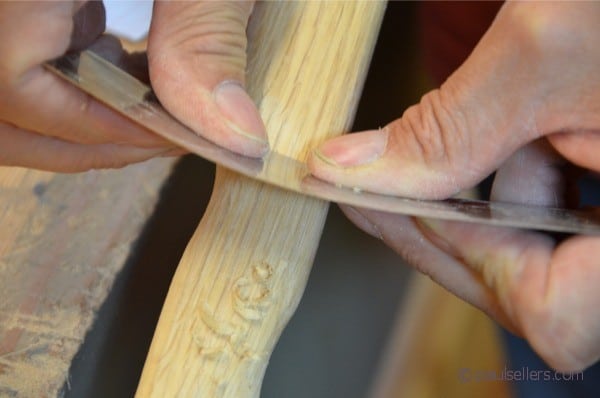
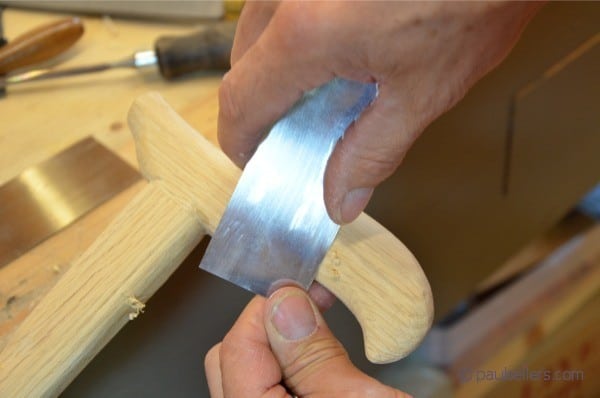
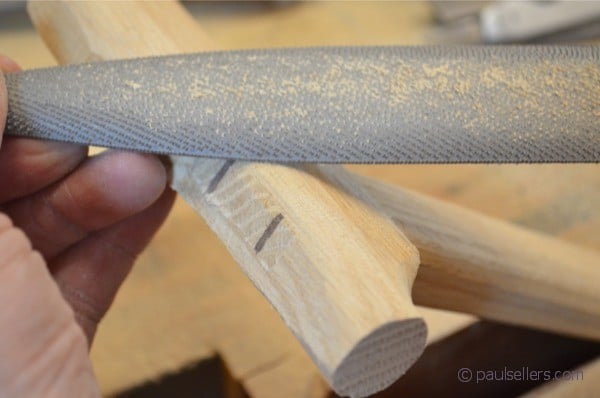
19: The long shaft can be rounded using the spokeshave, plane or rasp. If the rasp is a good rasp it will take off the corners rapidly. The plane gives greater accuracy for this and of course cuts differently than the rasp and so too the spokeshave works in similar fashion to the plane because technically it is in fact a plane but with side handles instead of inline handles.
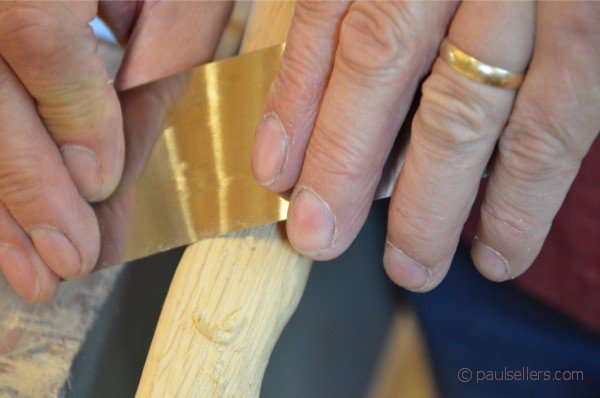
Which ever tool you choose, remove the corners of the shaft at 45-degrees first, to about 8mm wide and no more. Then remove the hard edges you create by altering your angle of presentation to the wood. Any remaining hard corners can be removed with the card scraper but I would leave that for now if you plan on form the twist in the shaft. Most of any refining work will be cut away if that is the case.
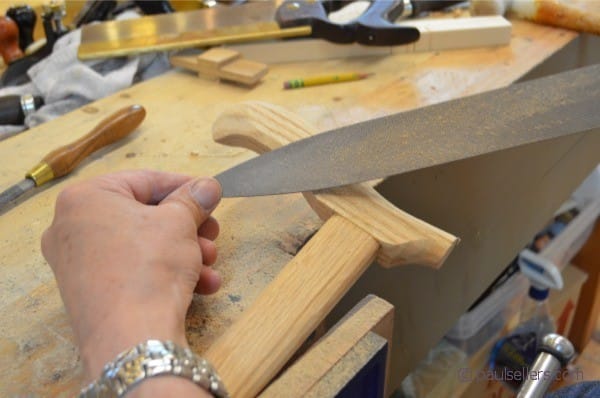
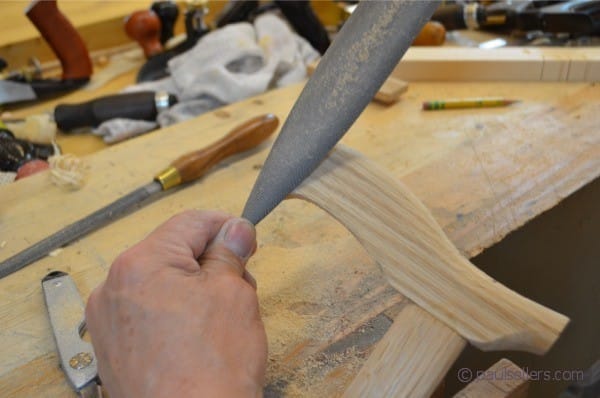
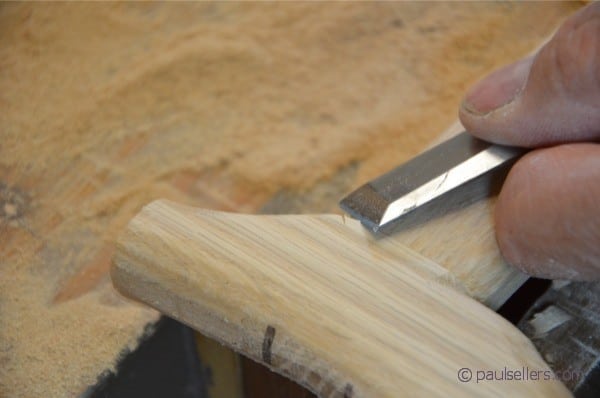
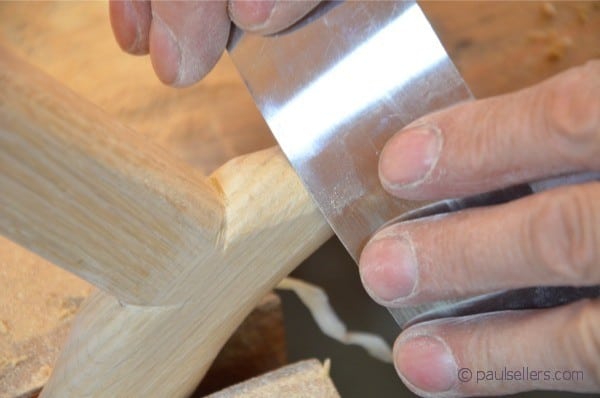
21: The internal corners where the shaft meets the handle can be a little awkward but more awkward to describe I think. Nibble away with a knife and/or chisel. Place the chisel across the corner and press, then chisel along the handle or shaft toward the corner and that knife cut.