Workbench Info Page
Paul Sellers | How To Build a Workbench Page
A portal to everything we have available and everything you need to know about building your Paul Sellers’ Workbench.
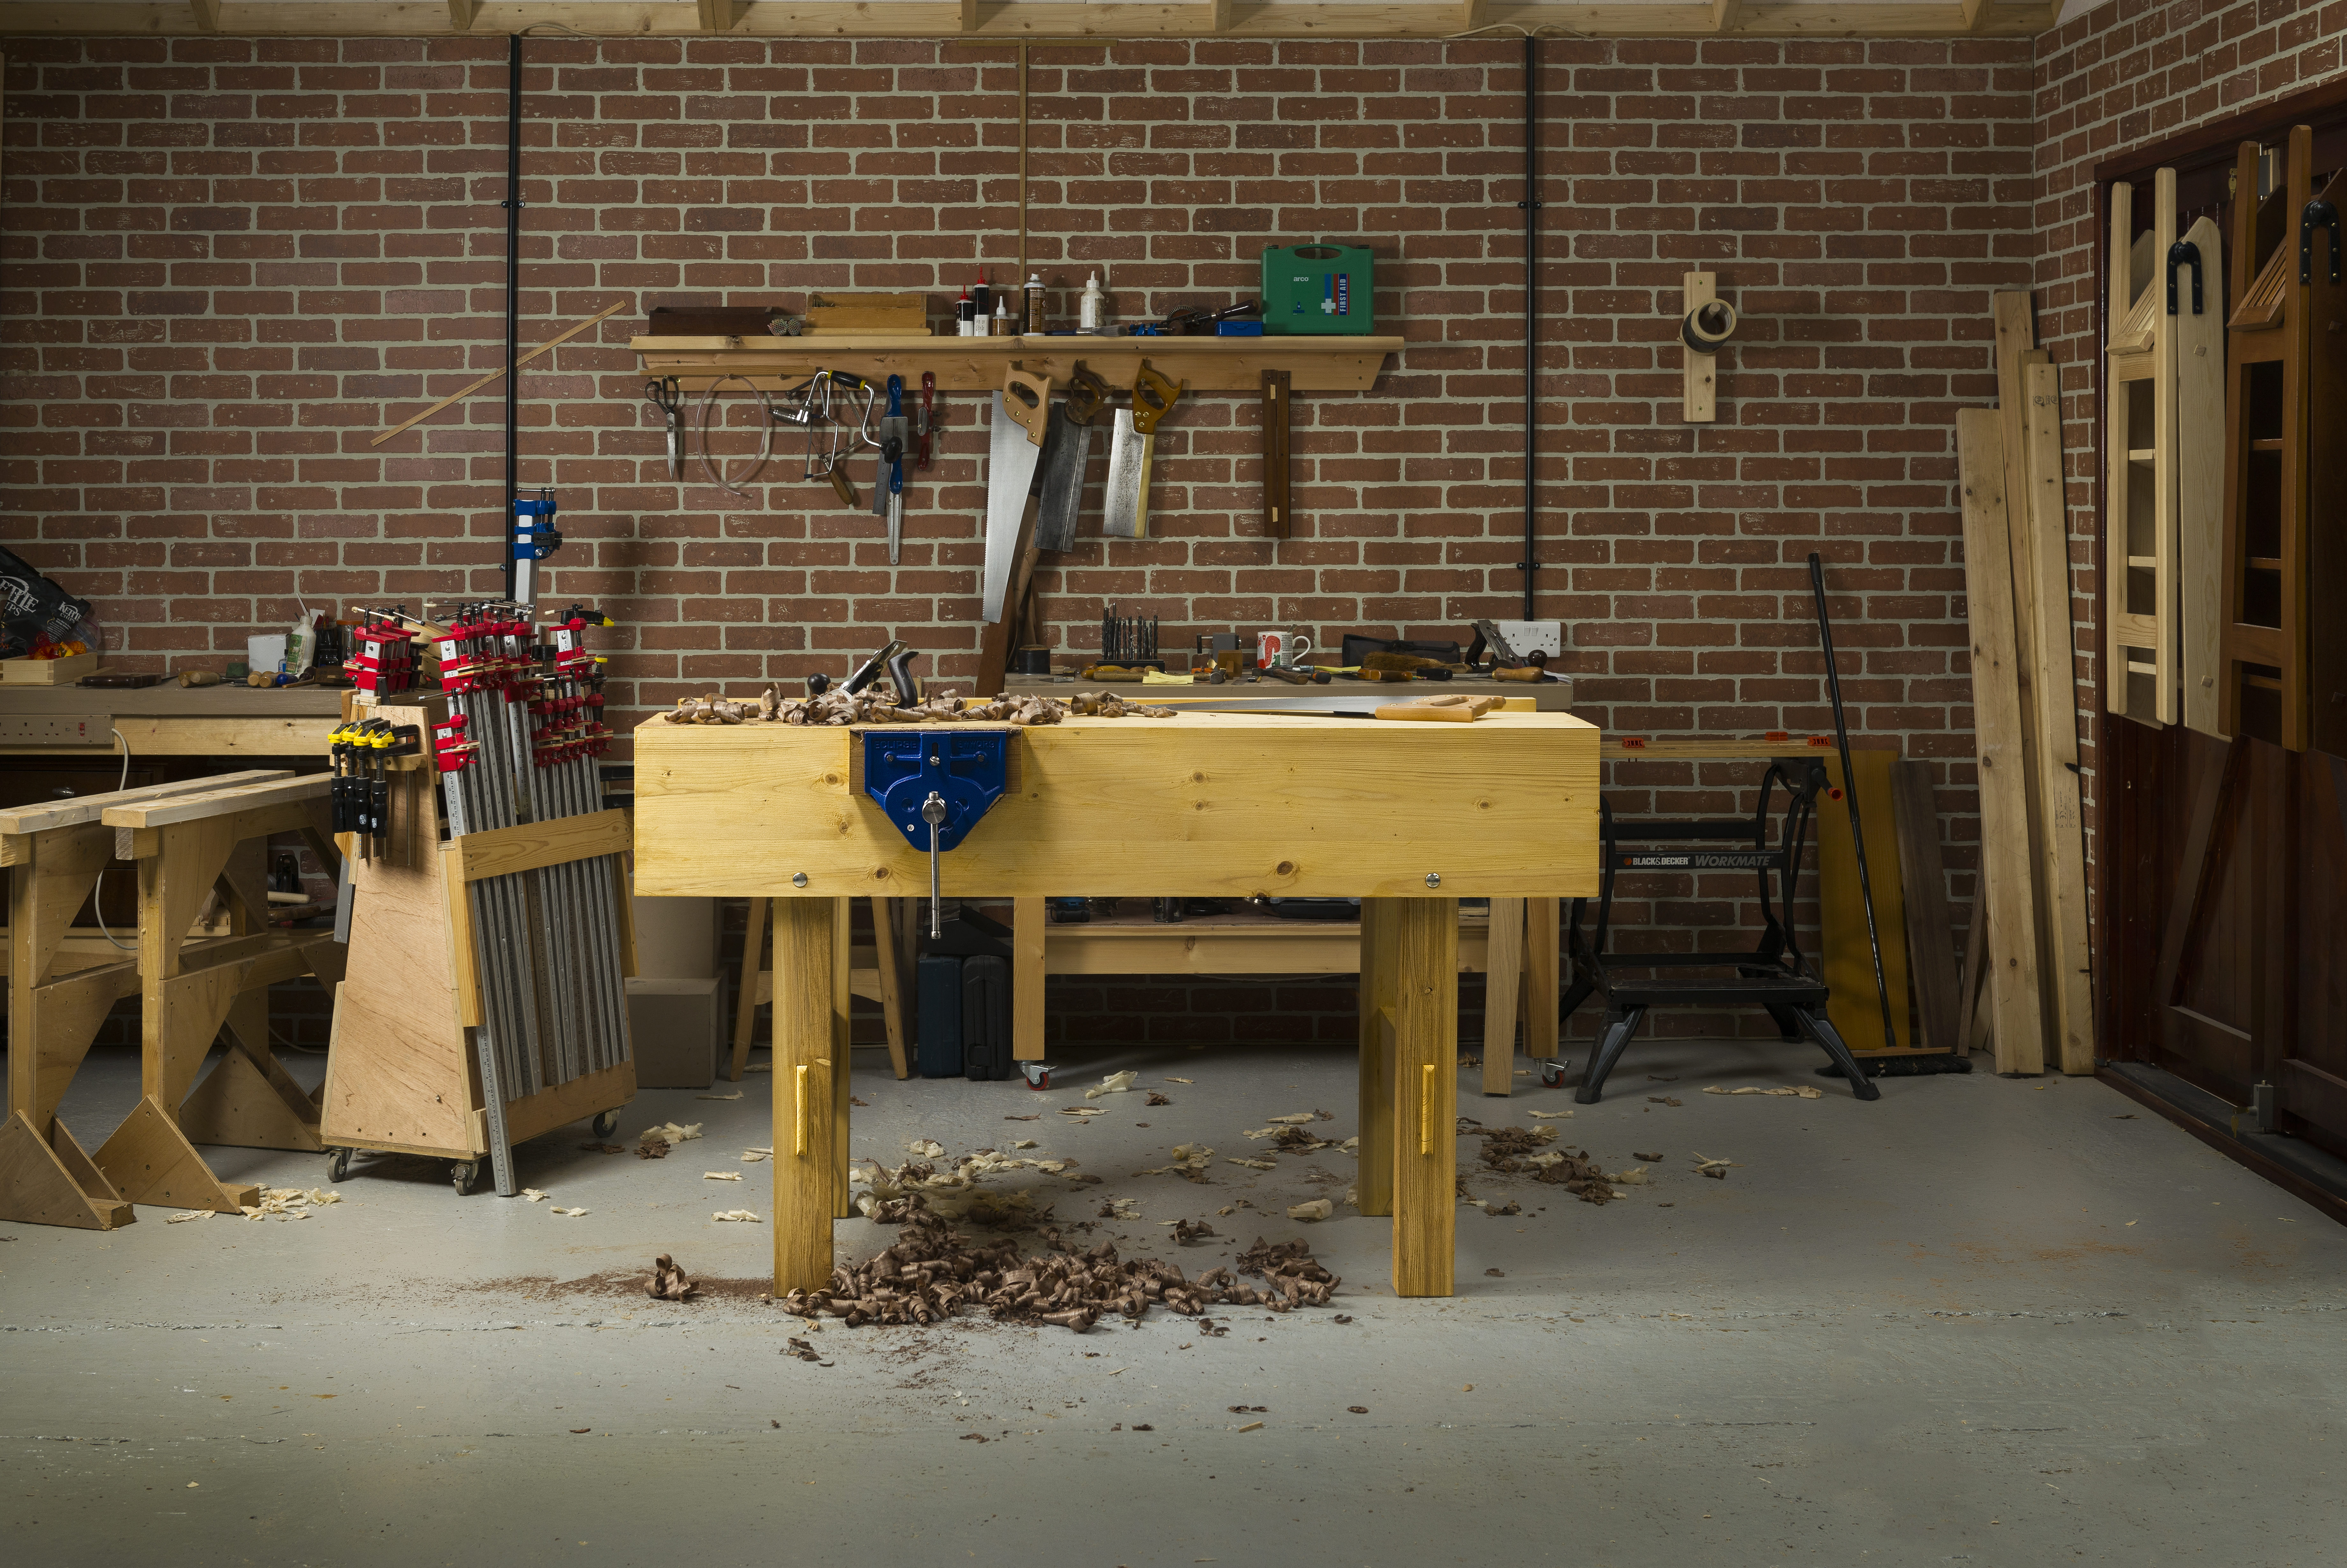
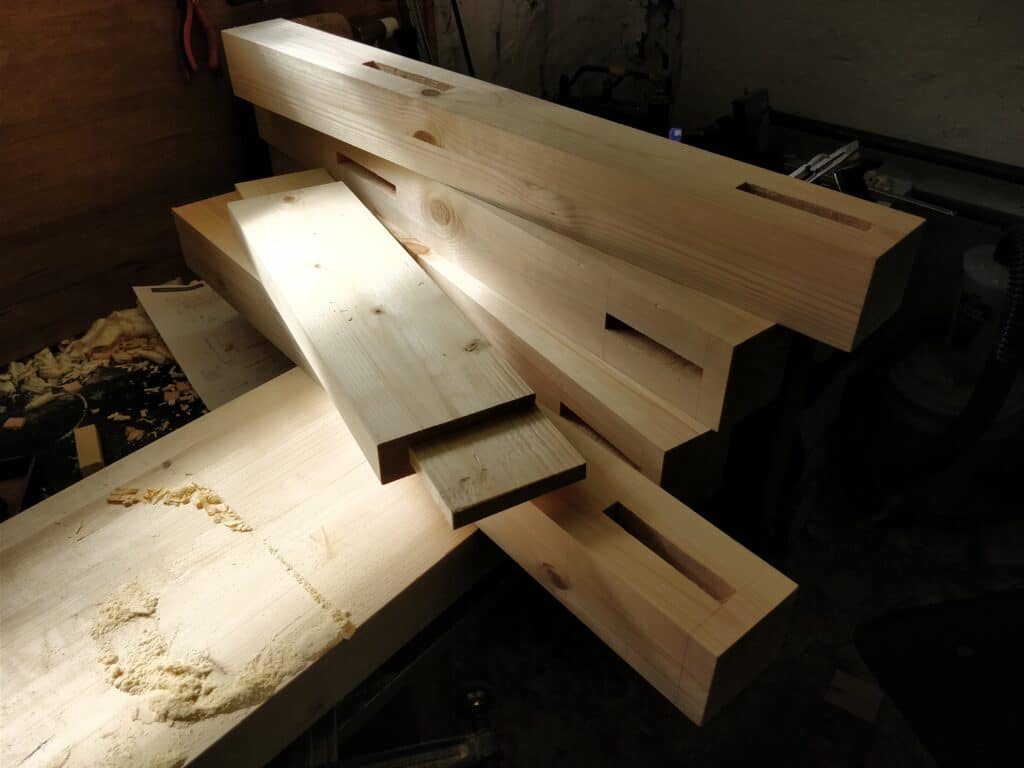
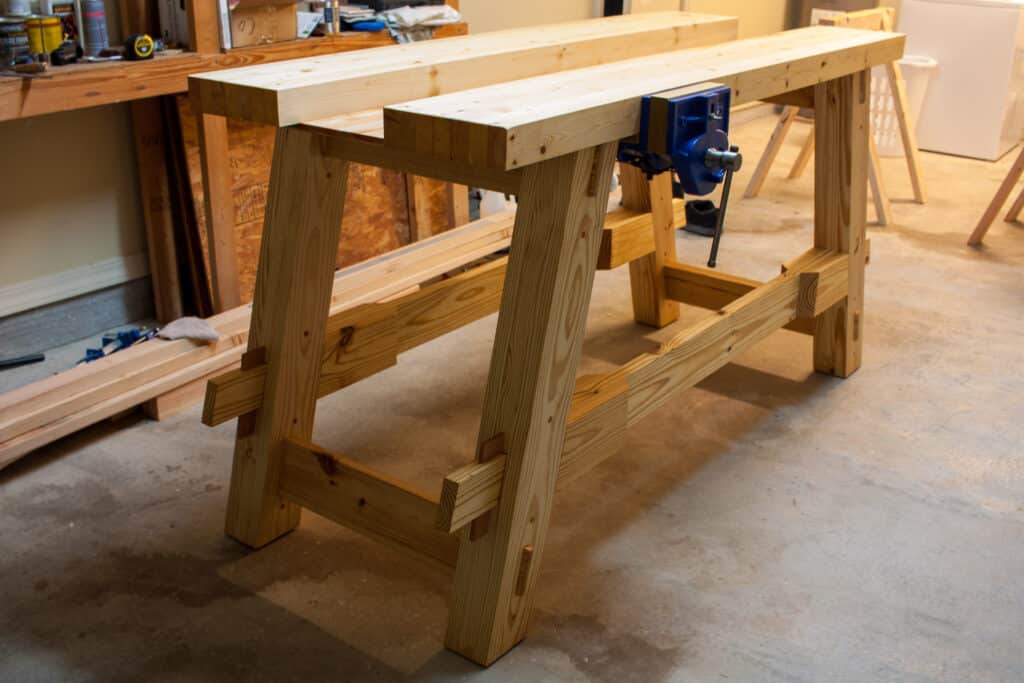
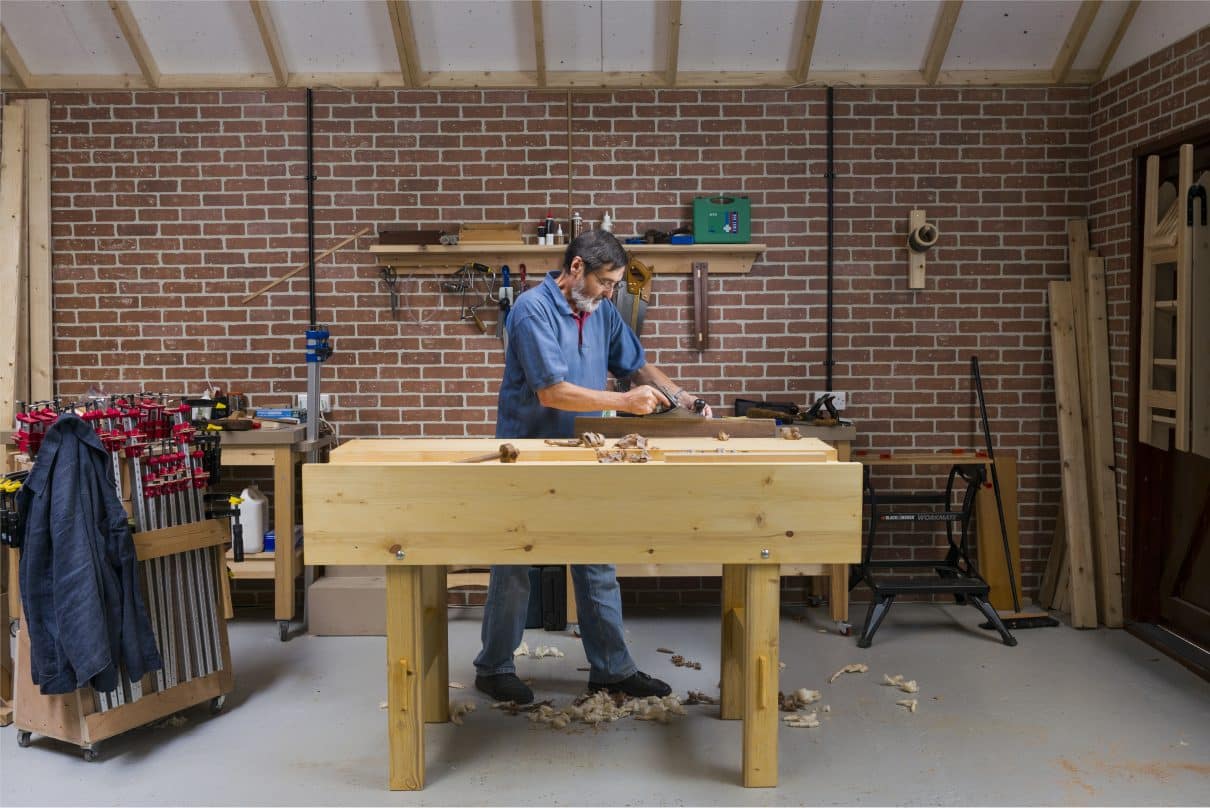
Making a workbench is a perfect project for any woodworker to develop and hone their skills. It also allows you to better understand the wood and the tools woodworkers rely on day to day. I wanted the workbench … to be something that inspired everyone by its simplicity. It also possesses those qualities that a lifetime workbench should have. The whole methodology of its construction does not rely on dead-on accuracy. Anyone making a workbench should not worry so much about whether they can do it, Whether it looks like a fine furniture piece or whether anyone is judging them or their skill levels or standards of workmanship, it is simply a workbench.
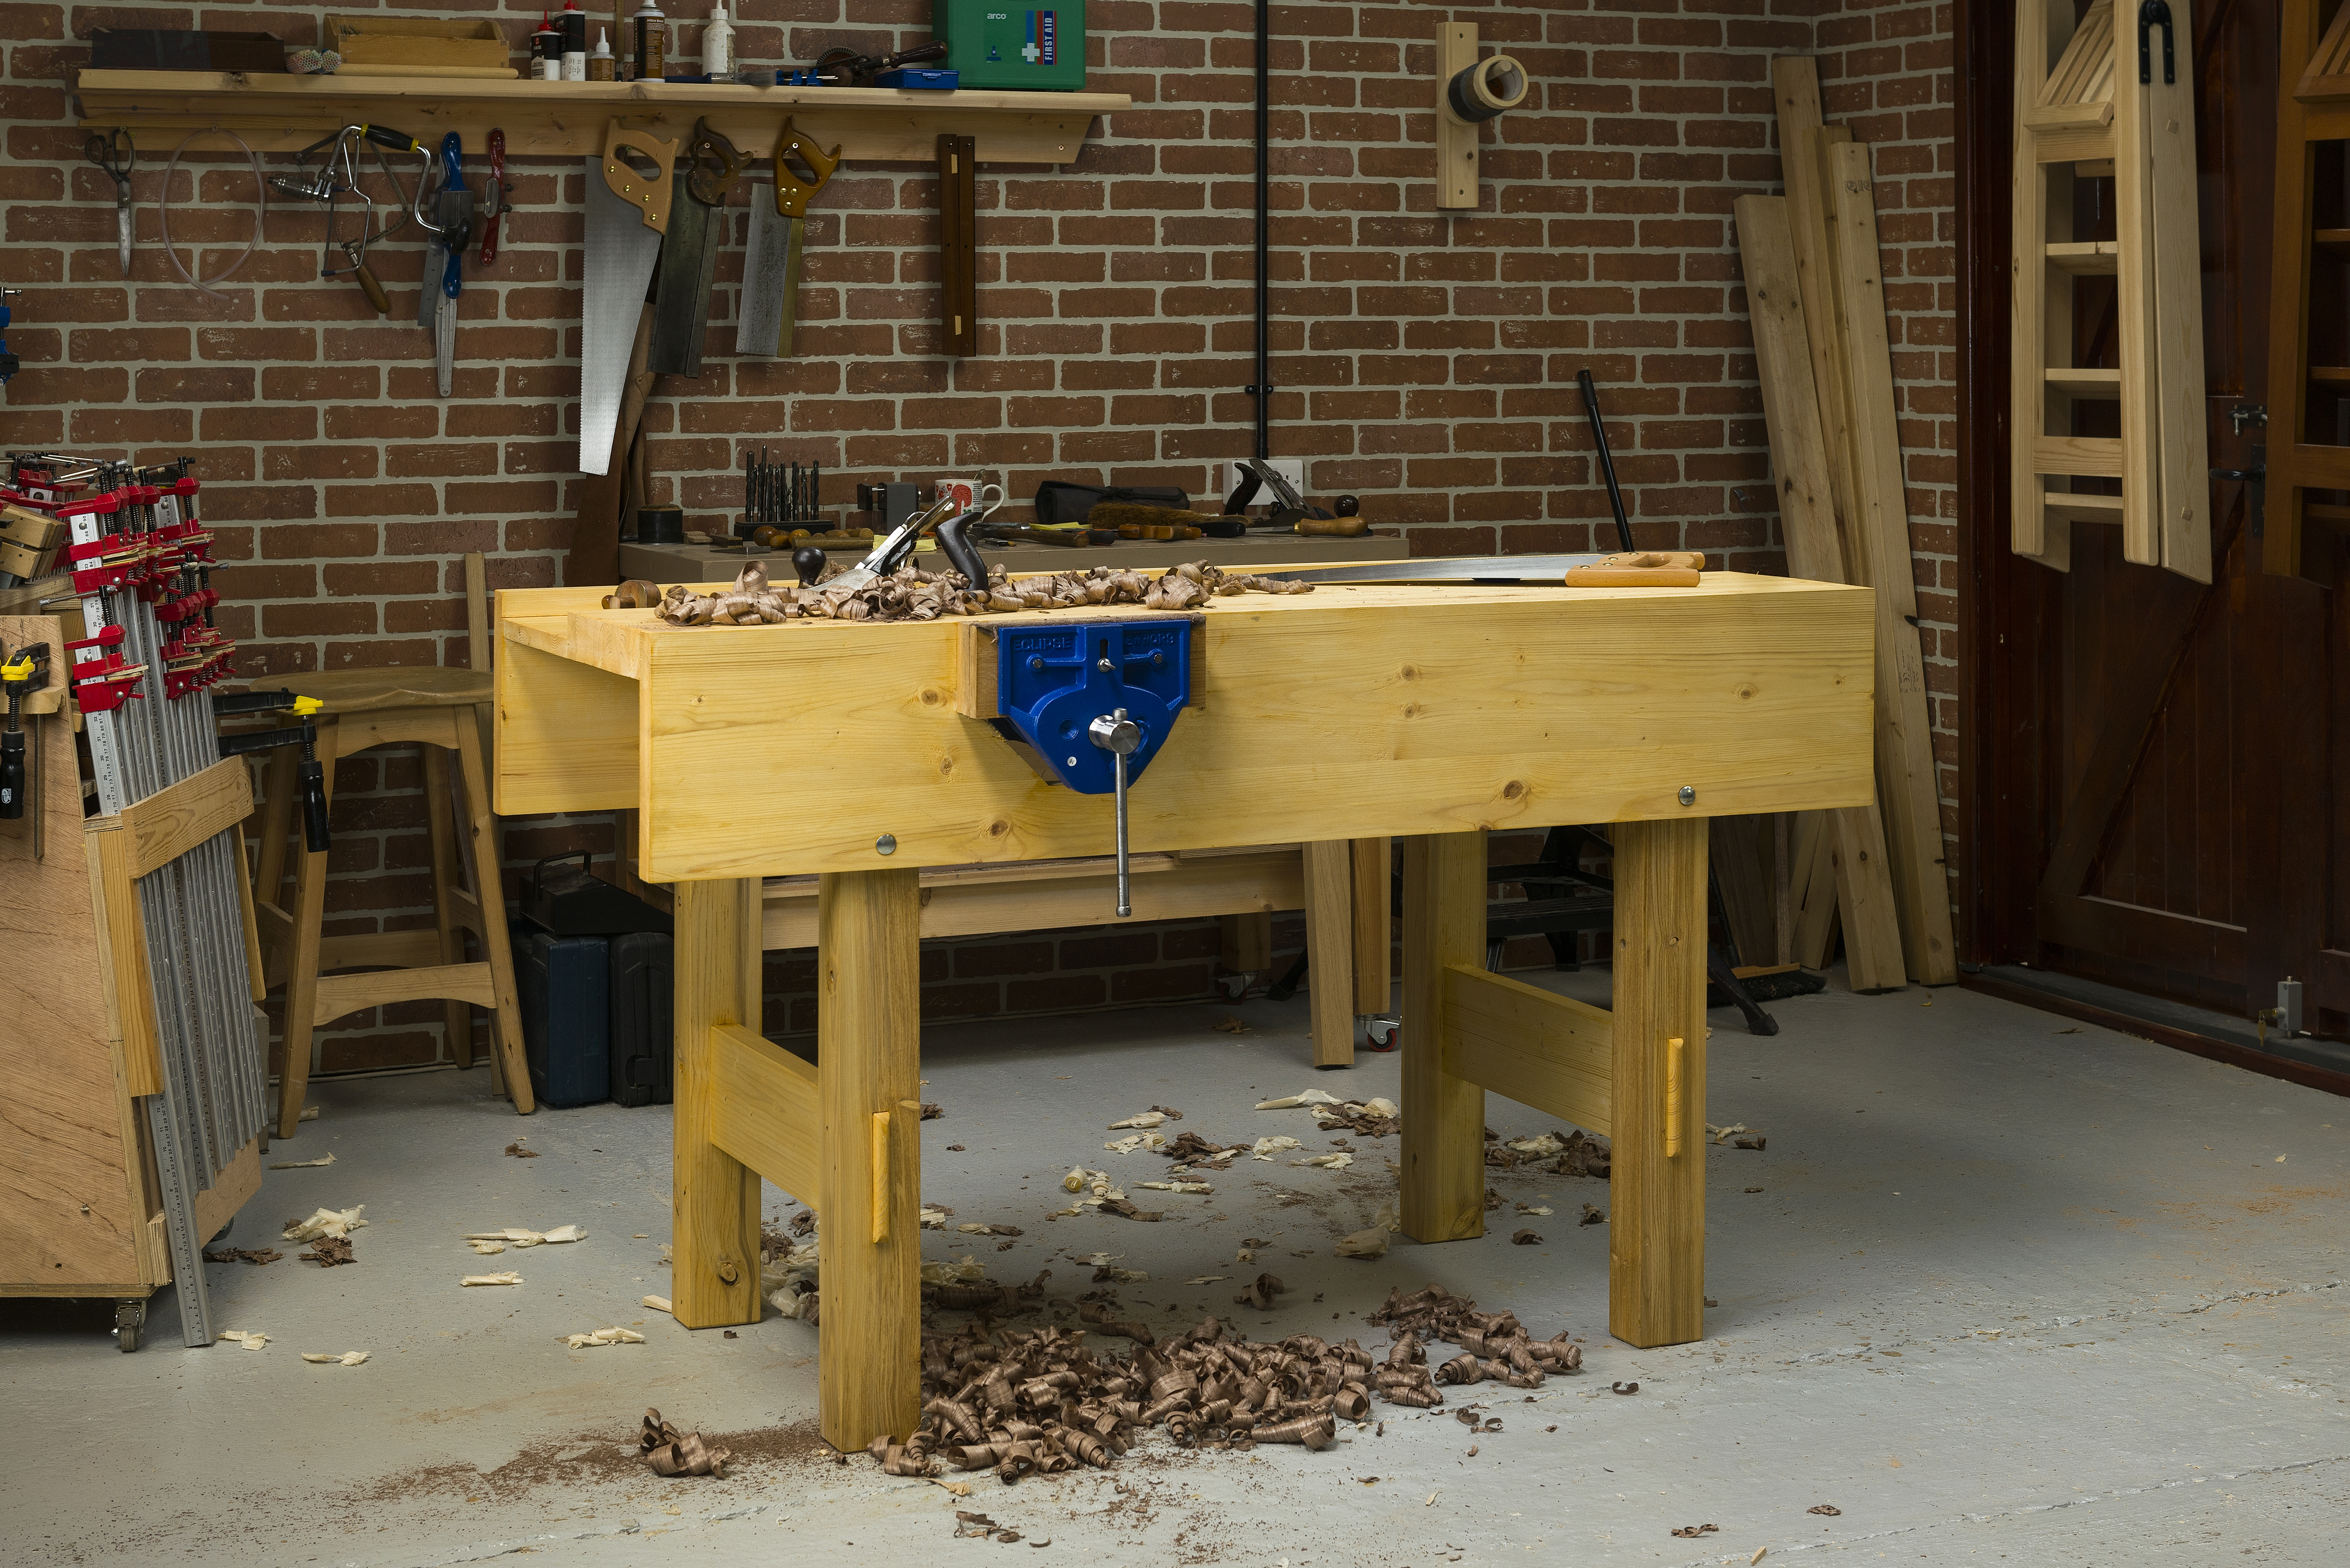
Workbench Features

Workbench videos
Tools and Equipment
- Square
- Knife
- Pencil
- Tape measure
- Combination gauge (or marking gauge plus mortise gauge)
- Tenon saw
- Handsaw
- Chisel set ½”, ¾” and 1″ (12mm, 18mm and 25mm)
- Chisel hammer or mallet
- Smoothing plane
- Brace and bits (or screw gun and bits to suit)
- Router plane
- Plough plane
- Rabbet/filletster plane
- Hammer (steel)
- 10″ steel rule
- Jack plane
- 10″ rasp
- 10″ flat file
- Winding sticks
- A workbench or improvised support of some kind such as:
- Two saw trestles or…
a portable, folding workbench or…
a picnic table. - Seven or so 36″ (91cm) sash clamps (for frame clamping and clamping the laminated top)
- Some shorter sash clamps, bar clamps or G-clamps
FAQ’s
The following links will take you to the relevant section of the Workbench FAQs page.
- Design Questions
- Design Changes
- Workbench Sizing
- Wood Selection
- Stock Dimensions
- Build Process
- Hardware and Equipment
- Long Term Use
- Other
Gallery
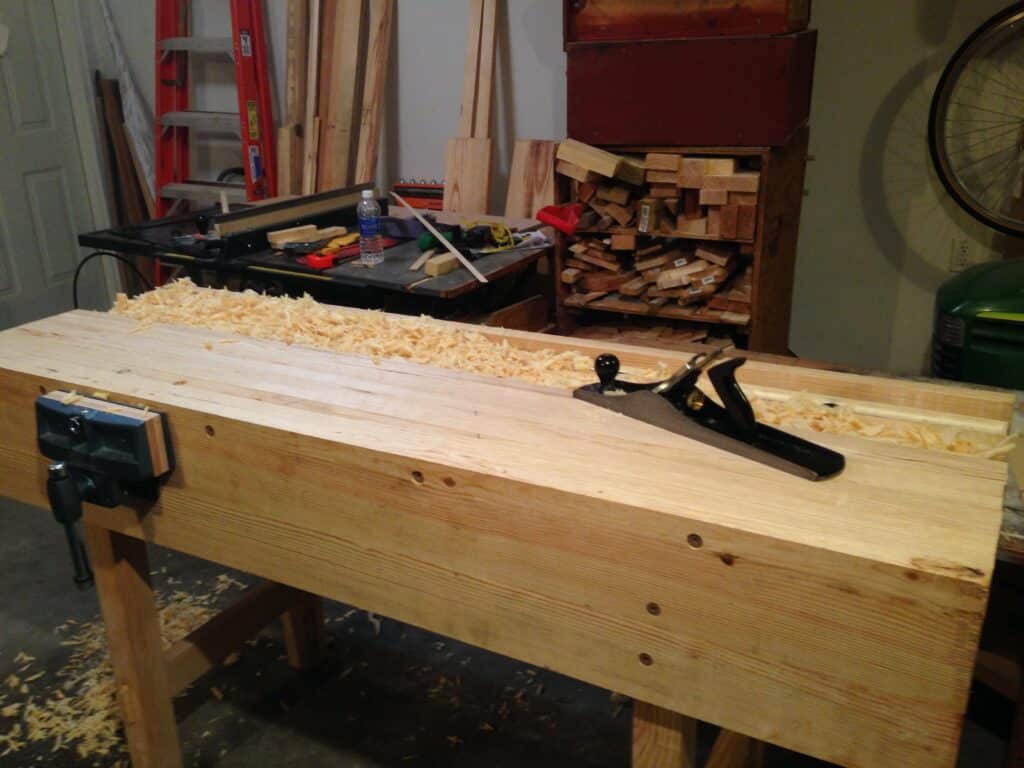
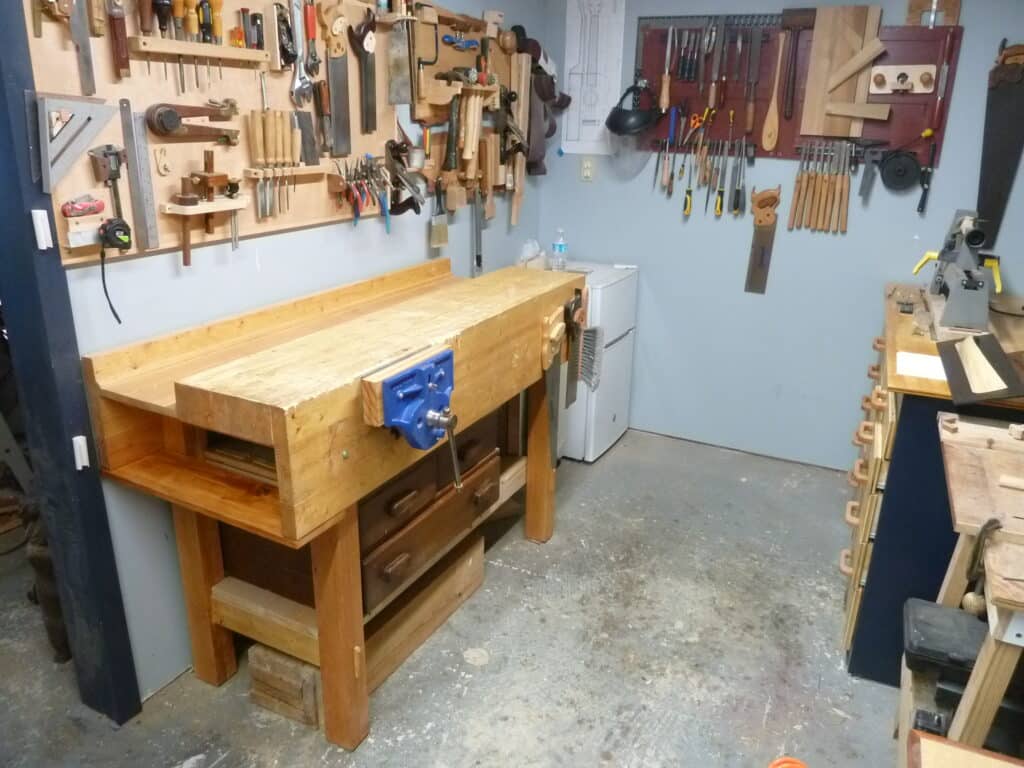
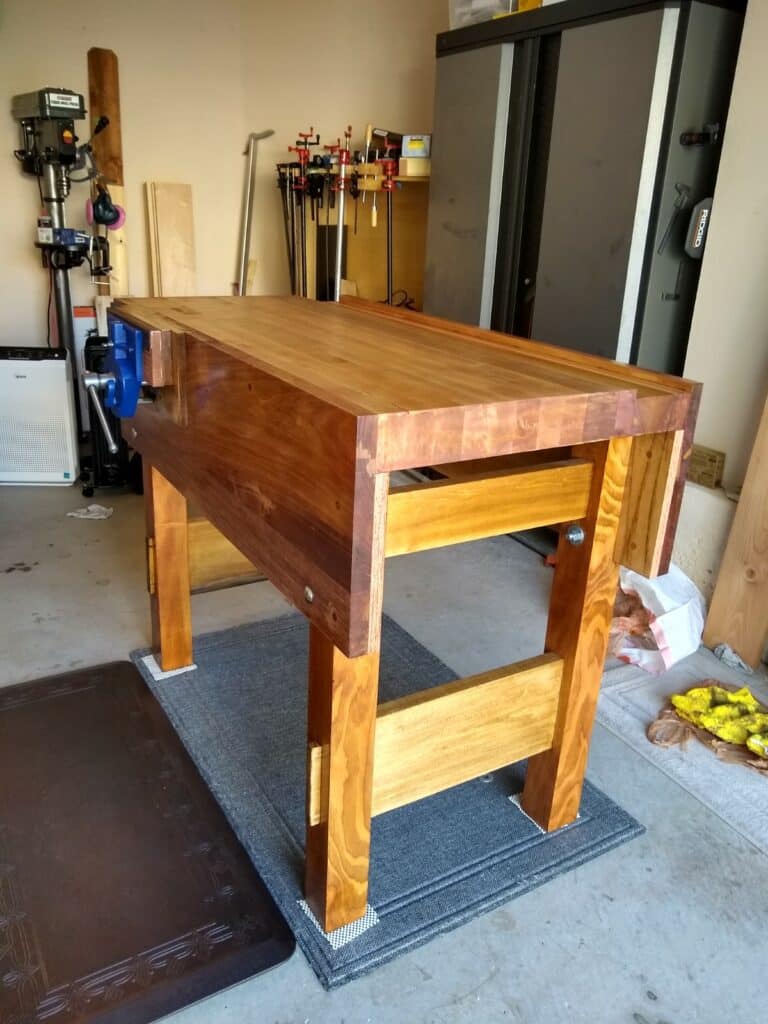
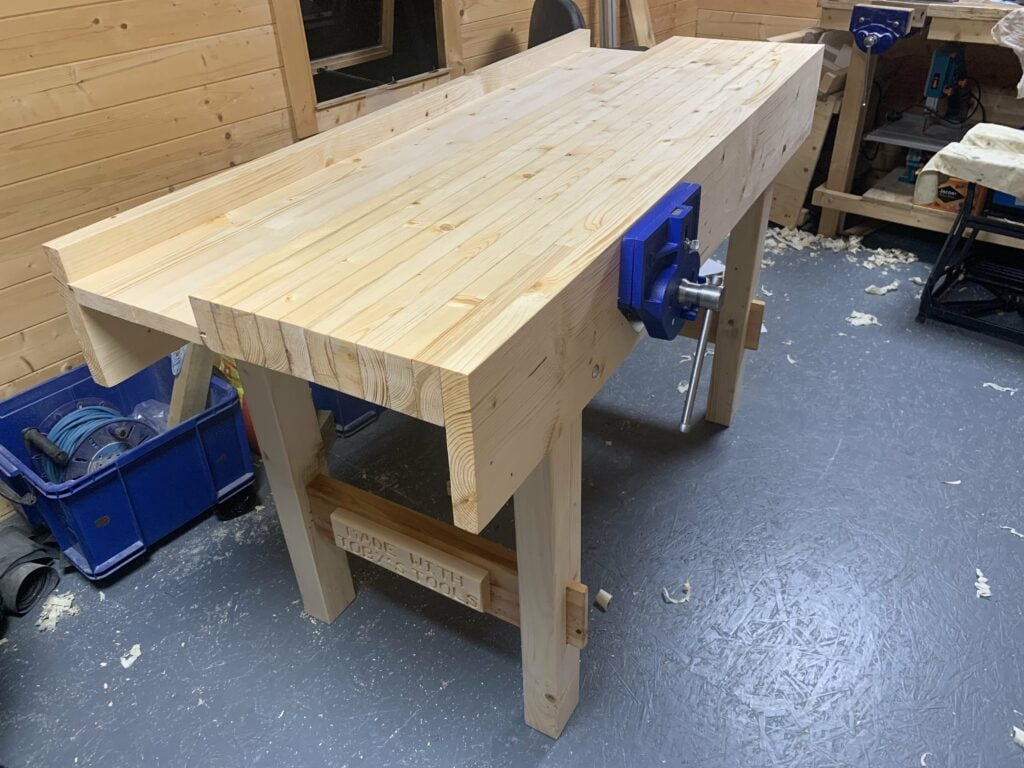
 Chuck DeArruda – Mine completed in Jan 2016, of Southern yellow pine. Paul’s videos and the book chapter made the project simple. Thanks Paul!
-
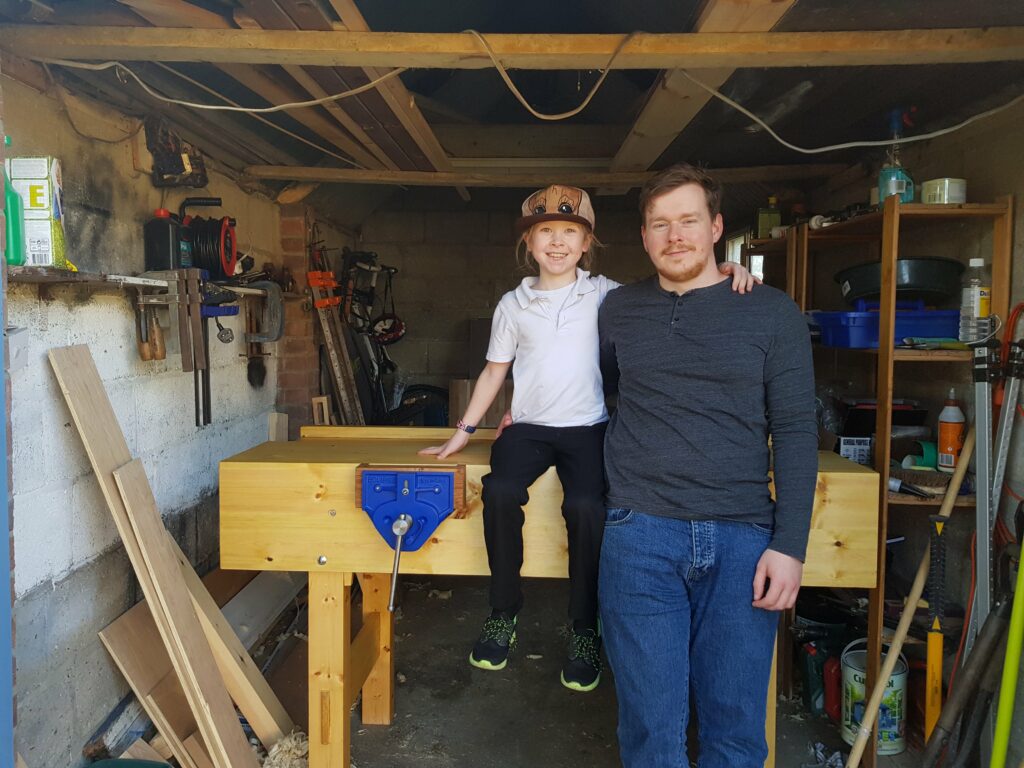
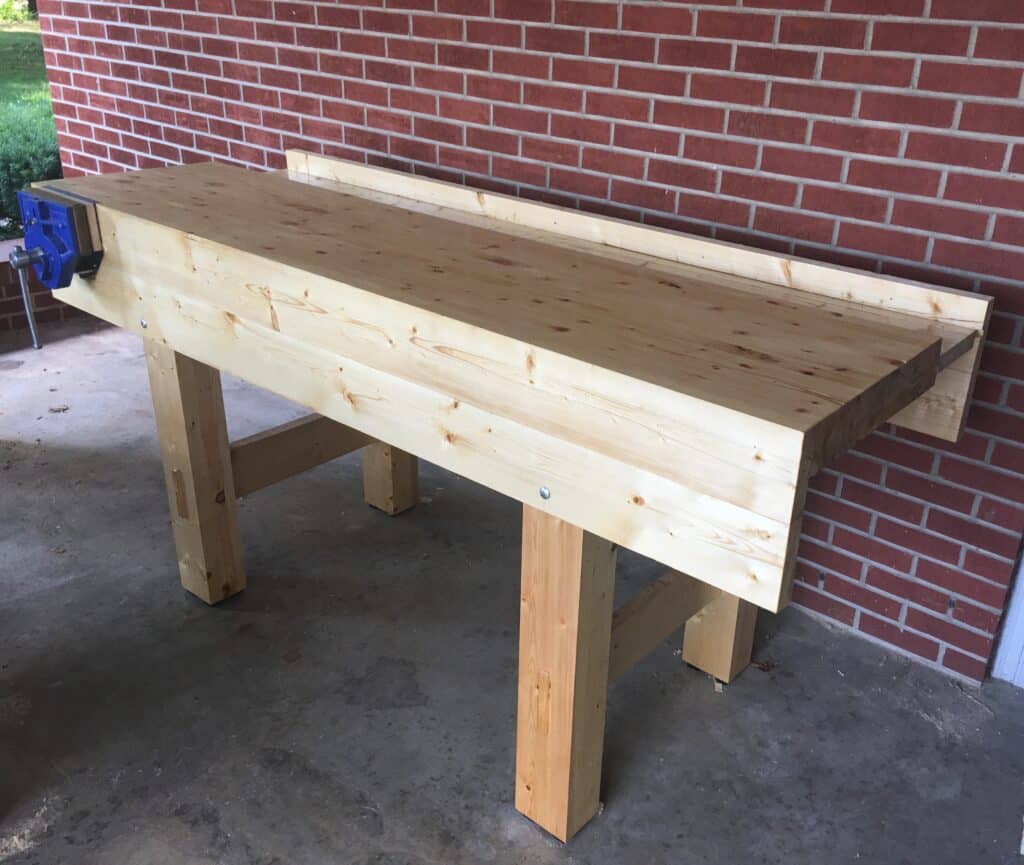
Gary Howard – The bench was built from construction pine with tools bought for me over Christmas and my birthday. I had to redo two of the legs after a major measuring mistake! Thoroughly enjoyed using the router plane. The best part of the build was my 9 year old son Alfie helping to apply the Danish oil finish.
-
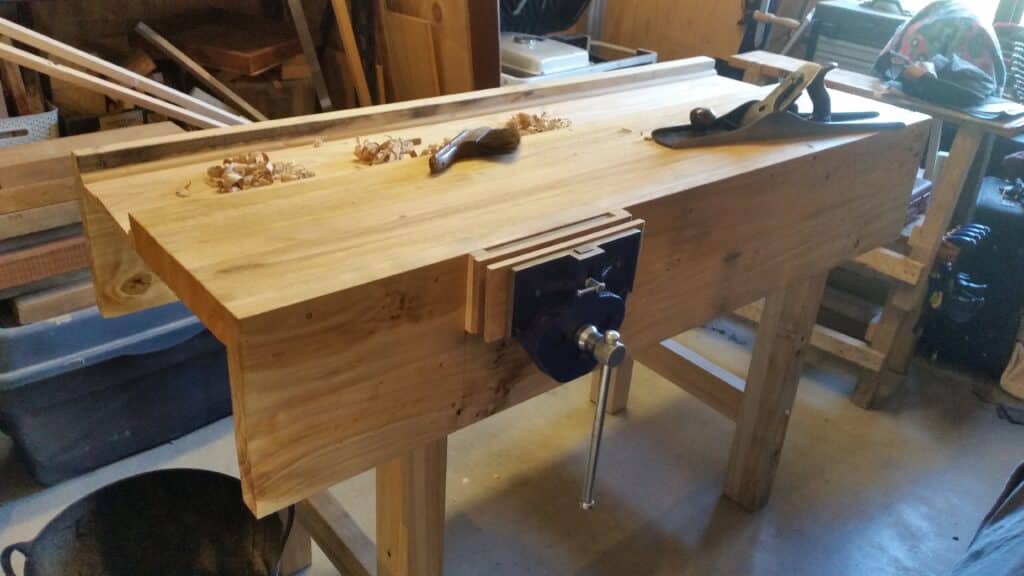
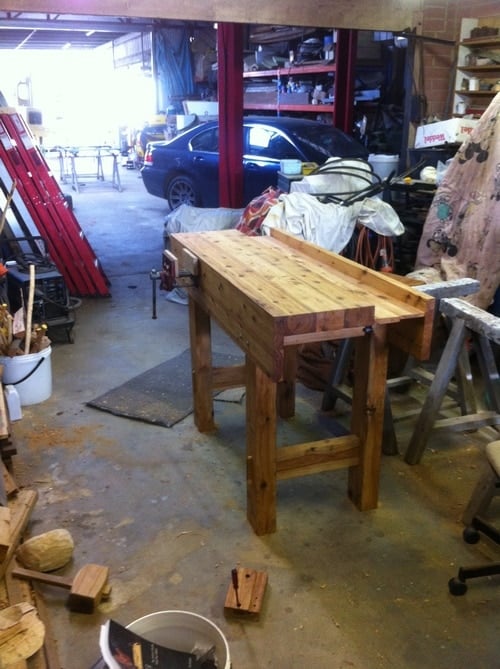
Fam Zheng – Made with pine. I added silica gel to the feet so it is much more steady.
-
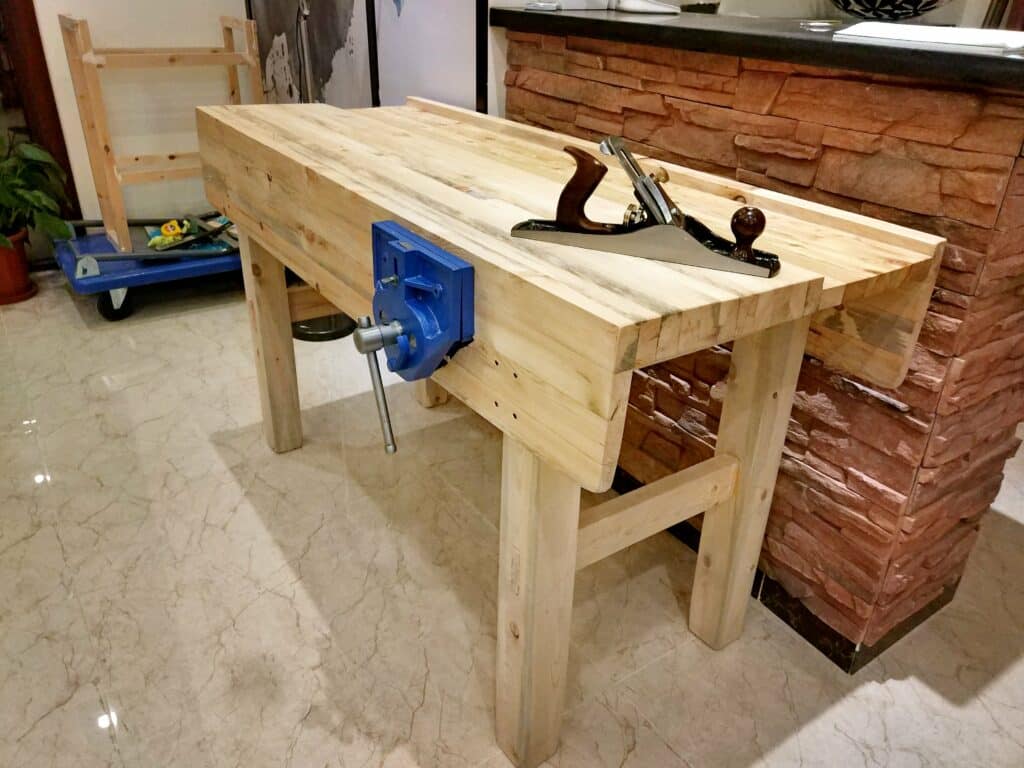
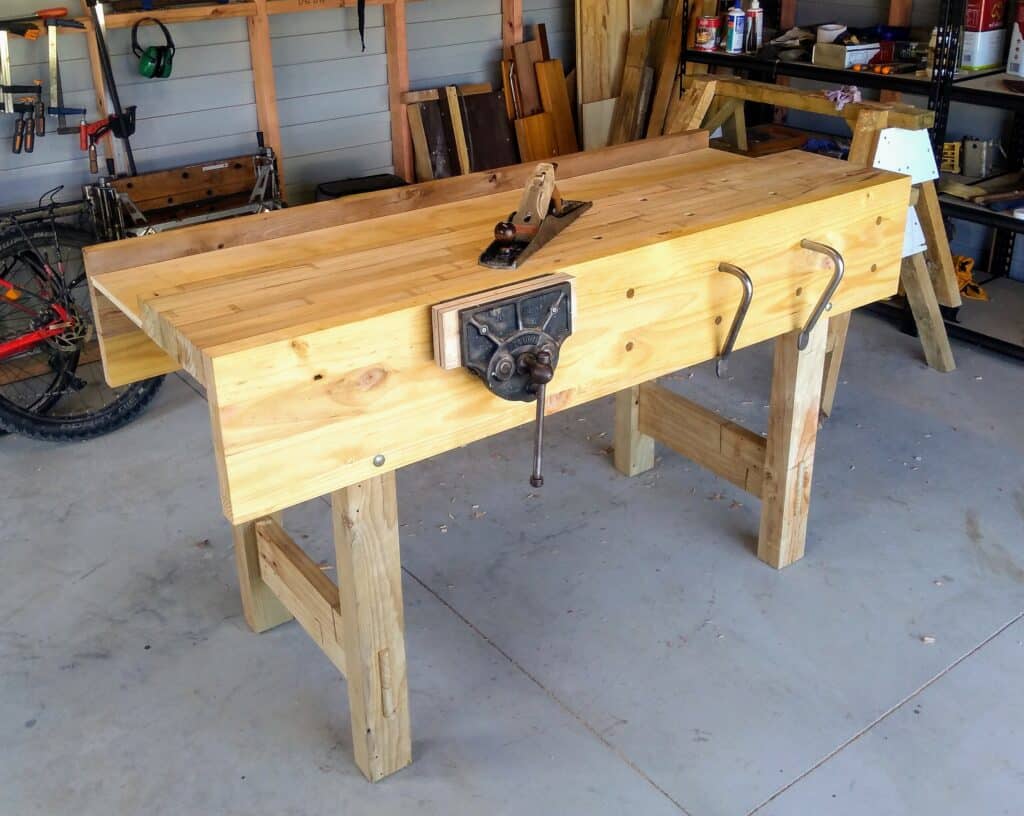
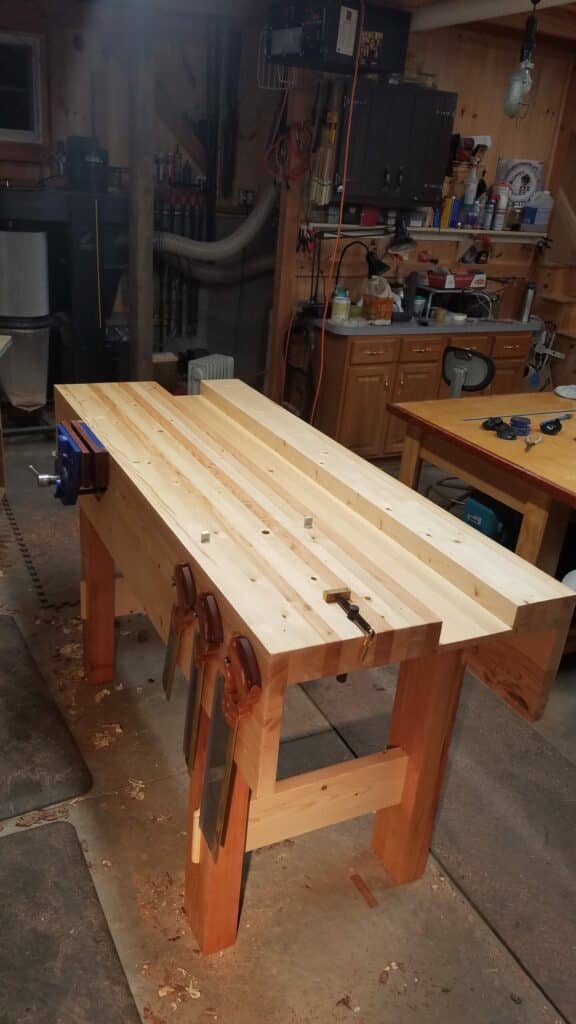
Candido Salgado – It’s a 6 ft X 24 in X 39 in made with radiata pine.
-
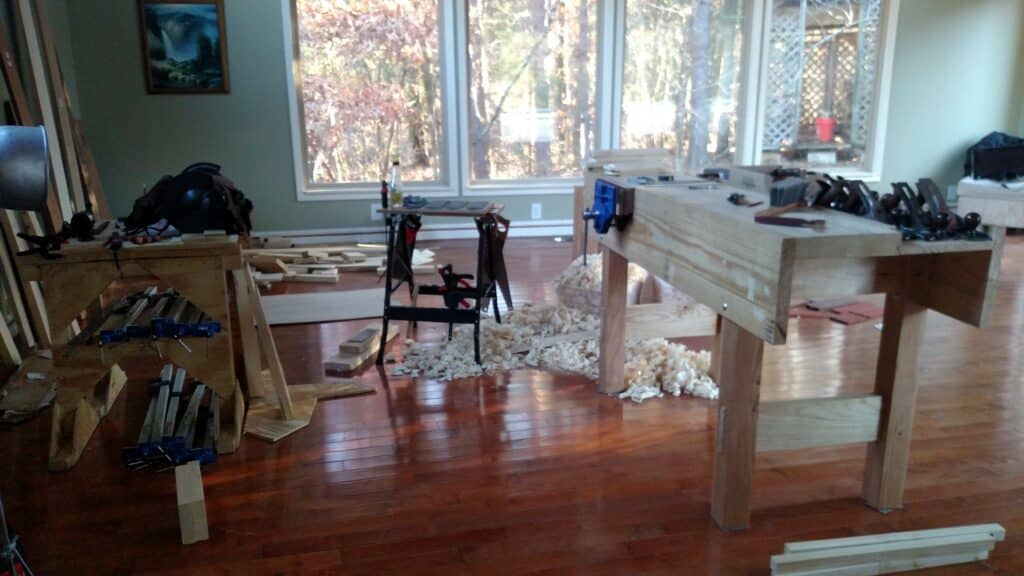
Simon Staal Nielsen – After watching a lot of videos and stocking the hand tools necessary, I began my own work bench project. I am making my work bench from fir bought in a local shop. I let the fir dry for a couple of weeks, and I have now completed the bench top. I am current working on the legs, and should be able to assemble these in a few days. Furthermore, the aprons have been glued up, these just need to be planed. On my bench, I will make my own leg vice from a beech plank that I got cheap. I will use a veritas spindle for this.
 Glen Croft – Using only CLS timber from Wickes (UK), first joints I’ve ever made!
-
Noam Cohen – I wanted a work bench for some time and following the series was a great experience.
-
Andrew – 2×6 pine with Douglas for legs
 Martin – Taken 3 months of working odd days to get this far. Working on the top before fitting vice. Excellent project I have learnt a lot thanks Paul.
-
Joe MacDougall – Haven’t started yet! I have a few projects to wrap up, then I can do the project without distractions. We don’t have access to a used lumber yard in Hanford, Ca. but I will check out a a place called Habitat For Humanity and see if any used lumber is available. I look forward to a relaxing project. I did pick up a very nice bench vise at a local swap meet for $40.00…a nice purchase! I plan to begin on the 1st of May…wish me luck!
 Nathan Diamond – I based the design of my bench off of Paul Sellers original workbench with a morovean base. I chose to use pine with blo finish. It is very solid but portable!
-
Roeland Herremans – Last week I finally started my ‘Paul Sellers Workbench’. I used for the legs scraps of laminated meranti poles that I have planed manually with a stanley nr°4. The rails are laminated from red norwegian pine (22x120mm) to a triple thickness. The dowels to reinforce the mortise and tennon connection were made from an old broomstick (maple). I want to use douglas for the worksheet, the aprons and the tool well.
 Jonathan – Pine from Lowe’s. Made mine a little less wide and deep to better fit my space.
-
Paul Dallender – Aged 58, my first piece of hand woodworking, made out of pine following Paul’s now famous ‘Build your workbench in the garden’ video, but using a Black & Decker Workmate as my vice and bench. I managed to find on Gumtree an old rusty Record 52 1/2 quick release vice (the one with an RD number stamped in the top) going for under £20, and with a bit of fettling it came up a treat. Although, rather than the standard blue I thought I’d go with British Racing Green. The bench may not be perfect, but I was chuffed to bits at my first attempt. Especially as not having a proper router, I had to make do with a Paul Seller’s poor man’s router. Oh, and I managed to complete the job, needing only one plaster (Band-Aid).
-
Roeland Herremans – My first woodworking project. Thanks to your video channel I found a new hobby. It was a really adventurous journey. For the legs I used scraps of meranti and pine. The strongest part of the douglas top and lacking experience I used birch plywood to finish everything.
-
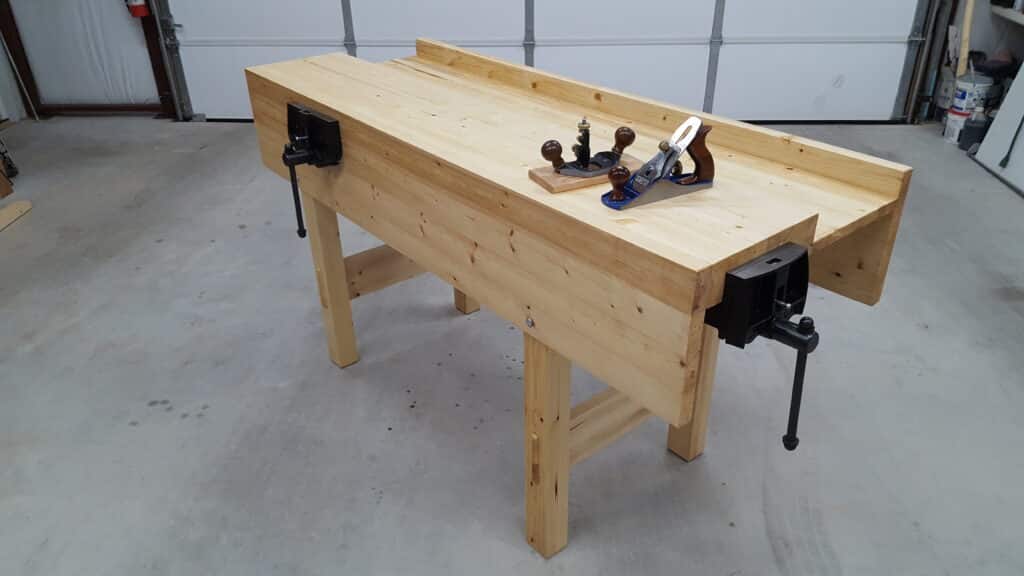
Brittain Wright – Added 6 inches on the right to accomodate a tale vise. Made completely from 2×4 construction grade #2 fir lumber. My first hand cut mortises.
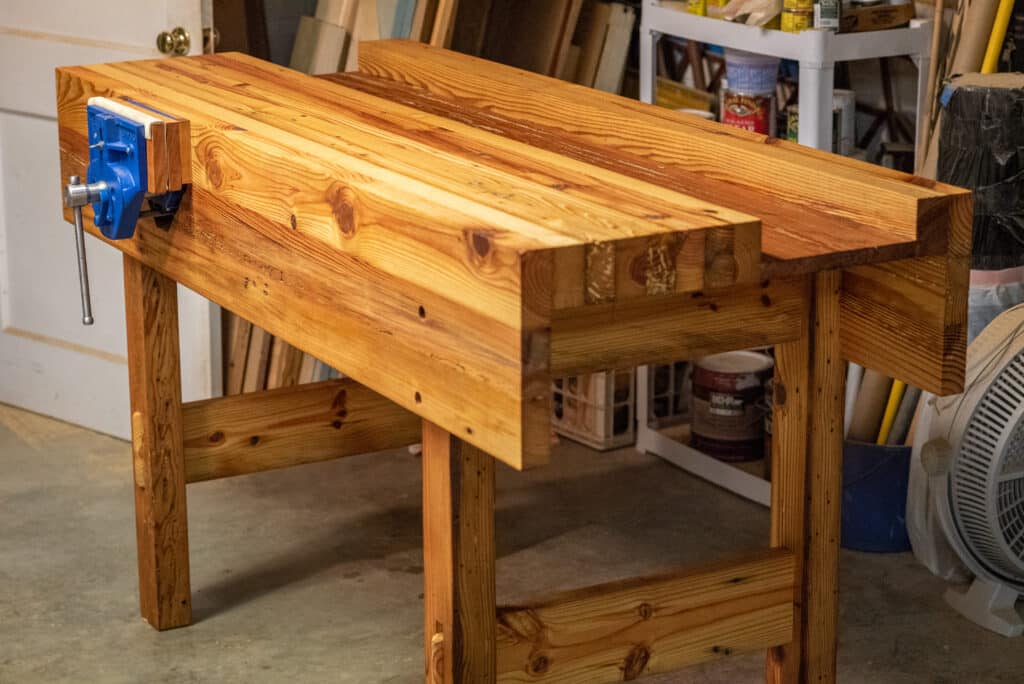
 Eric Monson – I had been wanting to try a project using local reclaimed pine from old houses, barns and warehouses, and the workbench was the perfect opportunity. I finished it with a leftover can of Danish oil, which sure brought out the character of that old wood!
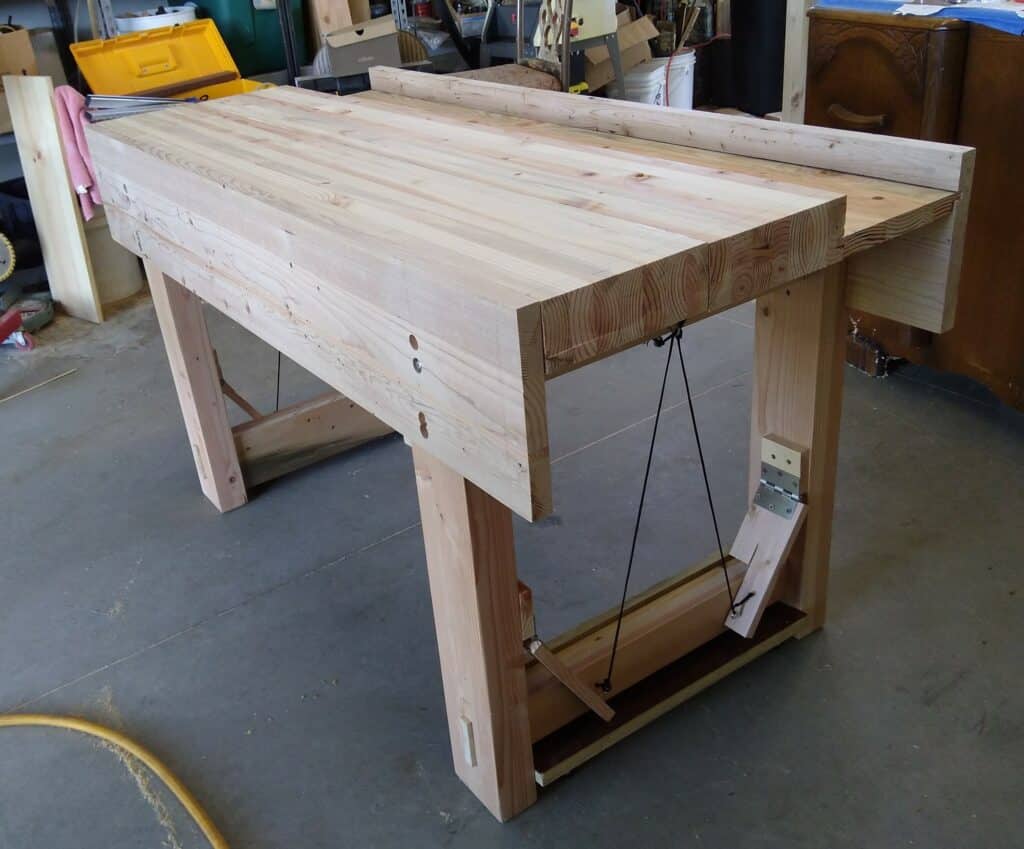
 Patrick Wright – Simple 2×4 and 2×6 Doug Fir lumber from Home Depot. Features home made drop caster system.
-
Dave Robbie – I made my workbench from common construction grade lumber. I followed the plans in Paul’s book on Woodworking 1&2 Artisan Course and his original YouTube workbench series. I started the side shelf for sharpening plate and strop. Looking forward to the instruction on making the front drawer.
 Burl Rice – I built this bench from pine, very closely to Paul’s tutorials. I deviated slightly in making it taller. I have back problems, so the extra height makes it more comfortable for me. I also made the legs thicker, because of the height, and that I had recycled 2×6’s in hand.
-
Charlie – Made with locally grown and milled poplar and obliqua from my local timberyard. All done by hand tools from raw flitches, including stock prep.
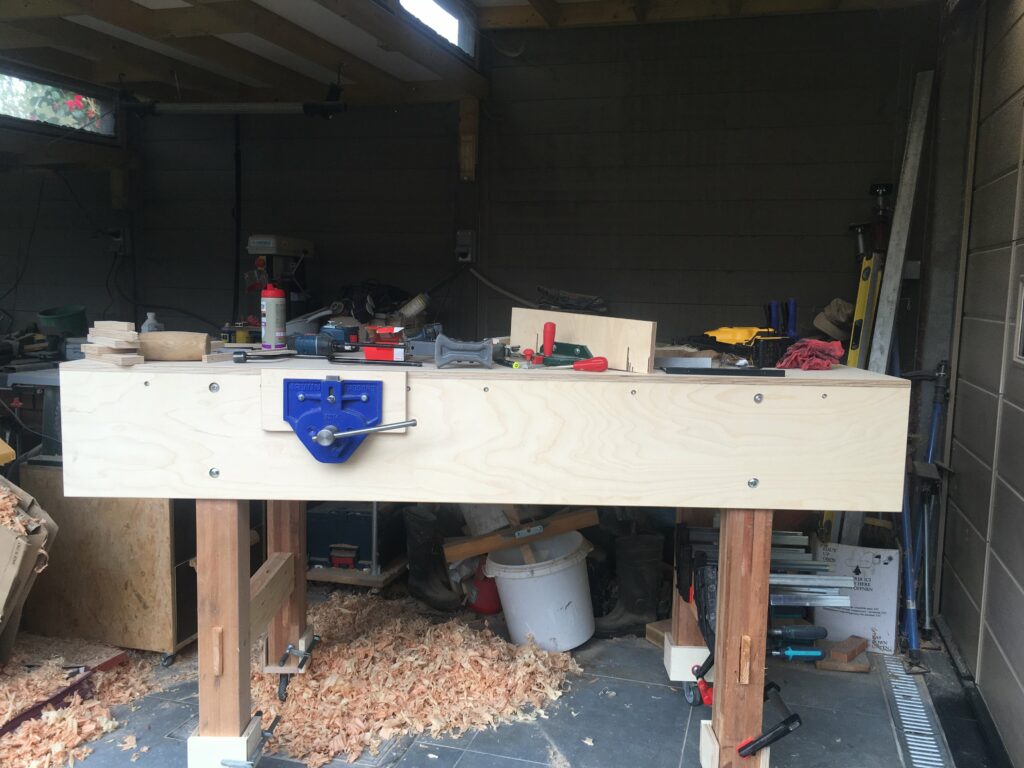
 Finn – I used recycled building timber for the top, old signposts for the legs, 3/4in ply for the well and the rear apron I laminated up with some recycled rimu as the top piece. I decided to use a couple of holdfasts to the right of the vise on the apron and top. The vise is a record 52.5, taken apart and restored. Took the equivalent of 15 days full time.
-
Amiad Dvir – Wanted to build a proper workbench. ended up making something that is much more complicated than intended … laminated the whole top section and aprons .. I like how it came out
 Mark – I used old cypress fence posts, very hard, lots of knots, maybe not the best choice, but did all the joints with handtools over about 6 months, found an old dawn vise on ebay in great condition. Was immensely satisfying once i got it done, then moved overseas and left it behind with family. The thing is heavy and stands completely solid. I kept the thicker dimensions from the fenceposts for the legs and top, it has character.
 Martin Ridge – Used as much repurposed stock as possible, 40+ year old 4×6 fir beans for the legs and a few old 2x4s for the top mixed with new pine. 1″ taller and longer than plan. I made the tool well narrower to allow a 2nd work surface on the outer side that works with my shop layout. Phase 0 was refurbishing my uncles old Stanley planes (4&6) so thanks for that video as well!
-
Brandon Reece – I’d very much like to thank Paul and all his fellow workers for providing the necessary instruction for my bench. Now I have a place to pursue my passion for woodworking. For the bench I used whatever pine I could get hold of so my bench consist of white pine, yellow pine, and fur for the 4×4 legs. It was quite a challenge for me to plane the surfaces on a slippery floor ending up on the other side of the room in most cases. However, now I have a solid place to work. I haven’t gotten around to finishing it yet because, I started using it as soon as it was completed. Also, found out that the wedges work very well. I was trying to remove the top and smacked the back of the apron with a hammer causing my apron to crack. I put in a bowtie looking dovetail “patch” and everything has worked great so far.
-
Lukas Brütsch – I used “Fichten-Holz” (i guess in english its “spruce”) for my workbench.
-
Matthew Mills – Mostly reclaimed pine and some cedar for the leg supports. Enjoyed every minute of the build (apart from making the mortise holes. That grew tiresome!)
-
Glenn Malone – Made from Red Pine, finished with two coats of Teak oil.
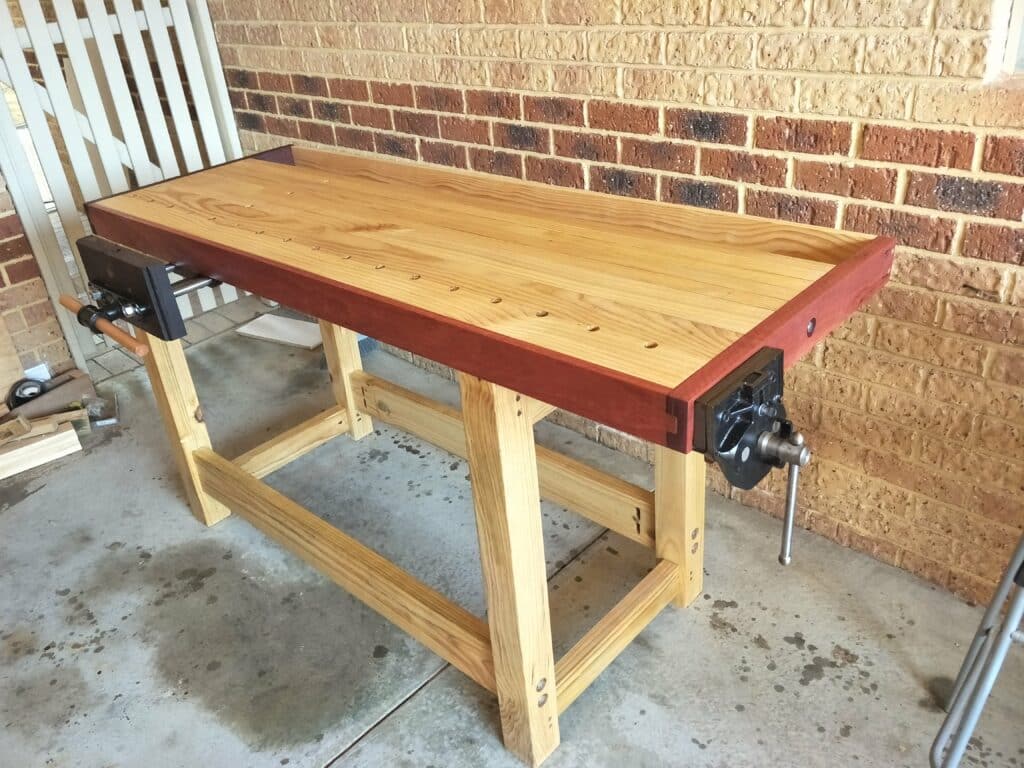
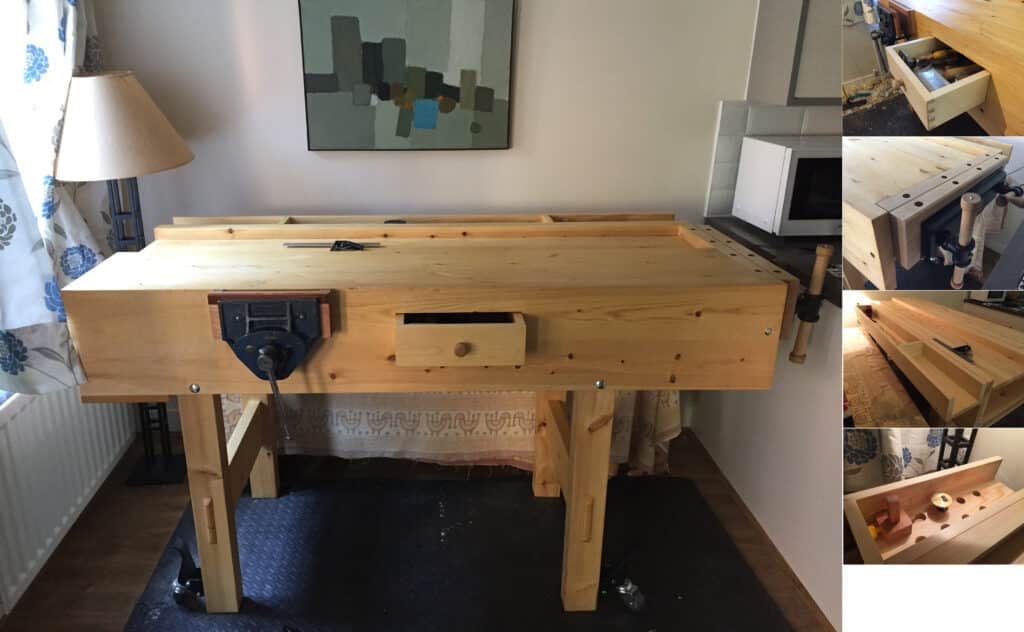
 Francois Lafaix – This workbench is made out of red wood (pinus sylvestris) and follows very closely the methods and dimensions of the 2017/18 video series, customisations included, but the right legs have been moved 7 inches to the left to accommodate a tail vise and its hard maple jaws which I salvaged from another workbench. The front vice (the only vice I’ve used so far) is a Record 52 1/2E from ebay. The drawer handle is a modified B&Q beech handle, and the casters are Powertec 17000 from Amazon.com. Overall, I couldn’t wish for a better workbench, and hand tool initiation, but may add some benchdogs to make it even more practical.
-
Pat Taylor – After watching one video I knew I had to build this. Used Home Depot 2x4s and 2x6s, the best I could find but with plenty of knots. I with a working height of 43 inches (I’m 6’4″), and so far I like it. I had fun and learned a lot of basic woodworking. Now I look forward to using this workbench as it was intended, and to learn much more from Paul!
-
John Forret – The bench was made from reclaimed timber and stuff I had lying about. Mostly from wood reclaimed from a sprung floor which had rubber blocks in holes at regular intervals. Some sort of red pine, which was quite dense and good to work with. First time using planes and first ever mortars and tenons cut by hand.
-
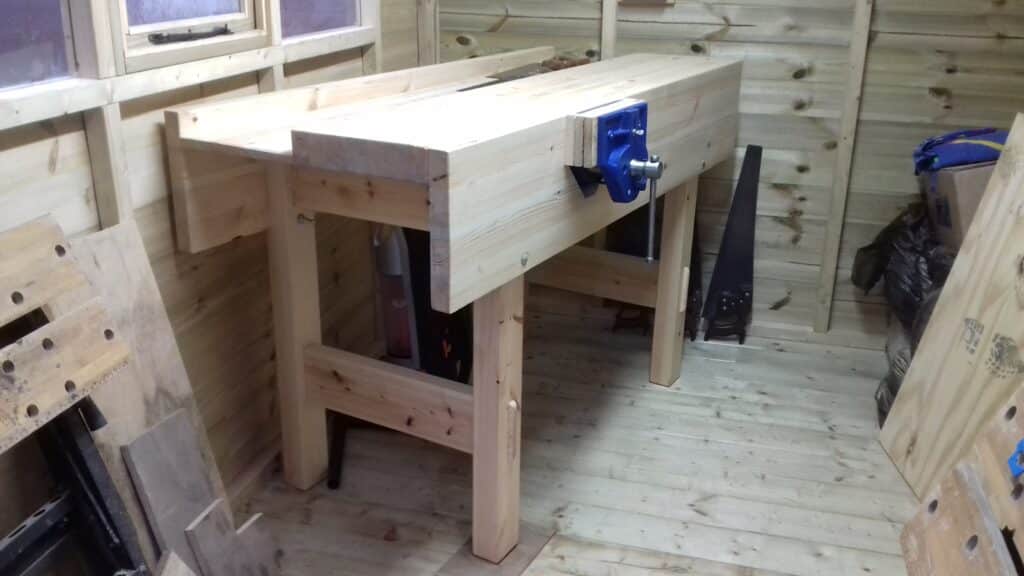
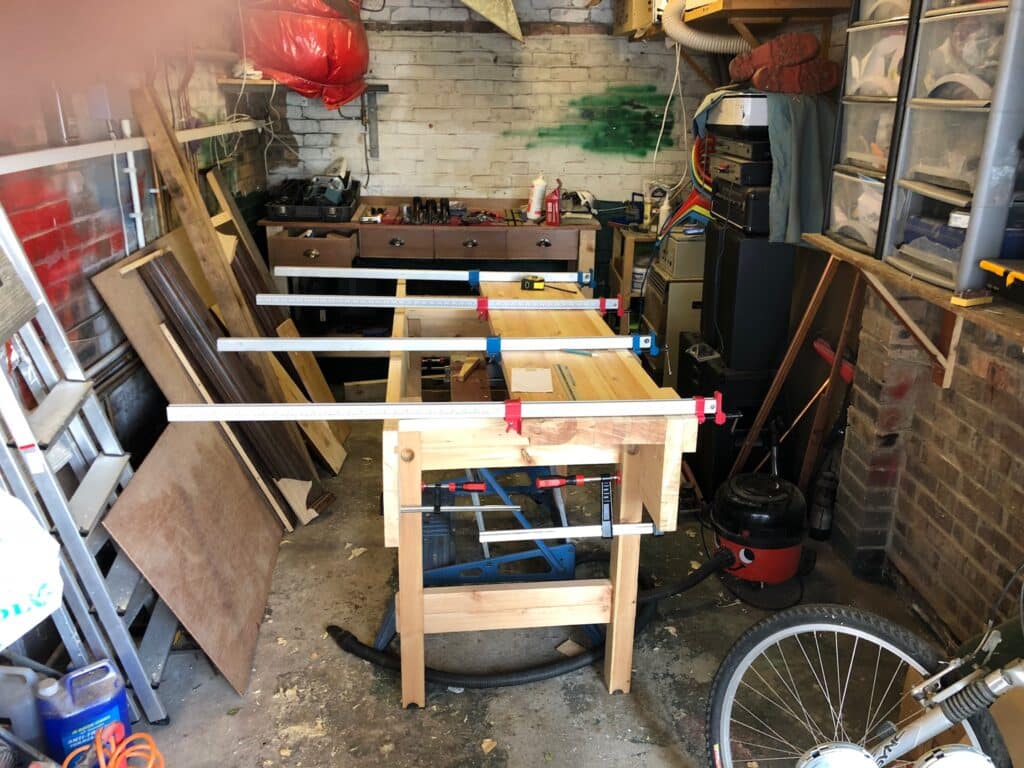
Keith H – My summer holiday project – some wood was sourced from Wickes and the rest from my local timber merchant in Abingdon. I was lucky enough to have a enormous workshop to make it in. When I transport it home, it will live in my garage.
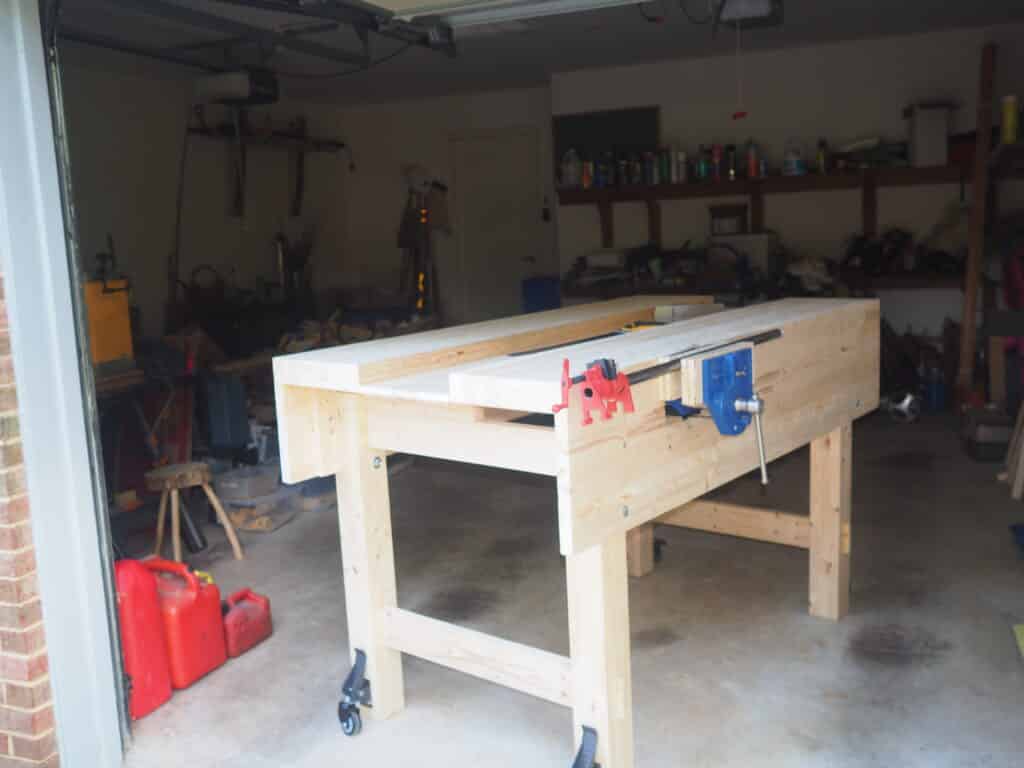
 Richard Oberg – I used the best 2×4’s Home Depot sells. I used 2×6’s &n2x8’s for the aprons. I made a few mistakes but on the whole it is a most usable bench. I wanted to let Paul know that at 65 I never thought I could accomplish this. I now have the confidence to construct furniture. It is becuase of Paul, his encouragement and teachings. Can’t thank him enough.
 Cliff – The top, aprons, and wellboard are reclaimed 2×4 construction lumber that sat in my neighbors pool submerged in water for a year. The cross rails are spruce, and the legs are 4×4 Douglas fir.