Strategy for Making Draw-Bore Pegs
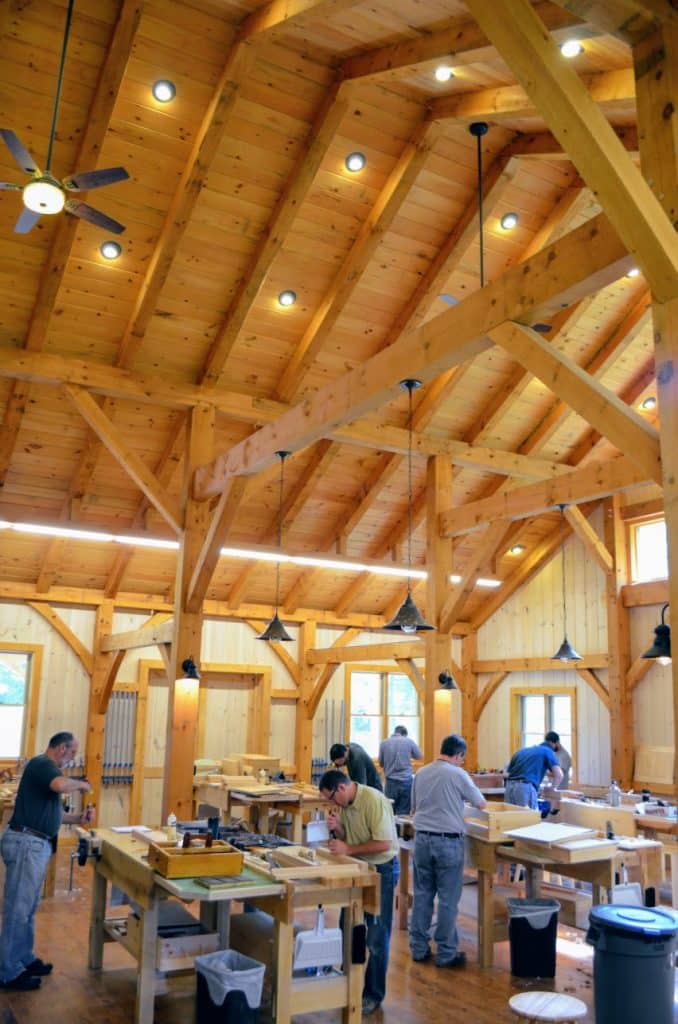
Smaller draw-bore pegs are unlike timber-framing pegs, primarily because of size. On a timber-framed structure for a building the pegs can be from 3/4″ on up to 1 1/4″ depending on where the pegs are used–main frame posts, collars, tie beam, brace and so on. Draw bore pegs for buildings are typically shaped and sized with little more than a draw knife although some builders have them turned on a lathe too. For furniture our pegs are much more diminutive, rarely are they more than 1/2″ in diameter and they then go on down to as little as 1/16″. Mostly they are 1/4″ through 1/2″. The danger with draw bore pegs is increasing the diameter of the peg and the resultant hole can markedly reduce the strength of the other two components, the mortise wall and or the tenon. It’s generally about finding the balance. Now that we have seen that I can introduce my own methodology for making furniture draw bore pegs also called pins, trunnels, trenails and treenails amongst others.
As a preventative, I make a quick dovetailed corner I can clamp into the vise to chisel against. It saves my bench top.
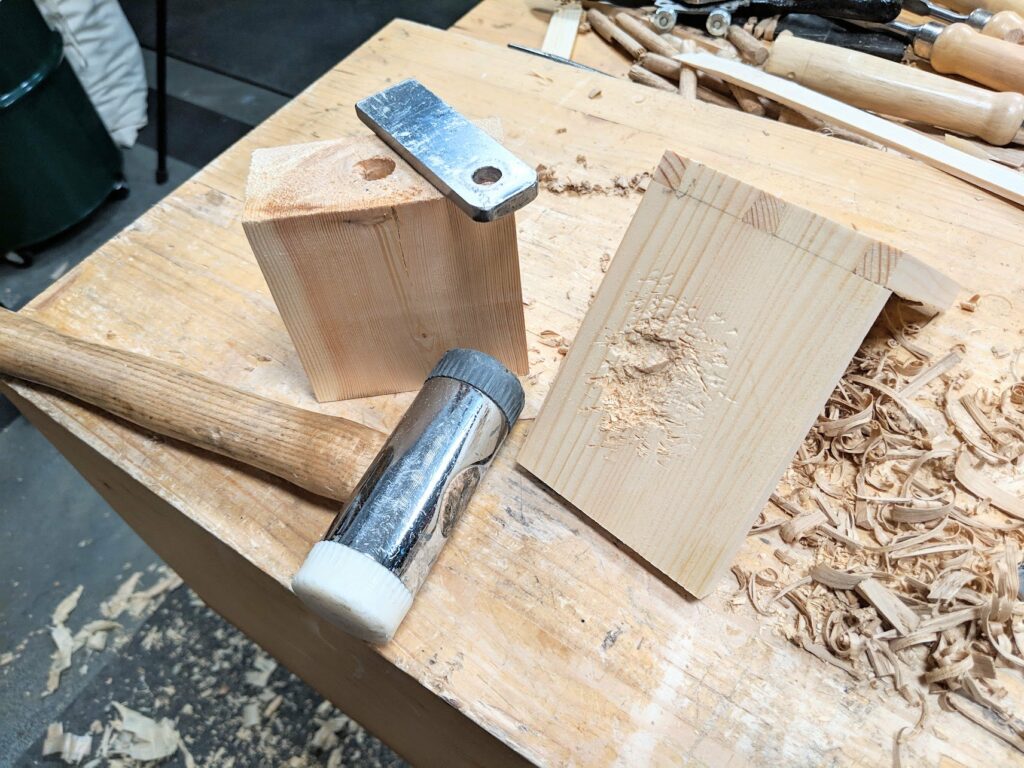
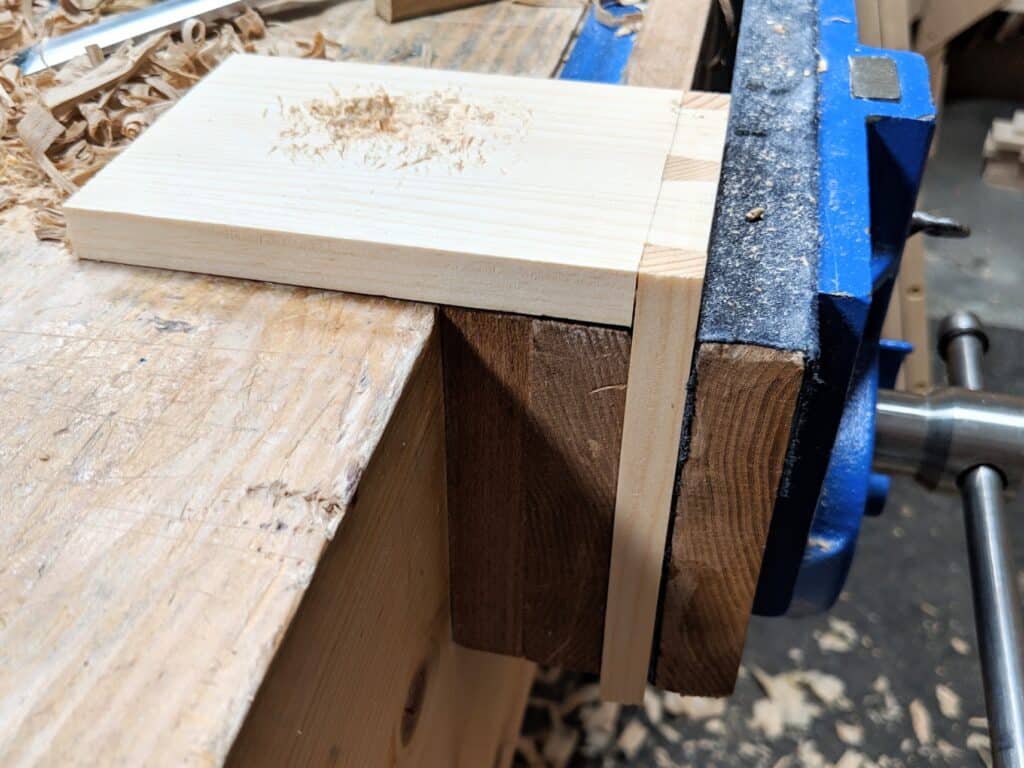
It clamps nicely into the vise and rests safely and securely on the bench top; no slippage.
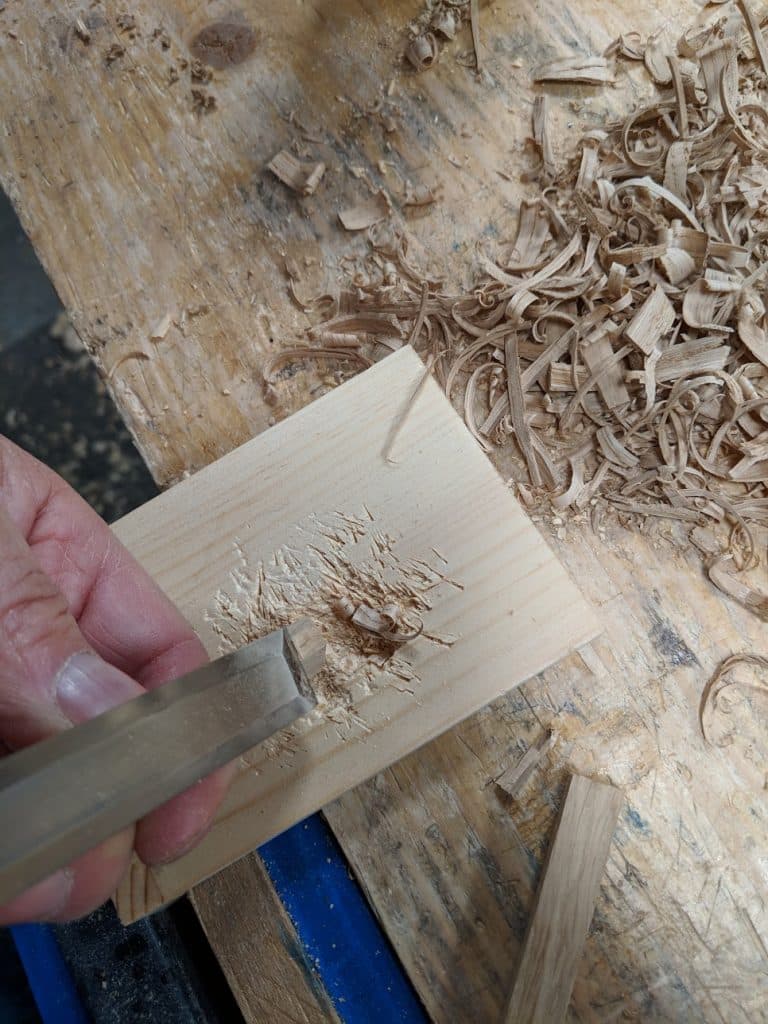


Our trunnels can be made completely dead round or indeed octagonal. The idea of the octagonal pegs is good compression but it really works best with bigger trunnels. Driving the octagonal shape into a perfectly round hole causes the hard edges to bite into the walls of the hole. The flat faces have gaps and the hard edges consolidate under the driven pressure and fill in the gaps. There is better bite, better spring and better cohesion this way. The struggle is variance in size. It is much easier to size the peg to exact size by basically drilling the desired hole size into a section of steel and driving the peg through the steel. This gives you an exact sized peg.


The best system is to preshape the peg using a suitable sized chisel. I prefer a 3/4″ bevel-edged chisel. Tapering the start to a point gives a leading edge into the hole of the steel. Removing the corners reduces the force needed to drive the peg into and through the steel.
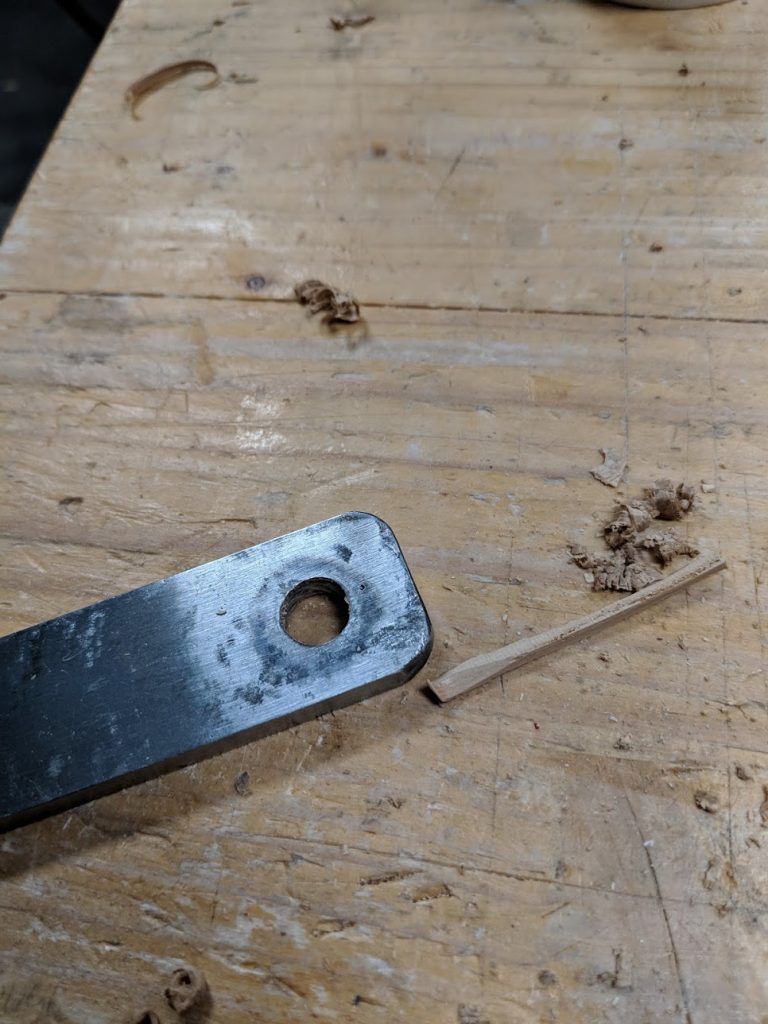
Drill the hole size you need through any piece of thick steel you can lay your hands on. Alternatively a steel washer will work for this too provided it is thick enough to withstand hammer blows.
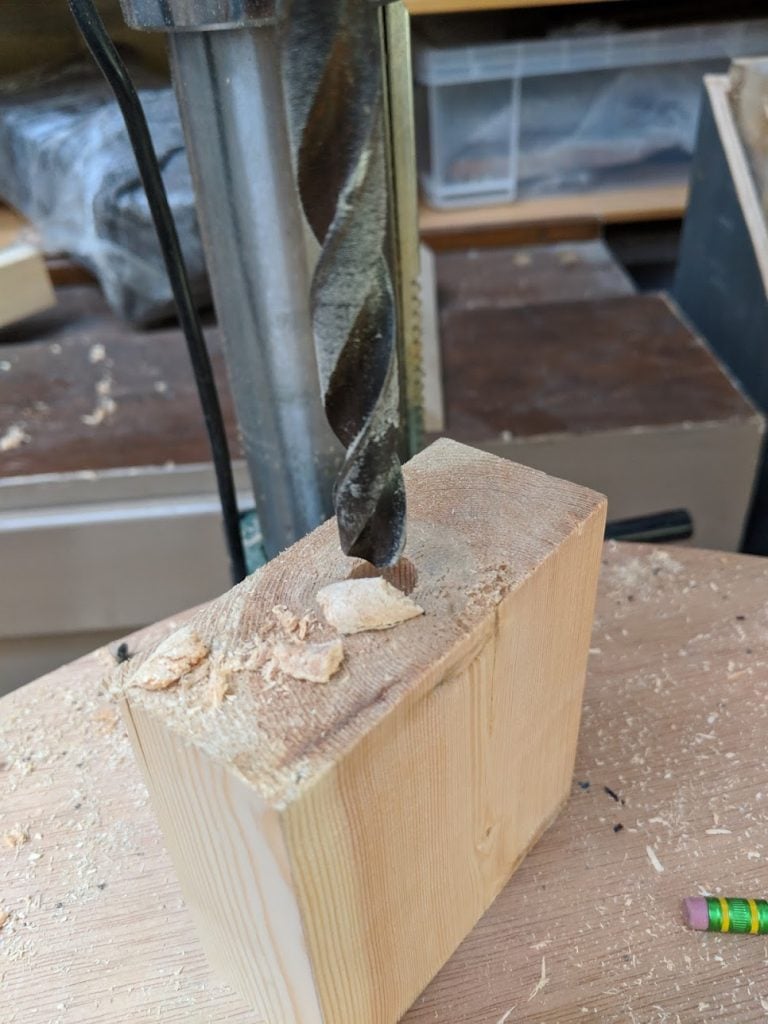
I also drill an oversized hole into a block through the end grain. This serves to support the steel dowel maker when I drive the blank to develop the peg.
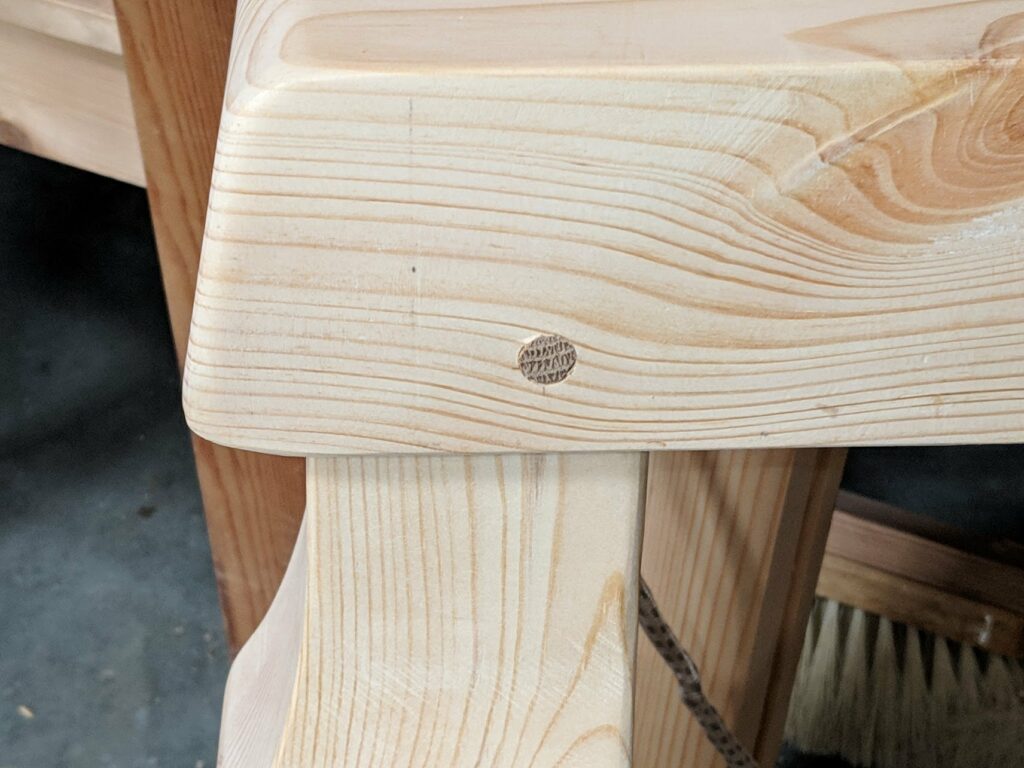
Here it is!


As everPaul, you have given an excellent and succinct demonstration and explanation of how to to employ a method which is centuries old. This would be a great thing to show in one of your videos. I particularly enjoyed the differentiation between furniture making and wood framed building methods, I wasn’t aware of the subtleties and will bear them in mind in the future.
Yet again thank you for an insightful blog.
He’s produced videos with it in, that’s how I learnt to do it ?
I never thought about using a washer.
Some very great advice, never thought about a block with an oversized hole under the steel plate.
What I like to do is put my dowel stock into a hand cranked pencil sharpener to get the tip pointed. I’ve had some success forming pins by chucking the stock into my drill and running this through an appropriate sized die ( ie m-8 or 3/8) and then finishing off with the steel plate.
Sounds as though it complicates what’s truly very simple though, Edward. I mean, I make a pin in under a minute that’s all.
Paul, can you give some parameters for when you choose to add draw-bored pegs to your mortise and tenon joints?
I would enjoy further insight into this method.
For instance I appreciate the insight on the effects of oversized holes.
What about are there times to avoid draw bore pegs?
When would you want to use them over say glue or metallic fasteners?
You can draw bore and glue if you like. Sometimes you may not be able to clamp an assembly together for one reason or another and it’s a good solution in that case. Then there’s times where you may want to keep glue out of the equation as you mentioned, one project that comes to mind is the breadboard one, well worth a look.
Then sometimes you just want pegs not for joinery but to hang things off of. I make most of my pegs for that reason.
Oh and of course you have the advantage of draw boring pulling the joint up tight because the holes are typically offset so when you drive the peg makes for a tight shoulder line. Plus there’s the bonus of the look, if that tickles you fancy it not, I for one love it.