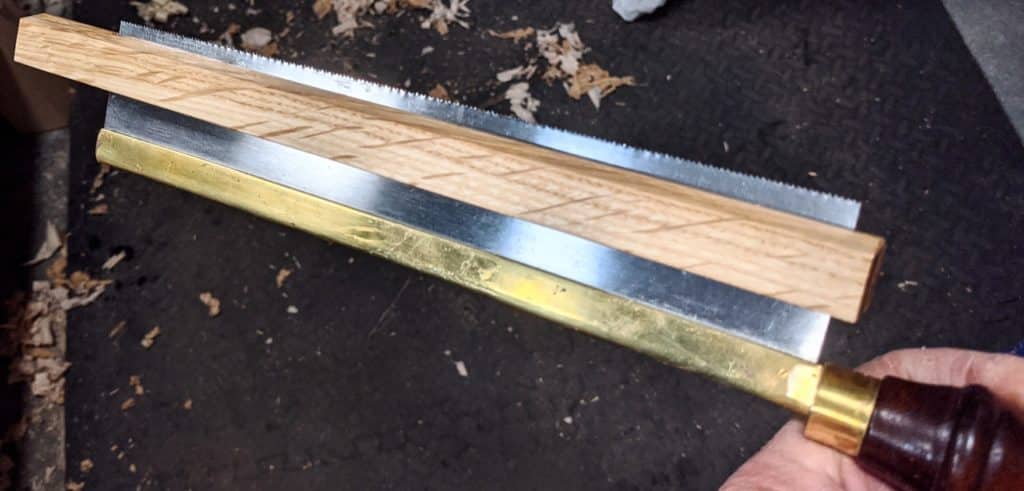
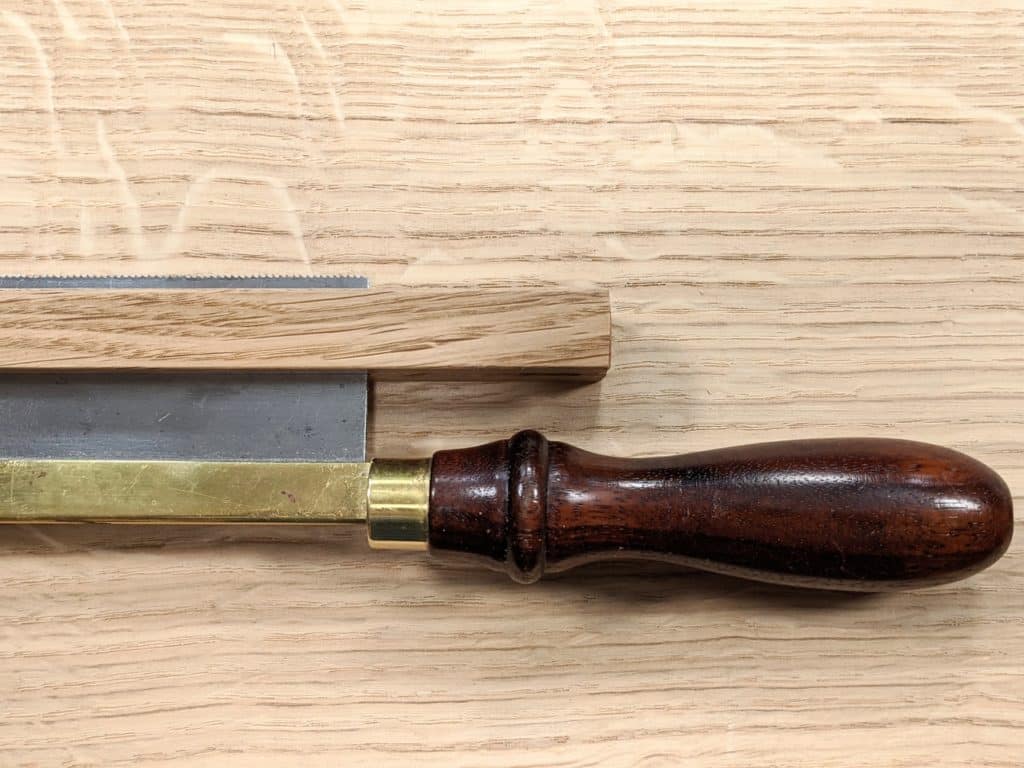
#1/10 Lockdown Videos
I promised you ten projects for free during the pandemic and I am ploughing through them full steam. It’s been DIY for me all the way except for the edits, which Natalie did, working from home. She made everything come together except any out-of-focus points which even she couldn’t handle. Oh well! I’ll do better!

So what was the point in so simple a project? The answer is plain and simple or PS, plane and saw practice. This project is really the vehicle through which I am reinforcing the training in rip-cuts with a tenon saw that goes deeper and generally beyond the capacity of a brass-backed saw because of its restrictive back. So I make a 12″ long ripcut with a tenon saw to show how it is done.

It also teaches a method of rip-cutting that keeps the saw parallel to the outer faces of the wood. This technique is something I use all the time with hand saws as well as saw can drift in the sawing action stroke on stroke. It’s a technique I have used all of my working life. Secondly, we can use every opportunity to learn, develop, and reinforce our skills in sawing and then too planing. In this, we have a few little techniques that enhance the finished work yet with very little effort. Lastly, we have a lifetime support piece to use every time we need to sharpen our tenon saws.
You can watch it on Woodworking Masterclasses for free here: https://woodworkingmasterclasses.com/videos/saw-clamp/


Simple, practical, easy and elegant, like always. I wouldn’t worry about the out-of-focus parts.
Thank you, Paul. Be healthy!
Hello Paul, my name is Dardo, from Argentina. For years I have been following you and your work, reading you and watching your videos. Never post a comment, but today for some reason I feel that I have to be grateful and thank you for everything you do for me and everyone around the world. In some special ways you do my life better as an individual and as a man and show me the ways of been better everyday.
Thank you so much.
I hope you and your family are doing fine.
Cheers from Argentina (I am the only one perhaps? I am sure not)
This is great! Thank you so much. These are the skills I need that I am not confident enough to use on projects.
Watched it yesterday and loved it. I was part of an outdoor ministry for about 10 years, and very well know about all you went through to “Self-Film”. I think you did a great job in this new adventure, and once again, watching you progress through a project, I have learned and know more today, than I did yesterday. Keep up the good work, and stay safe.
Jim Light, Goshen, Ohio USA
I made it and I enjoyed it! It is simple, yet is elegant and needs care in making. I made it from a scrap piece of sapele. Two coats of shellac, one pass of furniture wax with 0000 steel wool. Now it seems like a luxury piece that has been in my shop for years! It fits so well with everything! It’s because it has the same spirit, I guess.
Special thanks to the cameraman!
Looking forward to #2/10! …may I suggest a “Lockdown Projects” session on WWMC in the Gallery Goodnes submission form?
Thank you for doing this Paul, it certainly is good to have some useful simple projects to practice.
Just watched the video and really enjoyed it, I’m going to make it for my smaller saw today. Thank you very much.
A perfect project for some hickory offcuts I’ve had for a few years! Completed in about an hour so a perfect after supper project. Thanks for the inspiration and looking forward to the next nine videos!
✏📏🔨
Thanks for these projects, I’m sure many will appreciate them. But for me, your true gifts have been the techniques you teach. With those I can make my own projects. Have dozens and dozens of them on the ‘to-do’ list.
A few days ago I made a small dovetailed box out of a scrap bit of oak, to hold cotton swabs in the bathroom. Was fed up with the nasty plastic box they come shipped in. The wood was first scraped clean (#80), planed, cut to size and then dovetailed. The joints were better (this was my 3rd attempt at dovetails), acceptable even. The box ended up very nice, no real flaws. It was only when it was nearly finished that I realized it’d make a nice mother’s day gift (next sunday over here). So had to make another one for myself. That one was finished today. The dovetails are better yet again (though they did take one hour each, excluding the rush to the first aid kit. Those chisels are indeed very sharp nowadays, and a workmate makes for a lousy workbench…. but it didn’t hurt and I didn’t cry). If I can maintain this level of quality in the dovetail joints but make them faster, that’d be very nice.
About a week ago I made a ceiling door for the workshop, to close off the attic, using half-lap joints. Everything was made by hand. Next up will be building a ladder for it, have the design worked out, only need to build it. By now I have enough skill that I know it will be succesful. Will also need to make a bit of stainless steel hardware for it (wheels, handles, locks, etc.) but that’s simple enough. It’s thanks to your teaching those woodworking skills that another world of possibilities has opened itself. It’s that for which I am truly grateful.
I have a question on dovetails. I hope this is the correct place to ask this question. When you are chopping – are you trying to remove material that had it fibers cut when you chopped vertically from the knife wall. Or is the function to cut the fibers that were raised when paring horizontally into the knife-wall. Knowing this would help me understand how hard to hit the chisel when working from the knife wall and also the depth of the paring when working horizontally.
Thanks,
When chopping into the knife wall, or near to it, you are severing the fibres. From the other direction you are then splitting the wood up to those severed cuts and flicking out. Just don’t chop down too hard to start with or you risk the chisel pushing back into your knife wall.
Hi Joseph, seems the only time I comment I have a problem, we’re back to blank green screen again with intermittent sound. Regards Jim.
Gently at first, then firmer blows as you go deeper – but it is not necessary to bring out a sledgehammer at any point. 🙂 The first few chops should be done very lightly to deepen the knife wall to the point where the wood fibres can support the chisel when you chop. Act on the side of caution until you get enough experience. It won’t take long. 🙂 If I can do it, I guarantee you can do it too.
I dont believe I really noticed any out of focus parts I was too busy watching you make a nice tool compared to the bit of scrap with a kerf in it I have been using. I was defiantly educated seeing you make that long cut with your hacksaw and will give that a try as well. Thanks much as always
Alan Adler studied design and earned a master’s degree in Package Design from Pratt Institute. He is the founder of two companies, Source Packaging and Cases by Source, which produce custom packaging for everything from aircraft instruments to medical devices.