Making a bed
It looks like an English king-size is the equivalent of a US queen-size.* Probably to do with the sizes of US homes often being larger in size compared to the UK versions. We all face new changes and challenges with heating bills in the coming months and years. The work we did on the house restoration took care of many things insulation of the house. Light a candle downstairs and the whole house feels warm . . . joking, but it is much more comfortable now.
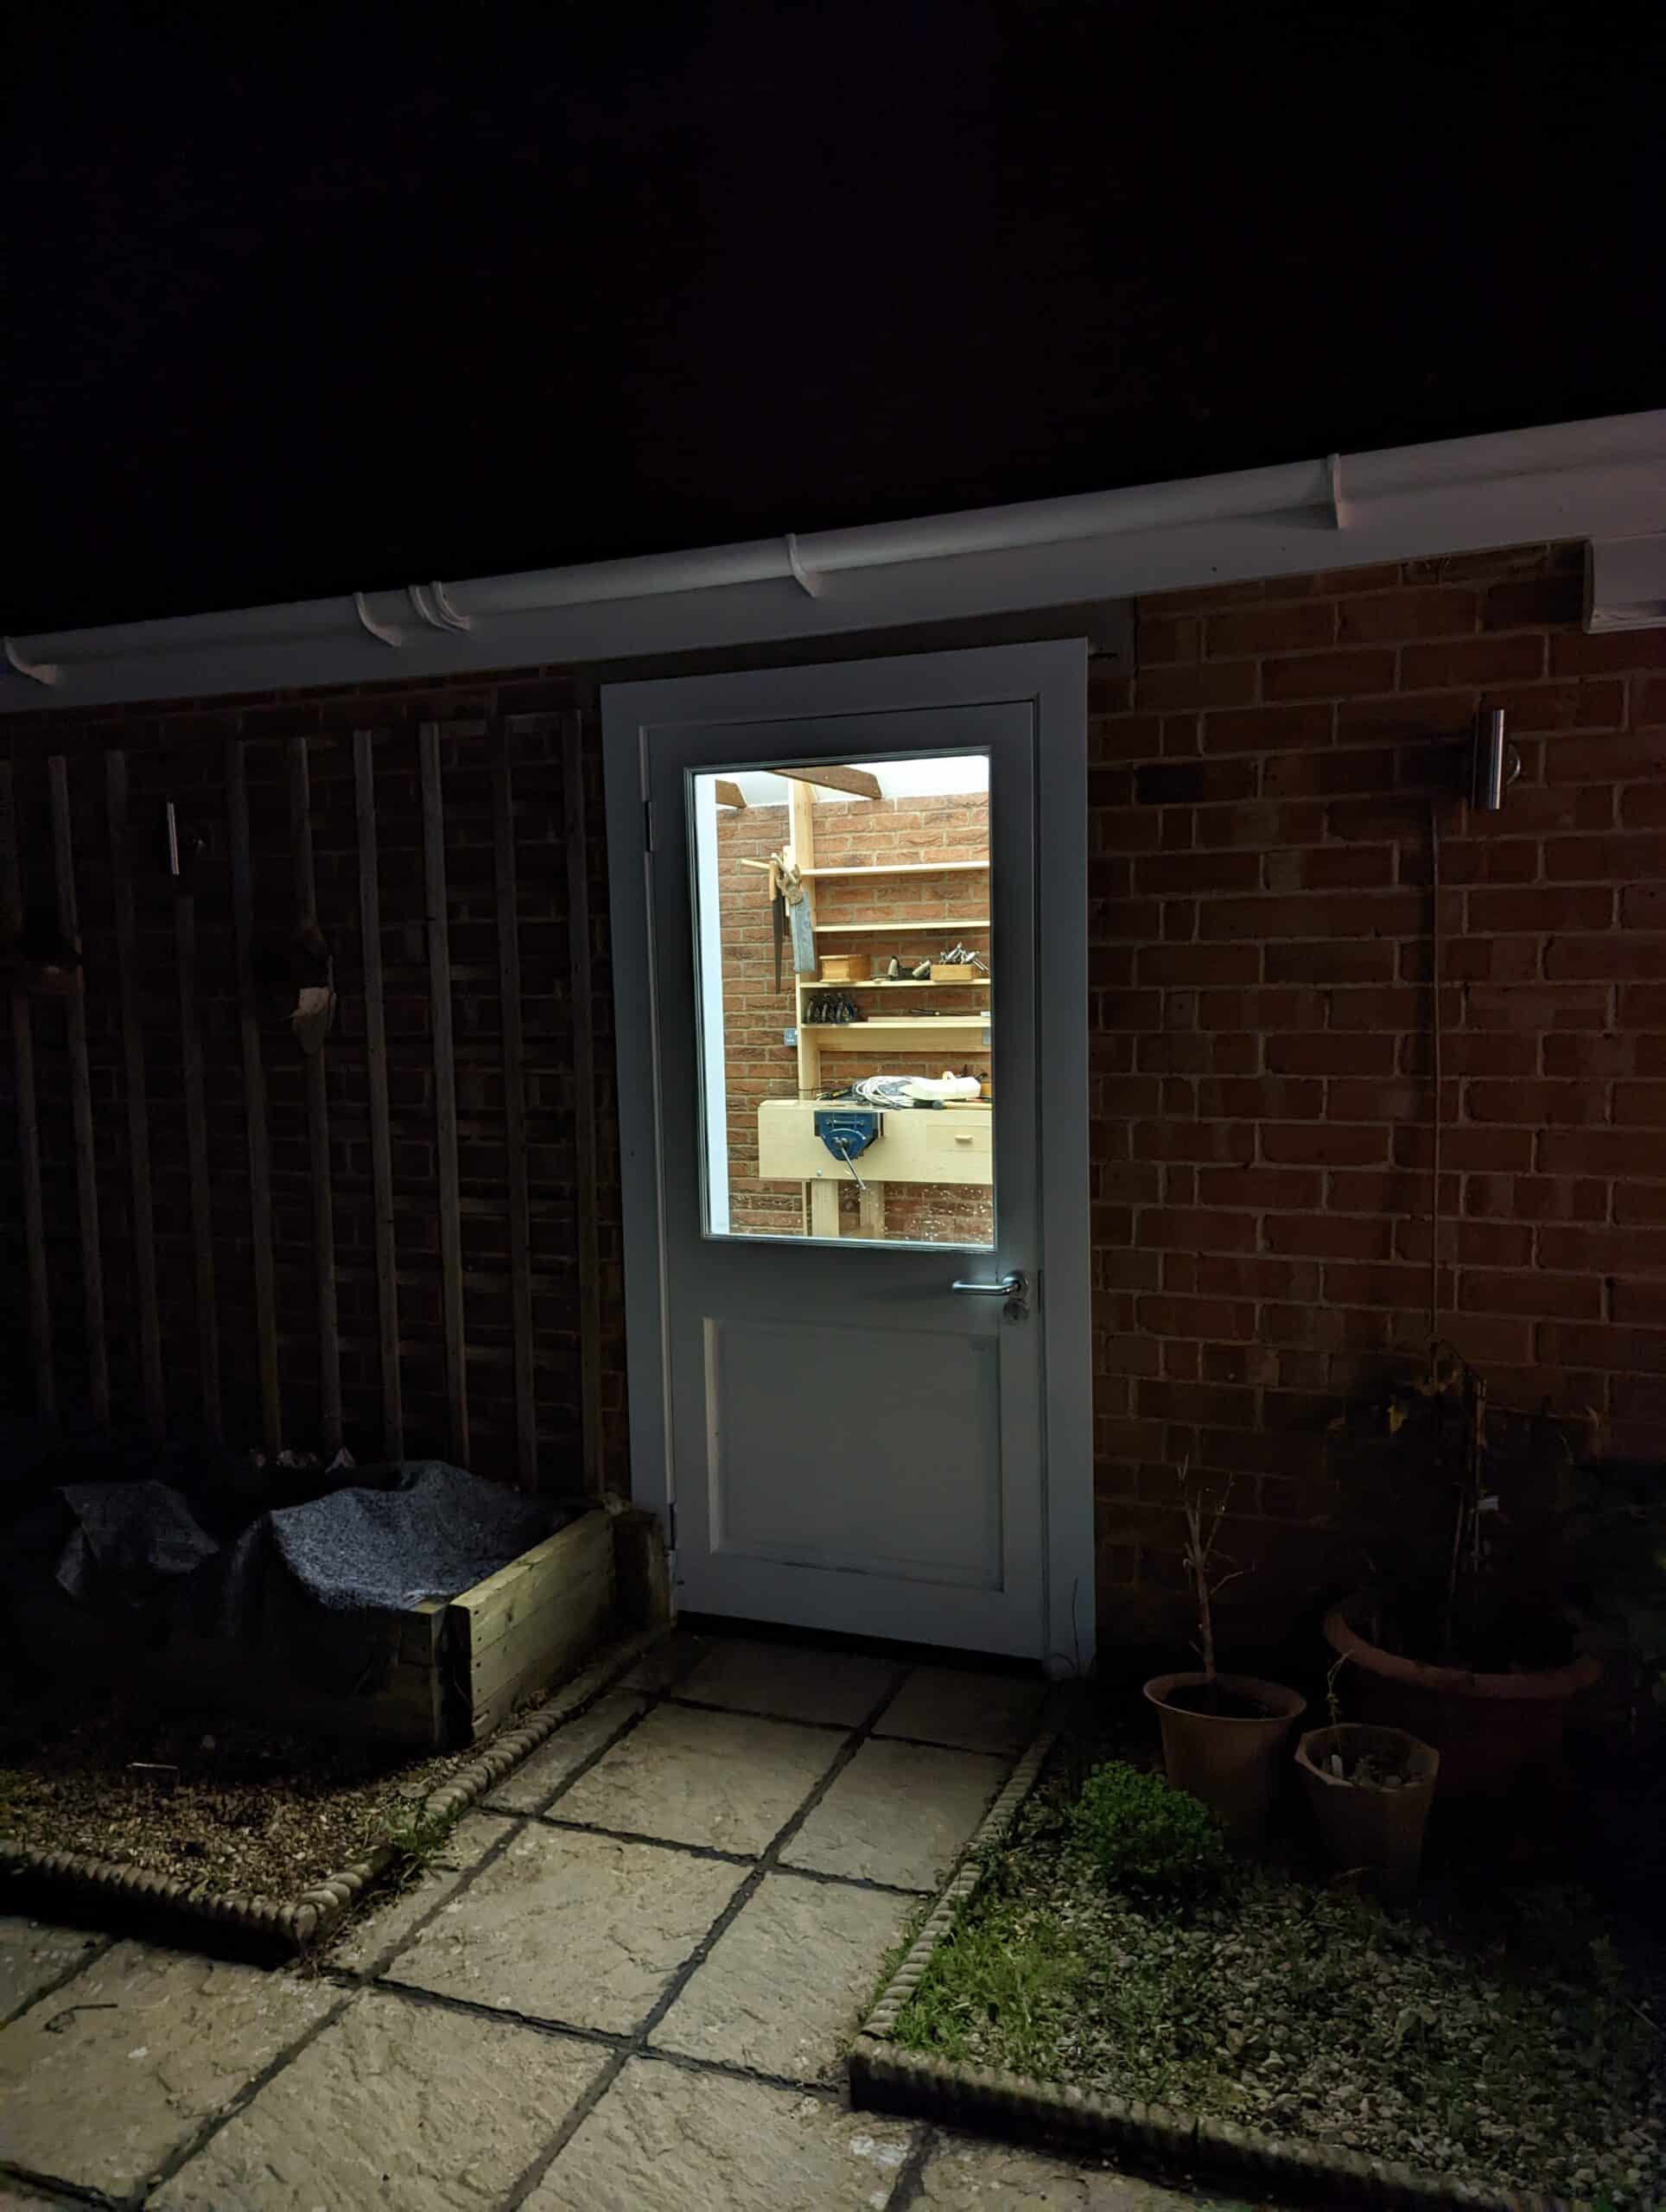
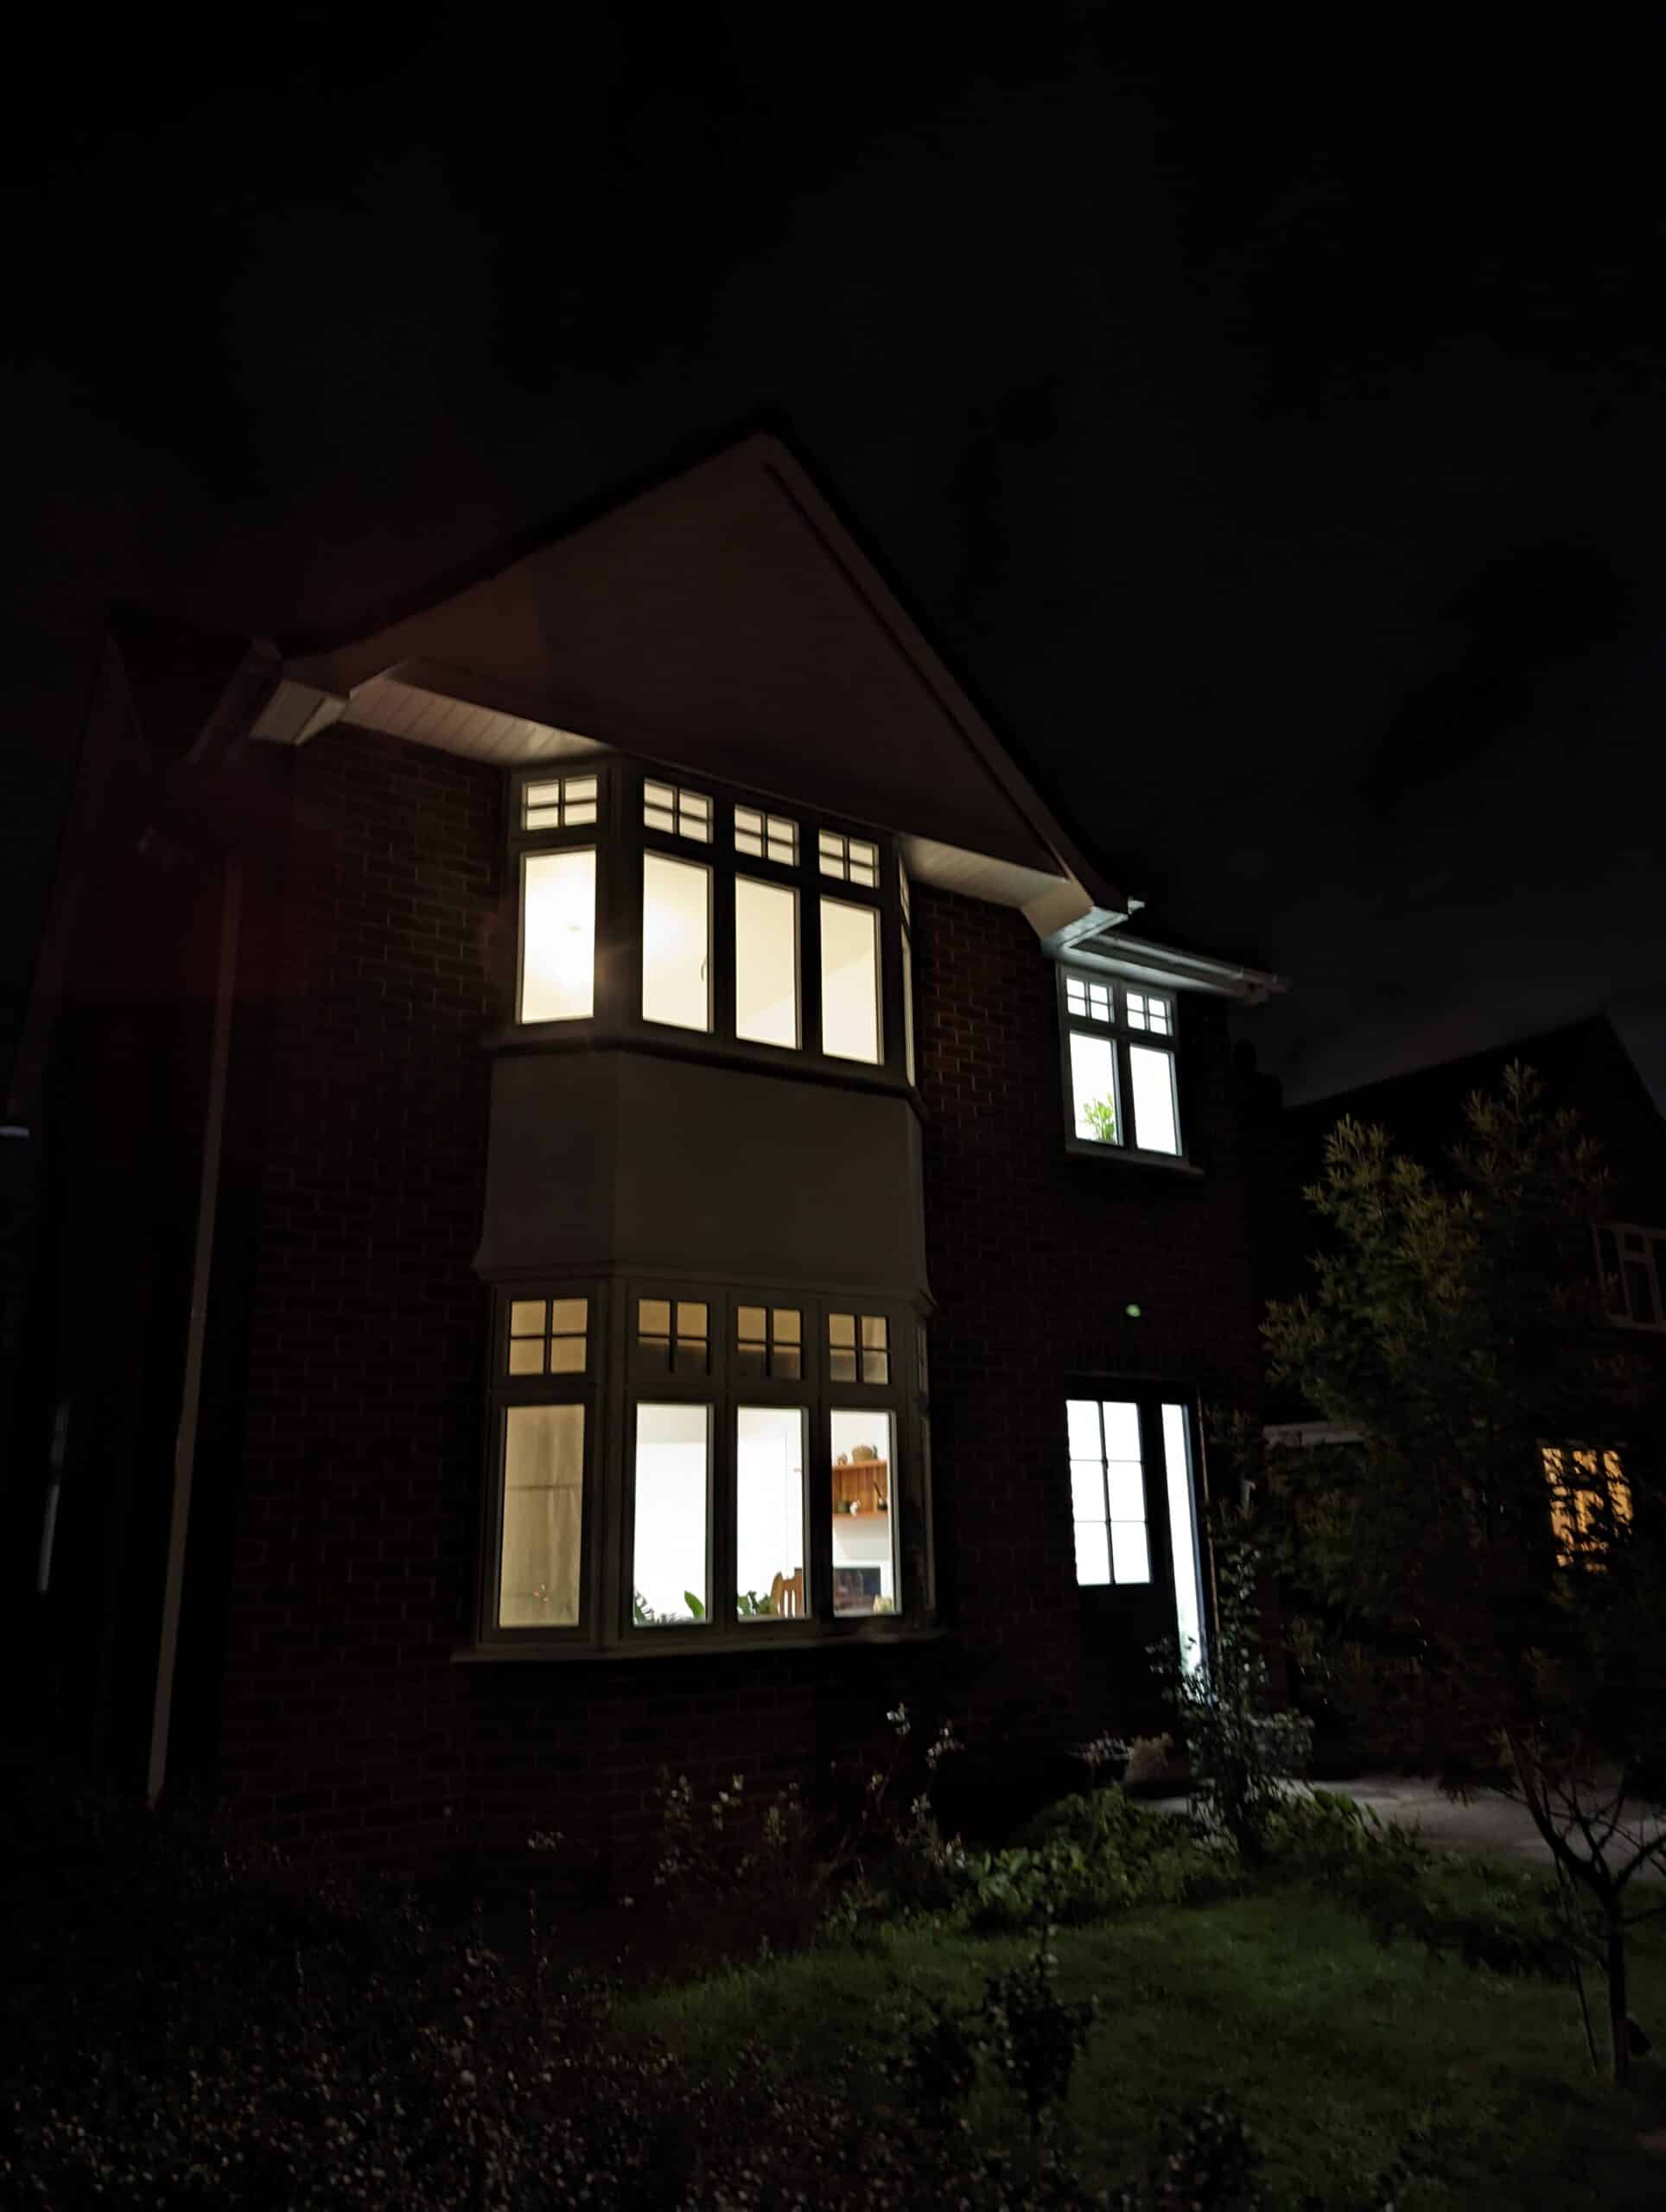
I also did the same remedial work on my garage workshop and the new shelves, tools and workbench, etc are back in their rightful place. In there I can float new ideas as they come to me, draw, read, rest and relax. But right now I plan to have a bed built and filmed by the end of this year.
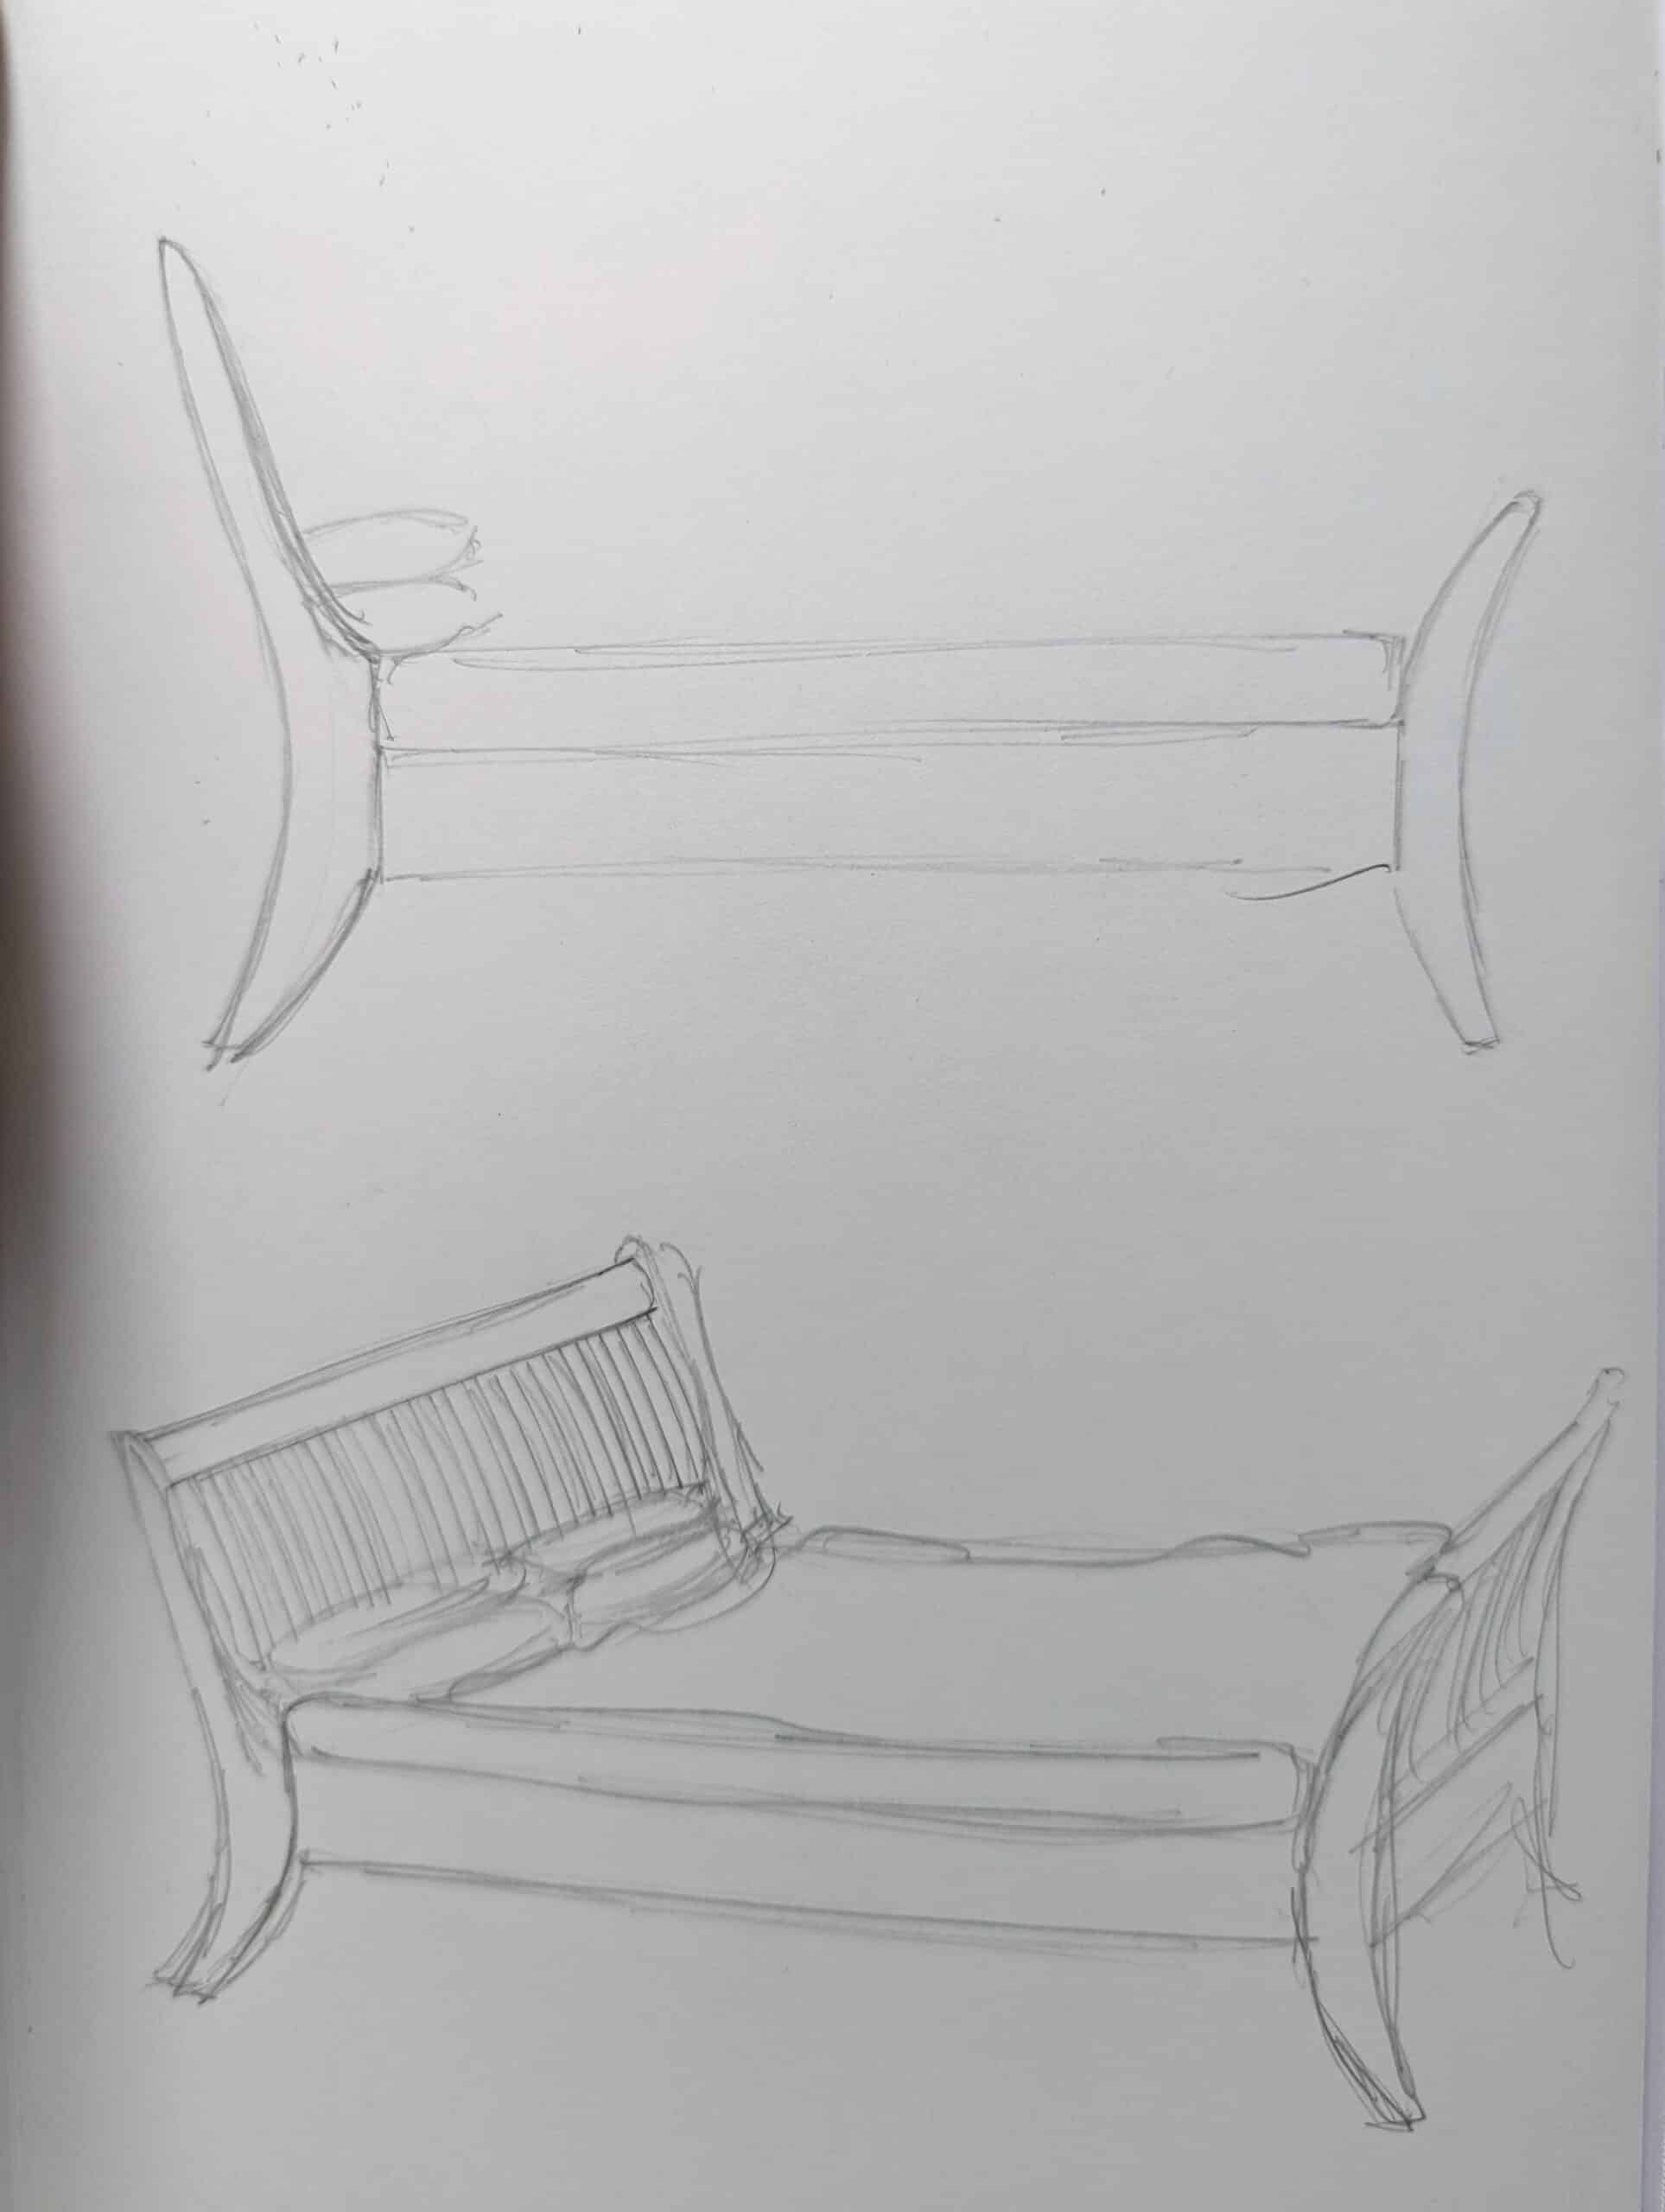
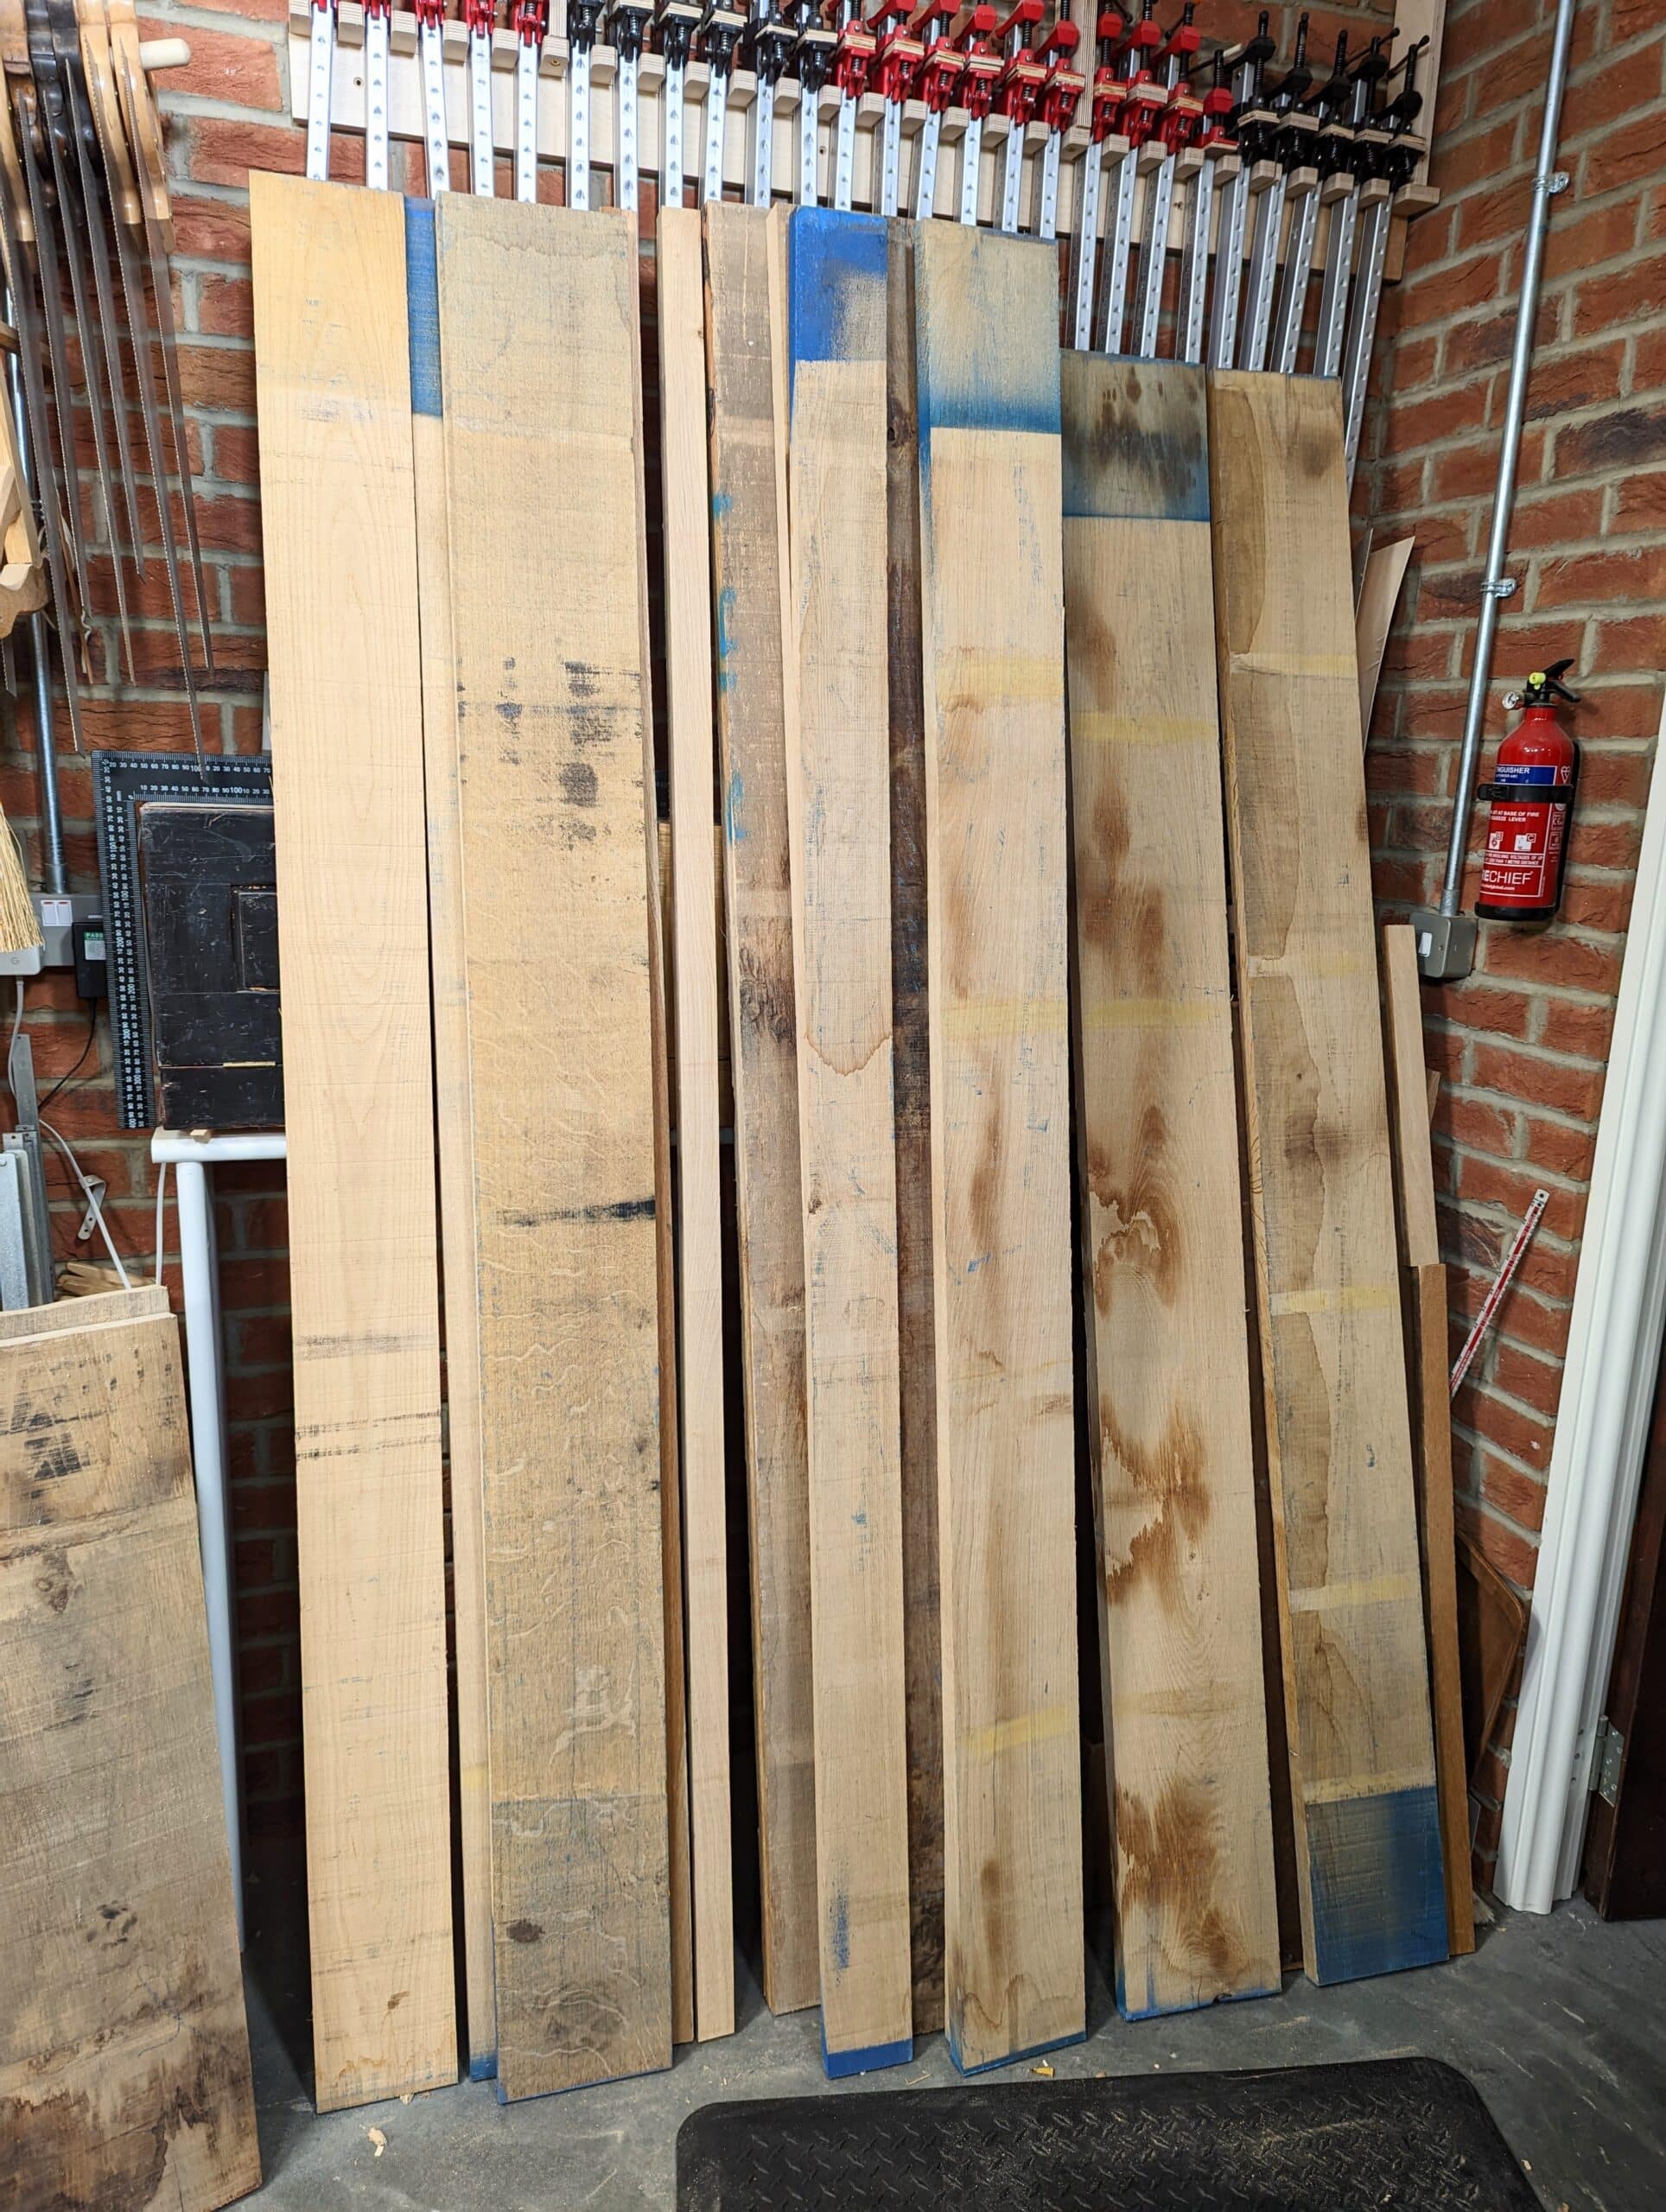
Last week I bought in some more oak to make beds from. I have an idea I like the look of in my head and now begin the drawing, measuring and looking at available space. A bed is a bed is a bed and this is the next project to be built for the Sellers’ home as a training project in bed designing and making. Currently, we are editing the recent series for the side cupboard in the dining room but the bed-making starts in earnest today as I type.

You cannot do much to save space in bed sizing as ultimately it’s the largest piece of furniture delivering adult humans in a lying down, stretched out position for eight hours a day. In a bedroom, the mattress takes the biggest footprint of any piece of furniture so it is this that usually determines the size and the strength of the bed, it’s positioning in the room and thereby the sizing of all of the component parts the bed construction relies on. That makes it simple enough. And as the bed is the first piece to go in, all the other pieces usually take their coordinates from that. Again, simple!
My oak needs some acclimating before the joinery. `The sooner I cut the parts down to rough-sawn near-to-size levels the sooner the acclimation will take place and the wood will release the greater excess of the excess. I say that that way because it’s important. Drying wood down too far can be equally problematic to the relative moisture content (RMC) being too high and shrinking when the atmosphere changes. I can think of nothing worse than a drawer expanding within its opening and housing. It takes amazing patience and power to get a swollen drawer out and I am talking crowbar here. Some I have had for a year and more. My design takes into consideration what will and will not shrink enough to become a problem. Shrinkage is the most common cause of creaky beds as the rails do not shrink in length but the stiles or posts of headboards almost always do. Getting the moisture down as low as possible in the posts means that they will only swell and this is more what you want in these components.
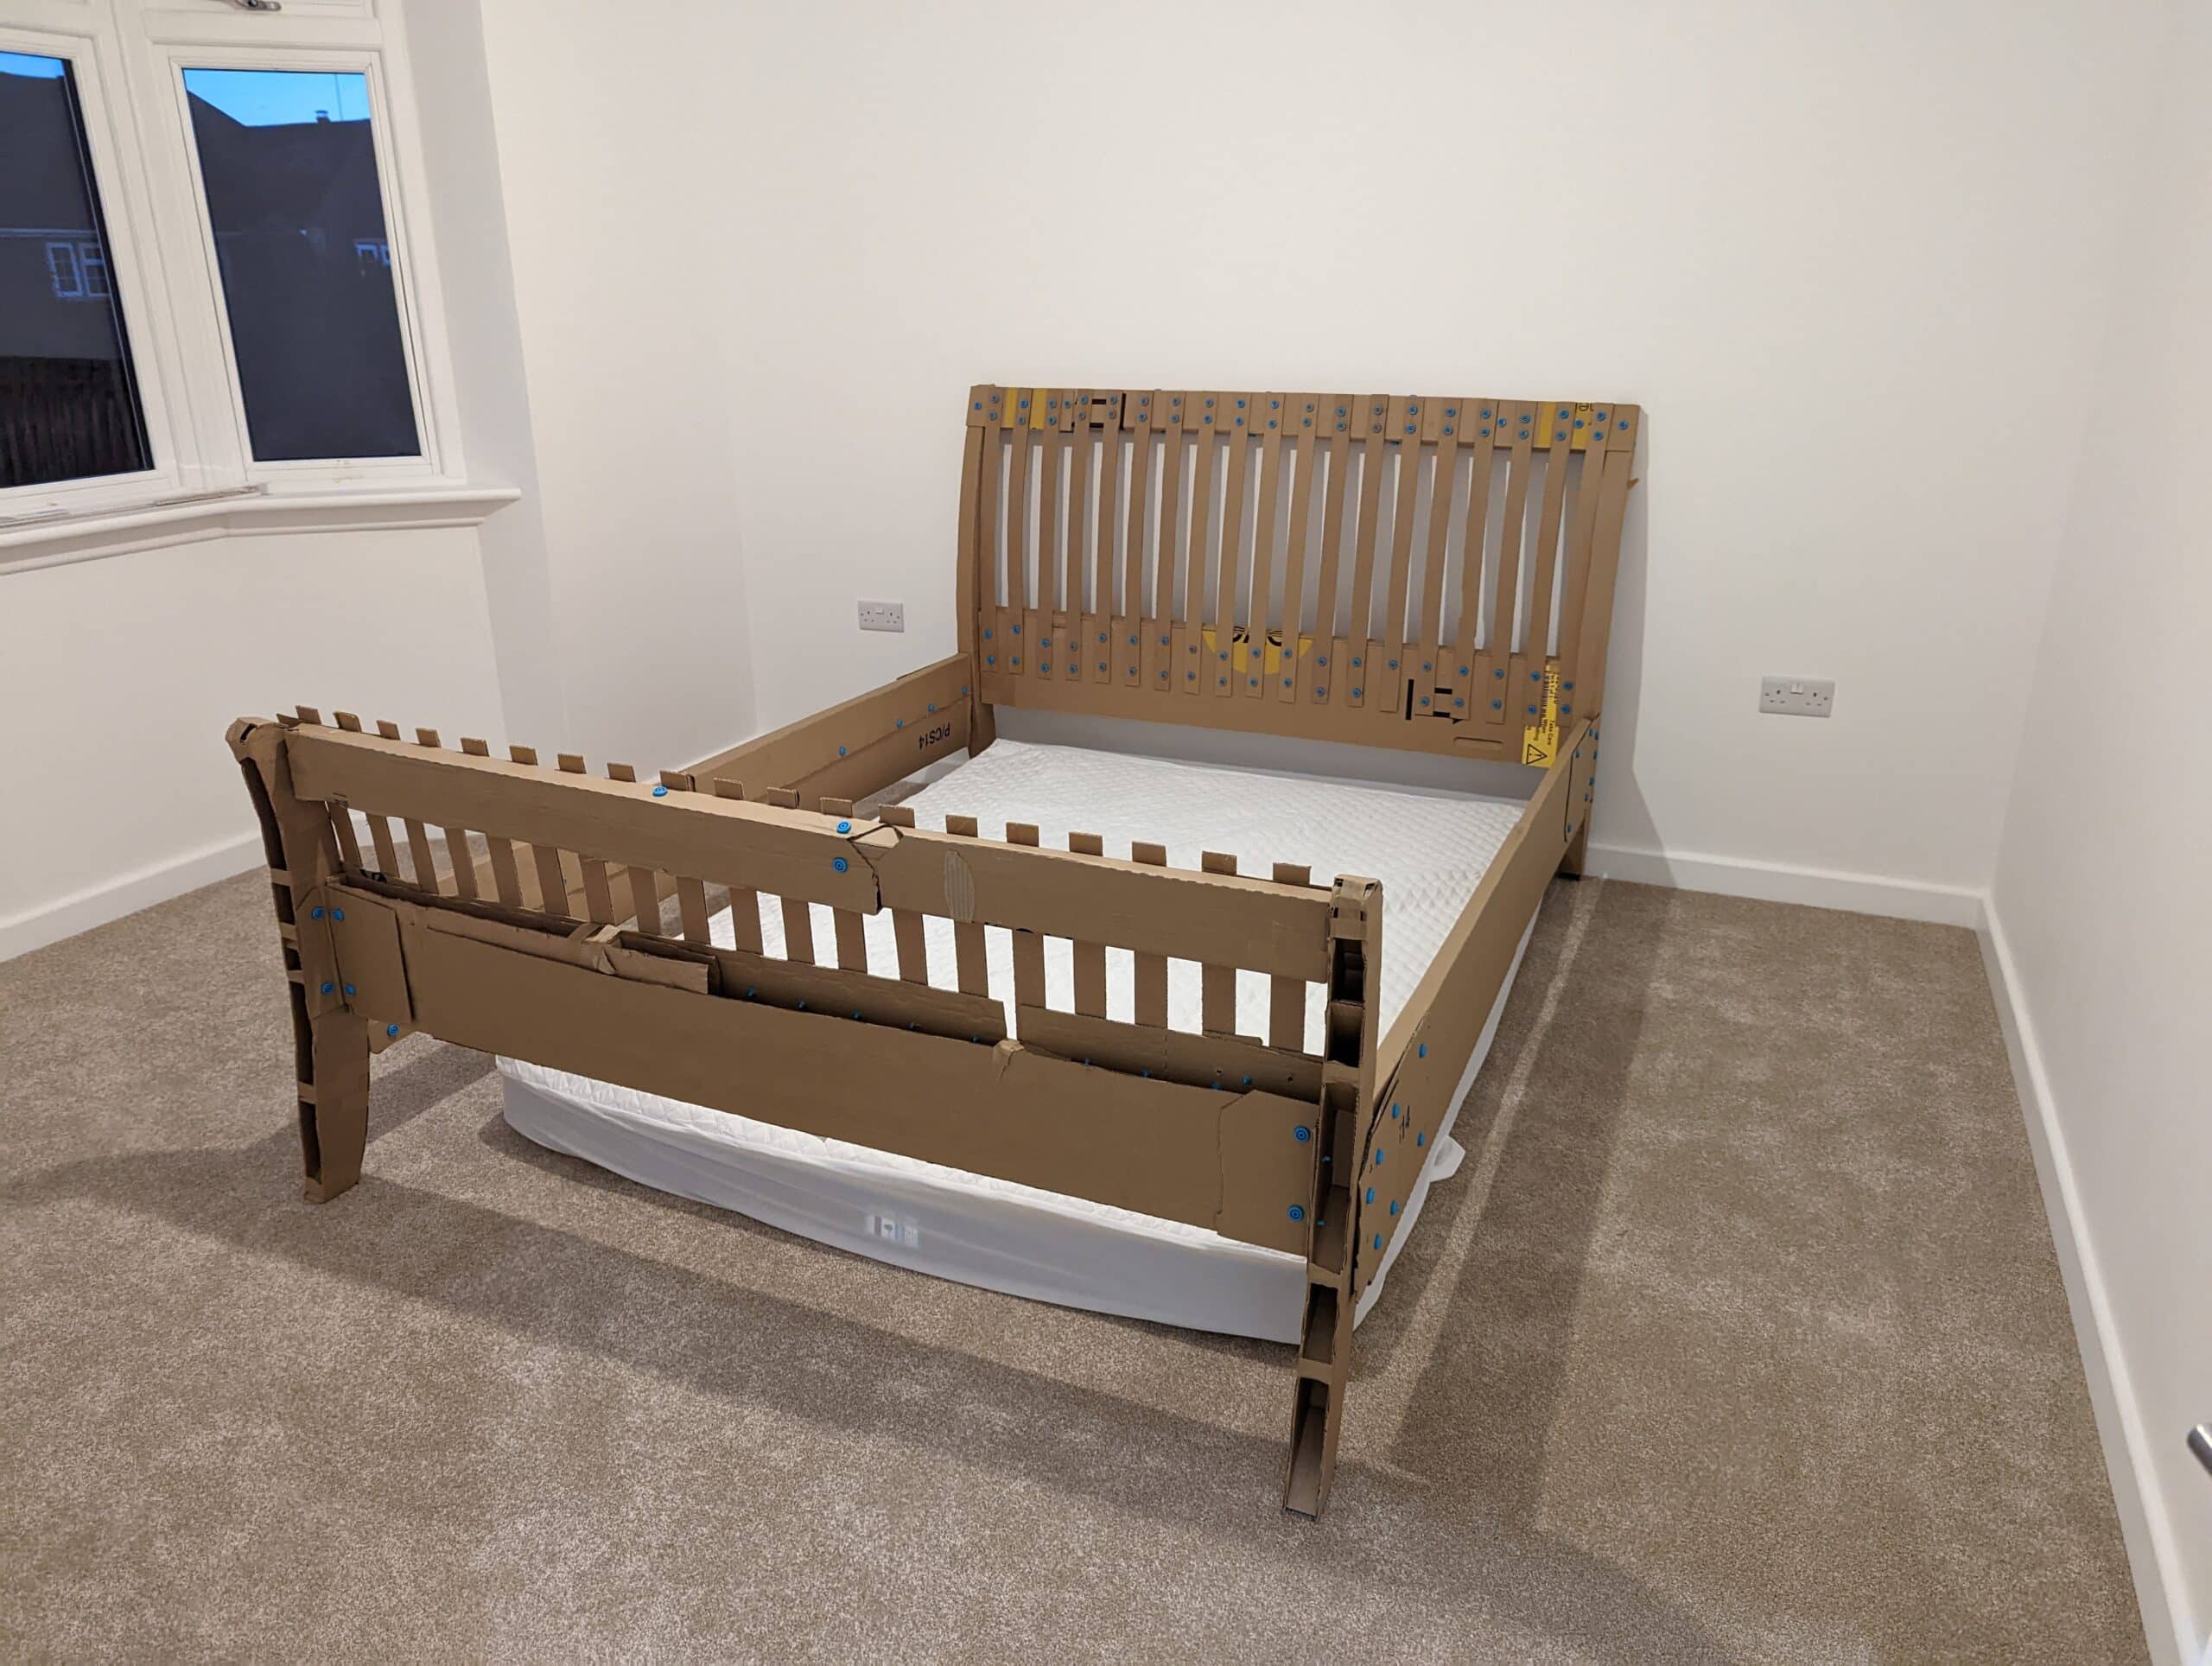
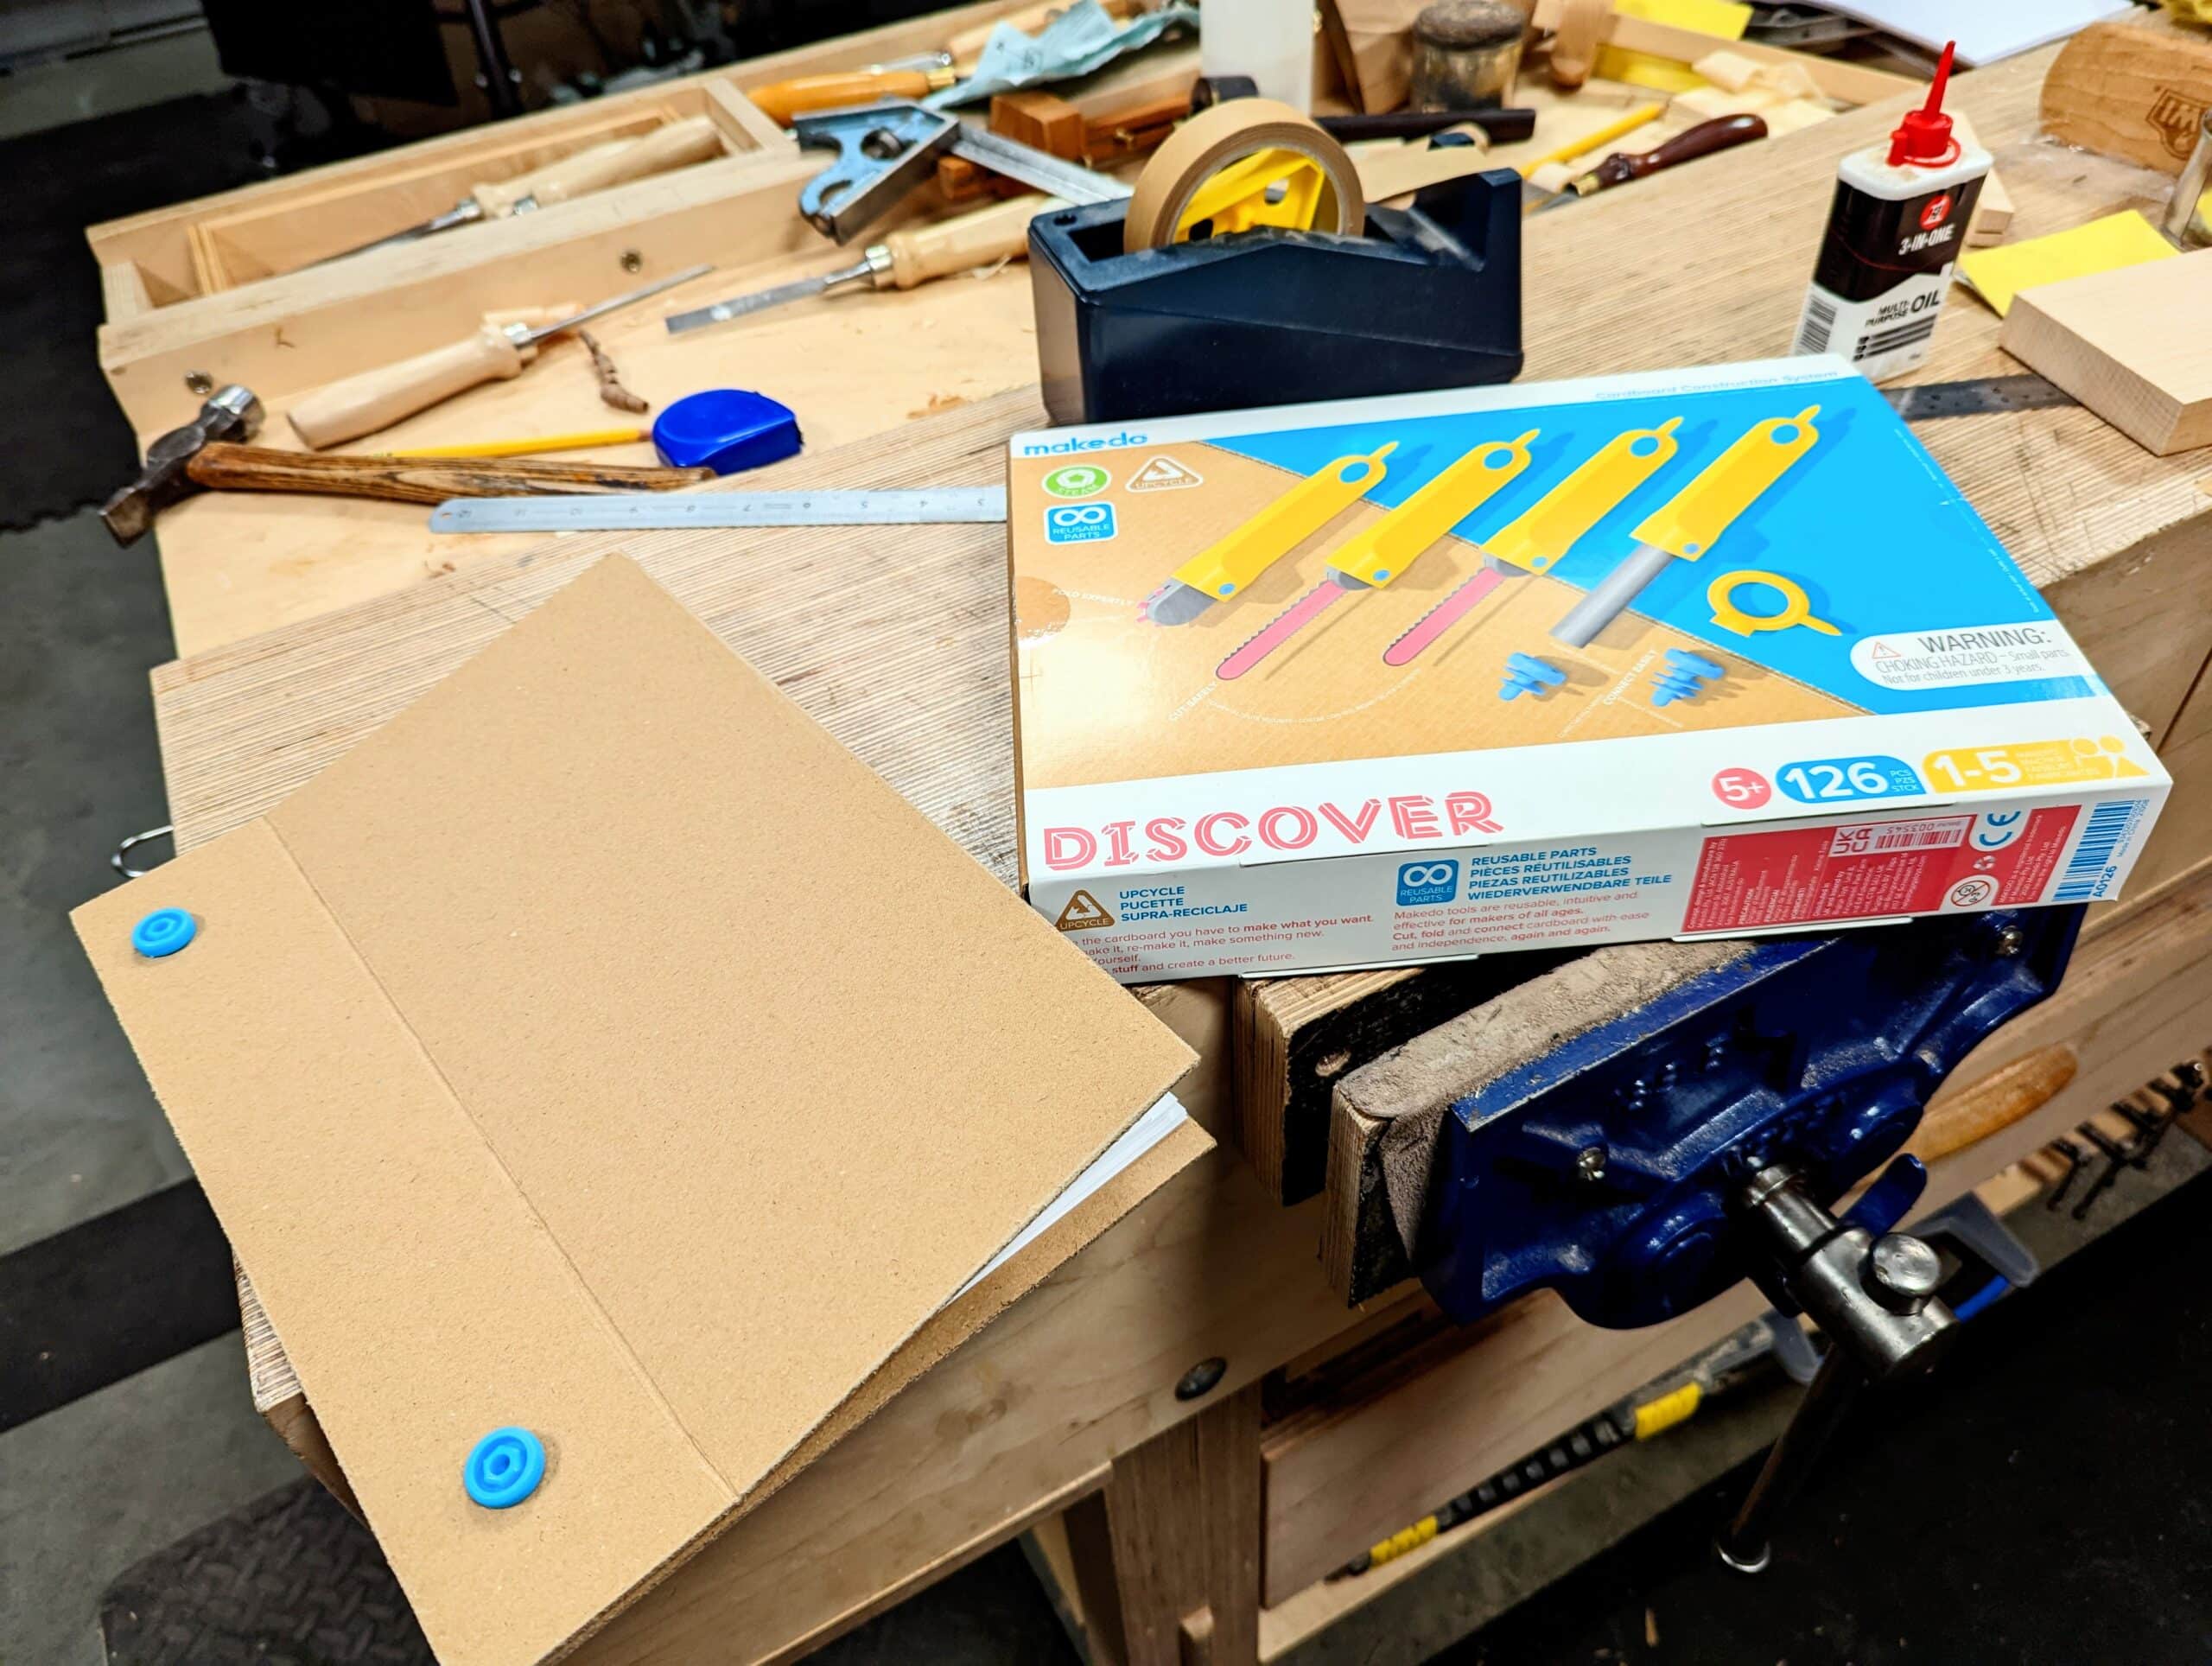
My replicated mock-up of my bed as a cardboard facsimile came from the box the bed mattress came in as well as some pallet dividers from a wine merchant three doors down. It was about a day’s work to pull everything together and an hour or so later I was pretty much done with it. So just what was the value in it and why did I do it? Most of my designs come in seconds in my mind’s eye. I can see what I want in pictures immediately and that includes three-dimensionality of the whole piece from different angles, the component parts in shapes and then too the joints themselves. What I cannot do is actually show others how the size and shape will impact the room in reality itself. Our decisions on each room are a joint effort. I mock up the pieces where ever practicable to ensure that the space we have is overly consumed by the dominance of size, mass colour, shape and so on. This is the largest bed the room will take and leave enough room for bedside tables or cupboards, shelves and wardrobes for clothing and then maybe a chair of some kind.
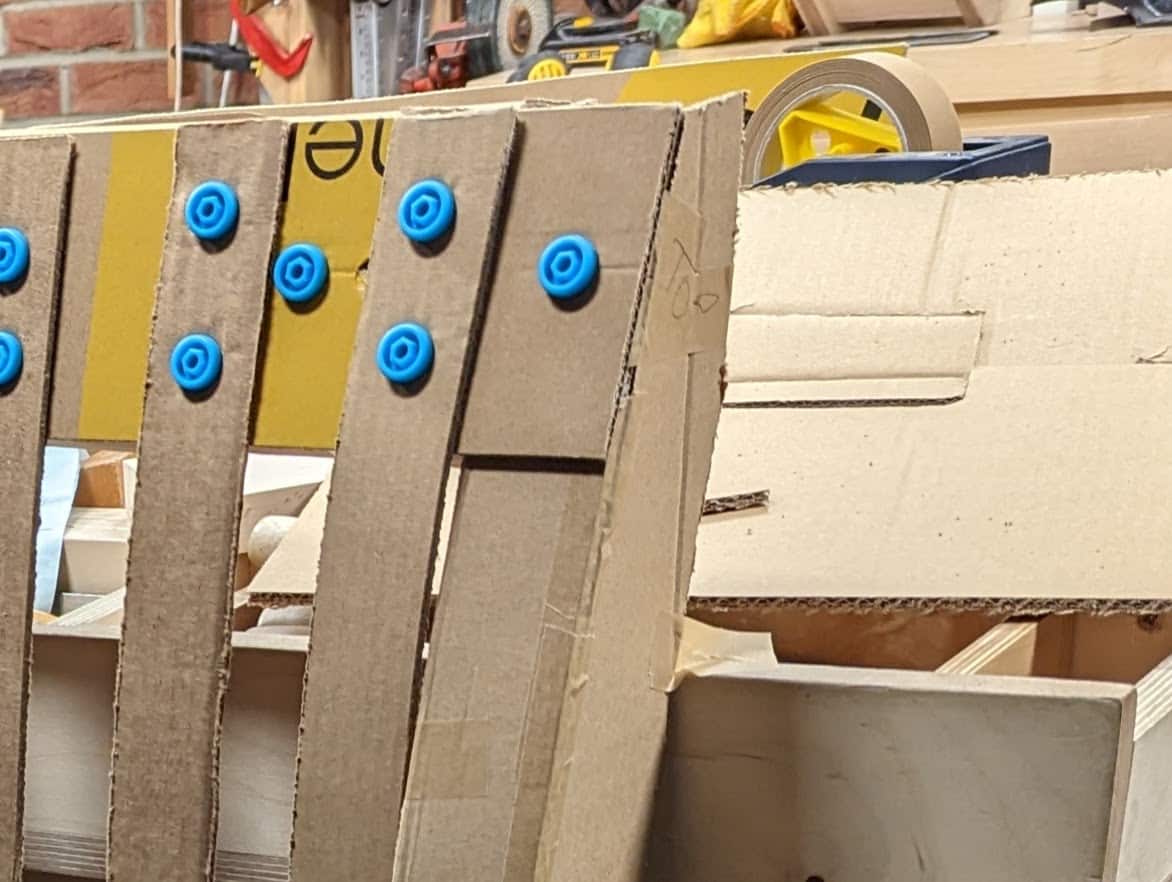
This was the first brush stroke on the blank canvass and I had an enjoyable time working with the cardboard to establish some shaping, etc. What was a real win for me was using something new to me. My granddaughter received a unique gift in her range of presents and when I arrived at her house to celebrate we spent half an hour sawing corrugated cardboard in boxes and then created our own book to illustrate ourselves from both the delivery box and the paper stuffing inside. The kit came with hex-head plastic screws, two lengths, and a safe-to-use hard plastic saw, a perforator for folding lines and then hole punchers for starts to the screws. Amazingly, these really worked brilliantly and in my world, as a maker wanting more kids and both parents involved in the building and making of things life, it is the perfect tool for getting little people and big people together and into working three-dimensionally. I cannot emphasize enough my belief that children should be exposed to crafting of all types and at all times as early as possible in their lives. It’s got nothing to do with becoming an artisan. We were designed to make not merely spectate, grow, cook, work within the seasons and provide nurturing for our families wherever possible. Part of that nurturing is to work together to work things out, pass down skills and knowledge and so on. Folding 3mm cardboard into box sections for rails changed the stability of flimsy cardboard into the rigidity an ‘I’ beam or ‘U’ beam or ‘box’ section provides in construction. Stiffeners inside such sections enabled the span of two metres to set up my bed. When concluded my granddaughter of four joined me to dismantle the bed and return the four parts, headboard, footboard and side rails to the workshop. Every box that comes to her door represents the potential of a dog house, cat bed, book to draw in and much more.
In deciding on rail and slat sizes, I simply followed my experience from working wood and recreated the sizes as near as possible with 10″ or 4″ headboard and footboard rails along with 1 5/8″ slats and such. These could change as I have rethought a few new options open to me but as a place-holder, the cardboard bed gave me a real feel for its space of ultimate occupation and confidence to convey my design concept, check for sizing and truly visualize my idea in concrete (or cardboard) ways. But the critical elements at this stage will be part sizes and joinery, where to consider using fasteners and what fastenings if needed. There is no doubt that some fastening types bring a solidity in metal with more slender components that are less intrusive in the final appearance. Something like wooden hinges are to doors where we scarcely if ever notice recessed metal hinges but wooden versions are mostly clunky, bulky and ugly and impossible to minimise.
*Note, this sentence has been corrected. A previous version said that the English king-size is equivalent to the US double, but we believe it is actually equivalent to a US queen-size.
We are spoiled here in the USA, we have two sizes of King Beds one a California King which is longer but not as wide as a standard King sized mattress. Your design looks similar to our Sleigh bed made by the Amish in Pennsylvania, solid oak and never a creak when we get in it. Most people in my family are 6 feet or more making the King size much more comfortable. Although I confess my wife and I have shrunk somewhat over the years.
Anyway I will have to examine more closely how our bed was made and why it doesn’t make any noise when we get in it after more than twenty years of service.
One thing I do find annoying is the support needed in the middle of a king sized bed. Because of the width in the center of the mattress an additional support is needed to stop the mattress from sagging. I have thought of making some sort of torsion bar but haven’t pursued the concept yet. I was thinking along the lines of the flatbed trailers we see on the highway. When you look at them they have an arch along the length of the trailer. When items get loaded on the bed gets flat but the bed doesn’t sag.
Of course the problem is only when you have to move the bed. If you are strong enough you can lift the foot off the floor and drag the bed. If you don’t do this you break the supports in the middle. (Ask me how I know this)
I will be striving to avoid the sleigh bed look Tom so it will change in some features as I go.
Happy Thanksgiving to you and your family.
I’m really looking forward to this. I have had to cut back lately so I let my WWMC subscription lapse, but I might have to re-join for this project. Seems like the cost of a well-built bed would cover it nicely.
Also, I’m glad to see that the Makedo kits are good. Lee Valley sells them here and I’ve been thinking about getting a set for my son (which would end up being for me mostly to be honest).
“But the critical elements at this stage will be […] where to consider using fasteners and what fastenings if needed. ”
One must be able to knock down a bed to bring it into/out-of the room. Tusk tenon won’t do with this design.
Would housed sliding dovetails be strong enough?
(I don’t know if this is standard naming)
A tenon is dovetail shaped [like for a shelf], introduced in a mortise and slipped into an adjacent dovetailed housing {I hope it make sense.}
This way the joint is hidden.
It’s the day after Thanksgiving here, and one of the things I am thankful for is studying with you. I’ve studied with a number of people by now, but the core of how I work, indeed the vast majority of how I work, is from you. It is surprising that, even after so many years, I still discover things you showed us that have ramifications I didn’t fully understand. For example, I’ve recently started learning to carve furniture ornamentation. I never realized how much of that could be done with a regular bench chisel and how important it is to do that bevel down. Carving bevel down following a desired curve without digging in I think must rely or benefit from your convex bevel sharpening. So, thank you for everything you have shared with us. It is practical, effective, and efficient.
I made a cardboard “creaser” wheel to roll along and form the crease for bending cardboard. It’s a simple ~3″ wheel from 1/8″ plywood slipped into slotted handle. Great scrap wood project. It really improved my cardboard visualizations and projects.
I’ve looked at the makedo screws and thought I should have some. I’ve also looked at some of the wall board anchors that screw in and thought they would be a reasonable substitute that may cost less.
Anyway, I always learn something from you, Paul, and from those who follow you and make comments.
Much respect.
Bill
Ive been planning to make a bedframe and wanted to use the wedge principle used to join the apron to the leg of Paul’s workbench, since that works so well and self tightens. curious if anyone has tried this.