More on Humidity
I used to worry about humidity while making my pieces. With some pieces, humidity is of little if any consequence whereas on others it’s critical. Much of it is to do with the width of panels and how you plan to hold them in place. A tabletop is a panel we install using only a minimal amount of restraint, usually with turnbuttons that pull the underside of the top down onto the apron frame of the table. This method is what we call a ‘floating’ panel because the panel is free to expand and contract throughout its life and so it ‘floats’ in and out according to the relative humidity of the atmosphere surrounding the piece. Other panels are also allowed to expand and contract but do so within a frame and are constrained on all four edges and then partially on the faces by the groove walls. There are several methods of retaining the panels but the tabletop is usually the one that floats the most freely.
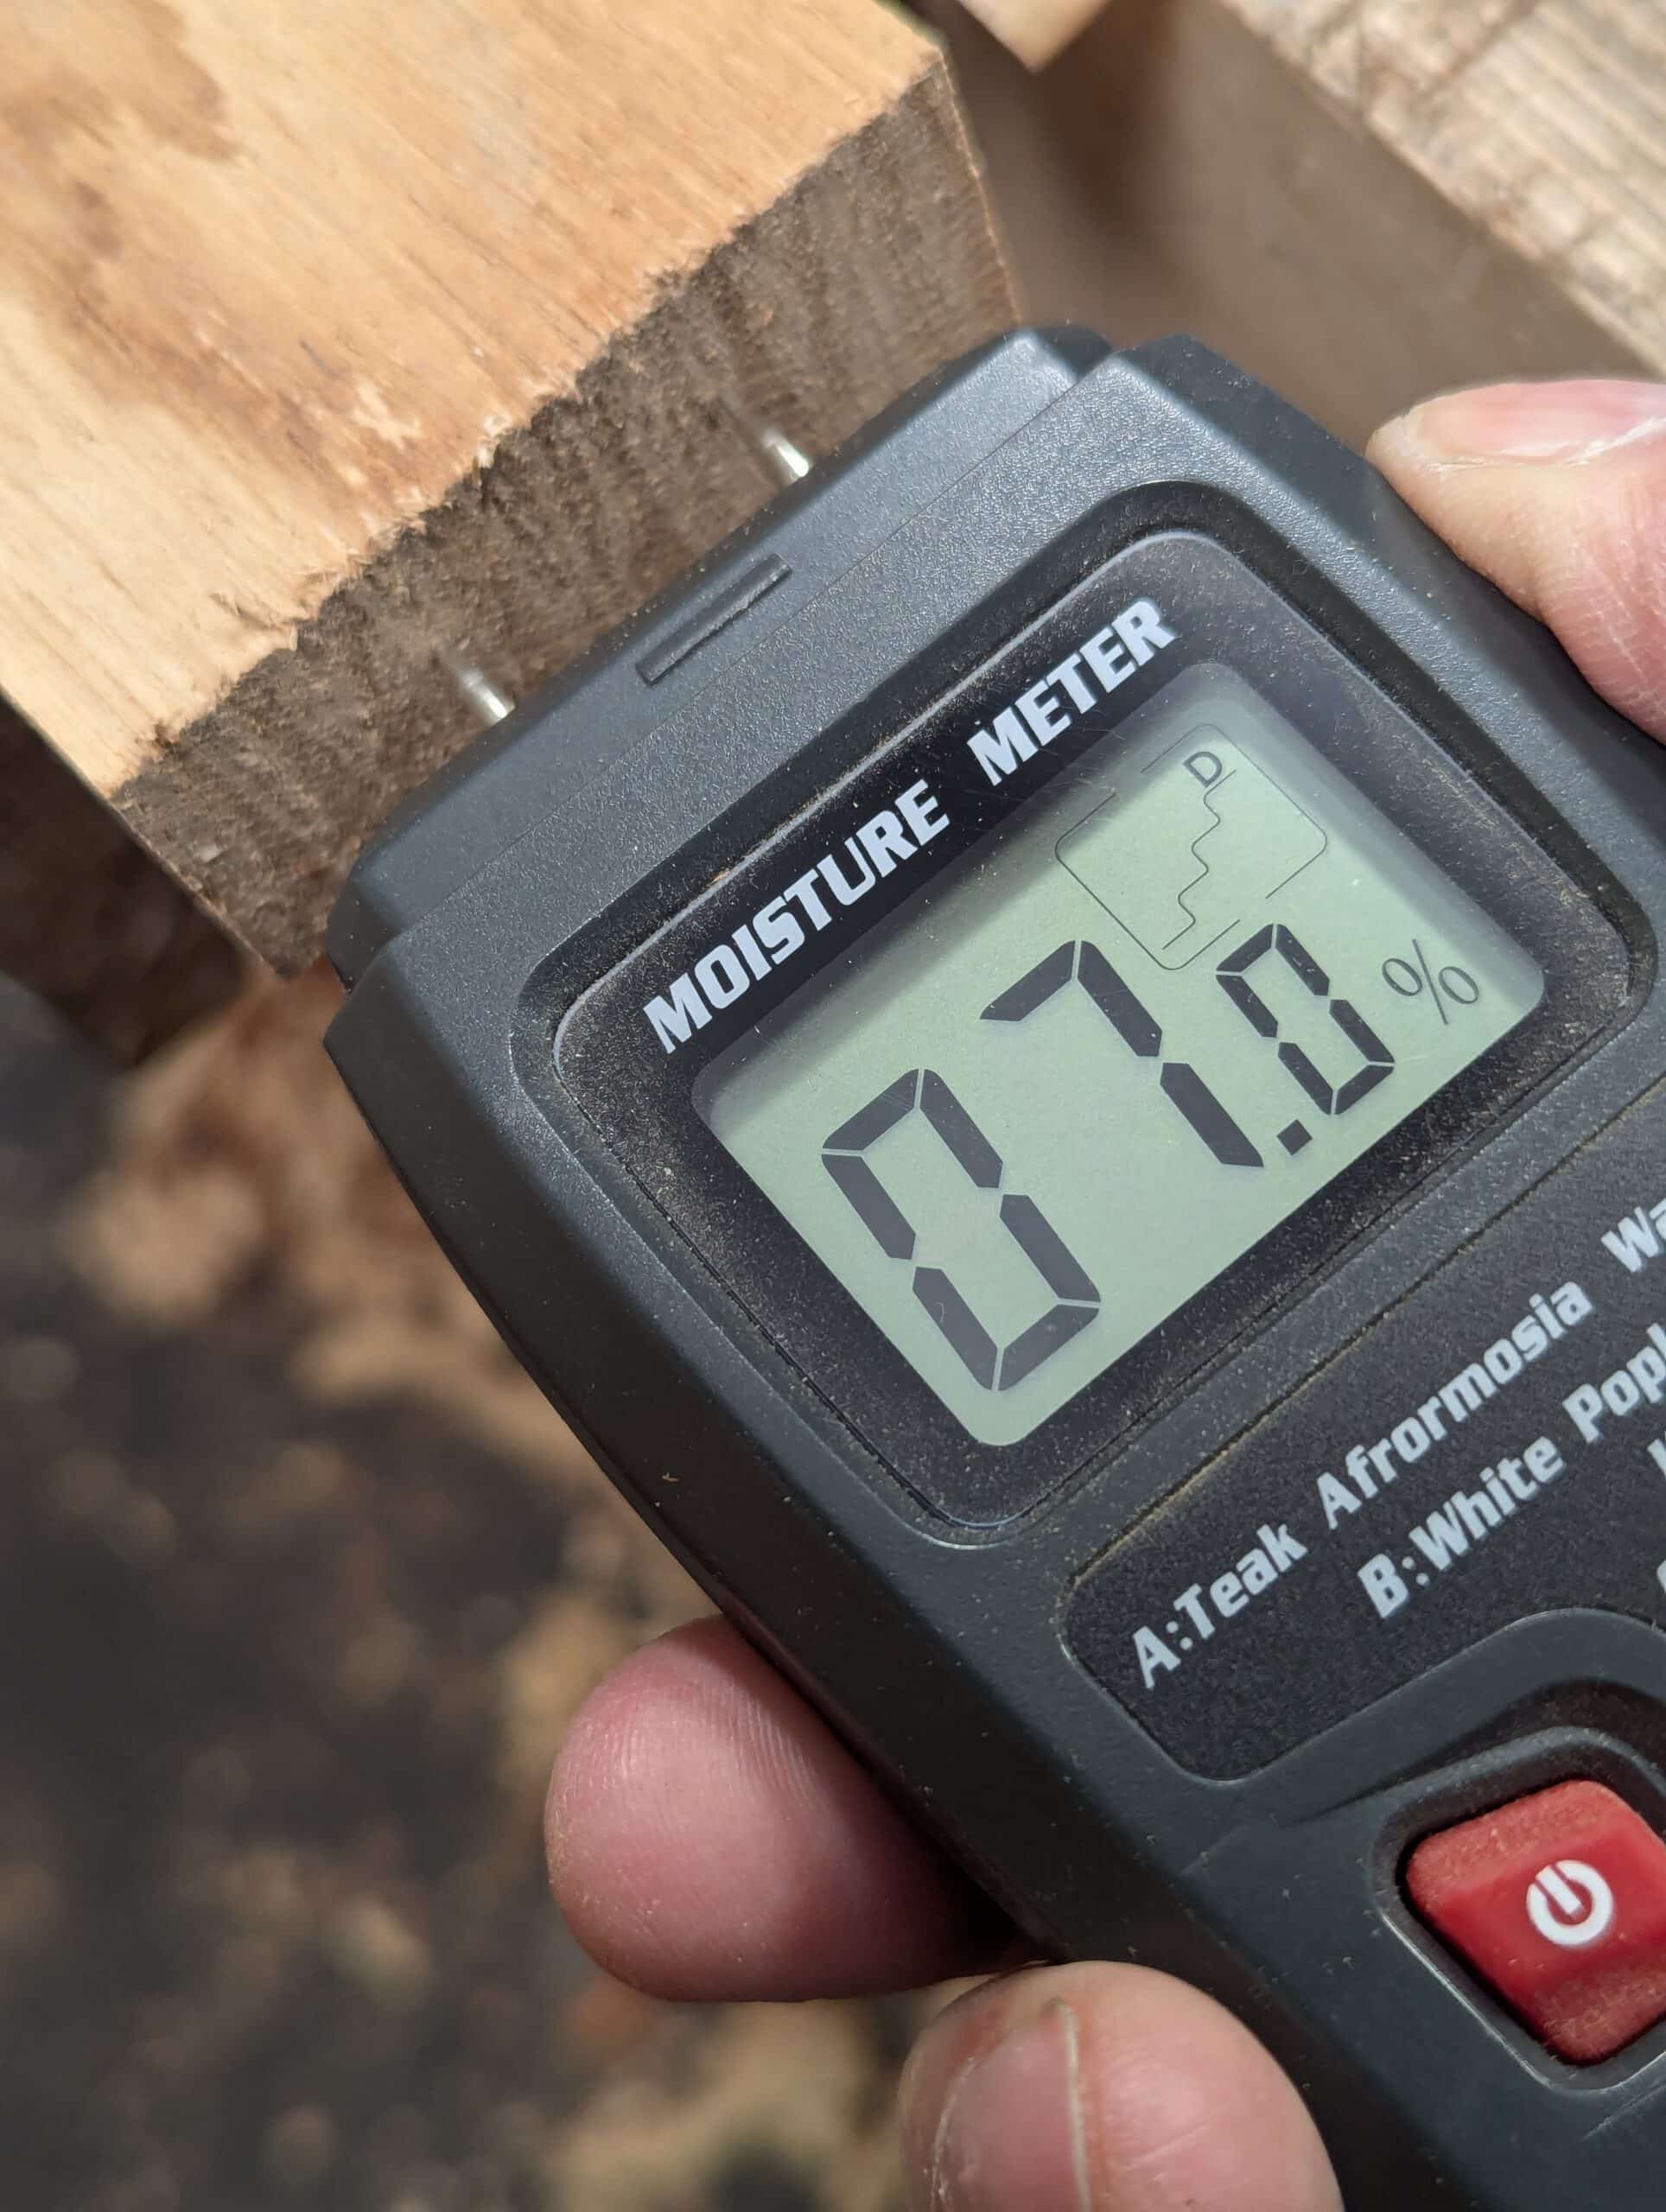
In my work, I usually aim to dry my wood down to the lower point within a range of 7-11% and check by measuring using a moisture meter or weight. I recently dried down some wood sections for my wood engraving by taking it into a climate-controlled area for several weeks. I wrote the changes onto the wood and kept the record until the wood stabilised at the lowest point. Weight is probably the most accurate measurement because it covers the whole piece rather than taking measurements over an expanse.
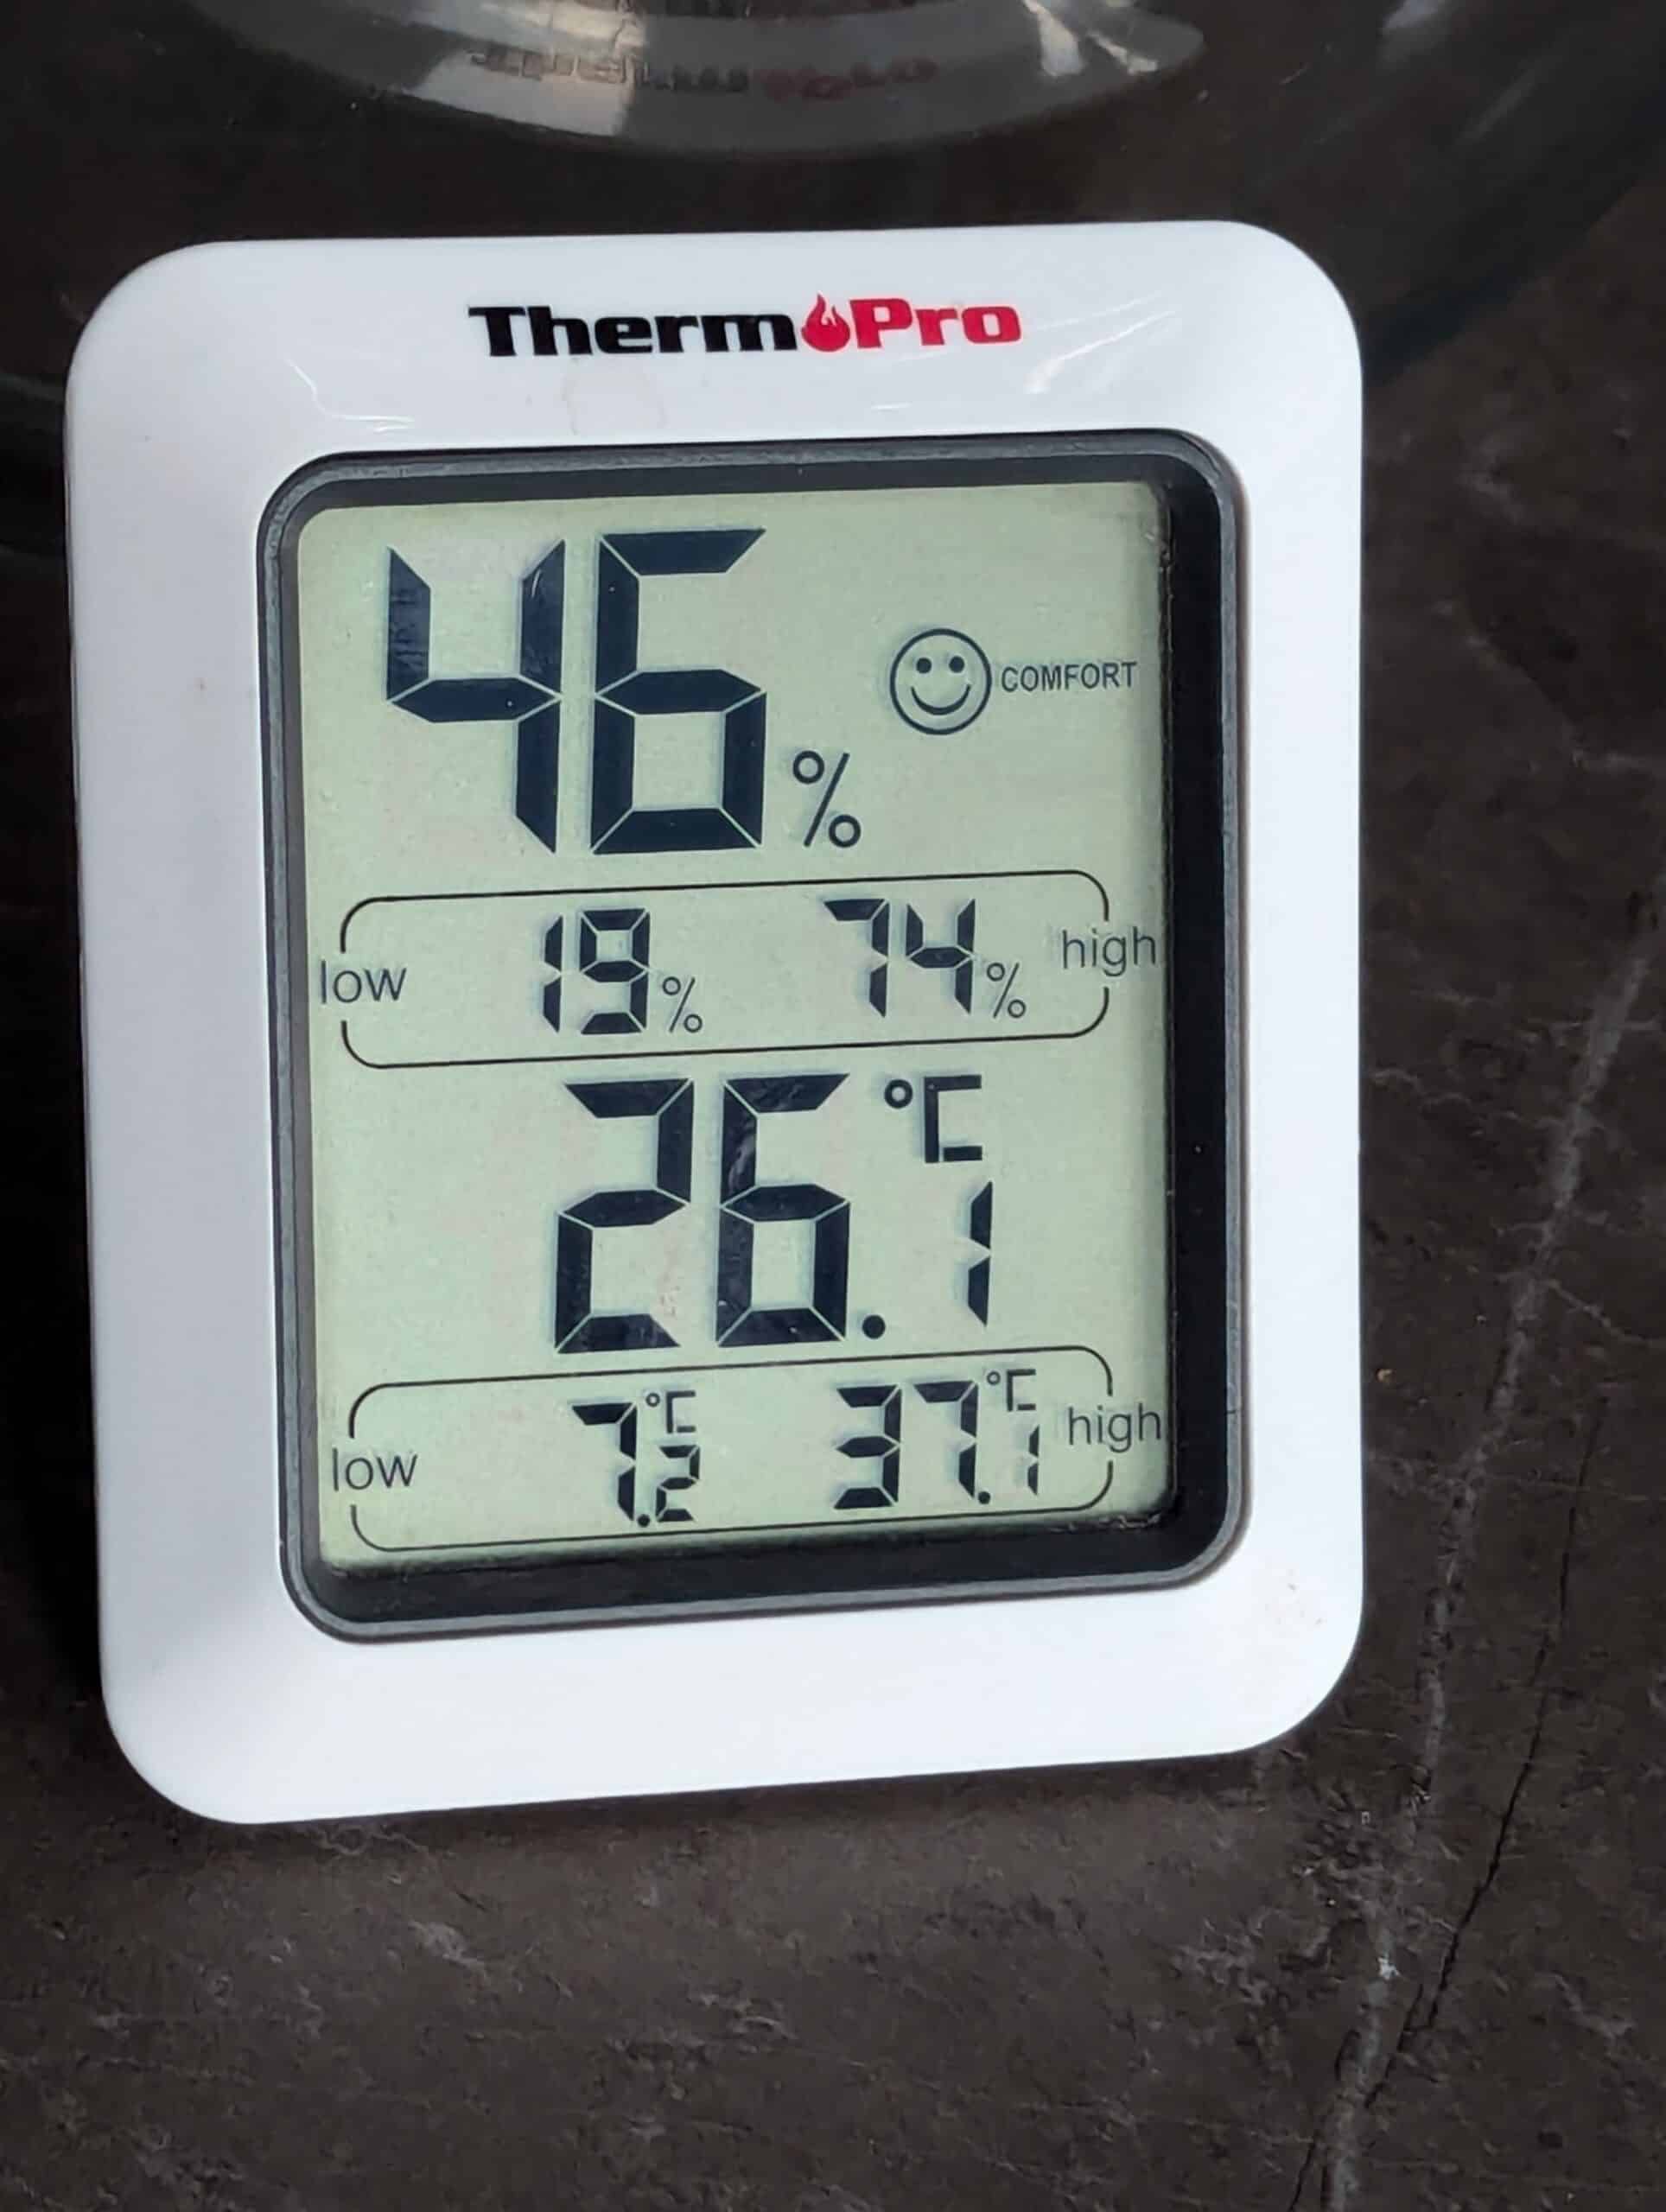
Every home will have different levels of humidity according to the environment, geographic location, family type and size, period of home occupation, cooking practices and much more. As you will know, we have now made many a dozen pieces that have occupied the six homes I have occupied since my return to live in the UK in 2009. Thankfully, we have settled here in Oxfordshire and have no plans to move again. Most of those houses were rented. I didn’t know when I returned to live and work in the UK from the USA where I would finally settle without trialling the spaces. My first stop on the Isle of Anglesey really was not going to work. The bottleneck of two bridges on and off the island along with other issues for a non-retired working man emphasised the need for freedom. North Wales too, though I love its great assets of mountains and sea, couldn’t give me the permanence I wanted in many spheres so I found myself happily placed slap bang in the middle of England and loving it. I have also worked in and from seven workshops since arriving ‘home‘. Mostly these have been very uninspiring garages with unbelievable levels of uncontrollable humidity, rising damp, single-skin brick walls and every type of adverse damp you can imagine. Give me a wooden framed stick-built cabin any day unless, as I did recently, you are prepared to take out the uninsulated concrete floor, introduce a full damp-proof membrane, dry-line the walls and roof and add some heating for the winter. Upgrading my garage workshop was a sizeable investment but I typically have spent a large proportion of my workday in the various garages of my different homes and I feel this is not at all a luxury but an essential. Drying everything in so improved lifer to give me a place for various aspects of my artwork in addition to woodworking. With a dehumidifier and a heat source, I can keep my space just right. It’s also worth mentioning here that most UK homes are not air conditioned and for the main part we really don’t need it. Today, as I write, the high is 28º with 40% humidity. Remember, this is midsummer and according to the forecast, from here on, we will be gradually dropping soon to afound 22º during the daytime and 15º to 11º after 5 P.M. Very comfortable altogether.
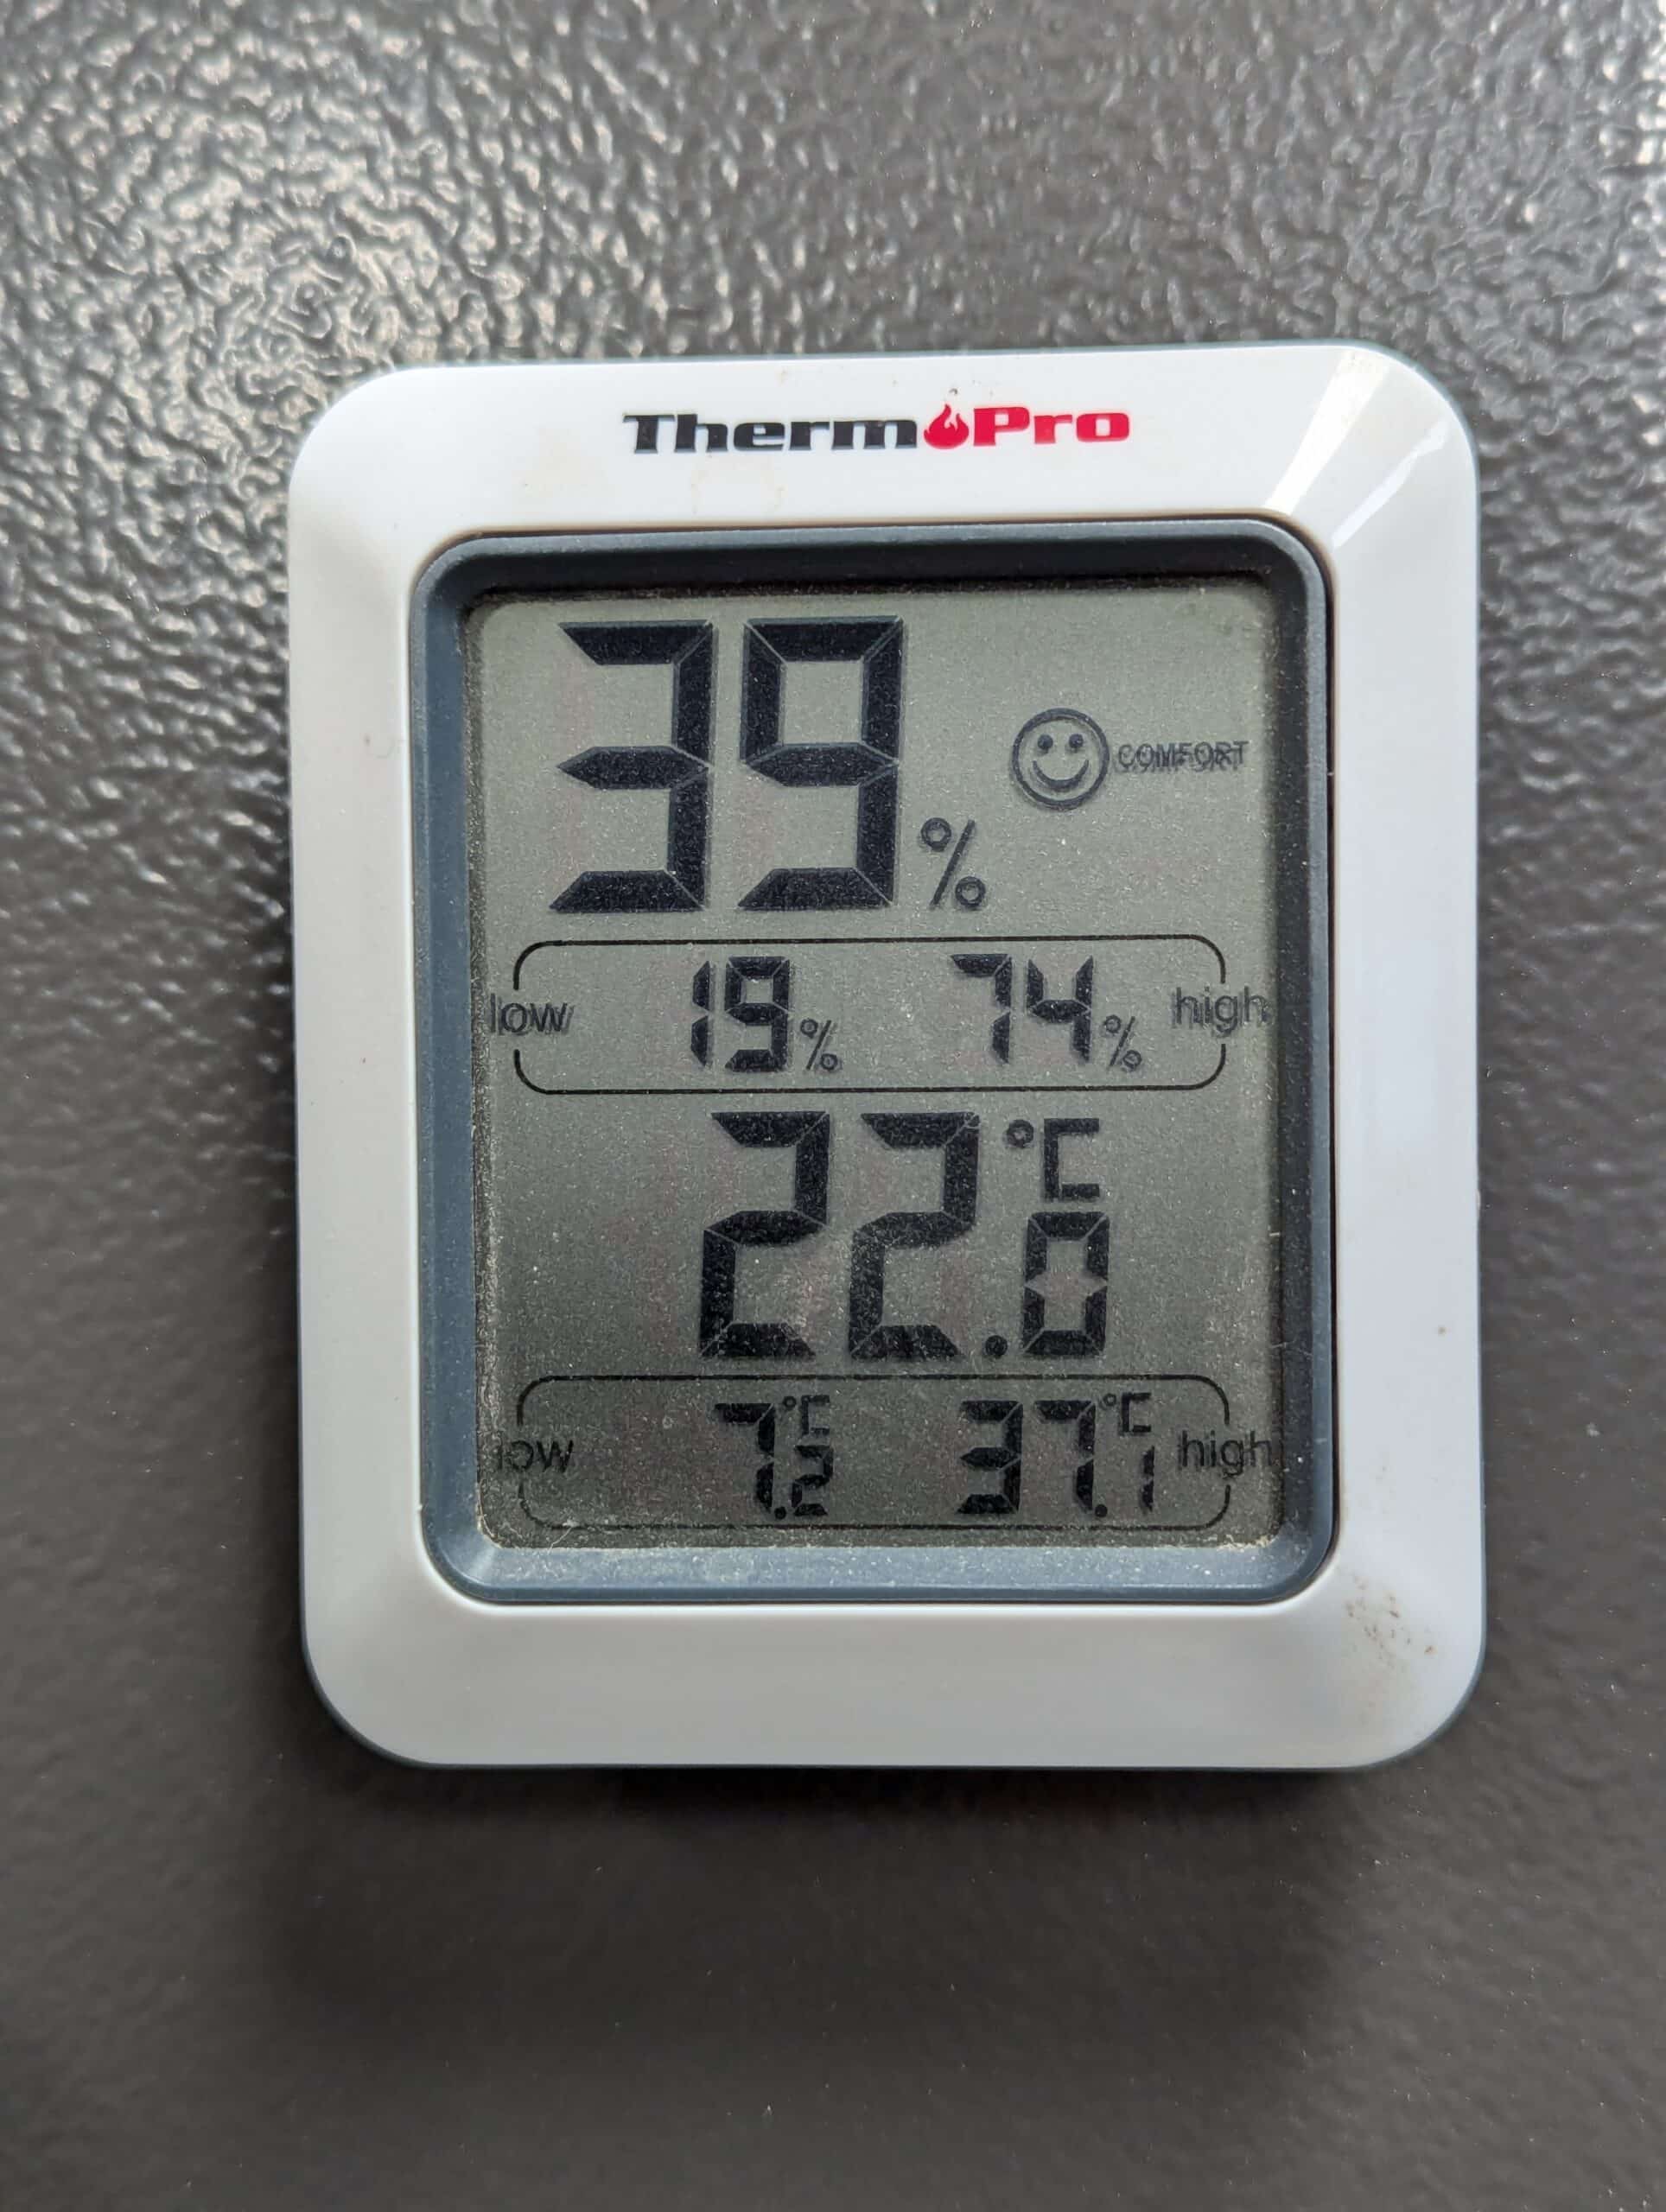
My studio workshop, the place we film and create in and from, gives me excellent climate control and an unusual level of control for a workman doing the kind of manual work I do. Here, the atmosphere is around 40% humidity. At the house where I am building the houseful of furniture for Sellers’ home on the other hand is way higher and it’s here that here I encounter shifts surrounding my installed created pieces. Homes all will vary according to occupancy, house and room sizes, geographic location, heating and air-conditioning type, sealability, air flow and such like that. High humidity and poor air circulation will result in black mould forming in the heavy, water-weighted air and when moisture clings to the walls and wood fibres you will find mould clinging to the walls, ceilings and then your furniture as well. Wood swells markedly and quite quickly with high humidity and this will account for an aspect of design that is rarely really mentioned.
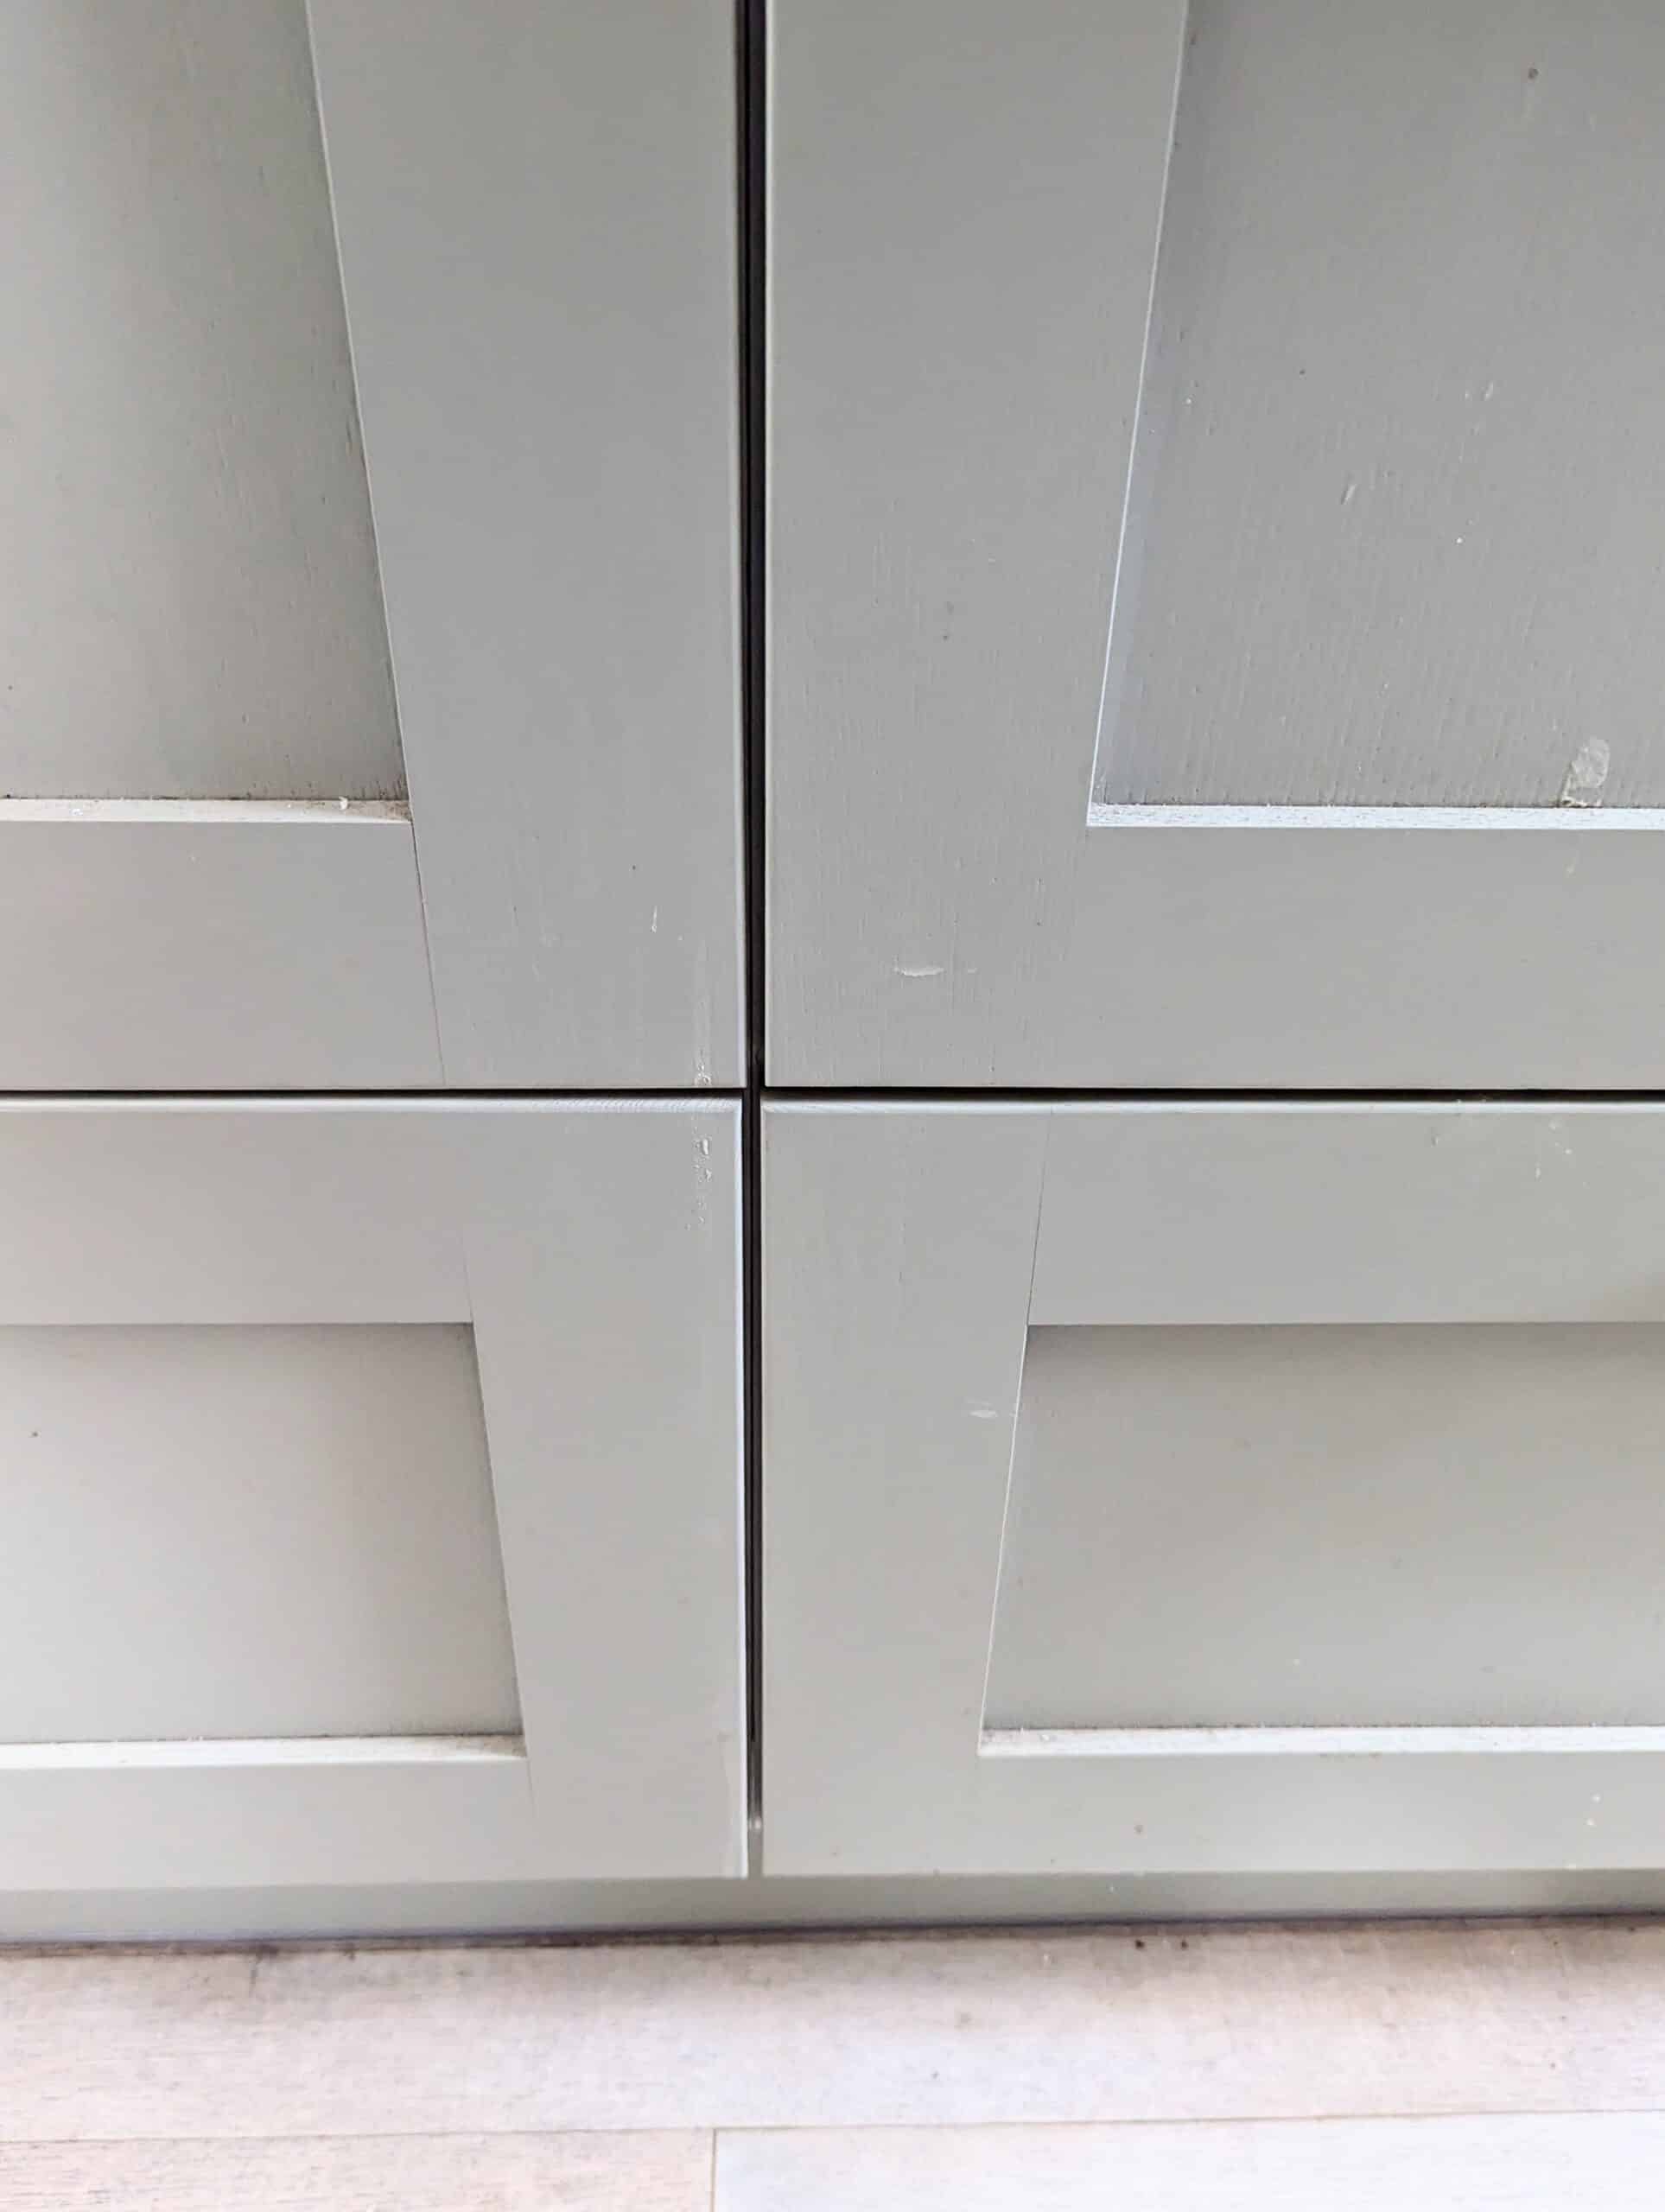
Overlaid doors eliminate the risk of door and drawer fronts from sticking between frames. That’s less of a problem today as many kitchens and cabinets are made from man-made boards like MDF, pressed fibreboard and plywood. These materials are less prone to the extremes of expansion and contraction that wood is. Whether painted or veneered, expansion and contraction is kept to a minimum using these engineered wood panel types. Even so, overlaying the front facades simplifies two main areas: expansion and contraction of expansive panels like doors, etc and then, of equal importance because of time-consuming practices, fitting doors and drawer front within frames. There is a third issue I should mention here too. Whereas we in the creative world of fine furniture making and woodworking do not automatically go for metal and plastic drawer runners, they resolve fitting issues. We fit our drawers into recesses and openings quite precisely. We do not want sloppy fits and wiggle-waggle as this means rattle. too That being so, we must be prepared to go in and refit if we want that more refined look of thin shadow lines and crisp fits. Consider this with regard to your customers as it may be prohibitiver to go out to resolve an issue.
Taking each of the rooms I made for in turn, the low atmospheric moisture content (AMC) of my studio workshop meant that my fitting in the workshop would lead only to wood expansion with zero shrinkage no matter what. With my wood down generally to around 8-9% at the point of delivery, my wood could only increase in size and though it would not be by very much, it would be enough to cause an issue here and there.
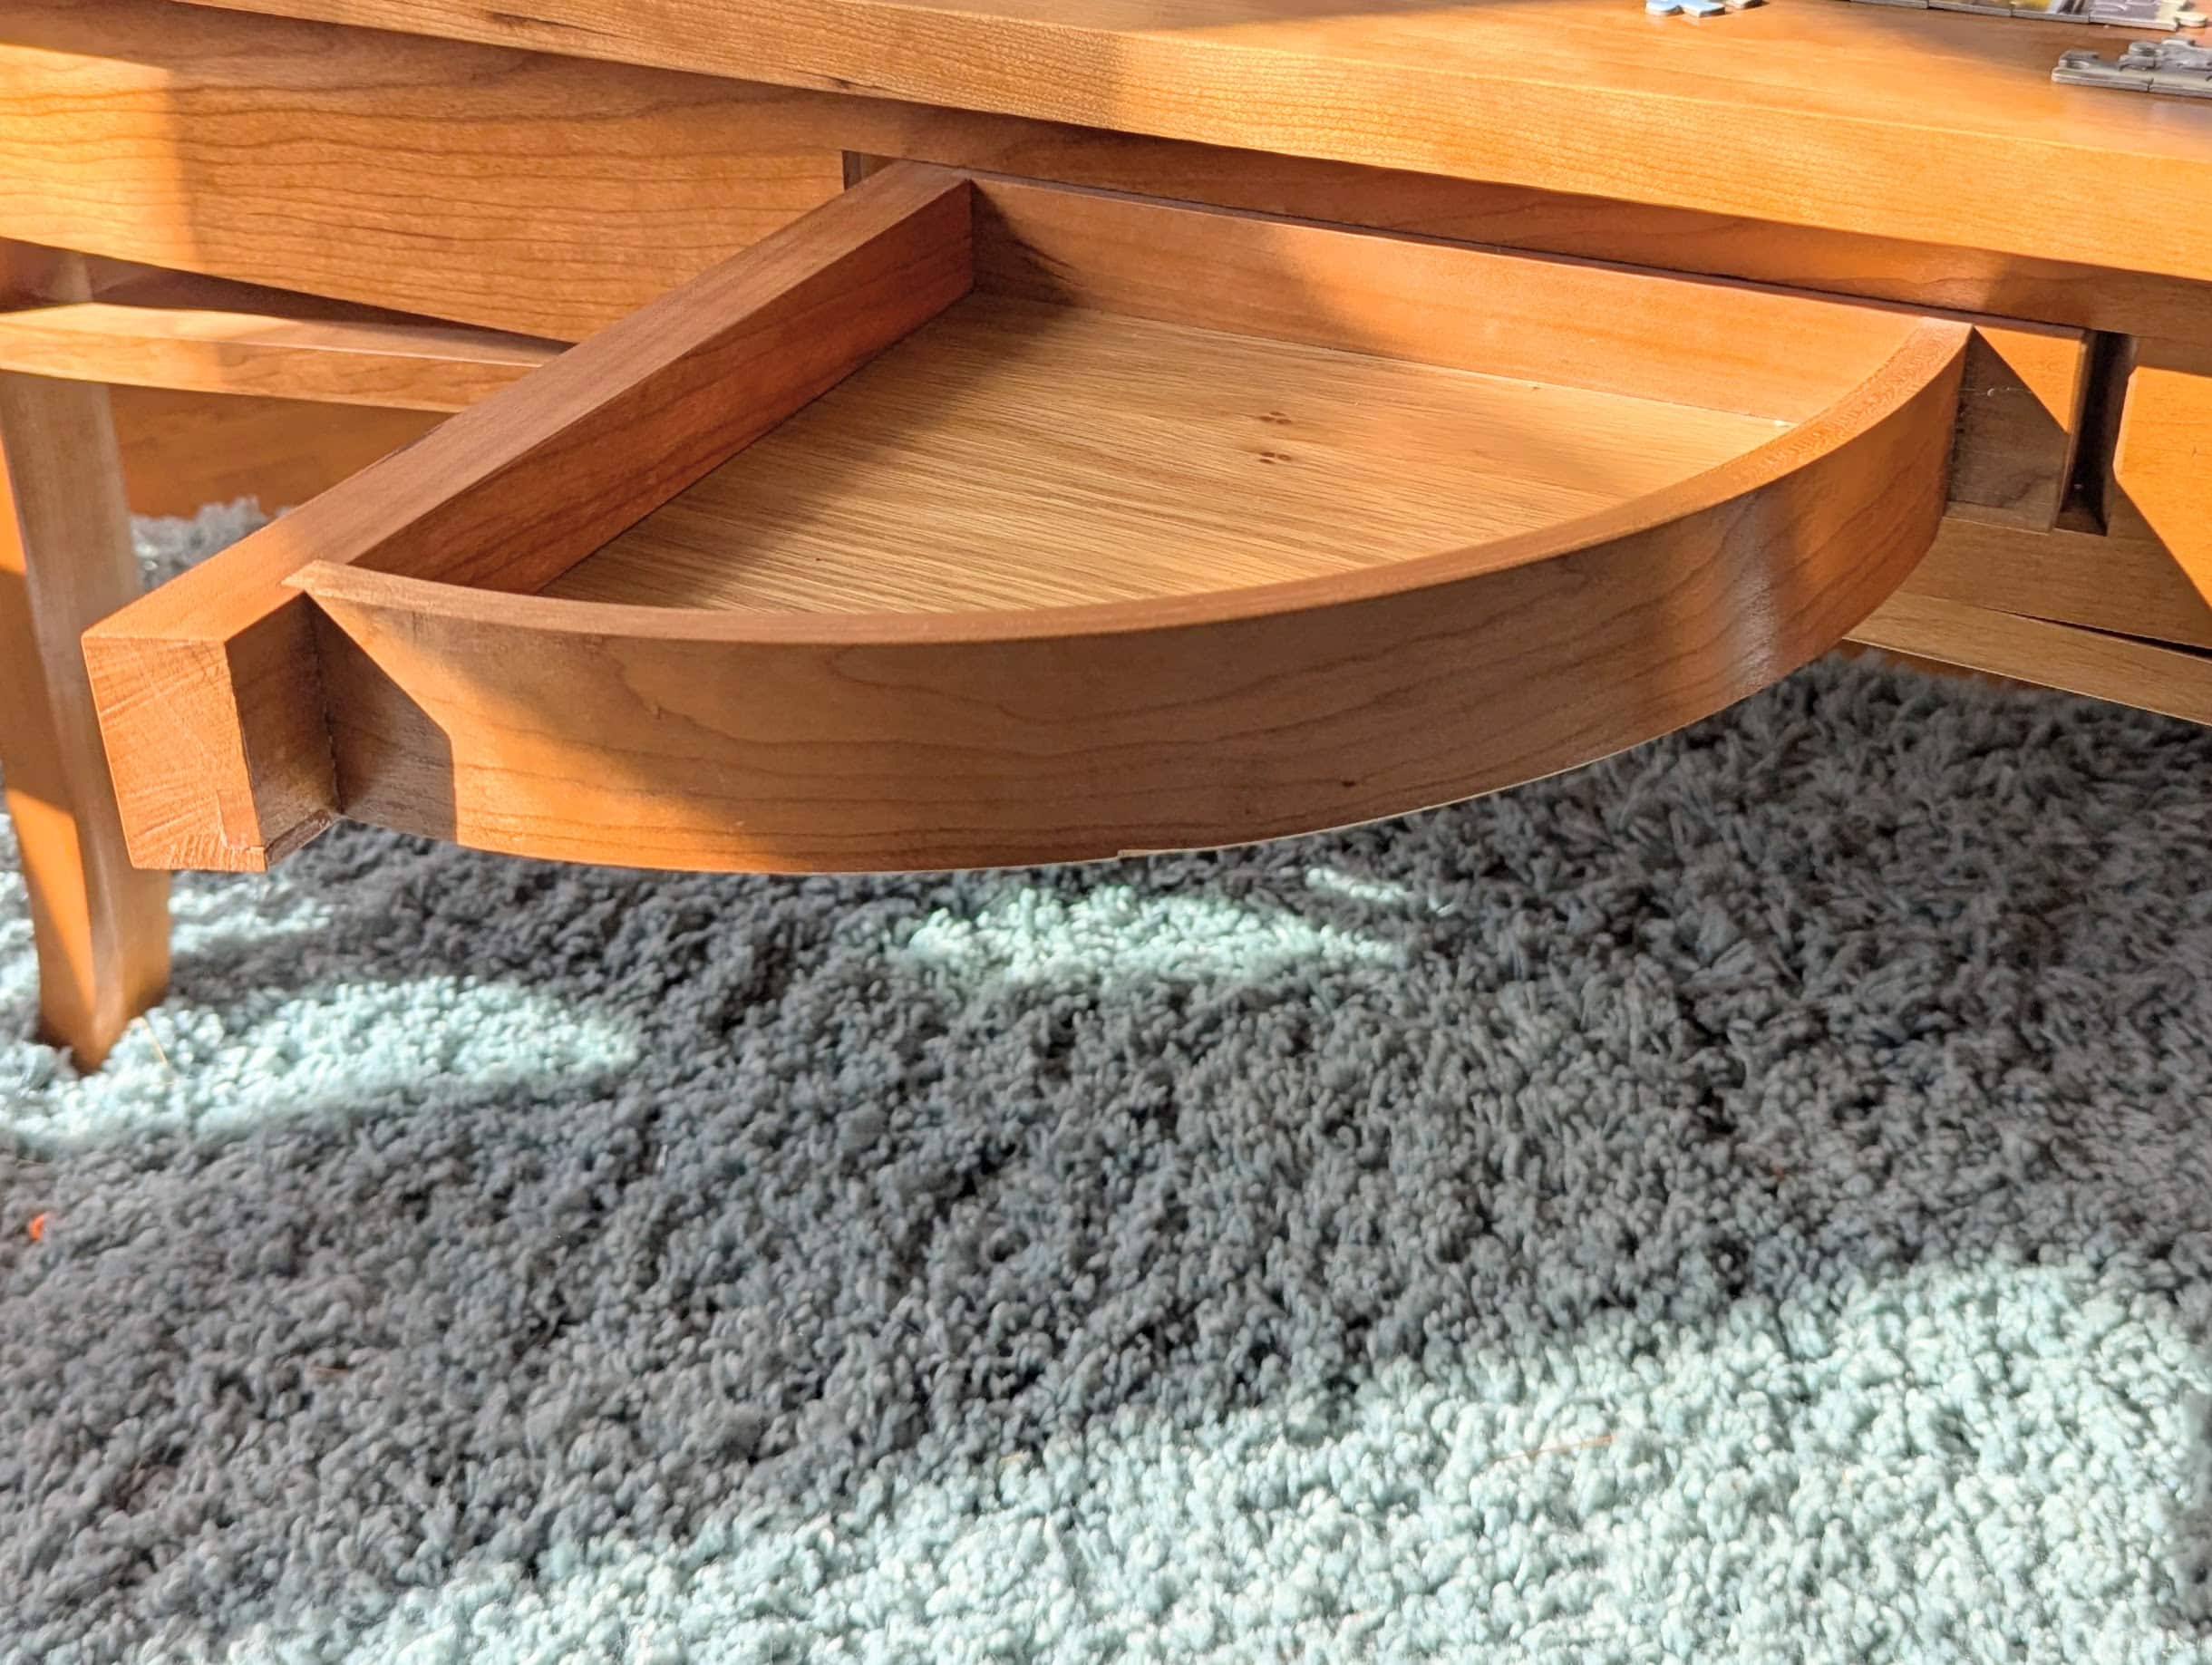
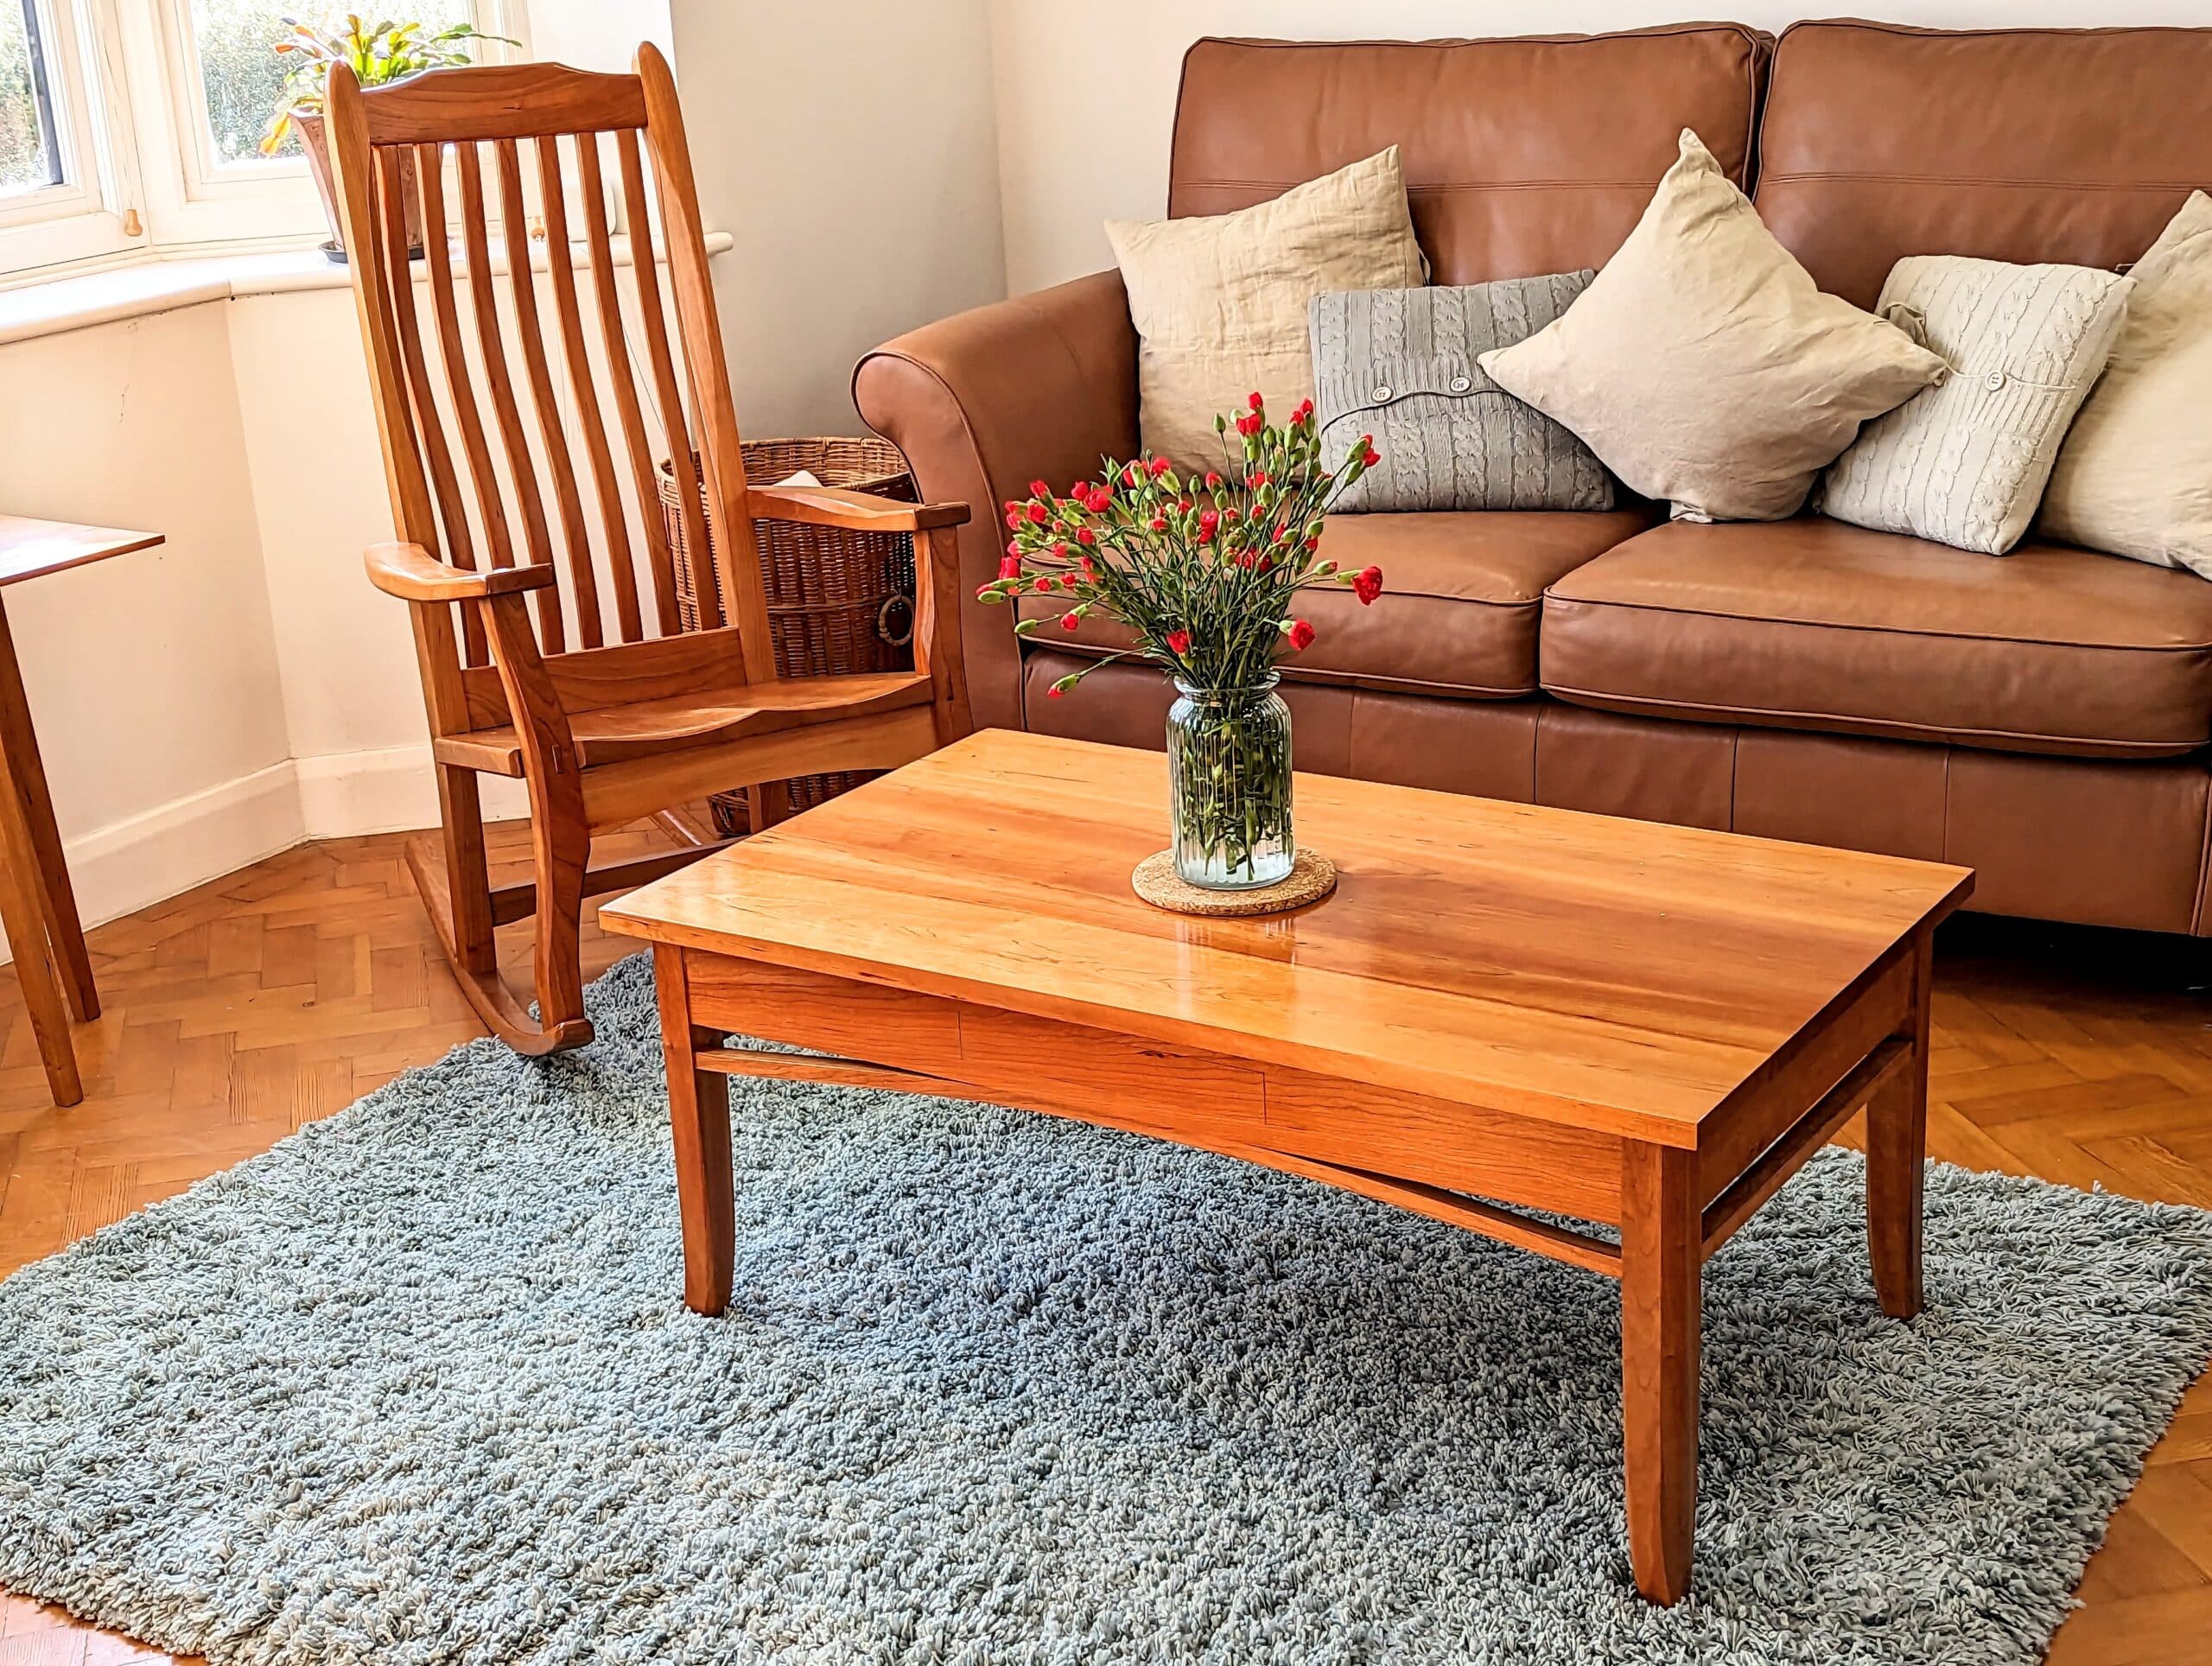
On the coffee table with the rotating drawer swivelling from between the apron, I never had an issue even though my tolerance levels were near zero. In the making of my pieces, I often use a third method of measuring and that is the literal measuring of widths and thicknesses using metric as my measurement. As an example: in my cherry coffee table the top width on the point of delivery measured 609.5mm (24″) and I recorded this in my drawings. Today, three years on, it measures 612mm so a 2.5mm increase.
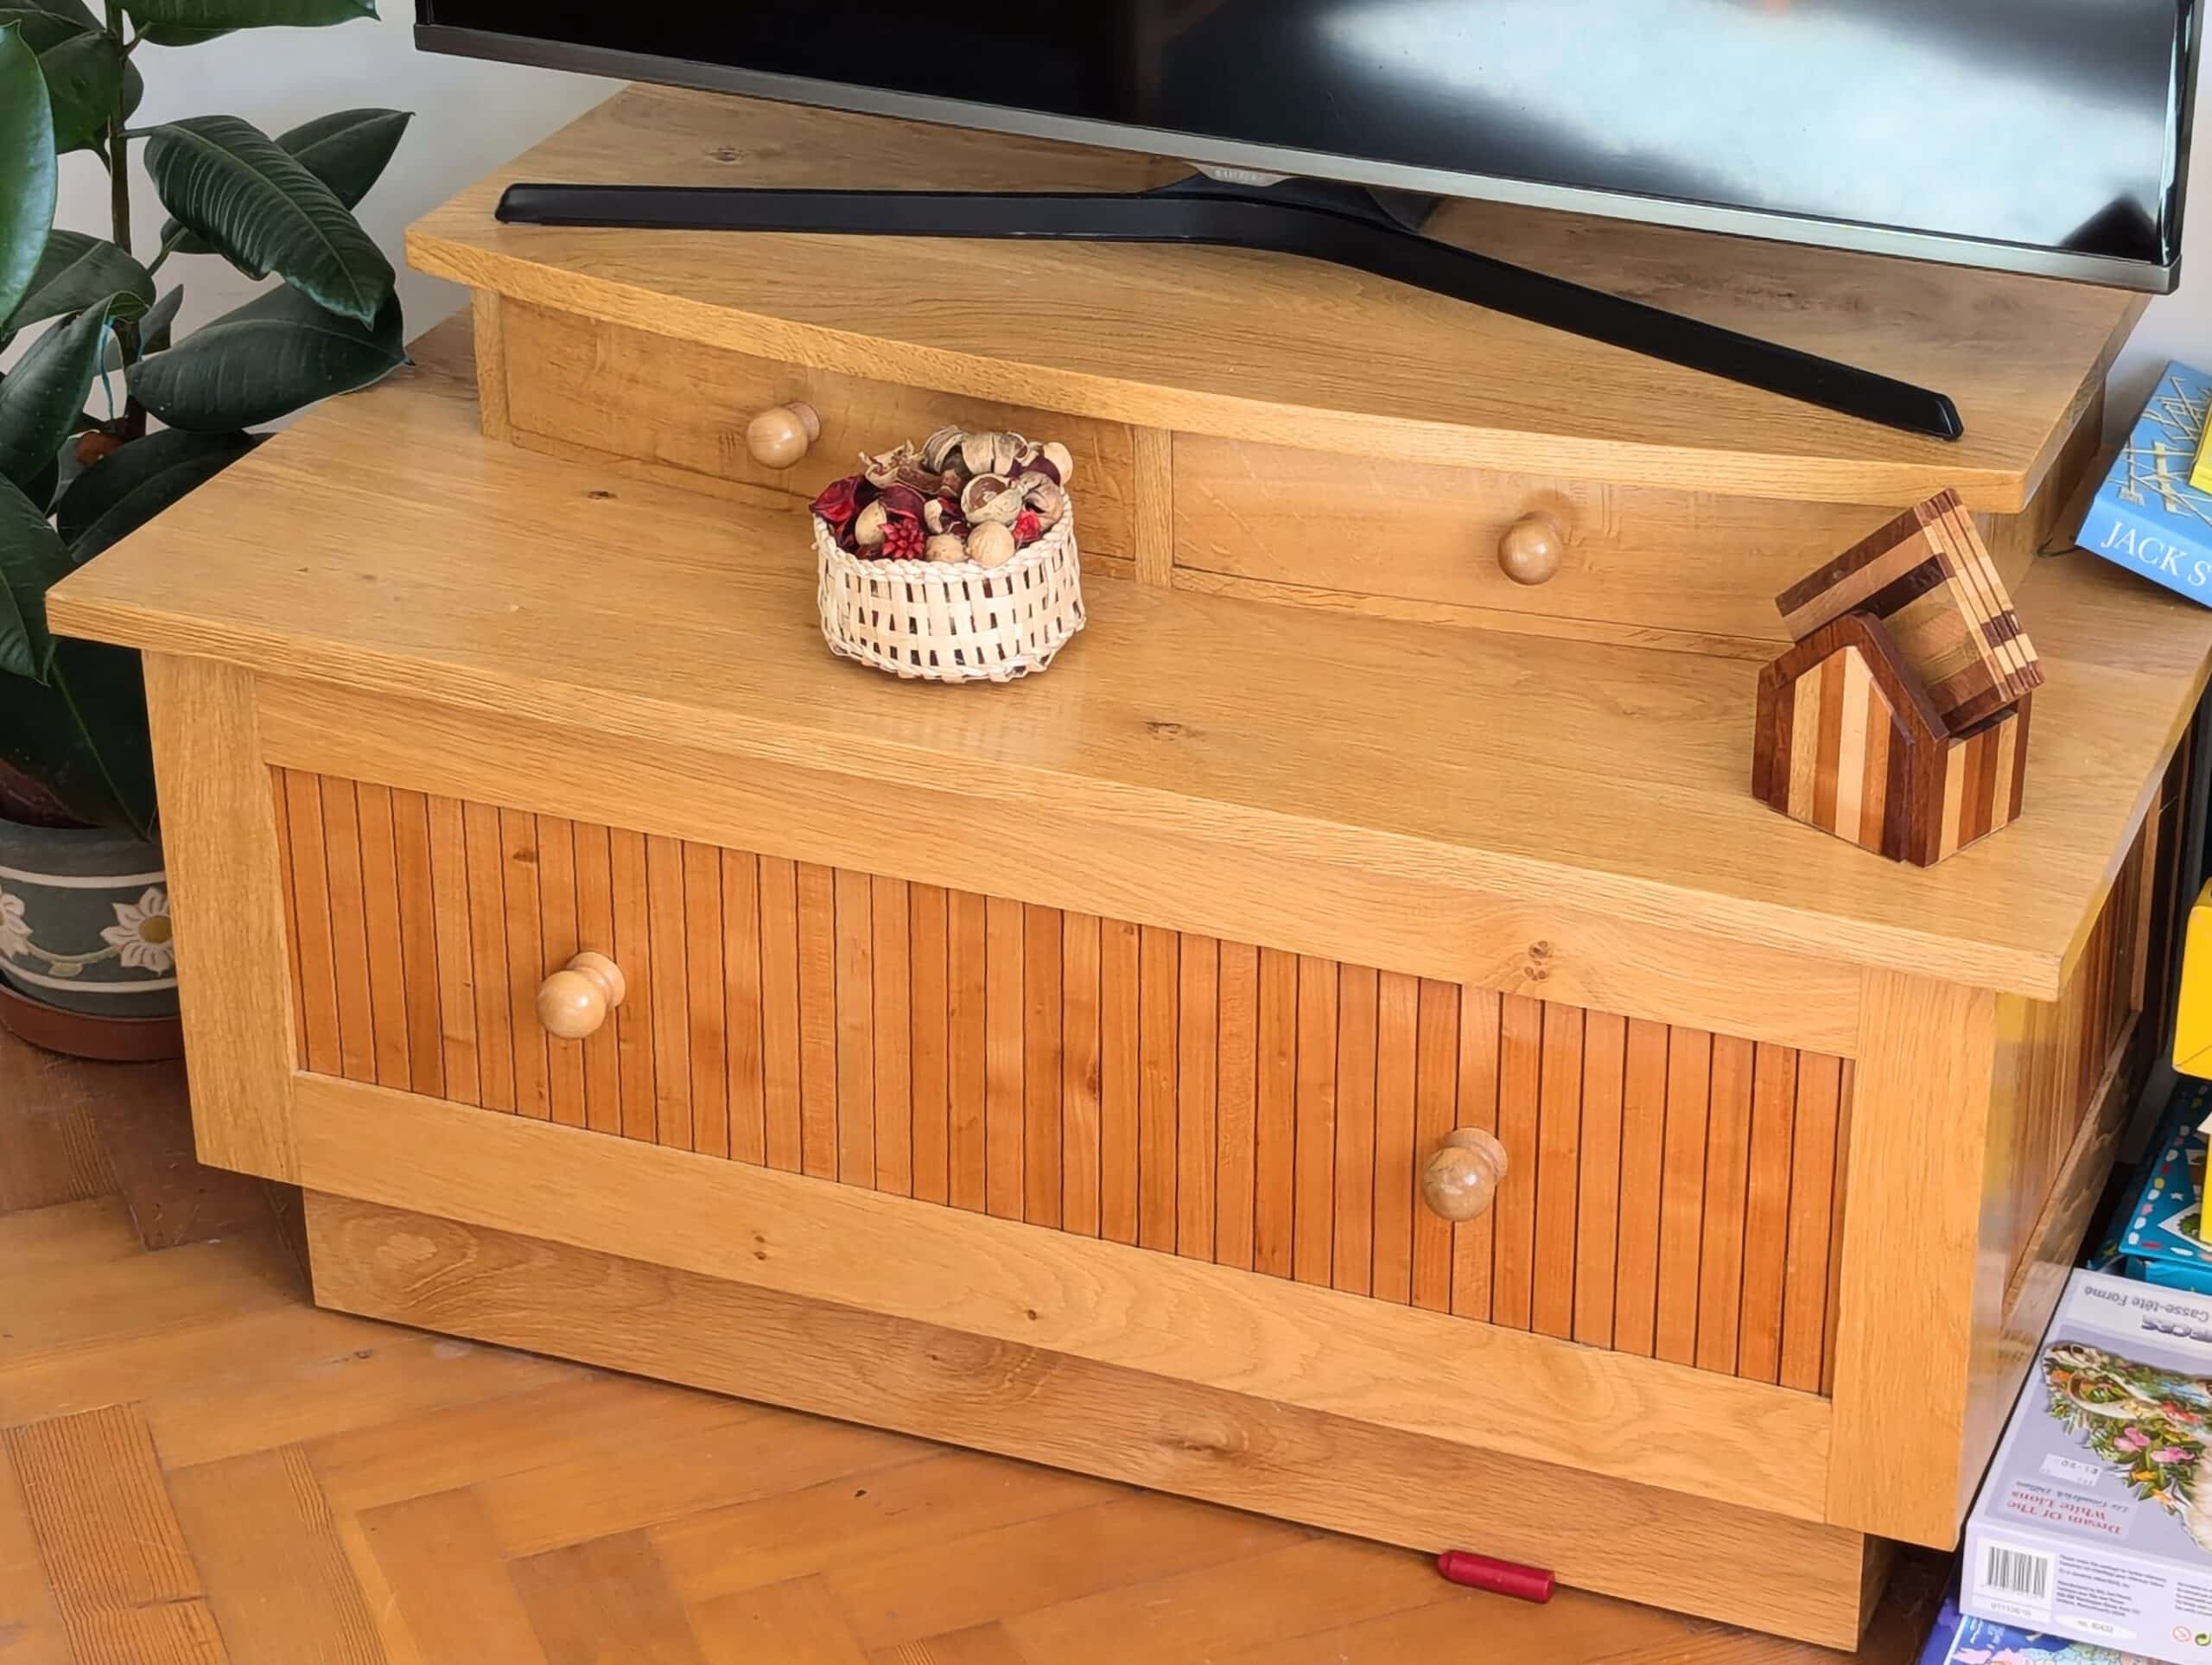
The TV stand suffered a couple of issues in the first year or so. The large, full-width and deep drawer did expand on the drawer side width on just one side which expanded enough for the drawer to stick. Though, in actuality, this was the smallest fraction of a millimetre, over the length of the drawer side from front to back, the friction levels stopped the drawer dead in its space.
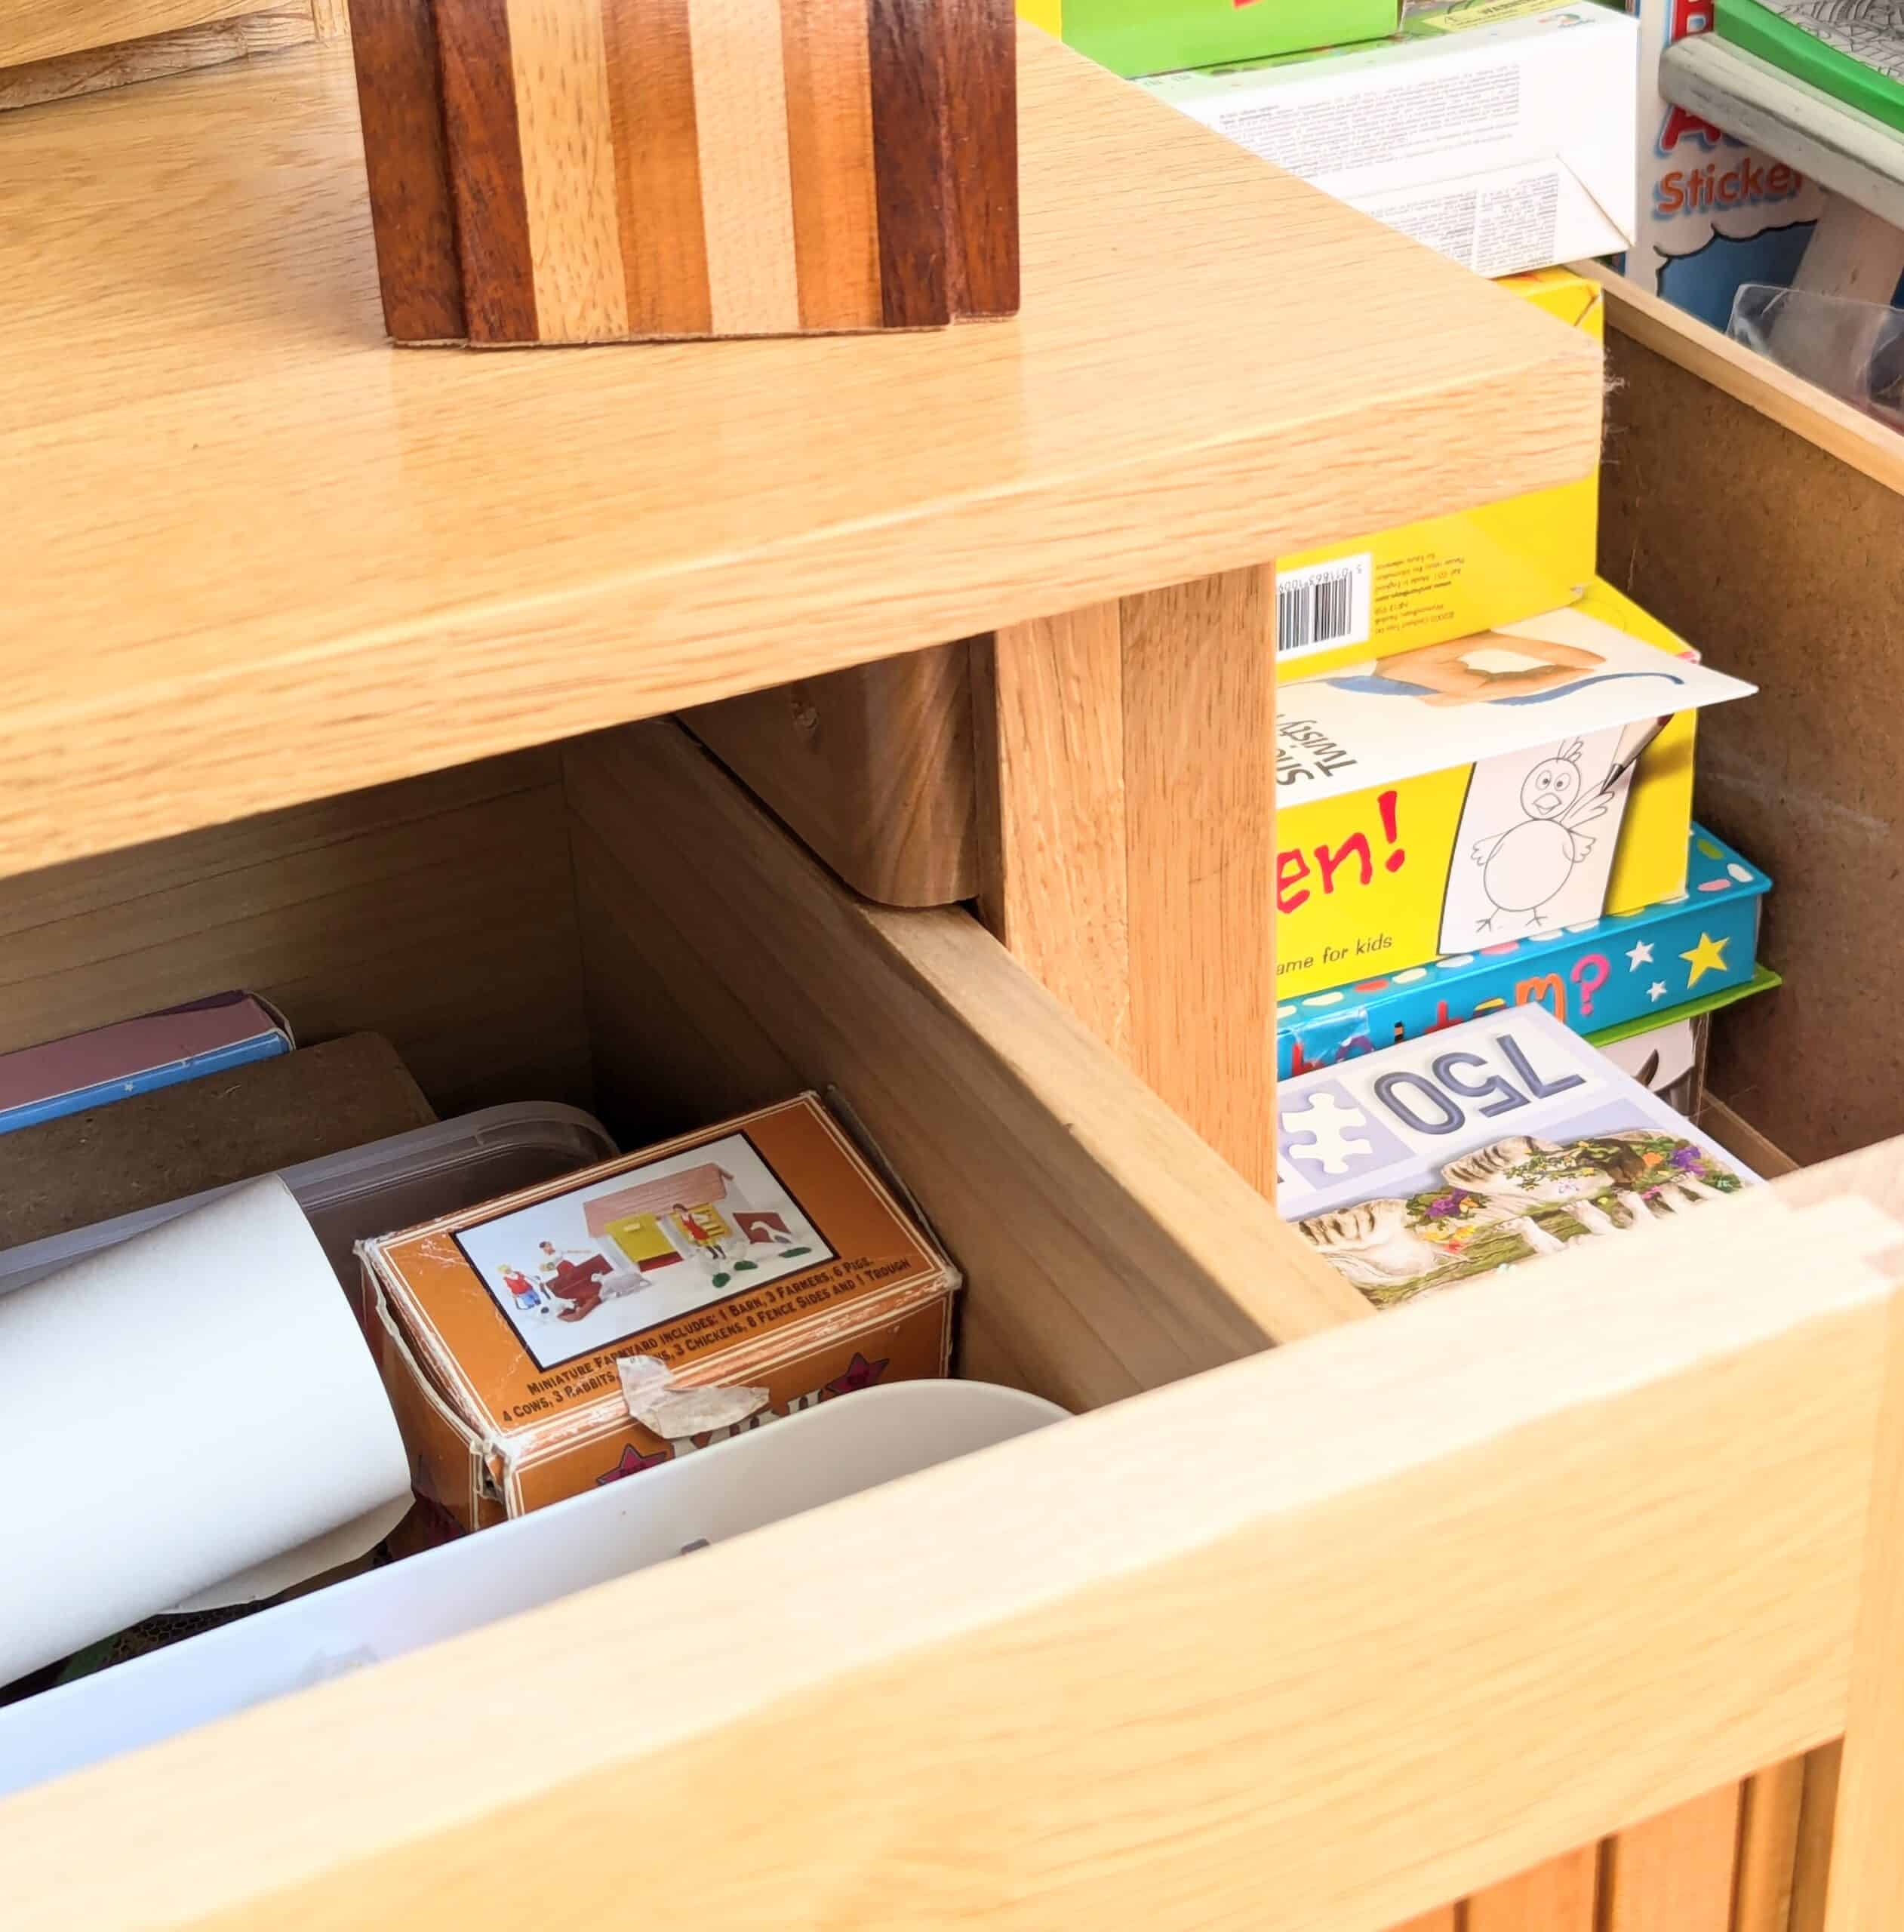
First, I installed a mobile dehumidifier in the room for a few days and the resulting shrinkage took the drawer width down sufficient to move freely again. By thern taking off half a millimetre I resolved the issue and in this case the amount was just the right amount to customise the fit long term. This tells me my half-mil of shavings was just about right. But then there was a knock-on issue at the same time as pulling on the drawer pull broke the fibres surrounding the screw threads and that needed repairing with a slightly larger diameter screw too.
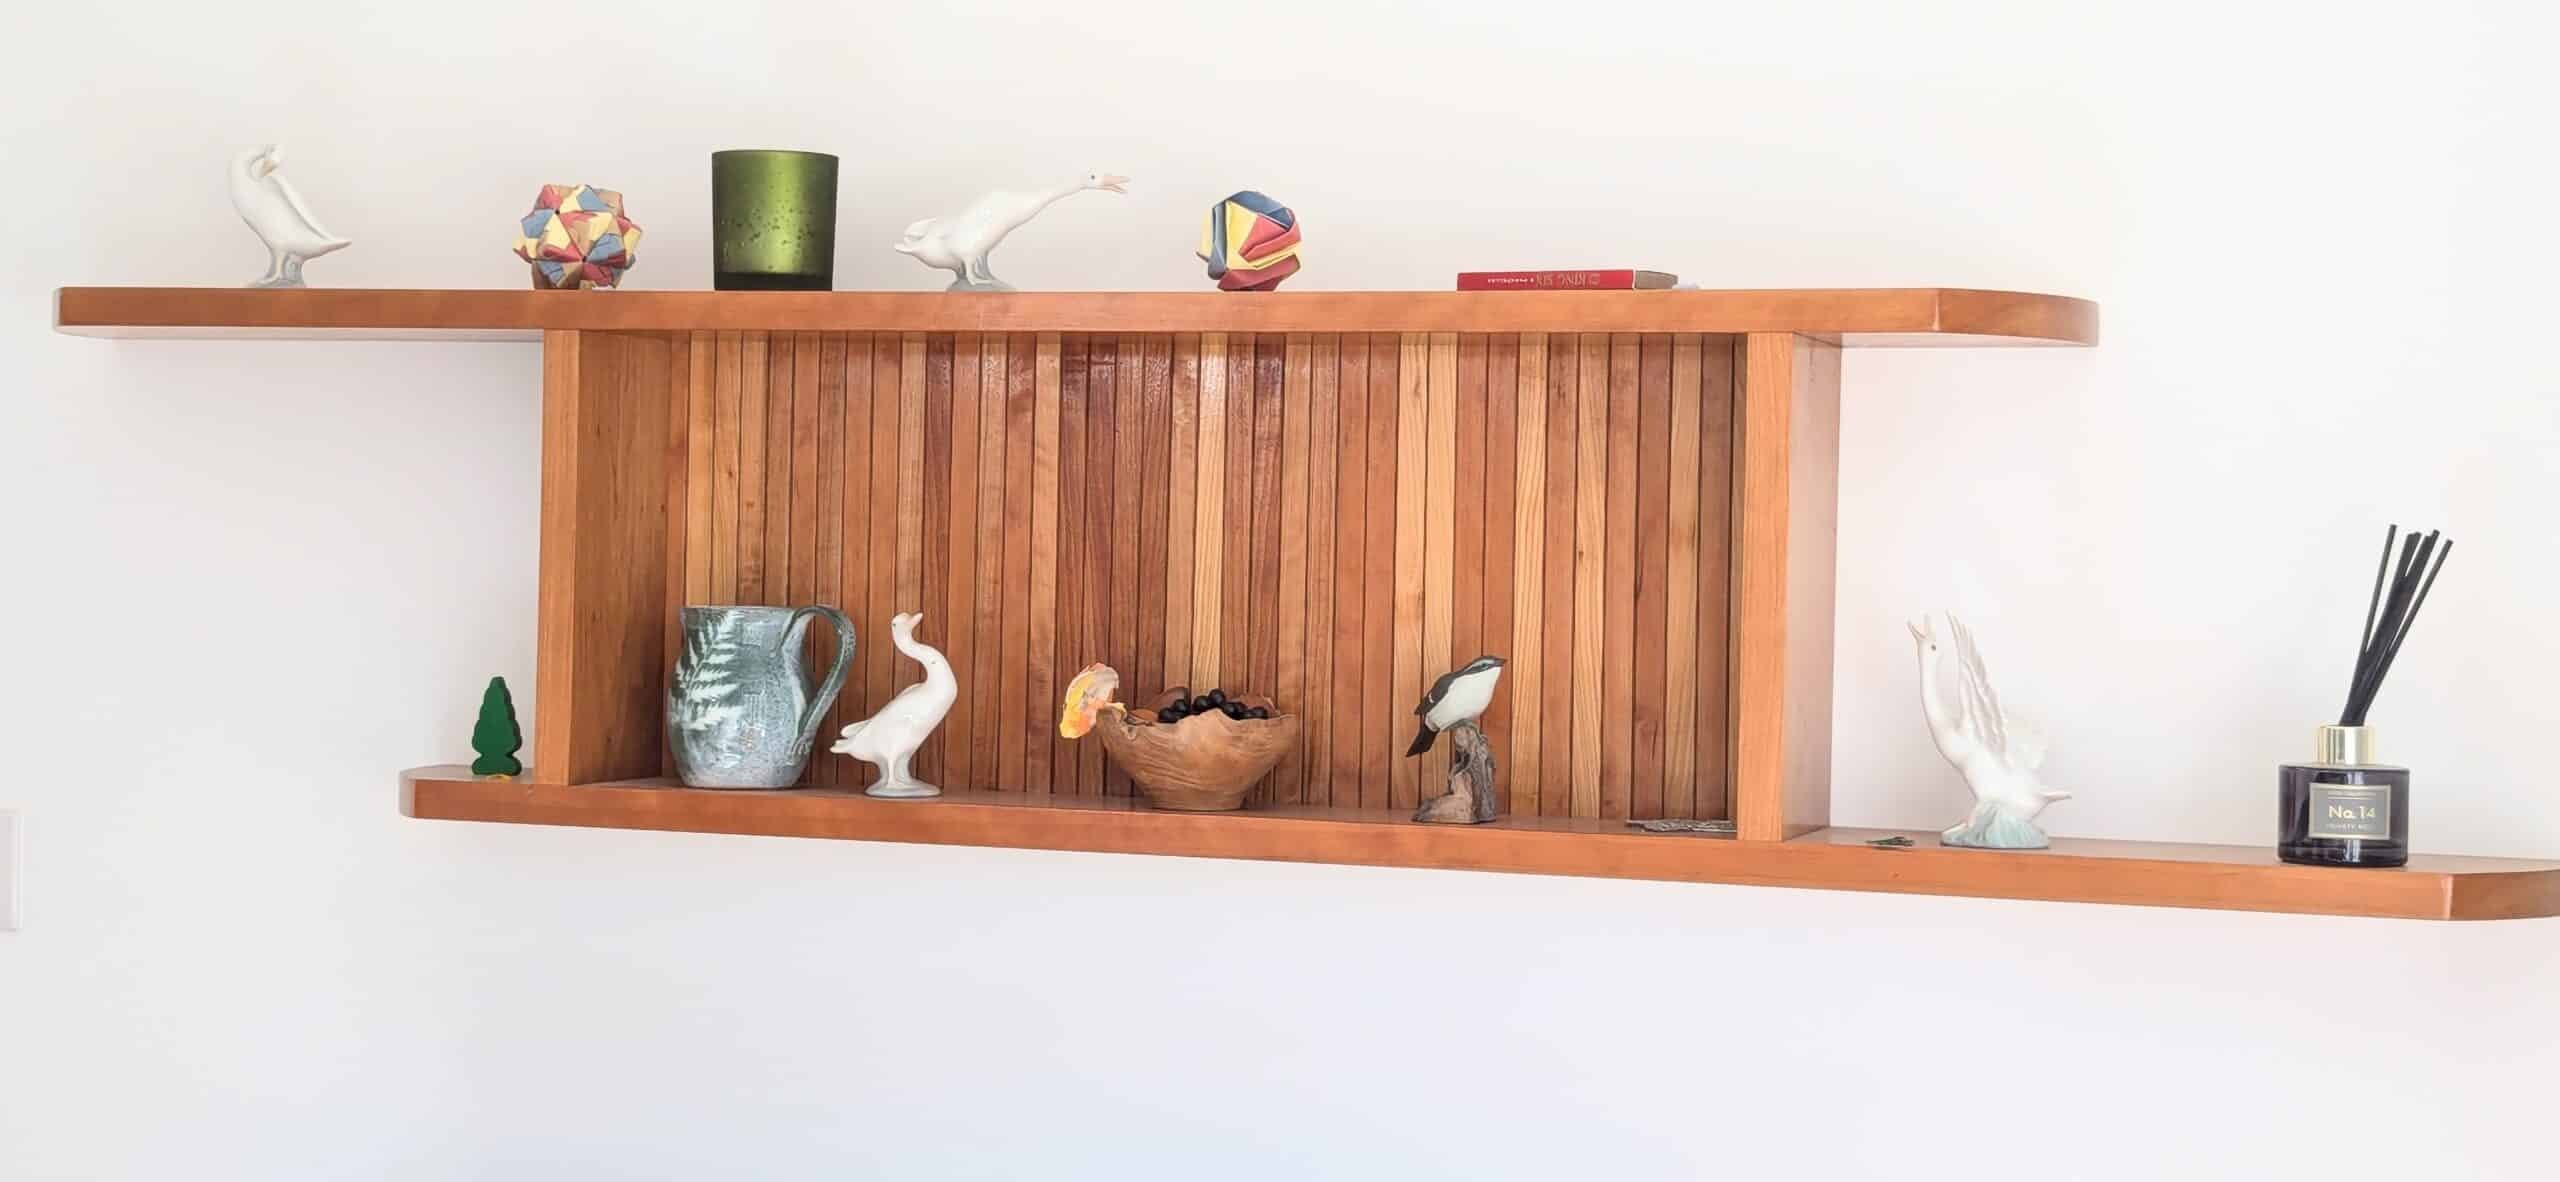
In this piece plus the shelf shown here which is above the TV stand I used dozens of offcut scraps as strips to create the tambour effect as panelling. This feature worked really effectively because the strips did expand but only within the constraints of the frame which was more than strong enough to hold any expansion.
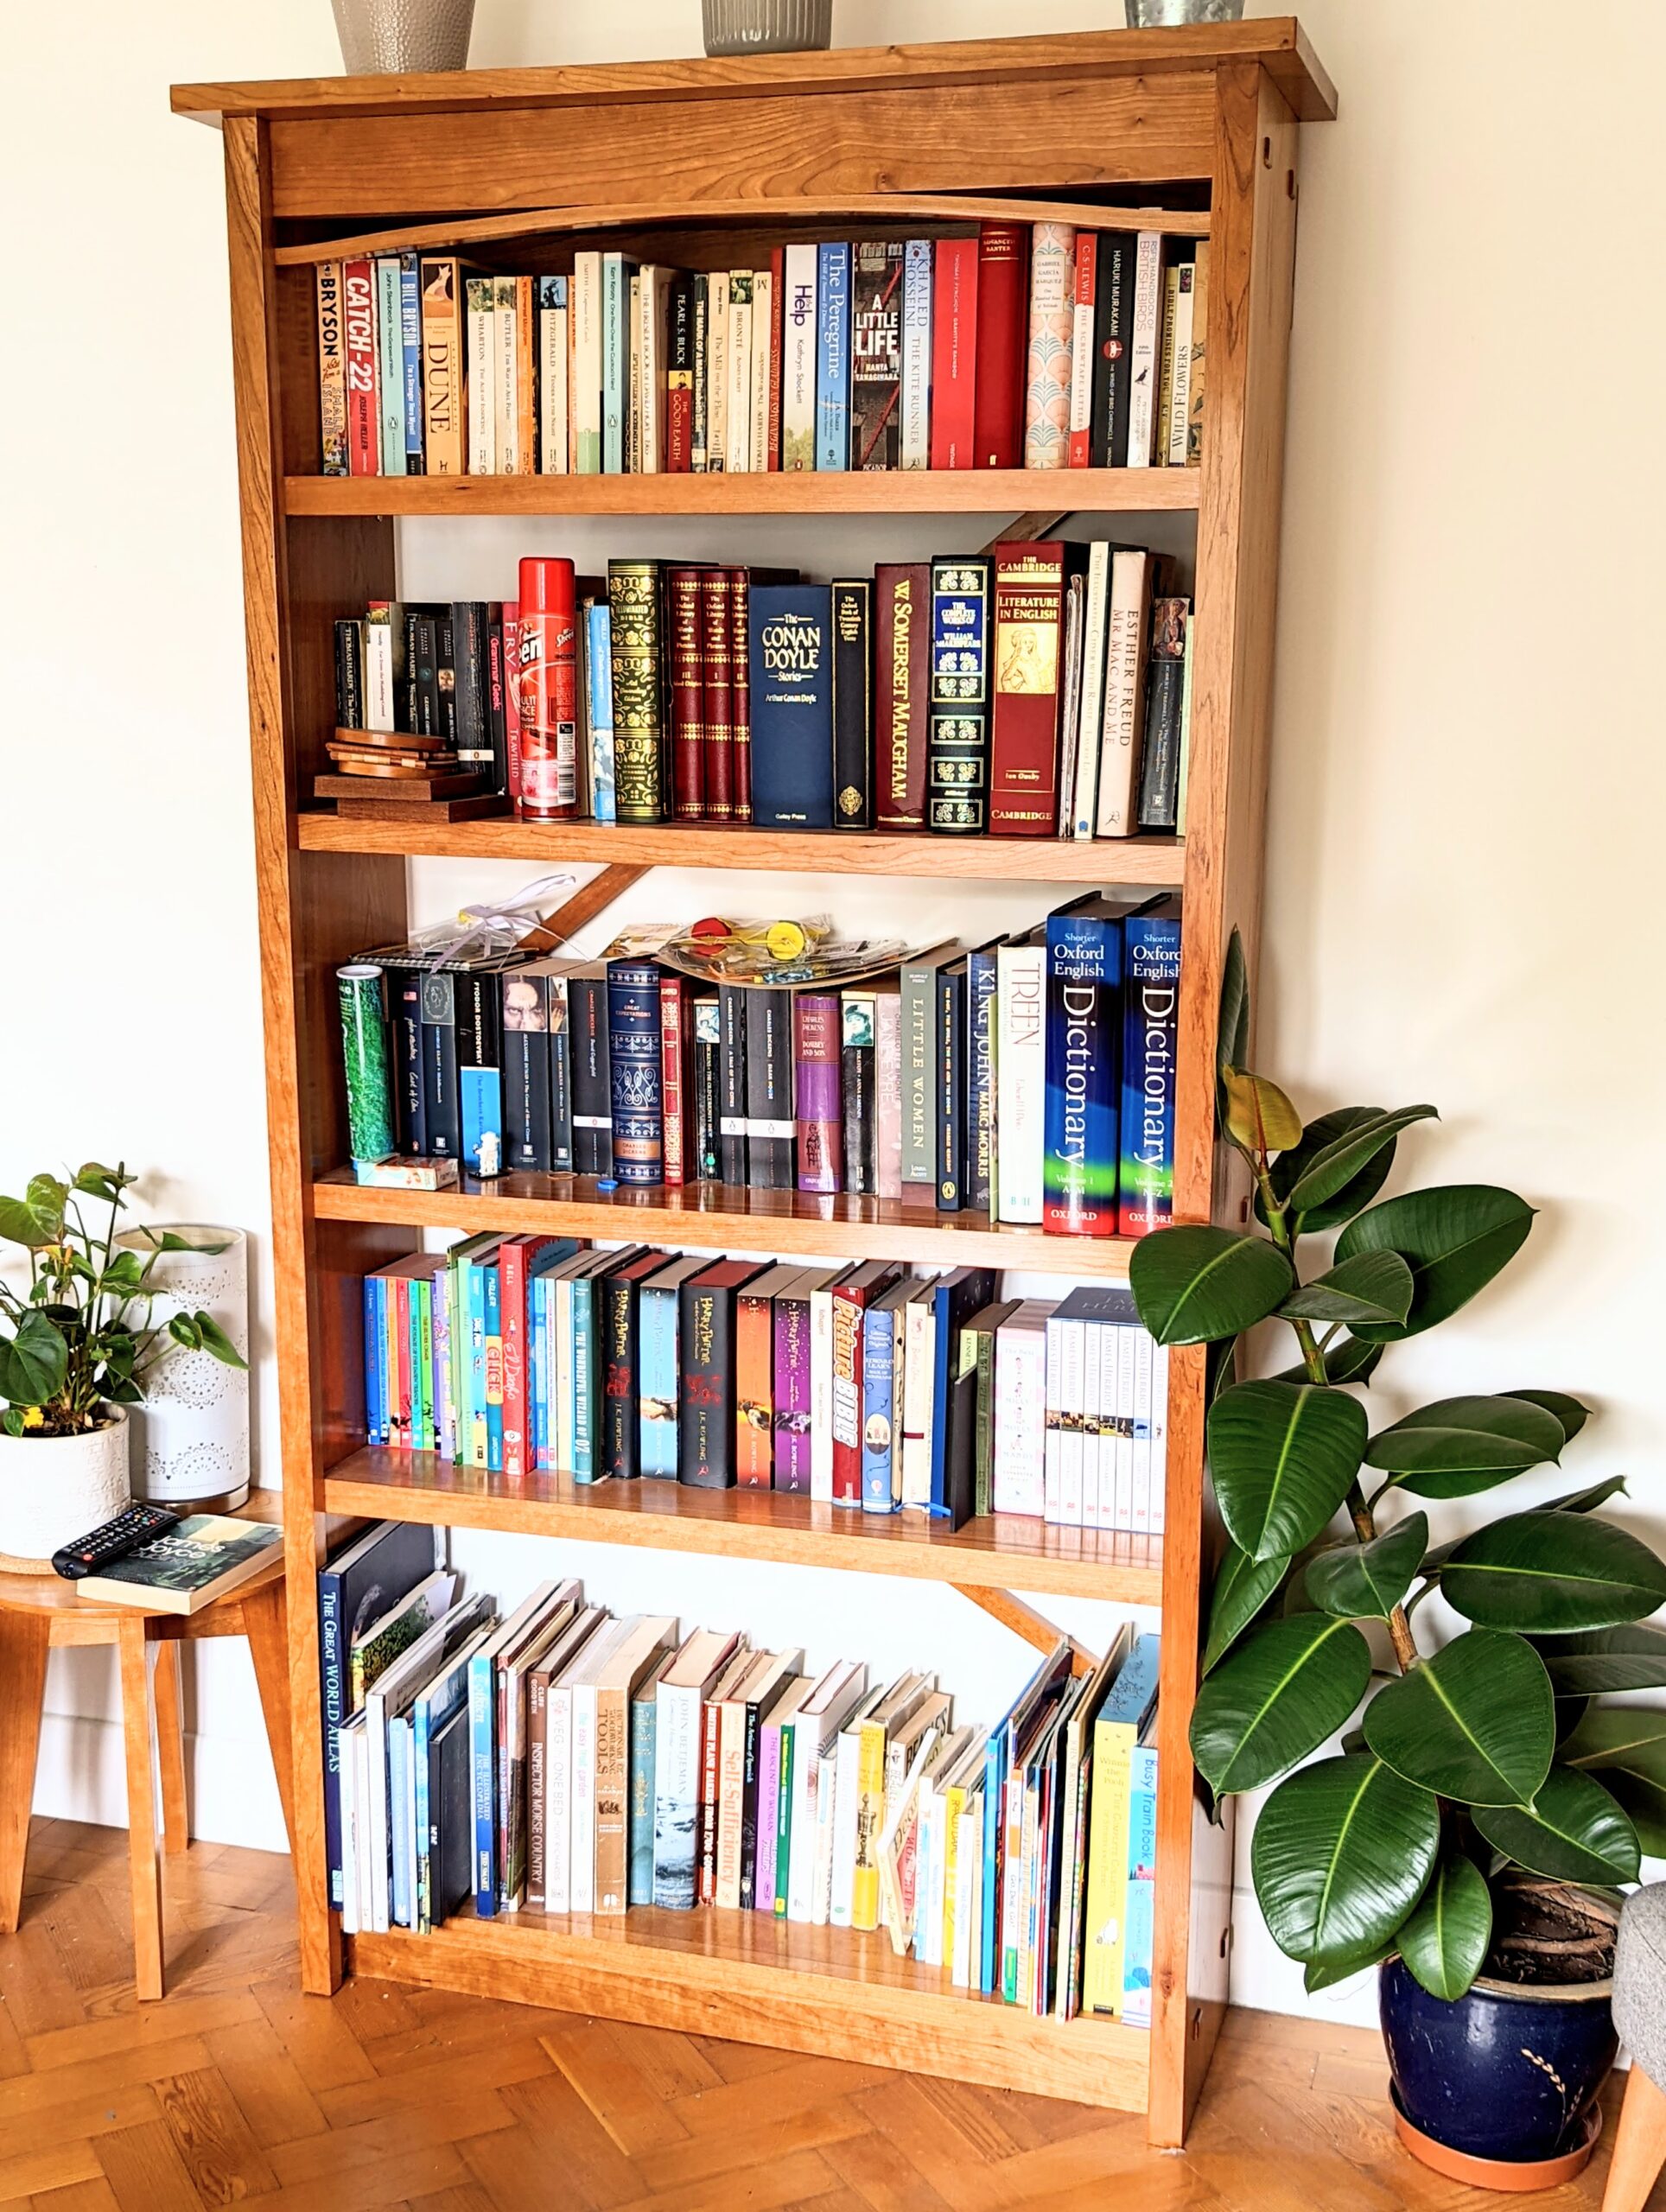
Because the bookcase expanded only unidirectionally (from front to back) I had no problems to any part of it after installation.
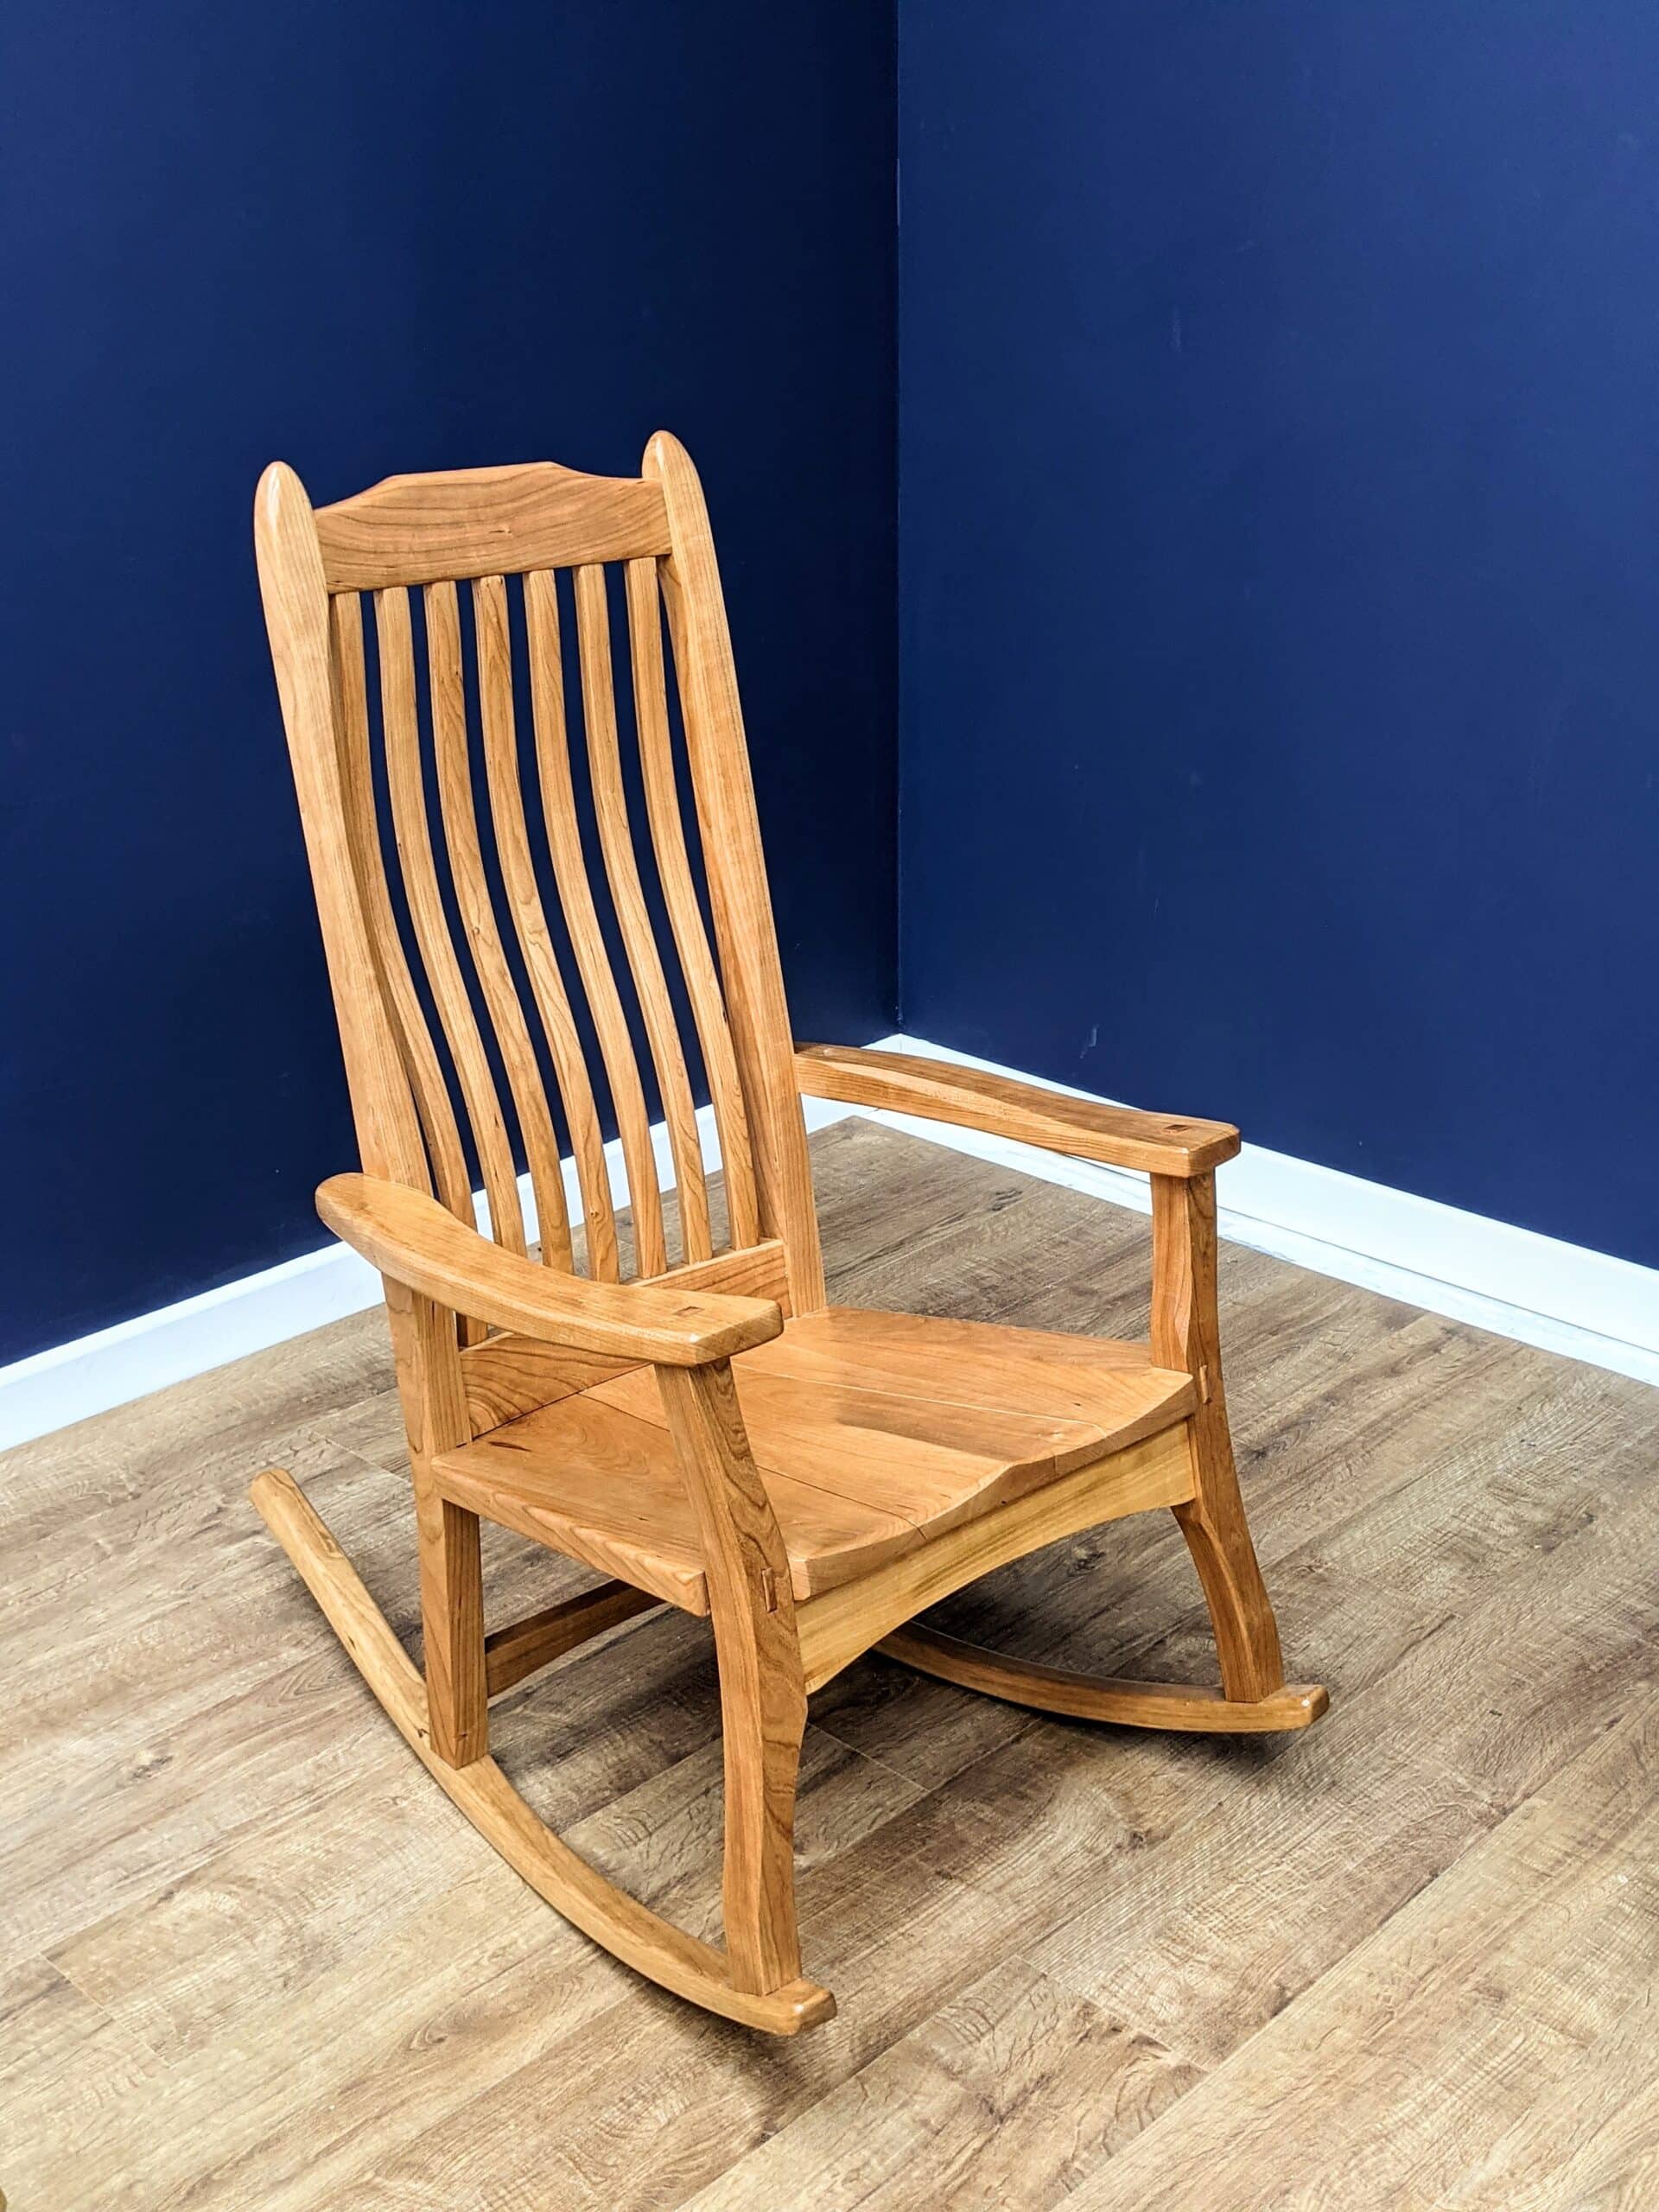
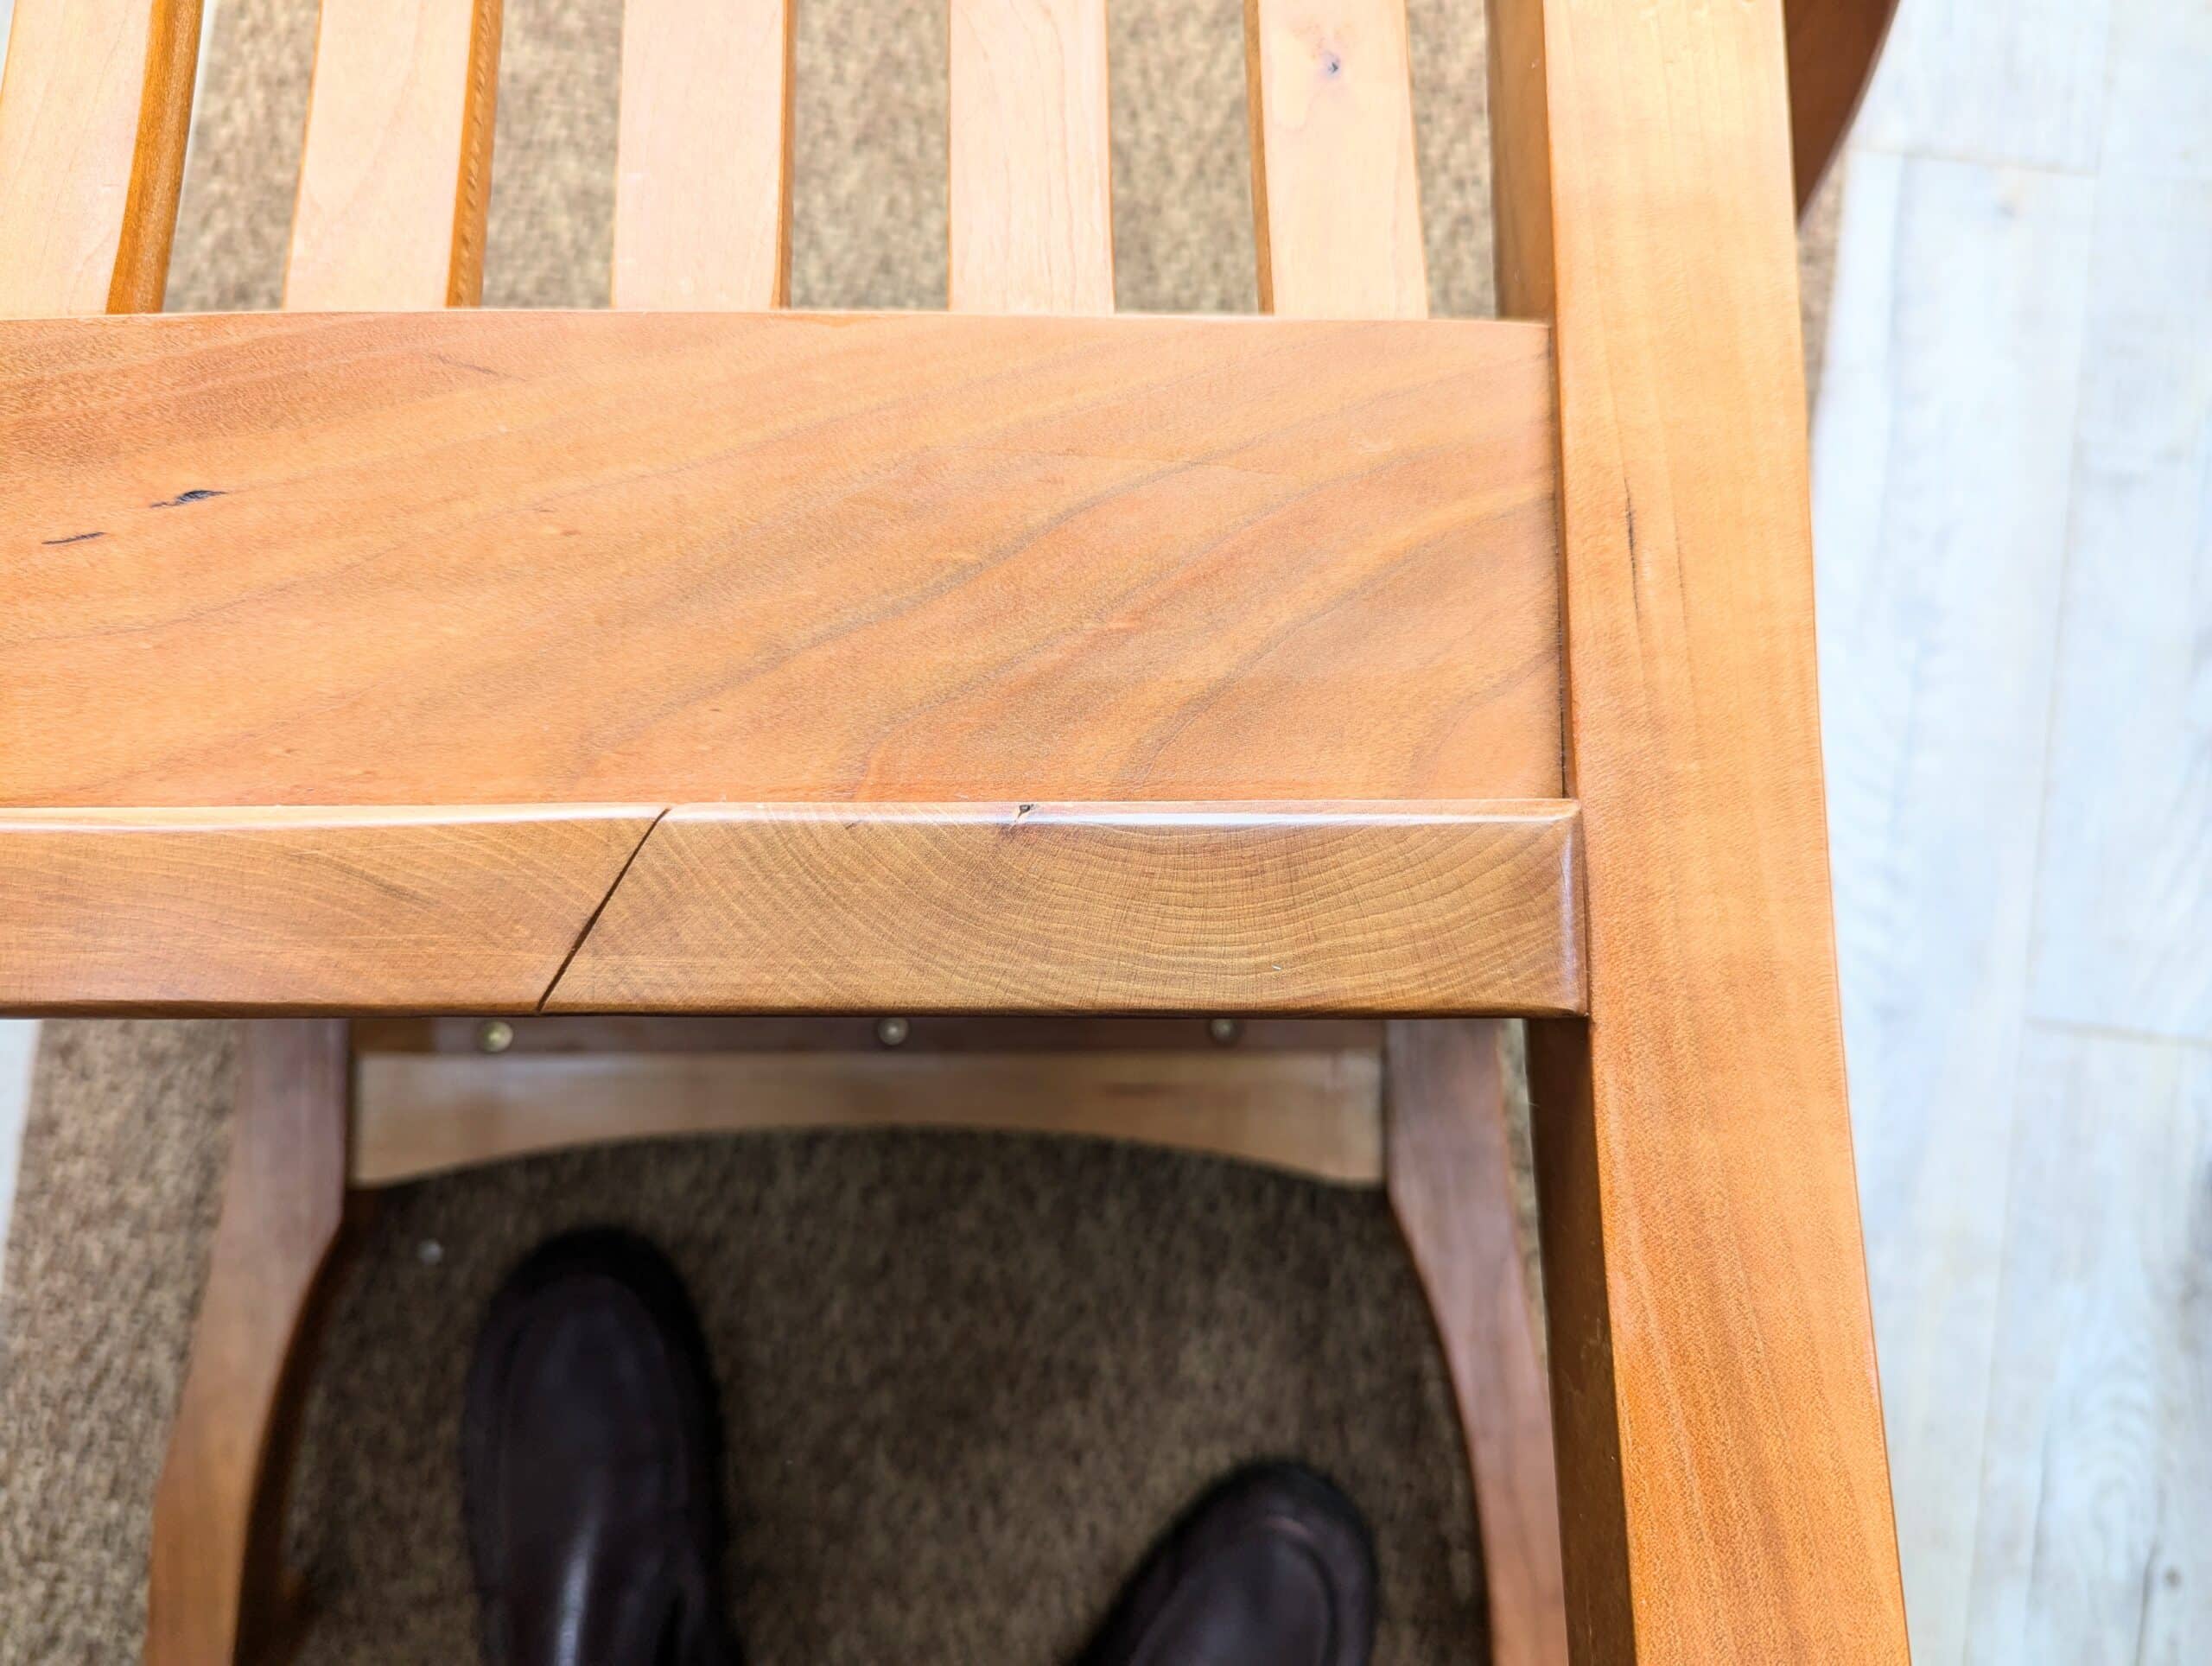
Now on the rocking chair, during the design phase, I considered various points of the seat in relation to the constraints of the chair frame between legs and the expansive width where I might expect to have a problem if the wood shrank. I couldn’t risk a split that might come from a solid seat screwed and anchored that way so I incorporated the seat using three pieces rather than a full-width piece. How did this work long term? Well, surprisingly it worked fine but not really the way I intended. Not having lived in the house for very long, I had no idea on the relative humidity levels. The width of the chair seat overall is 23″. I left gaps between the three parts and then the posts or legs totalling around 5mm. They all closed up. Of course, the joinery all held unshakably firm.
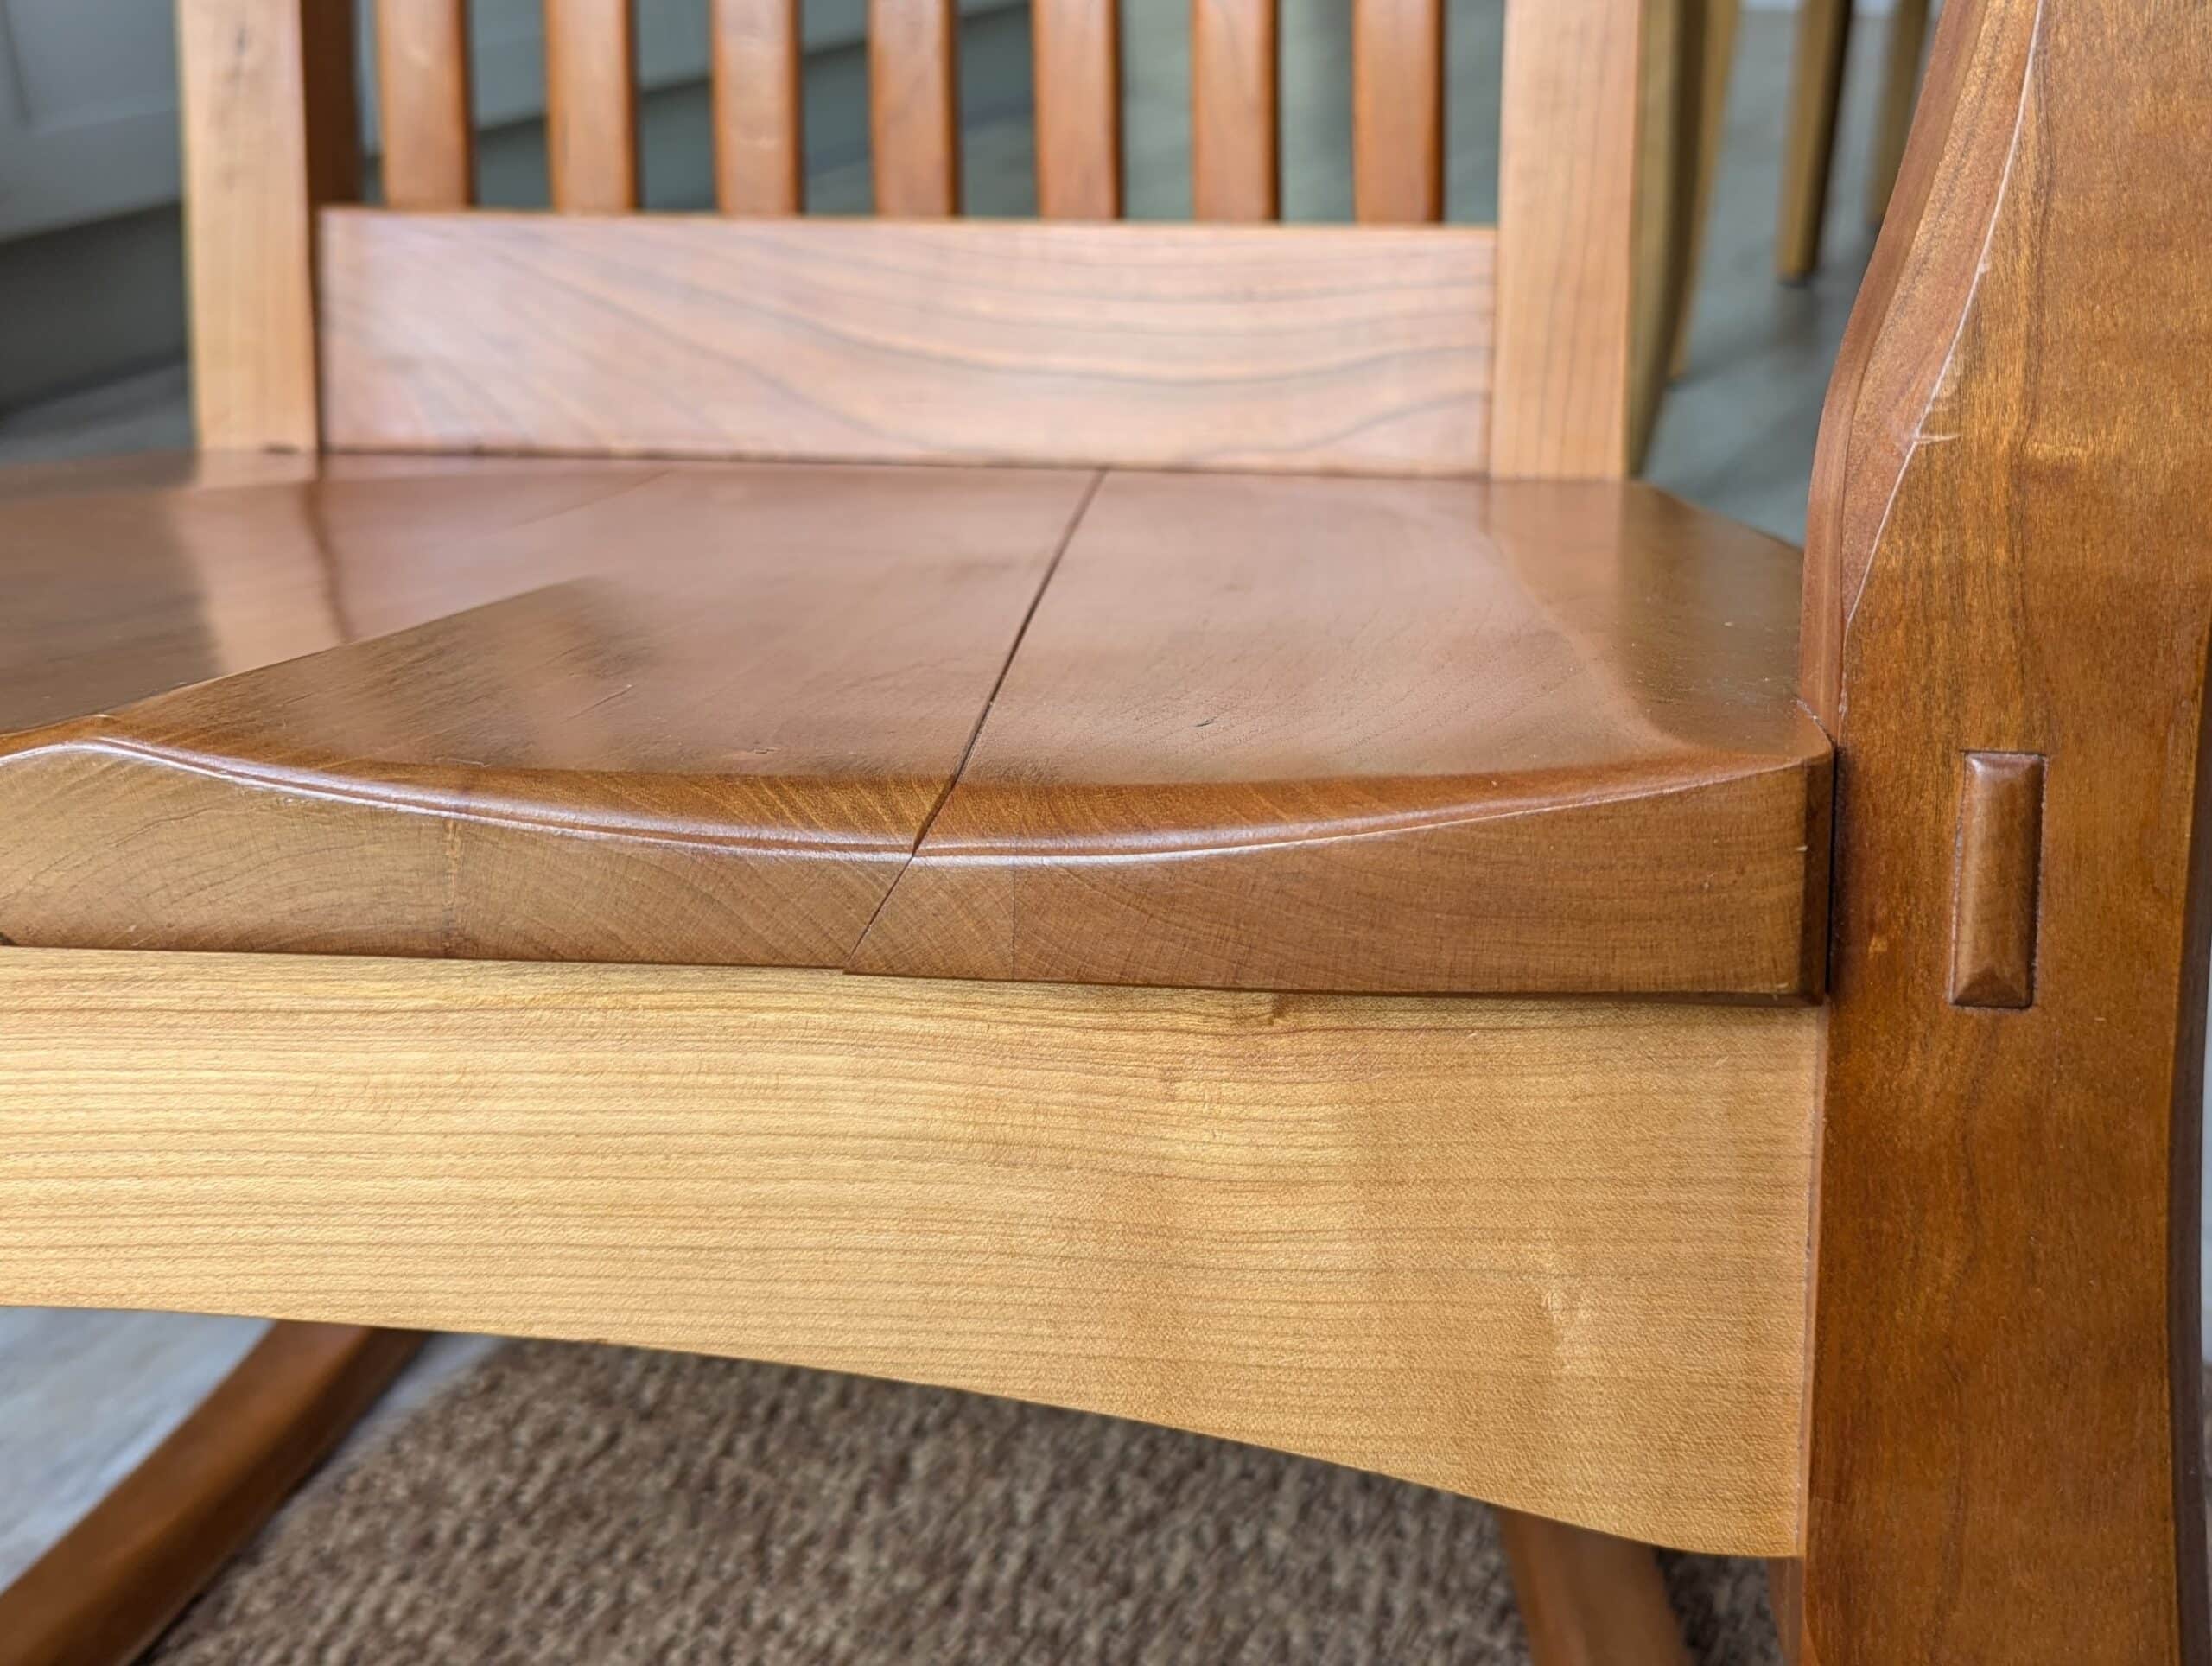
On the back of the chair seat I still have a small gap and that is because the overall back of the seat is narrower than the full-width front and the mid-section is three inches narrower than the front mid-section.
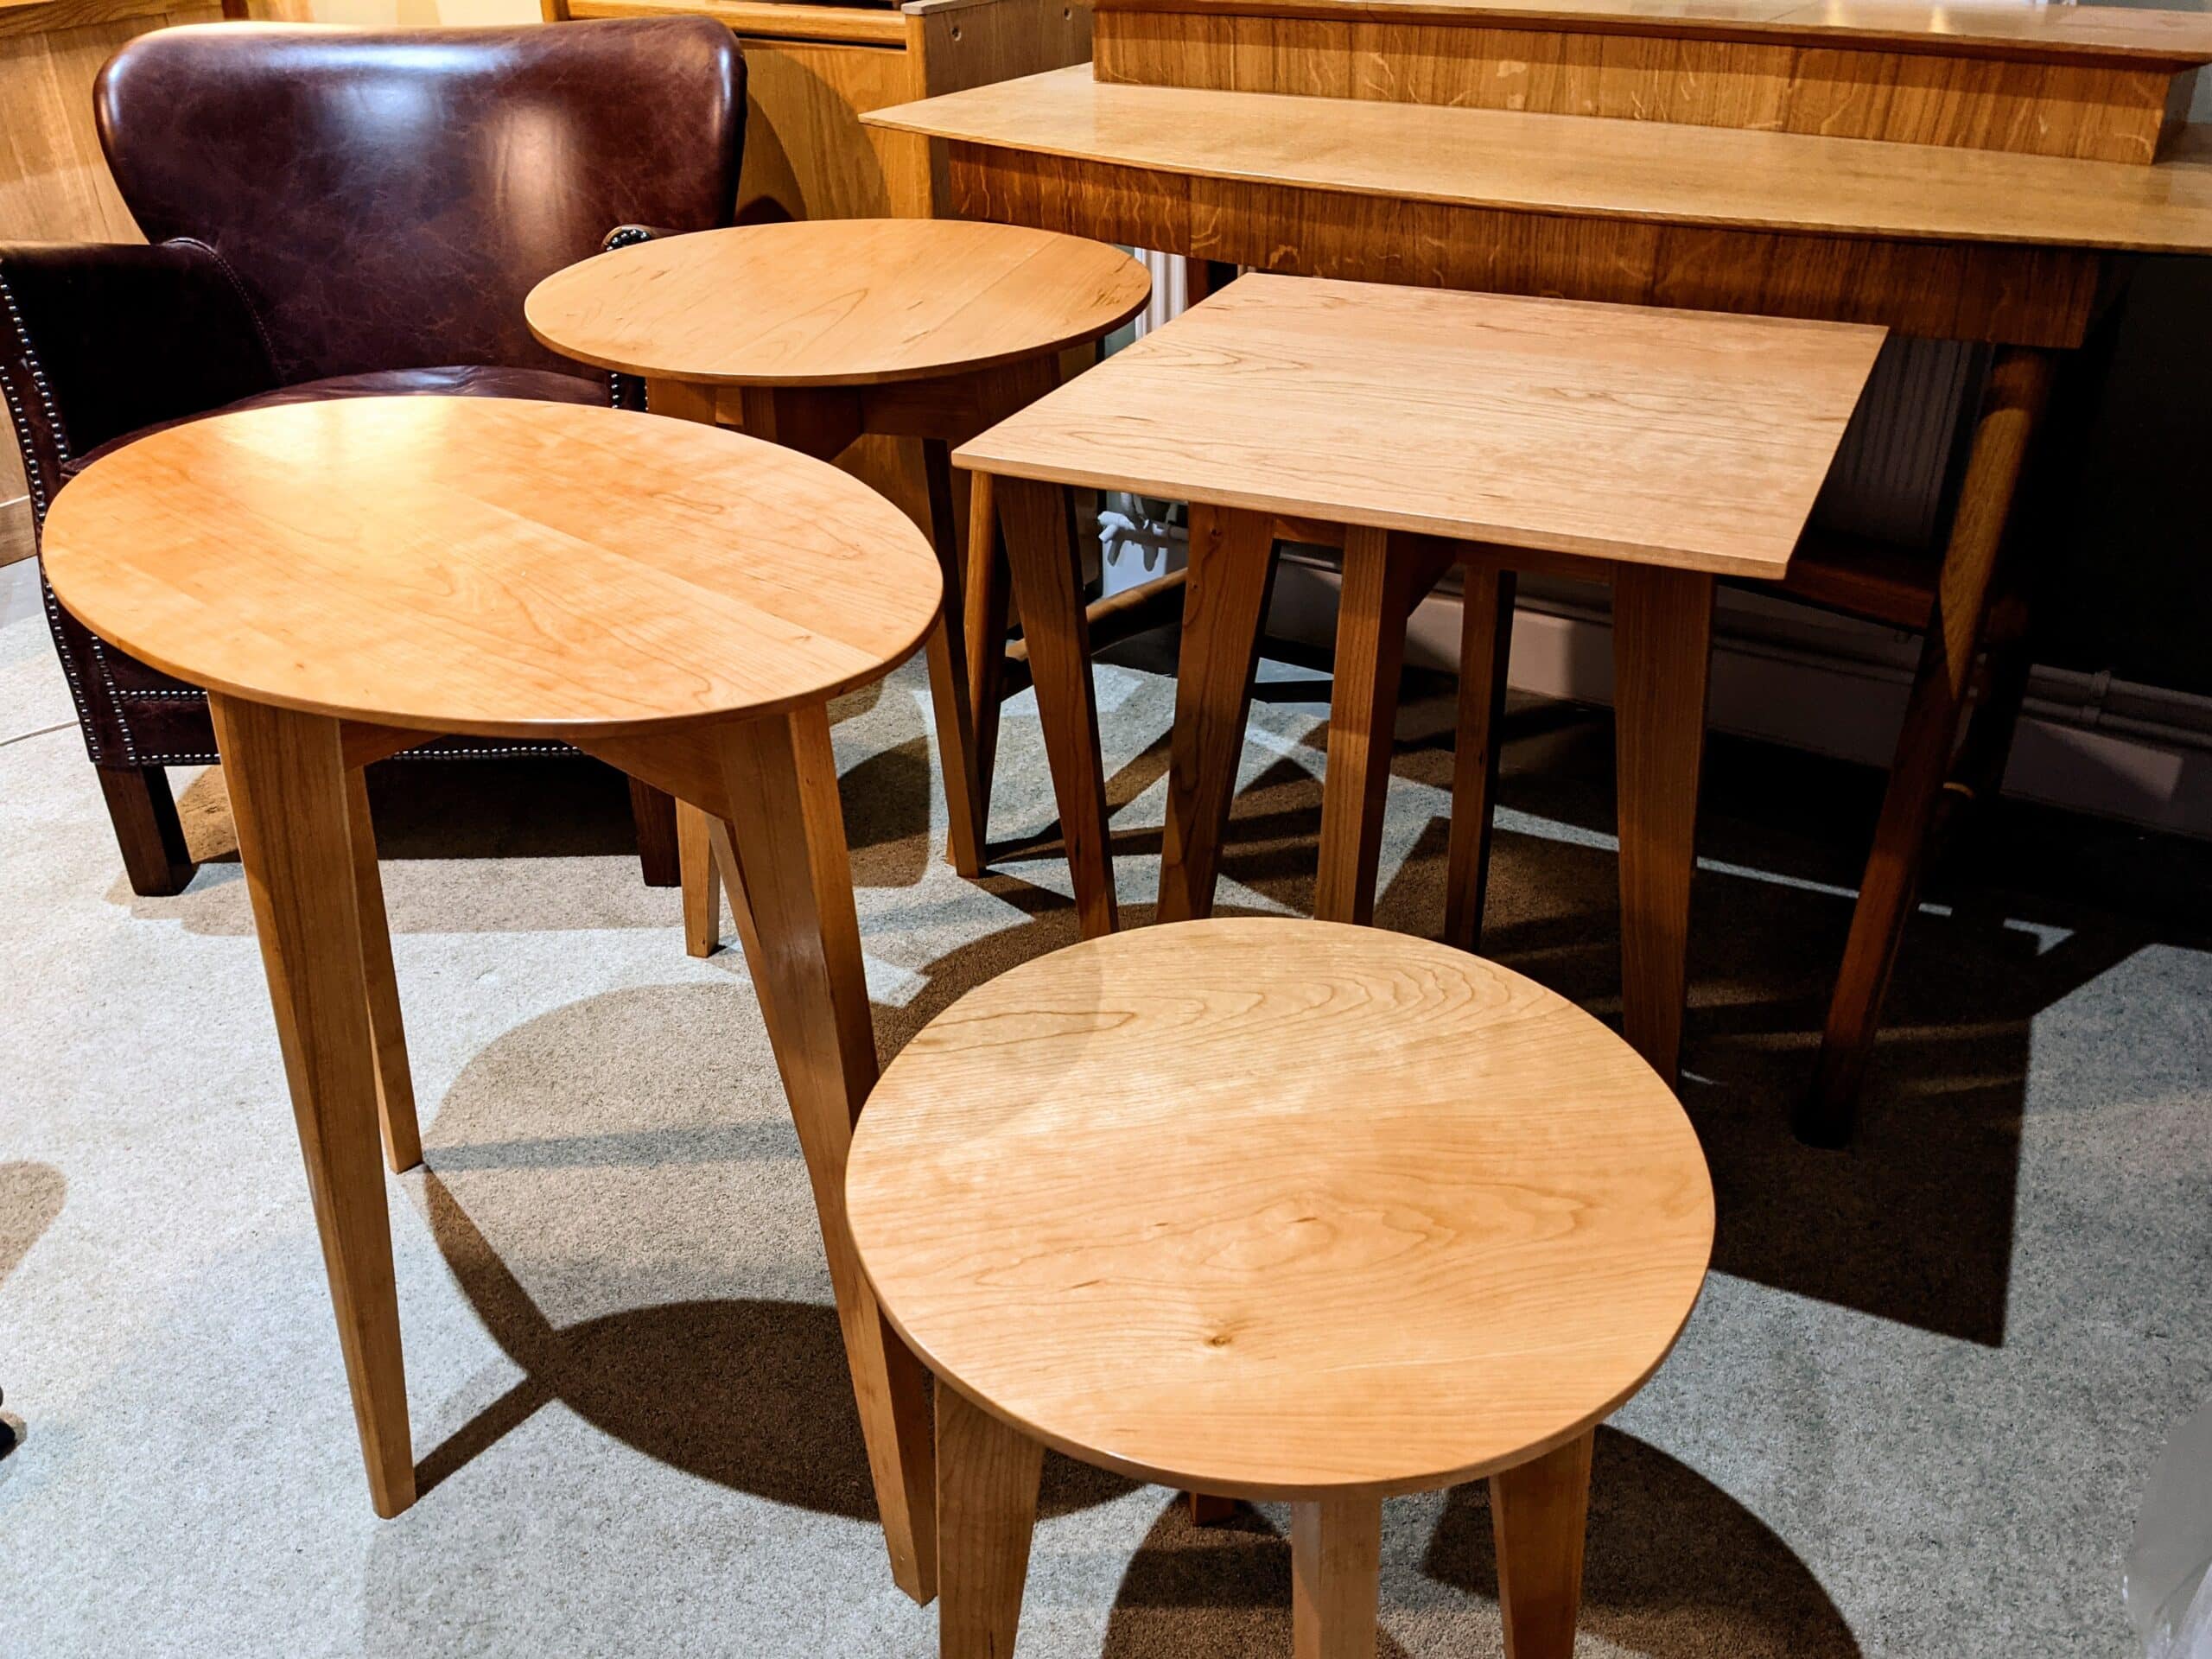
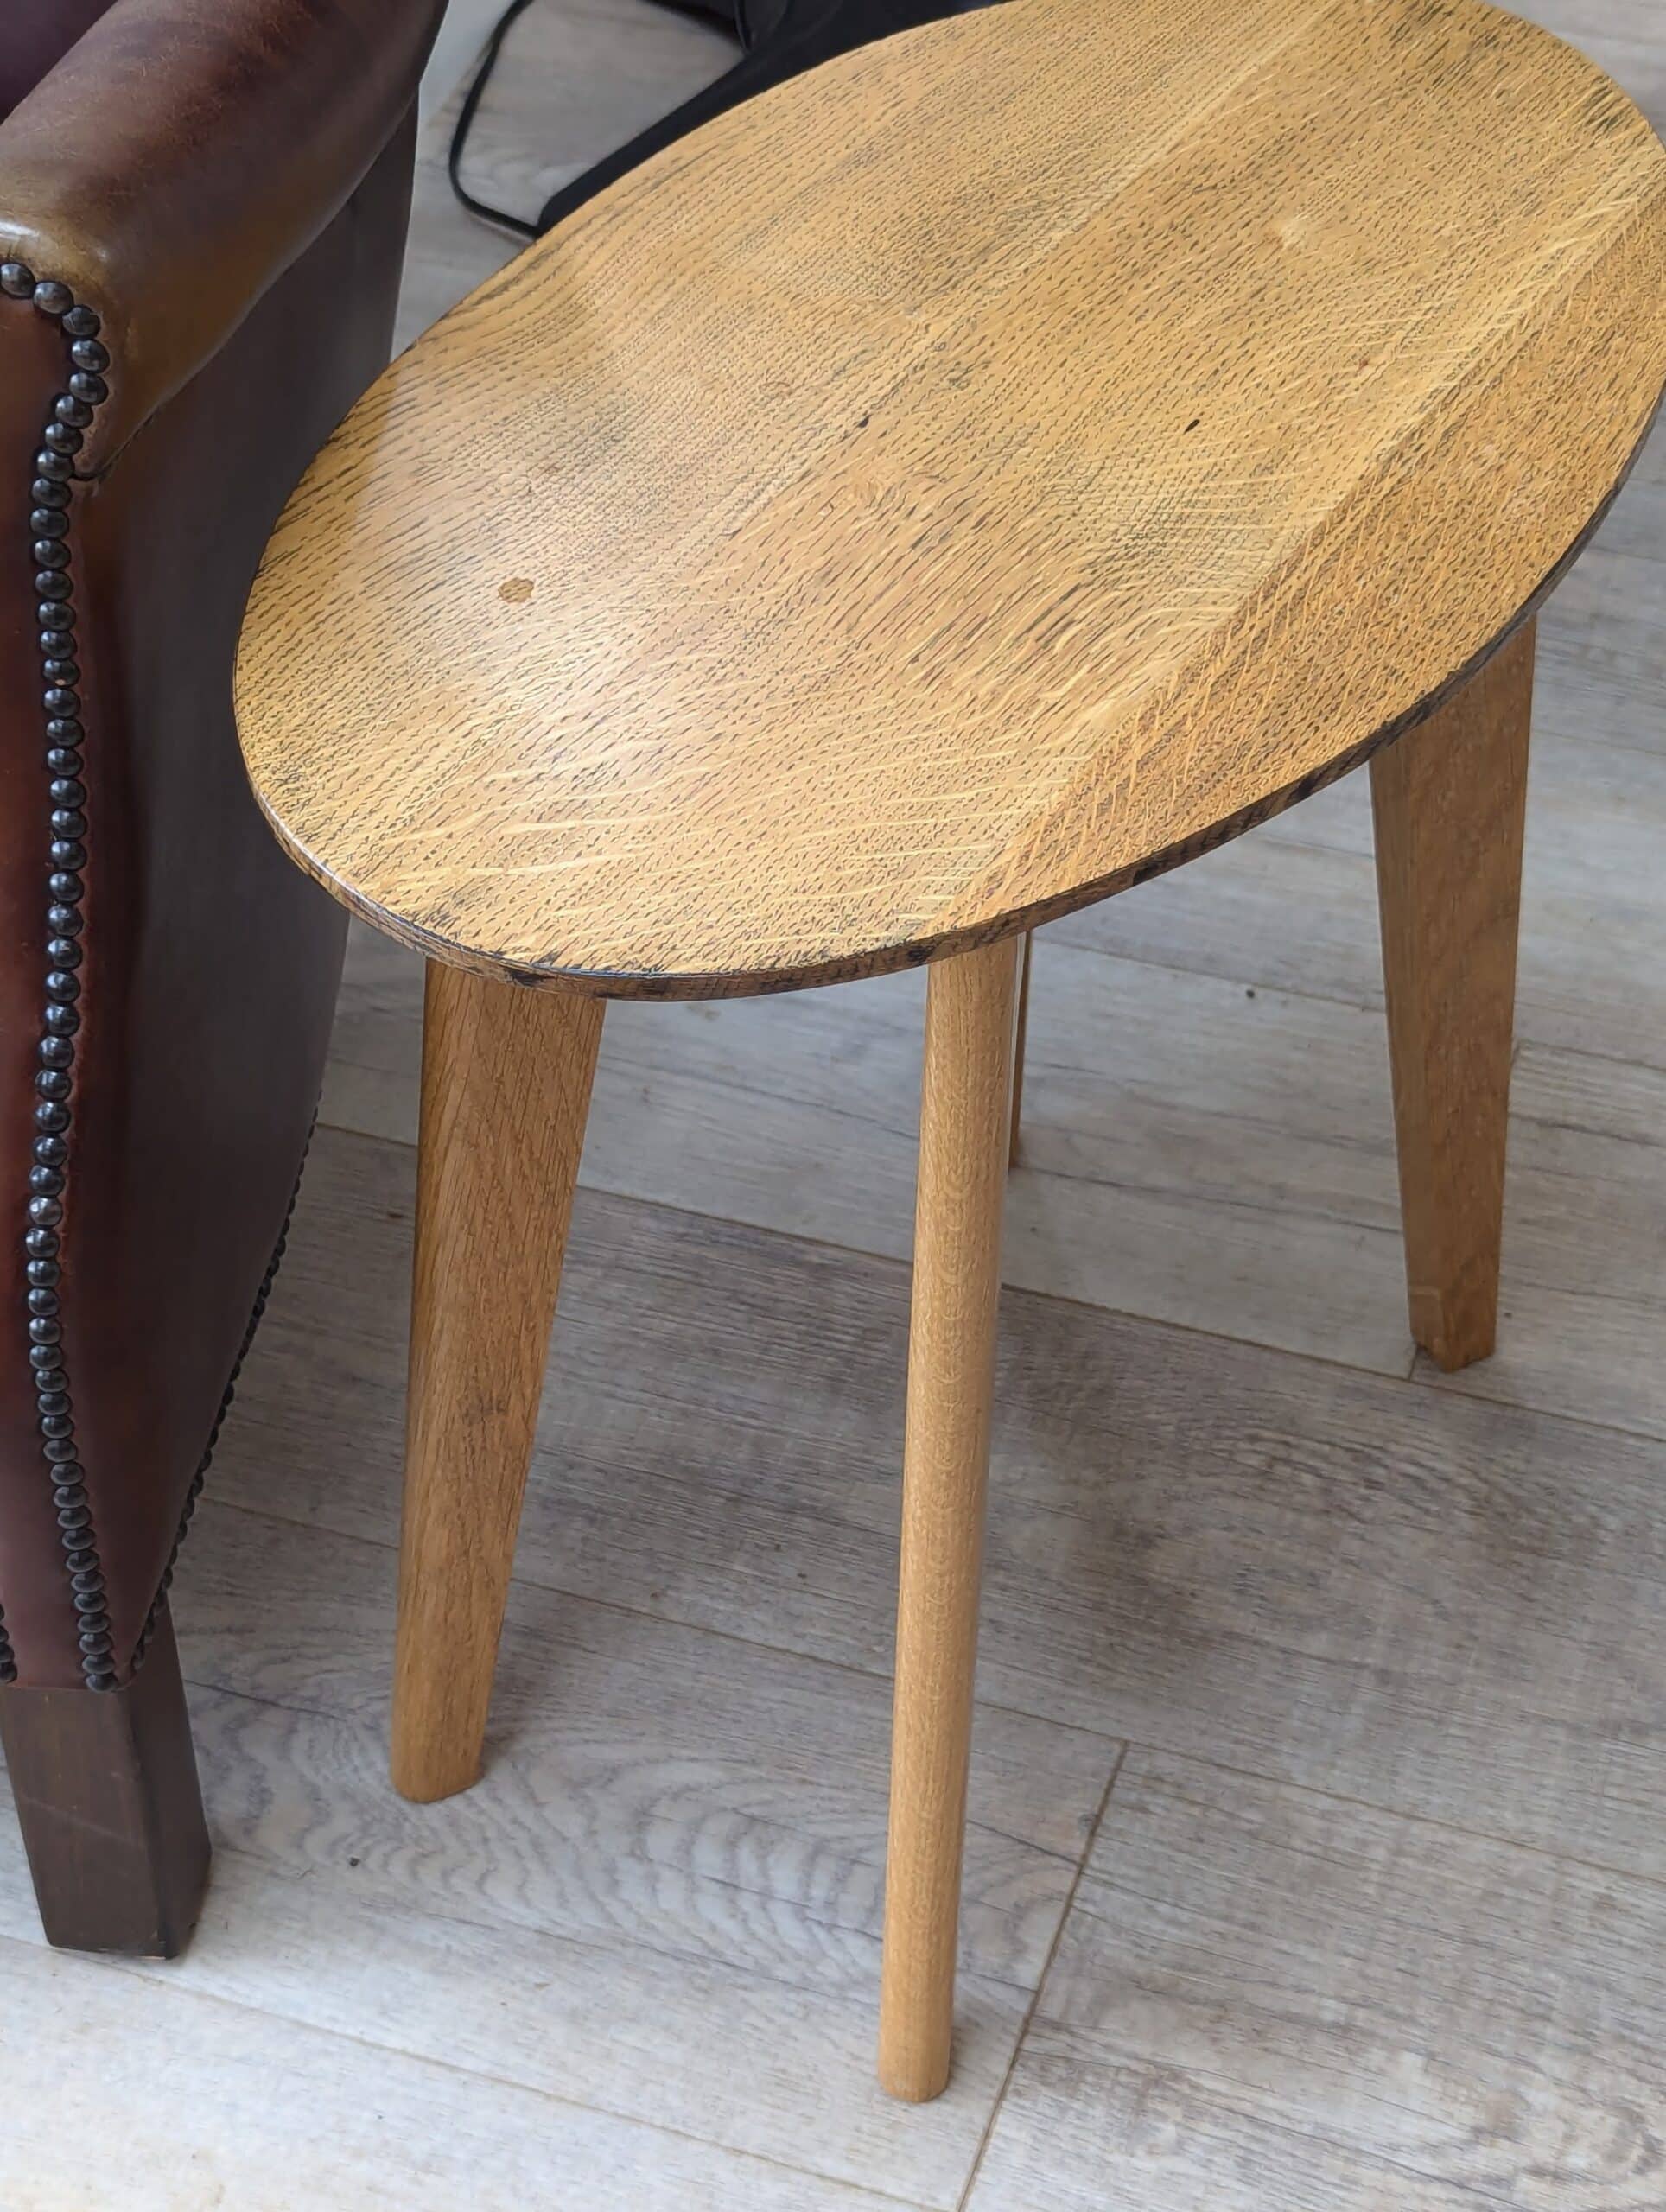
I made several small, chairside tables and experimanted with shapes and sizes until I settled on three or four for different occupancy. No expamsion and contraction issues occurred but I know they would and di change.
More to come on the other rooms.
,
Thanks Paul. Really appreciate the follow up on how humidity has impacted what you have made. It adds a nice element of realness to all of this rather than the theoretical conversation of wood movement.
One of my early projects was a TV stand many years ago.
I was asked to put doors on it which wasn’t part of the original design.
I didn’t allow enough clearance for the frame and panel doors and over a very short period the panels expanded and the stub tenons separated destroying the doors.
Since then I have tracked the humidity swings in my home. In the winter time heating with wood our humidity levels would drop down to 17% RH. in the summertime humidity levels are around 60-80% RH even though I constantly run a de- humidifier. These are the extremes, in the winter I now run humidifiers all the time as that was the bigger problem. Static discharges can be very painful! My poor dog would come up for a scratch on the head and POW! Reaching to touch a switch in the dark could light up a room! ( Just Kidding)
I have not had an expansion or contraction issue since, not serious anyway. I’m always thinking about wood movement when I’m designing. That’s why I found your recent clock project so interesting, I’m going to use that method to allow for wood movement in a cigar humidor I’m building.
Is a viable solution to store the wood for a project in the temperature controlled house, chop/cut/glue in the hot/humid shop (unfinished garage), then move the in process project in the house at the end of every day? Thanks
So much depends on the turnover of your suppplier. A fast turnover can be linked to poorer control environments where the wood goes from ship to truck to outdoor wait for space and the wood is still wet but not from pooer drying so much as resaturation and zero stickering. I have wood in stock that’s been with me three years. I am reasonably sure that the wood has had time to stabilise but if in doubt take your wood into the house a little oversized and sticker somewhere near where it will be living for as long as you can. Wood will let loose of wood quite rapidly that way but be prepared for some movement which can also reduce your final dimensions when you remove distortion.
Paul
This is very understandable way to explain wood movement. I look forward to your look at the pieces in the other rooms.
Very helpful and well written as always, Paul. Many thanks for your continued efforts to educate us. I love your bookcase!! Are the shelves imple dados covered by the face frame?
The dadoes are far from simple. They have two through-tenons per end of the shelves at three of the shelves and these are wedged.Just to get away from the idea of simple dadoes and offer a bit of a challenge.
Really useful article, thanks Paul. I have had a few issues with expansion over the years. Most recently, I made a clothes drier (pulley, for the ceiling), and it undertook some serious movement and warping! I used it to practice my sawing and joint making, so I incorporated some Japanese scard joints on the rails (which weren’t long enough for the pulley) and then some wedged tenons to attach the rails to the ends, with the four corners of the frame attached with through tenons that were wedged (tusk tenon?) on the outside of the mortice. I made it without glue just as an experiment, relying on the joints to hold everything together (safe in the knowledge that I could just pull it apart and adjust if necessary). Despite some serious twist and bending on settling, plus the continued movement from the wet washing, it’s held up really nicely, and can happily manage a full load of wet heavy towels. It was a fun project, although stupidly intricate, and far from perfect!
The next requirement is a fold away bed frame. Something that would collapse into a large chest shape, but can be assembled reasonably simply, the couple of times a year it would be required when my parents come to stay. I can’t really think of a design unfortunately, so I’ll likely have to buy something ready made. Anything that folds away or is in any way mechanical would certainly fall foul of the change in humidity between house and garage (workshop).
A Japanese carpenter named Ishitani (on You Tube) has a Kigumi bed that may give you inspiration. No glue, no screws, no nails. Looks like it might come apart rather than fold up.
Hey Paul, I recently bought a dehumidifier for my workshop that is in my basement.
But I am worried about dust coming into the dehumidifier when I’m planing, sawing or using my bandsaw. Do you keep it on while you’re working or do you turn it off?
Kind regards
Toby
If your bandsaw is hooked up to a decent dust collector you shpuld have no issues. My climate control is on all the time but the filters can be vaccuumed and washed.