Wood, Working and Ply
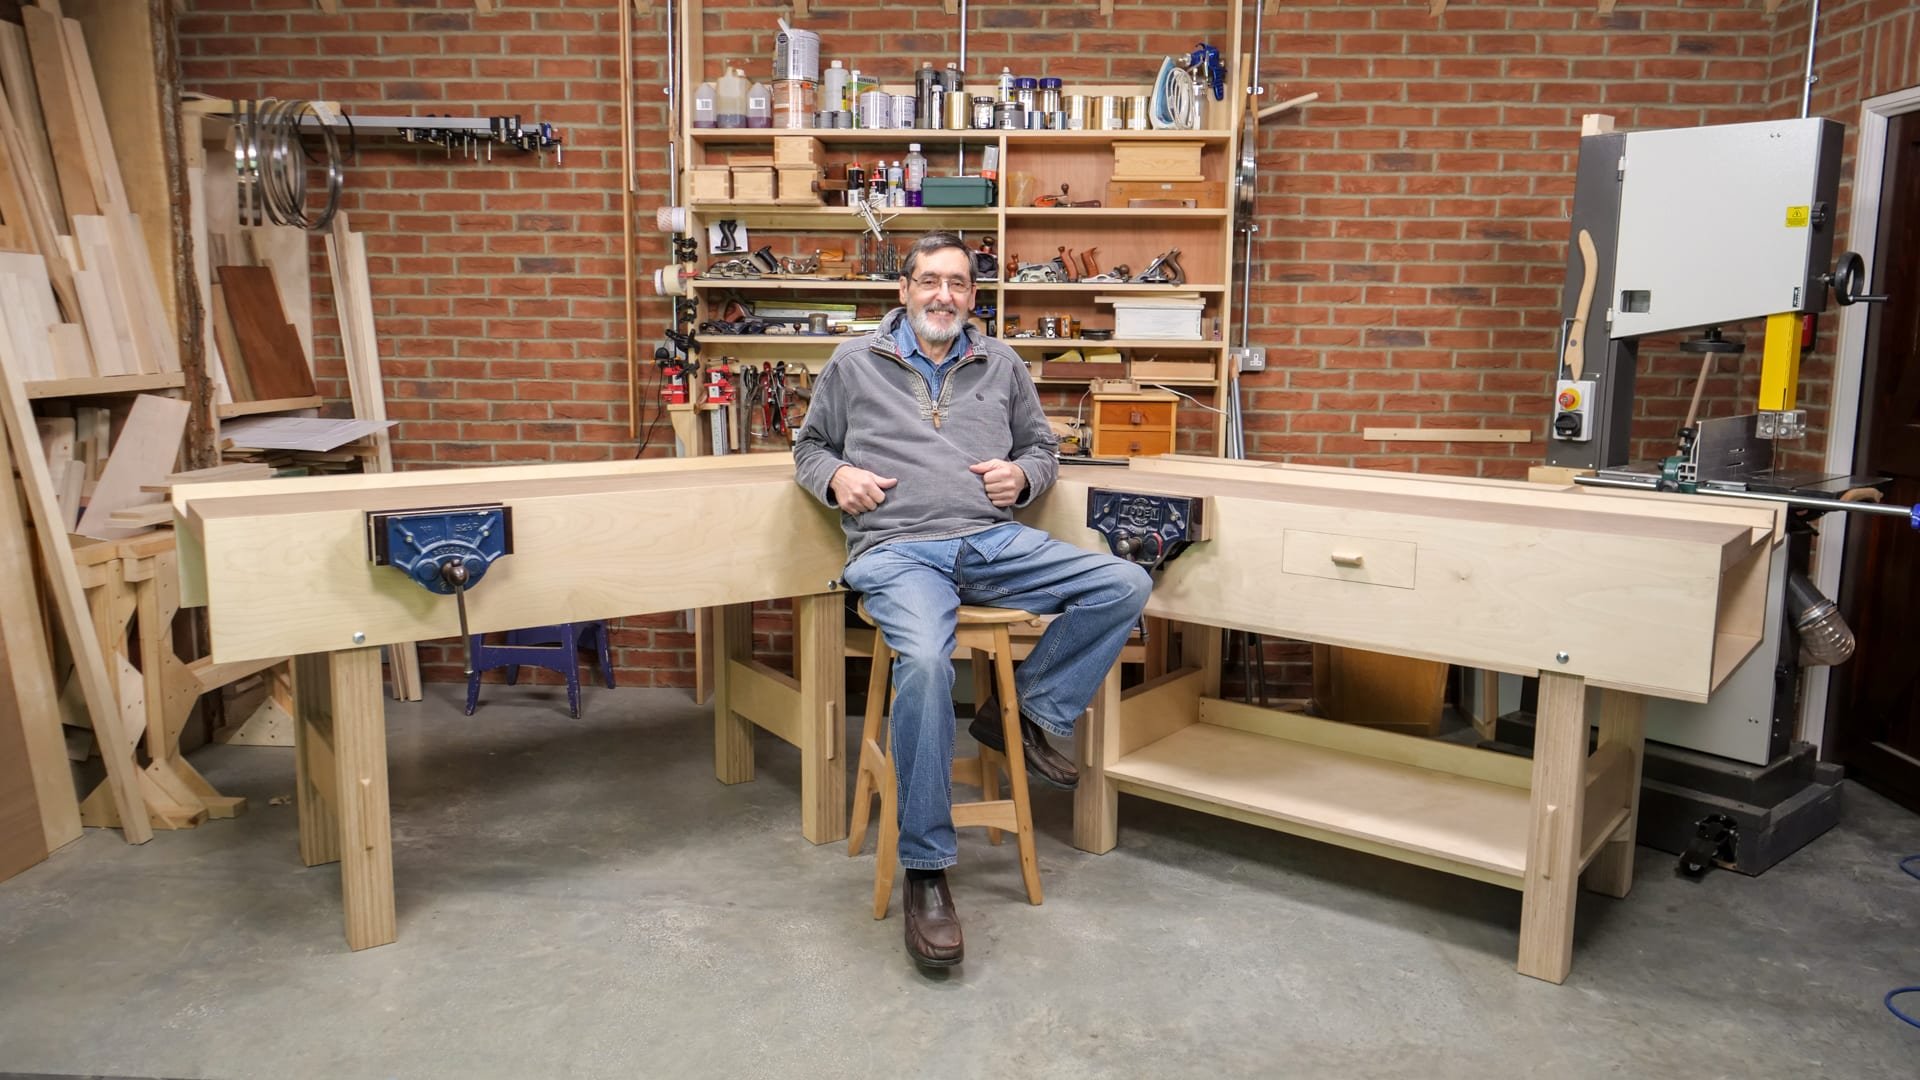
My newest project is nearly done and filmed and it’s another 98% hand tool project and though I have used plywood it is also 98% woodworking too. A few weeks ago I put a plan into action that came to me many monthsd back. Premade manufactured sheet goods have immense value in industry but most of them work best by machine because, well, that’s what were designed to be worked by. The equipment you need for working these so-called engineered materials are wide ranging but for the main part MDF (Medium Density Fibreboard), pressed fibreboard, OSB (Oriented strand board ) and several more do not work well at all with hand tools.
It’s been a few years since I introduced my plywood workbench made altogether from Birch plywood. Plywood is one of the better inventions in woodworking even though it gets cheapened year on year because most product makers making or using plywood demand cheaper products year on year to increase their profits. In essence, this is a form of shrinkflation where the wrapper looks the same on the outside but hides the lesser content size inside and is therefore less filling with more filler.
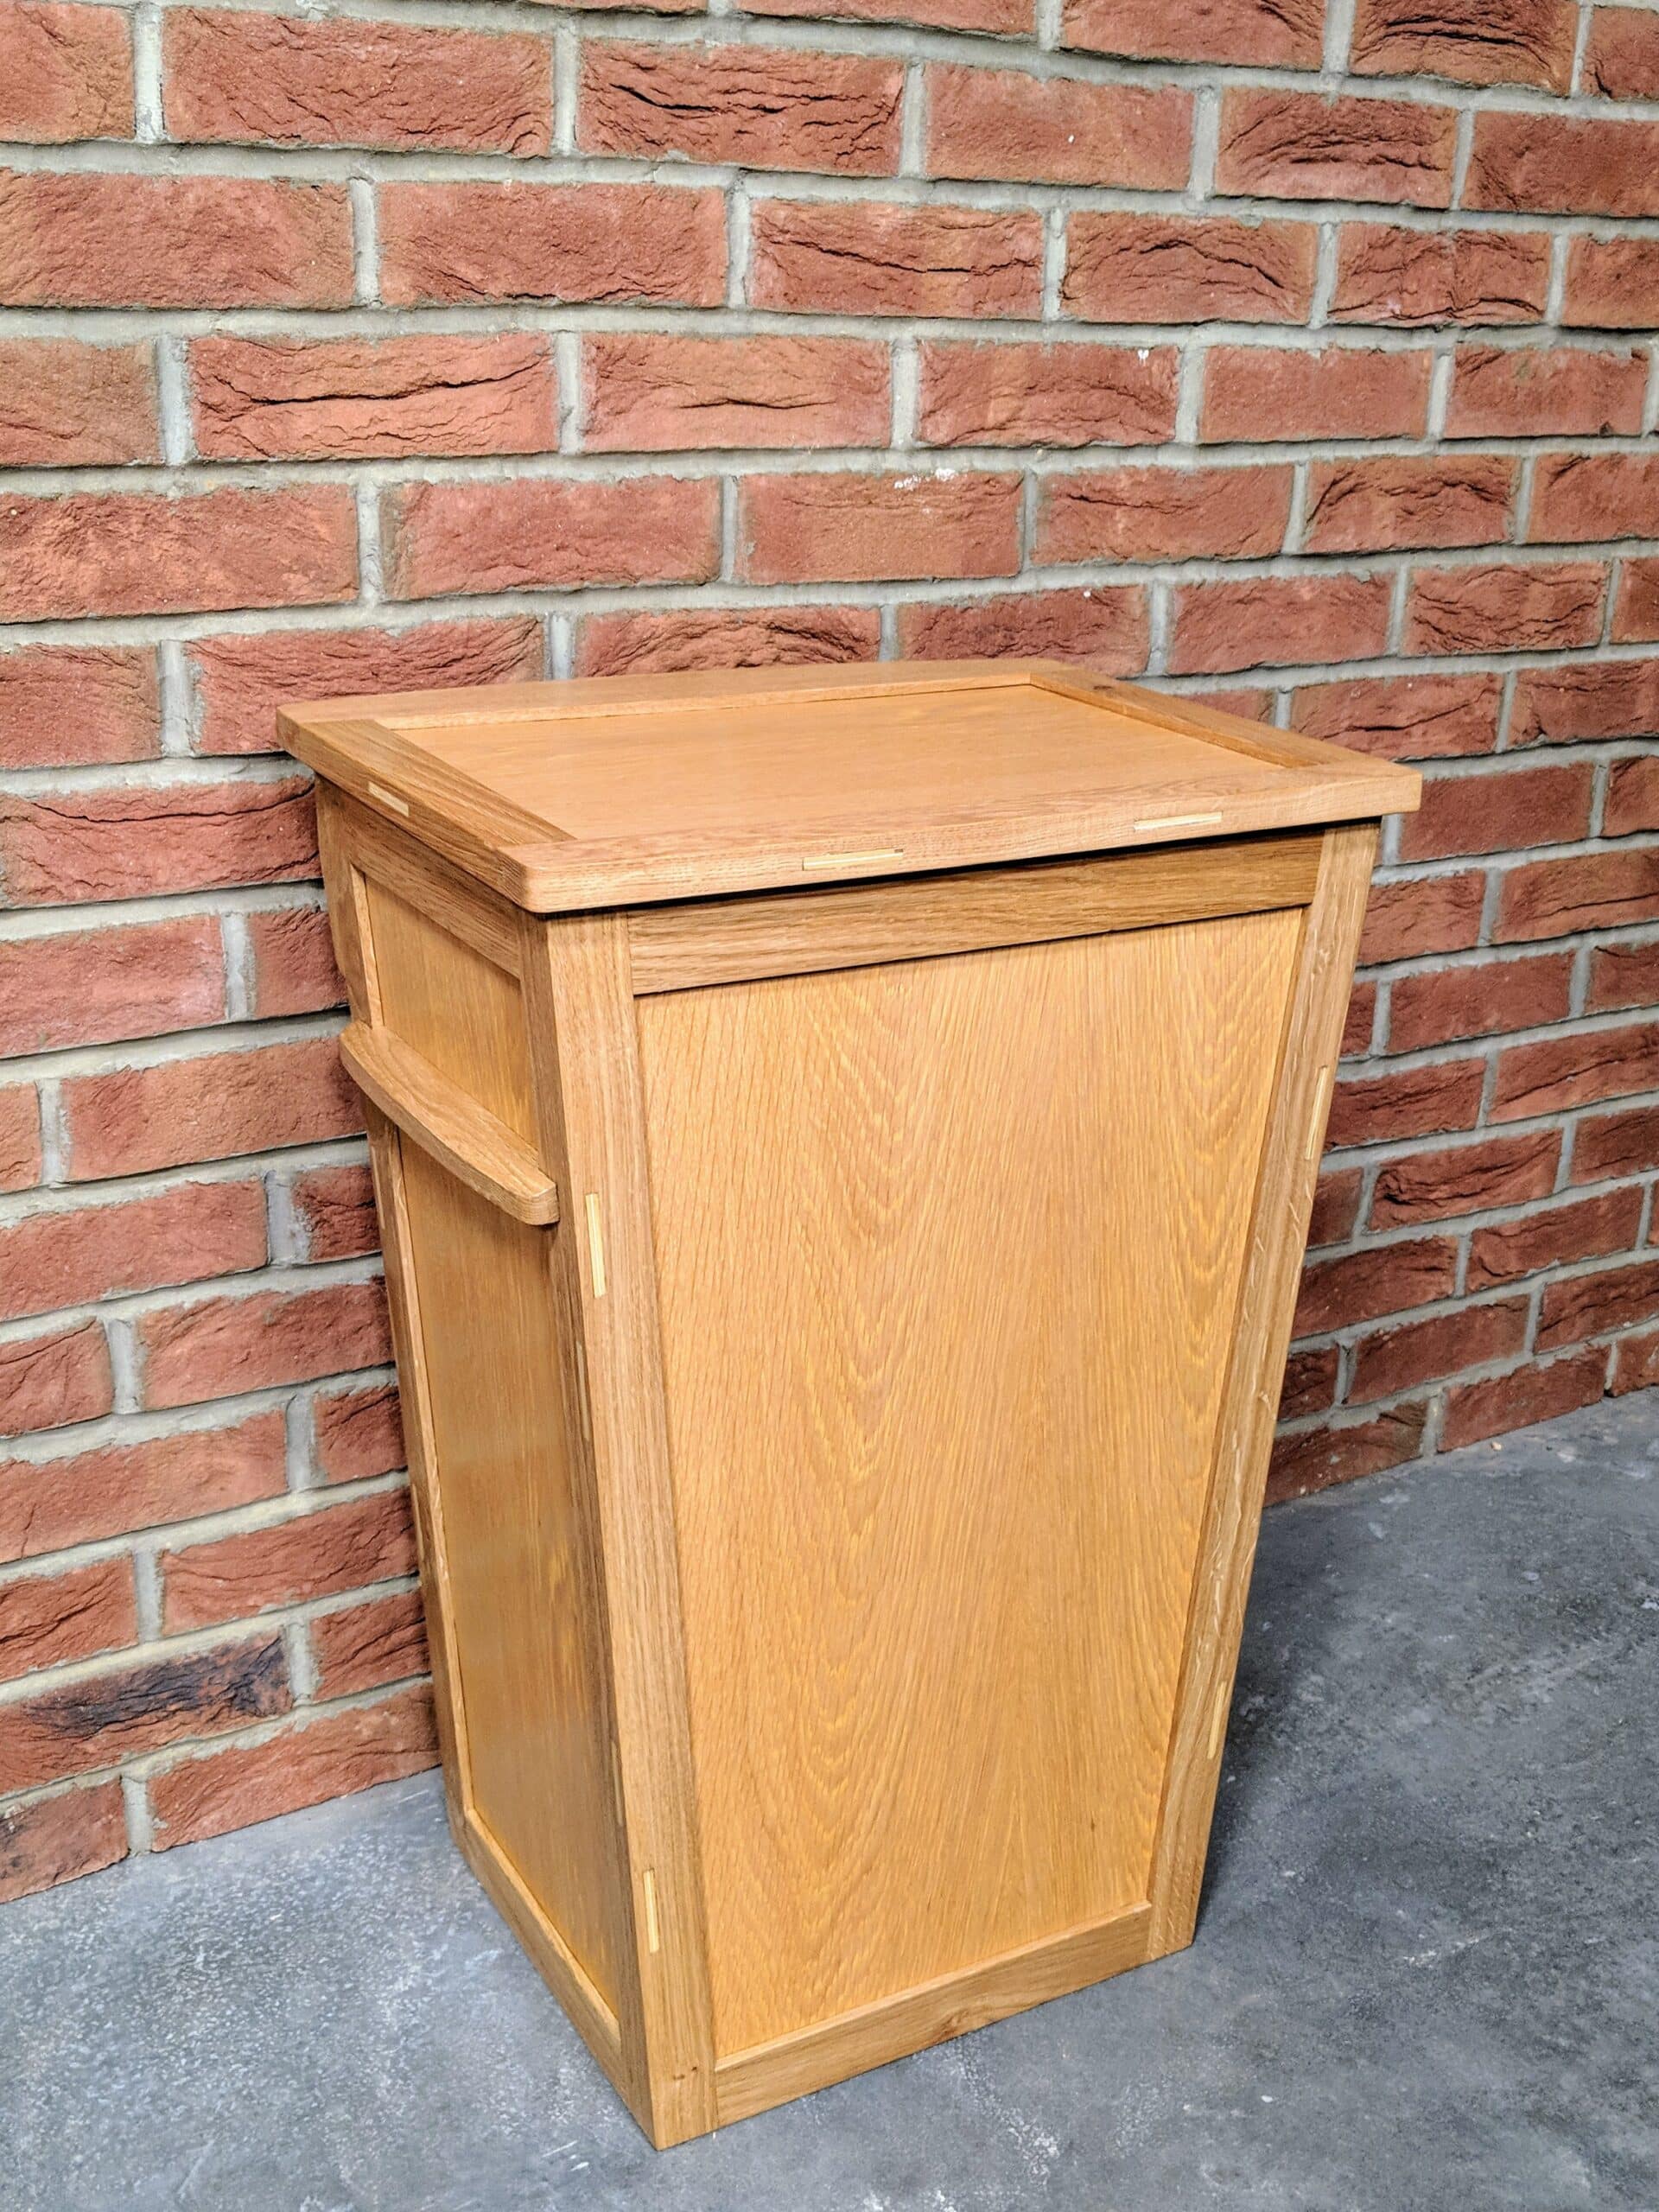
It was a few years ago when I made my oak plywood-panelled laundry/waste bin using a decorative plywood for the panels held within the grooved frames of oak. The frames were mortise and tenoned as per tradtionally; mitered at the tenon ends and haunches. The design worked really well both structurally and aestetically. Innovation even in such small ways puts an important part of you into the work.
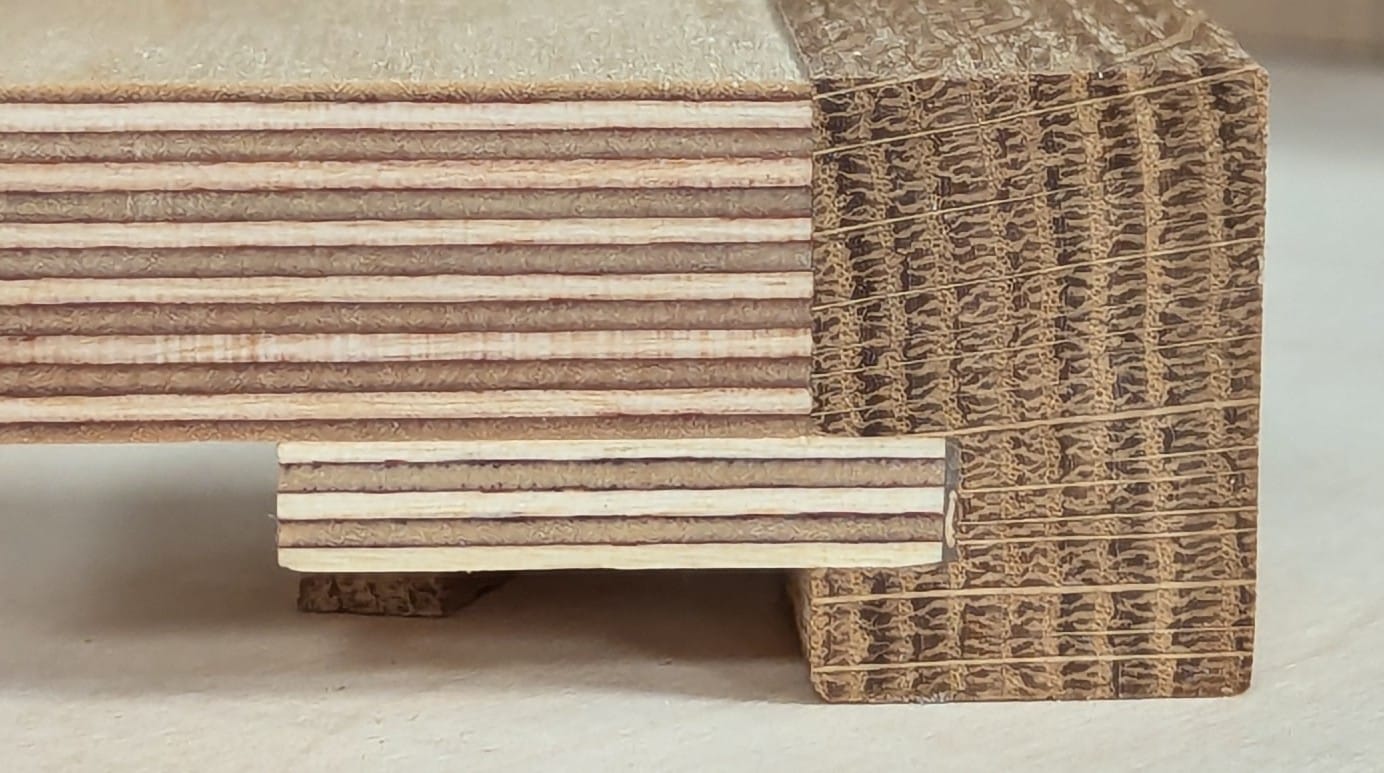
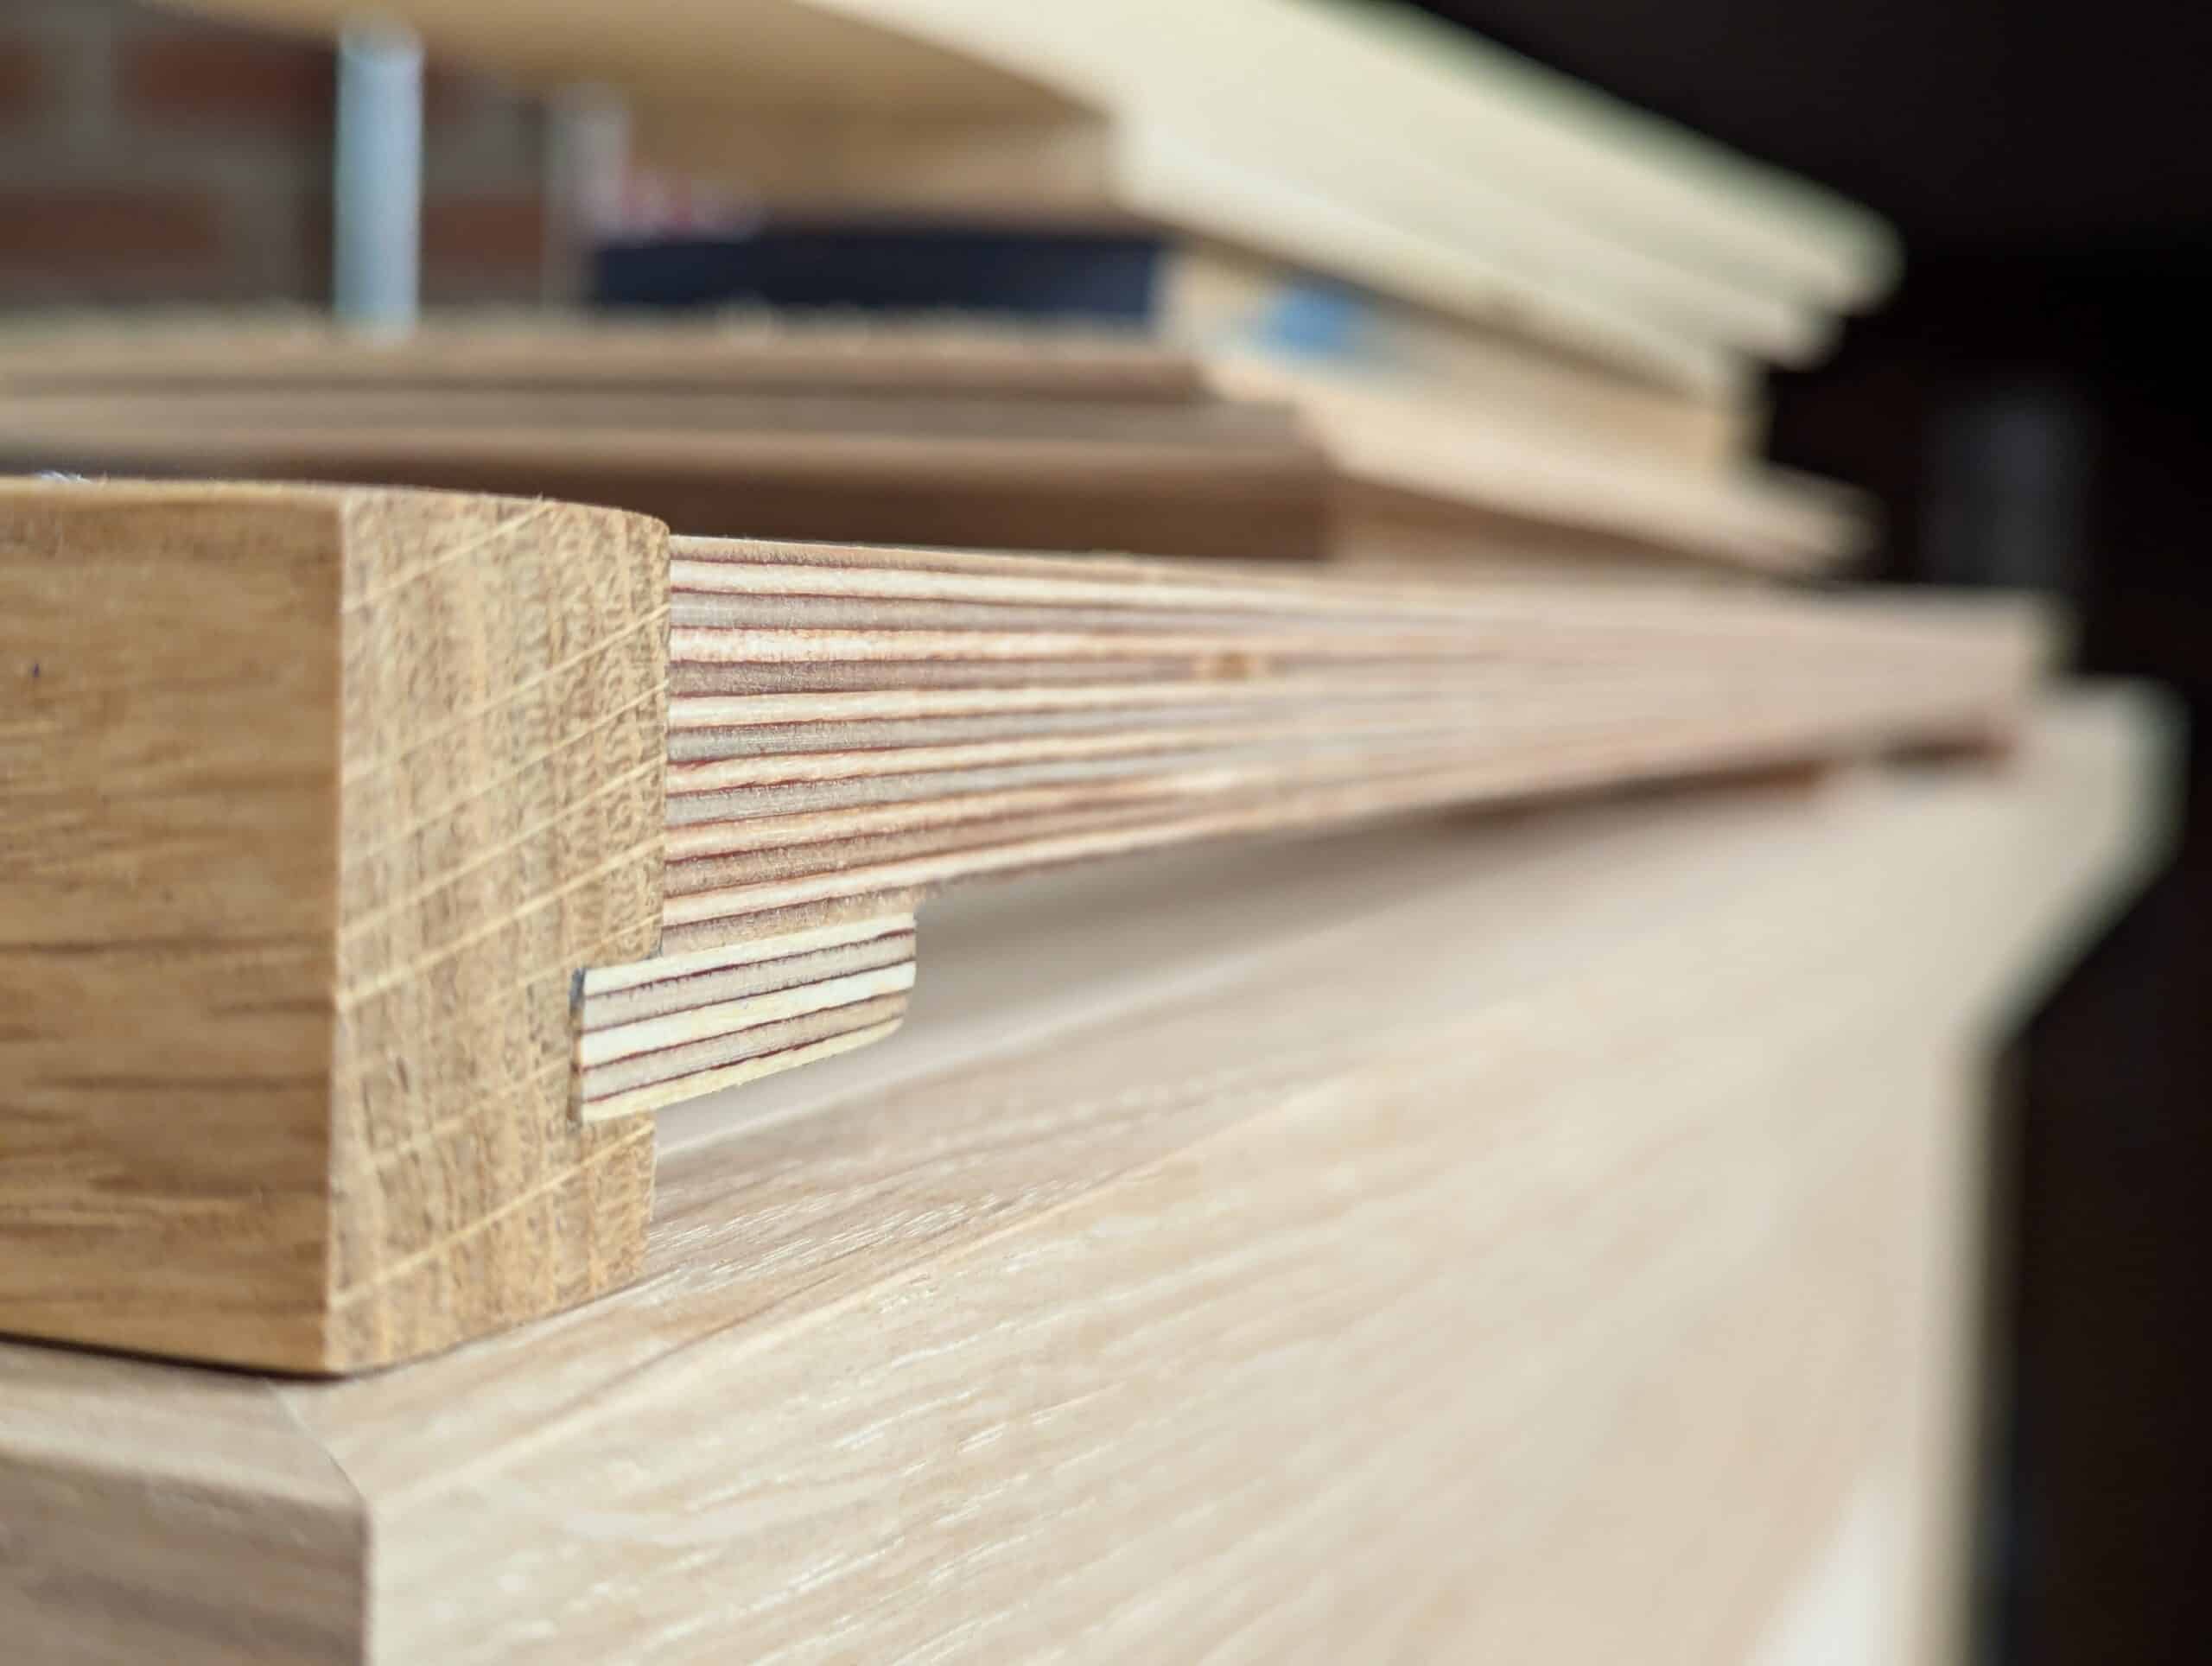
These past few weeks my ideas developed along a new line in design. In this project I used sheets of either quarter-inch or three-quarter inch birch plywood as the main panels but then added quarter-inch plywood tongues to the edges for fully engaging into hand ploughed grooves in the solid wood. It’s a stunningly strong concept and it is indeed all done with only hand tools which critically is what I wanted. I felt we could be advantaged by a quality concept that has indeed become traditional in use and in something that saves considerable panel-making time.
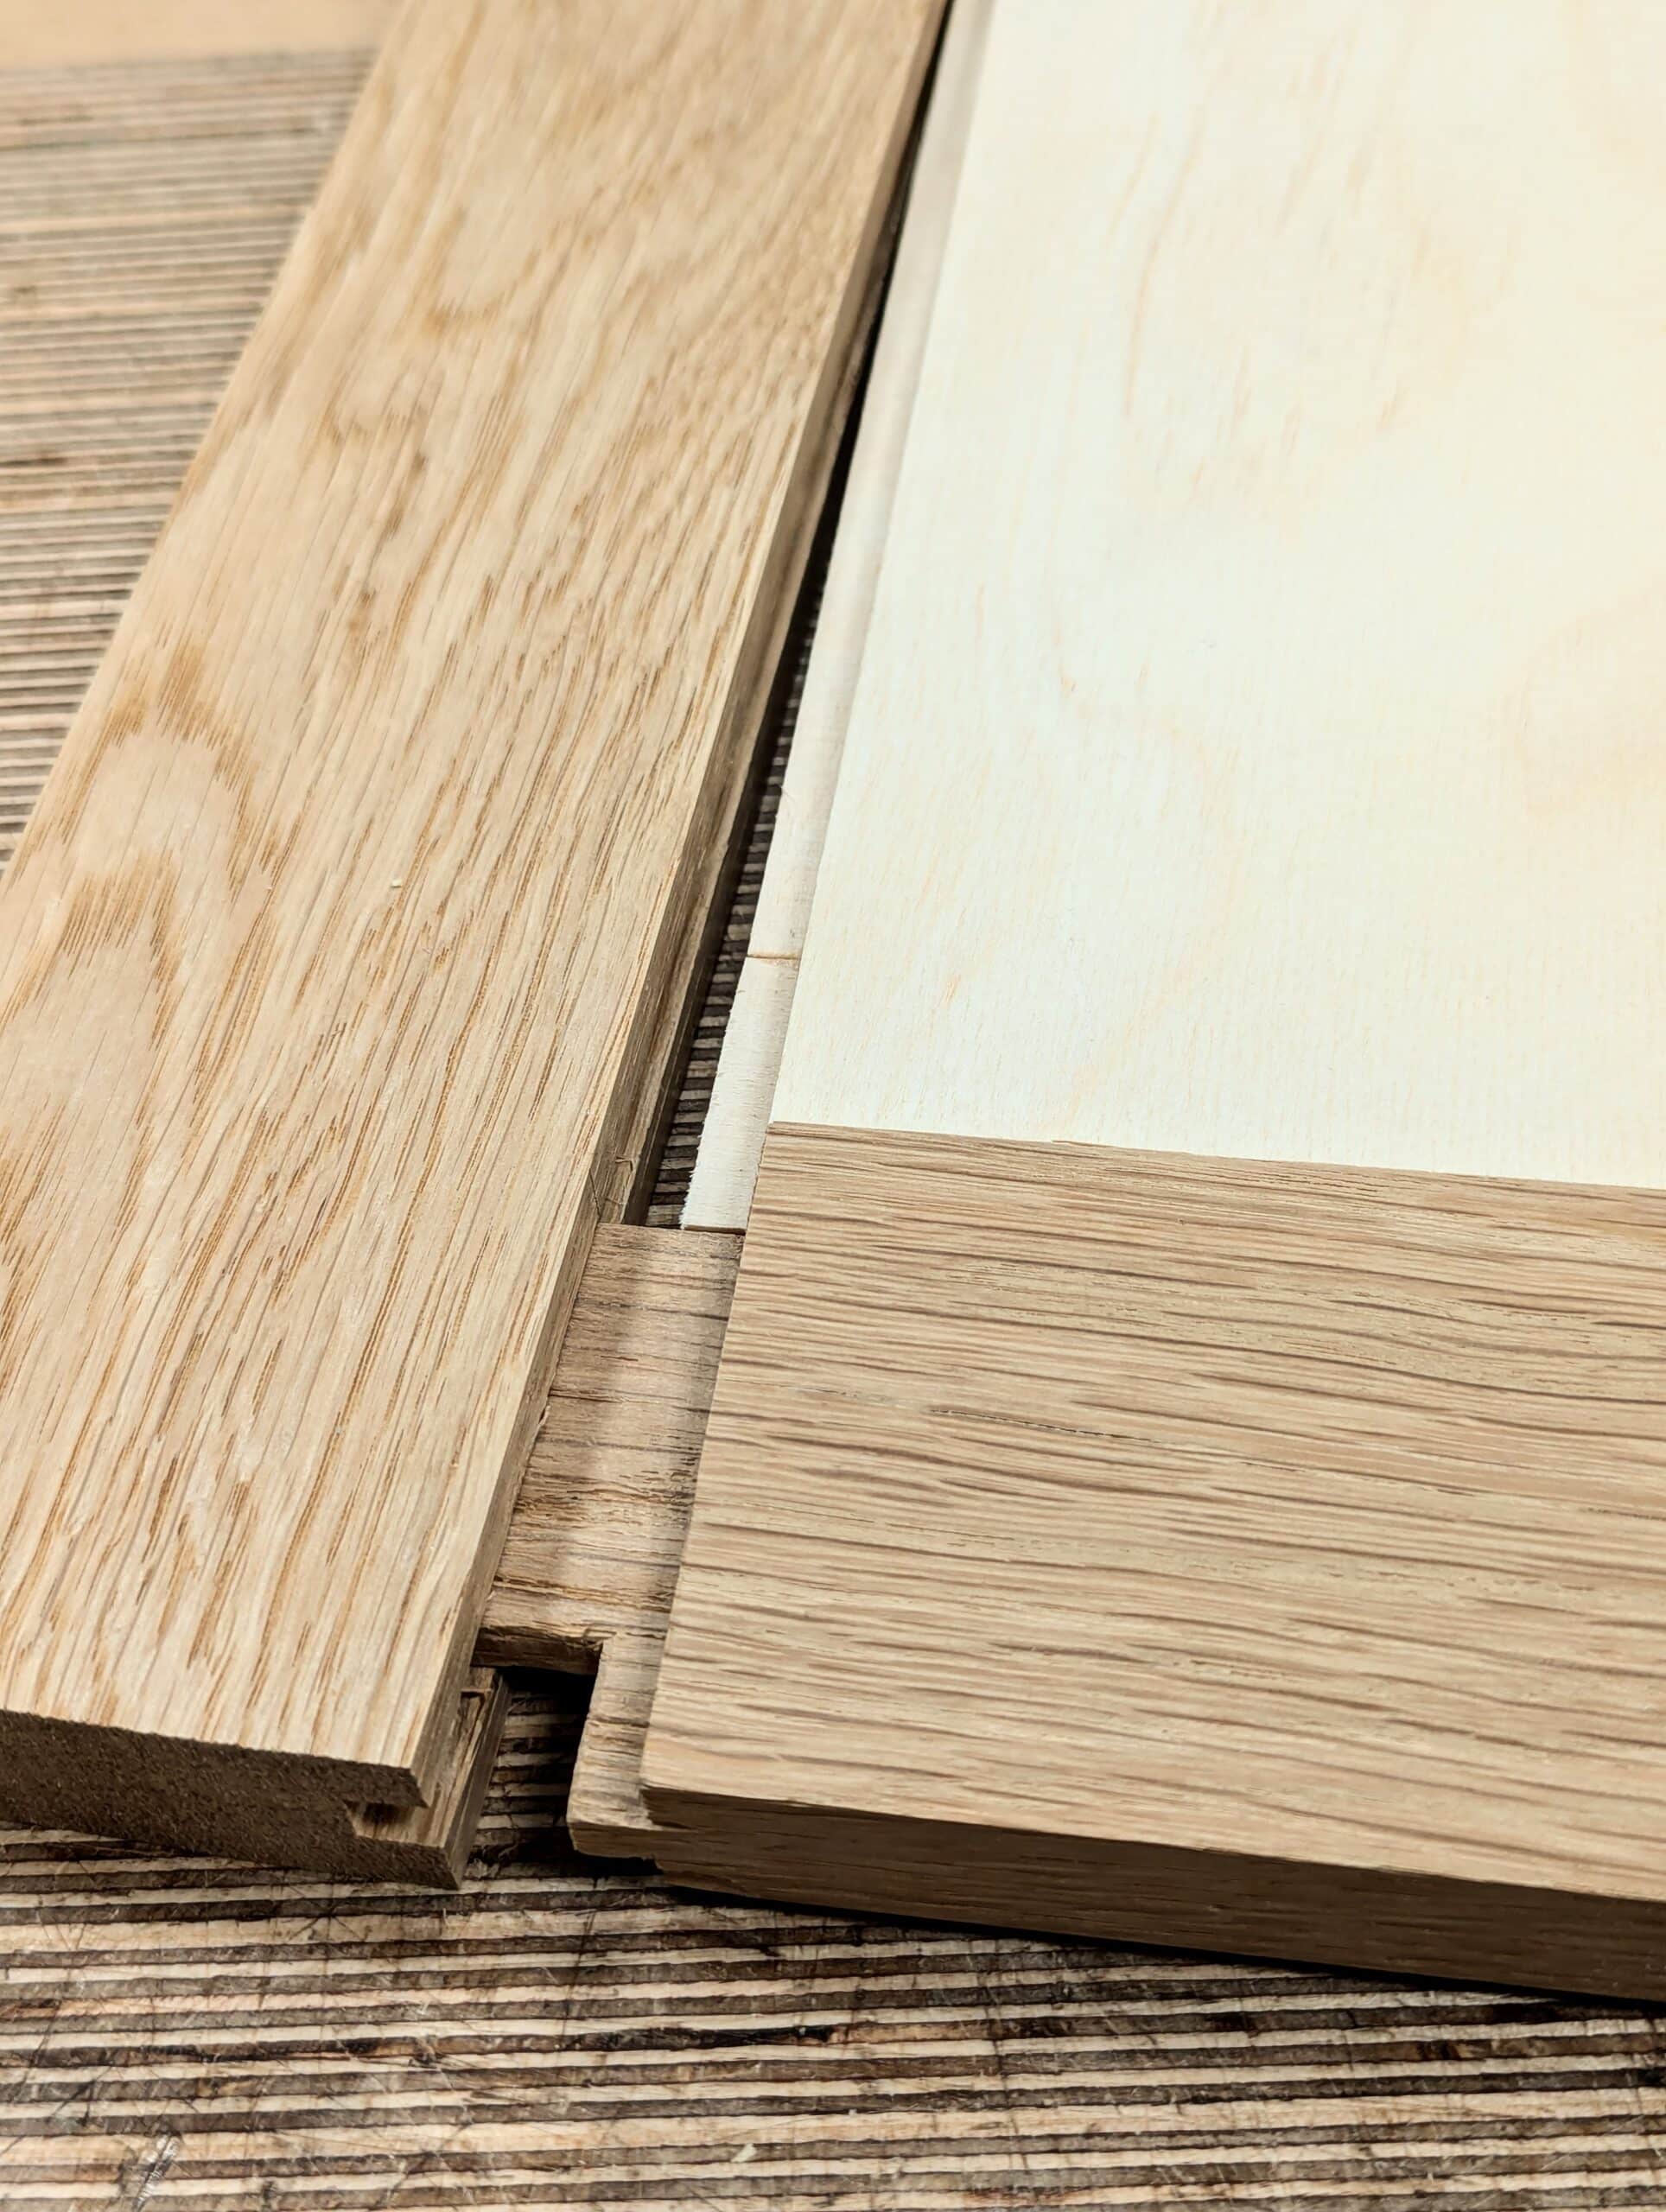
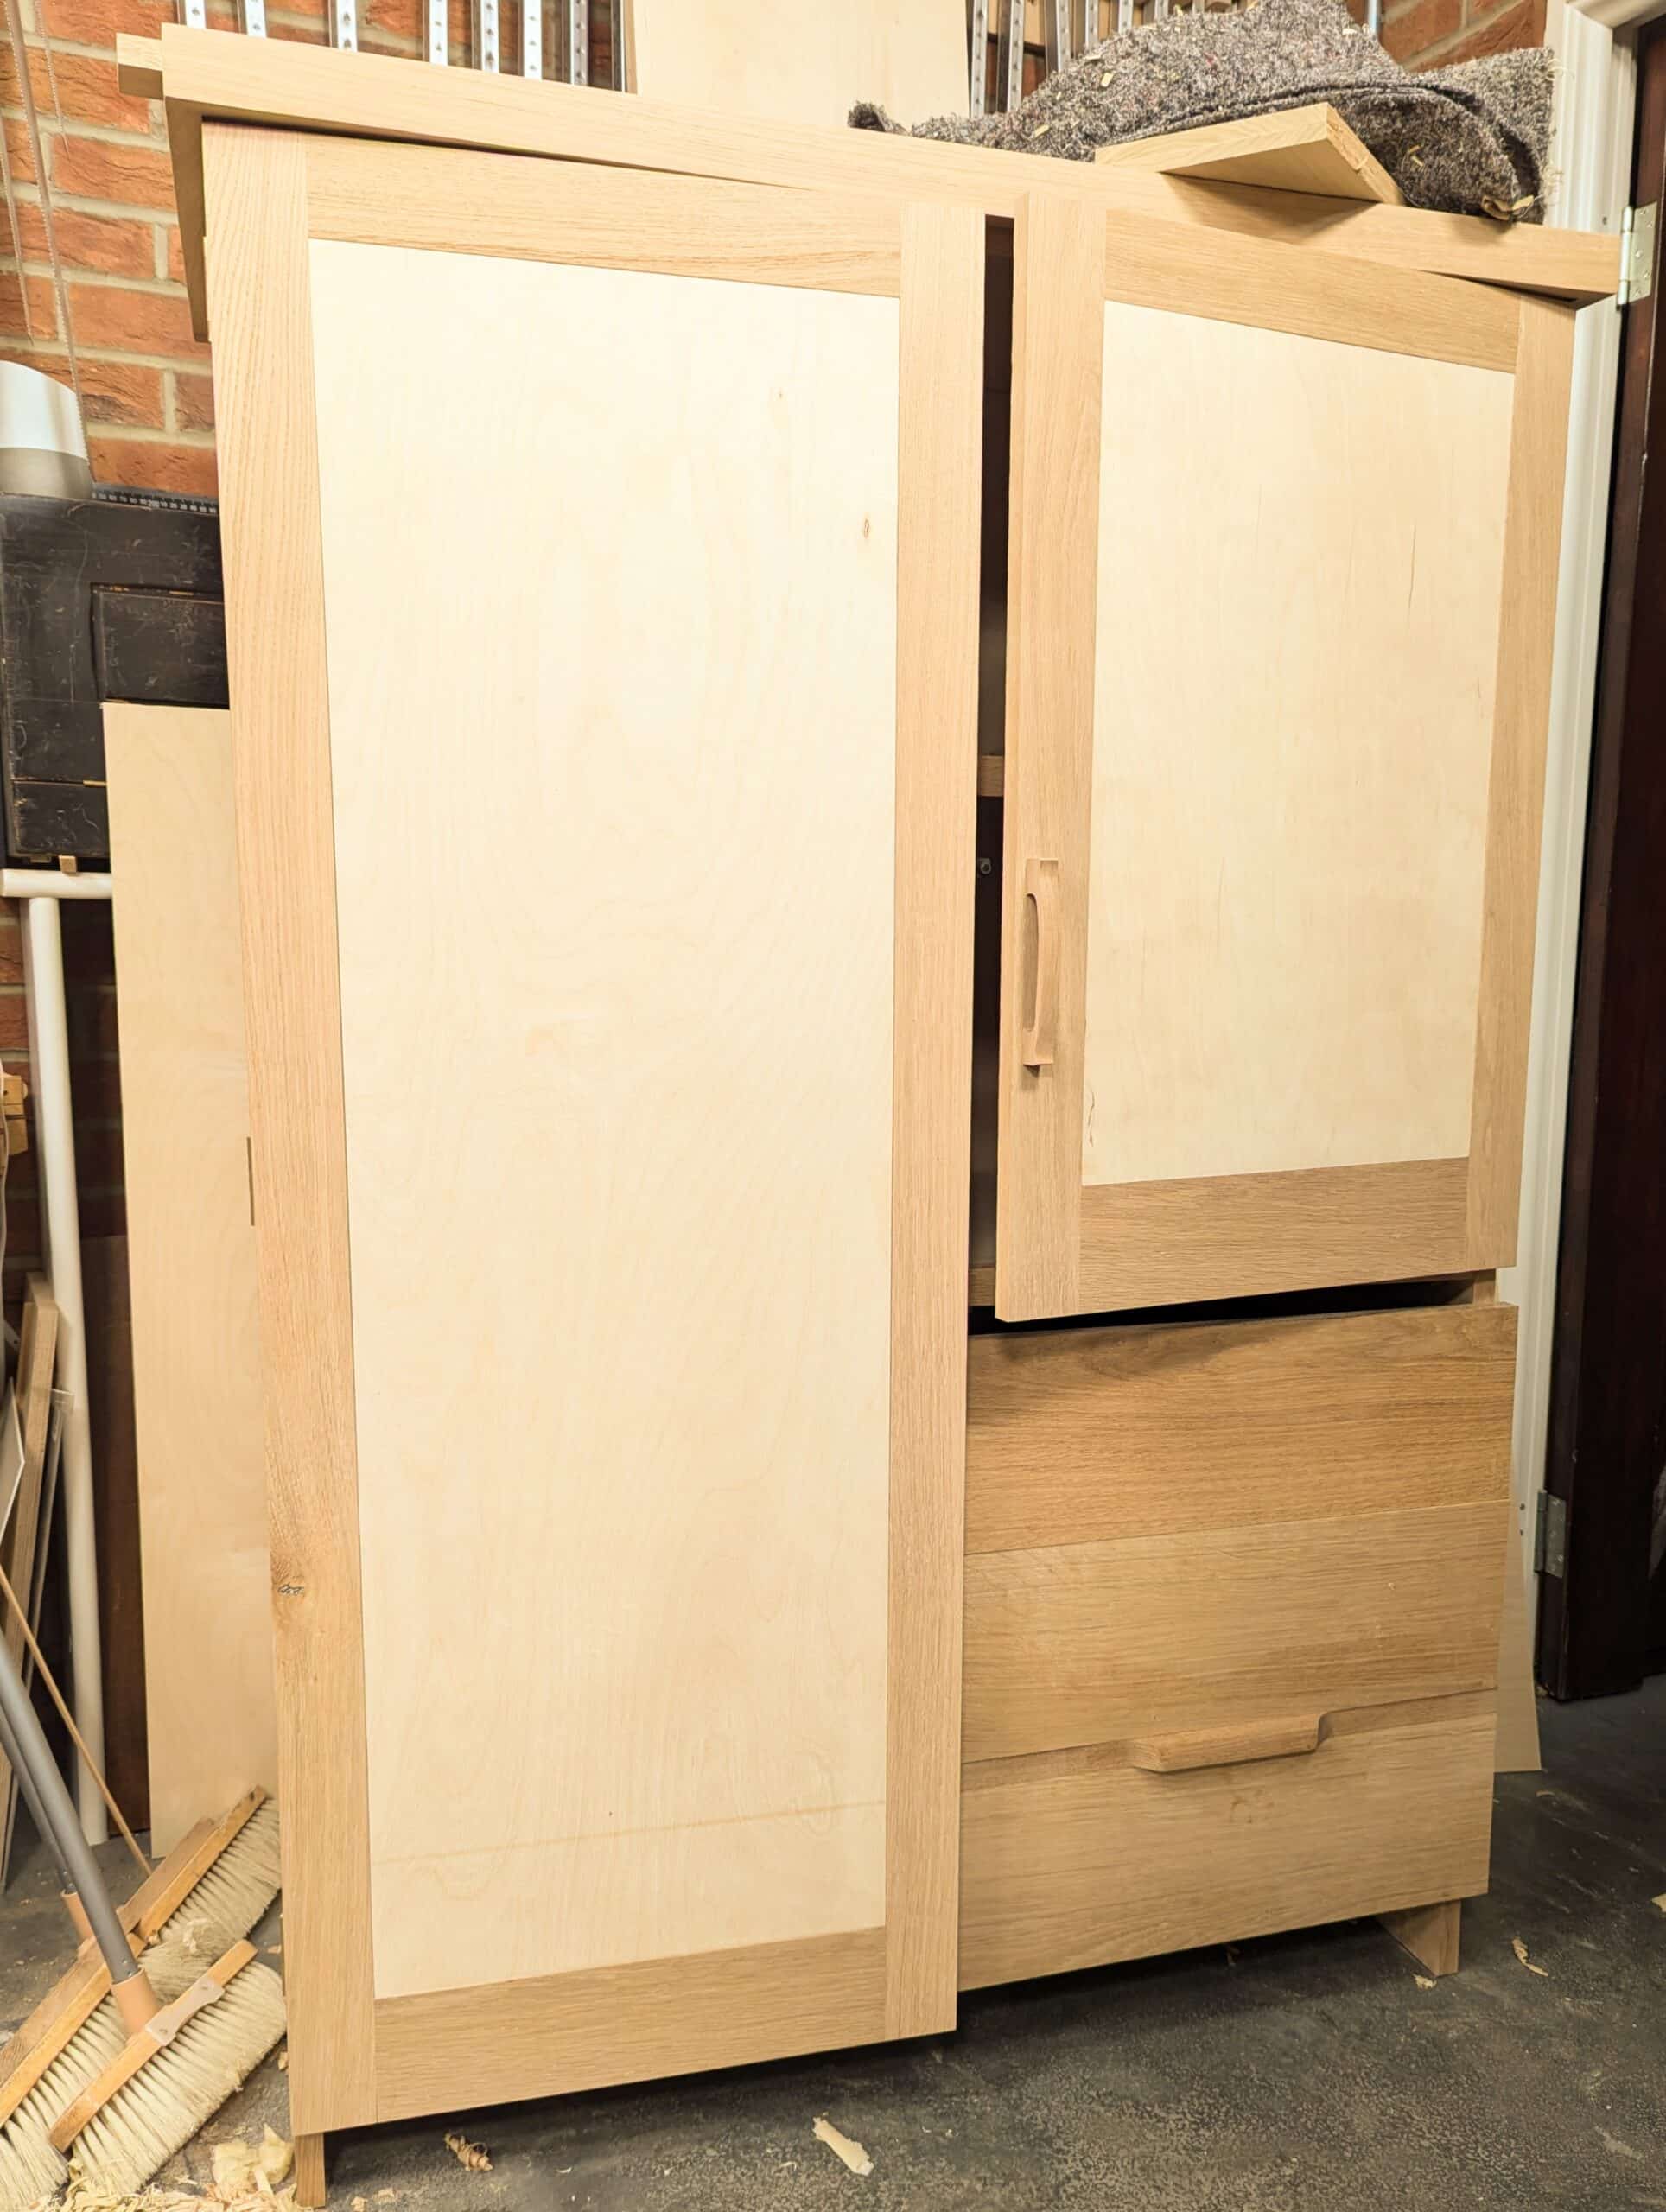
To make my cupboard I did not want lips to my panels and neither did I want planted stops or moulds holding the panels in place. The frames are near flush with plywood facing on the outside. It’s quite an unusual design. I had an idea that the concept would give me something a bit, well, different. I also thought it would be robust. What I did not know was that it would be incredibly robust and so stout that I cannot move it easily on my own.

We are just about to complete this unique piece but the outstanding feature is that is is wholly flatpack. Yes, it bolts together with basically a dozen fasteners I picked for dismantling with a single allen (hex key) wrench. The joinery elsewhere in the frames is very traditional haunched mortise and tenons joinery together with dovetailed drawers using housing dadoes also.
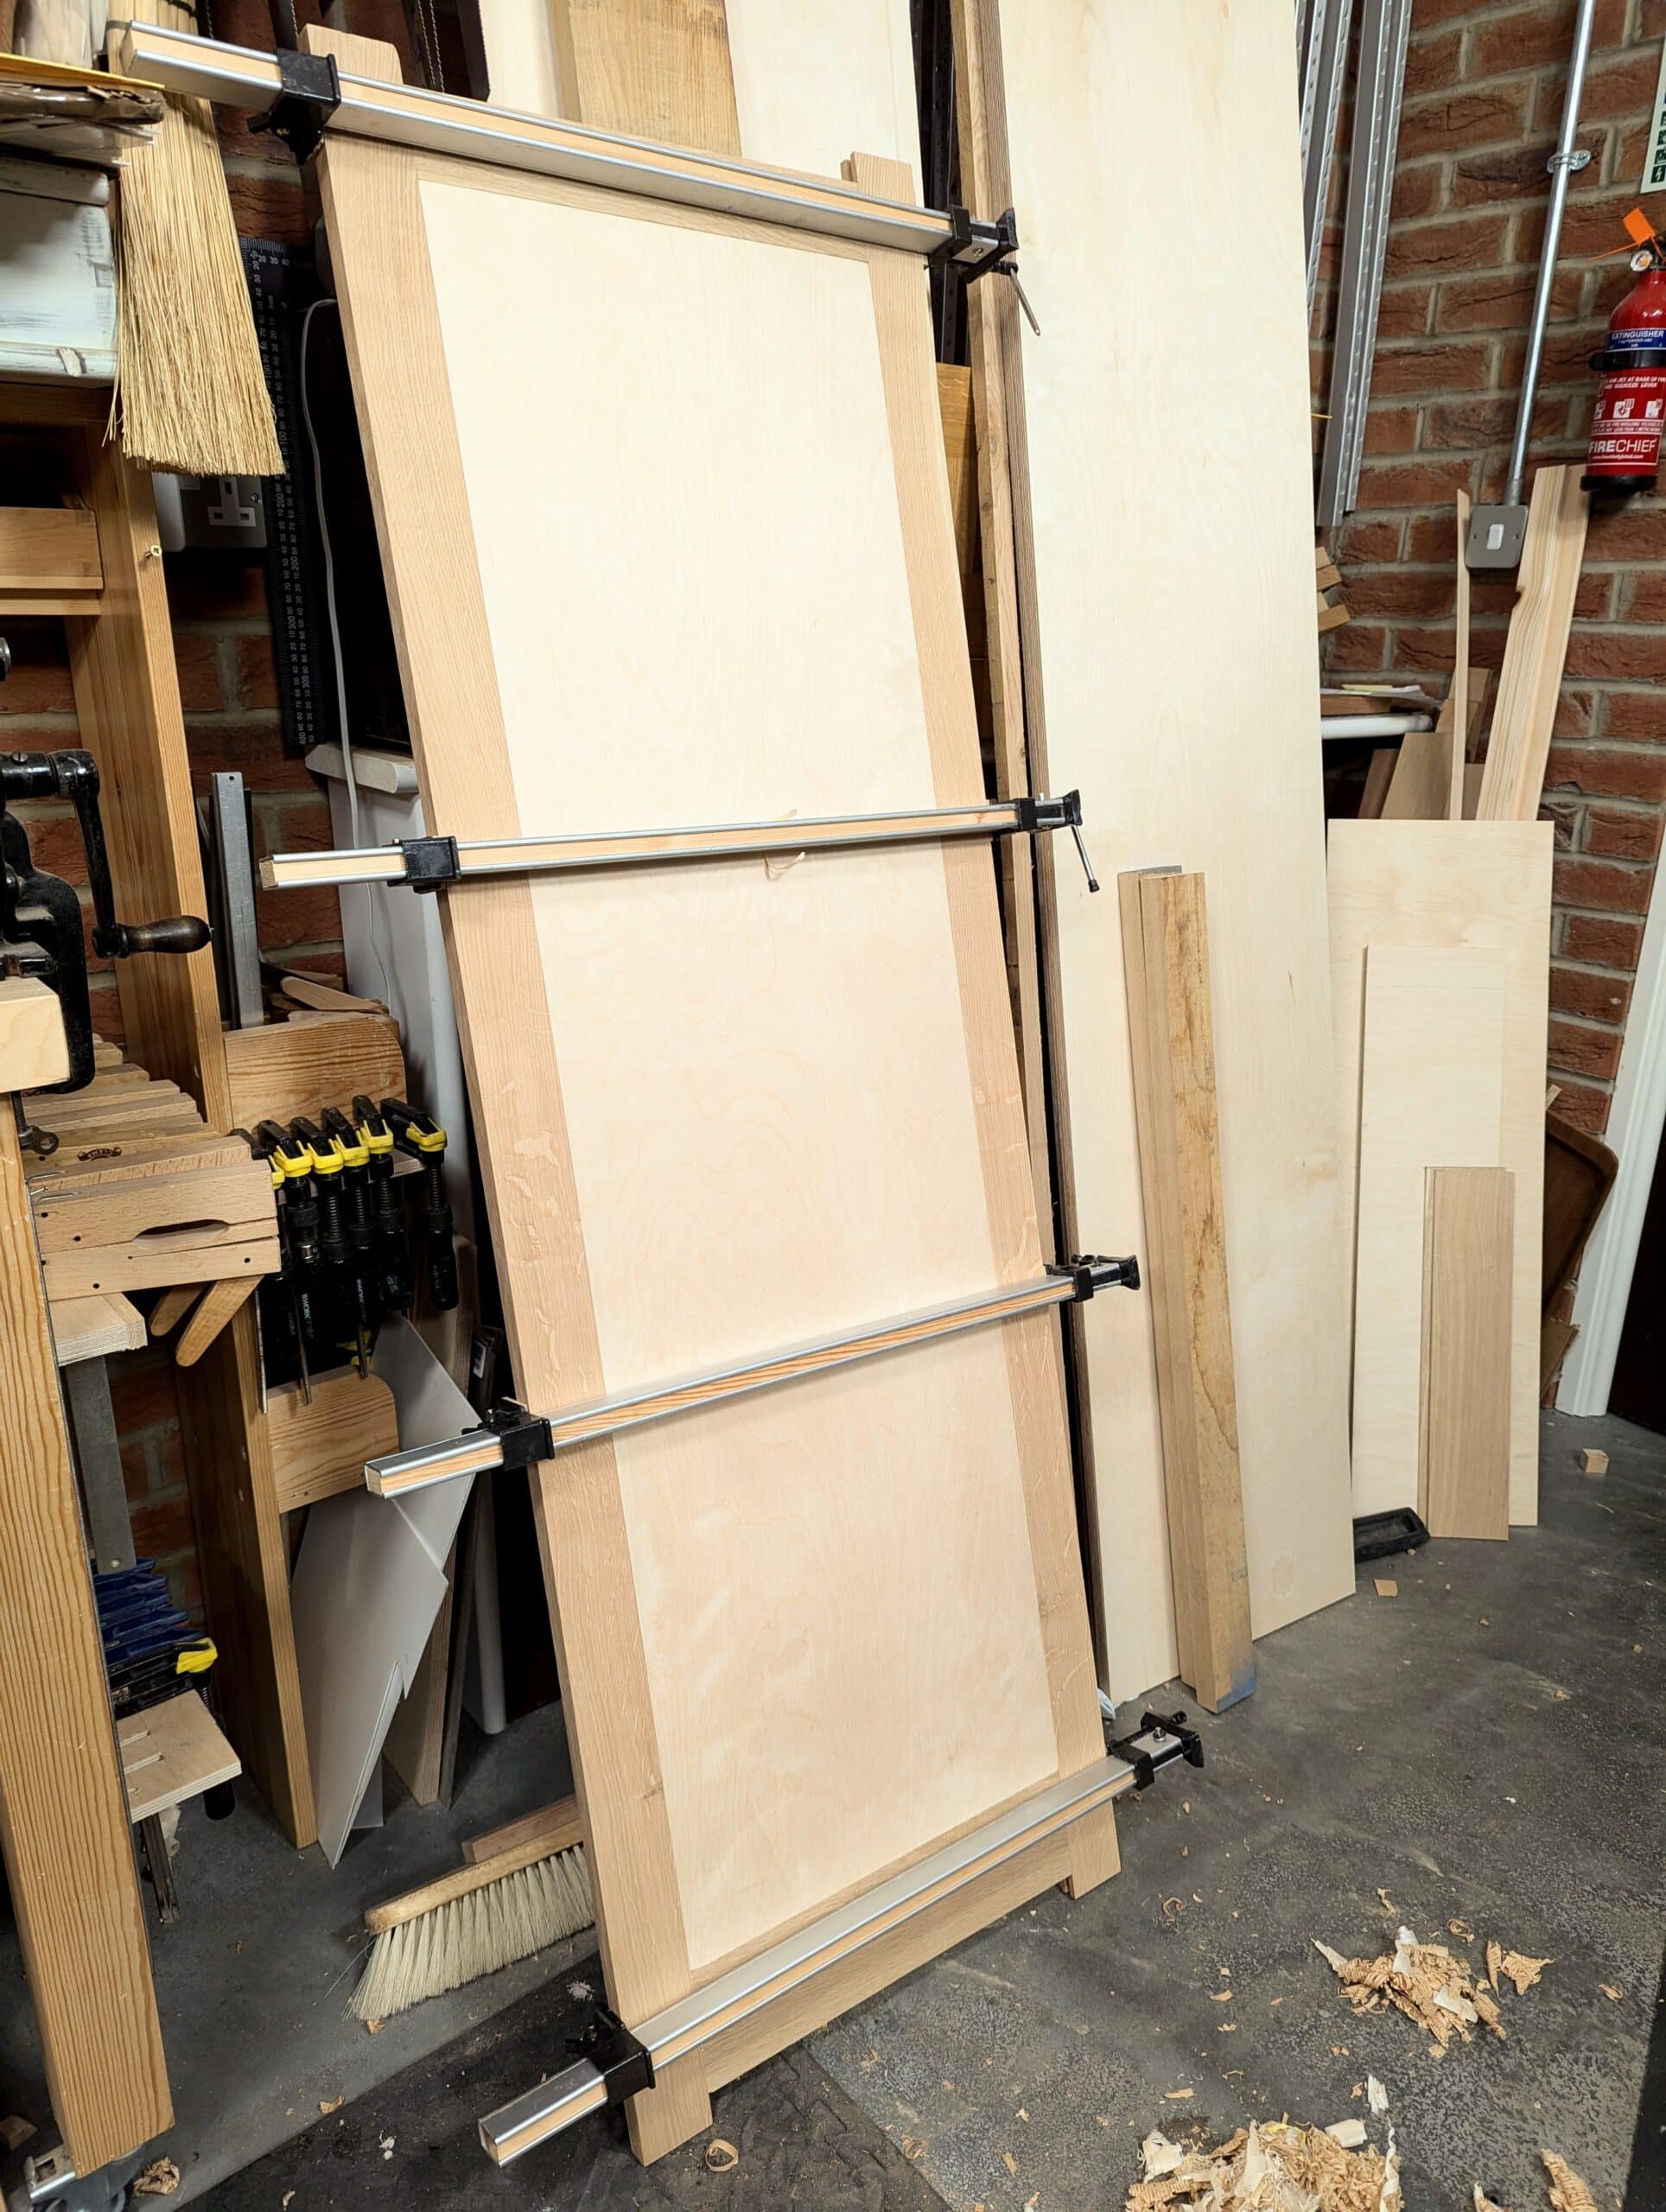
I am hoping you will join me on this project. The techniques and concepts are adaptable and scaleable and the plywood substantially cuts down on panel-making time and cost too. Here is the link.
The design for this project has had me keenly paying attention. My wife has been wanting some bookshelves (for decorations rather than books) and a low bookcase to flank our TV in the family room. I’ve been less excited to do this build than others for the home. Seeing this design has me thinking to adapt it to suit my wife’s current ask. I would “reverse” the orientation of the sides so the insides are flush and the recessed panels on the outside. I think your build technique would result in a faster project construction which would also make my wife happy. What I like about your Master Class builds is that you often come up with new designs and constructions. This is very helpful to me as it shows me options. I wouldn’t have thought of what you are doing on the project on my own but it looks to be perfect for what I’ve been mulling over. Thanks.
Some time ago I recall someone requesting guidance on making kitchen cabinets, this would seem one way to go. Infact I can envisage many applications for these “panels”.
Some decades ago when we moved into a new house (to us, in reality it was old) on a very limited budget. I made a bedroom wardrobe / shelf unit based upon some secondhand doors. The doors were fitted in a timber frame, behind which was veneered chipboard. They were joined using birch dowels.
It was strong, I still remember laying on the top shelf as this was the only way of inserting some screws near the top. I do have a habit of over engineering things. I sometimes wonder if they are still in place, I see no reason why they wouldn’t last, except may not be to the taste of other occupiers.
Paul,
Really interesting design, I like it. Does it look nice enough on the inside of the panel (say the inside of the door in your example)? Not that it necessarily matters, of course, just intrigued. An ordinary panel door just has the single step down from the groove to the panel, this has an additional step down from the tongue to the panel. I guess if it’s the same on all four sides of the internal panel then it probably looks quite normal, and your eye wouldn’t be drawn to it. I’ve been meaning to make a new desk, and I have spare 1/4 inch plywood, which would save me a lot of cost using this method. I think I might give it a try!
Thanks,
Rico
I would say that the inside looks more utilitarian and not particularly attractive as a design feature. Working with it these last three weeks I notice it ess and it seems to sorta disappear now. But I didn’t want it to disappear really. I like the quirkiness of it.
Why not glue a panel of 1/2 inch plywood to a slightly larger panel of 1/4 inch plywood to create the tongues? It would be more expensive but more esthetic in appearance when the door is opened.
Have you ever tried gluing two largish panels face to face as you suggest? Without a vaccumm press its not easy and of course you then have the panel you just made with a huge dish in it. To counter that dishing you have to put a panel of similar or equal thickness on the opposite face…I learned this the hard way. More to it than you might think. And I don’t think the aesthetics would be improved in my opinion
I think this is great. As a “woodworking improver” it makes the panel construction nice and simple, so I can concentrate on developing my skills on the frames without getting over-awed with “real wood” panel construction. I can use a load of plywood offcuts I salvaged too, which keeps the cost down. And it gives me impetus to pick up the tools and get to work rather than feel its too big a step to attempt the next thing. Many thanks Mr Sellers.
This looks like a great project! I need to learn how to build ‘Kitchen Cabinets’ for our laundry room and these techniques look applicable to freestanding, built-in, and wall-hung.
I really like the technique. certainly one to keep in mind
Hi Paul,
Looks like a great idea. I especially like the way you glued onto the back of the full sheet your bitch for the groove. I guess that gives the entire door a lot of strength. Could you please tell us how you are going to paint this item. I know you have a video about poly, Blo and Schellack, but these remain the dark arts of woodworking to me. All the best and glad to see you’re back up on your feet again. Cream always comes to the top.
Sorry horribly embarrassed here. Autocorrect took over. Should read “… especially like the bit you glued onto the back of the full sheet…” Wouldn’t mind but I never use that word. Would use words along the lines of idiot or fool moreso.
Sorry if anyone got offended. Never use phone for blog posts again.
Correction
…especially like how you glued onto the back of your bit for the groove… Sorry autocorrect.
Paul-I have been following the videos for this new project. I built 2 of your mixed hardwood/plywood “eco” bins when you released the video a few years ago. I kept 1 full sized which holds all my small off cuts and shavings that will ultimately be burned. The second I scaled down and makes a terrific bathroom wastebasket. Looking forward to trying a version of this project as well-Jeff