Making the wall clock 6

DSC_0663 DSC_0665

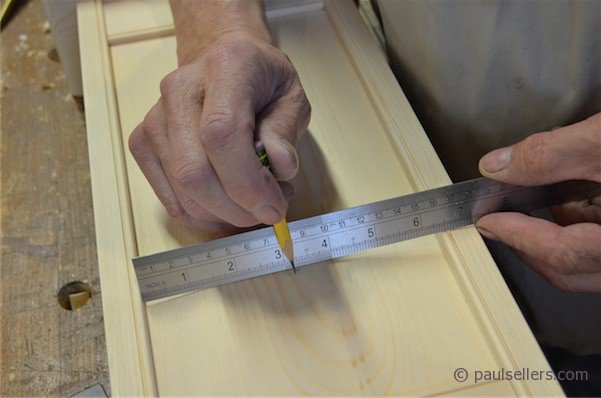
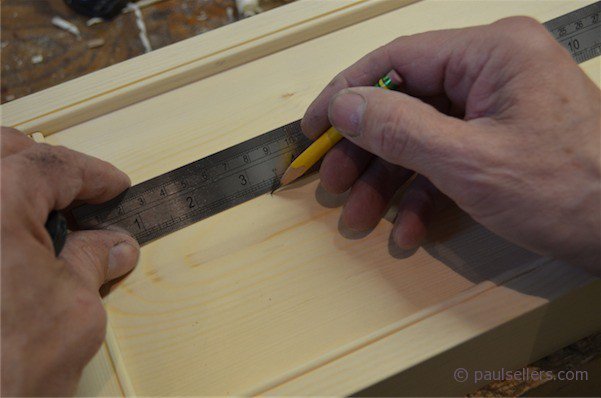
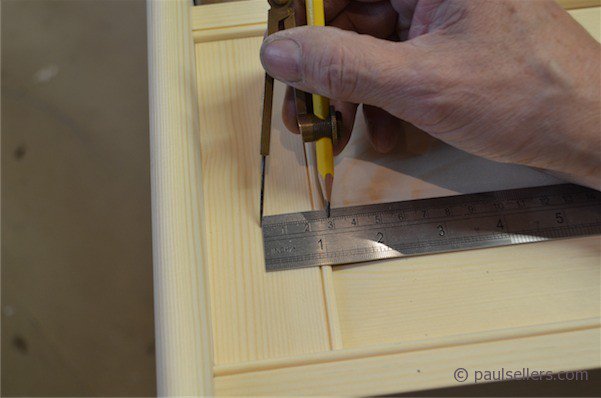
With the panel completed and in situ, I mark the centre of the hole. I take care to mark the hole at the top and not the bottom of the panel and this is important if you have selected grain for a particular aspect presentation. Establishing the distance between the two sides, I split the distance and this gives me the vertical centre-line . This then establishes the distance from the underside of the top crossrail. The two crossed lines mark the centre of the hole. Your hole size depends on the insert size of your chosen timepiece. DSC_0665 DSC_0667 I like to actually mark the circumference diameter onto the panel as a visual representation in the panel and I recommend this as it will help establish the size you want. If you hold the clock in the upright position to make sure you like what you see then you can cut freely. Also, the clock insert does not have to be as high or low as I suggest. You may want to alter that.


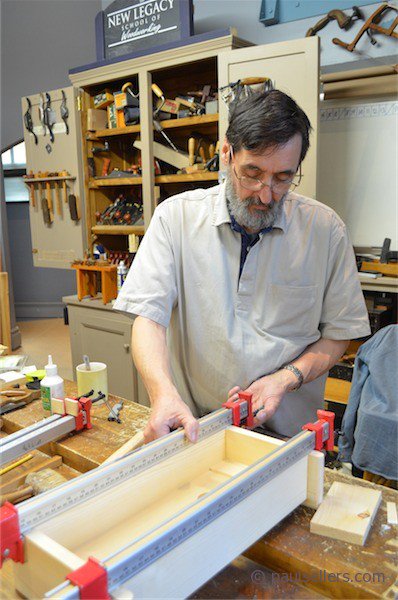
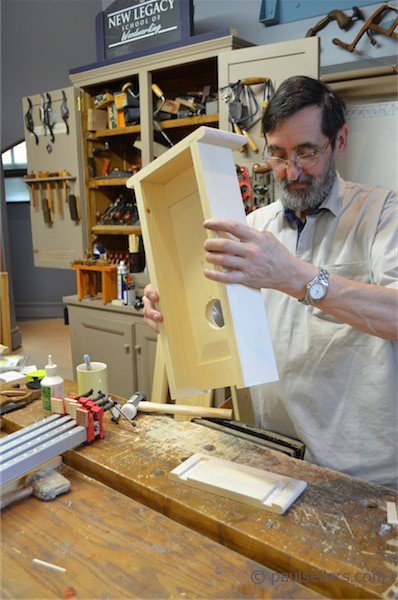
If you approve the position, cut out the hole. DSC_0673 You can use a brace and expanding bit if you have one, or, as I did, you may want to use a coping saw threaded through a 1/4” hole. DSC_0675 This means changing the orientation of the blade from time to time as you progress the cut around the hole. Simple!


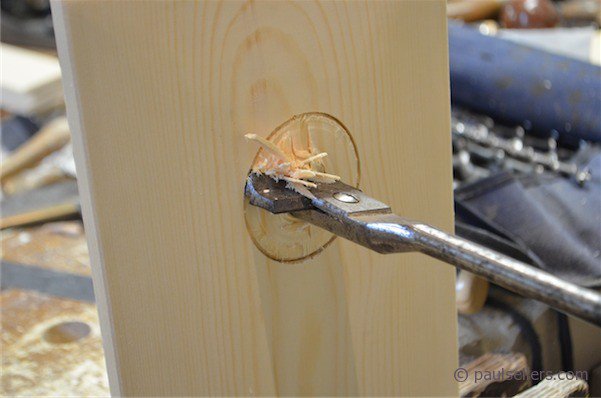
Once you have cut the hole, you may need to file the hole to smooth out undulation left by the saw cut. DSC_0679 I used a half round rasp followed by a half round file.


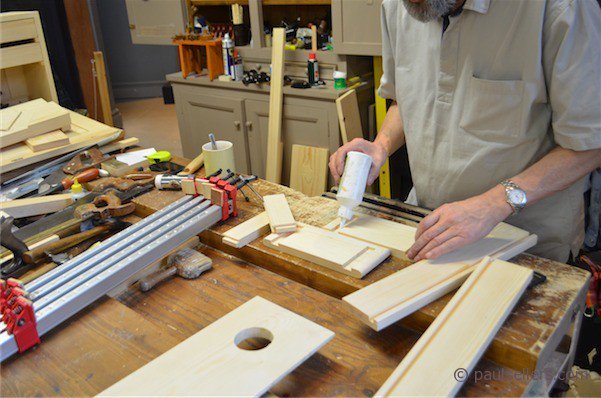
You should check that the insert fits before glue up in case adjustment is needed.

DSC_0686 With everything tried and tested, we are ready to glue up the clock and clamp it. Any PVA glue will work. It’s clean and works well with pine or any other wood.


DSC_0696 Clamping is important even with tight joints as the thinner the glue the stronger the joint. Rehearse as many times as you want to make sure you are familiar with the assembly and equipment and so on.


DSC_0702 Set the clock aside to set but make certain all the joints are fully seated.