Making the Wall Clock #5
With the main body of the clock superstructure completed we can now form the raised panel and fit it to the grooves. This was once performed traditionally using a special plane called a panel-raising plane.
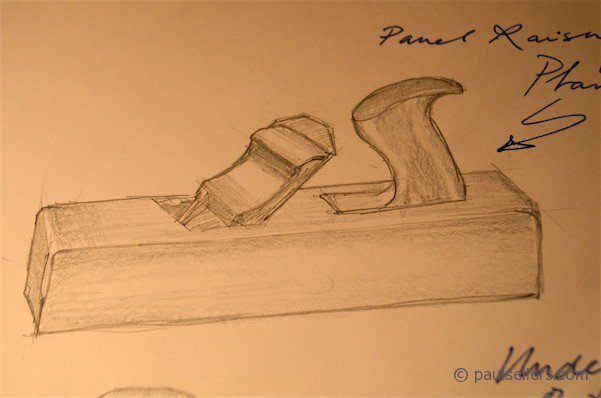
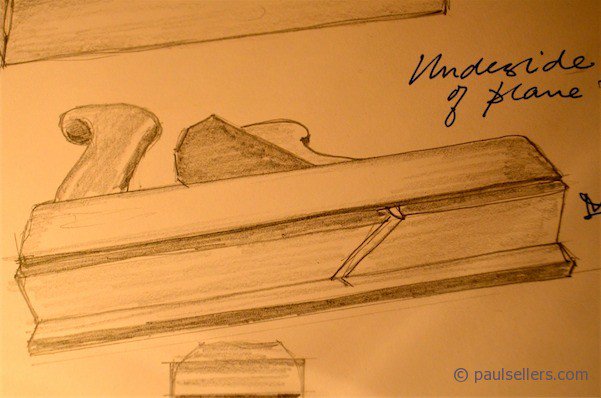
Traditional Panel Raising Plane
View 1 – Showing perspective sketch of plane
View 3 – Showing profile cut and angle of presentation to wood
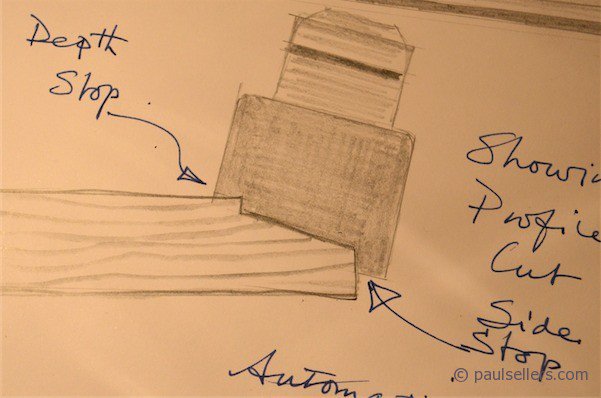
These planes often had two built in fences. Some were shaped within the body of the plane and others had a moveable fence that adjusted the limits of the raised panel according to the size needed. Both types work wonderfully, but fewer and fewer exist and those that can be found are usually quite expensive. Some new modern makers make these planes to order but if someone jigged up to make them at a reasonable price around $350 they would sell and I would most certainly buy one. They are incredibly effective planes and very efficient to use too. Because of the skewed mouth they will tackle just about any grain. I love to use them. Perhaps I will do a blog on making them.
To begin, I cut my panel to fit between the bottoms of the grooves in both length and width. I first cut to dead size and will latter take of an extra 1/16” to 1/8” in the width and 1/16” in the length.
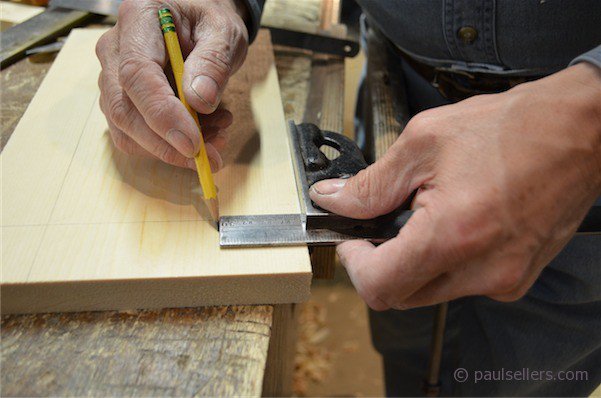
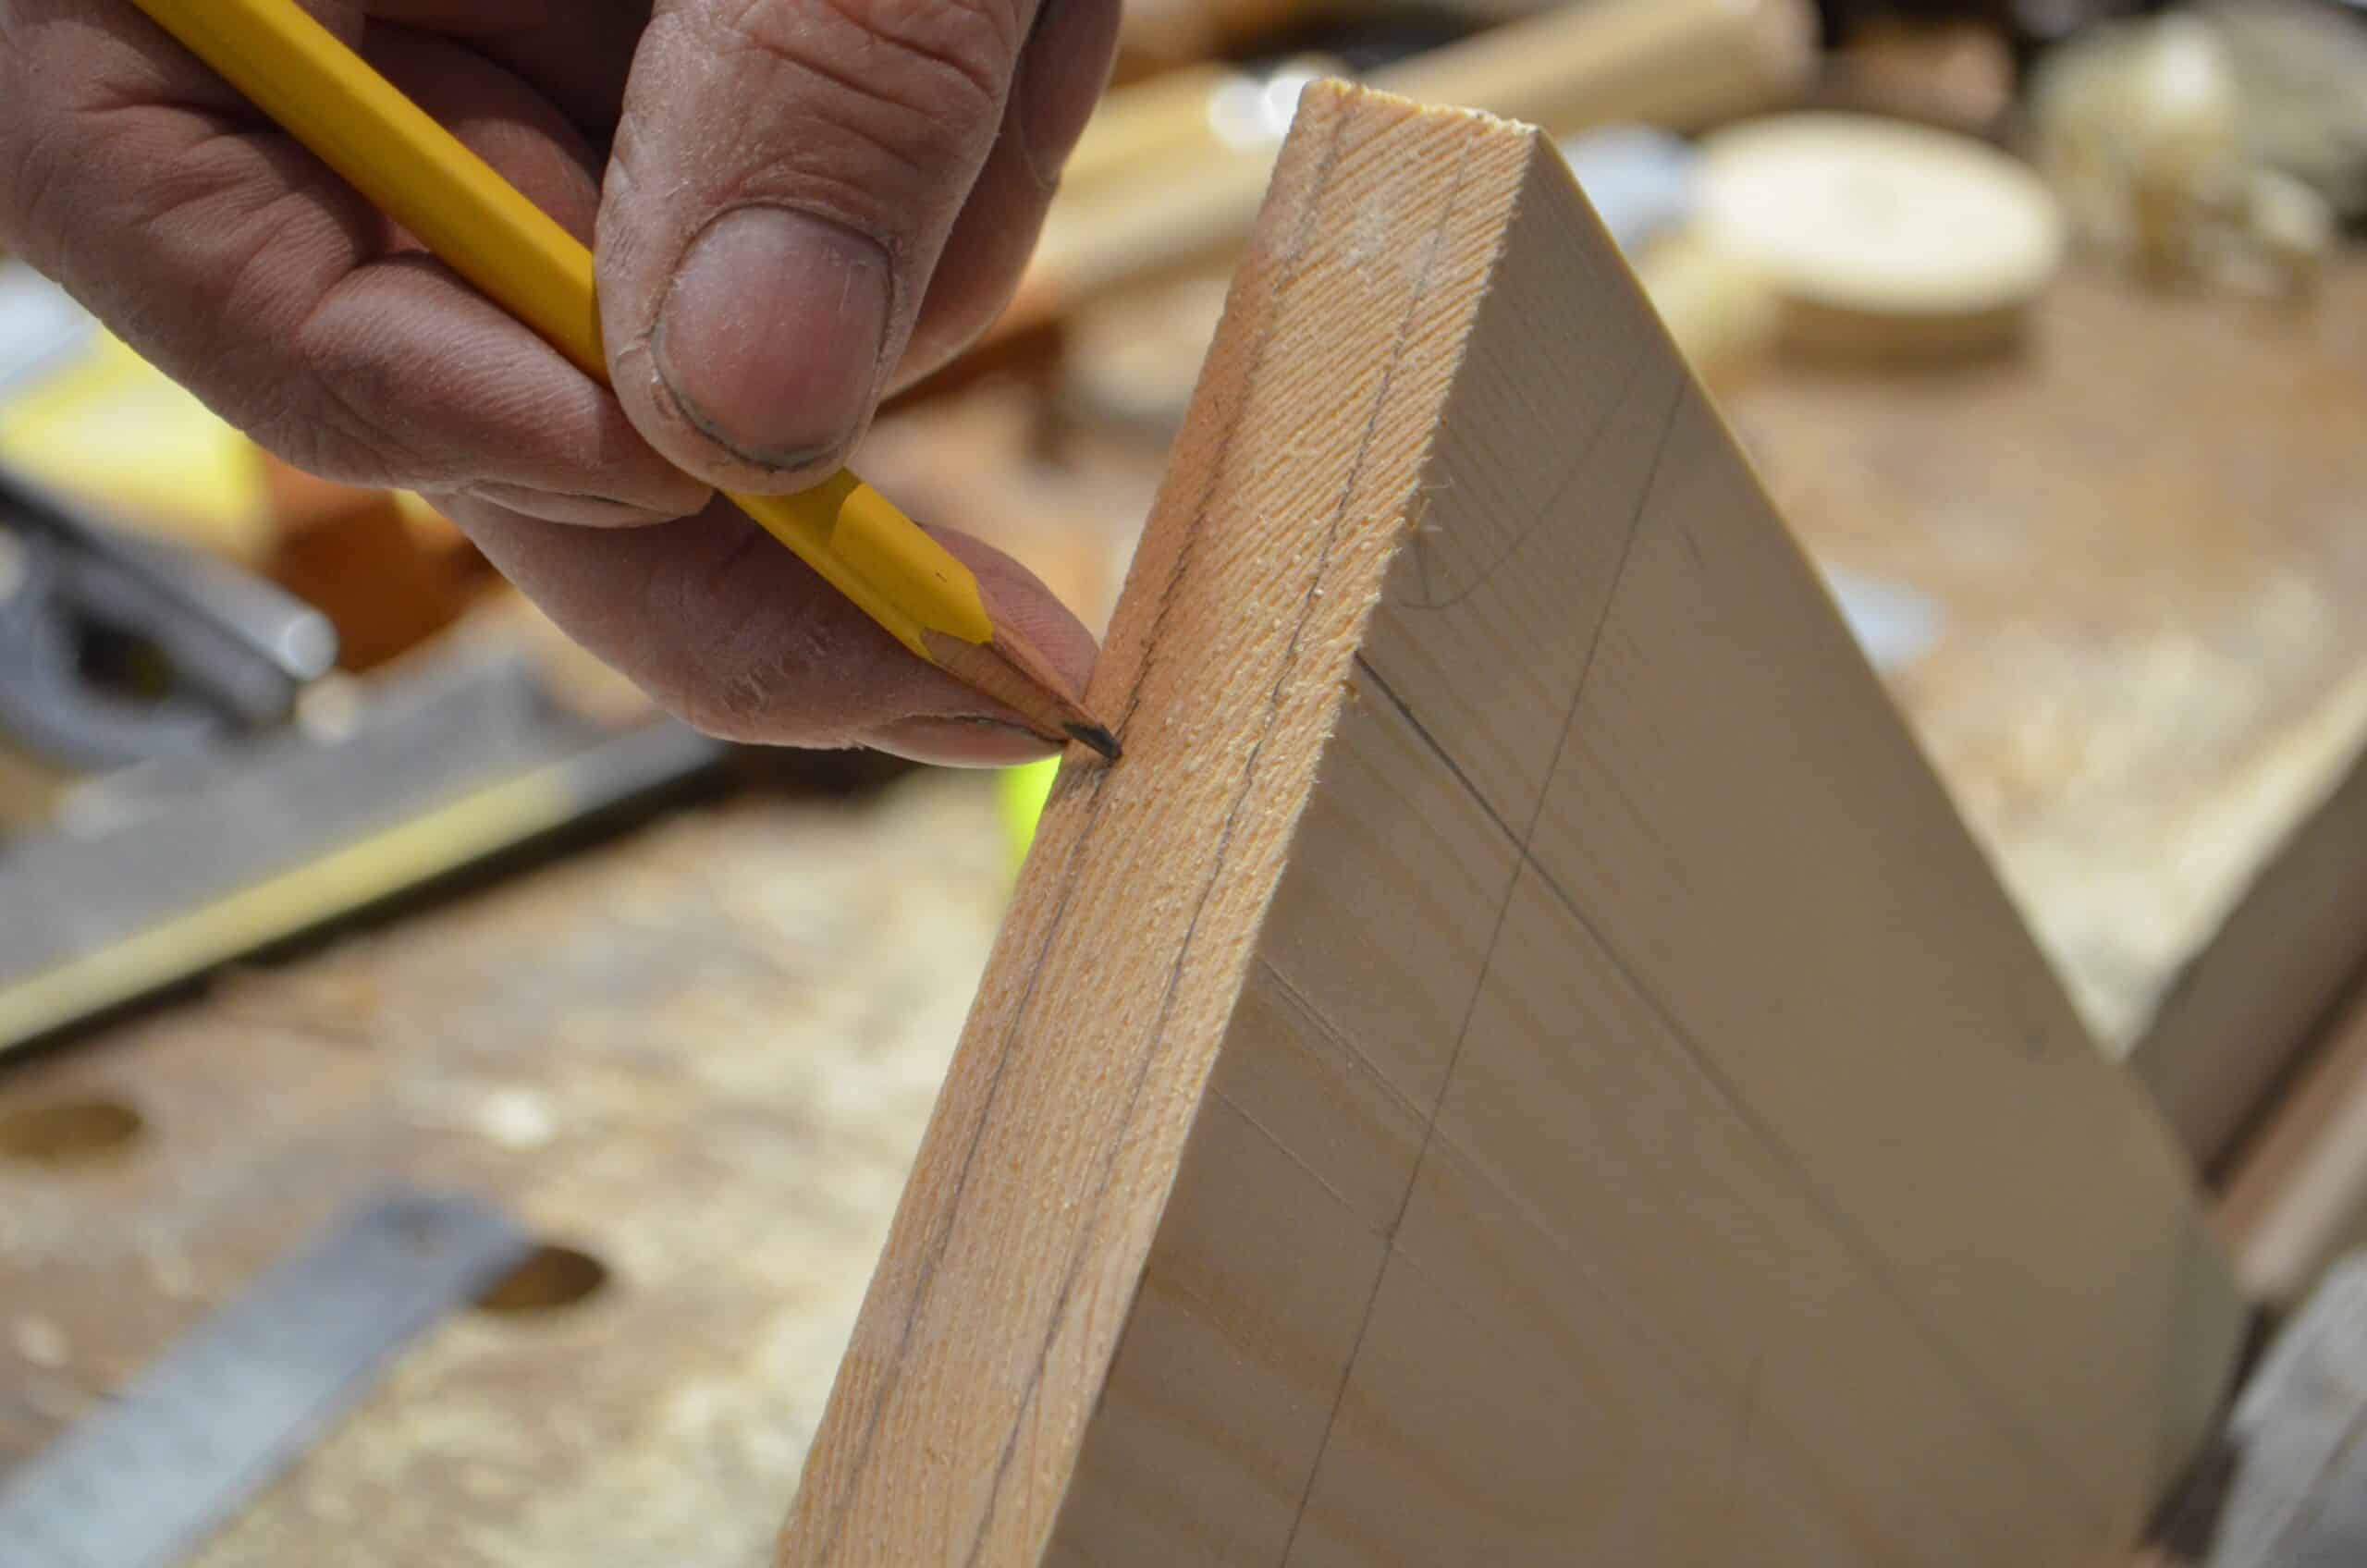
I use my combination square set to 1 3/4” (could be less or more according to taste) to run pencil lines around both faces of the panel.
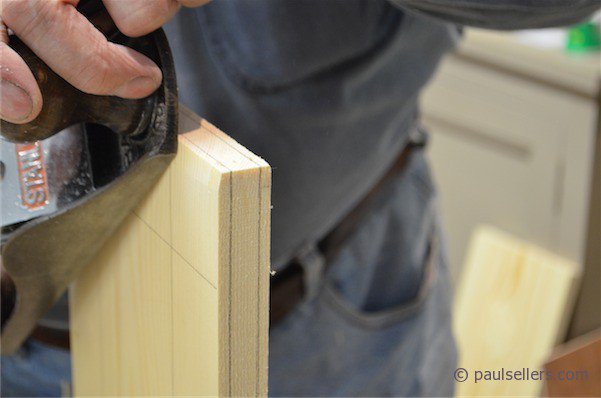
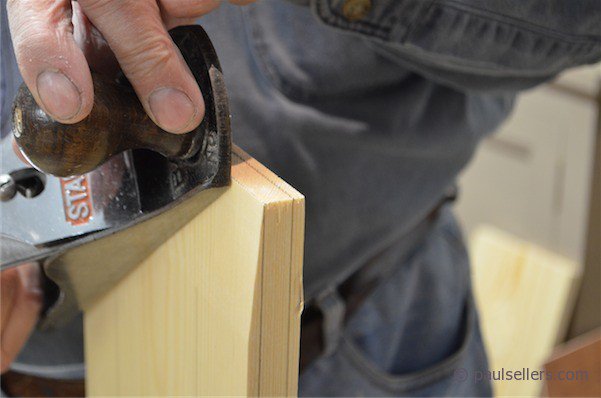
I then use my finger as a guide to run parallel lines to the face of the board. I divide the board into three parts with the lines being about 1/4” from each outer face.
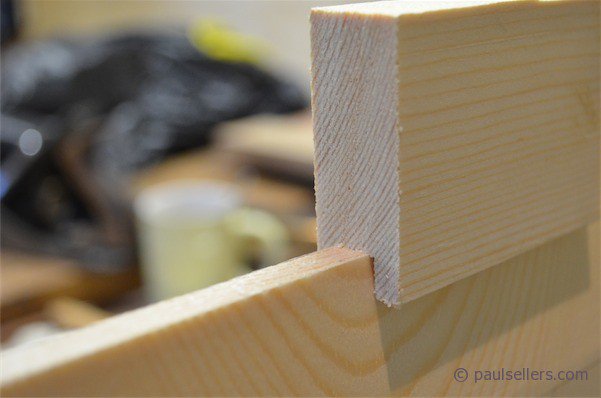
Sand the surfaces and dry assemble to make sure everything fits well and that none of the joints are held off by the panel.