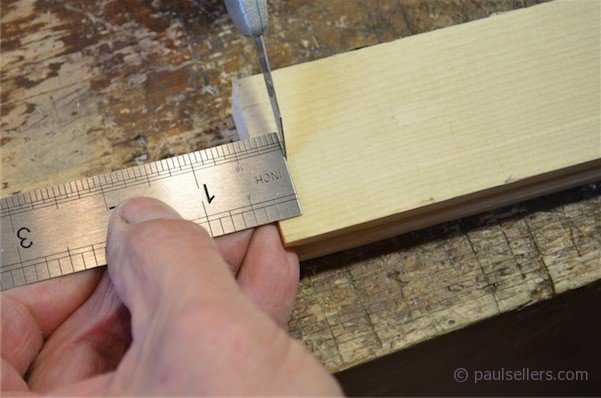
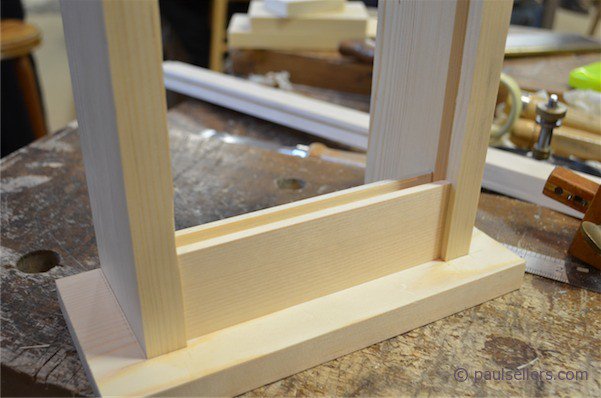
The crossrails are now fitted within the side walls and its best to establish the shoulder lines for the stub tenons whilst the clock is assembled. The distance between the side pieces determines the shoulder lines of the tenons and so we must subsequently add a further 5/8” to the overall length. Making this second clock for the blog, I chose to make one of the stub tenons and then place the shoulder against the one side and mark the second shoulder from the opposite side, which leaves the 5/16” I need for the stub tenon.
It’s important that these shoulder lines directly correspond to the insides of the walls which are also the distance between the housing dadoes.
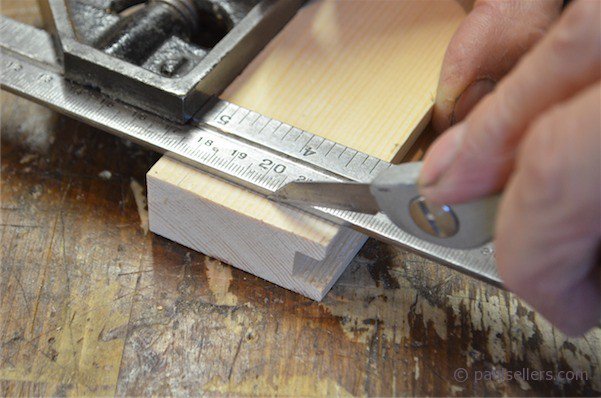
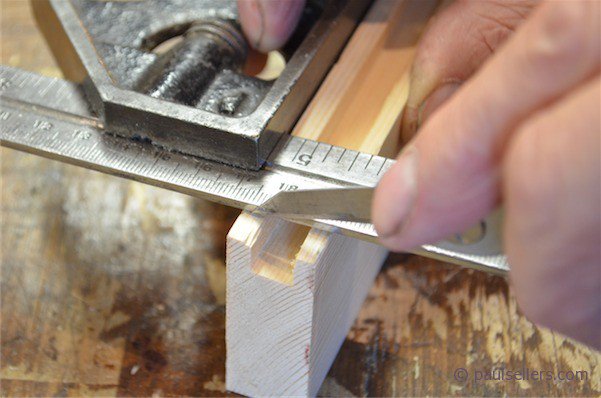
With the first knifewall established, I use the square to square the shoulder lines across the wide faces of the rails…
…and onto the edges too.
I use a pencil to mark the width of the tenon onto the end grain , using the groove sides to guide me…
…I can also set the mortise gauge to the groove walls.
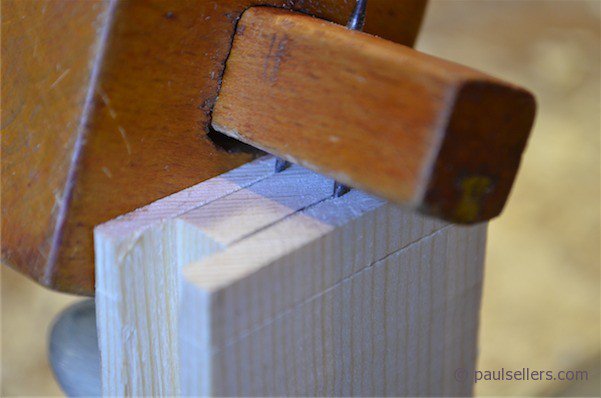
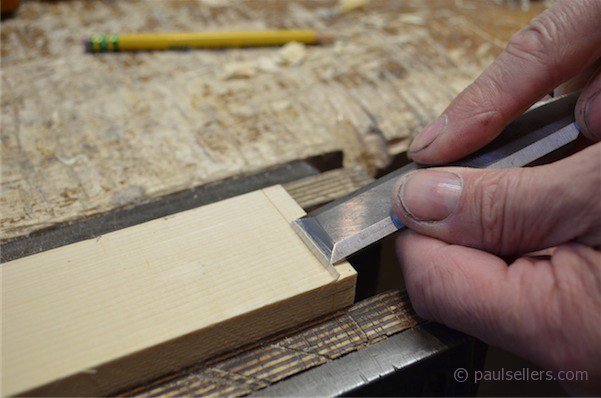
I pare into the shoulderline knifewalls from the waste side.
This wall guides my saw as I crosscut the shoulders of the tenon down to the gauge line on one side and the groove wall on the other.
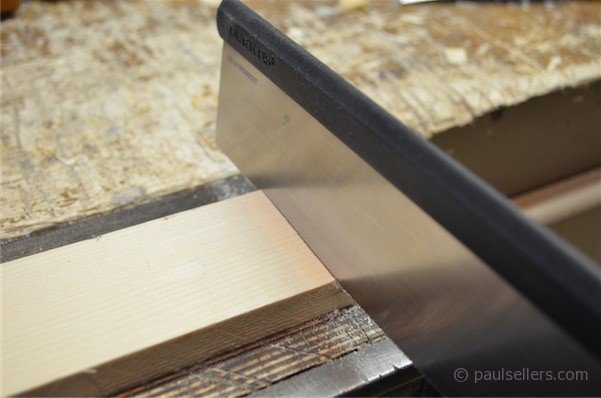
To cut the face of the tenon, I split from the end by placing my chisel directly on the pencil line or into the gauge lines and tapping with the chisel hammer…
…or I can also use the saw to saw the cheeks.
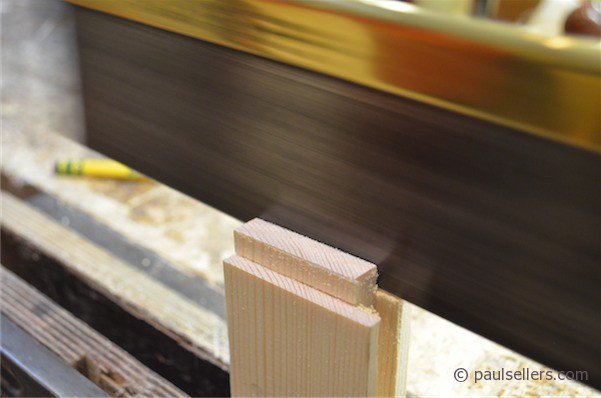
It’s important to trim off any fuzzy fibres from the tenon shoulders so that they seay well.
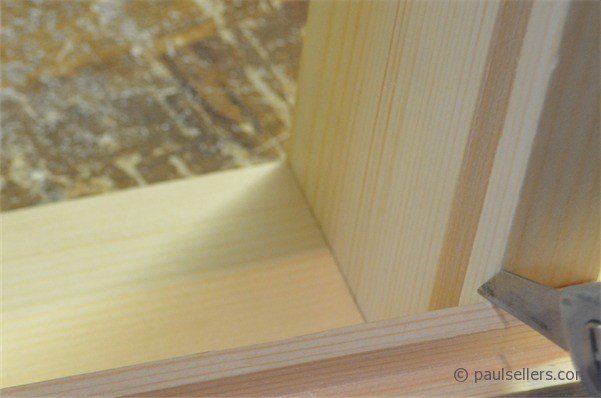
I mark the opposite shoulder line by placing the first tenon shoulder inside the first wall. With the knife, I mark the exact position with a small nick on the corner and then follow the same procedure as before for making the tenon.