Making the Wall Clock – the Poor Man’s Beading Tool

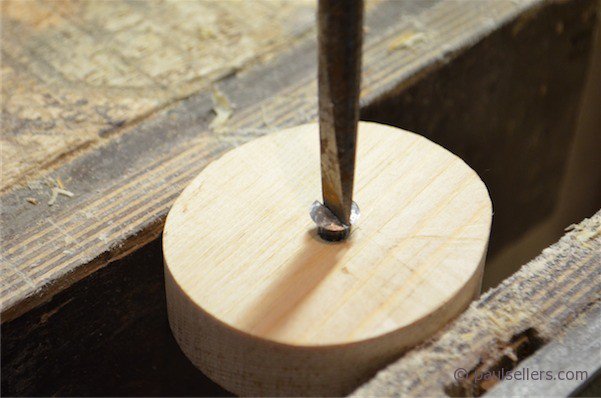
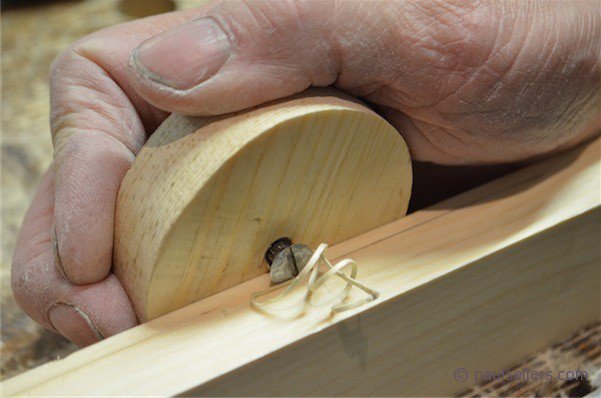
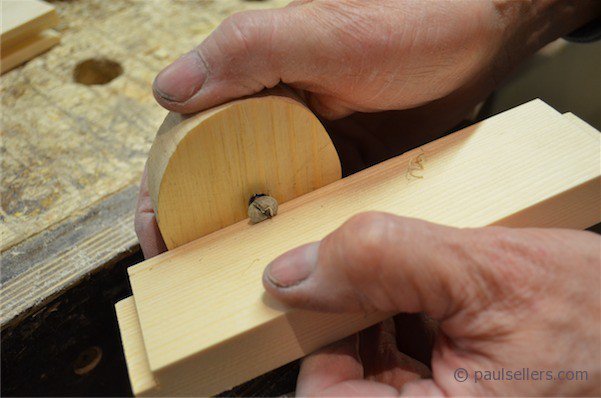
With all of the joinery completed, I now focus on design concepts I want to soften the hard corners with a bullnose edge to the top and bottom pieces of the clock. I also want to introduce a method that slims down the appearance of the sides and rails because think that they are too heavy looking and clunkish: By using the #4 Stanley plane, I can make a perfect roundover in a matter of minutes, far faster than using the router and much less clean up and safety concerns. By screwing a 1 1/4” #10 screw into a piece of pine, I can create a ‘poor-man’s’ beading tool.
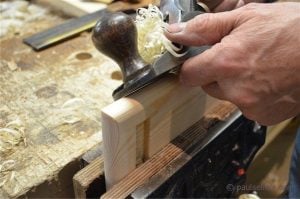
To form the first roundover I plane the end grain areas first. I run the plane at about 45-degrees along the corner until I have a flat about 1/4-3/8″ wide. 
I then drop my angle to half that and take a couple of full-length swipes. Then, with each successive swipe rising from bottom to top I take a series of swipes, altering the angle with each stroke, until I reach the topmost surface. 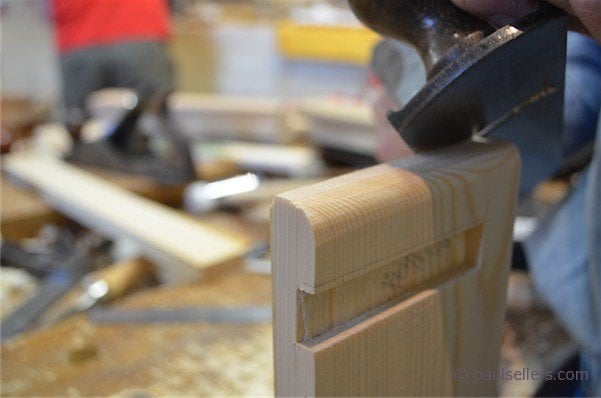
I repeat on the opposite side to create a full roundover as shown.
I repeat this to the opposite end.
Now I connect the two ends by doing the same along the length.

To form the beads
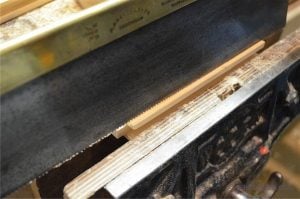
Once I am down, I take the tenon saw and run that along the groove from one end to the other. this gives a neat and square look to the inside of the bead.
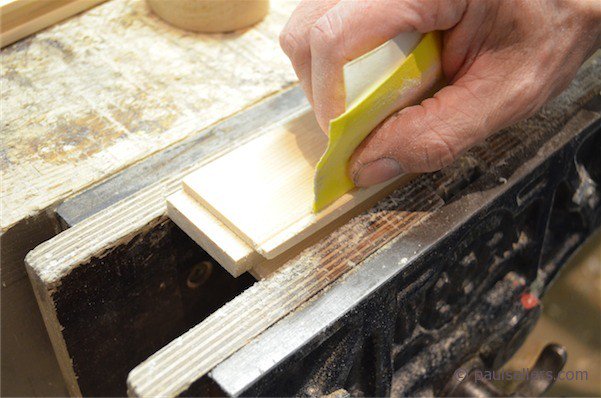
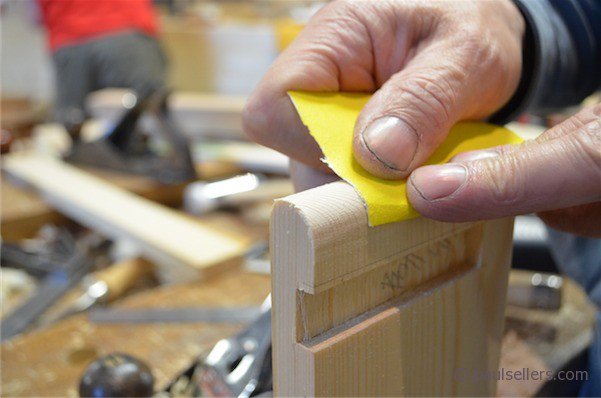
With the #4 Stanley smoothing plane, I remove the outside corner in a few quick passes and follow a round to complete the shaping of the bead.

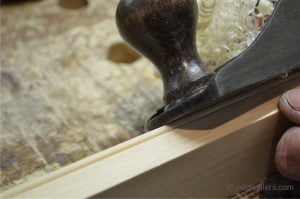
You can see the poor man’s beading tool cum marking gauge here. This one shows how that gauge can be used as a marking gauge for setting hinges. Here is another on refining the beading tool screw to form a deeper, more effective cutter.