Making My Mallet – Streamlining the Head
Shaping oak is not hard at all. In fact, it’s a pleasant experience to saw it and plane it and it’s easy work with hand tools – especially easy.
My mallet needs a quite a bit of aerodynamic streamlining to give it perfect balance and good centre of percussion. Shaping needs only a few sharp hand tools now. I suggest you follow the steps and keep the shaping simple.


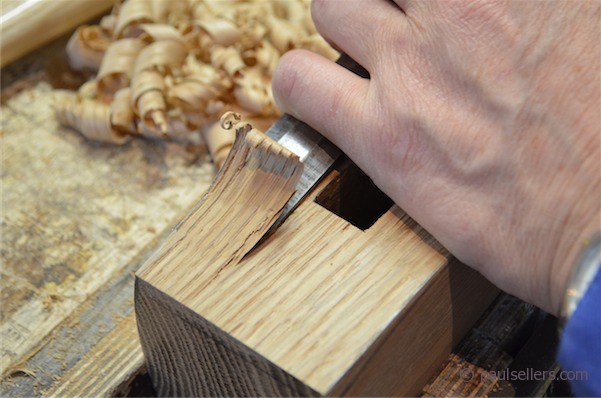
Chisel into the knifewall first.
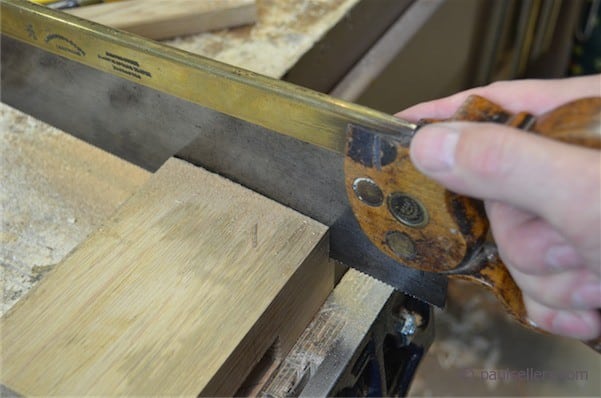
Saw down the knifewalls and remove the excess using the tenon saw.

Plane off the saw kerfs and level the faces with the smoothing plane.
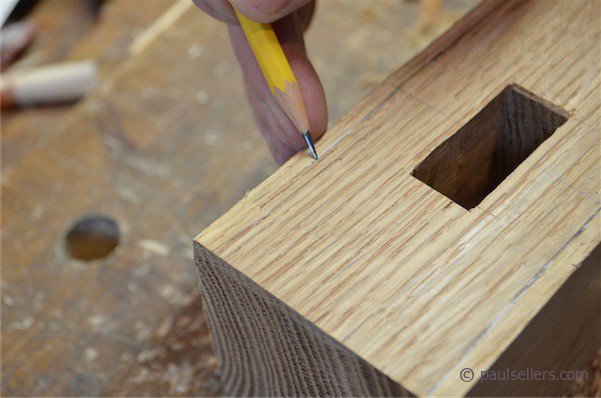
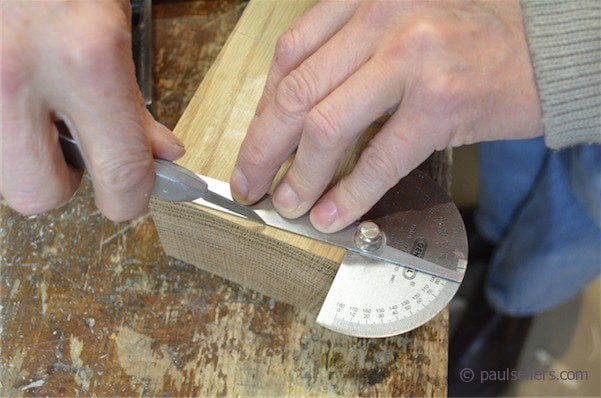
The head needs its long curve from top to bottom on the outside edge but first it’s best to round the outside faces. Along both the long and short edges on the narrow faces, mark lines from top to bottom.
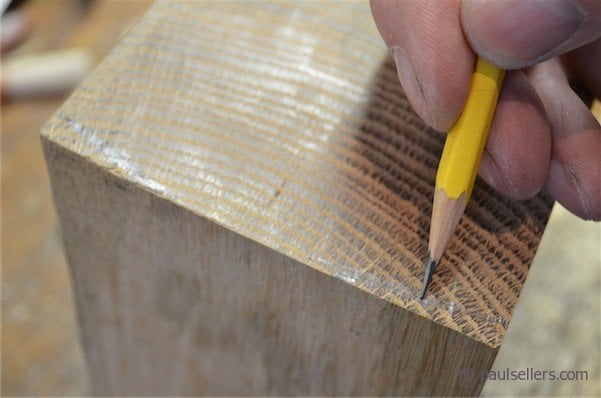
Stand the mallet on end and draw an arc from line to line. Use your eye to create the curve or bend a steel ruler and ask someone to draw around it.

A smoothing plane works perfectly for this next step. Take strong and confident strokes from end to end and follow your guidelines.
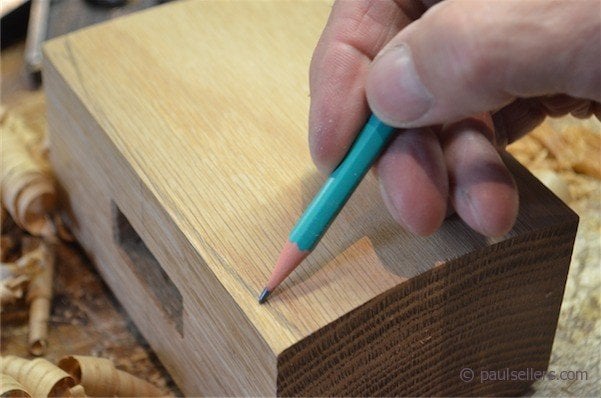
We can now shape the arc to the outside, end of the mallet.
I use my eye to delineate the arc with a pencil line, but you can also use a bucket or some other large round shape if you prefer.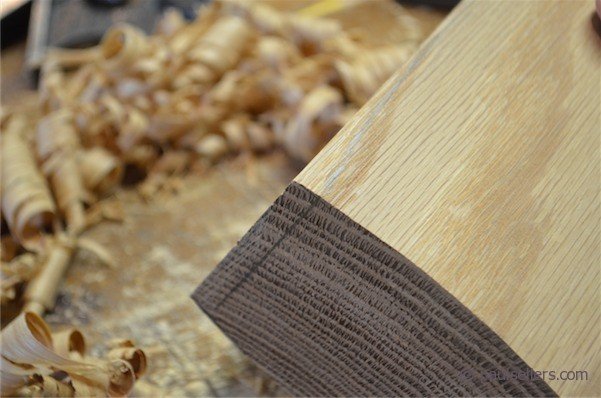
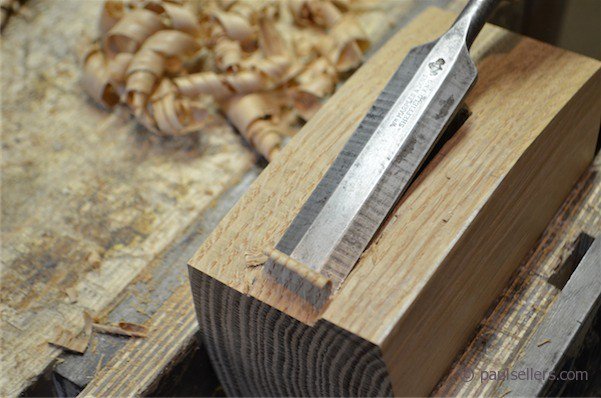
With the mallet head secured in the vise, I use a 1” chisel to remove the bulk of the waste. I start at one side and work across to the opposite side in three passes.
Use the smoothing plane to even out any unevenness.
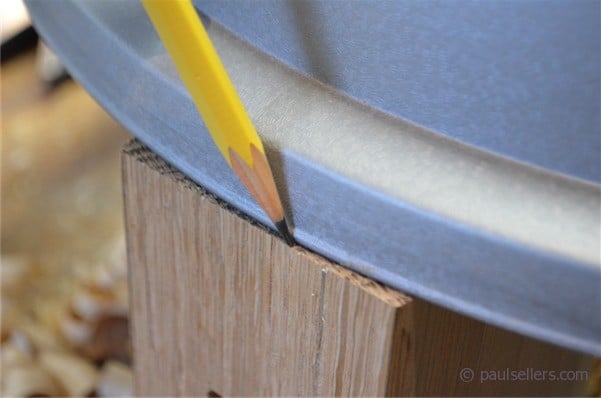
Stand the block on end again and trace the outside arc from a large plate or a bucket, or just gauge it by eye.

Use the smoothing plane to even out the uneven areas.
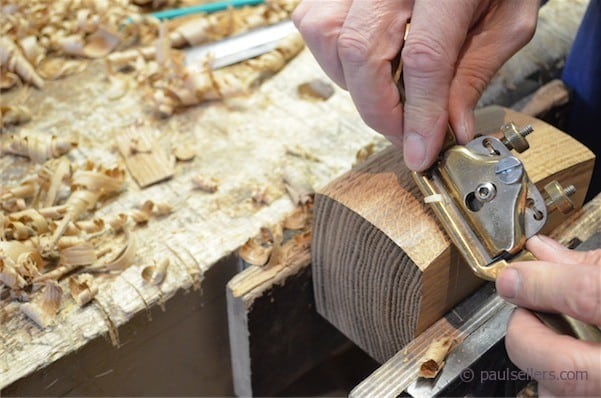
You can also use #151 spokeshave, which works equally well for this.
I didn’t sand the surfaces at all. I like the clarity of plane strokes that show how things like mallets are made.
This is how the two mallets compare.

More soon.
Thanks for letting me know.
The correct place to hold the mallet is nearer to the head than people think. The extended length gives the balance you need to adjust for heavy and light blows. I would try it out for a period before you remove any body from the head.
¡Preciosa herramienta!.
I have made my first mallet and enjoyed it so the second is started. I had enough hard rock maple to make 2 heads with the handles being red oak. Thank you Paul for renewing my interest in woodwork.