Getting the edge for under £1
Getting started by getting the edge
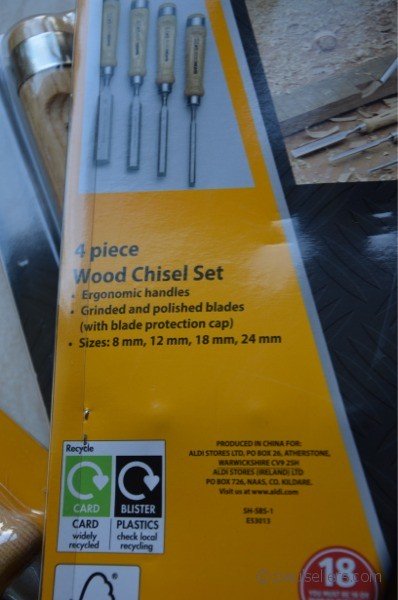
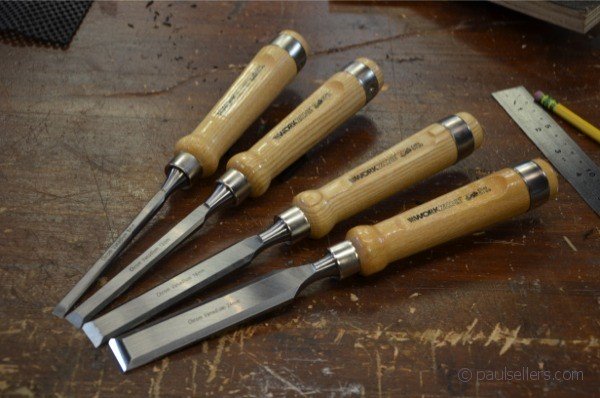
So you just bought your Aldi bargain in chisels and you want to fettle them for refined woodworking. This video shows you how.
Recently I blogged that sharpening on expensive diamond plates or ceramic and water stones may be prohibitive for new woodworkers starting out, so using wet-and-dry could be the way to get started and certainly this is indeed a good way to flatten the backs of the chisels anyway, if not the bevel edges too. The important thing is to get you started and then consider the long term methods after we have a sharp edge and a flat back face to the set. Flattening the backs and polishing them out is generally a one shot deal you most likely will never need do again, but it is an essential step to a sharp edge.
Costs
In the long term, using any kind of abrasive paper soon becomes prohibitively expensive because the paper tears unexpectedly and this often, not rarely, happens on the first go round. The other thing is that you want a system that’s ready to go and without mess and fuss. This method becomes irritating and a nuisance as well as a waste of valuable time in the process of making. (We shouldn’t discount the fact that people do have spare time and they like to simply spend time sharpening even of they don’t actually use the tools for real work. I never had that luxury.) Anyway,it’s this that makes abrasive paper methods of sharpening expensive. The method I used for this video costs under £1 in abrasive papers. I used three half sheets on 250, 400, 800 and then quarter sheets of abrasive paper in 1200, 1600, 2000 and 2500. Any variance in these grits will work. It’s not legalistic. In other words I can sharpen 4 chisels on 2 1/2 sheets of abrasive. These sheets cost 29p per sheet from Screwfix but you have to buy packs of each grit size. Even so, 73p per session soon builds up when you sharpen two or three times a day, which most woodworkers will do if they are staying on top of their chisel edges. 
Your undercarriage for the abrasive must be flat. In my case and for this video I used a piece of float glass I retrieved in a skip (dumpster US) here at the UK workshop in Penrhyn Castle. It happened to be a good length and ideal for what I do. Of course the method is messy and glass is impractical long term, but it gets you started and that’s what matters. All in all this method defers shelling out the £150 you will eventually need for more permanent sharpening with diamonds.
Thanks so much for the video link..It was totally unexpected but really glad you chose the topic of flattening….it was highly clarifying to me to me to see the detailed presentation of the three options, float glass, granite tile, and granite surface plate…This vid really brought it all together for and I found it valuable since both the chisel flattening and plane sole flattening can be attained using similar options of a dead flat surface and abrasion methods. I recently got a 12 ‘ x 12″ limestone offcut for free at a nursery here in NJ, only problem is I checked against my square and its quite flat but not dead flat…also, I’m finding the limestone is somewhat brittle and tends to create a fine dust.
Another advantage of the glass cleaner as “lapping fluid” would be the fact that glass cleaner almost invariably contains common household ammonia which is a great metal cleaner in my experience, generally for safely removing built-up grime, dirt or tarnish on metal safely.
Mr. Sellers: I feel the same way about spray adhesives. Plus the spray tends to get all over the place, like on my arms! I decided to try to find an alternative, and I found that a plain ol’ arts and crafts glue stick works pretty close to perfect! I smear on a generous coat on the paper from edge to edge, leaving no part glue-less (I learned that’s important). Same for the glass surface. Then I used a fingertip to smear down any large lumps of glue. Then I slide the paper around and work the whole thing flat. My main concern was that it would be lumpy but it’s not. I think it’s because the glue never hardens, so after several lapping passes the glue film is level. It does not move very much at all on glass, and on granite it sticks like a champ. Plus, non-toxic! Which is very important to me too.
This is very helpful, Juan, and seems really good. Thanks for taking the time to respond. It’s this that makes all the difference to what we are doing.
Paul, I just saw your YouTube video and it seems like you are using quite a lot of pressure on that one inch chisel.
I am trying to do that on a smaller chisel and I always end up with a skewed chisel.
any thoughts or tips you want to share on that respect?
Diego
On narrower chisels use dominant hand on handle and two fingers only near the chisel edge. Check every few strokes to correct any bias by pressing to correct.
I also have this problem on 3/8 and 1/4 inch chisels. For the flat back, I tried lapping in the direction of the long axis of the chisel which seemed to work OK. But the bevel is tougher. I can’t keep the chisel from rocking on the bevel. So I get a skewed edge like you and also a rounded bevel from side to side. I’ll probably end up using a guide for these narrower chisels.
It’s just a little time and practice. Use a guide to get going, develop motion and one day soon you will by riding down the hill on two wheels or soaring like an eagle!!!
You are simply the BEST!! Thank you for such a detailed instructional video!
You are simply the BEST!! Thank you for a great instructional video!
Are Aldi chisels available in US Aldis? Thanks,
Michael
Apparently not. If enough people petition the company they will though.
Paul, did you go with a 25 degree bevel on the Aldi chisels? And do you use them for general bench work? Chopping?
As always I start my camber right from the very cutting edge on 30-degrees and drop off to wherever it stops. Where I stop doesn’t matter. My research shows that most craftsmen let the bevel run out into the main length of the chisel with no real start and stop point as such.
As I’m just starting out, could I get the same edge on my chisels and plane irons if I just use the same grit sandpaper as your diamond plates? The 250, 600, and 1,200? If you only use the 3 plates when you normally sharpen up, why do you use so many grits in between with the abrasive paper in this video? Just curious. Thank you and keep up the good work!
Yes, abrasive paper works well too, but it is not really an economic long term answer so eventually I recommend using stones or diamond plates. Paper can be both convenient in the immediacy of the need for sharp edges but inconvenient when the paper rips and needs replacement.