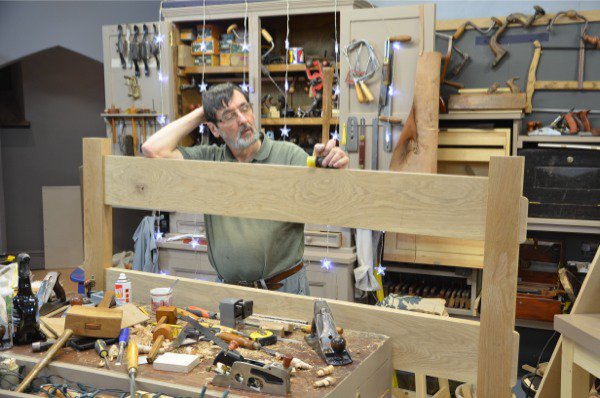
Making My Bed – Massive Tenons

DSC_0145 The first frame for the foot board came together today and I was reminded of times past when I made field gates. What we call five-bar gates here in Britain. These gates are made from Oak and last about 50 years. This bed will not have weather to deal with and so it should last for about 150 years plus.

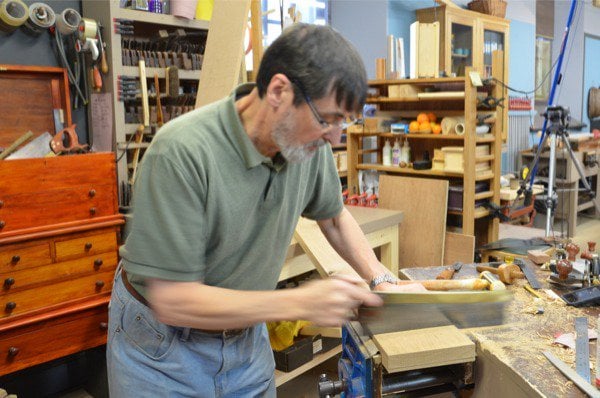
Cutting the tenons goes quickly enough and I know some of you in Germany have been mocked by your co workers because you want to use hand tools instead of machines. As I said in my response, there will always be co workers that mock you and peer pressure will always be with us. Ignore them and they will go away. Machinists take a different track and in some cases equate this to the whole of life because woodworking is about getting the job done and getting it done yesterday. The journey is of no significance and “never mind smelling roses.”

DSC_0107 I enjoyed my day and wouldn’t trade a minute of it for the old tenoners I used to use all day. I used a combination of tools and here I can show you the strategy a little differently and more closely. I saw down the cheeks with my hand saw and that’s straightforward enough. I stay away from the line about half a mil. I cross cut the shoulders using the knifewall first and the use the tenon saw to cut through to the cheek. DSC_0110 The surfaces have saw kerf in the cheeks. This is standard and par for the course, but the next steps give me a pristine surface that’s flawlessly smooth. Yesterday I showed you the adaptation of the router with the elongated plate to extend the sole for tenon surfacing. This method relies on the chisels and shoulder plane to trim down the inner corner and then the same use of the smoothing plane to level and smooth the whole cheek.

DSC_0117 I first use the paring chisel to level the corner and square the two adjacent surfaces of the shoulder and the cheek.

DSC_0118 Then I like to use the 1″ wide shoulder plane on the cheek to straighten out any and all undulation and to take the cheek down to the gauge line.

DSC_0119 You can see the step down here at the knife point.

DSC_0120 I follow through with the smoothing plane to level the whole down to the gauge lines,

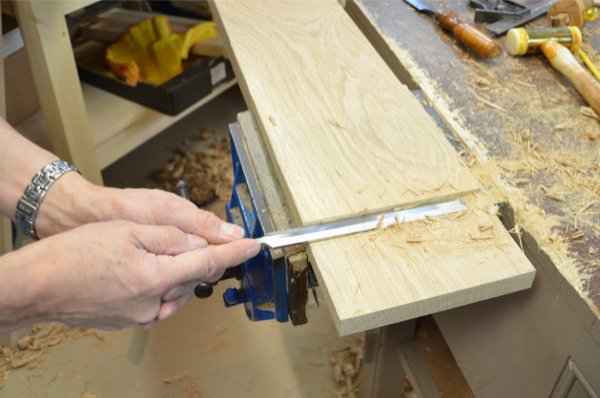
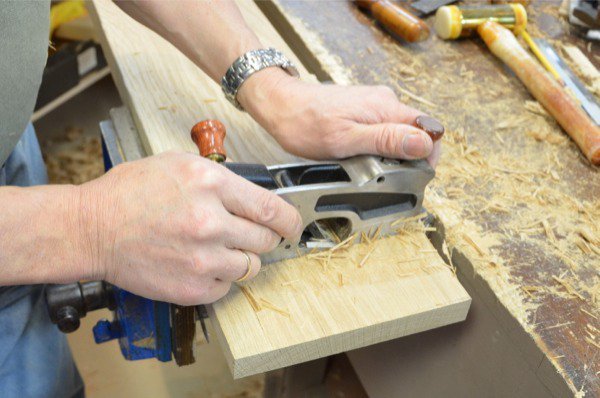
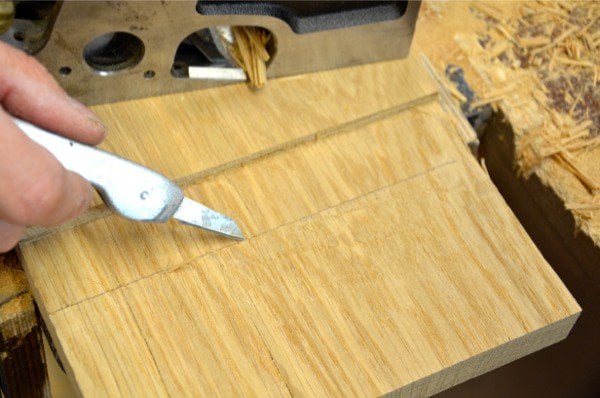
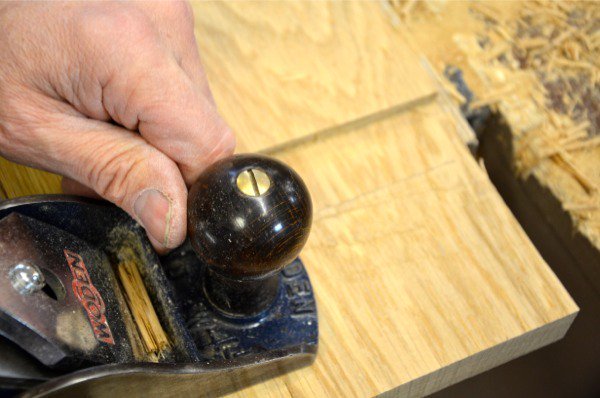
I lay the shoulder plane on its side to trim the shoulder. I push all the way up to about 1/4″ from the opposite side and stop. If I go all the way through, there will be blowout on the out-cut. Instead, I stop, and then I use the chisel to finish the cut from the face. It usually takes only a couple of strokes to perfect the shoulders using the shoulder plane. DSC_0114

DSC_0114 I fit the tenon to the mortise and keep the end square until all shoulders are fitted. This top rail has an angled haunch so that the protruding tenon doesn’t go to the top of the post. The other details will unfold as we go. I don’t want to describe this feature now as one picture soon will reveal the whole. DSC_0123


DSC_0124 So, here is the whole frame made up and now the mortises will be cut to hold the pales.

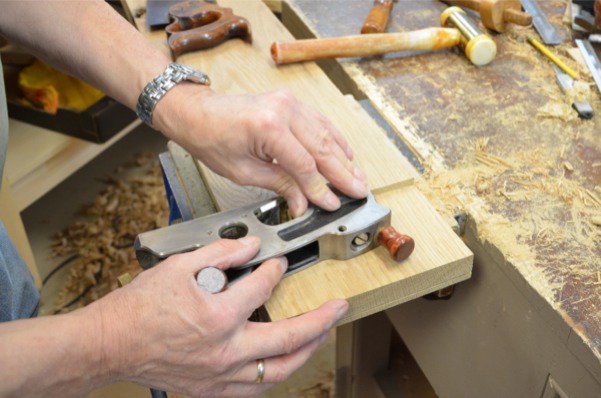
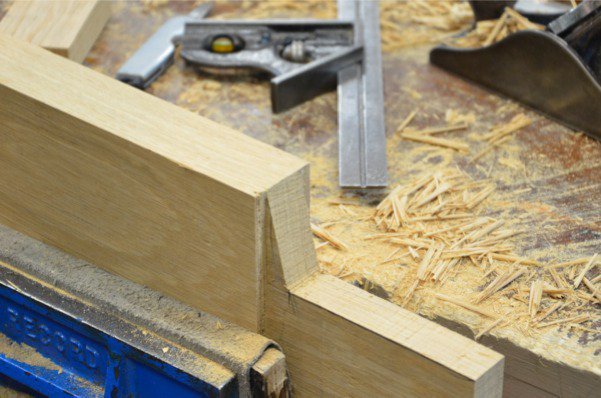
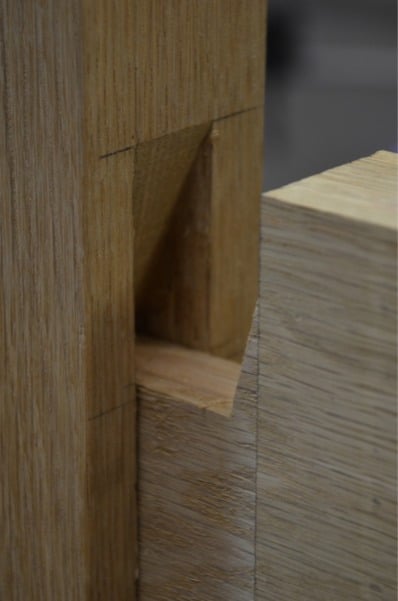
This is the tenon entering the mortise hole. I Like this picture.

DSC_0132


3 Comments

  1. I began watching your videos some months back and was impressed at your level of precision. I have been a Gunsmith for some 50 years and have never before seen a woodworker exhibit such craftmanship in wood alone. Sort of makes me regret spending all my time with Guns….HW

    1. And I would have loved working with guns. I specialised in firearms in the British police for many years.

Comments are closed.

Privacy Notice

You must enter certain information to submit the form on this page. We take the handling of personal information seriously and appreciate your trust in us. Our Privacy Policy sets out important information about us and how we use and protect your personal data and it also explains your legal rights in respect of it. Please click here to read it before you provide any information on this form.