Paul Sellers’ Poor-man’s Toothing Plane Post & Video
Making the Poor-man’s Toothing Plane
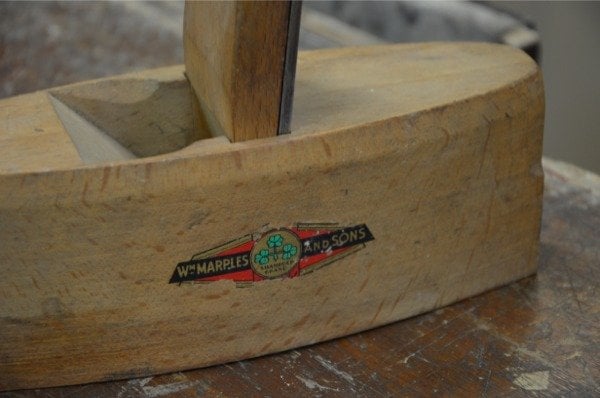
We use toothing planes to give tooth to the surface of ground wood that forms the substrate wood for our veneer work. Toothing creates perfect parallel v-shaped cuts about 1mm (1/32″) apart across the surface of the wood we are veneering. Criss-crossing creates a diamond pattern to that end. This surface preparation expands the surface area to double or more because of the chamfered sides of the cuts and also allows the glue to dissipate and distribute evenly rather than puddle between the inside surfaces. It’s a practical solution used in furniture making.
Do You Need a Toothing Plane?
The YouTube Video on Making a Poor Man’s Toothing Plane
We will put up the YouTube video later today all being well. It will show how simple it is to make this remarkable tool for just a few pence and a few minutes of your time.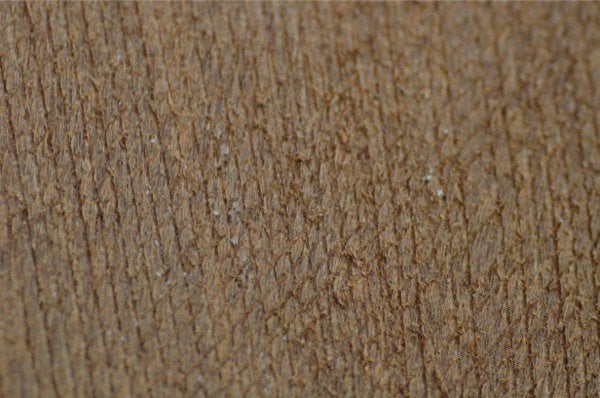
A Few Simple Steps
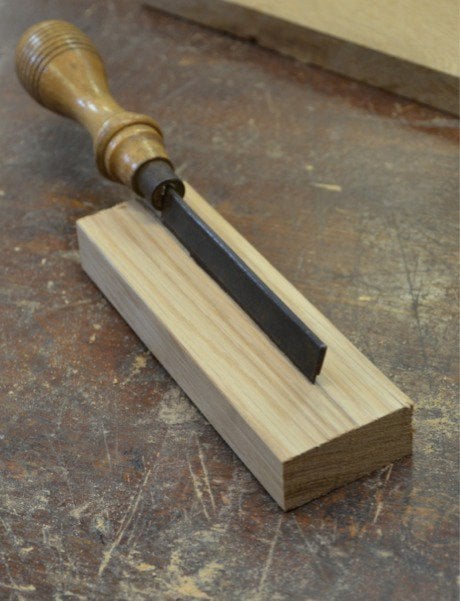
I found the centre of a piece of 22mm x 45mm (ex 1” x 2”) stock along the 45mm face in making the plane shown here but less in size will work fine too. In the video I used two different sections of stock and then ended up using smaller section, about 18mm x 40mm (3/4″ x 1 5/8″).
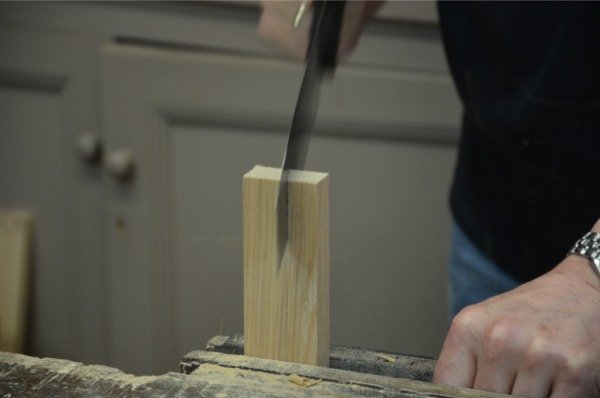
On either side of the centre line I made a mark about 2mm (1/16”) away from the centre and then joined the line across the end to give me an angle. This angle is inconsequential and can be any angle even square. I found it best to have a trailing cut in use and so that’s why I did it this way.
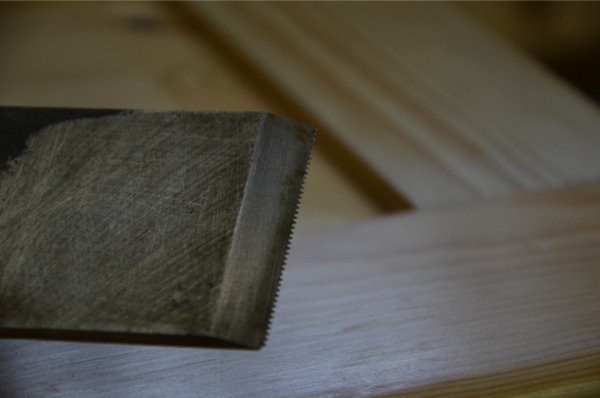
Slide the saw down the angled cut until you are two inches or so longer than the blade you will use if you are using a gent’s saw blade. A junior hacksaw can be shorter because the blade won’t get in the way of the screws.

With the kerf cut sawn down but not yet all the way through, drill though one side and into the other with a 3mm (3/32”) drill bit. This will take the shank of the screw and leave enough wood for the threads to bite into the walls of the holes on other side.
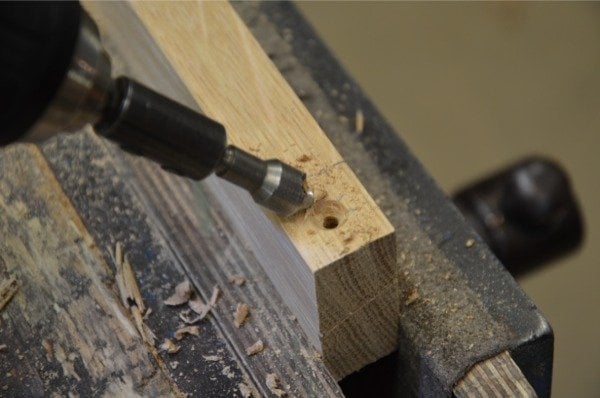
Enlarge the holes on one side only. 5mm (3/16”).
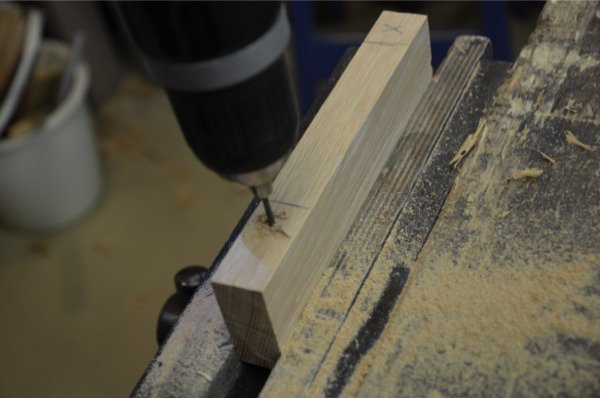
Countersink the holes.
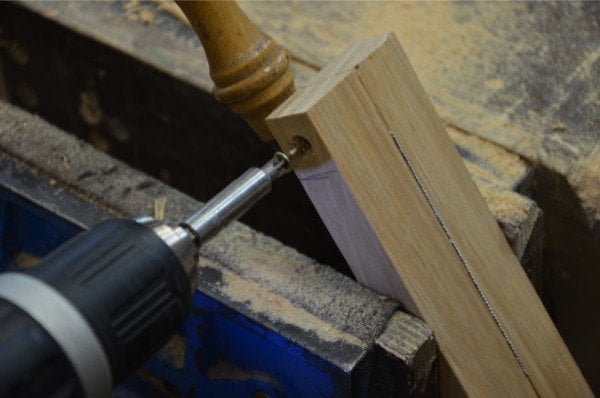
Use appropriate sized screws to unite the two pieces, slip the saw blade in place and cinch snug but not too tight. You must adjust the depth of protrusion first.
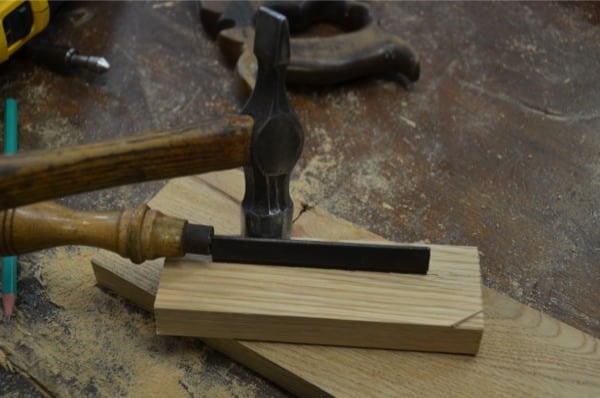
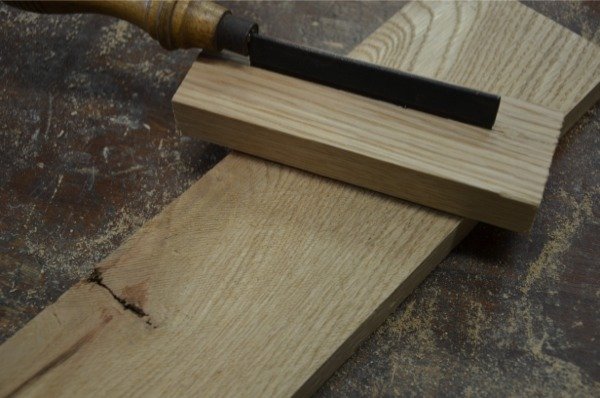
Press the saw blade onto a flat surface and adjust until the teeth just protrude 1mm and tighten the screws. Your Poor Man’s Toothing Plane is ready for use.
Very timely post! I have been looking for a toothing iron to make a plane with but I am definitely going to give this a shot.
Also if you have any ideas where I could get a toothed iron in the states I would love to know (other than scouring estate sales or as I call it “unicorn hunting”
Remember too, the Veritas cabinet scraper has a toothing iron.
Have never ventured down this road before, so veneering is completely new to me. I understand the concept, and the striking effects it can have on some pieces or to cover structural lumber. Perhaps as I grow in skill and reach for new levels with projects it will be good to have an understanding of how and when to consider veneer as a good option.
Another possible source of ‘poor man’s toothing blade’ is a metalworker’s hacksaw blade. They can be had in about four different toothcounts from about 14tpi to about 32tpi. Either all-hard (solid HSS) or bi-metal (HSS teeth on a softer steel back) would serve – the teeth are HSS in both cases. One blade would provide several toothing planes. Clearly, a holder must be devised for them – Bob Wearing shows a design for a toothing plane using hacksaw blade in his book ‘The Resourceful Woodworker’.
We just posted a video on YouTube here using a hacksaw blade.
Hello, I got myself a toothing plane, a friend of mine, who’s a marquetry craftmen, said they use them to plane inlays, so they don’t have the problem of chattering the wood by going against the grain. They remove the little points by scrapping the surface after. And for information, two cherries makes toothed plane irons.