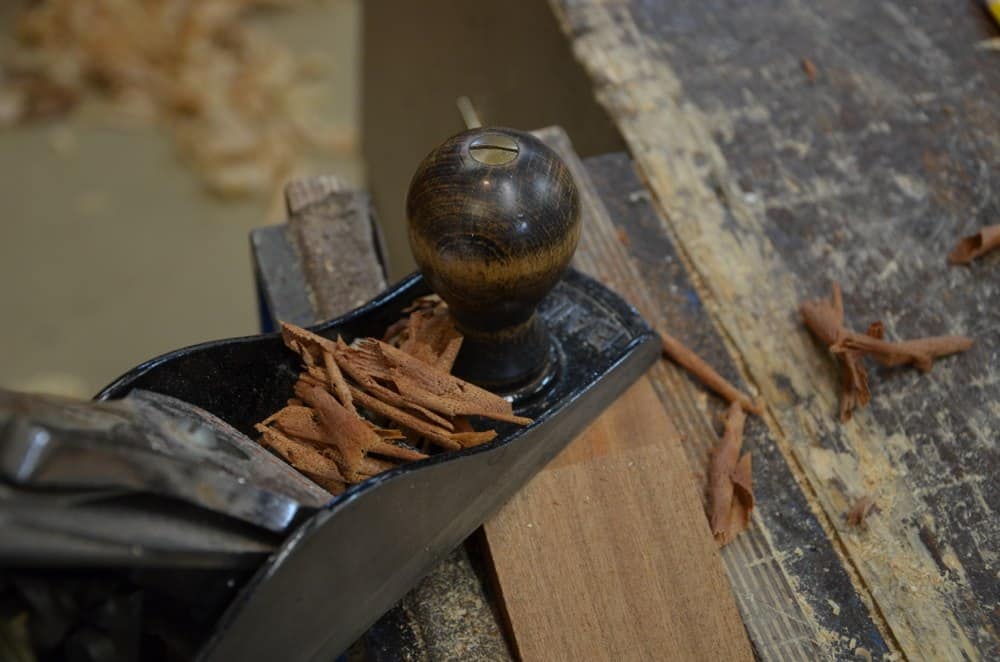
#151 Spokeshave Restoration – The Paul Sellers’ Blade Extender
For more information on spokeshaves, see our beginner site Common Woodworking.
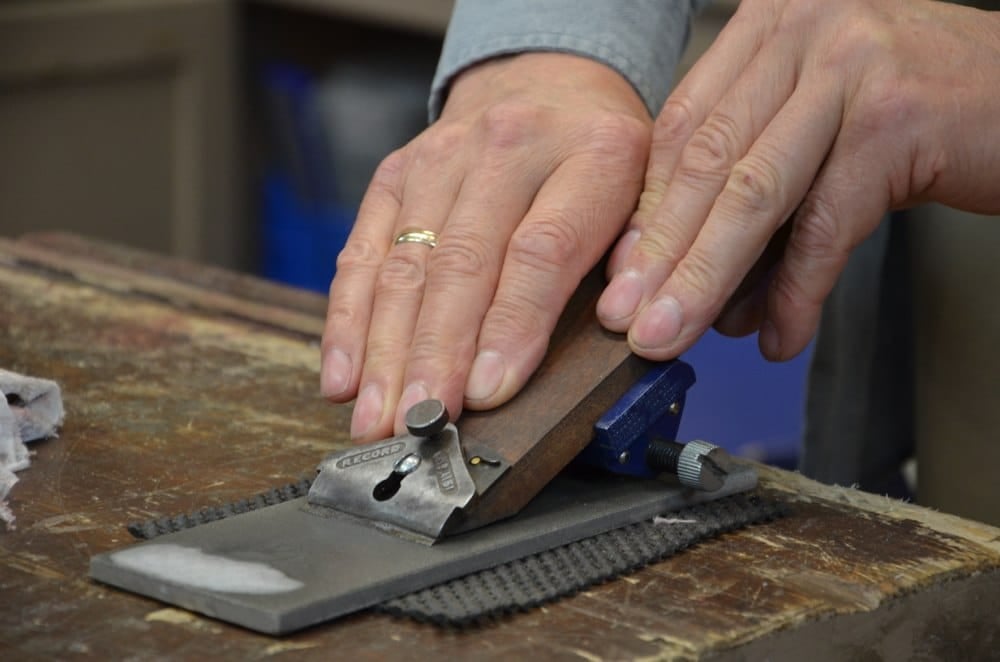
Sharpening Spokeshaves Needs Good Leverage
All too often punching a keyboard doesn’t strengthen the right finger, hand and arm muscles for sharpening super short blades like spokeshave blades. I do freehand-sharpen without any such associated problems but I have taught enough students through the decades of training to know many do find great difficulty applying sufficient pressure where it’s really needed right behind the actual cutting edge. An extender works well but this retro extender of mine works better than any I ever used. It will work well with any maker’s iron including Veritas, Lie Nielsen, Record, Kuntz, Stanley, Marples, Record Irwin and even some of the rarer makers. If you are a free or paying member of woodworking masterclasses you can access the videos on making one and see one one actually being made and used in full HD action.
Making the extender is simple enough with a piece of hardwood, two 3/4” brass or steel woodscrews and a 3/4” M4 setscrew, threaded bolt or the setscrew directly from your spokeshave.
I used hand tools to form the main body of the extender because they are more efficient, safer and they simplify the whole process. Making this one takes under five minutes and it’s a lifetime aid even if you are under 10 years old.
Most blades will be somewhere around 2” wide, so cut your blank from 1/8” to a 1/4” wider than the blade. I made mine 2 1/4” x 7” long and 1/2” thick, but these sizes can be adjusted.
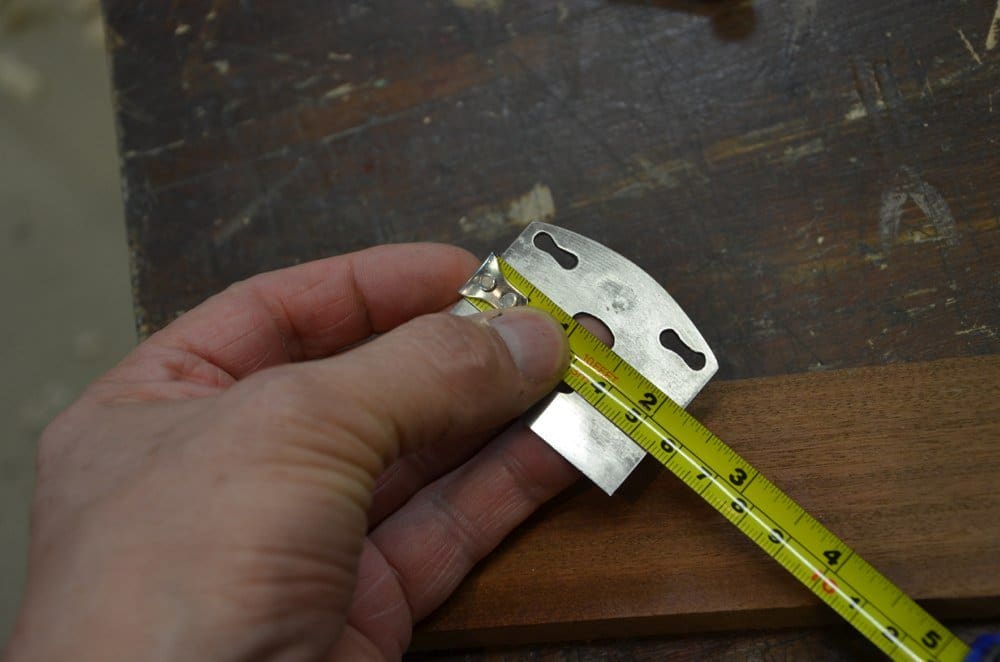
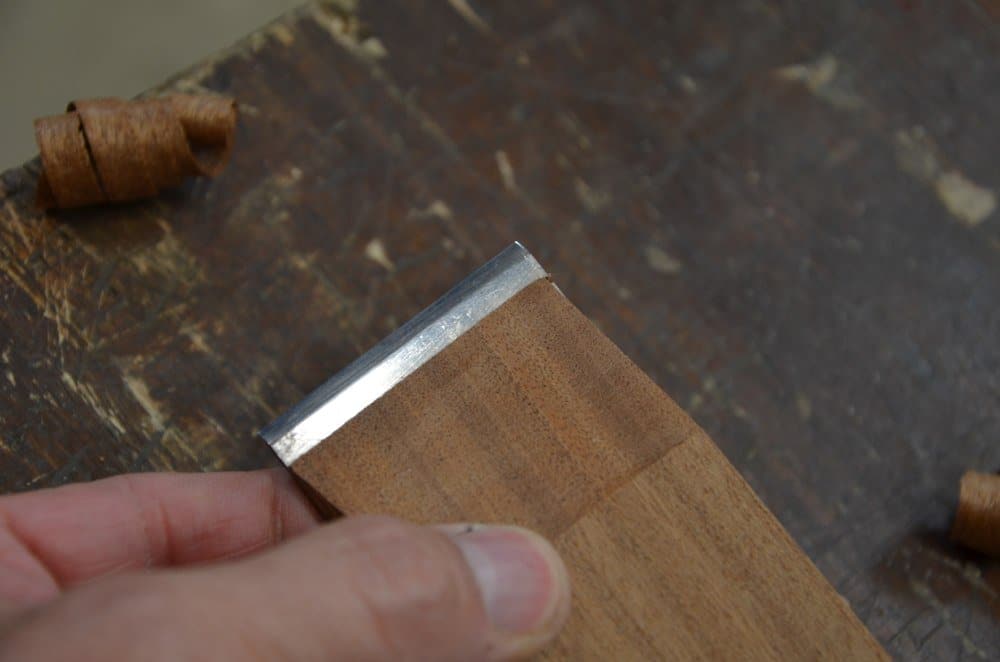
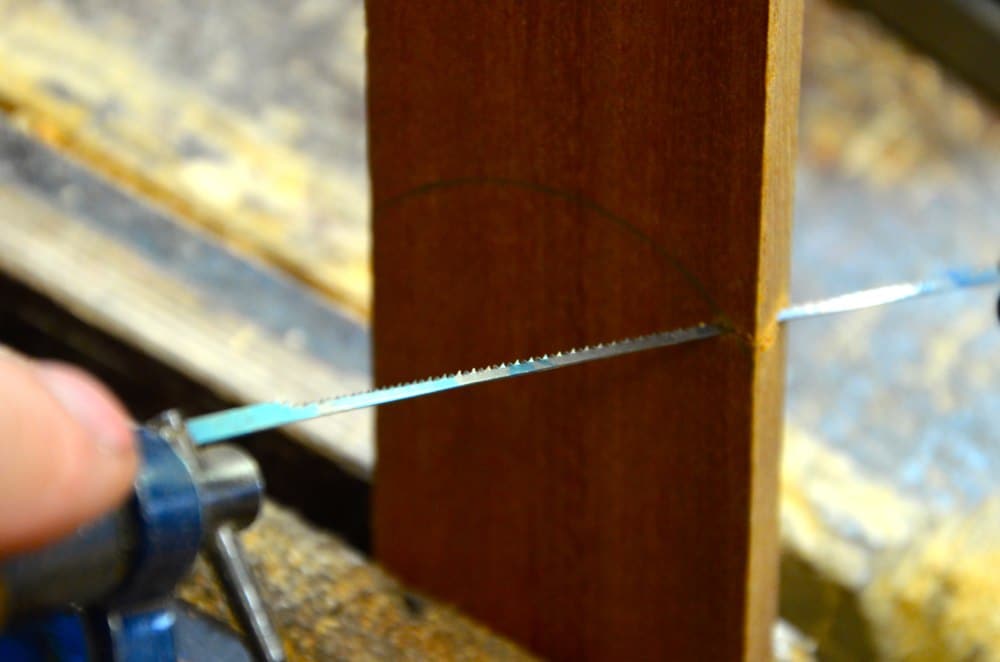
On one end of the extender blank mark the angle of 20- 25-degrees on the end.
Cut the angle with a tenon saw to form the underside of the extender.
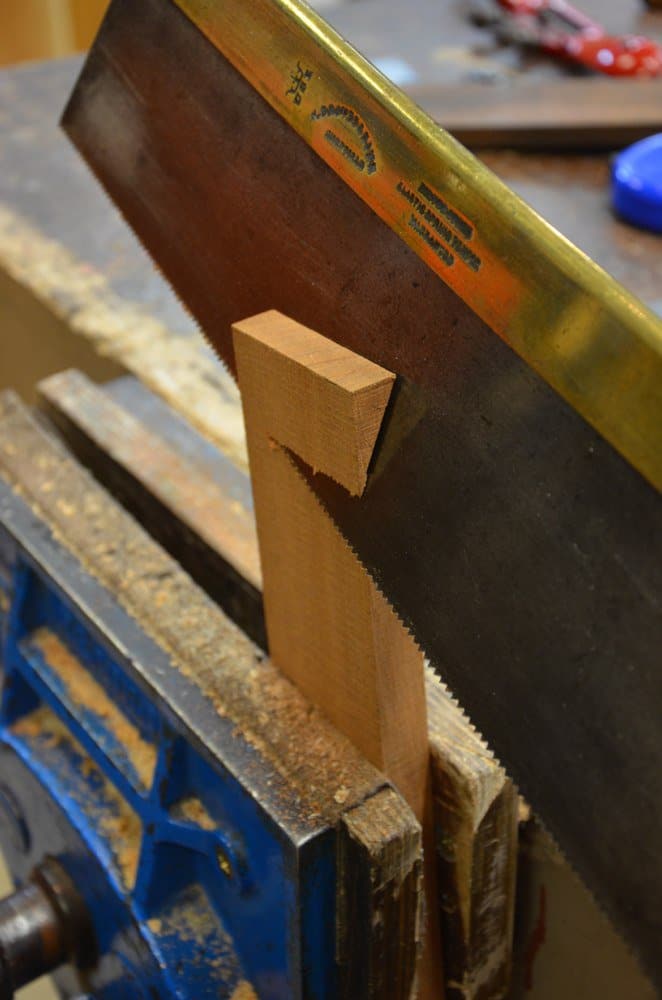
I planed the angle smooth but that’s optional.
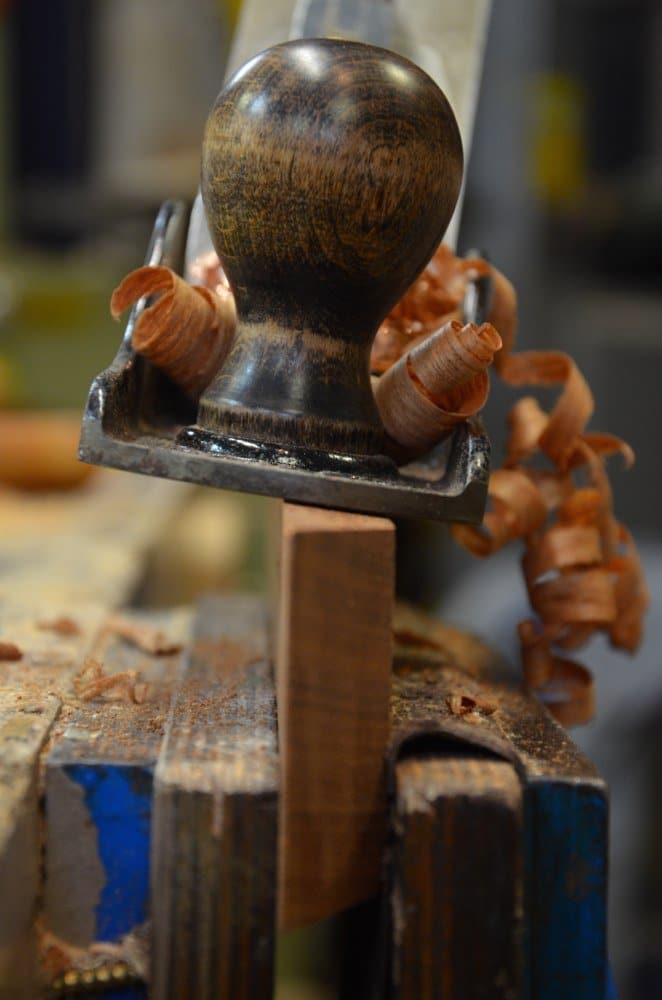
Place the blade on the extender so that the blade extends past the end of wood by about 1/4” or so.
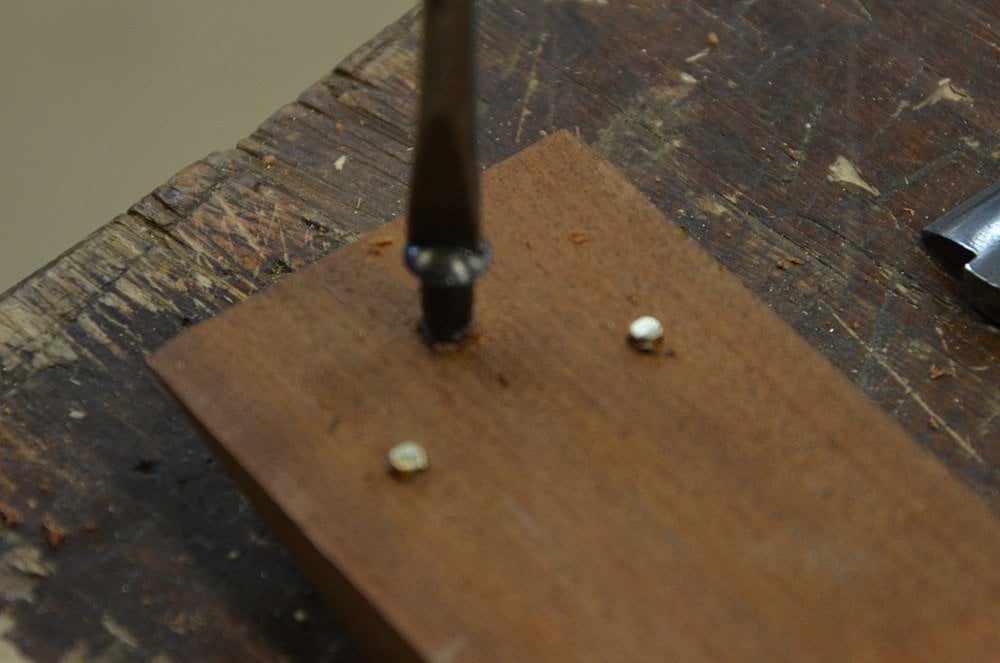
Pinpoint two holes in the adjustment holes of the blank near to the inner edges.
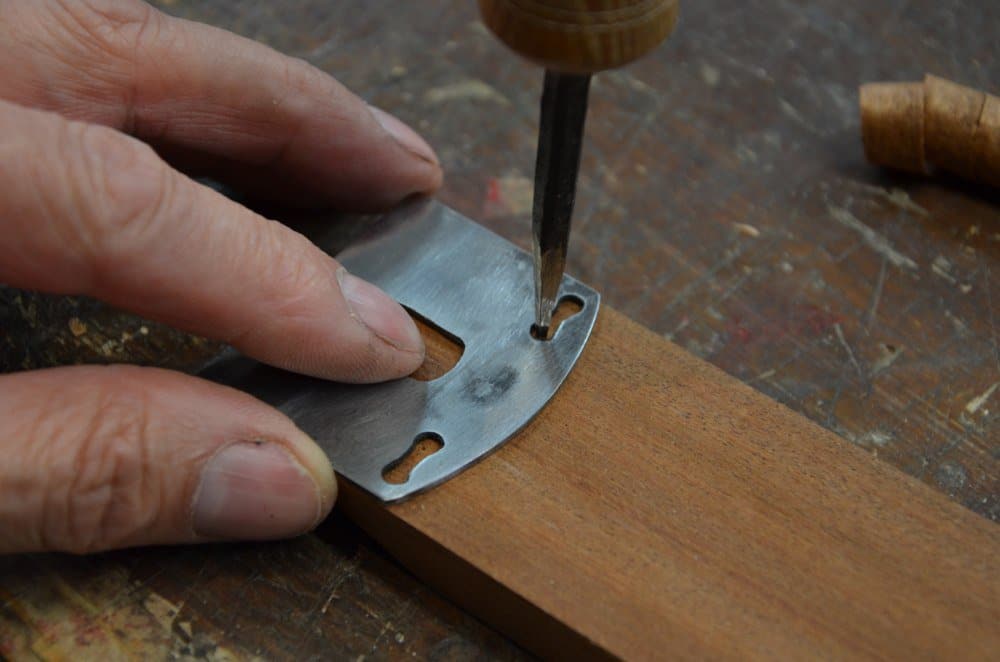
Use an awl to open up the holes and then drive two screws into the holes leaving a gap between the underside of the screw head and the wood.
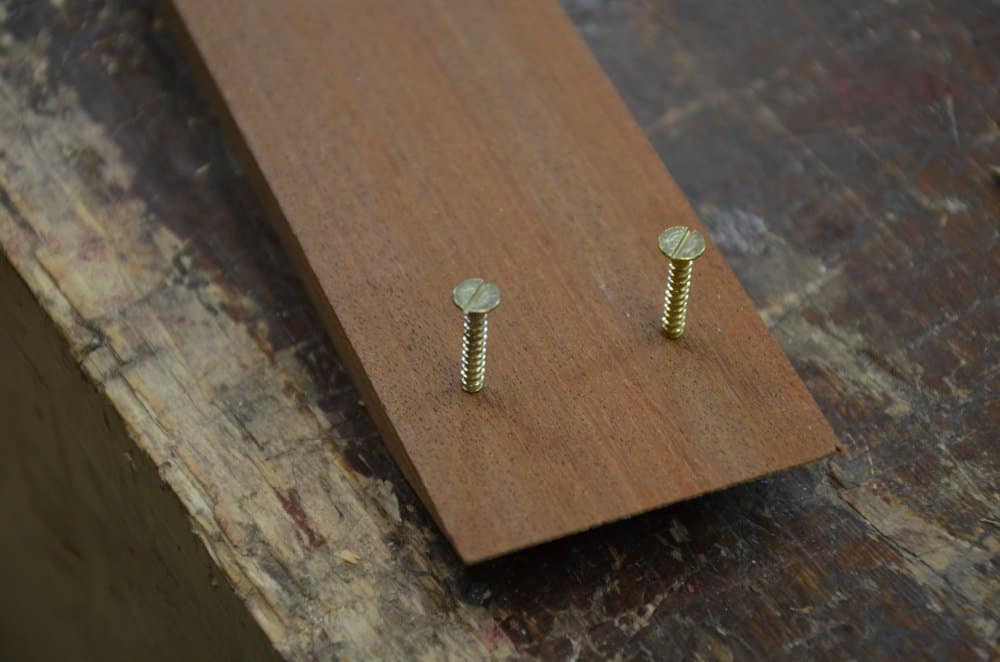
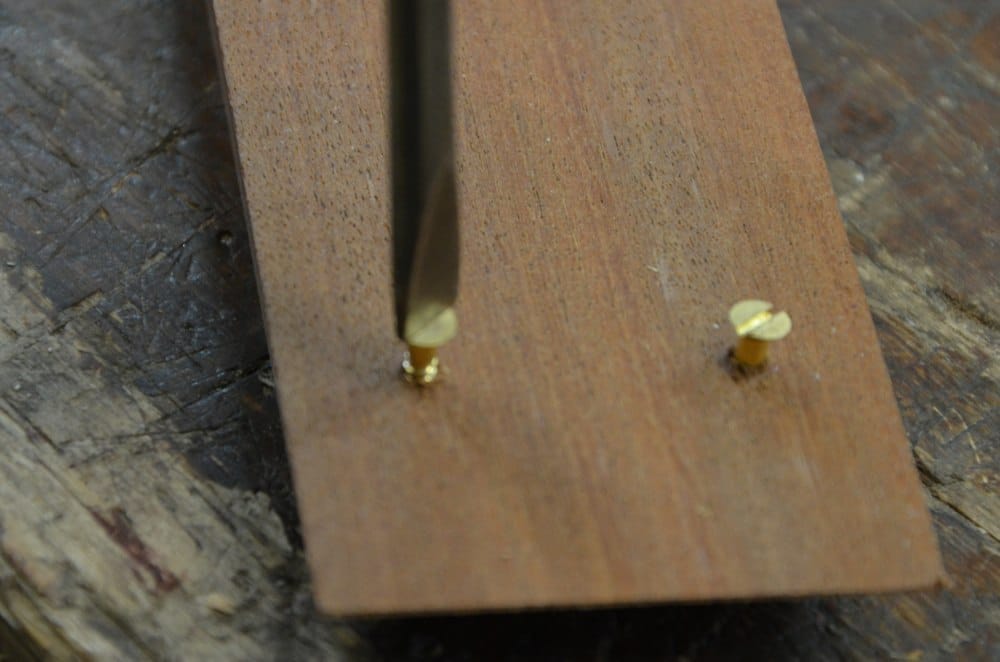
Cut off the heads with a hacksaw.

Place the blade on the extender and on the protruding brass pins and mark the centre of the centre hole through the blade…
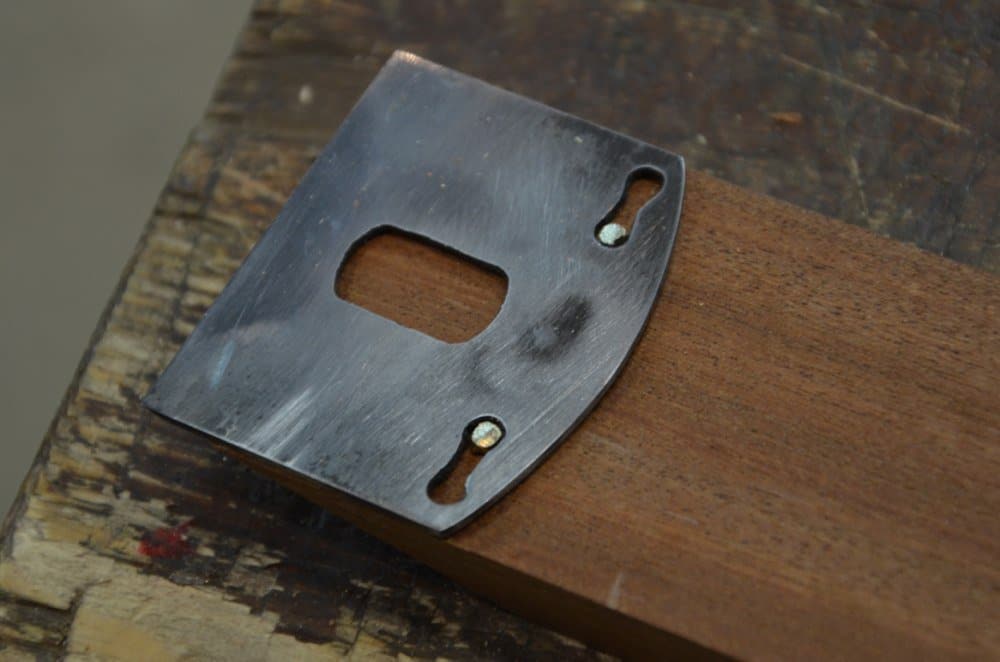
…and the cap you took from the spokeshave using the narrower end of the hole toward the top.
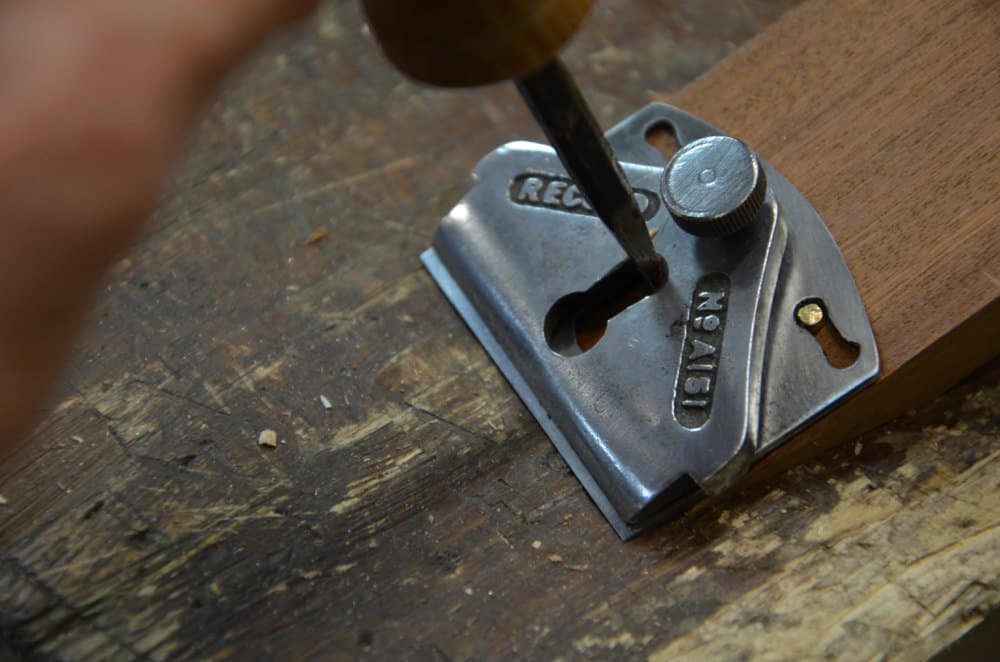
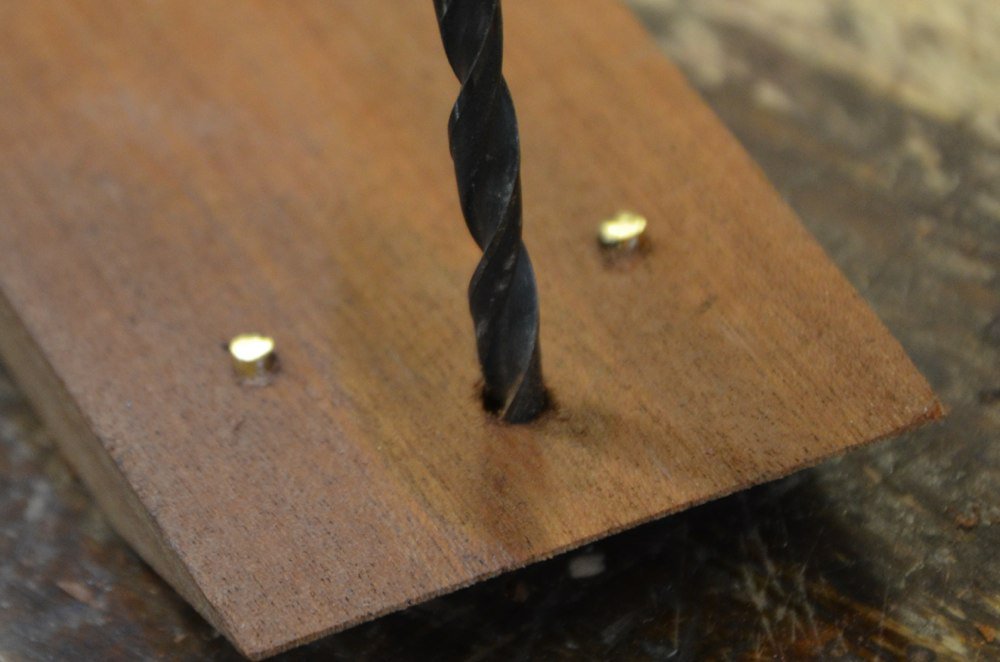
Drill an undersized hole into this centre point using a twist drill that is under the diameter of the threads but larger then the diameter of the main shank. This allows the threads to bite into the walls of the holes and chase a thread to receive the setscrew. You can either find a separate setscrew, a regular woodscrew or use the one from the spokeshave itself. If you use a regular woodscrew, allow the screw to pass through the wood and snap the point off on the opposite outside.Slip the blade onto the pins and adjust the setscrew in the wood to receive the cap. Adjust the setscrew in the cap to tighten the blade in the extender as you would setting the blade in the spokeshave itself.
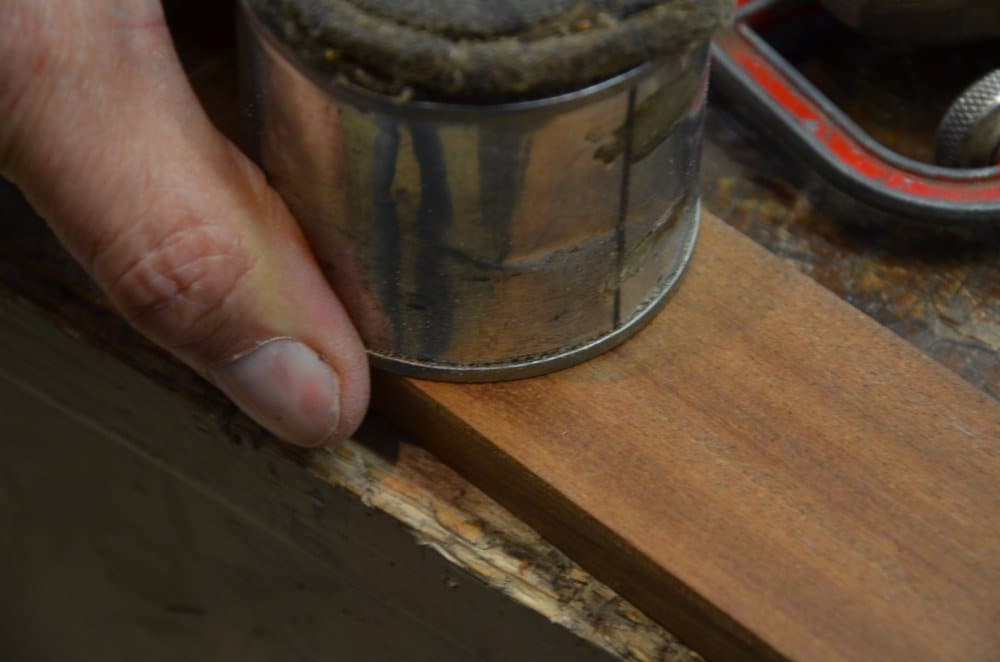
At the top end of the extender it’s best to round the end to make it comfortable in the hand during use.. I used a can to mark the round.
Use a coping saw to cut the rounded end. A rasp will remove the corners for comfort.
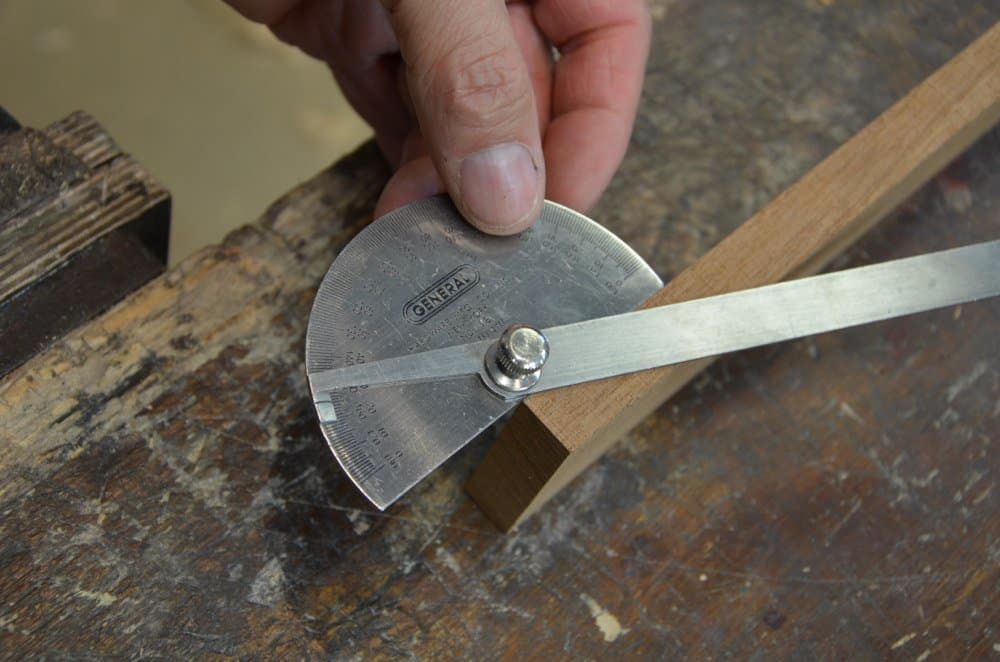
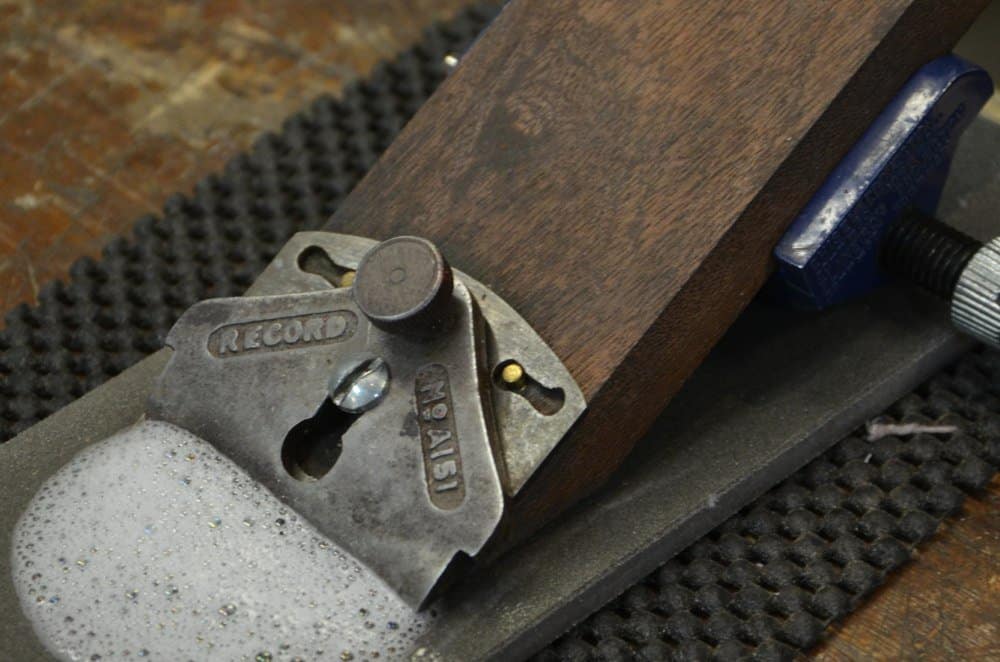
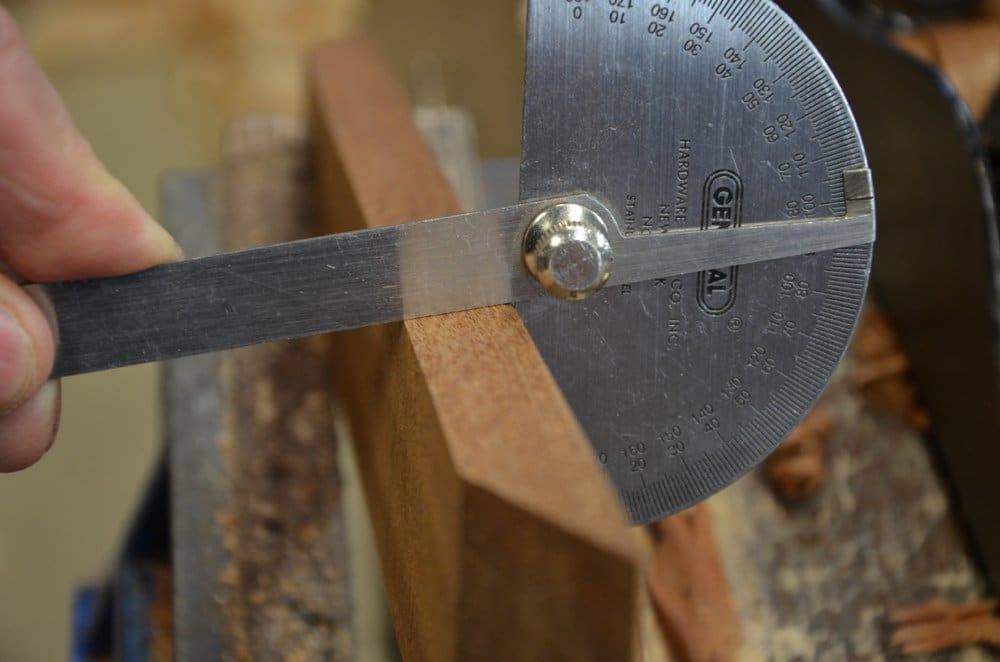
If everything fits well the extender is ready to use, but if you want to use the extender in a honing guide it is best to chamfer a 10-degree angle on either side of the extender using a smoothing plane.
An angle guide protractor will help but just bevel the sides to fit the dovetailed sides of the guide you will be using.
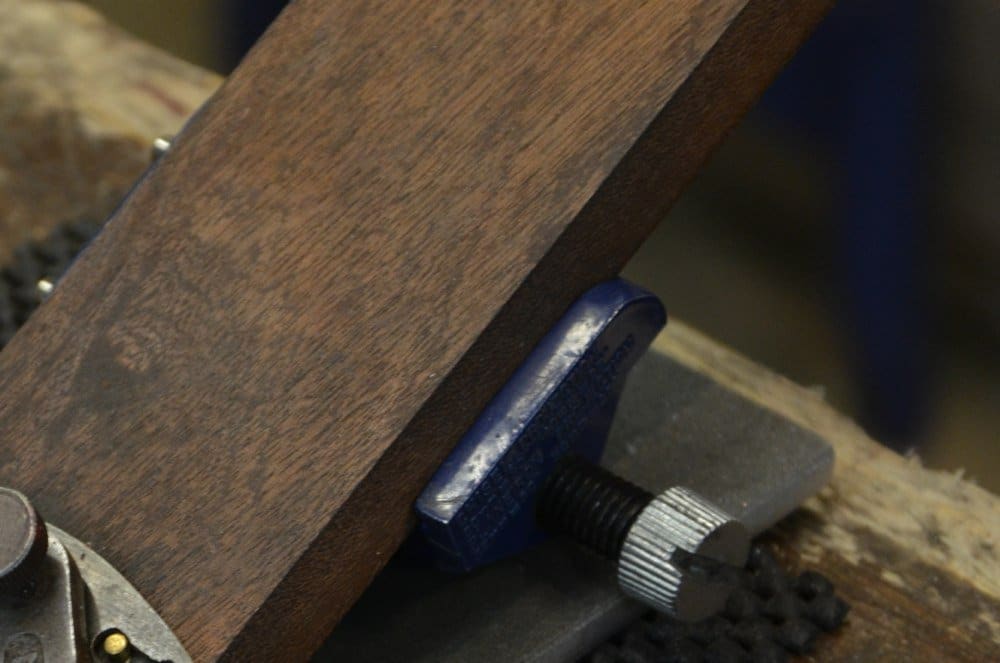
The extender in the honing guide fully loaded and ready for use.
With 6 decades of life experience, this one little video makes it clear why it takes me forever to sharpen. I had never given thought to pressure being a key component to the process. Thanks for teaching the way you do.
Paul thanks for this, this is one jig that will be made ASAP as I have trouble sharpening these small blades. What a neat idea !
Steve
Thank you Paul.
e-bay 151 delivered today, finished off this ‘helper’ and the iron was sharp within 5 minutes.
Unable to file the cap – too hard!