Bench stop addition for kindness
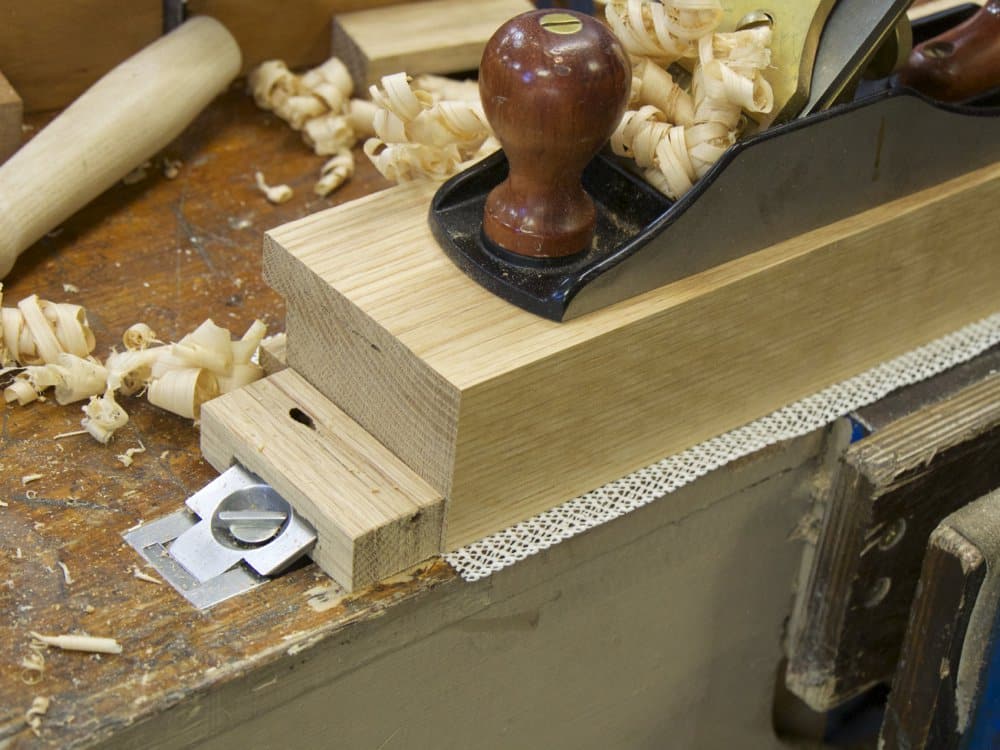
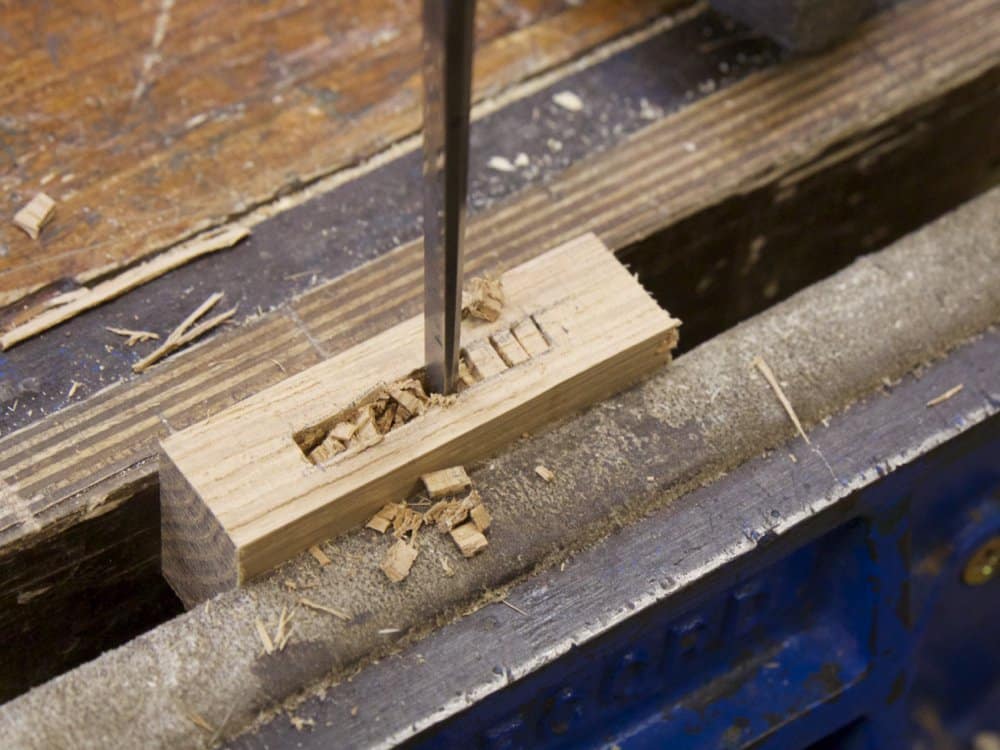
I raised the prongs from their flush-to-the-bench position and then marked a piece of oak (any wood will work) for the height and width as shown directly from the stop.
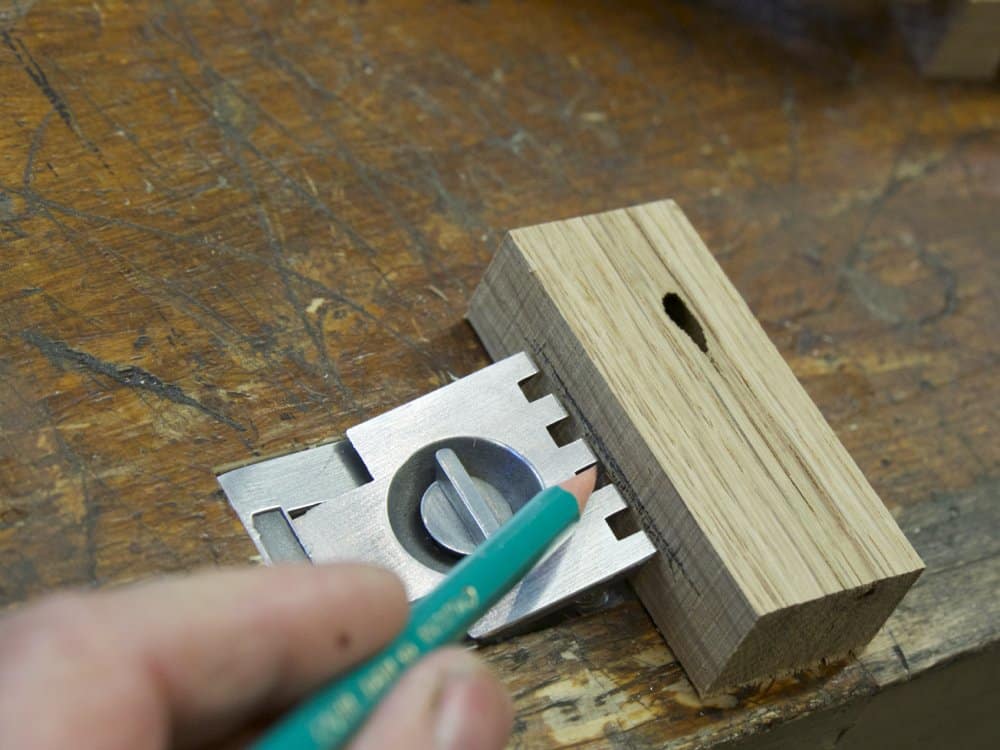
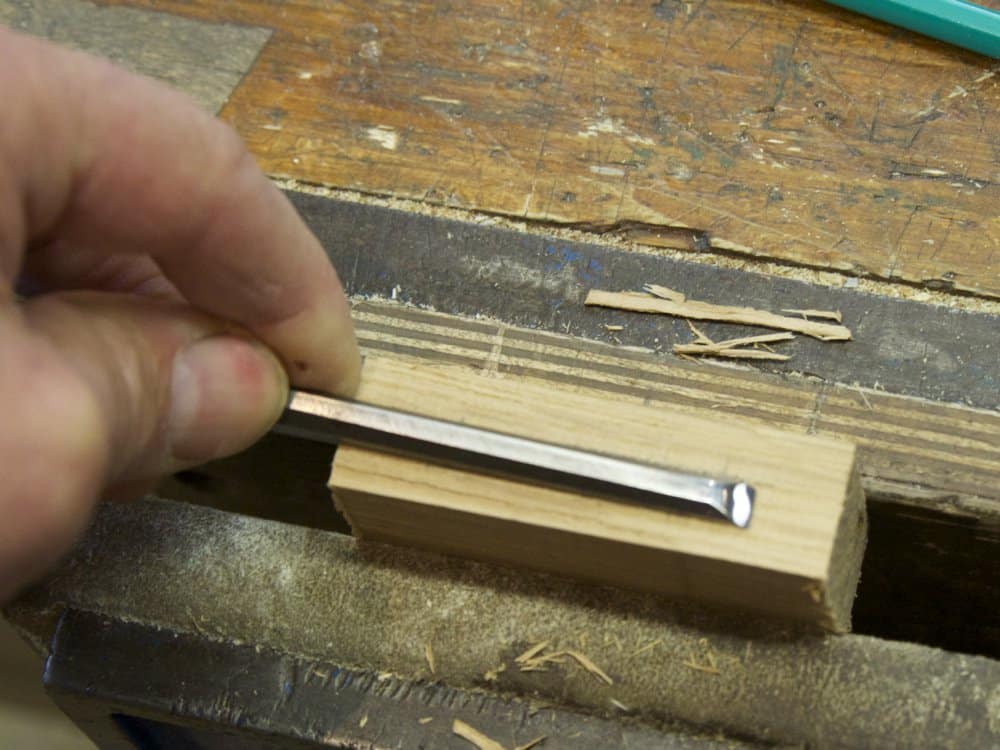
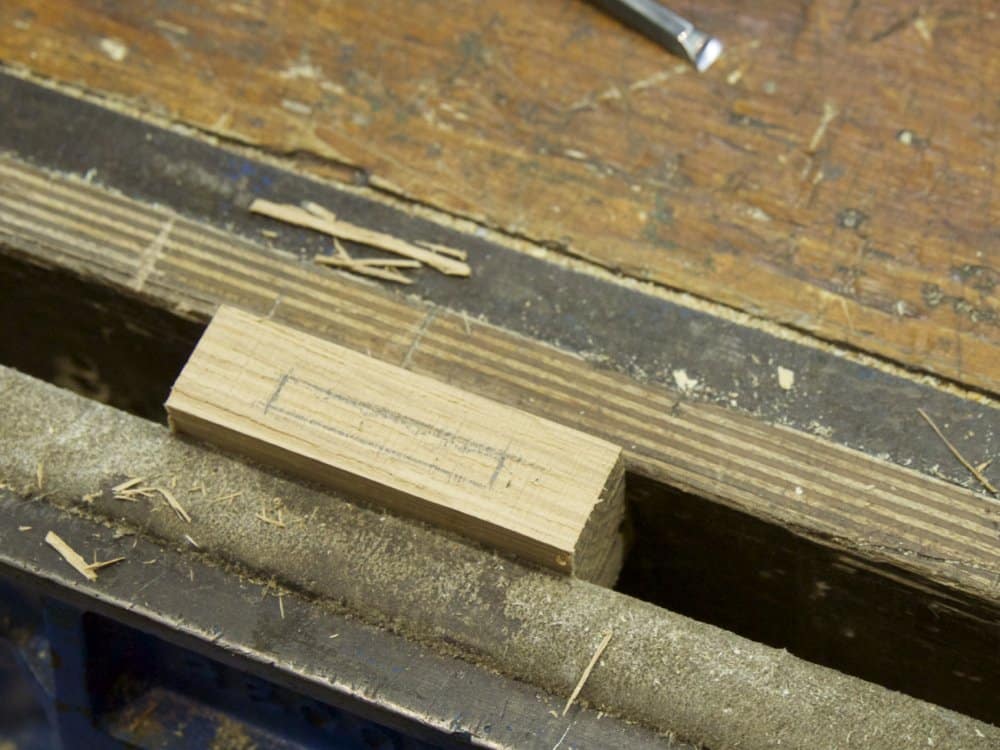
I used a 1/4” chisel to get the mortise width.
You can cinch the stop down onto the mortise wall if you want to.
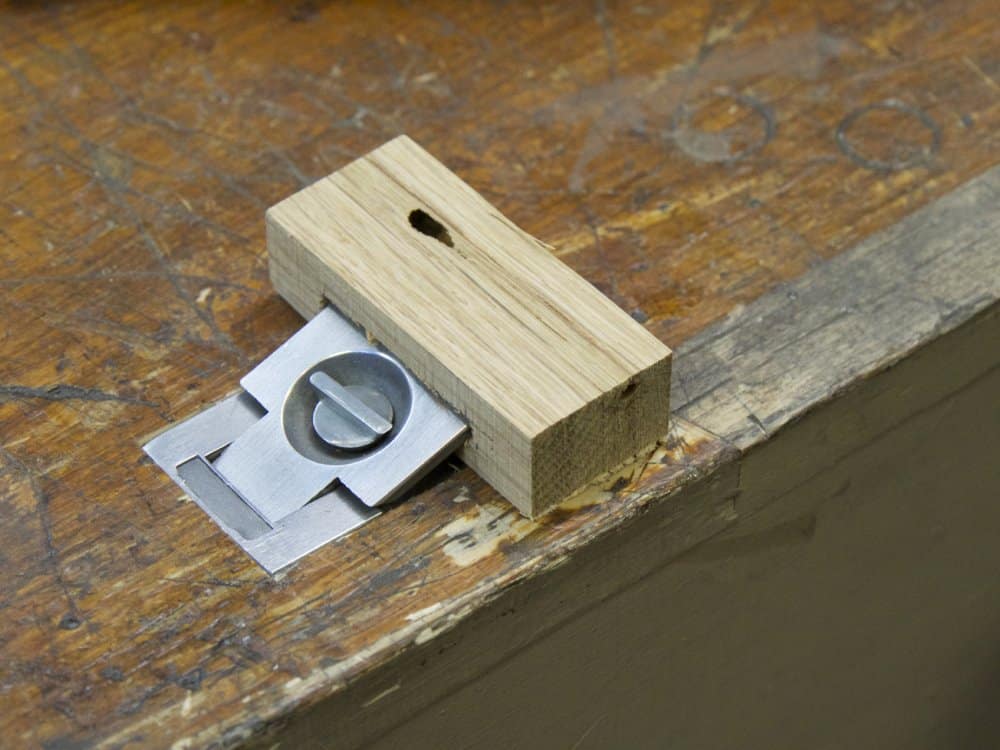
The stop works well square but you may want to plane it slightly out of square so the top edge of the block touches the wood being worked first.

If you are like me and you like to keep the plane registered on both forward and reverse strokes, place a piece of shelf liner between the work and the bench top. This works pretty well most of time.
Great idea. I will be copying this before the week is out. Thanks for all your posts!
from way out in New Mexico.
Greetings from another New Mexican George!
Another New Mexican! Craft is alive and well in the Southwest!
Ray
What I am wondering is why the stop so close to the edge? Moxon writes in his book about a 3″ wide stop being 3 inches from the edge – which will center it at 4 1/2 inches – basically covering the needs for boards that are 4″ – 9″ inches wide. Even in today world, where most of the boards are 5″-6″ wide, the stop makes sense being centered at least 2 5/8″ from the edge – supposing your stop is 1 1/2″ wide – that means the outside edge of your stop should be at least 1 7/8″ from the edge. Are you using 2 stops? One for “normal” boards and one for wide 10-12″ boards? Please comment. Thank you
I think it best to put it where ever you feel it suits your work. This works well for me and will bring all of my narrow pieces to a good central spot not too far from the edge of my bench, which is where they all were when I was an apprentice because the stops we used slid up and down centred on the leg of the bench below. Not everything written in the past is the best for the present. We look at it and see what marries with our intent today. If the stop is further in on the bench I must lean in more to centre my plane. In other situations I use my clamp-in-the-vise method, which I think works brilliantly too.
You can just add more bench stops for wider boards. I like this idea, Paul Thanks for these tips.
Ahah! That’s cooking with gas!
Or as we’d say in South Georgia, US, “Now we cookin with hot grease”
Another approach is to skip the metal pop-up and to pass a rectangular block of wood through a through-mortise in the bench top. The mortise is cut flush to a framing member below the top. The rectangular block, roughly 2 or 3 inches wide by 8 or more inches long, has a slot that goes over a bolt passing through the framing member. A wing nut tightens the stop. See the very first photo at the following link. You can see the stop and wing nut on the front right leg and can see it flush to the bench top in its mortise hole. To raise it, you just nudge it up from the bottom. There’s no metal to harm your wood and if you goof and hit it with a cutting edge, there are no worries. It’s also zero cost and infinitely adjustable in height. http://www.freeplans.com/Main/Articles/Skill-Builder-Ian-Kirbys-Arts-Crafts-Workbench-7211.aspx
I find the stop useful for some chisel work. I sometimes wonder if that is safe, but both my hands are on the chisel, the chisel is pointing away, and it feels secure. For housings, for example, I don’t need to go in and out of the vice, although I go in the vice to pare across the grain.
Ah…if you click the “Click here” in the first sentence to see the PDF version of the article, you’ll get a much better view. Note that the mortise is turned 90 degrees relative to the grain compared to a normal mortise, so it’s not quite what it seems. I probably shouldn’t call it a mortise…more of a through housing? 🙂
Ignore my comment. I goofed somehow and most of it disappeared.
Does anyone have a link to the planing stop shown in the images? I am not able to track it down or see mention of it in the blog post.
Danny, Try Axminster uk. http://www.axminster.co.uk/morticed-bench-stop £5.95 each also at ebay uk. Good luck
I’ve installed one and I’m not convinced by it. It’s quite slow and awkward to raise and lower the stop. The mechanism under the stop tends to get clogged with shavings and dust which must be completely cleared before the stop can be fully lowered. Now I’ve got a hole in my bench top I don’t want!
What is the best location for the stop on the bench? I have a front vise on the front left corner of my bench with a double row of dog holes from front to back and a vise on the right side corner with a double row of dog holes from right to left which intersect with those of the front vise.
Left of the vise, 3″ from the end and maybe 3″ or so in from the edge.