How We Work Our Rough-sawn
It’s a fallacy to think that we can constrain wood indefinitely by weighting during drying but it is done in the industry. Sticker the boards and beams to allow air or steam circulation between the layers and the weight keeps the boards from over distorting. The wood comes out relatively dry and remains stickered and weighted until sold. You get it into your local environment, not usually too dry unless you live in the deserts of somewhere like west Texas, and gradually the wood absorbs moisture back into and eventually throughout its fibres and twist cups and bows reestablish themselves albeit to a lesser level than before. The only, only wood I have known to be the exception to this expectation is Mesquite.
It’s not always obvious at first but worth mentioning early on. I have written about wood, the slabbing and drying of it, its stability and instability and such. We learn more from the working of it than we do from the reading of it because the truth is wood is one of the most written about materials and rarely is it ever described as being one of the most unpredictable and thereby the most impossible to actually characterise because ever slab you take from a tree stem in a board distorts a different way one way or another. Just when you think quarter-sawn boards from an oak tree will remain truly flat the board twists and cups immeasurably and you have to rethink everything you knew. Now that is jot to say that quarter-sawn wood is not more stable than flatsawn, just that vast differences occur all the time and we must master it as best we can.
A few months ago I bought some slabs taken from the centre of a tree across its centreline or near to enough for the boards to be called quarter sawn. The half dozen boards were consistently flat when I bought them but letting them stand untethered allows the extra movement and what was flat and untwisted was no longer anywhere near flat or untwisted. I prefer allowing my new wood to stand after I have brought it in. Rarely if ever is wood stored in any kind of climate-controlled building and a thin layer of siding to a building with huge open doors slid wide throughout any given day for months and years on end ever going to give you wood with a moisture content low enough to make furniture from without getting some serious shrinkage and thereby distortion of one kind or another too.
It’s the moisture levels in wood that we must consider most when we are working with wood. I think we often fail to realise that most materials are affected by moisture and temperature. Steel expands and contracts according to temperature as does concrete. In our world of woodworking, the wood we work with expands and contracts similarly but whereas steel absorbs and releases heat, wood absorbs and releases moisture taken in from the atmosphere after it has been dried be that by air drying or force-drying in kilns. Many woodworkers believe that once wood has been kiln-dried it remains at that moisture level because it has somehow been ‘cured‘ or ‘seasoned‘. These two terms might seem somehow more archaic in our woodworking world today and that is because wood goes from the round log into slabs and boards and on into the kiln without delay. Maybe with our current energy dilemma, the timber companies will air-dry after slabbing for a month or two but that too is costly for them so I doubt it.
Curing and seasoning really relates to the days when wood was harvested on a smaller scale in local regions by small millers. The trees were dropped, limbed and the stem was slabbed into various thicknesses. It then went under cover of metal sheeting or a lean-to where the air could pass freely through the stickered stacks for a long period ranging from a year to ten years according to thicknesses and widths. Once the cycle was established there was a steady supply. It was the introduction of mass manufacturing that outstripped supply and we now have various methods for force-drying wood that disallows seasoning and it depends on the integrity of the merchants how fast this is done. The faster the drying process, the greater the levels of tension in the wood. In all kiln-dried wood, there is inbuilt tension. The slower the process the less the distortion after drying. That said, this gives good reason for my allowing my newly bought wood to ‘float’.
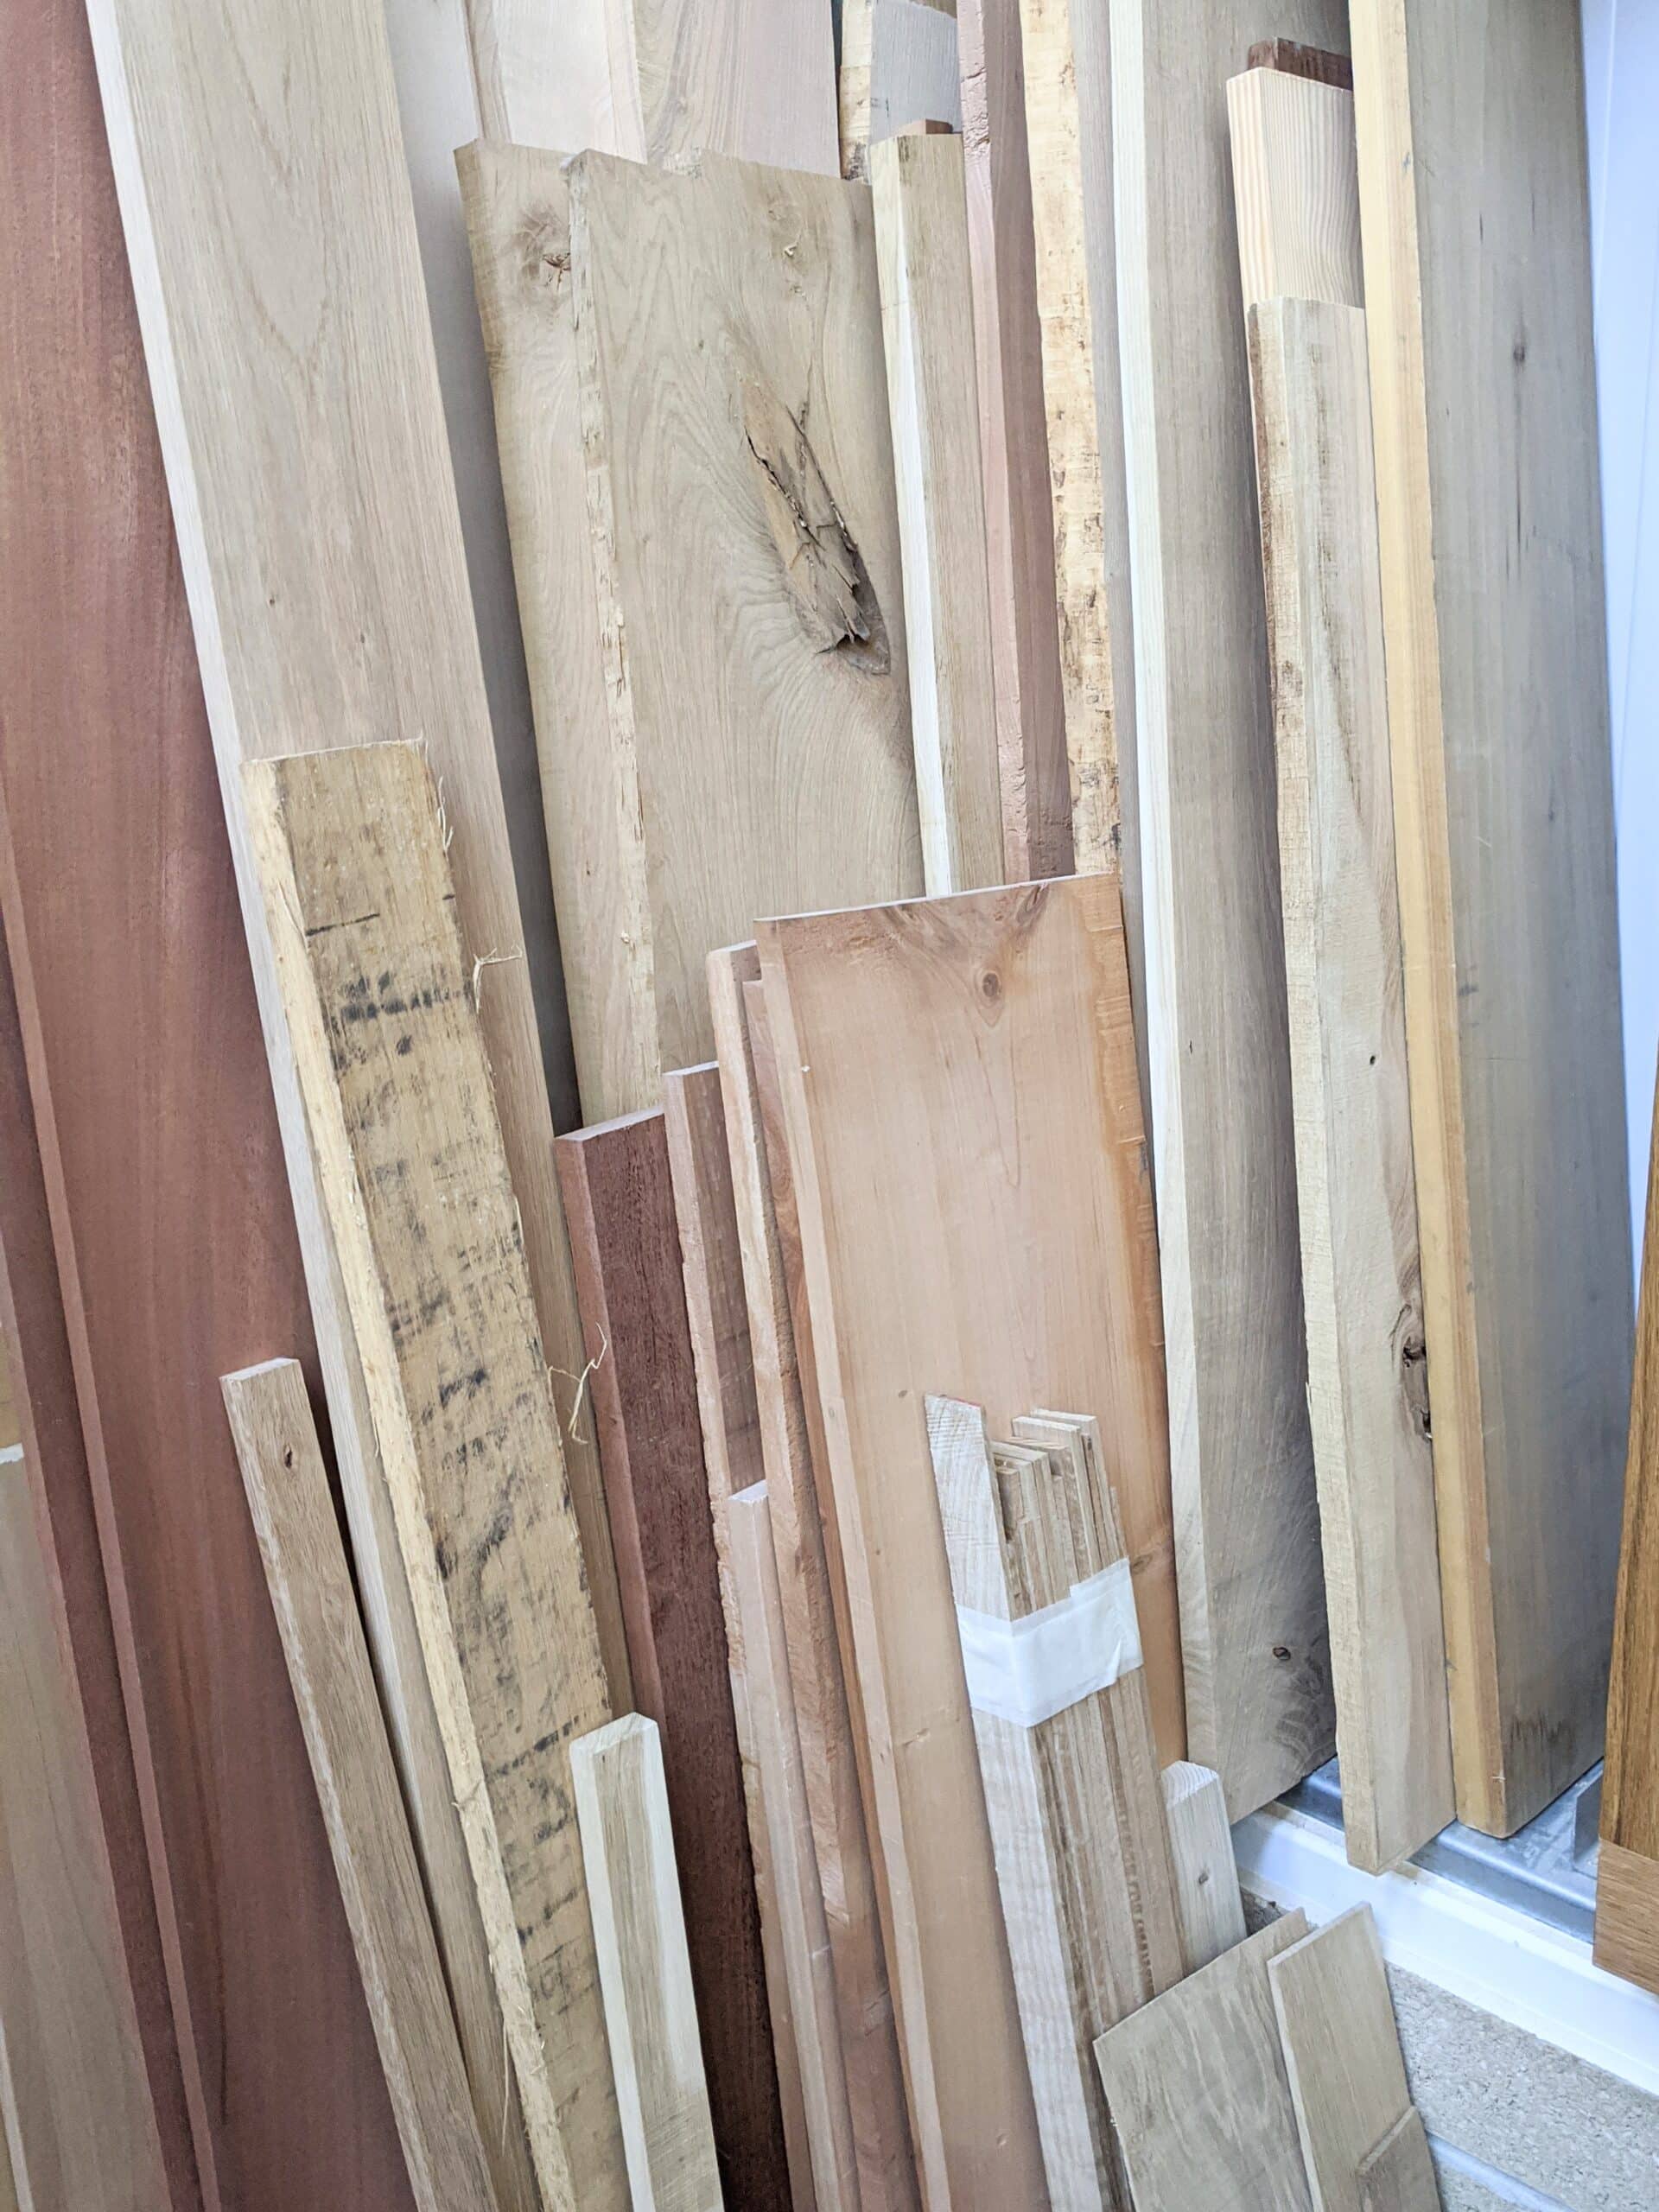
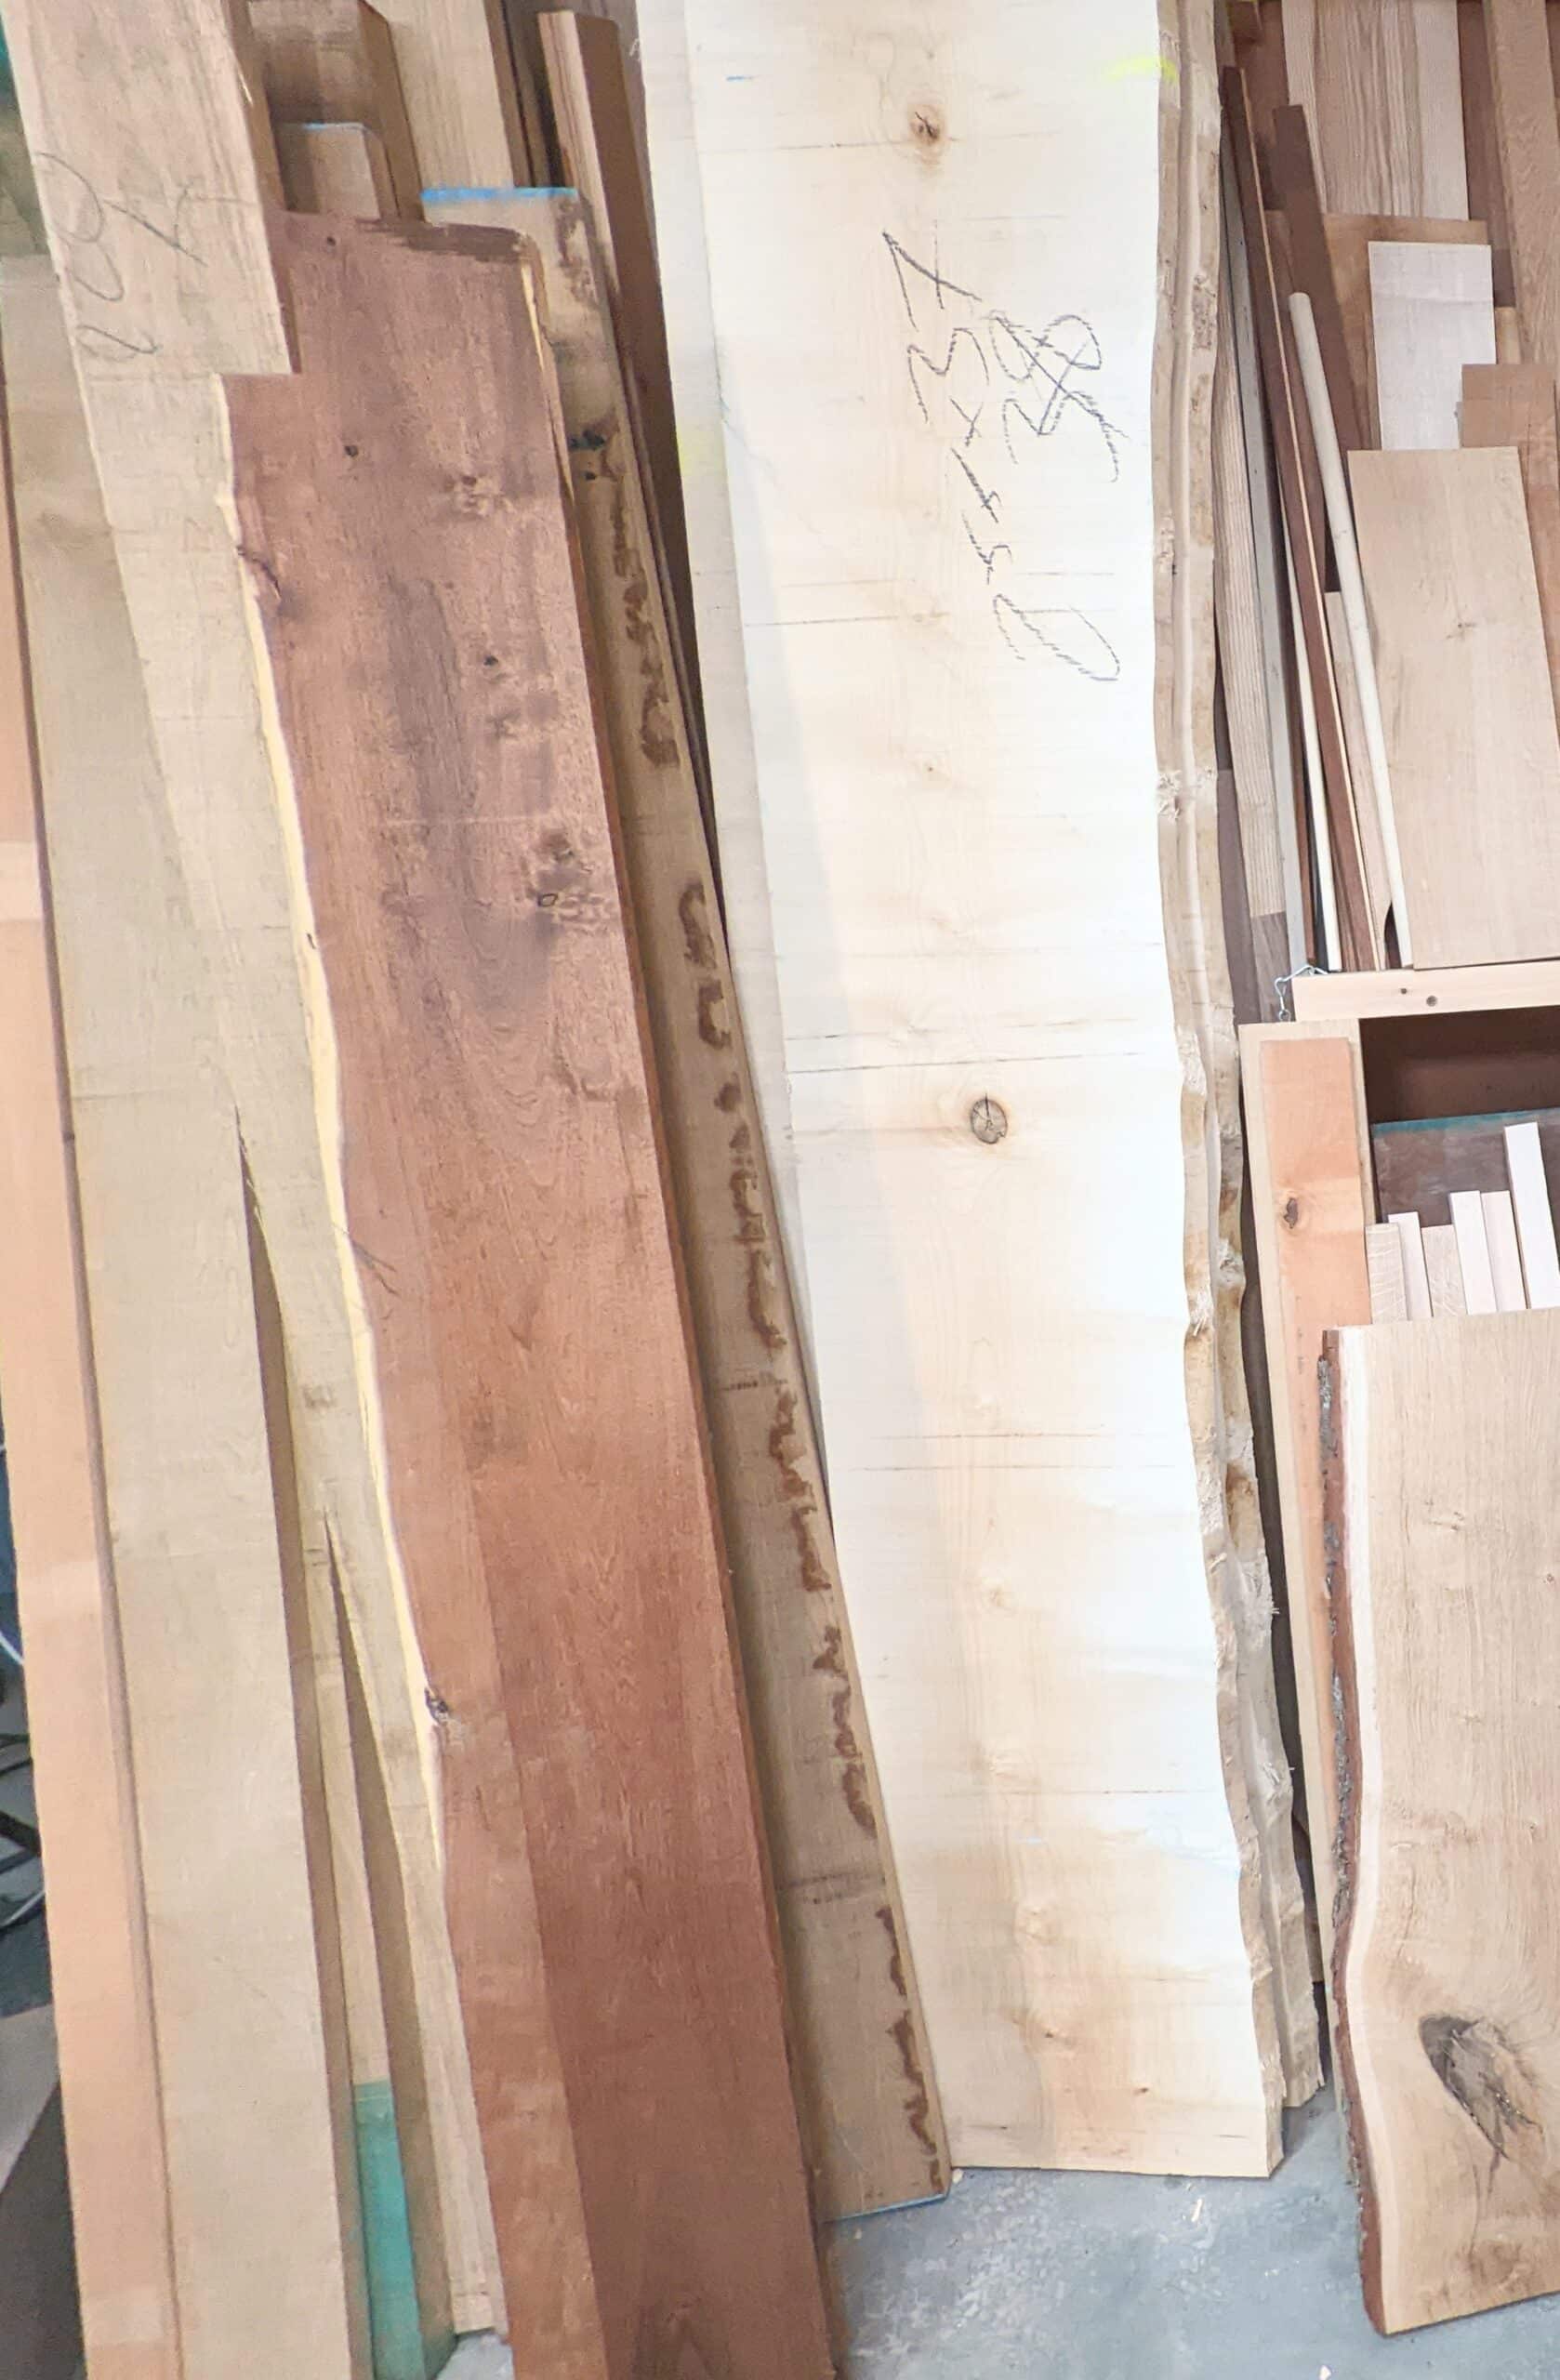
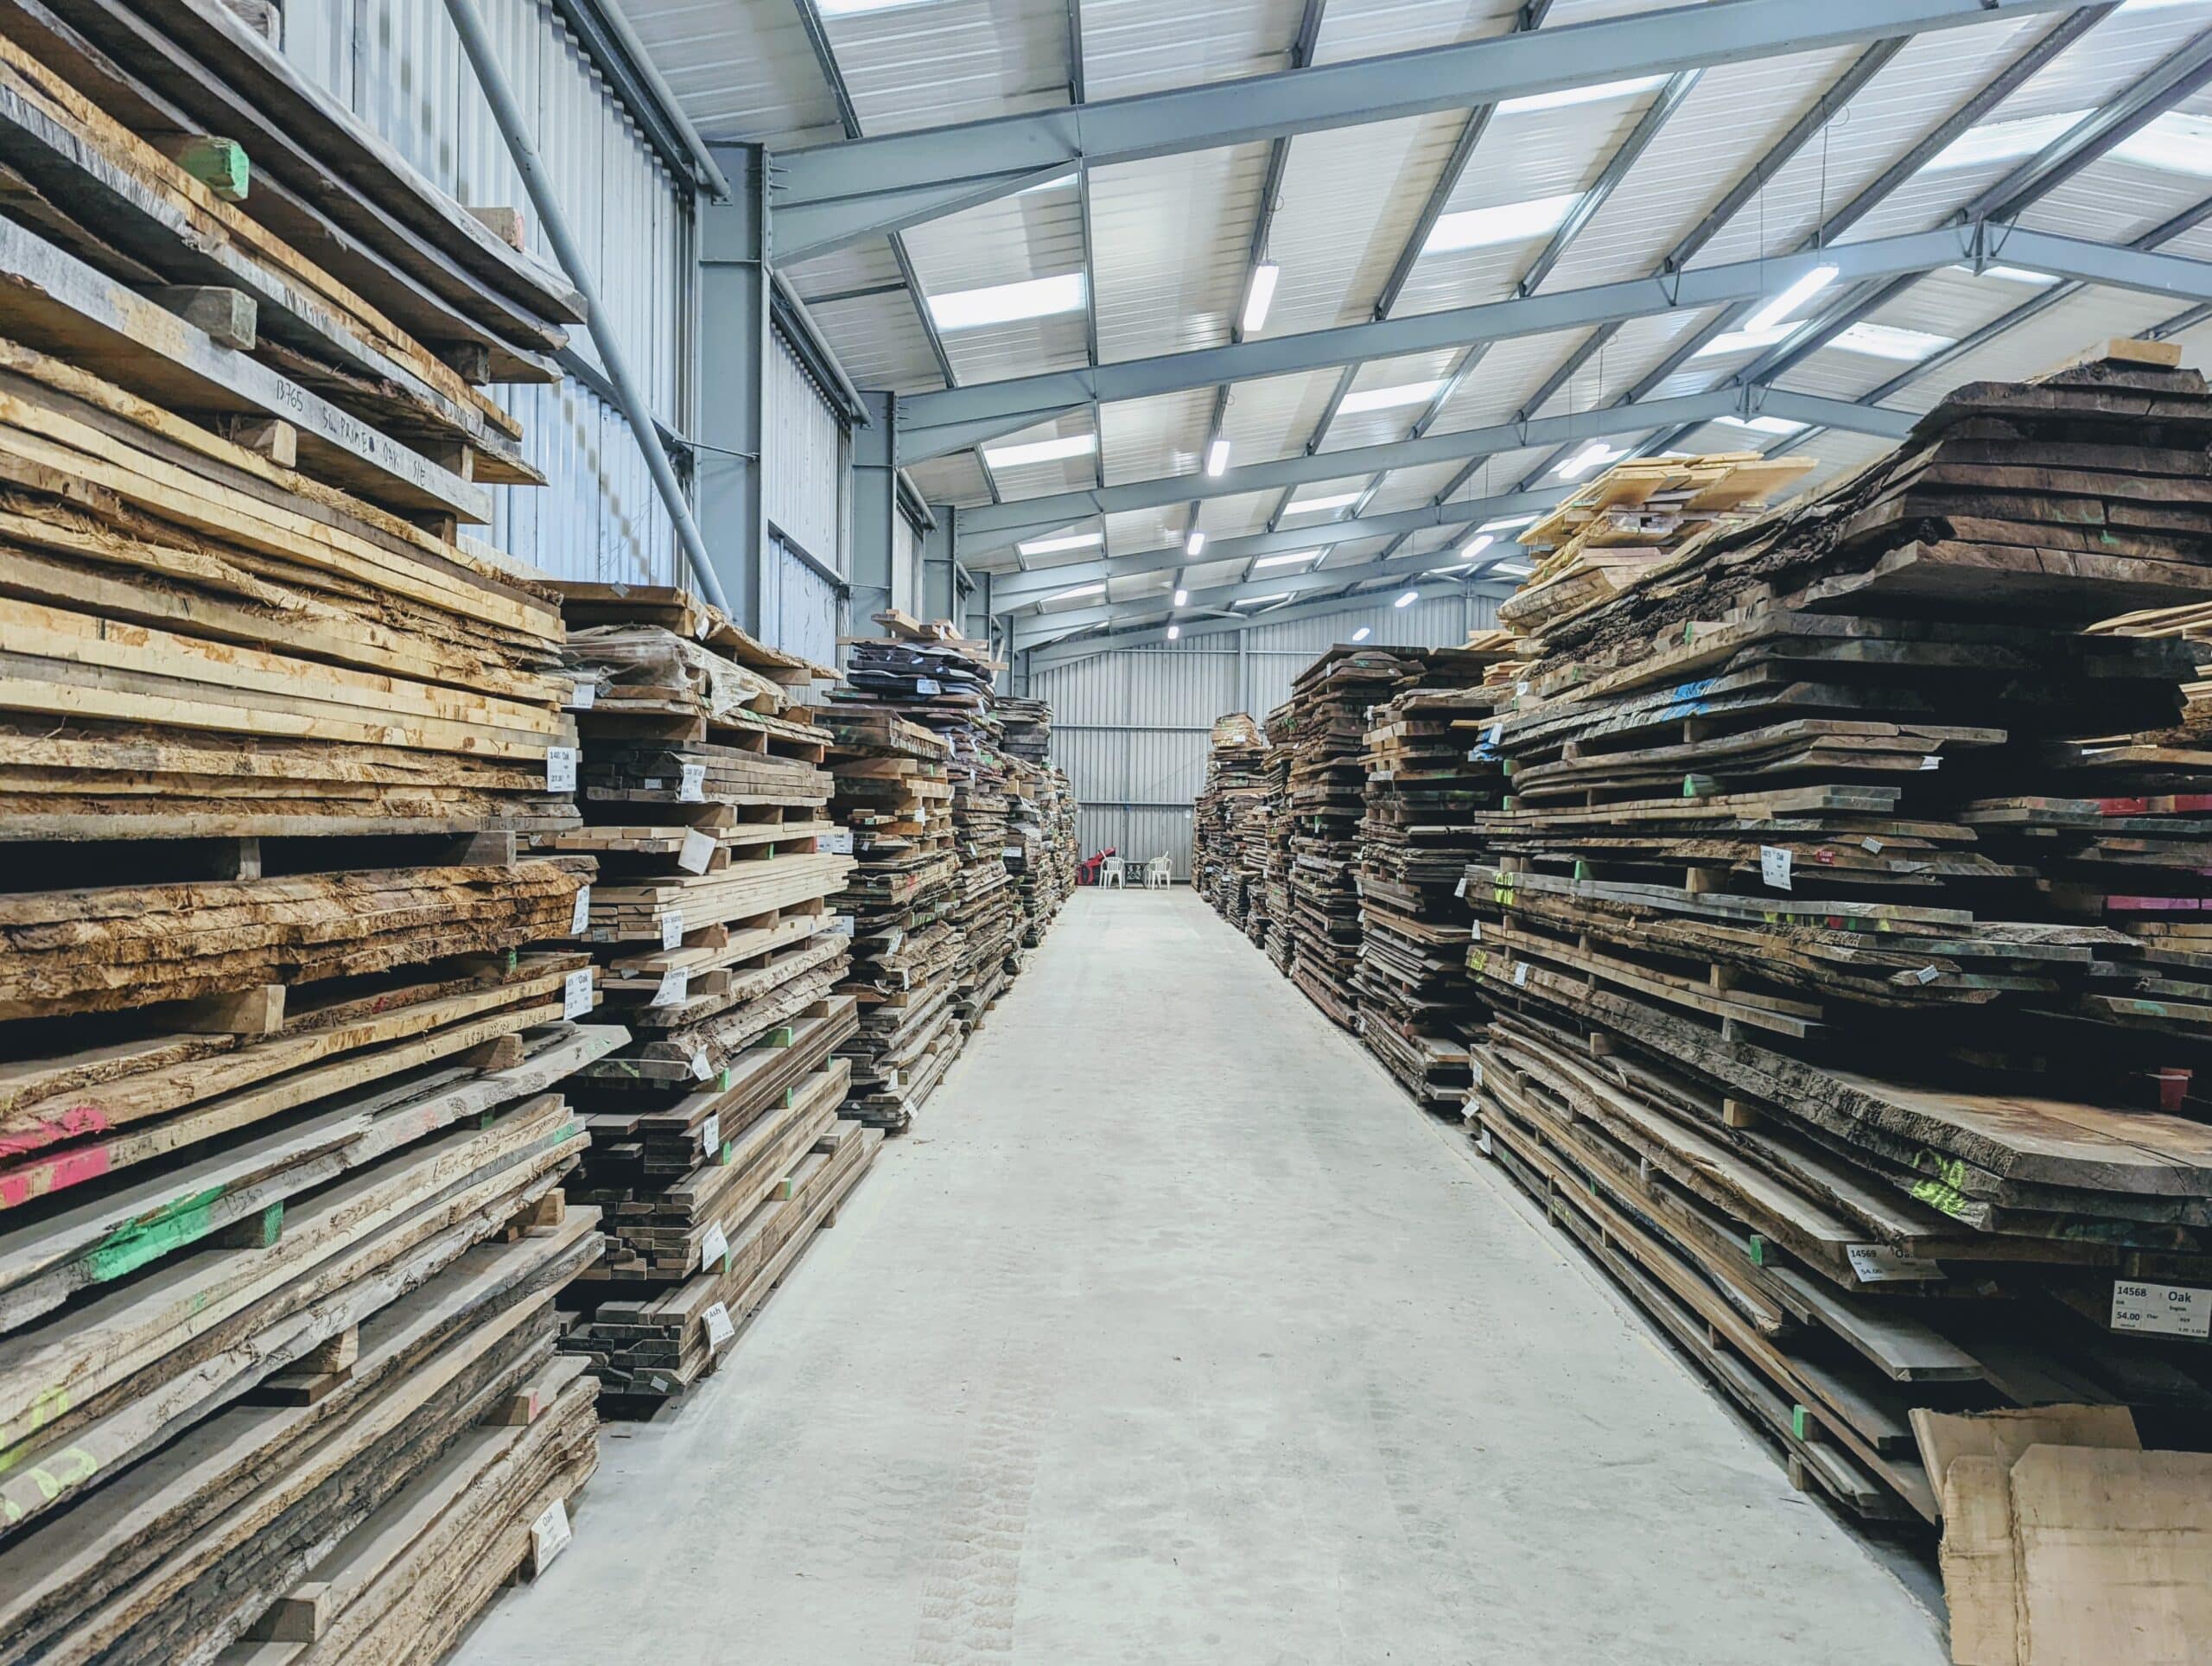
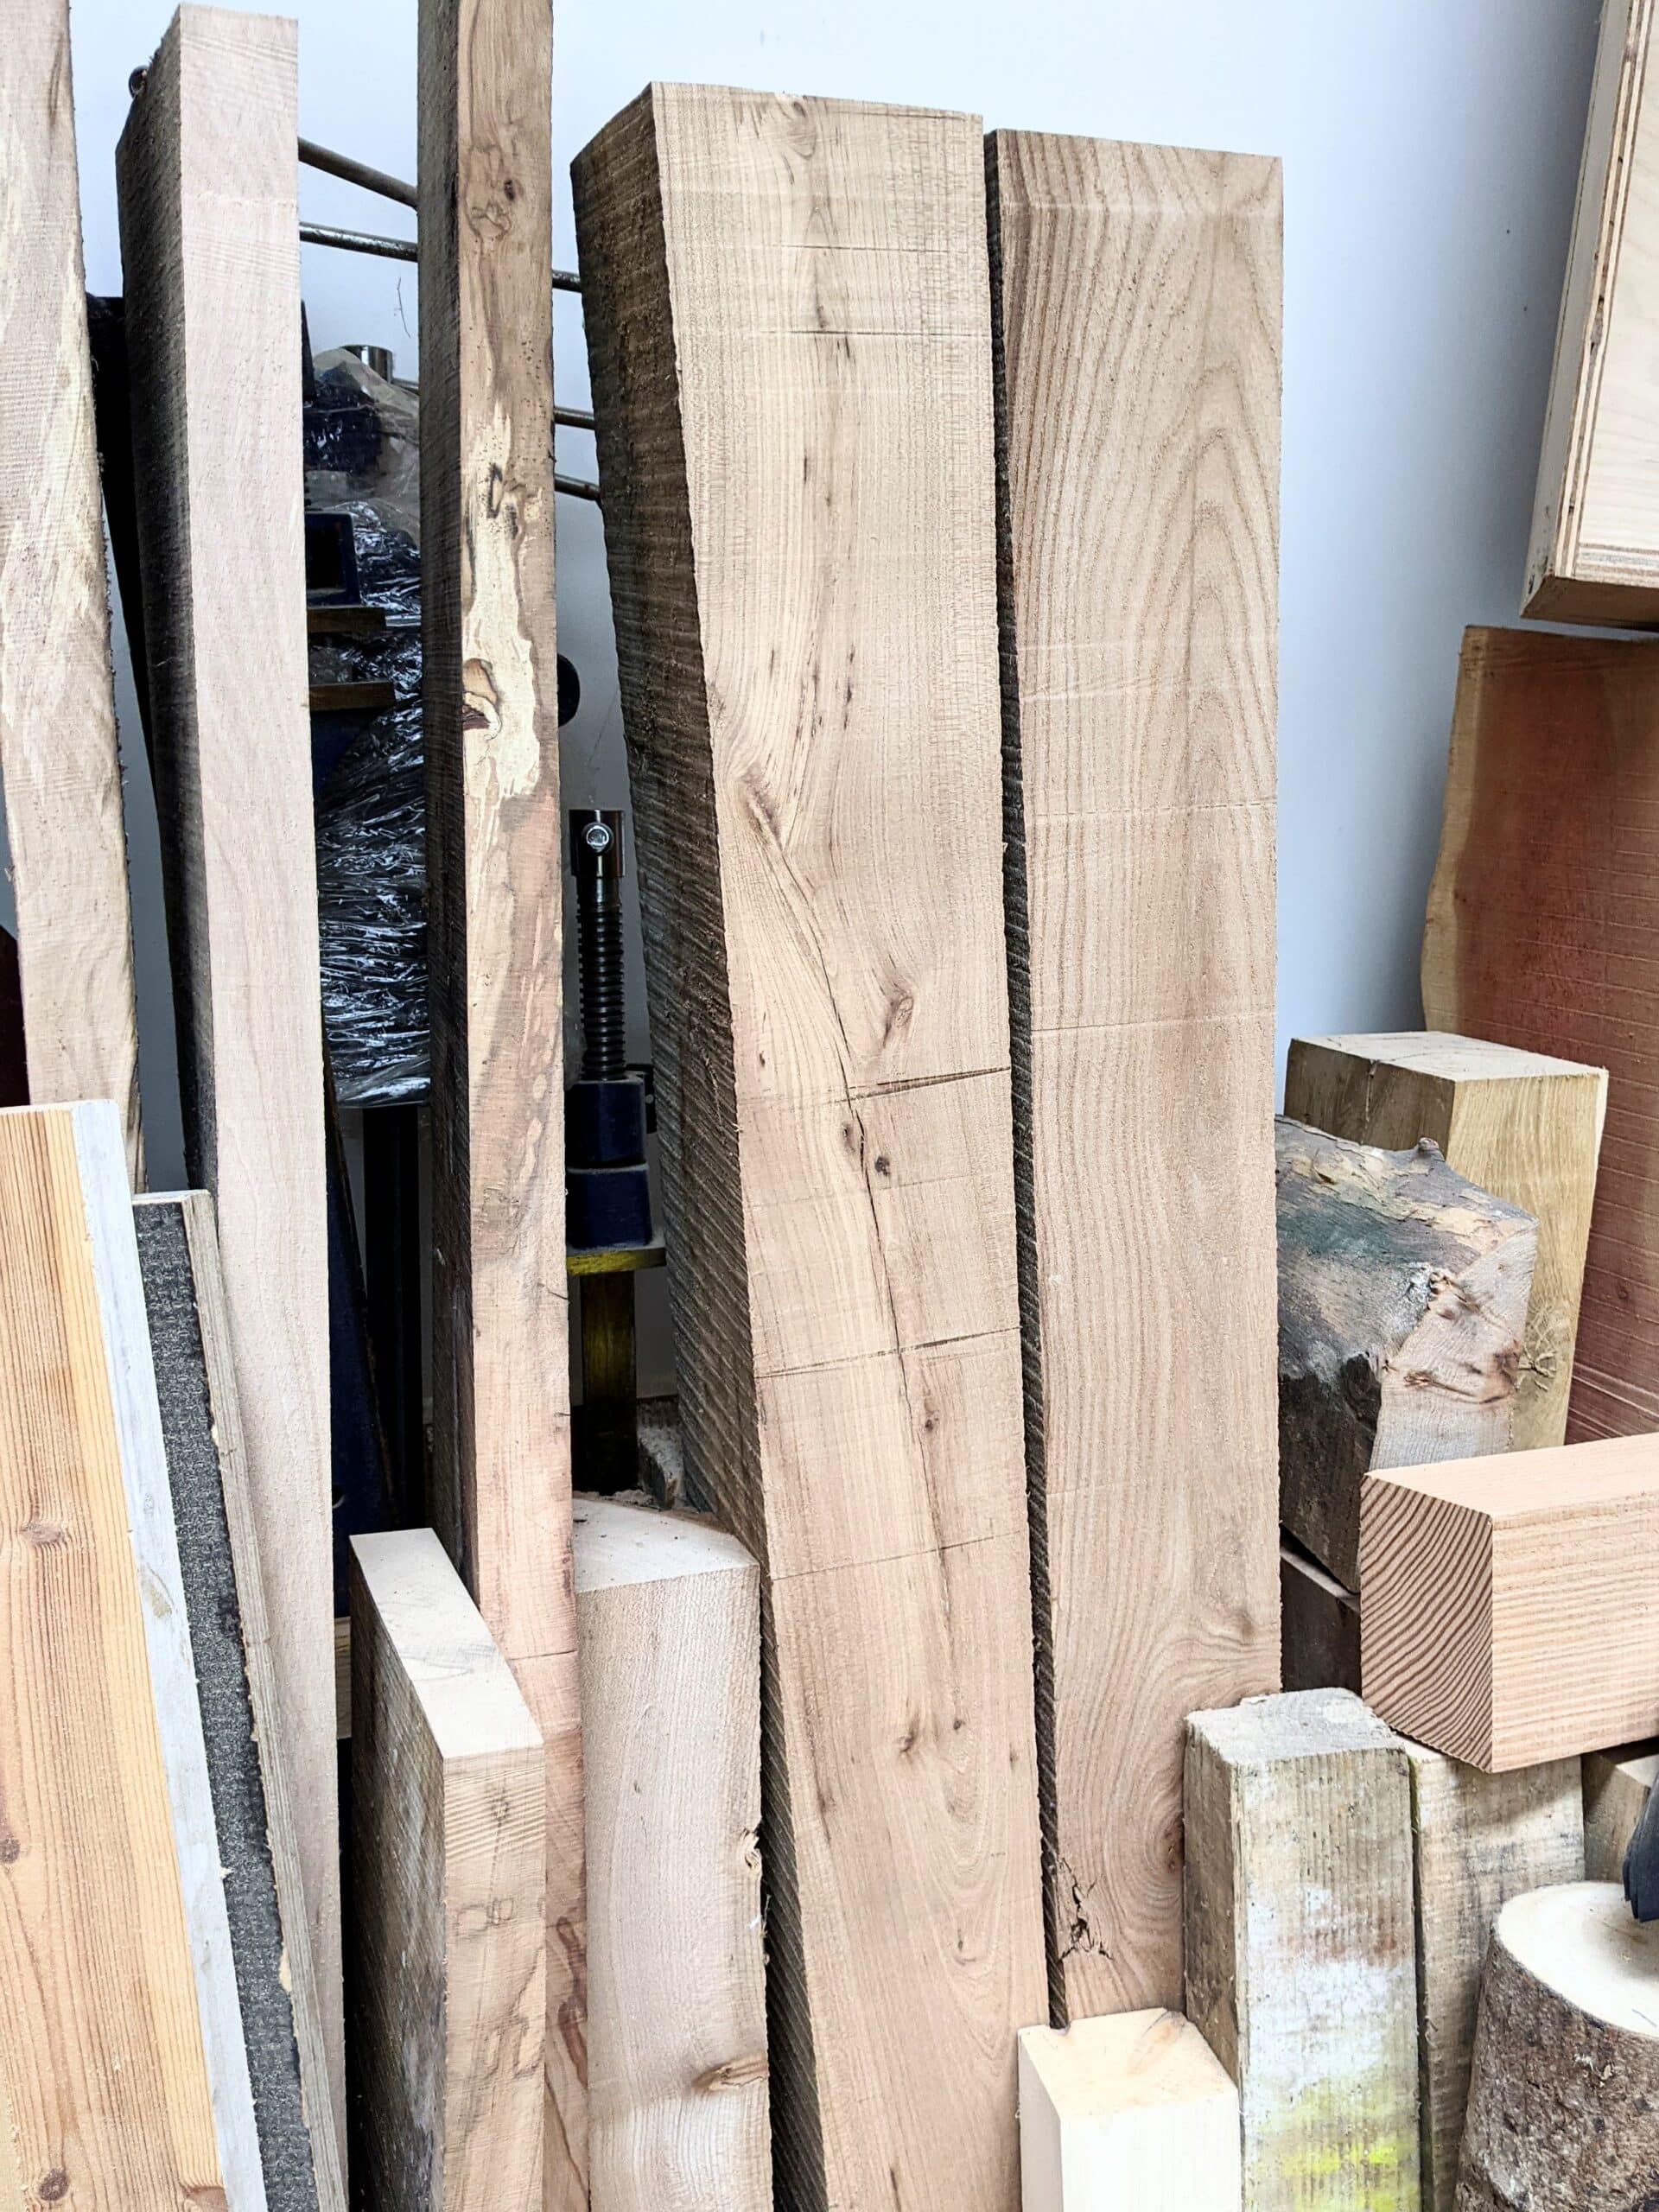
I generally stand my wood on end. Racks have never really worked too well for accessing wood and I am limited for storing wood that way. The footprint would be too great a loss of working space. This way the air circulates fairly freely. In my garage workshop, I still try to keep the wood for a month or so before I start to use it. Some I have had for many years. My home garage workshop is now well controlled with regards to heat and moisture levels. A dehumidifier works very well for keeping the humidity down as does some form of heating with venting. What I now have is a luxury to most and I am truly grateful after fighting the dampness of the UK on and off through the first half of my return to living in the UK.
Of course, it is good to remember that family homes are generally not low-humidity environments. Three kids, a dog and two adult parents generate steam in one form to another and in varying degrees according to times of day and placement in the home. Kitchens cooking veggies and showers in the bathroom in quick succession all increase humidity. Your furniture pieces will reach equilibrium according to your home. It’s not always easy for a maker selling to customers to work according to the equilibrium of their individual customers. Hence, we may well have to go back because someone placed their dining table up against a heat source like a radiator or in a window facing the sun. This is why we tend to make frames to make our carcasses and never make a door from solid wood without a frame! I just moved a chest of drawers from one room to another and whereas in the one room the drawers all ran freely for five years, in the new room one of the drawers was sticking. I removed two shavings from the bottoms of the drawer sides and the drawer ran freely. I will check in a day or two to see if it is still expanding but I doubt it.

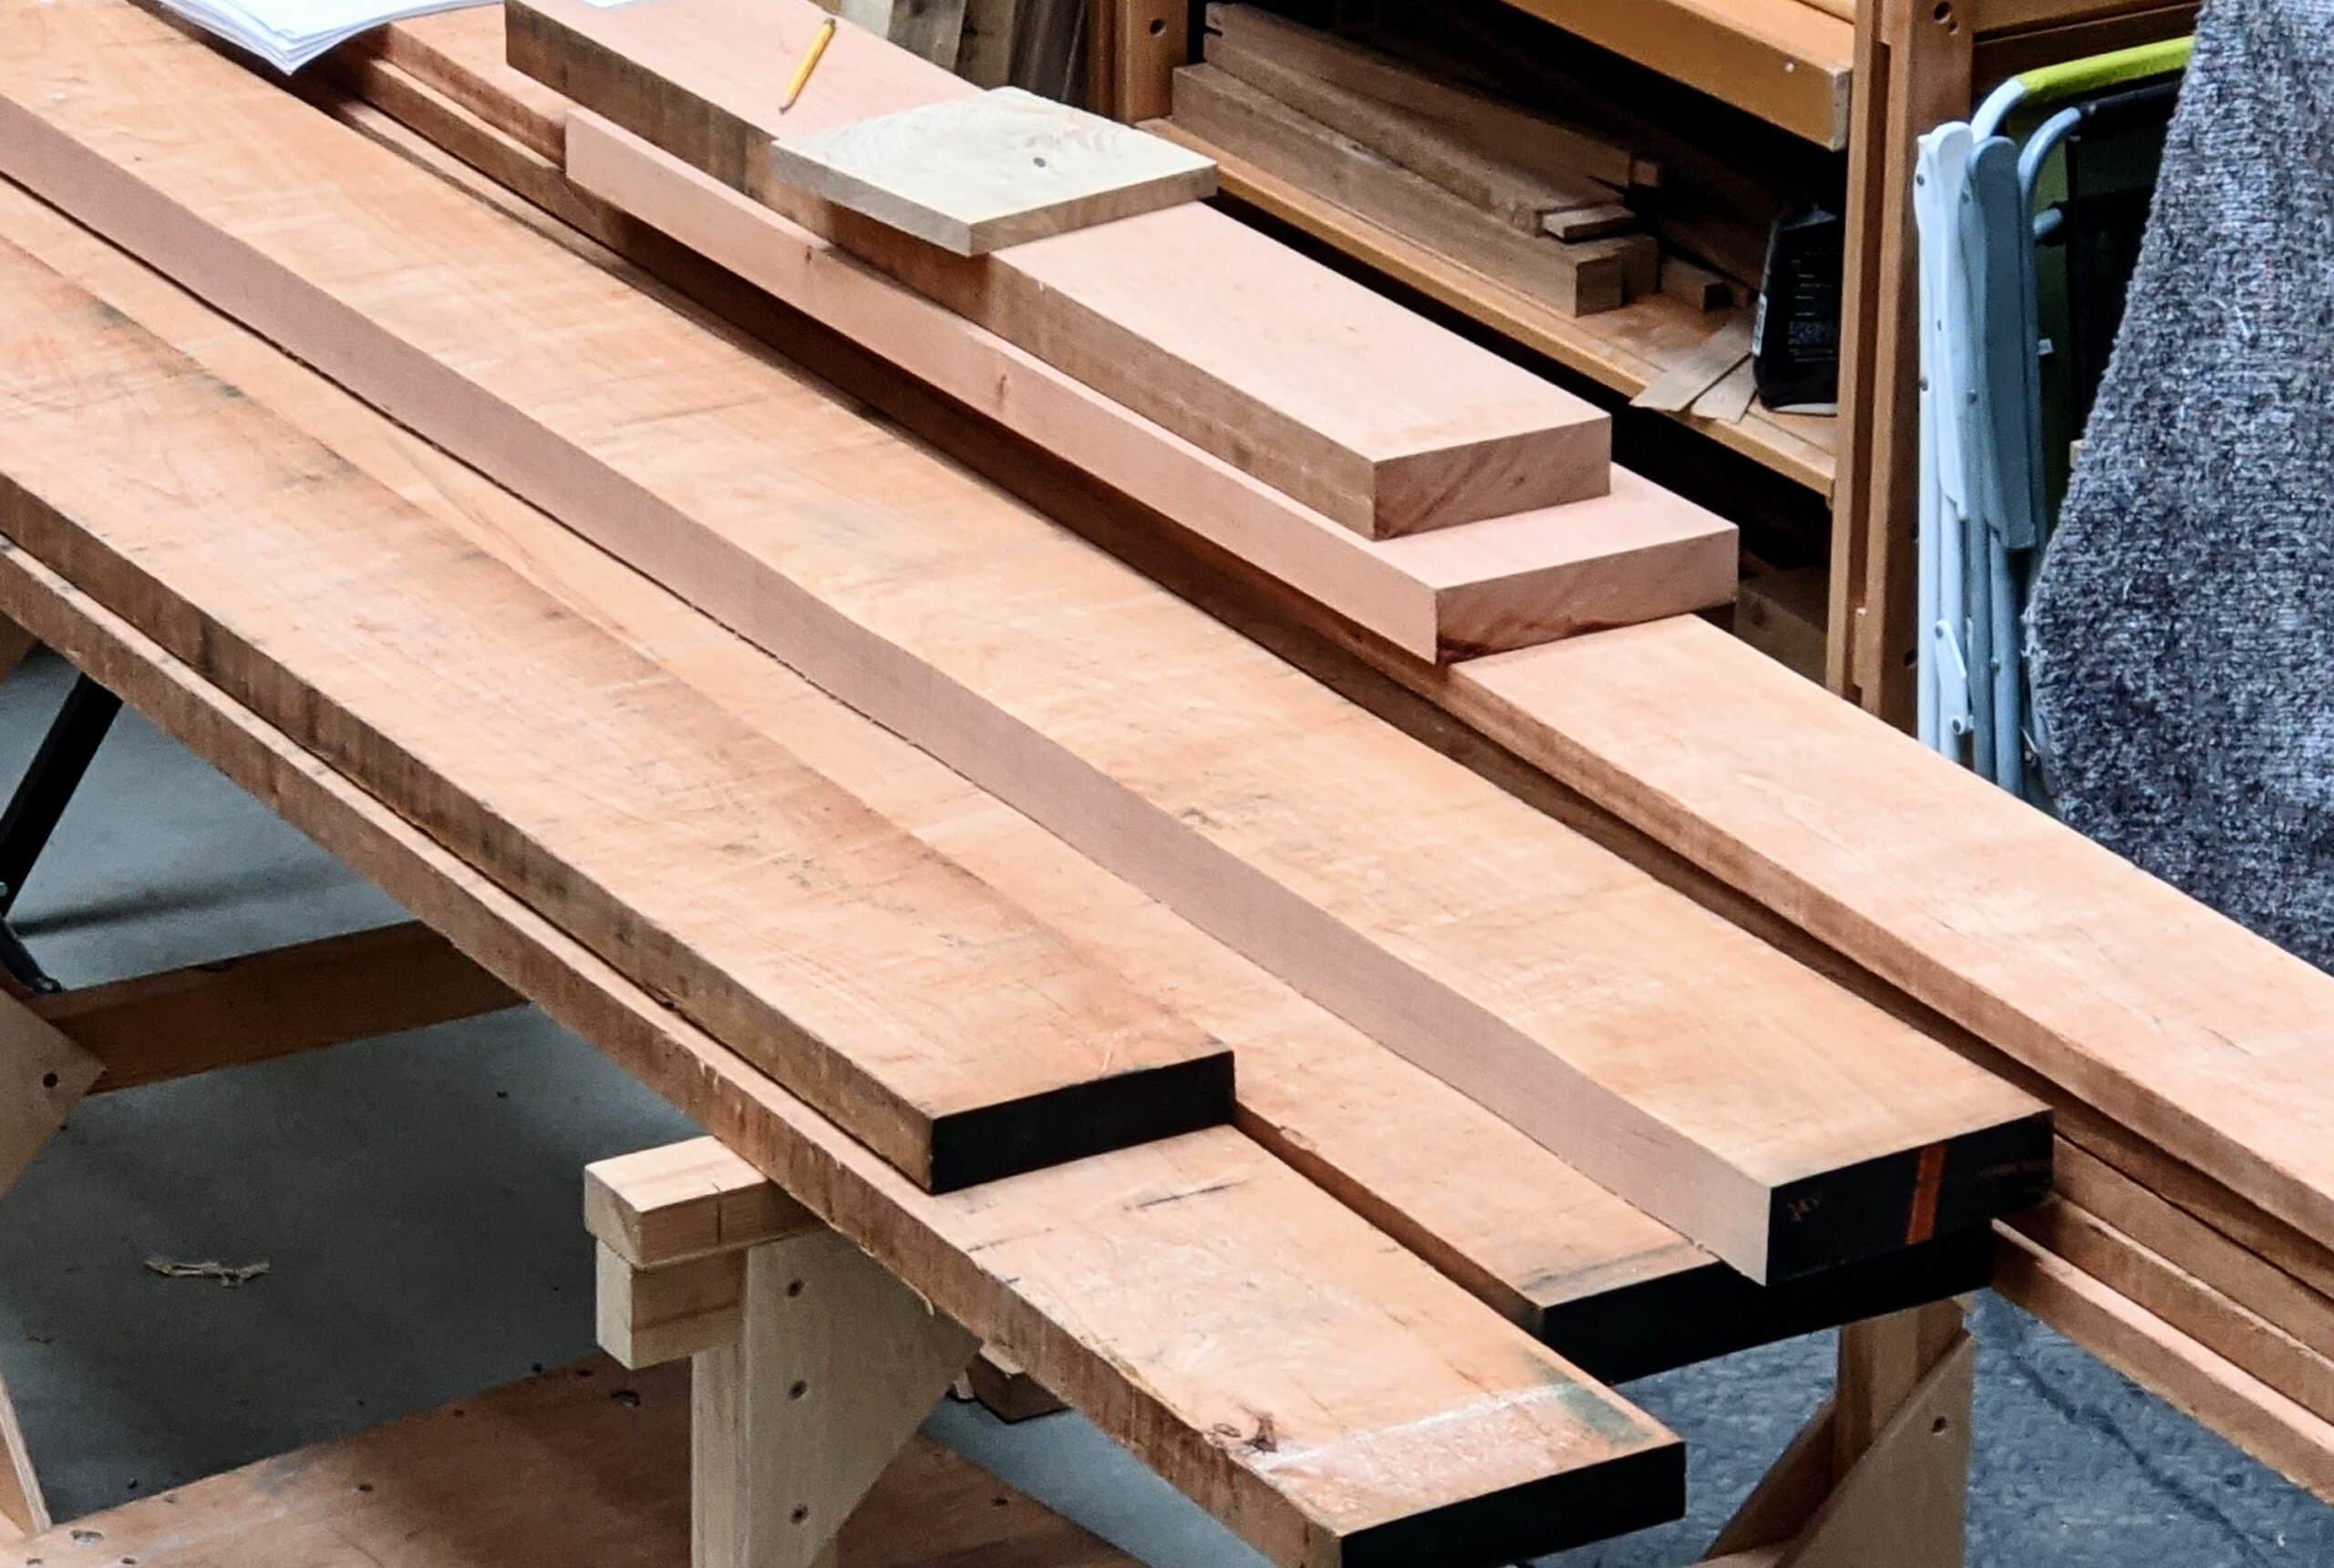
I ripped my full-width boards down somewhere near to and along the pith to part the left side from the right after first crosscutting to near length, an inch or two over, mostly. Will is videoing this work for an upcoming series for Sellers’ home and though it might cramp my style just a tad it is so worth it to catch and watch what he captures with the B-roll in the videos. There is waste, of course, but this step minimises and even eliminates the risk of more distortion taking place after the cabinet is in its box form. The lighter pieces are now ready for a straightedge along the wane edge to rip and square up the length. Once planed straight I can rip parallel on the bandsaw or by hand depending on my mood and how much work I have already done.
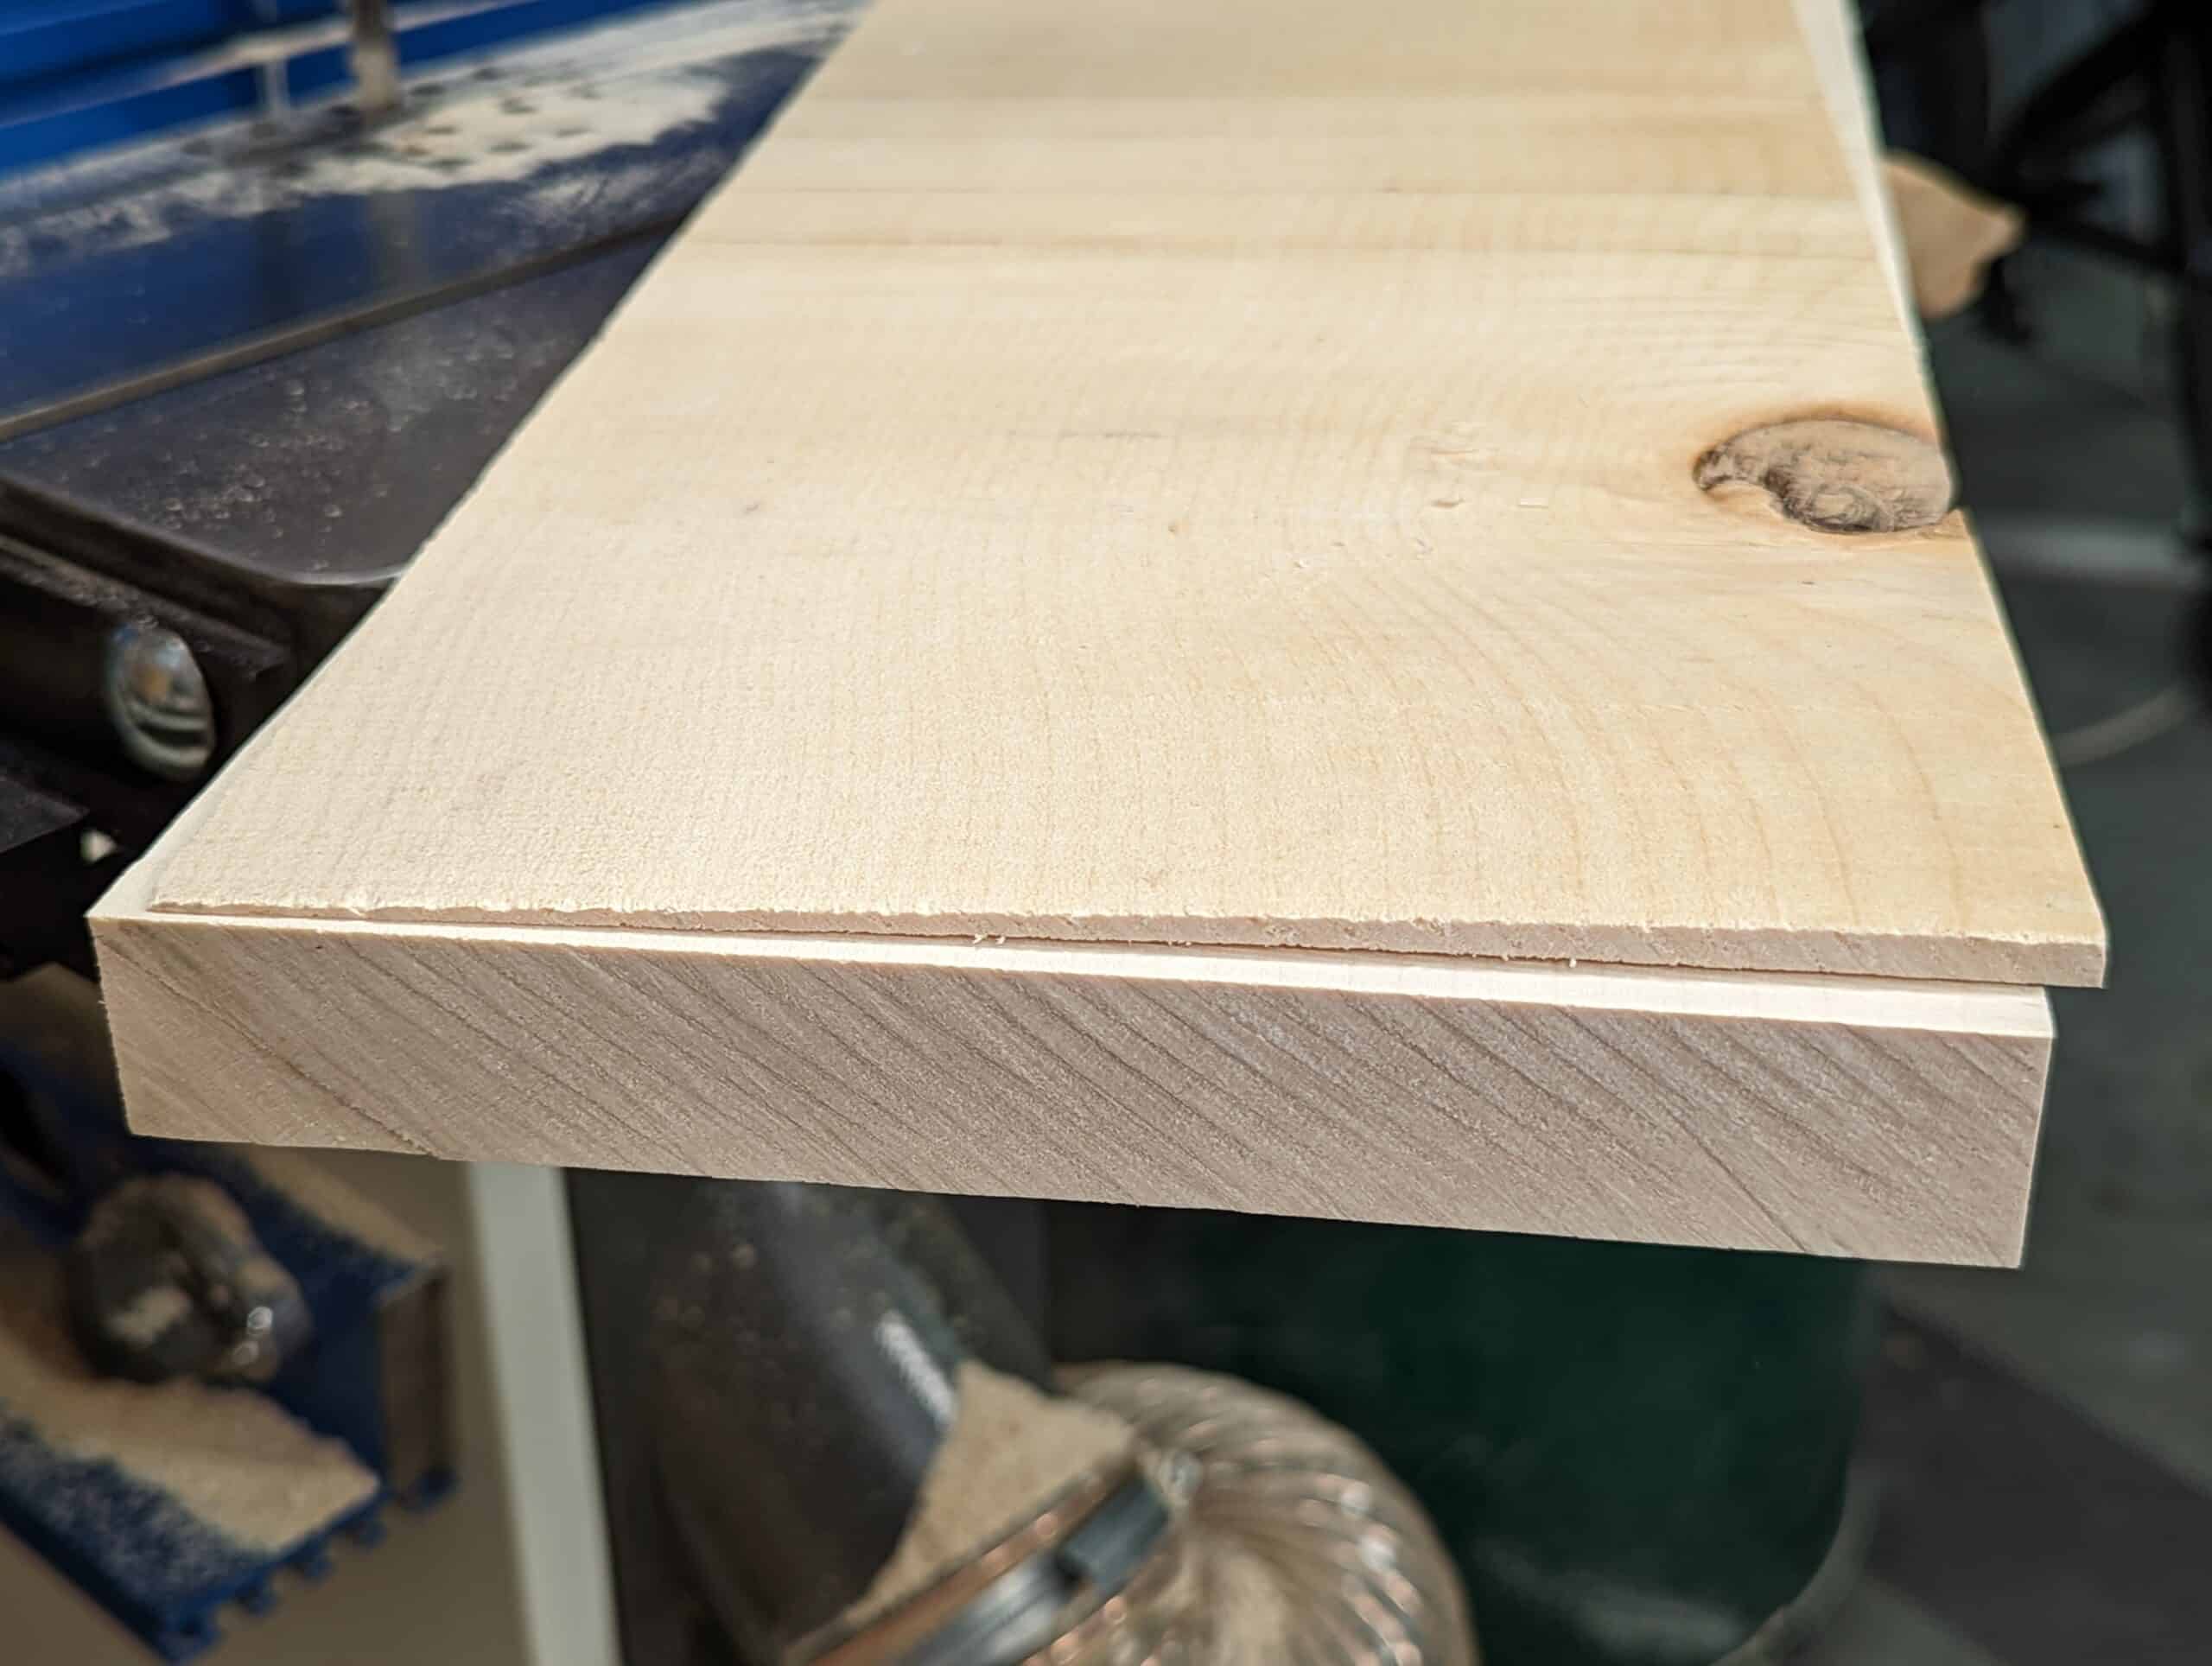
My boards are 1 1/8″ thick but not dead-on parallel. I want to end up at about 7/8″ The drying and then my ‘airing‘ unrestrained has allowed the distortion to maximise itself and work itself out. In the shop, moisture exchanges take place until they reach equilibrium. Coming into the shop the MC might be 15% or higher. We are looking to lower it where possible. I would rather have my MC lower than higher. That way there will only be an increase in the home which doesn’t lead to cracking and splitting, undersized panels in frames and such. Alternatively, wood taken into its final environment can be acclimated, worked into a project and returned to the final home. This is not always possible or practical but it’s a good idea. Why do I say lower the MC as much as possible? Taking the moisture content down pretty much guarantees zero shrinkage. The wood can only stay the same or increase. With correctly chosen joinery the only serious problem will be expansion in certain areas. “`Framed joinery caters to this and is designed for it. In a barn, a planked door is fine. A log cabin of the 2800s was possible all that was possible for those pioneering new lands. Quick, easy and efficient for people settling after months or years on the move. Framing with mortise and tenoned frames was a solution that remains unchanged as a solution to the expansion and contraction of wood. The panels in frames ‘float’. That means that they are restrained only in thickness by the grooves or ren=bates and beading. Width wise they can shrink considerably before they fall out of the rebates. That’s not going to happen too often though I have known it. Wood barely shrinks in its length.
The wood acclimated to my shop is usually the best I can do for it. In some ways, sycamore has very consistent density but as with all woods, this changes around the knots and crotch grain. Sycamores tend to have spur knots where the roots of the knots stem from the very heart of the ree and radiate out to the outer reaches of the main stem. This is what makes the wood difficult to work and please, don’t anyone tell me to use a 50º bevel-up or york pitch plane. It’s really quite impractical. Much easier to plane across the grain altogether and then follow up with a regular #4, 4 1/2, 5, or 5 1/2 bench plane freshly sharpened and then scrape with a #80 cabinet scraper. Easy and fast!
My first ever experience of working with sycamore was back in my apprentice days in the mid to late 1960s. Back then we made sycamore draining boards for commercial kitchens. If possible we went for single-piece boards but that rarely happened. The work was to plane and scrape the boards and then run drainage grooves along the length with hollow moulding planes so that the dishes drained back into the sink. It was good experience and it was at this point that I realised books telling me about the characteristics of wood rarely measured up to the reality of working it–a bit like the descriptions of wines and foods I think.
My follow-up article in the next day or two is almost ready. It will show methods I use in my daily routine to minimise donkeywork and yet keep the practical elements in the right realms for those of us looking for excellent ways of exercising combined with the mental and physical engagement we gain in our day-to-day handworking our wood.
dear paul, i seem to find my bits of wood often develop a bow when stored in a near vertical position (and less so or not much at all when stored horizontally?).
i would rather store the wood vertically for space reasons, same as you.
is there a way to reduce or stop the wood bowing when storing it vertically (or perhaps 15 degrees of vertical), or am i doing something wrong?
thankyou
Really great information, thank you. Given this, I might add a shelf/raised bin type thing to hold shorter stubs, but I’ll leave the long pieces standing tall on the floor.
Hi Paul. Where do you get your cherry timber from? I live near Abingdon and get oak from Deep in Wood. But I haven’t found a local place that sells cherry – it would be great to know of somewhere reliable.
I was interested by your reference to sycamore. I have some of this, crudely milled from a tree we took down in our garden. I air dried it, but there’s quite a lot of twist and bow in the boards – as well as splits. I understood sycamore wasn’t good with water, so I’m curious about your using it for commercial drainage boards. Have I got it wrong about the wood or did you treat it heavily to protect it?
Thanks, Alan
I buy from different suppliers and don’t generally give out info here because my recommendations or suggestions can adversely affect other suppliers that I don’t or would not use. Mostly it’s simply a question of doing a search. Ten minutes on google and a visit to what you find will get you there.
We made the draining boards and installed with no finish. Finishes often cause more problems than they solve. Also, experience tells me to always experiment. Theories on woods from books and wood sales entities are usually quite, quite inaccuracy and rarely based on facts. I just go with my experience and what I have experimented with. I do take risks and rarely have I ever had a problem. When I did it was never something I couldn’t fix!
I had a slight problem with some rough sawn oak that I got from a mail order supplier. I allowed for 3mm wastage to the thickness (4 at a push). No real problem with twist or bow but the wood was heavily stained (sticker and other wet) on one side. Fortunately the supplier provided it overthickness to accommodate. Unfortunately that gave me 7mm to get through to desired thickness. (I’d have hoped they could’ve removed those defects but time is money I suppose 🙁 .)
So there was me trying to avoid a resaw but got gifted that job anyway. Ho hum.
P.S. I made shelving racks from studs (storage for daughter) and keep my boards on end in purpose made gaps in between racks. Normally its flat face out but thinner boards I’ll put edge in at another spot.
I find it challenging to make thinner stock, say 3/8″. For example, I hand jointed two faces of some 6/4 walnut and then resawed on the bandsaw down the middle. There were instantaneous cupping coming off the bandsaw. Indeed, it literally popped as the cut completed. I was able to work these two 3/4″ pieces down to my flat 3/8″, but such waste! For another part of the project, I tried to saw to yield a 3/4″ plus 3/8″ (final thickness), by sawing off center, but the cupping in *both* pieces was too much to give me the desired final dimensions. This has happened in many pieces of wood, so it isn’t just this particular board.
If you have any tricks or advice for producing thin material, it might be an interesting blog post. I asked about it in the Masterclasses forum and others had the same challenge and no solutions. I’ll comment that, if you need really thin stuff, like 1/4″, cupping often doesn’t matter because other parts of the project will hold the 1/4″ flat, and if you need thicker stuff like 3/4″, it has enough beam strength to not cup so badly, but the intermediate thickness, like 3/8″, and sometimes 1/2″, seem to be the troublemakers.
I understand the frustration, Ed. Ideally, it would be better to cut stock green and the sticker and air dry followed up by slow kiln drying to get down to the moisture level required; that’s not going to happen. The variables in this case are too many to consider. Walnut is prone to deeper cupping after resawing kiln-dried boards. Some of this is to do with the process of kiln drying. It seems to me that the millers kiln drying are governed by the point at which case-hardening takes place in the wood. The faster you dry it the higher the risk of case hardening. In the early stage of drying only minimal stress is inflicted on the wood because it is basically saturated at this and the moisture is escaping from the outer surface not the inner. Eventually the outer surface is less than the inside and this becomes the shell and the in ner wood the core. Eventually the shell is in tension, causing stress to the wood. The miller man knows exactly what level he can push the limit to. If he pushes too hard the inner wood develops case hardening resulting in useless wood honeycombed with fissures either in part or in whole. Knowing the threshold and knowing heating wood costs him money he stills cranks up the heat and the speed to give him decent saleable wood without visible defect and this is what he does to make or save a dollar. In other words the difference between air-drying and what we once called seasoning is the extended period of years in the prevailing atmosphere where the wood slowly, very slowly releases its free water and results in a stress-free wood. Bring the force-dried wood into the bandsaw and rip and the popping you hear iss the release of the now inbuilt stress; there is no way to relieve this stress once drying is completed. Even in subsequent ripping, those stresses will still be released and result in cupping. I have had some success buying thin stock and using a power planer to waste off 1/4″ in successive passes from both sides through the planer, say a sixteenth at a time. I no longer have a power planer.
Hi Paul,
What you describe exactly matches my experience, including using the planer to waste off excess thickness. That’s actually how I achieved the 3/8″ after resawing, using a “lunchbox” planer. And, as you say, if I saw thick and joint back to flat, hoping to have released the tension, further resawing leads to further cupping. I’ve had this happen in oak, too. And, funny you should mention honeycomb, because I had a problem with honeycomb in some thick white oak that was to be used for a chair back. (Saved by running some thin West epoxy through the honeycomb). I decided not to buy from that supplier after that bit of wood.
Thanks for your reply. I was hoping for some magic tricks that might help, but I see that it is the nature of things. One thing I’ve started doing is to recognize that my saw is tuned well and the resaw blade has a thin kerf. I can therefore take the cupped board, rip it down the middle, plane the edges to mate again when the two halves are flat on the table, and then glue the halves together. Much of the cupping is reduced and the resulting seam is quite often nearly invisible. On some things, this isn’t appropriate, but when it is, it is a useful approach. The other two tricks are just to minimize width or to use edge profiles to make elements look thinner than they are (edge profiles includes a simple, gentle bevel, like raising a panel).
I’ve had the same experience. When I run into wood with lots of internal tension, I’ve found things just require more patience and sometimes extra work. As soon as I detect an immediate cup off the bandsaw, I realize that I need to decide if I’m flexible on thickness. If I’m not flexible, I immediately start leaving extra material- sometimes an extra quarter of an inch for example. The next time I run a piece through the bandsaw, I set it aside. If I start working on it immediately with my planes, I know I’ll come back the next evening and it will not be flat. Alternatively, I might do some rough plane work to get the piece flat-ish and then I leave it to move as it will. I’ve also found that if I work from both sides to get to final thickness this seems to yield less further movement. So I might get a piece flat-ish, let it further settle, then reduce thickness (scrub plane or bandsaw) from each side in equal parts (still leaving a bit of extra for final tuning). I sometimes do what you describe- rip a cupped piece down the middle and re-joint. Finally, I’ve started to develop a bit of intuition with respect to an acceptable level of flatness. This took some time to develop because getting started, I really took Paul’s emphasis on accuracy to heart- too much even! Accuracy is, of course, critical, but accuracy does not always demand that your stock is absolutely flat. For a cabinet door, flat stiles and rails are critical. For a shelf, a bit of cup left on the bottom side isn’t the end of the world. Naturally, I’d prefer flat, but I’ve made my peace with movement (mostly). If I’m making shelves for my project, after getting everything perfect and then coming back to it in a week, I might find some more movement. I might take a little extra off the top to ensure proper function but may leave a couple of mil of cup on the bottom because I just don’t have thickness to spare- and hey bonus since it is a floating shelf and the slight cup will almost guarantee there won’t be any wobble. I think the final answer is that if you want to interact with a beautiful and organic material, you’ll never succeed if you try to rule with an iron fist- you’ll make compromises with your wood!
Accuracy accepts discrepancies of changeableness in the materials we use and then too in our own bodies too. But as we become adults we lose our elasticity to become inflexible legalists and legalists are never able to flex and become tolerant.
My experience is to let the boards move to the position (warp, twist) they want to then mill them. This way your finished piece is less likely to warp. If I cut a piece from larger stock I will cut oversized then allow to sit a few days to move and relax before milling to final size.
Mr. Sellers,
You mentioned mesquite but did not elaborate upon the charateristics you have noted about it. My interest in it is driven by the fact that I live in South Central Texas near San Antonio and there are some small mills that handle mesquite within an hour or twos drive. As I gain experince in hand wood working, I would like to incorprate this wood in some projects. What should one look for when purchasing it?
Another question, how would you rate the stability of poplar for use in painted furniture?
Hello from Western Massachusetts, Paul.
Re: Sycamore. Don’t worry, this isn’t a statement, just a question and a tip for Tree Tourists. In a town near me, Sunderland by name, grows a massive sycamore with a plaque in front claiming it to be the largest in the U.S. Here comes my point/question. The plaque says that it has always been known as “The Button Tree.” Is it possible that sycamore (presumably properly milled by 17th C. standards) could yield small discs suitable for use as buttons? Apparently someone used to think so.
A Fellow Lover of Trees,
Jim McGuire
Absolutely! Sycamore is a perfect wood for buttons and many makers in the pre-plastic era used sycamore and other woods for button making. Because of its even texture and density, its whiteness,etc, it lends itself to button making and it also takes subtle stains too so from white to colours of the rainbow the sycamore wood has all the right characteristics needed to close off coats and cardigans, pockets and sew on!