Unrelated Related Qs
These two questions came in this week’s online mail. I understand where they are coming from. As a vegetarian, I often eat something made and usually intended to be a counterfeit for the real thing. Food technology can add and subtract tastes as well as they can textures and looks. Experts can invent food to demand according to type not as an alternative but just another food. I have eaten bacons made from plants that would stop even the most discerning bacon butty eater dead in their tracks. But I have tasted some that are absolutely terrible too. I’ve learned to accept no substitutes but to see any alternative as just another type. Camp coffee, a Brand, can never replace a Columbian coffee. It is just another drink type in the same way tea is to coffee. With so many choices for plant-based anything you care to name, I am aware that we in woodworking have the same considerations coming from those who engineer flat boards to look like any wood we want to name too.
Now how did I get there? Ah! Yes, I know. It takes me back to my often-said thing and that is that often we have to see what something is not to see what it is. Vice versa, you have to what something is to see what it is not. In my world, as a vegetarian, I rarely if ever look for a food as a substitute but treat all things as merely other types of food or drink. In similar vein, MDF will never be wood even if a large percentage of its constituents might well be from wood and neither can any other engineered material for that matter. Below are a couple of questions needing answers. Comparing the outcomes of machining materials with the outcome of hand tools is not one and the same either. There are remarkable machine processes that hand toolists might feel they need to parallel in their woodworking at the workbench; they can get the impression that the outcome of hand tools should be one and the same. Mostly that is not realistic but it also needs a bit of explaining for clarity as well as determining our ultimate goals. This might lead to a longer blog (my usual bad).
Happy New Year,
Do you have any suggestions on how to successfully plane boards to the same thickness? This has been a challenge for me in my woodworking. I always check boards for true flat surfaces and use this surface to square other surfaces. I use a #5 or #6 plane to do this and a shooting board for the edges. The problem is trying to keep the flat surface dimensions of various pieces the same.
I guess that this comes with experience and taking smaller thickness corrections as you zero in. Any assistance you can offer would be helpful.
John
Hi Paul,
I have begun watching your 1st episode in the new bed series and noted the techniques you are using with the bandsaw and planes to efficiently dimension your material. I have often struggled to efficiently dimension longer material in my attempts to achieve flatness/squareness using your technique of planing a section at a time starting at the nose. I often find myself dealing with humps I develop along the face or tapers on the end. Admittedly, I am pretty focused on flatness/straightness in the quality of my boards, only to find out that the wood will move a bit a day later. Can you help me to better understand the precision goal, in light of where it may or may not be as critical? That part caught my attention as you were planing the legs and rails.
I appreciate the help.
God’s blessings to you, sir,
Andy

Answering John.
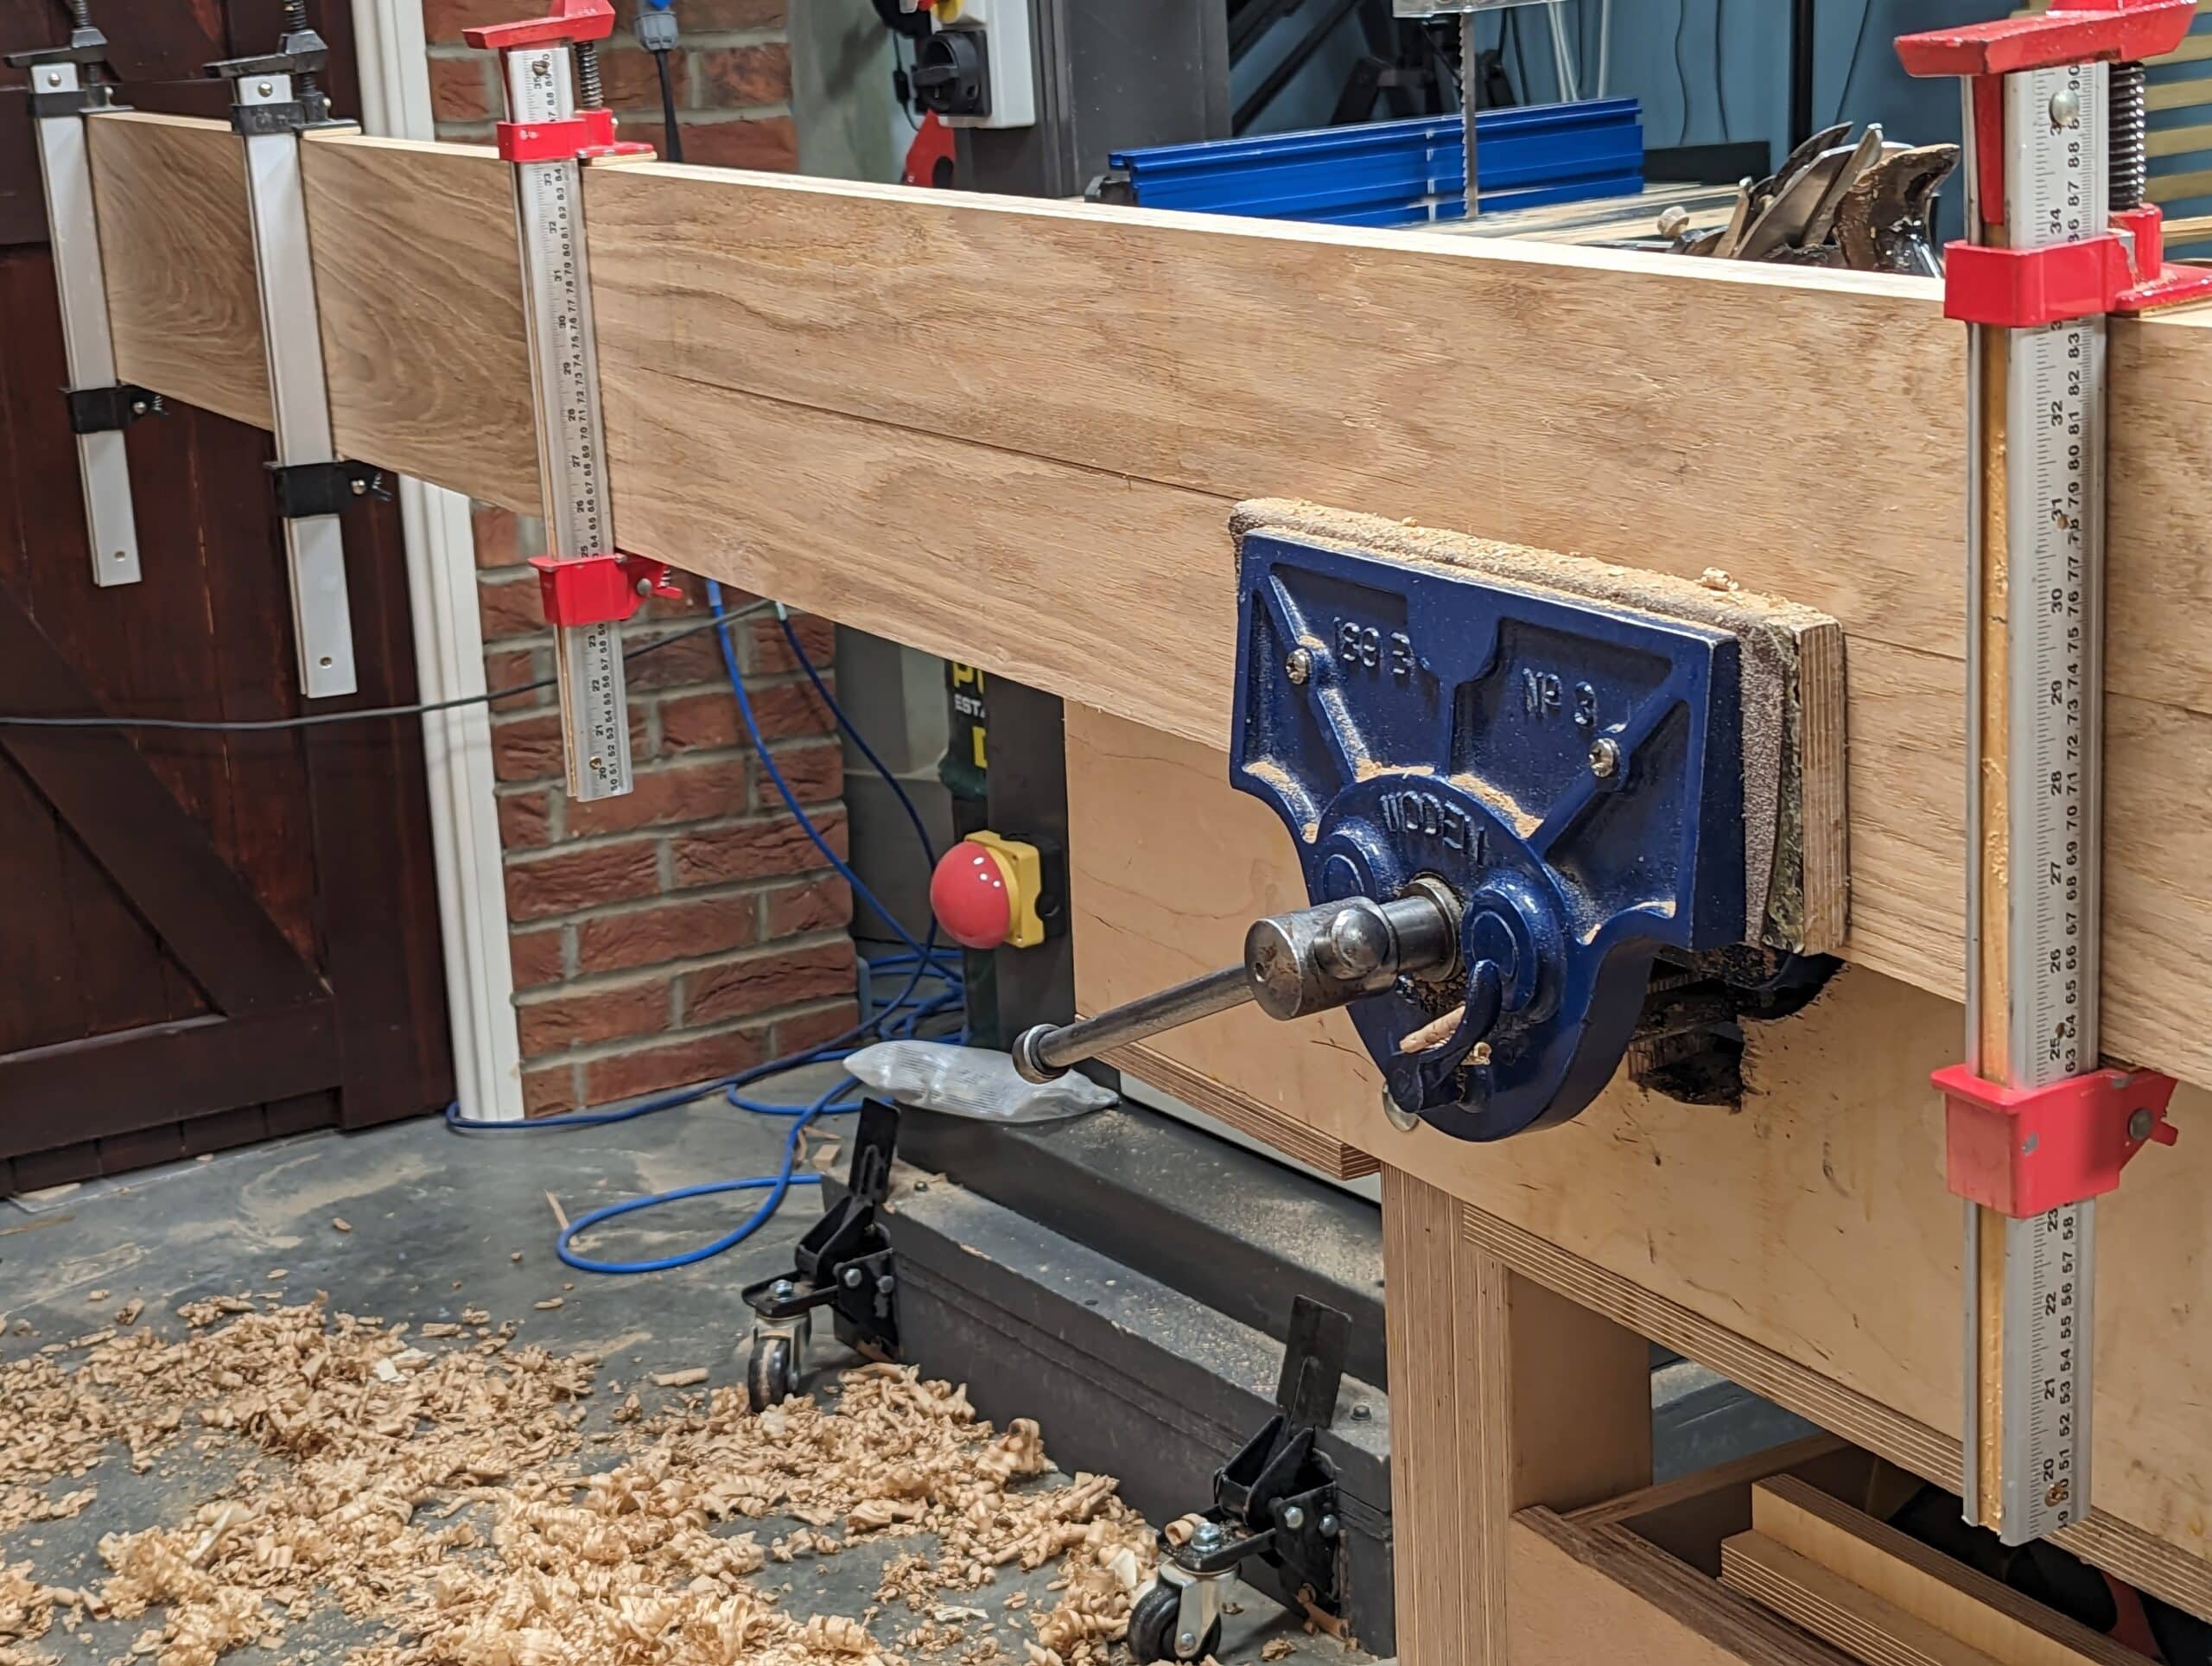
Thank you for the greeting. Same to you, John. In the machine world, especially at the more commercial end, machines can true and deliver sticks and stems of any size perfectly flat parallel and fully squared by simply allowing the conveyor belt to deliver the wood to the power feed and in so many feet run per second the sizing of all dimensions is within minute fractions of thousandths of a centimetre. Less sophisticated systems requiring an operative to hand feed the wood in and out of the machines as a system will also give similar quality of cut but without the speed. Home workshops often have a series of four or five machines that rip, crosscut, surface plane and then thickness plane in only minutes. the feel test will show no noticeable difference in parallelity and when machined properly adjacent faces will indeed be dead square.

We hand toolists can have a dozen reasons for non-machine woodworking in our lives. High-rise apartments, neighbour objection, space alone and so on, but then there is the reality that we just don’t want the machine work in our lives. There can be another dozen reasons for this too: Health, safety, noise exercise, etc. The challenge alone is enough. We don’t catch the bus when we go for a hike and neither do we take the ski lift if we want to climb a mountain. In my present world I just don’t want to be a machinist and so keep them to a minimum. Over a 20-year period, I have reduced their presence to one 16″ bandsaw in my single-car garage-sized workshop. It works great.

Looking back in the history of vintage furniture when the bulk of making was making using hand tools and you quickly see the economy of making using body energy only. The unseen parts beneath drawers and the insides of some cabinets own the tool marks left in the wood by the maker. By this, we soon learn from what was made by hand by the masters of their craft, realistic woodworkers who developed specific methods and standards for truing their wood within the restriction of a time frame. You tell me that you straighten and flatten one face and then work the edge using a shooting board. No matter the method or the tools used, these two surfaces are prepared purely to register the layout tools to. The marking gauges reference one or both faces as will the stock of the square. It is also against these two trued faces that we establish parallelity to saw and plane to and it is here that we have to make decisions. How parallel is parallel and what are the parameters we need to work within?
Watching my videos might well give the impression that everything is thickness planed to perfection so that we have equality throughout. In general, I don’t. In some circumstances, I will. Making doors I am pretty high in self-demand. For my recent bed, the bar was much lower. What was the difference? Size, distance between components, strengths in terms of flexing under pressures, tolerance, wasted energies, the interplay between facets and how they relate in all of their key parts; my decision-making regarding parallelity in thicknesses, etc are all made minute by minute. With a bed or table, the components and distances are far apart, long, distanced from one another. I let things slide more because no one can draw a comparison on such parts as the long side rails as to parallelity and thicknesses. It makes no difference if one end of a six-foot rail is an eighth of an inch narrower in thickness or half an inch in width. Nobody can see to visualise or gauge the difference visually.
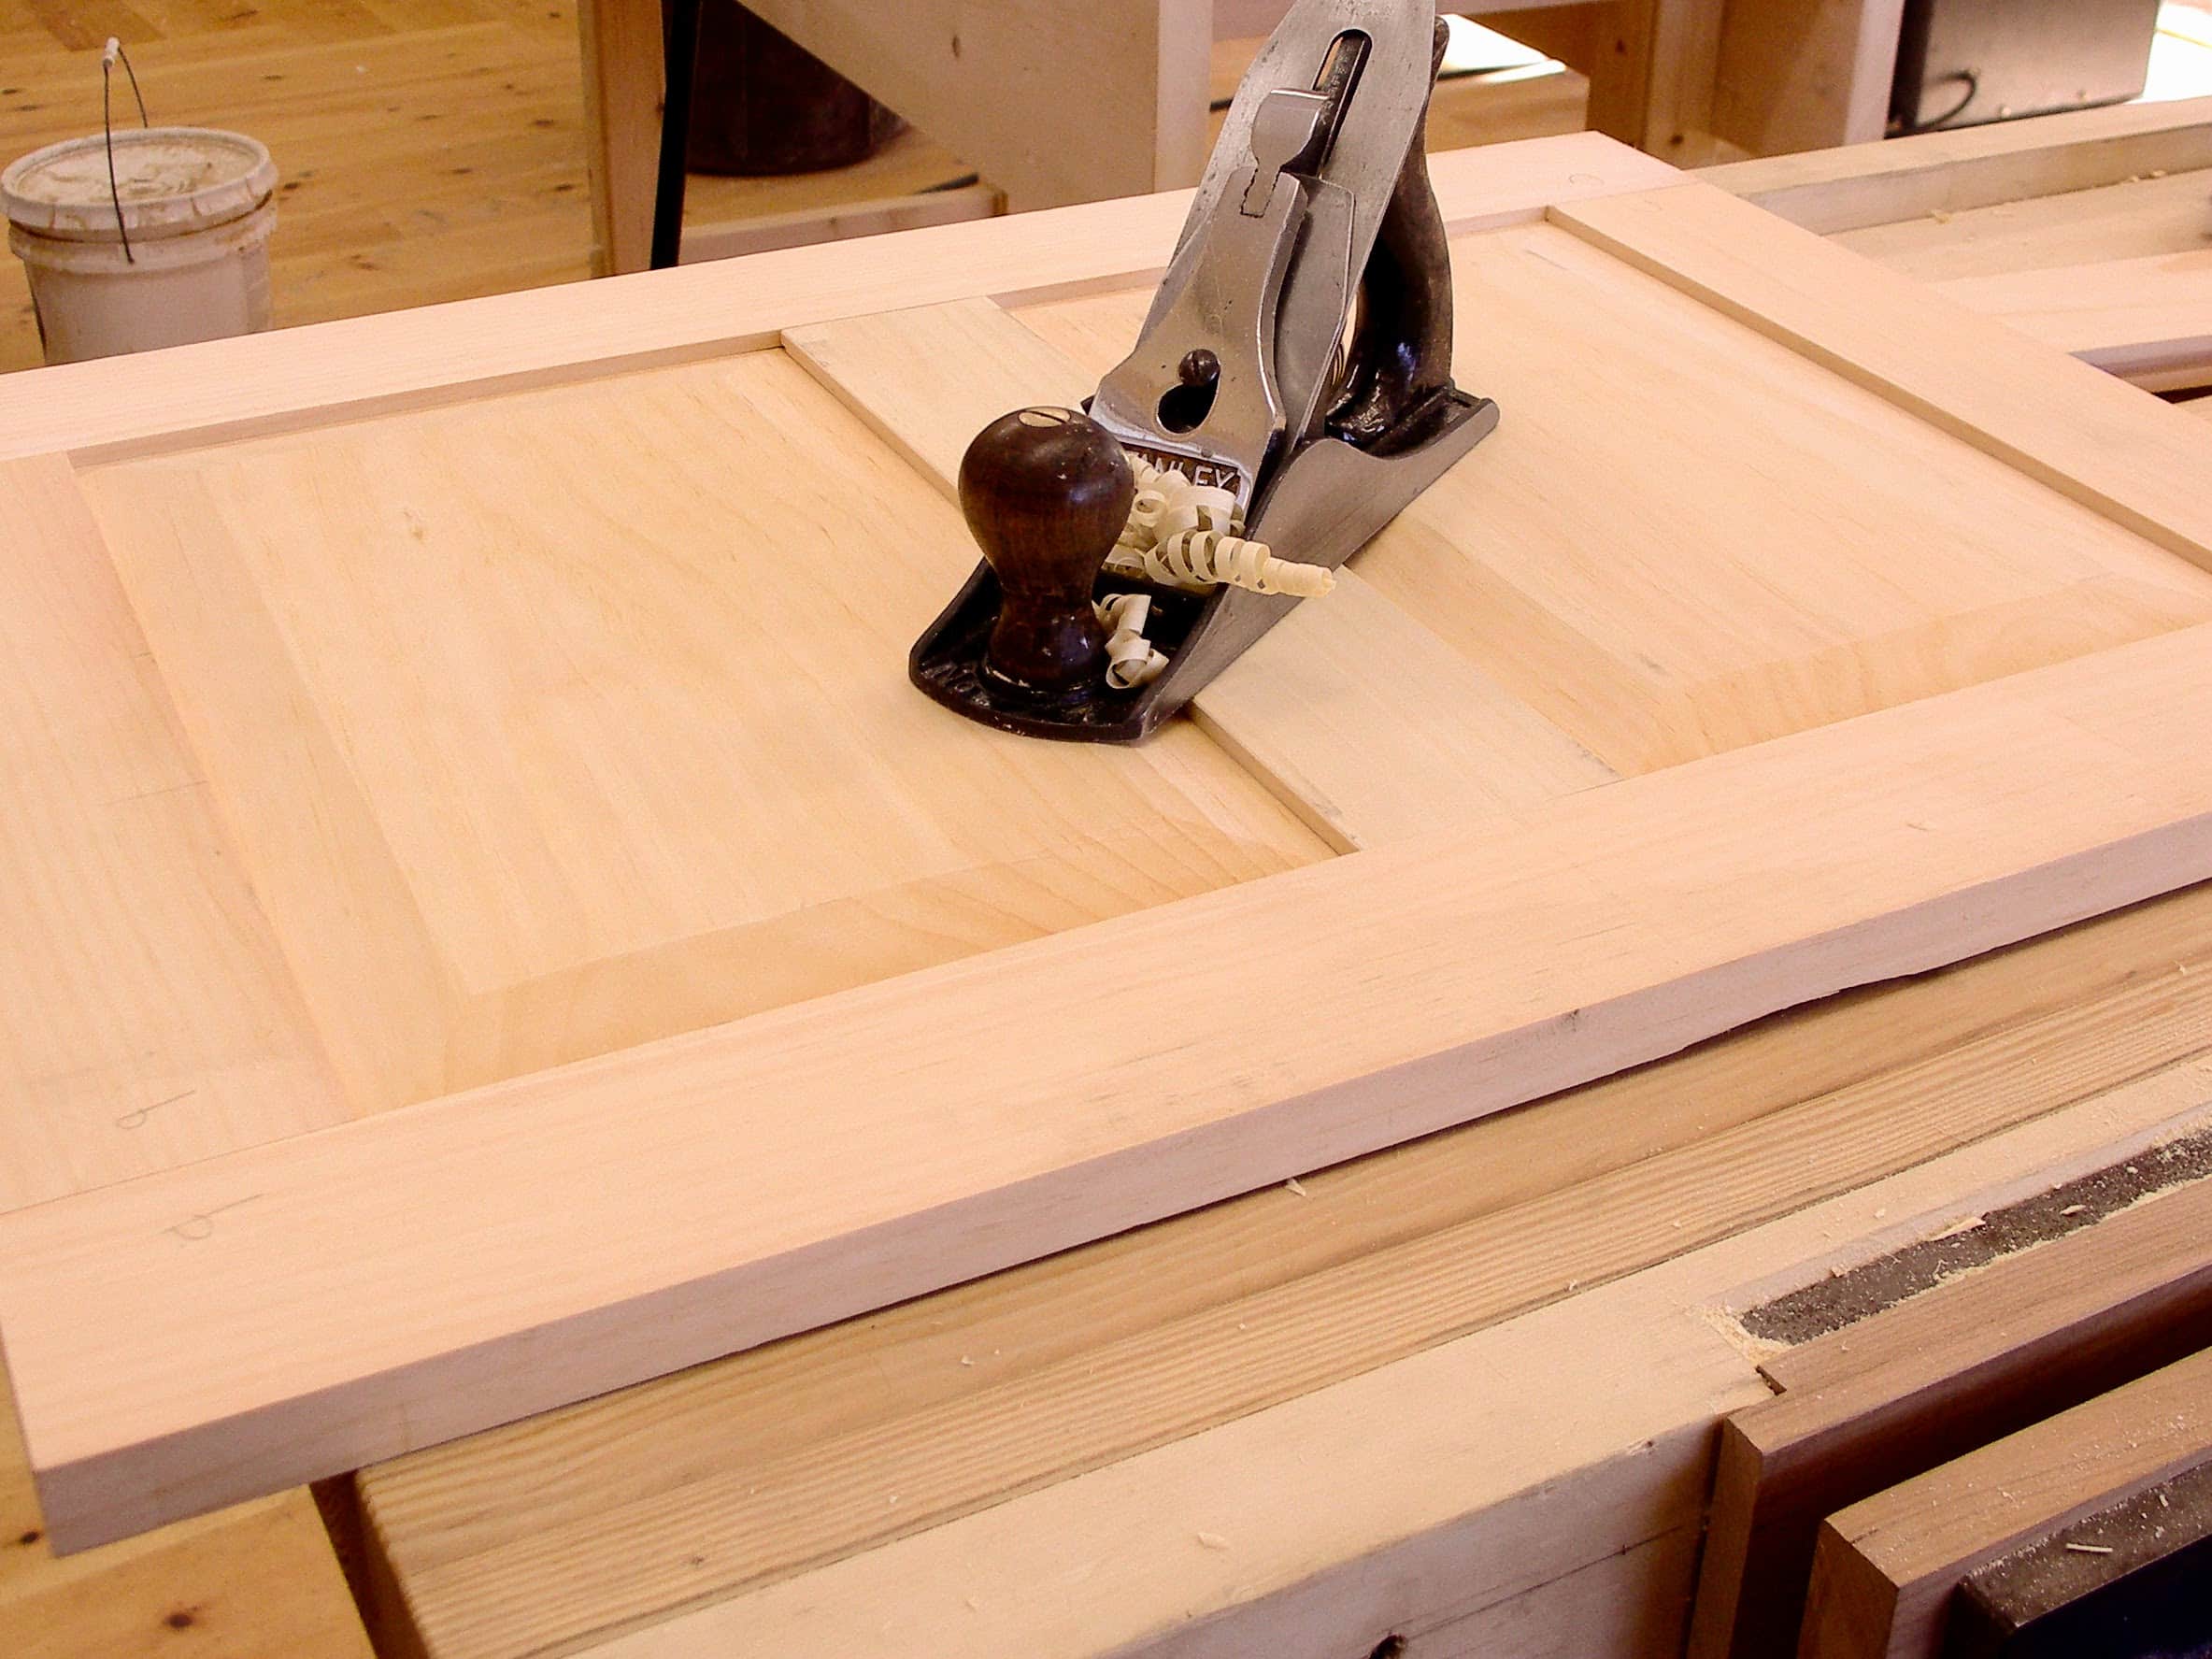
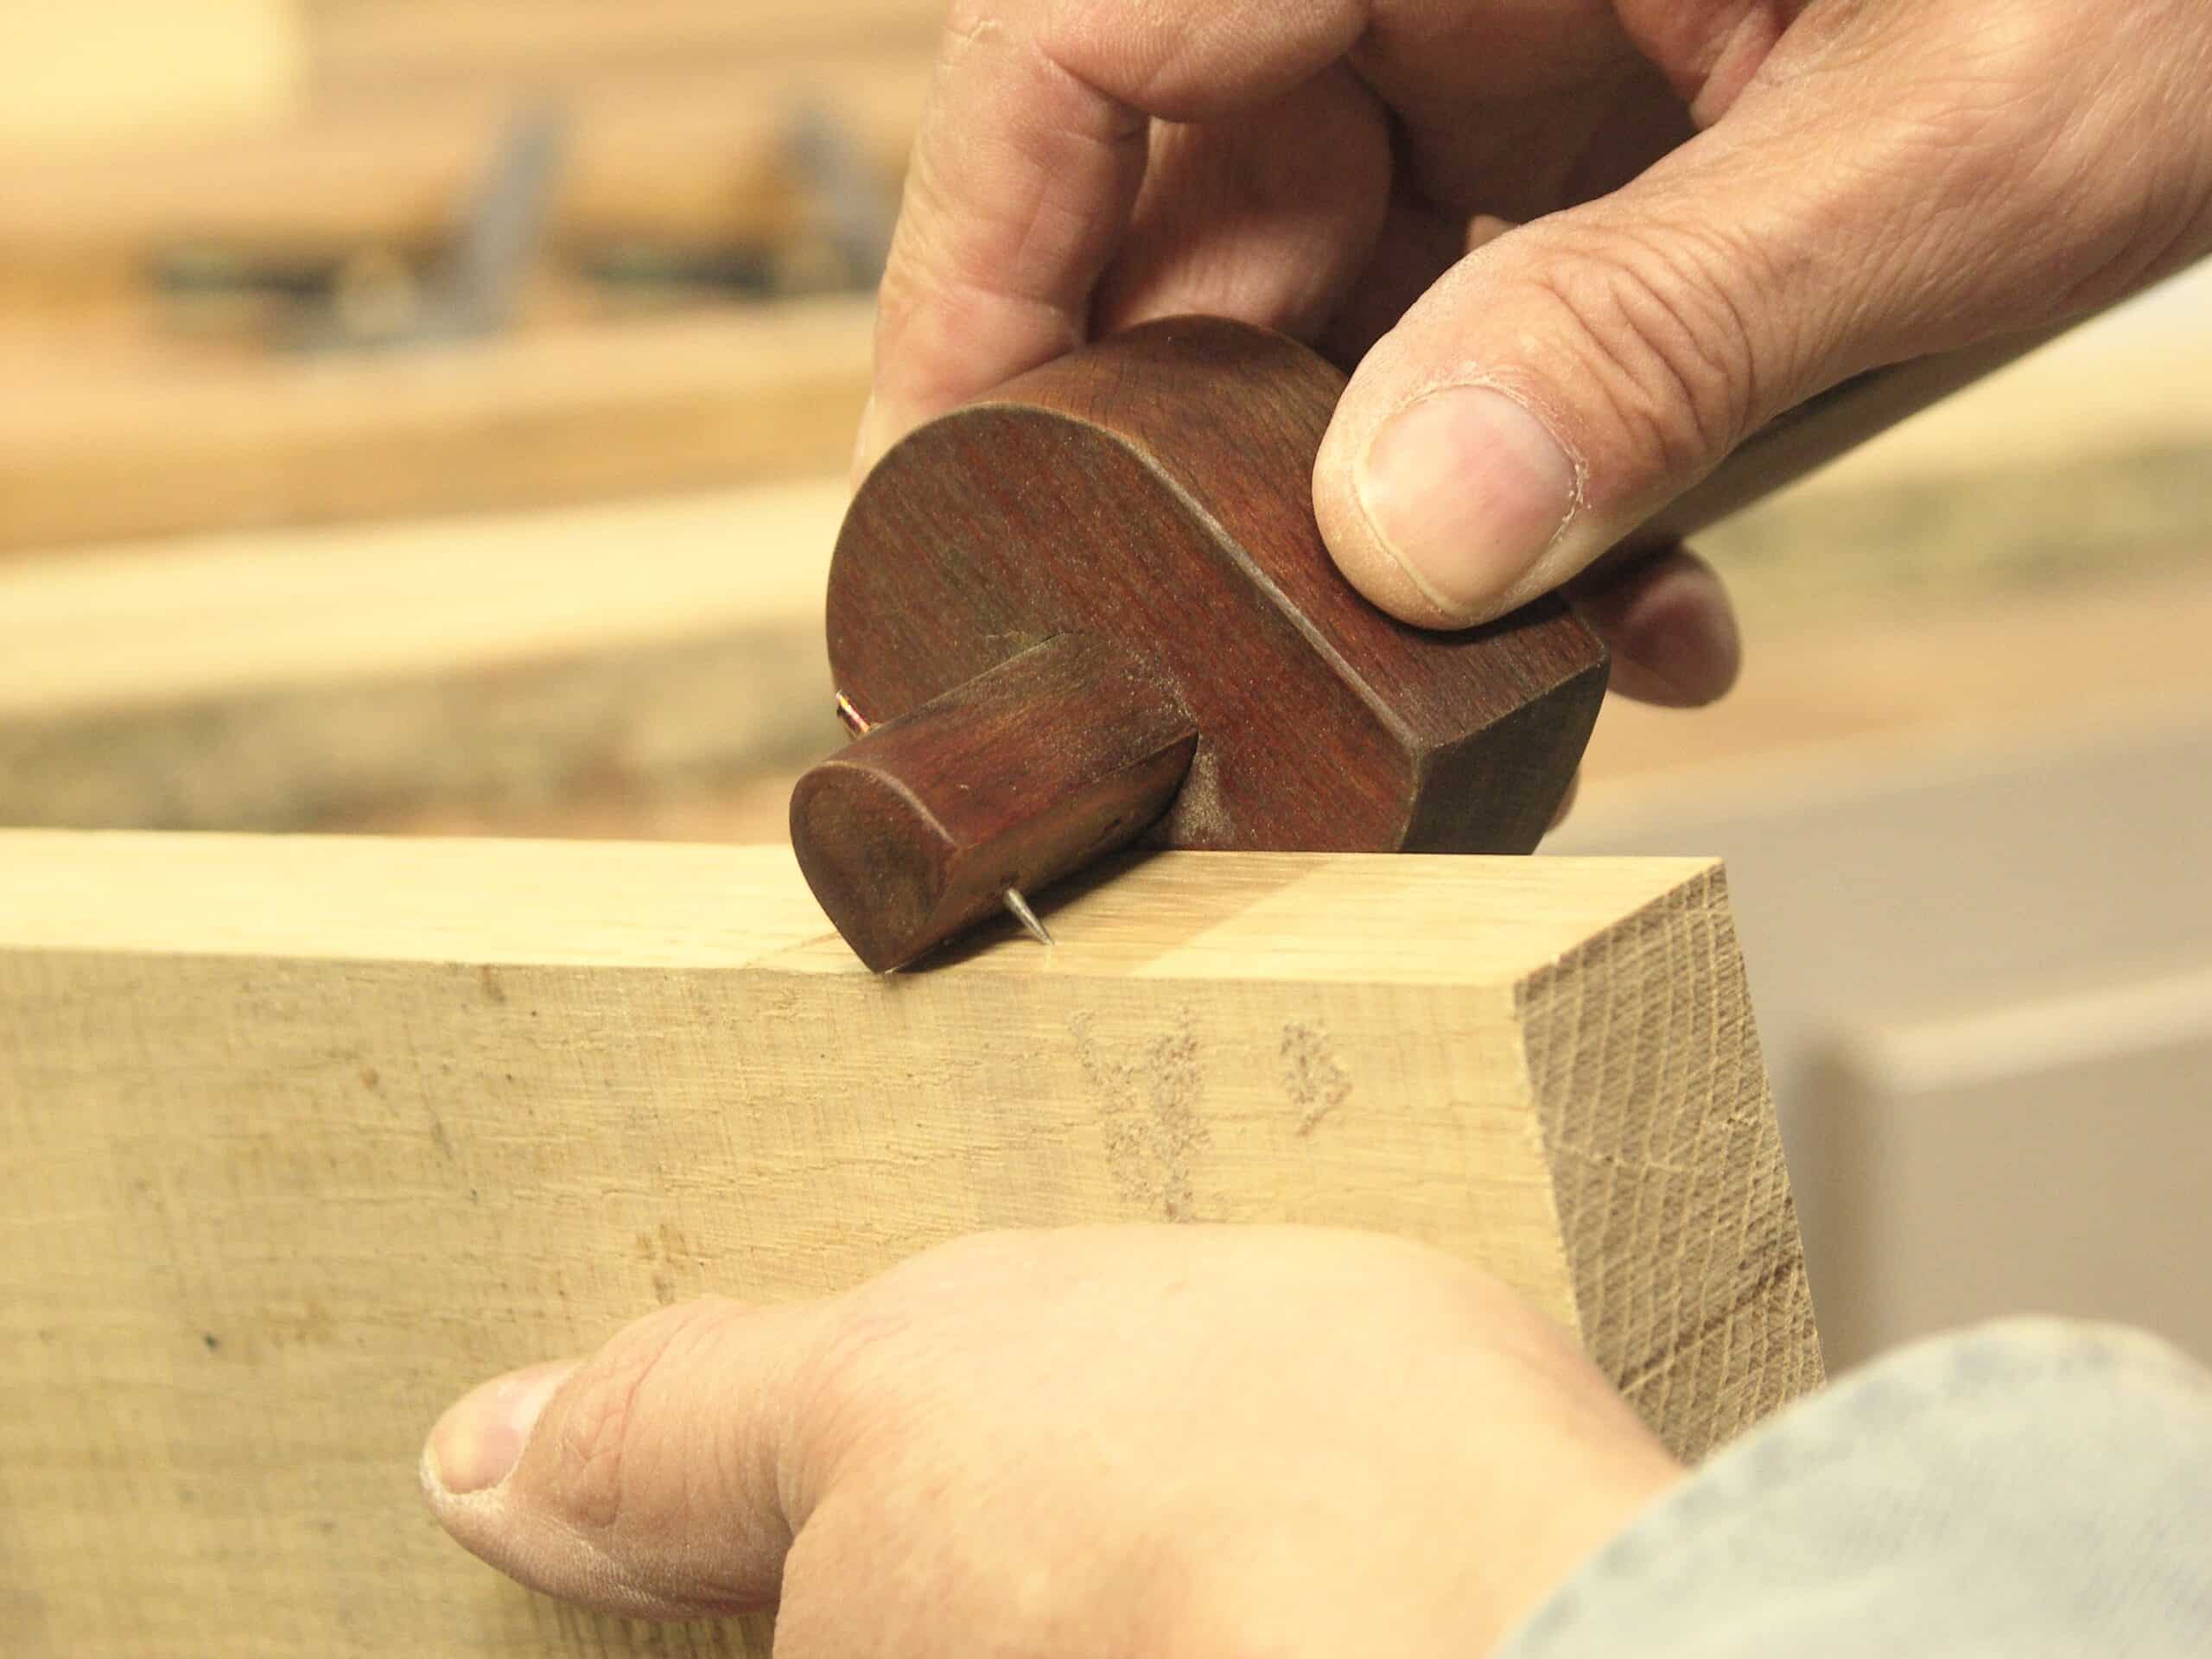
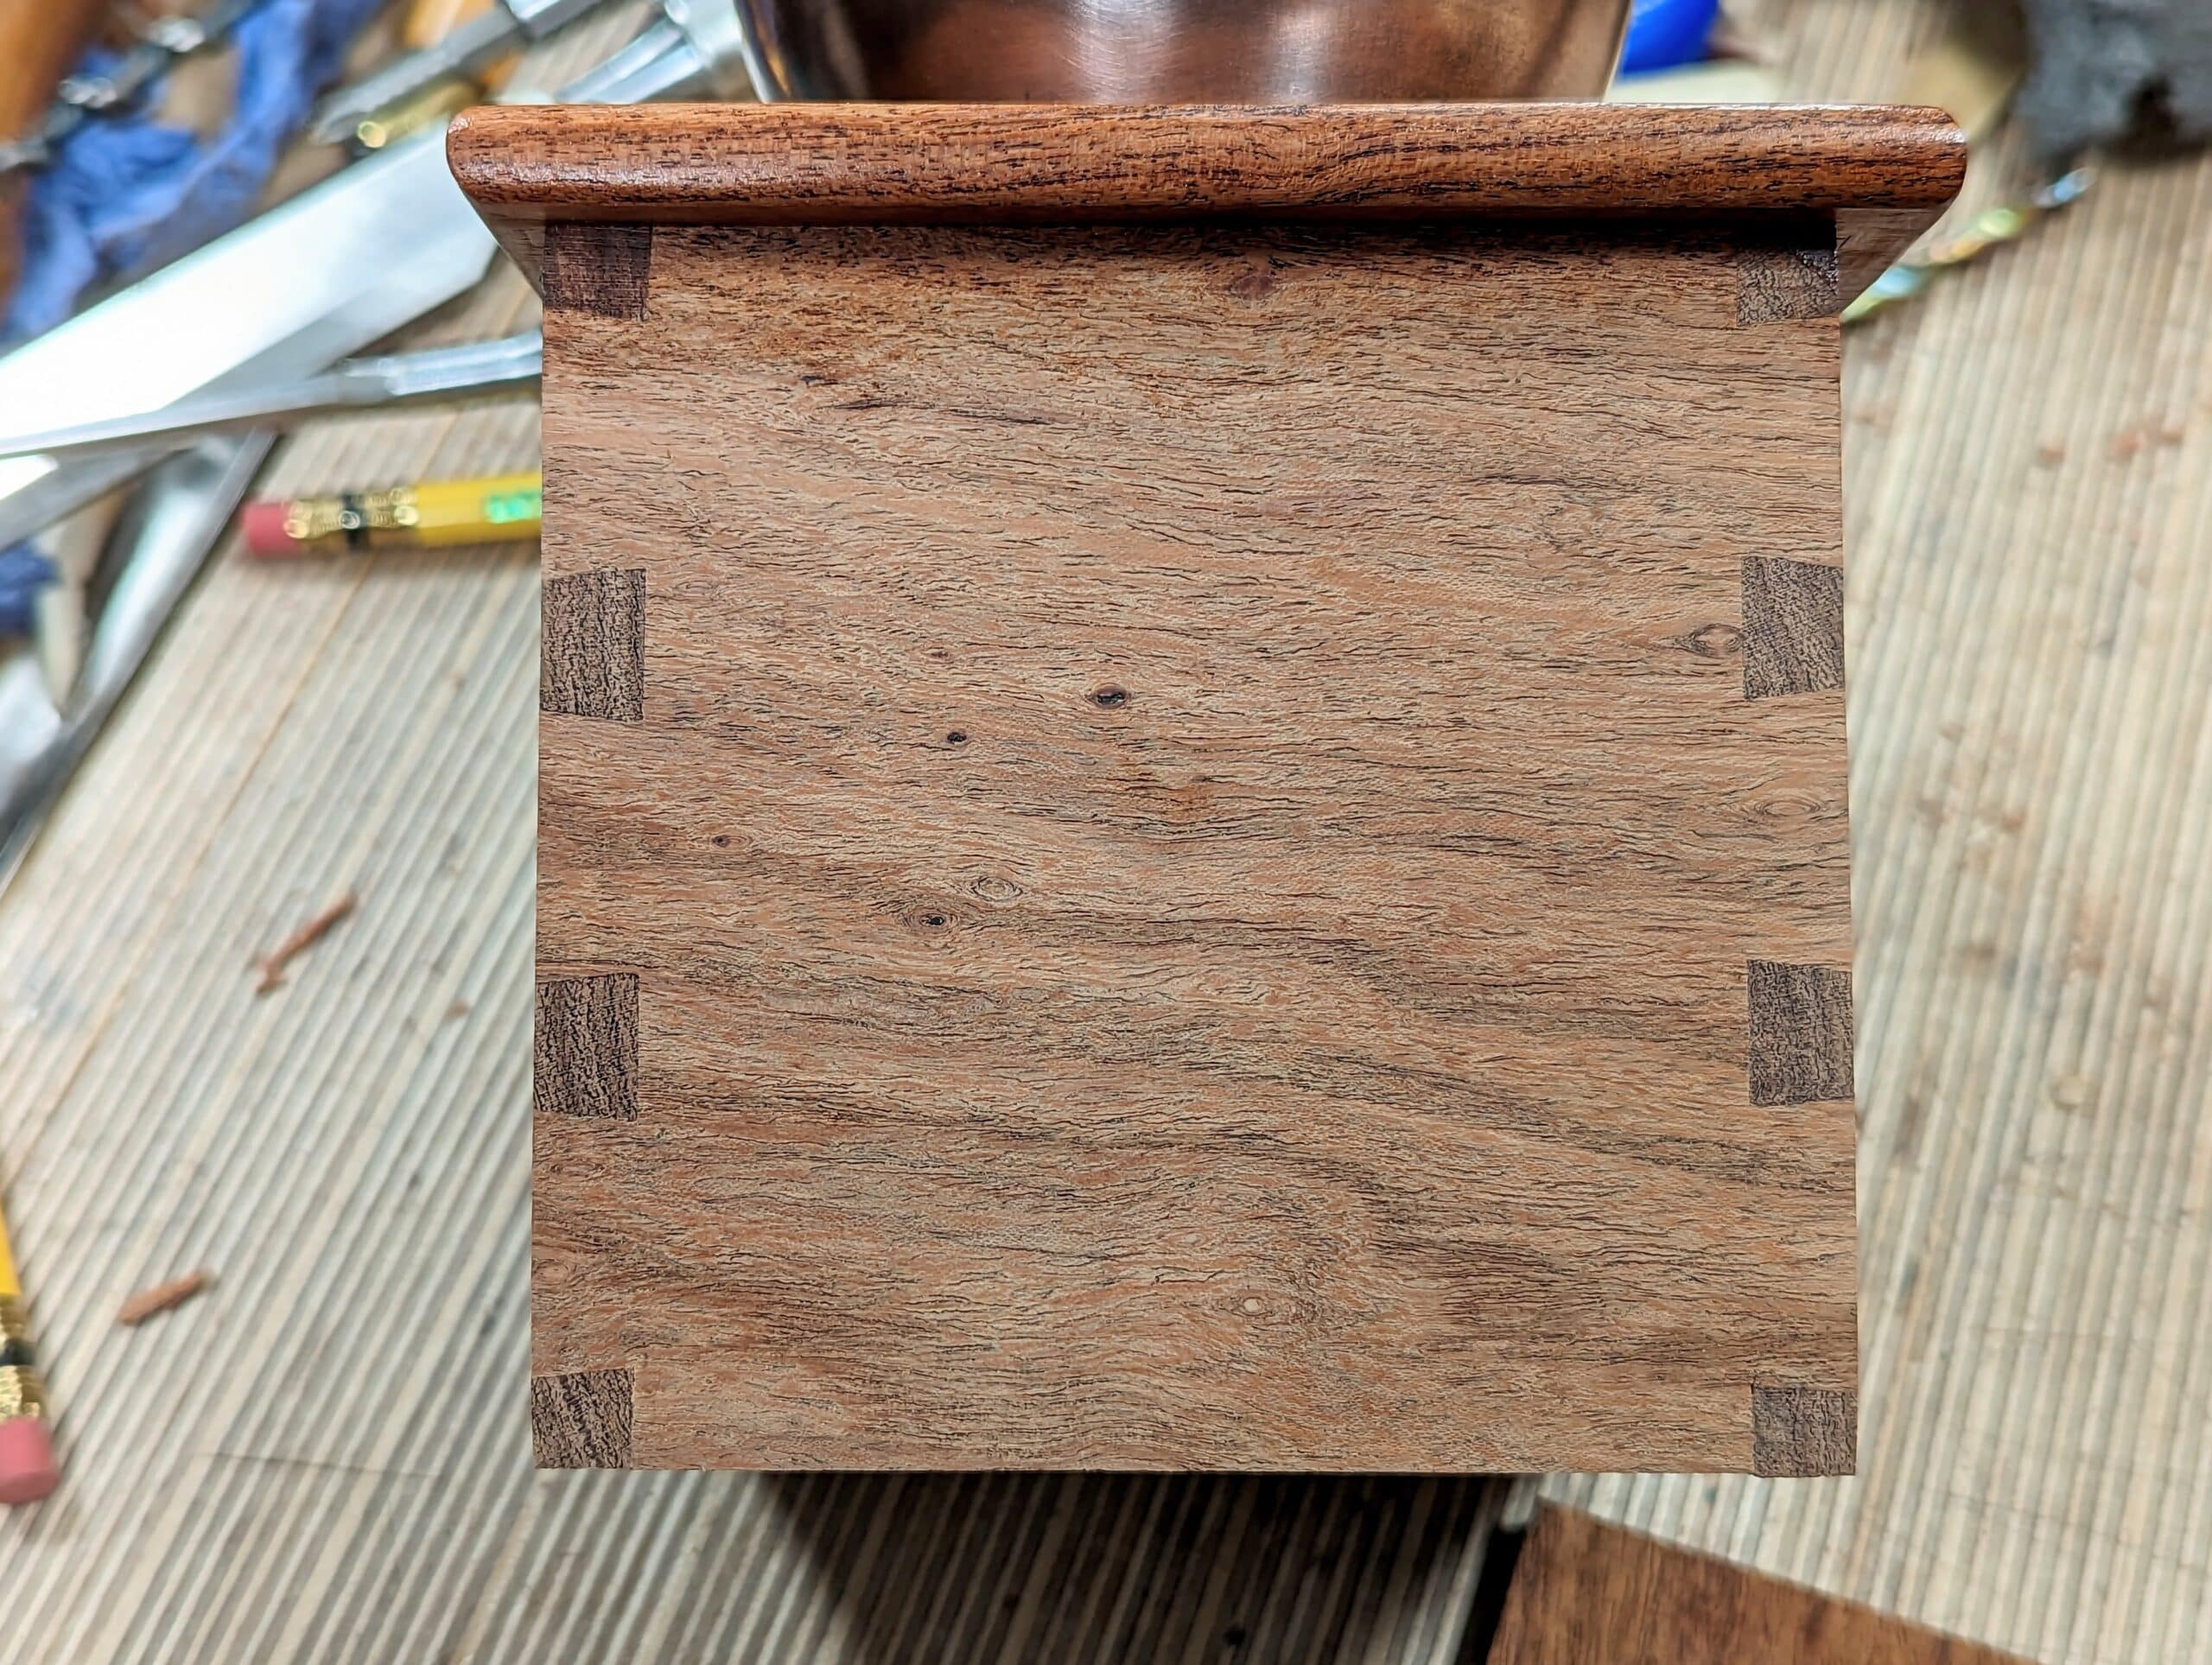
The face-mark, face-edge marking spans centuries of woodworking. There are other systems too, but in western woodworking, these seem to have stood the test of time. Planing that larger first face true and giving it its marking attests to our work and approval. This will be the face we will use for registering all of the tools too as much as possible. The adjacent face will be trued string and true too, with the addition of squaring it to the first proven face. This too gets its face-edge mark as shown. Using the marking gauge to establish the line of the final dimension for thicknesses from these lines is our task now. Taking a look inside vintage cabinets, the backsides of them often show many discrepancies cabinet makers and joiners lived with. there was no wasted energy resulting in wasted time. A rail to a door might be a millimetre thicker but the prominent face will be flush with the stile. taking a straightedge to the inside will often show that it was planed to a very slight slope to feather in the discrepancy and that was acceptable. Modern machining will work only with identical thicknessing otherwise it just will not work to mass-make in the hundreds and thousands. But we are not working in or even near those realms. Imagine belt sanders three feet wide where all of the doors pass through and pass on to a spray system that delivers the finished doors at the other end.
What am I saying? We hand toolists can be and are for the main part far, far more tolerant than others might often think but at the same time we have to follow certain rules as closely as possible. The two faces face- and edge-marked ensure that we can make a perfectly square and untwisted door. The frame or box will flush or smooth or fully aligned with and by these two reference surfaces. The opposite sides may well have minor discrepancies, small differences in thicknesses and such, but these are taken care of with the plane before or after glue up. Our system using well-proven methods to establish registration faces to synchronise all of our layout and surface planing, etc means that the important faces fully align whereas the opposite faces on the insides will ultimately need some remedial planing to level the parts and this varies according to our level of tolerance when we planned for parallelity.
I have seen many a piece of fine furniture from some historic past where deep kerf from circular saws, adze and axe chops and then pit saw sawing too have been an integrated part of back panels, inside unseen faces and so on. This economy of time and effort was a factor of handwork. The finer the demands of their customers, the less these might be.
Answering Andy:
Following on from my answer to John, it’s a judgement call on many things straightness. Long bends in wider boards for things like the side rails of the bed and bottom rails of the head and footboard really do not need to be dead straight. I might even say reconsider twists in such pieces too. The sheer weight of large frames combined with adjacent boards can tame bends and bows by sheer weight alone.
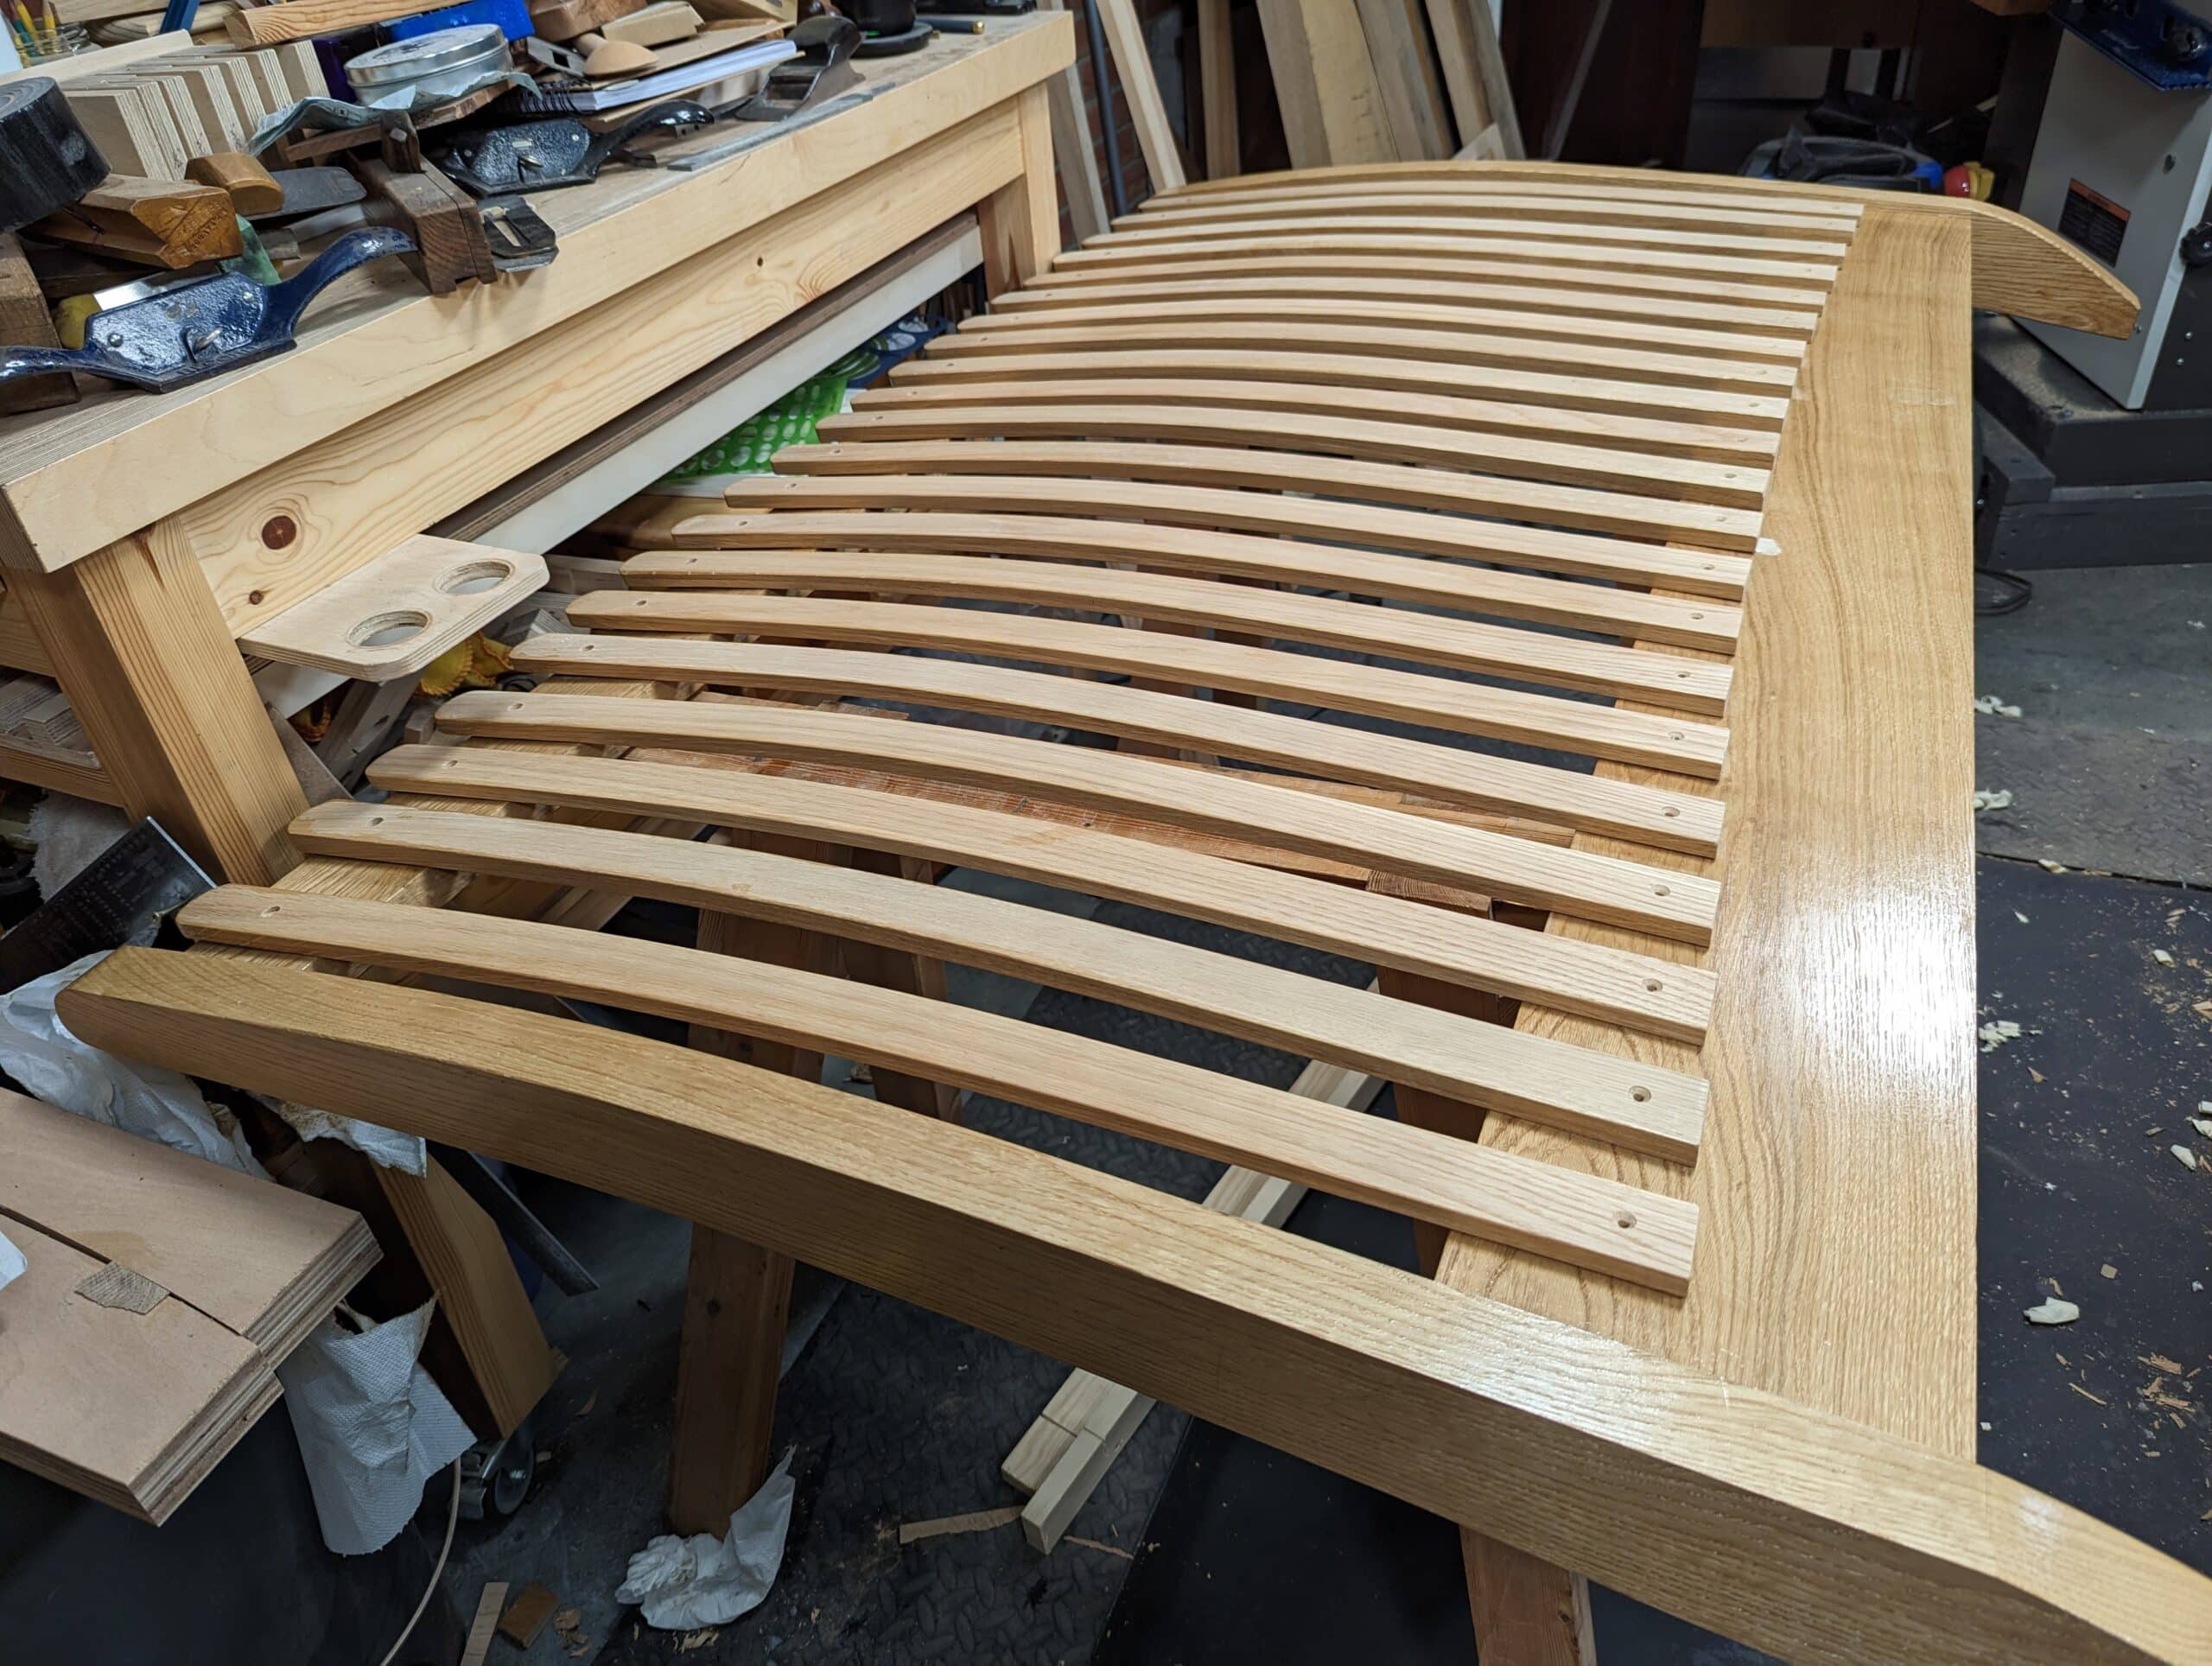
The two rails and posts to the headboard felt quite light once framed and fitted but adding the slats seemed to about double the weight. I had not expected that, but that mass of weight from all areas would indeed force compliance easily when assembled and standing in place with the mattress installed. Whereas we aim for twist-free stock, it doesn’t take long to lose the thickness for the sake of removing twist. Let’s take the bed. I made certain that the posts for the head and footboard were twist-free, straight and true and the edges were all square. Any small degree of discrepancy here will telegraph into the rails multiple times and those multiple times will throw the whole frame into a gigantic twist. The stoutness of the posts will stand rigid and immovable. The thinner rails on the other hand will flex far more readily. Adding the slats, all 19 of them, totals a width distance of almost 30″.

Combine the pulling power of the screws through untwisted slats over such a combined width will serve with the posts and the untwisted and straight other rail to pull the whole into submission. A hinged door on the other hand must be made untwisted because it only has one fixed and immovable stile. The free or floating stile must be made in direct alignment to the fixed (hinged) stile otherwise the door will appear, as it is, twisted. Tabletops follow a similar consideration. Bows placed in opposite directions while exaggerating the problem can be used to counter one another in glue up. I tend to let some bows go and simply level them to flat across-the-board width only. In 95% of cases, this strategy works just fine. On the bed, I turned the long, curved bows inwards so that putting mattress support boards in pushed the sides out to equalise parallelity. There are many tricks of the trade we use to pull and push the parts to compliance. If a tabletop ends up with a dipped hollow then adding a cross member underneath, between the apron rails will push the hollow up to level the same way if it is cambered the rail serves as an anchor to pull it to with turn buttons, cleats or screws.
And you are right in finding wood that is straight one day, after truing, often takes on some unpredictable curve the next.
Your notion of preparing and marking two reference faces
and only measuring from those seems so obvious in hindsight, but critical.
Starting from a somewhat machinist POV but without sufficient machine tools or skill,
I tended to assume squareness & parellelness at all the wrong times.
Measuring from different places, every inaccuracy from the original reference
face gets amplified in each step.
So I was chasing bad fits, with parts getting smaller & smaller.
until I remembered your point.
It’s a slow process, but the journey is fun!
Thanks!
In my youth, when we only had old secondhand furniture, much of it was unworked surfaces on the hidden surfaces. I remember then thinking that it a bit shoddy. However, it now seems sensible to be that the effort (time) was put into what would show. The present old wooden chairs that we have, the underside of the seats is not planed. One of the things that I like about them is that although they are the same, they are all different.
The machine made pine doors that we have were no doubt all made to identical measurements, but the grain showing through the Danish Oil surface makes them all very different.
Wood itself differs from piece to piece, and behaves differently through its life. Even if it starts life as perfect, it is unlikely to stay that way. What “imperfections” to accept is part of the fun of making things.
“There are many tricks of the trade we use to pull and push the parts to compliance.”I am sure many of your more experienced viewers would love for you to share more of these “Tricks of the Trade” to bring their work to another level.Please don’t be distressed by this request, you are the reason many of us have made it to this point in woodworking. So thank you for all that you do!
I think perpendicular table leg sides are critical for joining aprons to legs because discrepancies are visible where the tenon goes into the mortise where they meet but once past that point and on the outside of the legs squareness is not as critical as any discrepancies are not readily visible.
Thanks Paul, helping keep hand tool woodworking alive is a real service to those of us who enjoy it
I’m under the impression that dovetails are the one joint that require 4-squareness, at least at the ends of the boards where the joint will be cut. Is this strictly-speaking true?
yes and no. Some people use a marking gauge to mark the depth of the recesses and run the stock of the gauge against the ends of the material. I don’t. Never have and never will. The end result seems to look less than it should to me. Using knifewalls squared across and marked in between tails and pins leaves no trace on the face of the wood. I especially like the cleanness this gives on boxes exposed to view. Jewellery boxes, cahones, keepsake boxes and many more. For a toolbox being painted, I suppose it would be fine. But I accept it is really a matter of opinion.
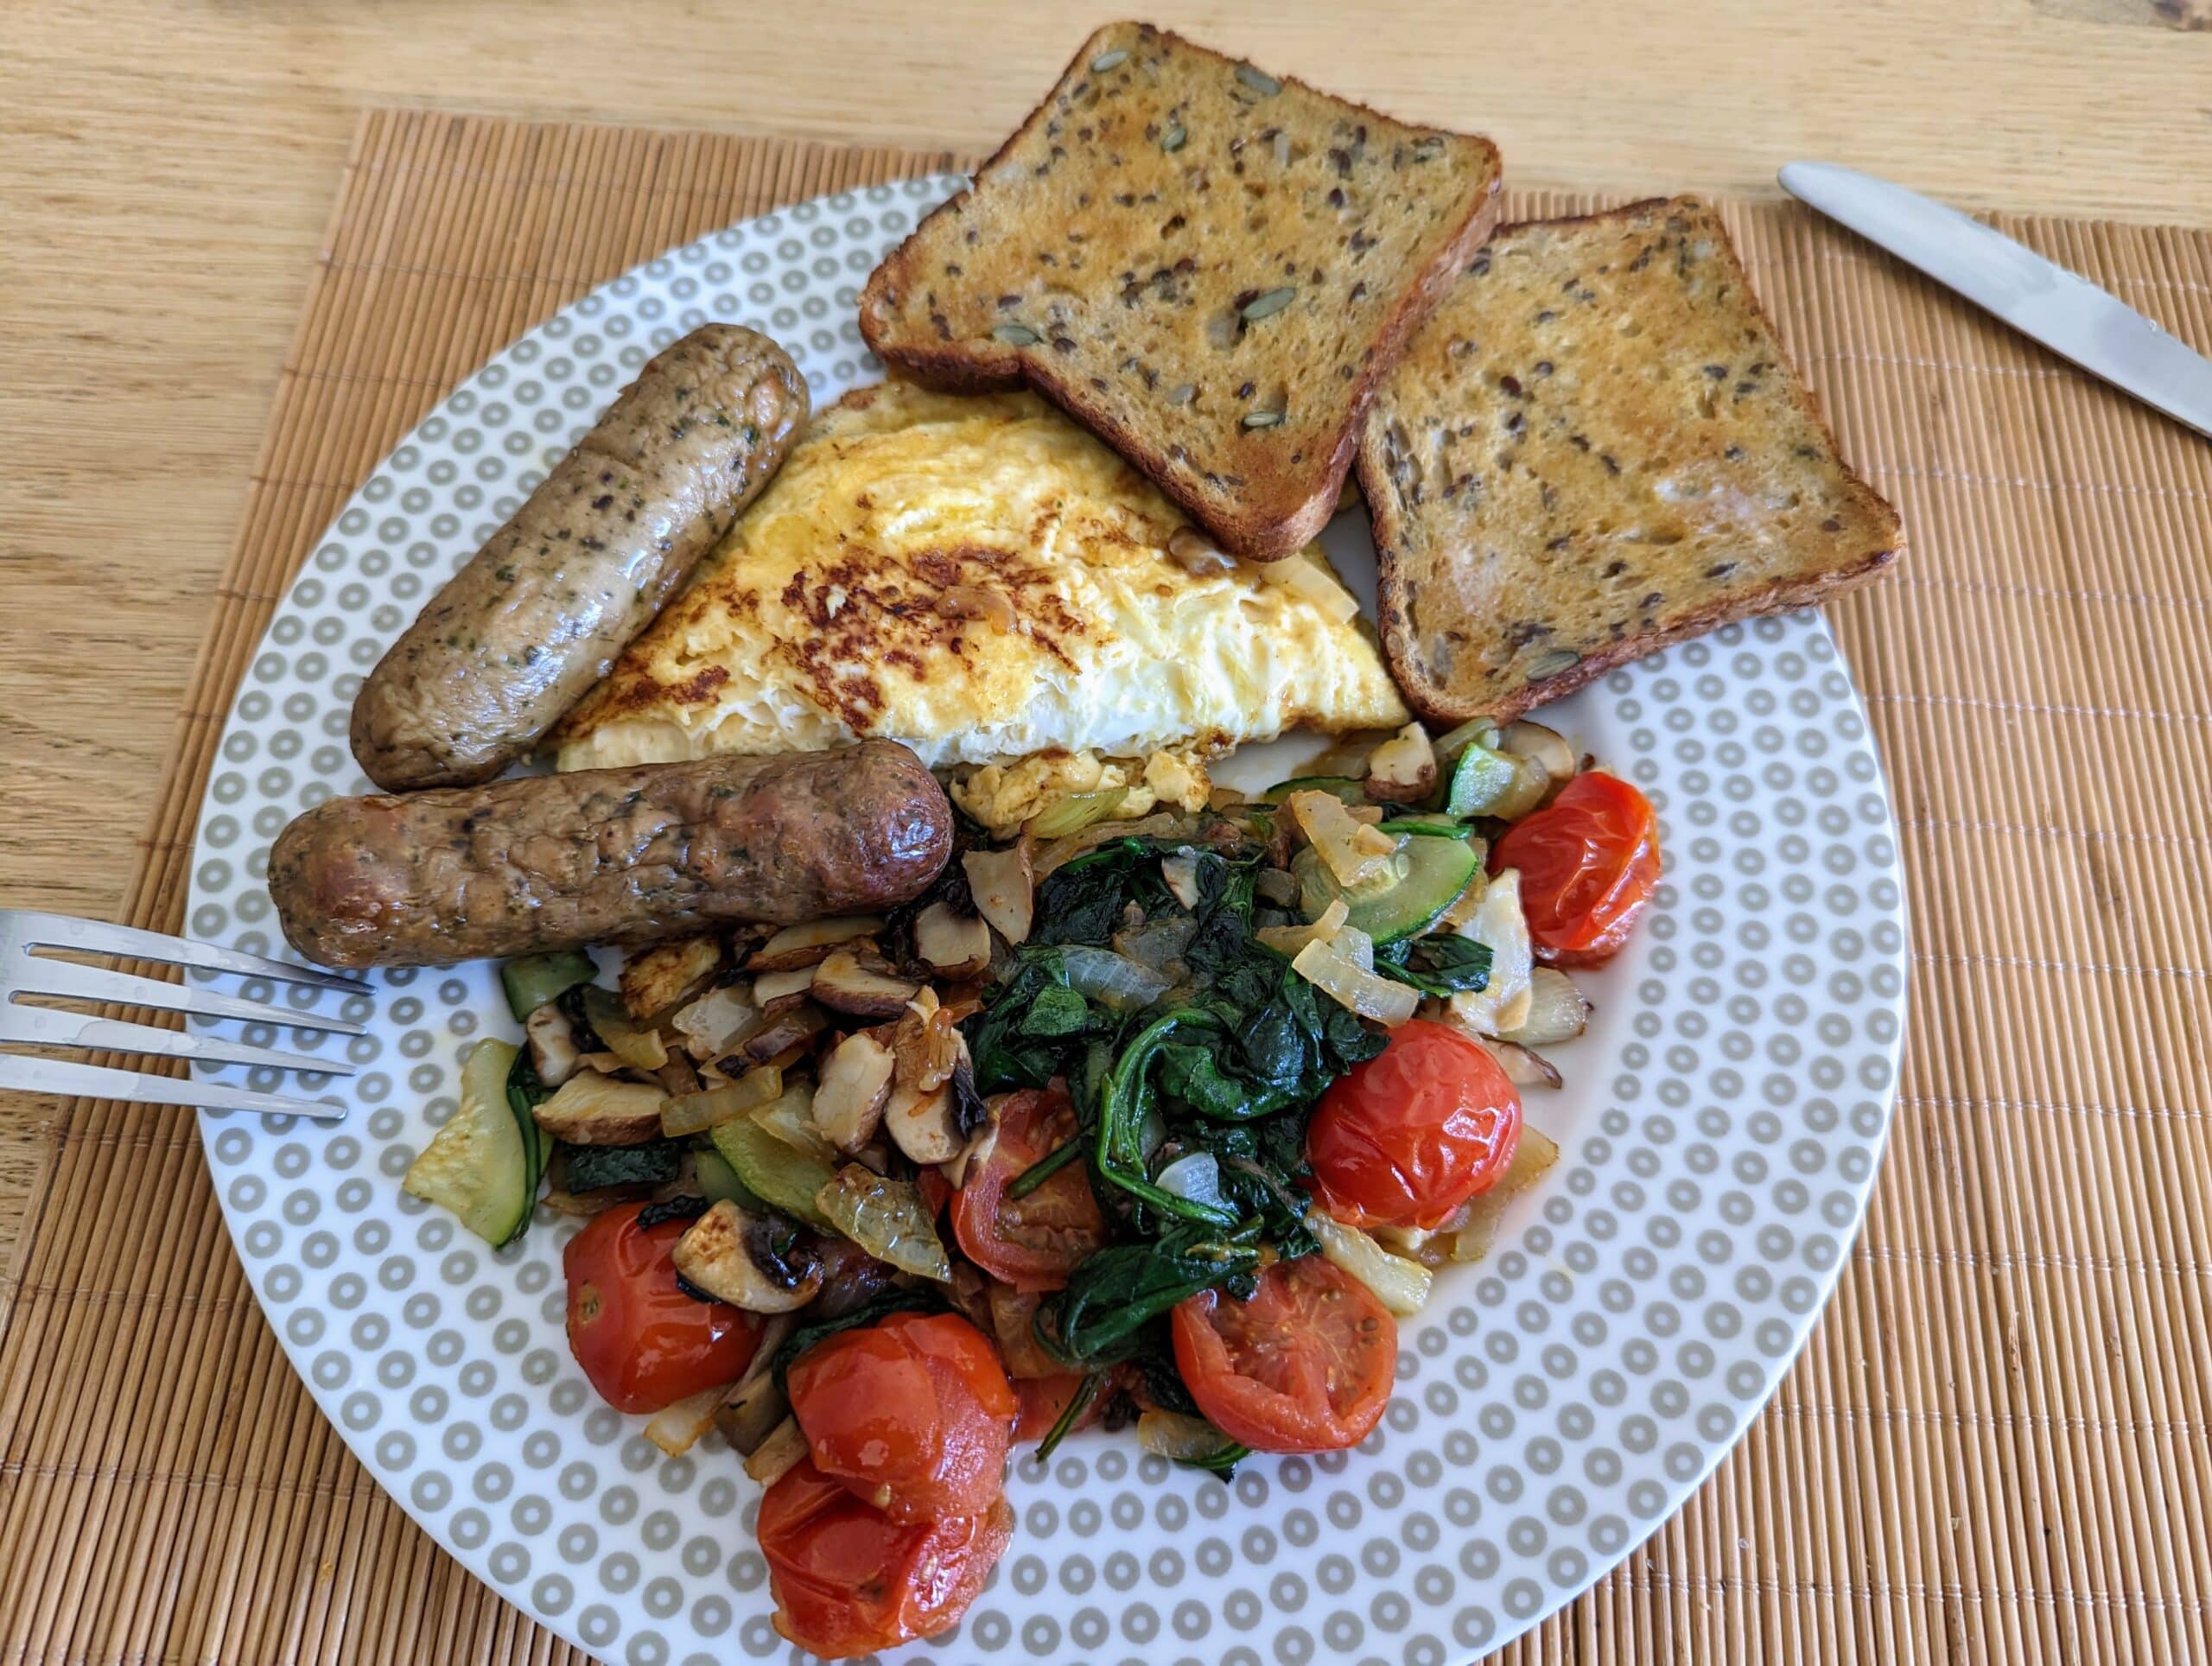
That breakfast looks great! Do you eat that most mornings? I’m a meat-eater, but I still love trying the plant-based “meats” and those sausages look great. Also, the Burger King Impossible Whopper tastes just like the real thing!
Happy belated birthday and new year paul.
If you were happy to Paul, I would be extremely curious if you could plane a piece of wood where high “4 square” precision is required (eg for a cupboard door style), and then you could provide a calliper measurement of the thickness at each corner.
I fully appreciate the concept that sometimes high precision is required, and sometimes not. The problem is that without someone nearby to directly learn from, a number would be really helpful to have a guide that “this is the difference in thickness at the corners when an expert planes a board accurately flat”. [I get this will not tell me about twist, or square, just thickness, but this is a useful first step].
hope my question makes sense! rgds paul
I’ve added a thin wooden straightedge to my stock prep tools, and it’s helped a ton in figuring out where the work is needed, speeding things up. 1/2″ stock, maybe 2-3/4″ wide in the middle, 3′ long (18″ for shorter boards and for checking across widths), used upright (i.e. on its edge). It took about two weeks to “stabilize” after making, during which it needed to be re-straightened every few days, but after that it’s stayed surprisingly straight, even in the wacky temperature and humidity changes we get in Houston. For me, the straightedges and Paul’s tip about planing across the face (from an earlier stock prep series on the blog) have made a huge difference in accuracy, effort, and time.
Nice one. I have a less attractive but similar tool – just a length of extruded aluminium angle (one half of a pair of poor man’s winding sticks) for those (rare) times when something longer than the edge of the plane sole is required.
I’m glad to hear you don’t sweat every thickness and line, Paul. I’ve always suspected that this would be a valid approach, but I never quite commit to accepting it. It doesn’t always have to be perfectly straight and square. The very nature of wood makes that kind of precision a Herculean task, but my engineering mindset and your phenomenal joinery always gave me pause!
Hang on though. Square is not questionable. Square is square and a non-negotiable.
On the topic of vegetarianism, do you know of any animal-free alternatives to hide glue that are reversible? I’ve drawn a blank so far.
The closest I’ve found is Titebond hide glue, which used to be synthetic but unfortunately appears to be real now.
Casein glue is made from milk solids. pretty green for environmental purposes. Not as strong though.
q for Paul: drawknives: crude tool or masterpiece? how refined can you get with a drawknife? as fine as a plane?
Wonderful tools and especially the truly well-made versions. I own a couple but don’t use them in furniture making as I never make from green wood and see no good reason to as dry wood is ten times harder than green. I see them mostly used for something inappropriately called gipsy flowers where a few pulls on the bark of sticks result in curls forming petals to entertain children. Beyond that, it seems to me a tool most appropriate for people working green wood
I had wondered about why I never saw you using them. good info!
Thank you! Casein glue looks like a good candidate.
The life of casein glue is questionable for me. I have seen it disintegrate on furniture pieces that have been kept indoors and never neglected, leaving the joint left in a powdery residue.
Paul, Happy New Year!
I’ve enjoyed constructing your router plane kit, and thanks for
making the very good videos, they have helped a lot. I’m 77yrs and have
always liked measuring and sawing, but never liked sharpening or finishing.
So I have many projects that are unfinished. Have learned how to use
a plane and chisel from your videos. A sharp chisel is a great tool for accuracy.
So lately starting to learn how to sharpen and do some finishing.
Thanks again.
wj
I’m a machine user convert. Perhaps the most important things that have changed for me, is the acknowledgment that – in most cases – dead flat, square and parallell is not that important, or even needed. At least not to very high tolerances (although only dead on 90 degrees can be called square). Why would I bother with making sure the underside of a table is flat, smooth and perfectly parallell to the top side? After all, that is only needed where an apron meets the table top, or similar areas.
In addition, “relative dimensioning” gives me a high degree of freedom. Part B is made to fit part A. I can then take any discrepancies into account and get perfect results.
Should a guest bring a square and a straightedge to check my furniture, (s)he will be tossed out the door in a quickness. 🙂
Hi!
Happy new year to you – from another vegetarian woodworker!
You’re asking about hand planer formatting techniques – here’s mine:
The surface of my workbench is as flat as possible, in all directions, because I use it as a reference surface when planing. Every 2-3 years I make sure it stays that way with a Stanley no 6 and winding-sticks.
I usually format the wood on a table saw – also in thickness. If I do it by hand I use an old Disston 26 inch ripcut saw (wonderful tool, around 120 years old).
Then I “dehair” the surface of the board with a Stanley no 4 and gouge it as flat as possible with a Stanley no 6 – using the reference surface of my workbench, turning the wood from time to time until it lays flat with no more movement. Checking the surface with the edged sole of planer no 6 while doing so. Then I turn the wood over and “dehair” the second surface (with no 4 again).
I work on a German workbench with a rear vise (wagon-vise) so I can clamp the wood laying flat on the surface of the workbench. In the course of time I have acquired a whole lot of pieces of wood in different thicknesses (there are more and more), which are about the size of postcards. I can use these reference pieces to check while planing down the sides of the wood until they fit. Then the remaining surface of the wood is fitted to the edges (first diagonally, then with the grain), again with the upturned sole of the plane (no 6). This technique is sufficient for most of my applications.
All the best, Andreas (from Germany)
Paul:
For a real eye-opener you should read the latest Consumer Reports from here in the States regarding the ingredients in Plant Based Faux Meats. it shook me up.
they show that these foods contain pea or soy concentrates, isolates, methylcellulose, starch, gums, chemical meat flavorings and chemical colorings.
Not what I expected.
you may want to rethink your culinary use of them
Please stay safe.
Andy
Sorry Andy, not too interested in US Consumer Reports here, For the amount I eat and enjoy from a reliable source it’s not going to affect me.
Industrial food, whether veggie, vegan or omnivorous, will always contain less desirable ingredients.
Some are there for a longer shelf life but not necessarily nice for your gut microbiota which needs to stay alive; others are cosmetic (color, taste, texture) or just adding mass.
To avoid this, make your meals yourself from basic ingredients: lentils, beans, chickpeas, peas and so on . Of course it might not look like what we were used to.
I am thinking about adding a cross member between the apron rails of a table I am building. What type of joinery do you recommend for the cross member to apron joint?
I was thinking about using a mortise and tenon joint. If I do, should the mortise and tenon be oriented horizontally to maximize the face grain contact between the mortise and tenon?